
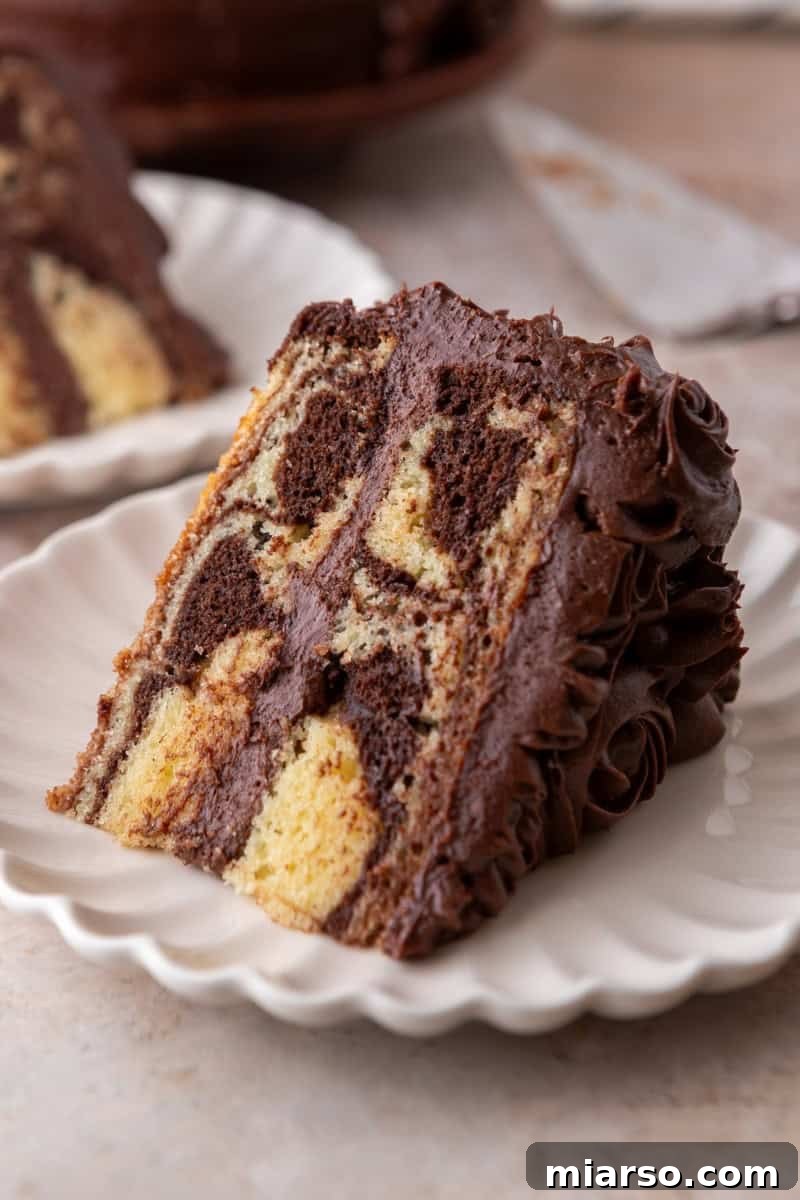
Indulge in the ultimate homemade treat: a **layered marble cake** that promises both stunning aesthetics and an unforgettable taste. This isn’t just any marble cake; it’s a meticulously crafted recipe designed to deliver bold, distinct vanilla and chocolate swirls within a crumb so incredibly moist it practically dissolves on your tongue. Prepare for a cake that will have everyone reaching for a second slice, a true testament to its irresistible charm.
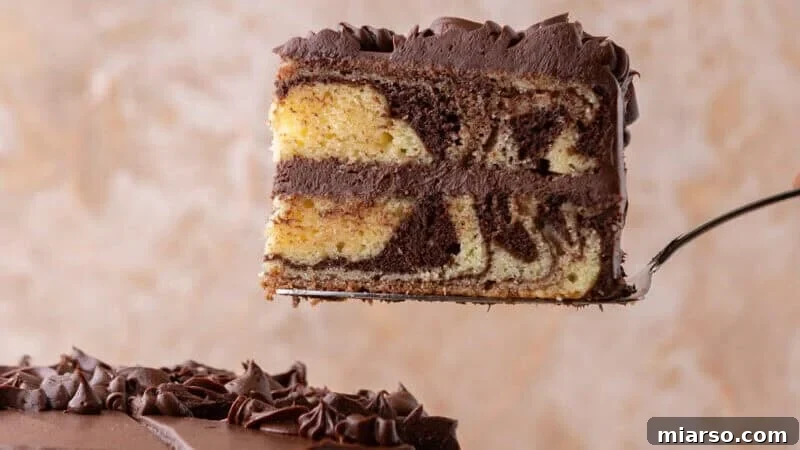
The secret to achieving those perfectly clean, vibrant swirls, free from muddiness, lies in a simple yet crucial technique: blooming the cocoa powder in hot coffee before incorporating it into the batter. This step not only intensifies the chocolate flavor to a profound depth but also ensures both the vanilla and chocolate batters maintain the same luscious consistency. The result? Swirls that stand out beautifully, retaining their definition rather than blending into an uninspired beige. And let’s not forget the crowning glory: the chocolate cream cheese frosting. It’s rich, fudgy, and boasts a delicate tang that perfectly balances the cake’s sweetness, making it one of the most beloved frostings you’ll ever create. If you’ve ever experienced the sublime frosting from my beet chocolate cake, you already know the level of deliciousness to expect!
Crafting the Perfect Marble Cake: My Culinary Journey
For far too long, I hesitated to perfect a layered marble cake recipe. The marble cakes I encountered in the past were, to be frank, mediocre at best. They often featured bland, muddy swirls, a dry and crumbly texture, and vanilla buttercream that added little to the overall experience. This persistent disappointment fueled my mission to develop a recipe that defied expectations and truly elevated the classic marble cake. When I finally embarked on this baking quest, I established a few non-negotiable principles: the swirls had to be bold and distinct, the crumb had to be extraordinarily moist, and the frosting absolutely had to enhance the cake, not just sit on top.
This pursuit of perfection is precisely how I arrived at the decision to pair this exquisite cake with a decadent chocolate cream cheese frosting. The subtle tanginess of the cream cheese masterfully cuts through the richness of the chocolate, ensuring every bite is a harmonious balance of flavors. The proof was in the pudding (or rather, the cake): my partner, Kyle, sampled a slice even before I had finished frosting it, and his immediate question was, “When are you making this again?” That’s when I knew I had finally created something truly special.
The Secrets to an Unbelievably Moist Layered Marble Cake
Achieving a supremely moist cake is a science, and this recipe employs a brilliant combination of ingredients and techniques to guarantee an exceptionally tender crumb that stays fresh for days. We begin by utilizing both oil and butter. Oil is instrumental in keeping the cake crumb wonderfully tender, a quality that remains even after the cake has been chilled in the refrigerator – a common challenge with butter-only cakes, which tend to firm up when cold. Butter, on the other hand, contributes a rich, complex flavor that oil alone cannot provide, striking the perfect balance between texture and taste.
Beyond the fats, sour cream plays a pivotal role. Its high fat content, coupled with its natural acidity, infuses the batter with extra moisture and a slight tang, resulting in a denser, incredibly velvety crumb. This ingredient is a game-changer for enhancing both the texture and the longevity of the cake’s freshness. Furthermore, our baking temperature is set at a precise 340°F (170°C), slightly lower than the conventional 350°F. This subtle adjustment allows the cake more time to rise evenly and fully bake without drying out the edges, preventing the formation of a tough crust. The cumulative effect of these thoughtful choices is a cake that remains sumptuously soft for multiple days, and many bakers, including myself, find that its flavors deepen and meld beautifully, making it taste even more exquisite on day two.
Mastering the Art of Defined Marble Swirls
The quest for visually striking, perfectly defined marble swirls is where many marble cake recipes falter. The key to success lies in two critical factors: ensuring both batters have an identical consistency and resisting the urge to over-swirl. These elements are paramount for achieving ribbons of vanilla and chocolate that truly stand out.
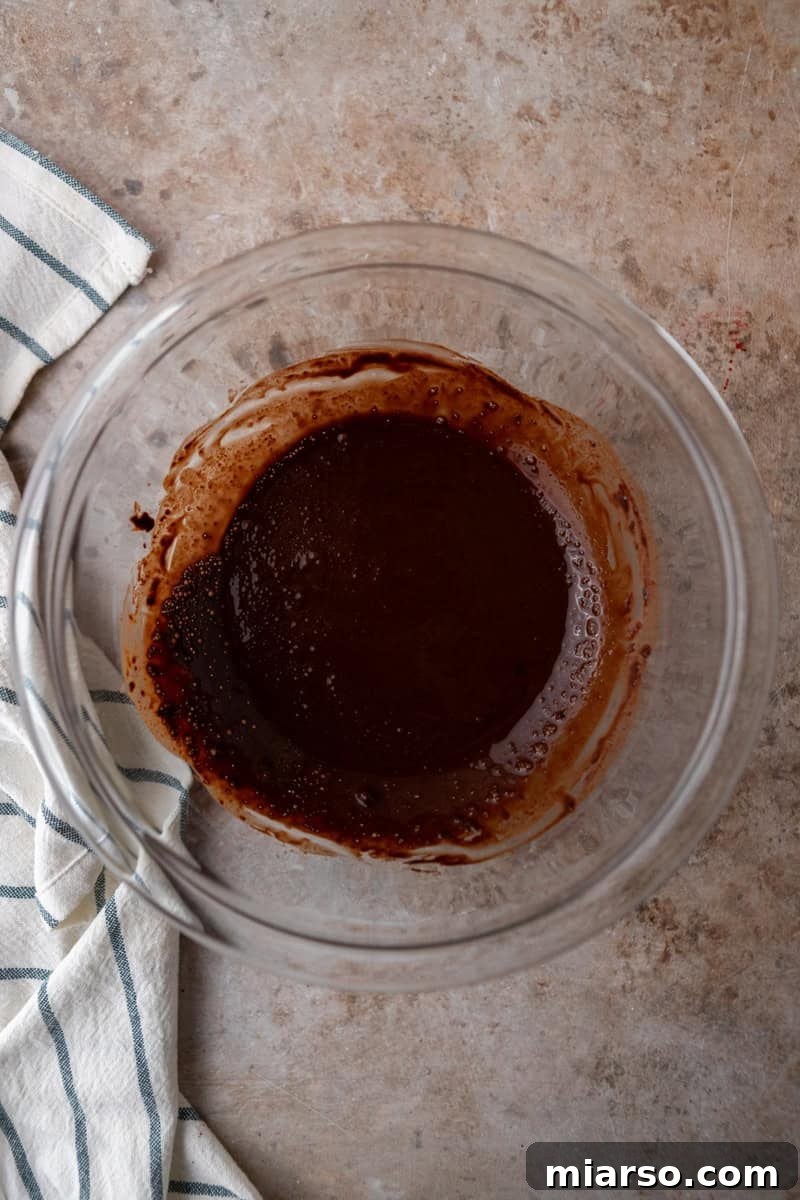
Our unique method involves “blooming” the cocoa powder in 3 tablespoons of hot coffee. This process creates a smooth, concentrated chocolate paste that, when folded into a portion of the vanilla batter, seamlessly integrates without altering the overall thickness. This meticulous attention to consistency means both the vanilla and chocolate batters will flow and behave identically, allowing the swirls to beautifully hold their shape throughout baking, rather than blurring into a monotonous, indistinguishable mass. An added benefit of using coffee to bloom the cocoa is its remarkable ability to deepen and intensify the chocolate flavor, without imparting any noticeable coffee taste to the final cake. It simply magnifies the richness of the chocolate.
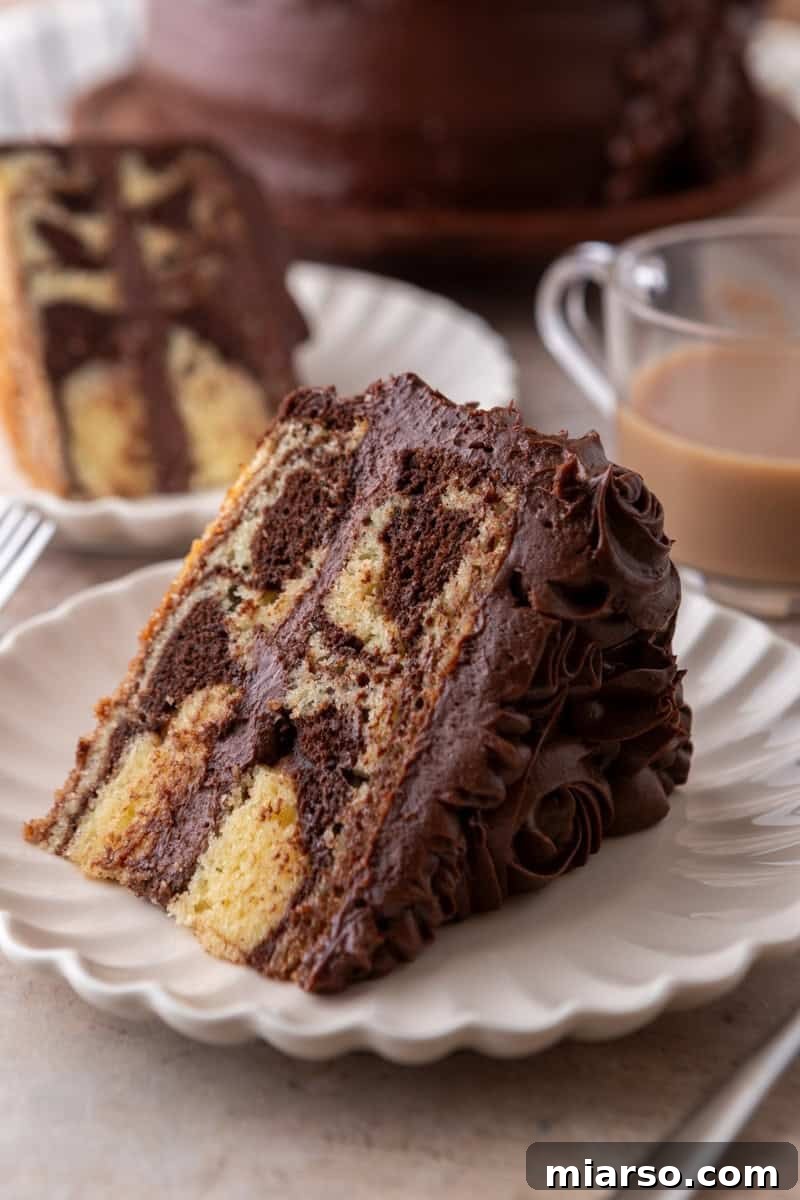
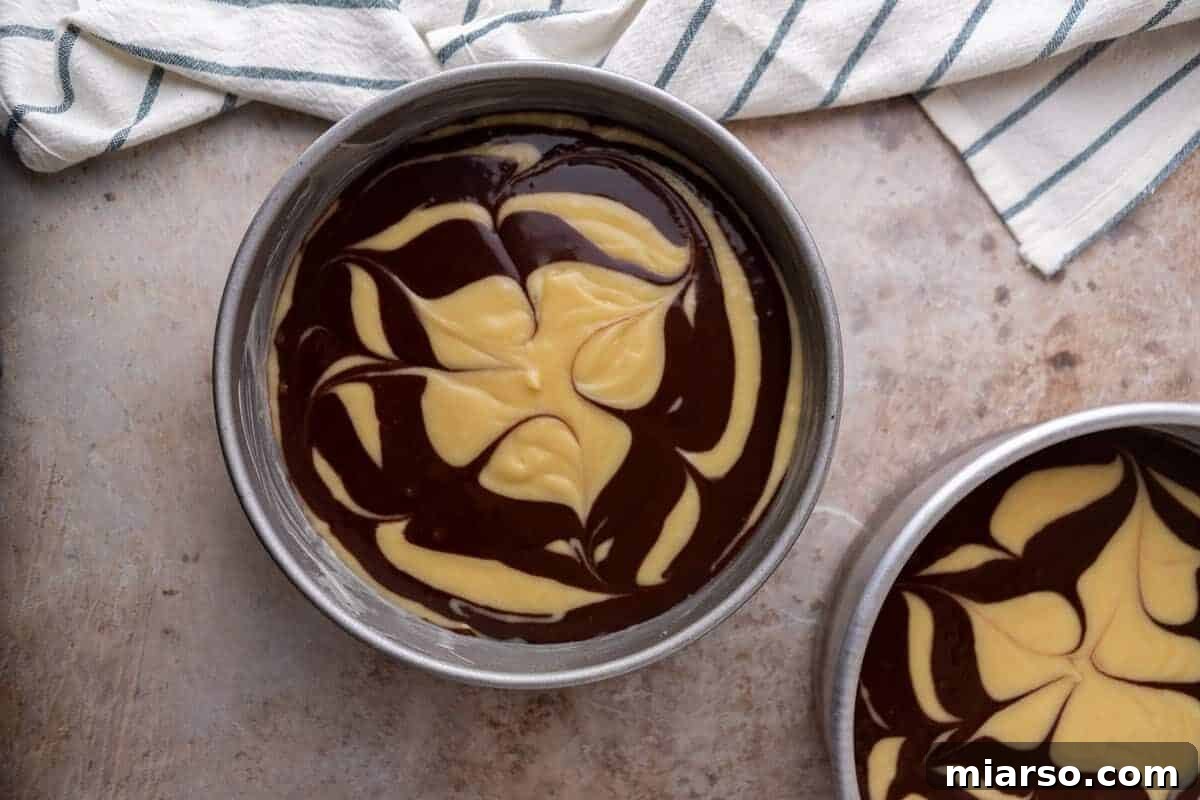
When it comes to the actual swirling technique, less is definitely more. Once you’ve dolloped your batters into the pans, use a knife or a skewer to gently cut through the batter, creating your desired pattern. The crucial advice here is to limit your swirling passes to a maximum of 3 to 4 times. Each additional pass will gradually blend the colors further, ultimately leading to a muddy appearance. Your goal is to create bold, dramatic ribbons of contrasting colors, not a uniform, light brown mixture. Practice patience and restraint, and you’ll be rewarded with stunning, Instagram-worthy marble patterns every time.
Essential Ingredients for Your Layered Marble Cake
This recipe ingeniously begins with a single, foundational vanilla batter, a portion of which is then transformed into the rich chocolate component through the incorporation of our special cocoa paste. Understanding the role of each key ingredient is vital for baking success:
- Dutch-process cocoa powder: This is a non-negotiable for superior chocolate flavor and visual impact. Dutch-process cocoa has been alkalized, which gives it a darker color and a smoother, less bitter chocolate taste compared to natural cocoa. This ensures the chocolate swirls are deep, dark, and create a striking contrast against the pale vanilla batter, making your marble pattern truly pop.
- Oil and melted butter: The synergy of these two fats is fundamental to our cake’s tender texture. Oil contributes consistent moisture and ensures the cake remains soft even when chilled, preventing it from becoming stiff like some butter-only cakes. Melted butter, on the other hand, delivers that irresistible, rich dairy flavor that elevates the overall taste profile. Together, they create a crumb that is both luxurious and enduringly moist.
- Sour cream: The secret weapon for an ultra-moist, velvety texture. Sour cream adds significant fat and moisture to the batter, resulting in a denser, more luxurious crumb. Its slight acidity also reacts with the baking powder, promoting a tender texture and subtle tanginess that enhances the flavor complexity.
- Extra sugar and oil in the chocolate batter: This might seem counter-intuitive, but it’s a critical step. Cocoa powder, by its very nature, is a dry ingredient that readily absorbs moisture. Without compensating for this, the chocolate portions of your cake would bake up noticeably drier than the vanilla sections. Adding a small amount of extra sugar and oil to the chocolate batter ensures both the vanilla and chocolate swirls remain equally tender and moist, creating a consistently delightful texture throughout every slice.
- The frosting: Our decadent chocolate cream cheese frosting is crafted using a dual approach for maximum flavor and richness. It combines both high-quality cocoa powder for deep chocolate notes and melted dark chocolate (preferably 60-70% cacao) for an intense, fudgy finish. This combination yields a frosting that is not only incredibly smooth and spreadable but also bursting with complex chocolate flavor and a perfect creamy-tangy balance. For more in-depth tips and a detailed recipe for this irresistible frosting, be sure to consult my full Chocolate Cream Cheese Frostingrecipe.
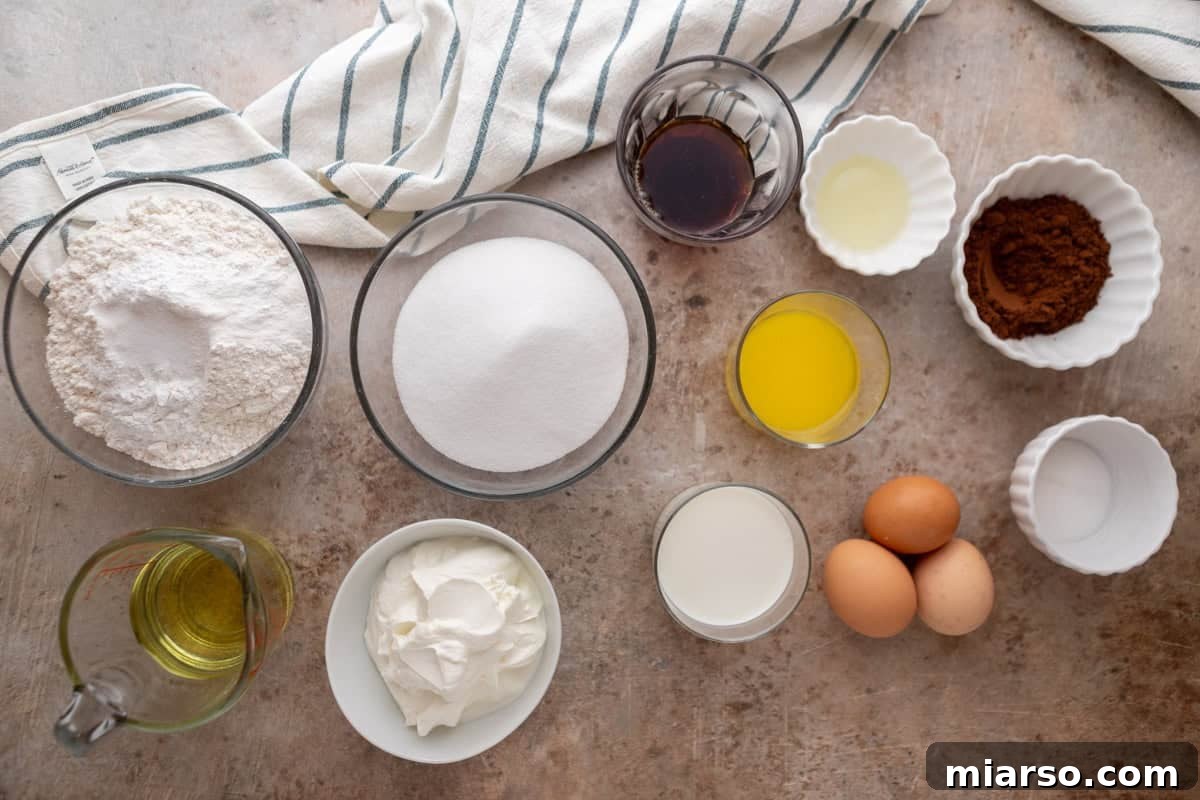
Step-by-Step Guide: Crafting This Delicious Layered Marble Cake
Creating this masterpiece is a rewarding process. Follow these detailed steps to ensure every layer is perfect, every swirl distinct, and every bite heavenly.
- Prepare Your Workspace and Pans: Begin by preheating your oven to the precise temperature of 340°F (170°C). This slightly lower temperature is crucial for an evenly baked, moist cake. Next, meticulously grease two 8-inch round cake pans. For an extra layer of assurance against sticking, line the bottoms of the pans with parchment paper, then lightly grease the parchment as well. For the ultimate non-stick insurance, I highly recommend using my homemade cake release goop, which guarantees your cakes will slide out effortlessly every time.
- Create the Cocoa Paste for Intense Flavor: In a small, heat-proof bowl, combine the Dutch-process cocoa powder with 3 tablespoons of hot coffee. Whisk these two ingredients together until the mixture is completely smooth and glossy. This blooming process extracts and intensifies the cocoa’s flavor, preparing it for the chocolate batter. Set this rich paste aside to cool slightly.
- Assemble the Vanilla Batter: In a large mixing bowl, thoroughly whisk together all your dry ingredients: the all-purpose flour, granulated sugar, baking powder, and salt. Ensure they are well combined to distribute the leavening agents evenly. In a separate medium bowl, whisk together the wet ingredients: the room temperature eggs, sour cream, vegetable oil, slightly cooled melted butter, vanilla extract, and room temperature whole milk. Whisk until this mixture is smooth and uniform. Finally, pour the wet ingredient mixture into the dry ingredients. Stir gently until the batter is just smooth. Be careful not to overmix, as this can lead to a tough cake. A few small lumps are acceptable.
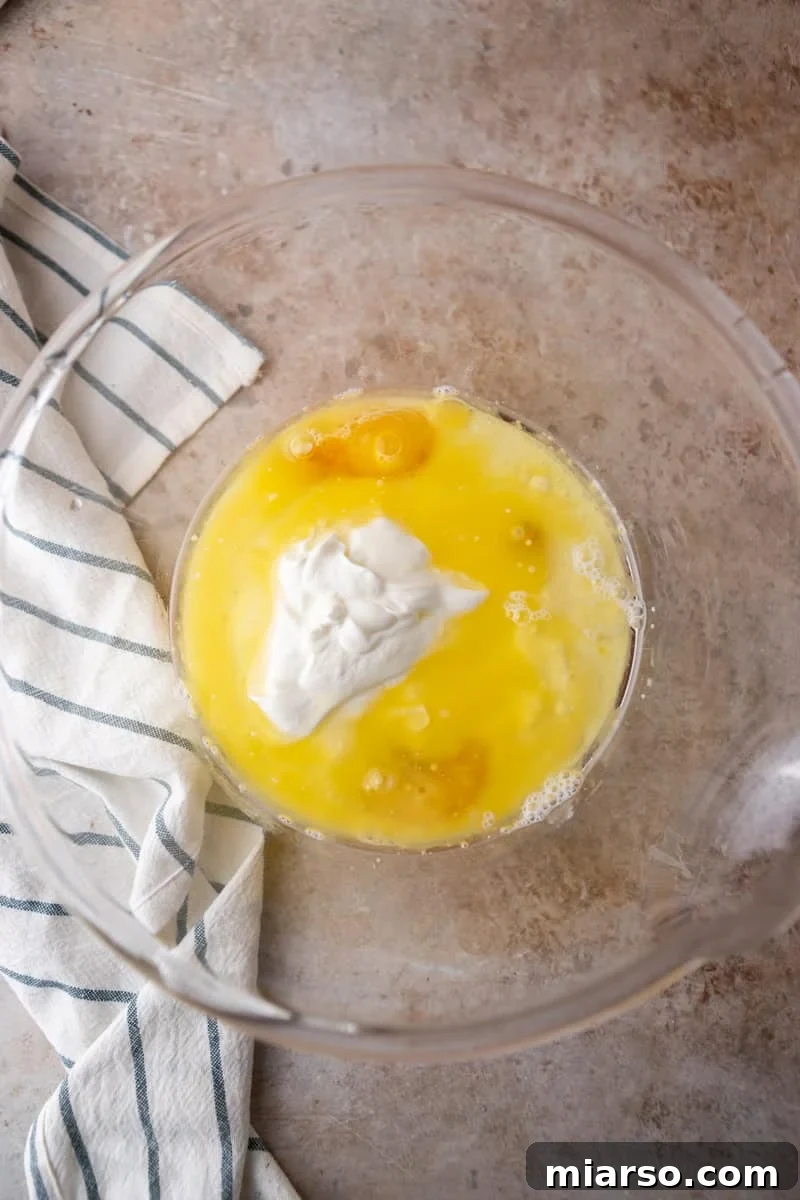
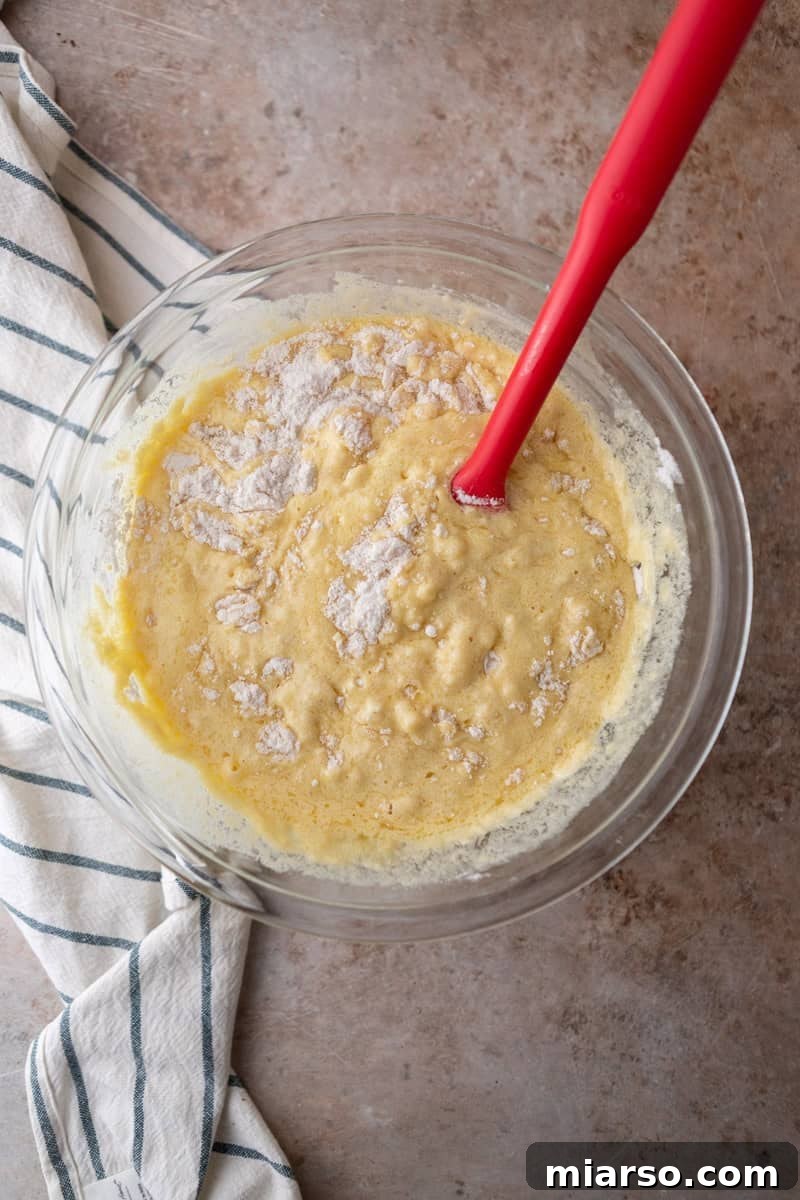
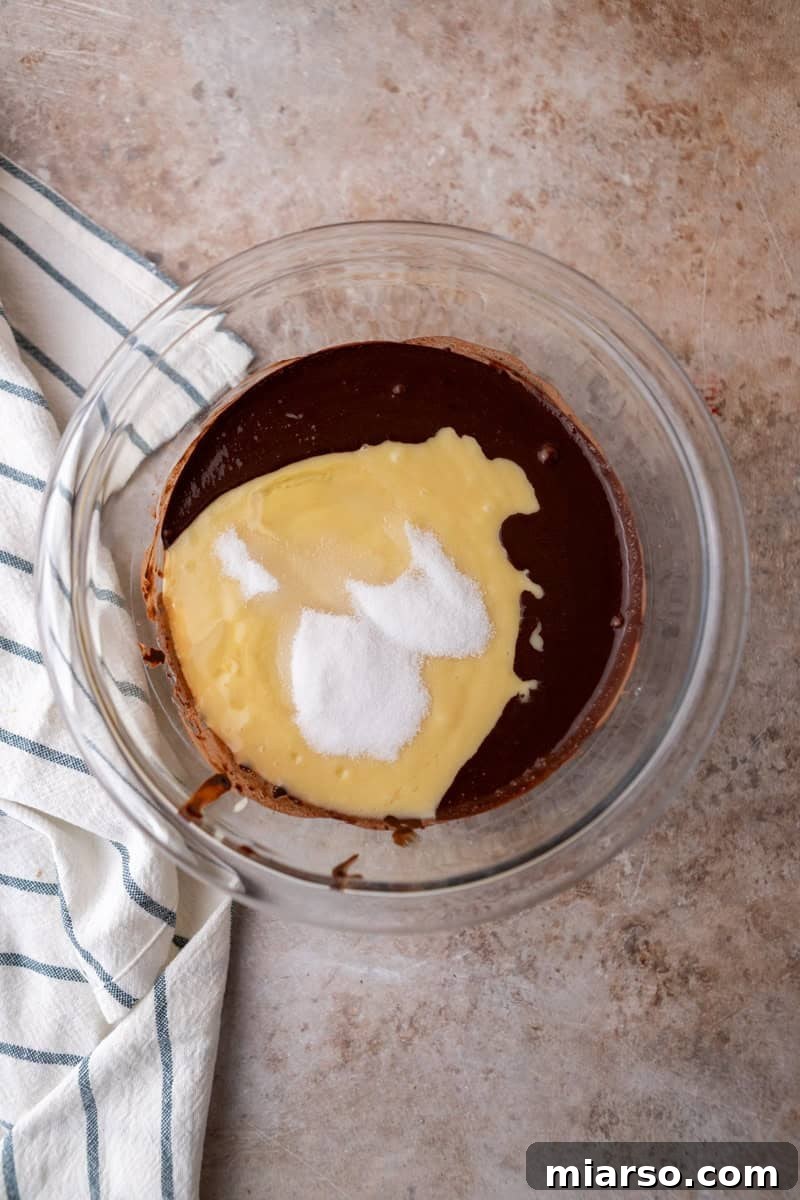
- Craft the Chocolate Batter: Carefully transfer approximately one-third of the prepared vanilla batter (roughly 1.5 cups) into a separate, clean bowl. Into this portion, gently fold in the bloomed cocoa paste you prepared earlier, along with the extra granulated sugar and vegetable oil. Continue folding until the chocolate batter is completely uniform in color and texture. The addition of extra sugar and oil here is crucial to compensate for the cocoa powder’s moisture-absorbing properties, ensuring your chocolate swirls remain as tender and moist as the vanilla.
- Swirl and Fill the Cake Pans: Divide the plain vanilla batter evenly between your two prepared 8-inch cake pans. Next, dollop spoonfuls of the chocolate batter on top of the vanilla batter in each pan. Aim for about 5-6 dollops per pan, distributing them somewhat evenly. To create the beautiful marble effect, take a knife or a skewer and gently run it through the batter, swirling it only 3 to 4 times maximum. Remember, over-swirling will lead to muddy, indistinct patterns. For a unique and playful design, you can also try dropping spoonfuls of batter directly into the center of the pan, stacking them on top of each other to create concentric rings that will swirl differently, as I sometimes do!
- Bake to Perfection: Place the cake pans into your preheated 340°F (170°C) oven. Bake for approximately 27-32 minutes. The cakes are done when a wooden toothpick inserted into the center comes out with moist crumbs attached, not wet batter. Avoid overbaking, which can dry out the cake. Once baked, remove the pans from the oven and let the cakes cool in their pans for about 10 minutes. This crucial resting period allows the cakes to set and become firm enough to handle. After 10 minutes, carefully invert the cakes onto a wire rack to cool completely. Ensure they are fully cooled before frosting.
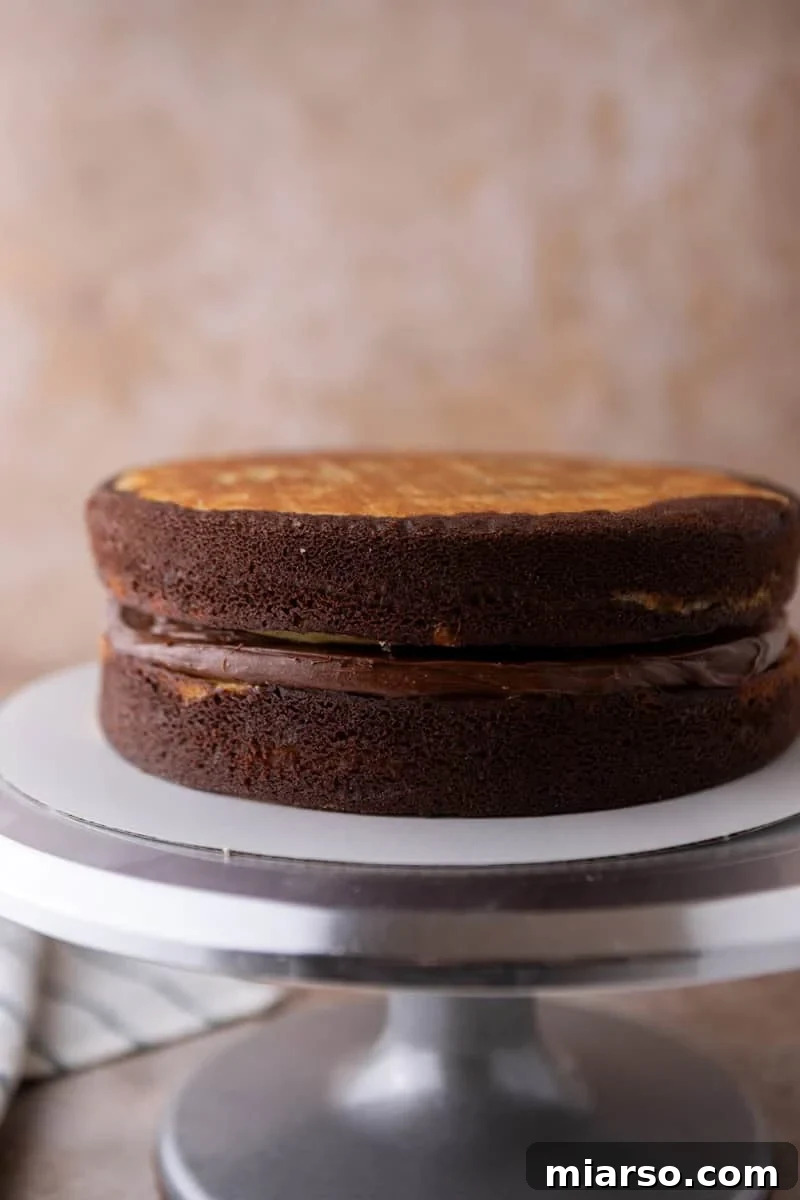
- Level Your Cake Layers: Once the cake layers have cooled entirely, you may notice they have a slight dome in the center. To ensure your finished cake sits perfectly level and looks professional, use a long serrated knife to carefully slice off these domes. This creates a flat surface for stacking and prevents your cake from leaning.
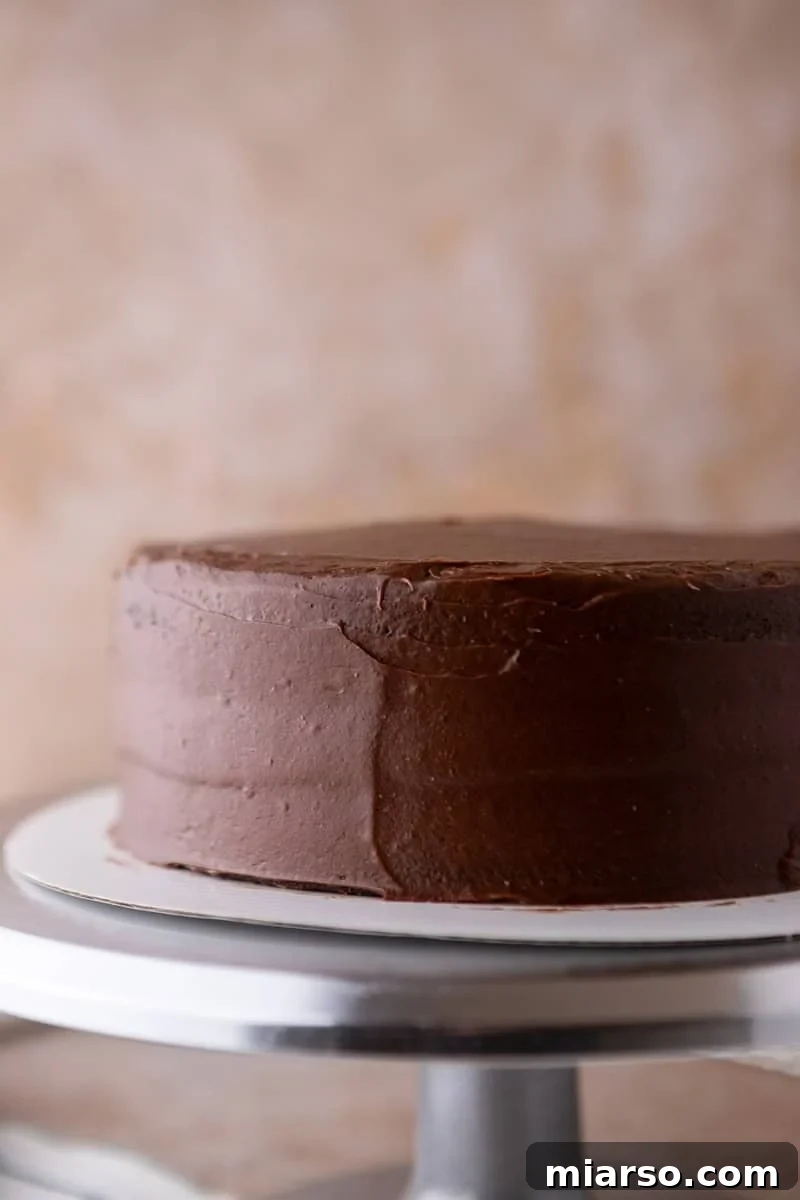
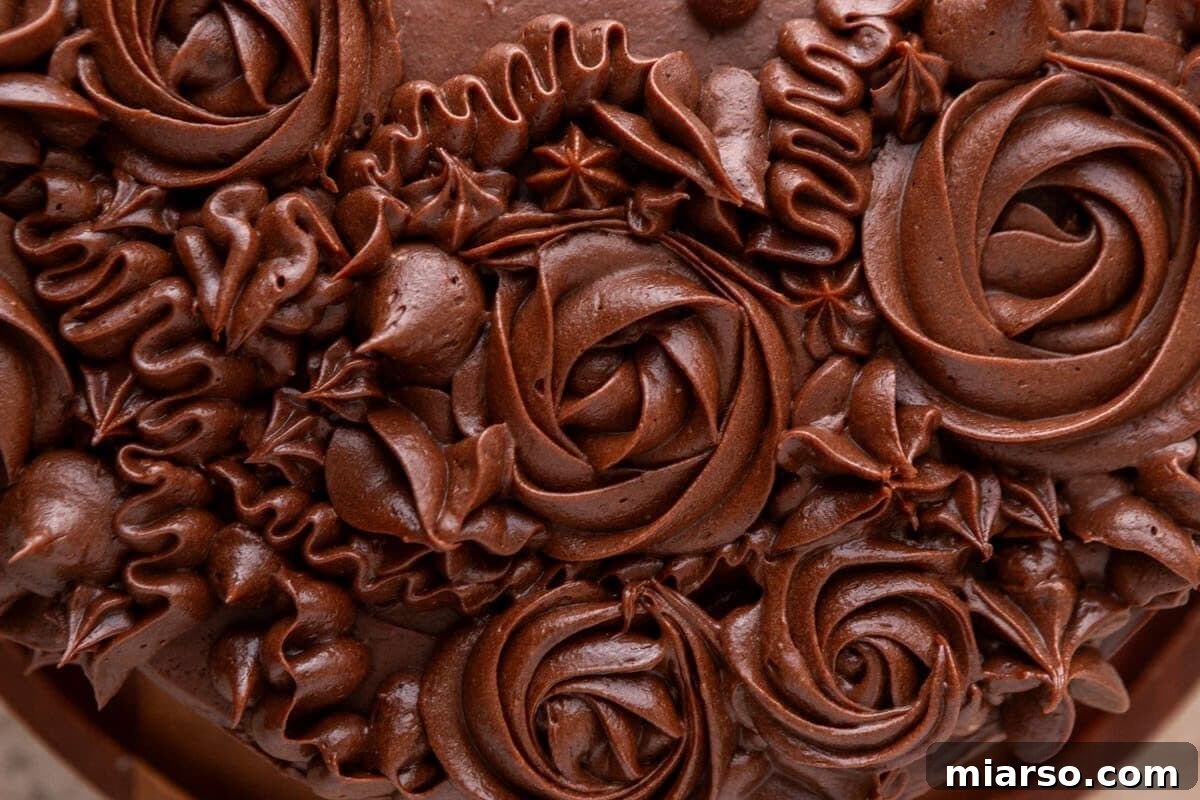
- Frost with Fudgy Decadence: With your cake layers fully cooled and leveled, it’s time to apply the luscious chocolate cream cheese frosting. Start by applying a thin “crumb coat” all over the cake – this thin layer traps any loose crumbs, ensuring your final frosting layer is perfectly smooth. Refrigerate the cake for 15-20 minutes to allow the crumb coat to set. After chilling, apply the remaining frosting in your desired final layer, smoothing it with an offset spatula or creating beautiful swirls. Feel free to unleash your creativity with decorations; I often add intricate piped detailing, such as rosettes or borders, for an elegant finish.
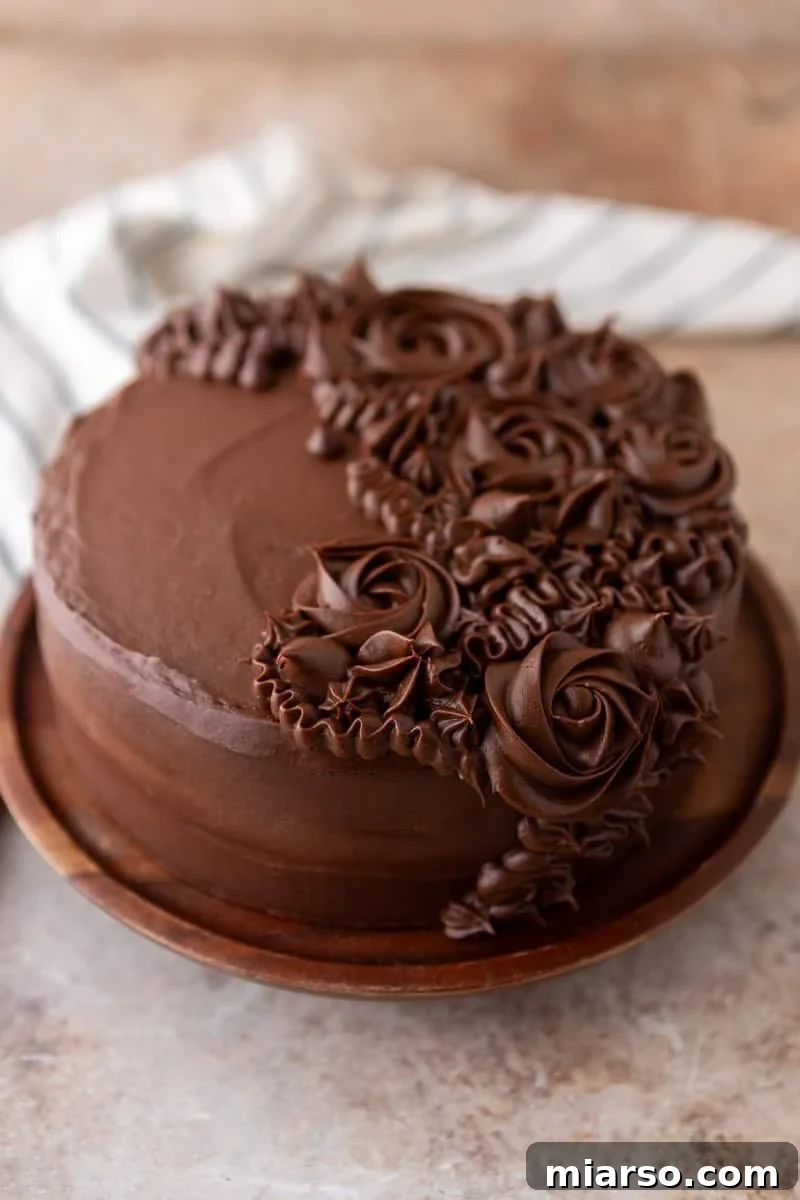
Crafting the Perfect Chocolate Cream Cheese Frosting
This fudgy and tangy chocolate cream cheese frosting is the perfect complement to our moist marble cake. Here’s how to create its dreamy texture and rich flavor:
In a large mixing bowl, beat together the softened cream cheese and unsalted butter until the mixture is incredibly light, fluffy, and completely smooth. This usually takes about 3-4 minutes, so be patient and let your mixer do the work. Sift your powdered sugar and Dutch-process cocoa powder together to remove any lumps, ensuring a silky-smooth frosting. Gradually add this sifted dry mixture to the cream cheese and butter, alternating with small splashes of heavy cream. Start and end with the dry ingredients to prevent a soupy texture. Once all dry ingredients are incorporated, mix in the vanilla extract and a pinch of salt to enhance the flavors. Finally, pour in the melted and slightly cooled dark chocolate, mixing just until it’s fully incorporated and the frosting is beautifully creamy and uniform.
Adjusting Consistency: If your frosting appears too thick, add heavy cream one tablespoon at a time, mixing after each addition, until you reach your desired spreadable consistency. Conversely, if the frosting seems too soft or runny, refrigerate it for 15-20 minutes to allow the fats to firm up slightly, then re-whip it briefly until it reaches the perfect piping or spreading consistency.
To decorate my cake, I utilized a selection of piping tips to achieve specific details. However, baking is an art, so please feel free to experiment and get creative with any piping tips you already have on hand. Don’t be afraid to play around with different designs and textures!
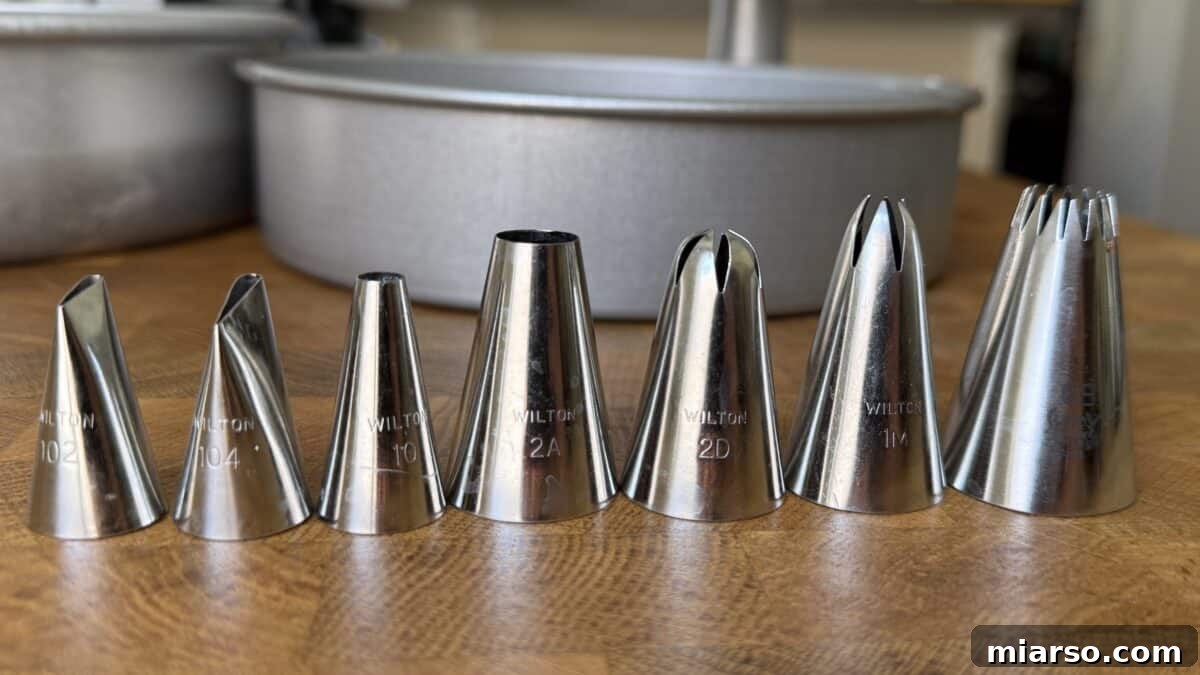
Expert Tips for Achieving the Best Marble Cake Results
Baking is a blend of art and science, and adhering to these expert tips will significantly enhance your chances of achieving a consistently perfect layered marble cake every single time:
- Always Bloom the Cocoa in Hot Coffee: This isn’t just a suggestion; it’s the most impactful step in this recipe. Blooming cocoa powder in hot coffee deepens its flavor dramatically, transforming it from a flat, one-dimensional taste into a rich, robust chocolate experience. It also helps create a smooth paste, ensuring your chocolate batter has the same consistency as your vanilla batter, which is key for defined swirls. Don’t skip this!
- Don’t Skip the Extra Sugar and Oil in the Chocolate Batter: Cocoa powder is a thirsty ingredient; it absorbs moisture from the batter. If you don’t compensate for this, your chocolate swirls will inevitably bake up drier and less tender than your vanilla sections. The small additions of extra sugar and oil in the chocolate portion ensure both components of your marble cake remain equally moist and delightful, providing a harmonious texture throughout.
- Swirl Sparingly – 3 to 4 Times is Plenty: This is where many aspiring marble cake bakers go wrong. The temptation to keep swirling for an “even” pattern can be strong, but resist it! Excessive swirling will blend the distinct vanilla and chocolate colors into a muddy, unappealing brown. Aim for just 3 to 4 gentle passes with your knife or skewer to create those beautiful, bold ribbons of contrast.
- Embrace Room Temperature Ingredients: For a truly smooth, emulsified batter, bring your eggs and sour cream to room temperature before you begin mixing. Cold ingredients don’t incorporate as easily or as evenly into the batter, leading to lumps and a less consistent texture. Simply set them out on the counter for about an hour before you start baking.
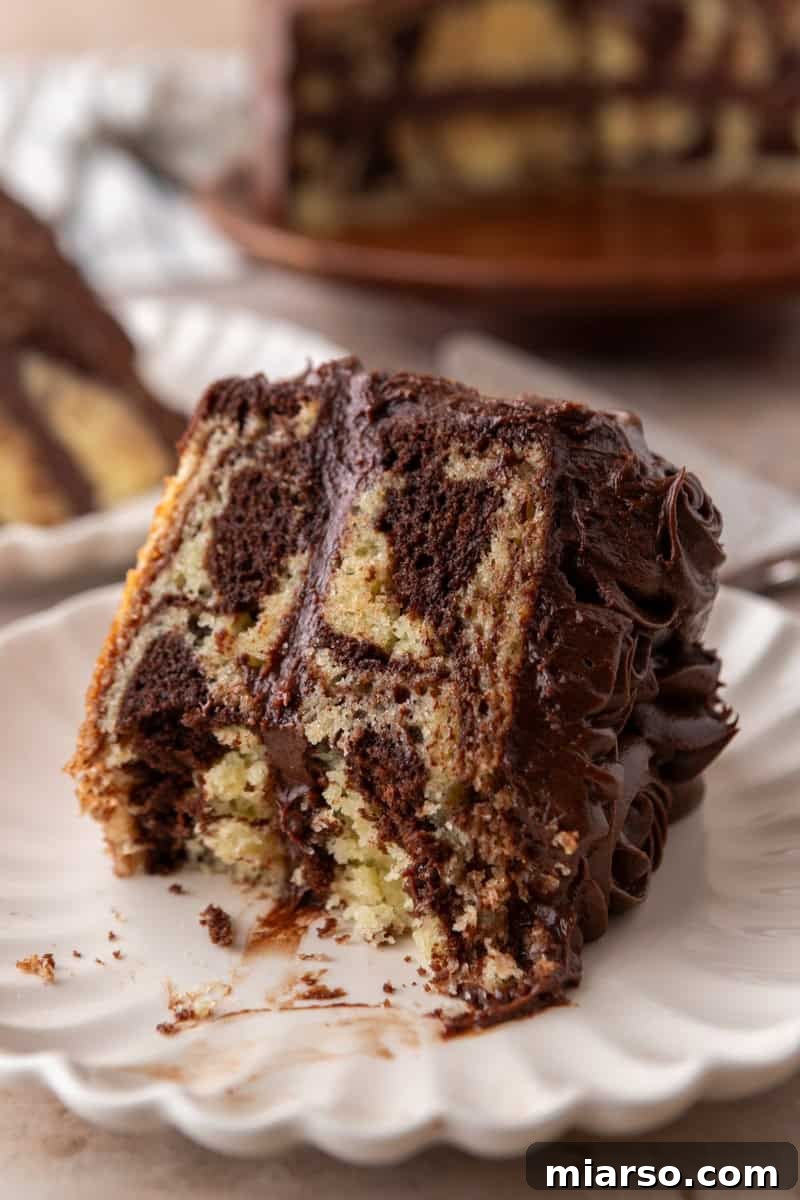
- Patience is a Virtue: This Cake Tastes Better on Day Two: While it’s tempting to dive in immediately, this layered marble cake truly shines the day after it’s baked. Allowing the cake to rest overnight in the refrigerator (and then bringing it to room temperature before serving) gives the flavors ample time to meld and deepen. The crumb also tends to become even more incredibly moist and tender as it sits, making for an even more satisfying dessert experience.
Storage Recommendations for Optimal Freshness
Proper storage is essential to maintain the deliciousness and moistness of your layered marble cake:
Frosted Cake: A frosted marble cake should be stored covered in the refrigerator to keep the cream cheese frosting fresh and firm. It will remain delicious for up to 4 days. For the best flavor and texture experience, allow the cake to sit at room temperature for 20-30 minutes before serving. This brings the cake to an ideal eating temperature, softening the frosting slightly and enhancing the cake’s moistness.
Unfrosted Cake Layers: If you’re baking ahead, unfrosted cake layers can be tightly wrapped in plastic wrap and stored at room temperature for up to 2 days. For longer storage, the unfrosted layers can be wrapped even more securely (e.g., in plastic wrap then foil) and frozen for up to 2 months. Thaw them in the refrigerator overnight before bringing them to room temperature and frosting.
Frosting: The chocolate cream cheese frosting can also be prepared 2 days in advance. Store it in an airtight container in the refrigerator. Before using, allow it to come to room temperature for about 30-60 minutes, then re-whip it briefly with an electric mixer until it’s light, fluffy, and smooth again. If it’s too firm, you can add a tiny splash of heavy cream while re-whipping.
Frequently Asked Questions About This Layered Marble Cake
While buttermilk can be used as a substitute for sour cream, be aware that it will result in a slightly lighter crumb, which won’t possess the same dense, velvety richness that sour cream provides. If you do opt for buttermilk, use 3/4 cup of buttermilk and increase the vegetable oil by 2 tablespoons to help maintain some of the moisture content lost from the lower fat in buttermilk.
Natural cocoa powder will certainly work in this recipe, but for the most exceptional results, Dutch-process cocoa powder is highly recommended. Dutch-process cocoa is alkalized, giving it a darker, richer color and a smoother, less acidic chocolate flavor. This creates a much deeper chocolate flavor and a more striking, defined contrast in your marble swirls, enhancing the visual appeal significantly.
Yes, you can absolutely bake this recipe in two 9-inch round cake pans. Keep in mind that using larger pans will result in thinner cake layers. Because the layers will be thinner, you will need to reduce the baking time accordingly. Start checking for doneness around 24-26 minutes, looking for a toothpick inserted in the center to come out with moist crumbs.
Yes, this recipe adapts beautifully to cupcakes! Prepare your cupcake liners in a muffin tin. Fill each liner about two-thirds full, alternating spoonfuls of the vanilla and chocolate batters. Use a toothpick to create small swirls in each cupcake for that marble effect. Bake them at 340°F (170°C) for a shorter duration, typically 18-22 minutes, or until a toothpick inserted comes out clean.
No, absolutely not! Only a small quantity (3 tablespoons) of hot coffee is used to bloom the cocoa paste. This amount is primarily to enhance and deepen the chocolate flavor, much in the same way that a touch of vanilla extract enhances the sweetness of many desserts without making them taste like vanilla. The coffee’s role is purely to intensify the chocolate, not to impart its own flavor. If you prefer, you can use hot water instead, but the chocolate flavor won’t be as rich or profound.
Muddy swirls are almost always a result of over-swirling the batter. It’s crucial to limit your swirling passes with a knife or skewer to a maximum of 3-4 times. Every extra pass causes the distinct vanilla and chocolate batters to blend excessively, losing their definition. Additionally, ensure both your vanilla and chocolate batters have a similar consistency; our bloomed cocoa method is specifically designed to help achieve this balance.
A cake sinking in the middle is a common baking frustration, usually attributable to a few factors. The most frequent cause is underbaking; always ensure a toothpick inserted into the center comes out with moist crumbs, not wet batter. Another reason could be opening the oven door too early during baking, especially in the first 20-25 minutes, which can cause temperature fluctuations and collapse the delicate structure. Lastly, using too much leavening agent (baking powder/soda) can cause the cake to rise too quickly and then collapse.
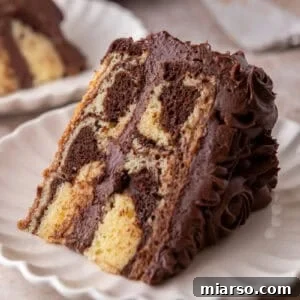
Layered Marble Cake with Chocolate Cream Cheese Frosting
45 minutes
30 minutes
1 hour
15 minutes
16
servings
Print Recipe
Ingredients
For the Vanilla Batter (Base):
-
2 1/3
cups
all-purpose flour -
1 1/2
cups
granulated sugar -
1
tablespoon
baking powder -
3/4
teaspoon
salt -
3
large eggs
room temperature -
1
cup
sour cream
room temperature -
1/2
cup
vegetable oil -
1/4
cup
unsalted butter
melted and slightly cooled -
2
teaspoons
vanilla extract
-
1/2
cup
whole milk
room temperature
For the Chocolate Swirl:
-
1/3
cup
Dutch-process cocoa powder
-
3
tablespoons
hot coffee
for blooming -
2
tablespoons
granulated sugar -
1
tablespoon
vegetable oil
For the Chocolate Cream Cheese Frosting:
-
8
oz
cream cheese
softened -
1/2
cup
unsalted butter
softened -
2 2/3
cups
powdered sugar
-
1/2
cup
Dutch-process cocoa powder
-
1/3
cup
heavy cream
added gradually -
2
teaspoons
vanilla extract
-
1/4
teaspoon
salt -
3.5
oz
dark chocolate (60-70% cacao)
melted and cooled
Instructions
Make the Cake:
-
Preheat the oven to 340°F (170°C). Grease two 8-inch round cake pans and line the bottoms with parchment paper.
-
In a small bowl, whisk together the Dutch-process cocoa powder and 3 tablespoons of hot coffee until completely smooth. Set aside.1/3 cup Dutch-process cocoa powder,
3 tablespoons hot coffee -
In a large bowl, whisk together the flour, granulated sugar, baking powder, and salt.2 1/3 cups all-purpose flour,
1 1/2 cups granulated sugar,
1 tablespoon baking powder,
3/4 teaspoon salt -
In a separate bowl, whisk the eggs, sour cream, vegetable oil, melted butter, vanilla extract, and whole milk until smooth.3 large eggs,
1 cup sour cream,
1/2 cup vegetable oil,
1/4 cup unsalted butter,
2 teaspoons vanilla extract,
1/2 cup whole milk -
Pour the wet ingredients into the dry ingredients and stir until just combined.
-
Transfer about 1/3 of the batter (roughly 1 1/2 cups) to a separate bowl. Add the bloomed cocoa paste, 2 tablespoons of granulated sugar, and 1 tablespoon of vegetable oil. Fold until uniform.2 tablespoons granulated sugar,
1 tablespoon vegetable oil -
Divide the vanilla batter between the two pans. Dollop the chocolate batter on top (5-6 spoonfuls per pan). Swirl with a knife 3-4 times.
-
Bake for 27-32 minutes, until a toothpick comes out with moist crumbs. Cool in pans 10 minutes, then turn out onto a wire rack to cool completely.
Make the Chocolate Cream Cheese Frosting:
-
Beat the softened cream cheese, butter, and salt together until light and smooth, about 3-4 minutes.8 oz cream cheese,
1/2 cup unsalted butter,
1/4 teaspoon salt -
Sift together the powdered sugar and cocoa powder. Add gradually to the cream cheese mixture, alternating with the heavy cream.2 2/3 cups powdered sugar,
1/2 cup Dutch-process cocoa powder,
1/3 cup heavy cream -
Add the vanilla extract and mix then mix in the melted and cooled dark chocolate until smooth and creamy.2 teaspoons vanilla extract,
3.5 oz dark chocolate (60-70% cacao) -
Adjust consistency: add more cream if too thick, or refrigerate 15-20 minutes if too soft.
Assemble:
-
Cut off the domes of each cake using a serrated knife to make sure the layers sit evenly.
-
Place the first cake layer on a cake stand, flat side up. Spread about 3/4 cup of frosting on top.
-
Place the second layer on top, flat side up. Apply a thin crumb coat over the entire cake. Refrigerate 15-20 minutes.
-
Apply the remaining frosting, smoothing or swirling as desired. pipe swirls on top of garnish with chocolate shavings or cocoa powder.
Nutrition
Calories:
528
Calories
|
Carbohydrates:
62
g
|
Protein:
6
g
|
Fat:
30
g
|
Saturated Fat:
14
g
|
Polyunsaturated Fat:
5
g
|
Monounsaturated Fat:
8
g
|
Trans Fat:
0.4
g
|
Cholesterol:
83
mg
|
Sodium:
294
mg
|
Potassium:
201
mg
|
Fiber:
3
g
|
Sugar:
43
g
|
Vitamin A:
678
IU
|
Vitamin C:
0.2
mg
|
Calcium:
106
mg
|
Iron:
2
mg
Nutrition information is automatically calculated, so should only be used as an approximation.
Like this? Leave a comment below!