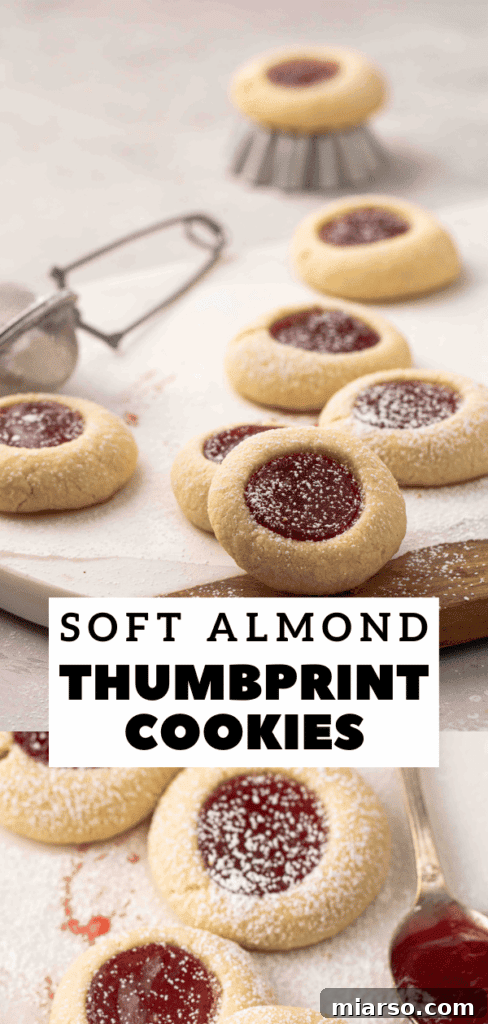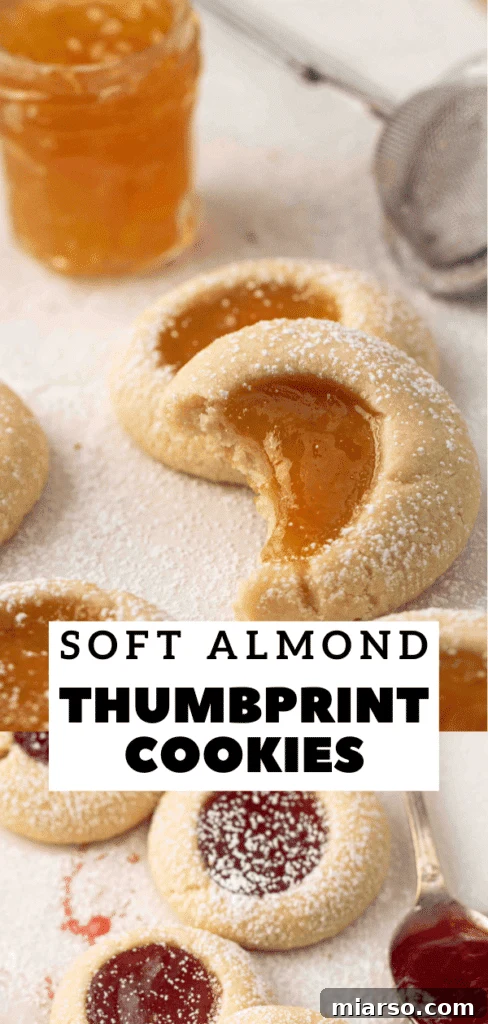
Welcome to the ultimate guide for crafting the most delightful thumbprint cookies with jam! These classic treats are a true embodiment of comfort, blending a wonderfully soft, chewy texture with an irresistible almond essence. While often associated with festive gatherings, we believe these jam-filled wonders deserve to be enjoyed all year round. Prepare to transform your kitchen into a haven of sweet aromas and create an unforgettable experience for yourself and your loved ones.

There’s something uniquely comforting about a homemade thumbprint cookie. Each bite offers a tender, buttery crumb that melts in your mouth, perfectly complemented by a sweet, fruity center. Traditionally, these cookies grace our tables during the holiday season, evoking cherished memories of warmth, family, and celebration. Their festive appeal is undeniable, making them a staple for any Christmas cookie exchange or special winter gathering.
However, why relegate such a magnificent dessert to just one time of year? This particular recipe for jam thumbprint cookies is so incredibly good, so utterly crave-worthy, that it truly deserves to be a year-round indulgence. We’re counting on you to help make that a reality! Bake a batch (or five!) of these exquisite cookies, share them with friends and family, and let the joy of these sweet treats spread far beyond the festive season.

Unveiling the Secret: What Makes These the Best Jam Thumbprint Cookies Ever?
For years, I’ve perfected this thumbprint cookie recipe, annually filling cookie boxes for everyone I know. It’s baffling why I waited so long to share it! But, good things come to those who wait, and now you have the definitive recipe to create your own batches of perfection. What truly sets these cookies apart from any other recipe you might have tried? It’s a combination of thoughtfully selected ingredients and simple techniques that yield extraordinary results.
Why You’ll Fall in Love with This Thumbprint Cookie Recipe:
- Irresistibly Soft and Chewy Texture: Forget dry, crumbly cookies. Our recipe delivers a buttery base that’s incredibly tender yet satisfyingly chewy, providing the perfect contrast to the sweet jam filling.
- Double the Almond Flavor: This isn’t just a hint of almond! By incorporating both blanched almond flour into the dough and a touch of pure almond extract, we infuse these cookies with a rich, complex almond aroma and taste that is truly “OMG” worthy. It elevates them from merely good to absolutely amazing.
- Endless Customization with Your Favorite Jam: While strawberry and raspberry are classic choices, these cookies are a blank canvas for your culinary creativity. Whether you prefer tart apricot, sweet fig, zesty lemon curd, or even a rich chocolate spread, you can easily make them uniquely your own.
- They Disappear in a Flash: This is a testament to their deliciousness! Be warned, once these almond thumbprint cookies come out of the oven, they won’t last long. They’re so good, you might just find yourself making a second batch almost immediately.
Essential Ingredients for Perfect Thumbprint Cookies
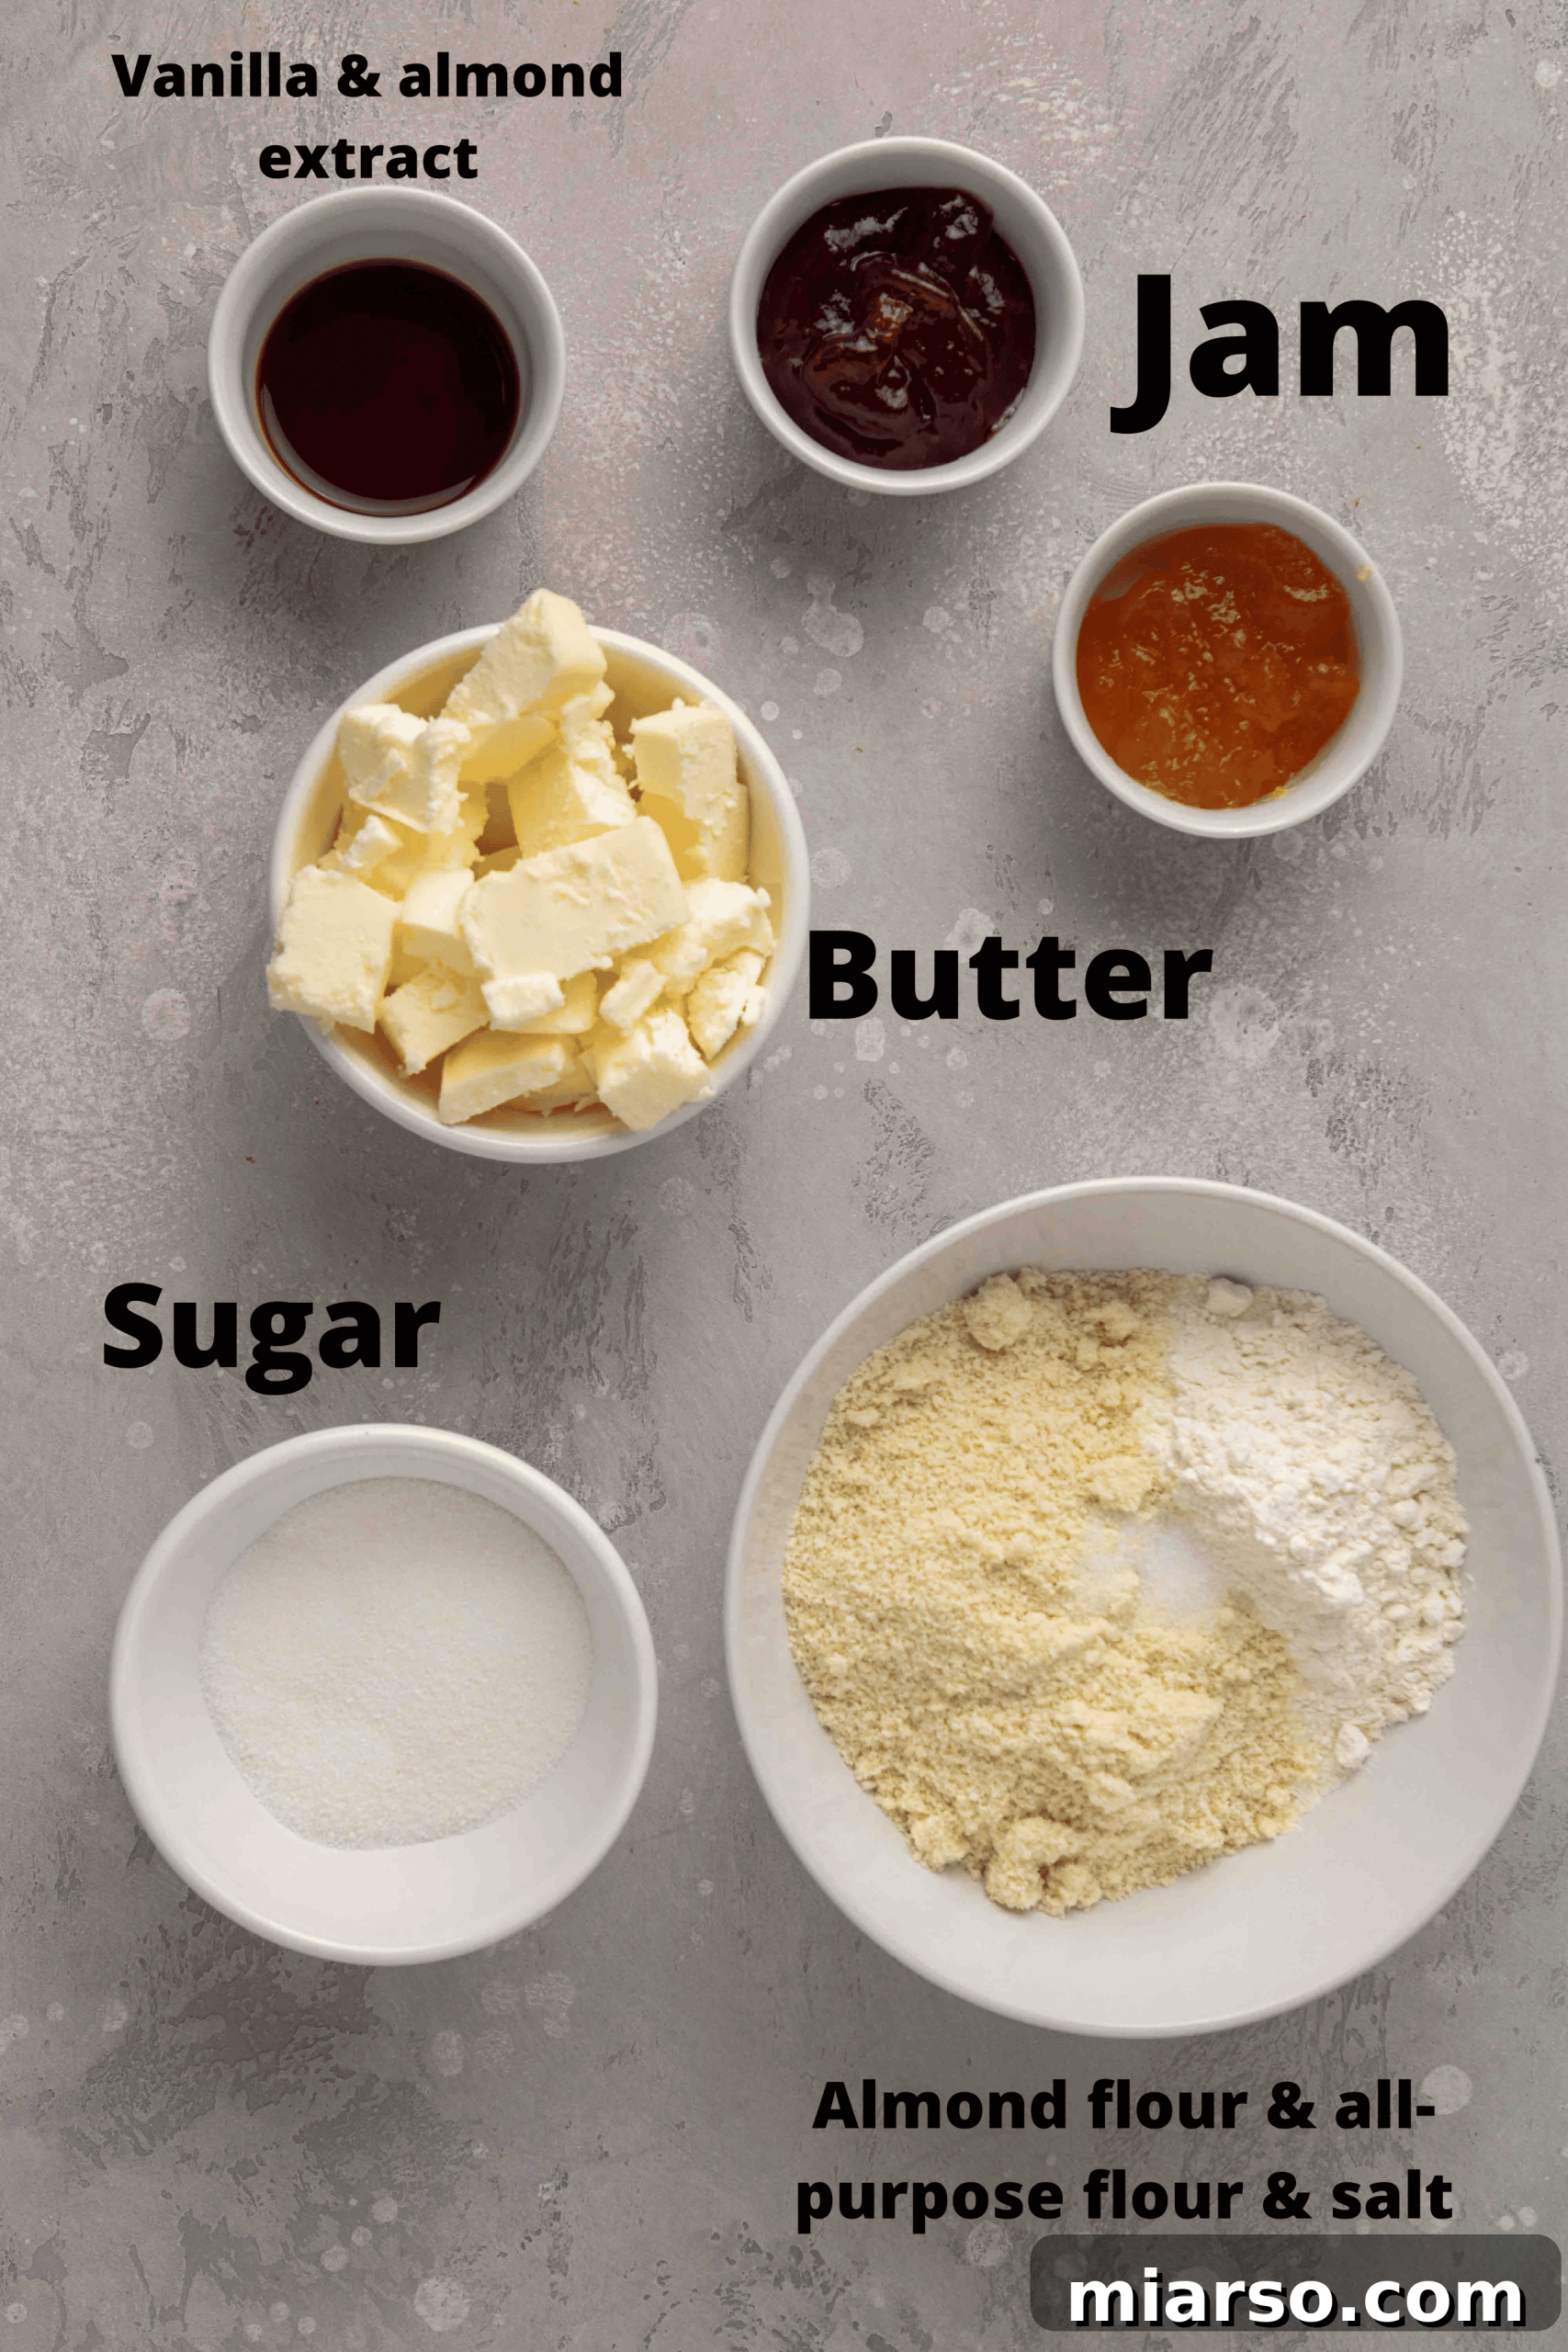
Creating these exquisite jam-filled thumbprint cookies requires a handful of common pantry staples, with a couple of key ingredients that truly make them shine. Below is a detailed look at what you’ll need and the role each plays in achieving cookie perfection. Remember to scroll down to the recipe card for the precise measurements.
- All-Purpose Flour: This forms the primary structure of our cookies. Using the proper measuring technique (scoop and level or a kitchen scale) is crucial to ensure a tender, not tough, cookie.
- Almond Flour: A secret weapon in this recipe! Blanched almond flour contributes significantly to the cookies’ incredibly soft texture and adds a delicate, nutty depth of flavor that complements the almond extract beautifully. It’s what gives these cookies their distinctive melt-in-your-mouth quality.
- Salt: A pinch of salt is vital in almost all baking. It acts as a flavor enhancer, balancing the sweetness of the sugar and jam, and bringing out the rich, buttery notes of the cookie dough.
- Butter: Use softened, unsalted butter for the best control over the salt content, though salted butter can be used by slightly reducing the added salt. Softened butter creams beautifully with sugar, incorporating air for a light and fluffy dough.
- Granulated Sugar: Our primary sweetener, granulated sugar provides the perfect level of sweetness and contributes to the cookie’s crisp edges and tender interior.
- Vanilla Extract: A classic flavor enhancer, vanilla extract adds warmth and complexity to the cookie dough, harmonizing wonderfully with the almond notes. Good quality vanilla makes a noticeable difference.
- Almond Extract: This is where the magic happens! Paired with almond flour, a generous dash of almond extract delivers that intense, aromatic almond flavor that sets these almond thumbprint cookies apart. It’s truly the ingredient that elevates them from “yum” to “absolutely incredible.”
- Jam: The star of the show! You can use any jam you adore. For vibrant visual contrast in our photos, we’ve showcased both classic strawberry and bright apricot jam. Raspberry jam is another popular choice, offering a delightful tartness. Opt for good quality jam for the best flavor payoff, as it’s a prominent component of the cookie.
It’s truly remarkable how a simple combination of just a few ingredients can yield such an outstanding result. With these key components, you’re well on your way to baking delicious homemade thumbprint cookies in no time!
Almond Extract Alternatives: What to Use If You Don’t Have It
While these cookies truly shine with the distinct flavor of almond extract, it’s understandable if you don’t always have it on hand. If you find yourself without almond extract, you can certainly use an equal amount of additional vanilla extract. This will still yield a delicious cookie, though it will lack the signature “double almond” punch that makes this recipe so special. For the absolute best results and that unique almond aroma, we highly recommend sourcing almond extract if possible.

Exploring Jam and Filling Options for Your Thumbprint Cookies
The beauty of thumbprint cookies lies in their versatility, especially when it comes to the filling. The possibilities truly are endless, extending far beyond traditional jams. You can get creative and fill these little wells with a variety of delicious treats to suit any preference or occasion. Why limit yourself?
Beyond Just Jam: Filling Ideas for Your Cookies:
- Classic Jam Flavors:
- Strawberry Jam: A timeless favorite, sweet and universally loved.
- Raspberry Jam: Offers a lovely tartness that cuts through the cookie’s sweetness.
- Apricot Jam: Bright, slightly tangy, and wonderfully aromatic.
- Blackberry Jam: Deep, rich, and full of berry flavor.
- Fig Jam: Sophisticated and sweet, with a unique texture.
- Lemon Curd: For a zesty, bright, and creamy contrast.
- Other Delicious Fillings:
- Nutella: A rich and decadent hazelnut chocolate spread.
- Dulce de Leche: A sweet, caramelized milk confection for a truly indulgent touch.
- Peanut Butter: For a classic peanut butter and jelly inspired cookie.
- Melted Chocolate: Dark, milk, or white chocolate can be drizzled or pooled into the centers after baking.
When selecting your jam, don’t underestimate the impact of quality. A good quality jam will elevate your cookies significantly. Some of my favorite brands known for their excellent fruit spreads include Bonne Maman, St. Dalfour, and Santa Cruz Organic Spread. Their rich fruit flavor and ideal consistency make for an outstanding cookie center.

More Delectable Recipes You’ll Love!
- Moist Honey Tea Cake Loaf Just Like Grandma’s
- The Best Soft Sugar Cookies
- Easy Gingerbread Cookies (No Spread)
- The Best Croissant French Toast Bake EVER!
Step-by-Step Guide: How to Make Perfect Jam Thumbprint Cookies
Crafting these homemade thumbprint cookies is a straightforward and rewarding process. Follow these detailed steps to ensure a flawless batch every time. Remember, the full recipe with precise measurements is available in the recipe card below.
- Prepare Your Workspace: Begin by preheating your oven to 350°F (175°C) and lining a large baking sheet with parchment paper. This ensures even baking and easy cleanup.
- Combine Dry Ingredients: In a medium bowl, whisk together the all-purpose flour, almond flour, and salt. Set this mixture aside. This step ensures that all dry ingredients are evenly distributed throughout the dough.
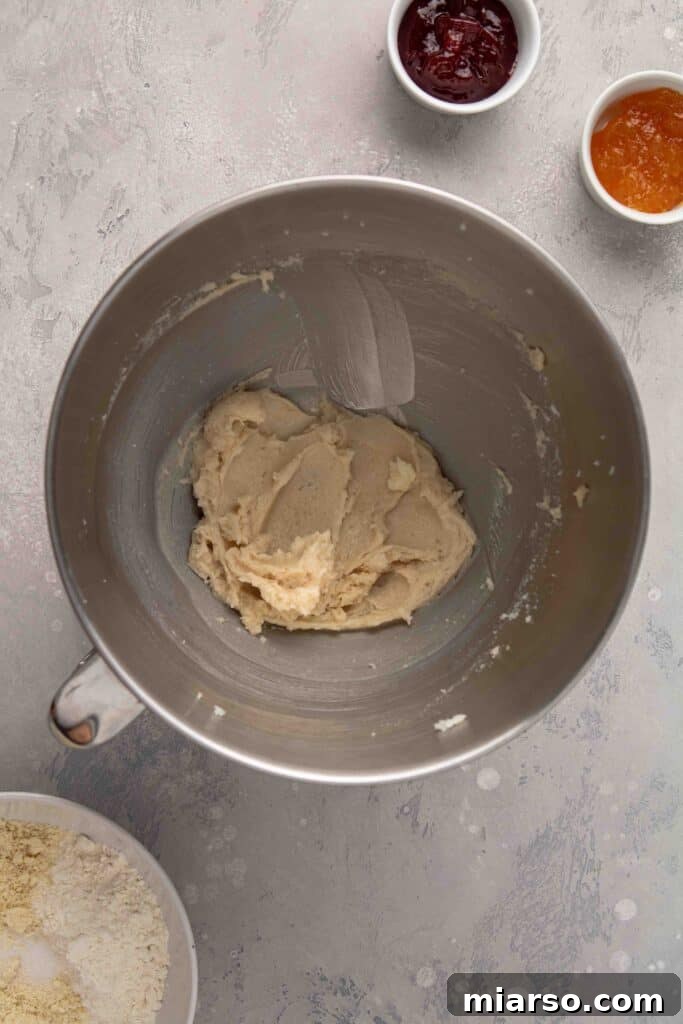
- Cream Wet Ingredients: In the bowl of a stand mixer fitted with the paddle attachment (or using a hand mixer), cream together the softened butter and granulated sugar until the mixture is light, fluffy, and pale in color. This process incorporates air, contributing to the cookie’s tender texture. Beat in the vanilla extract and almond extract just until they are fully incorporated.
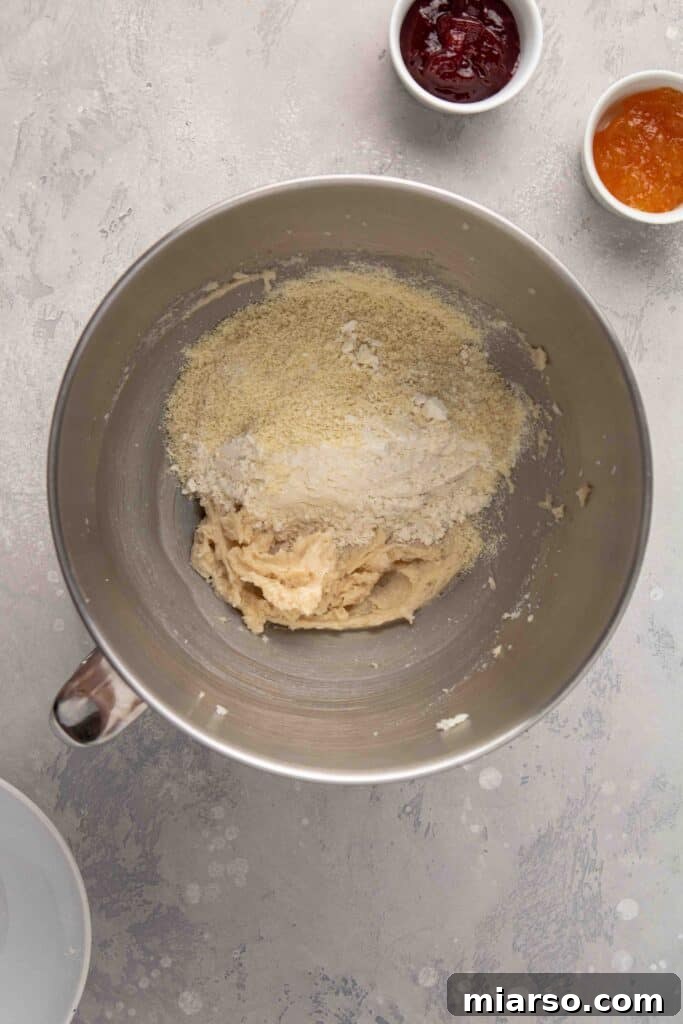
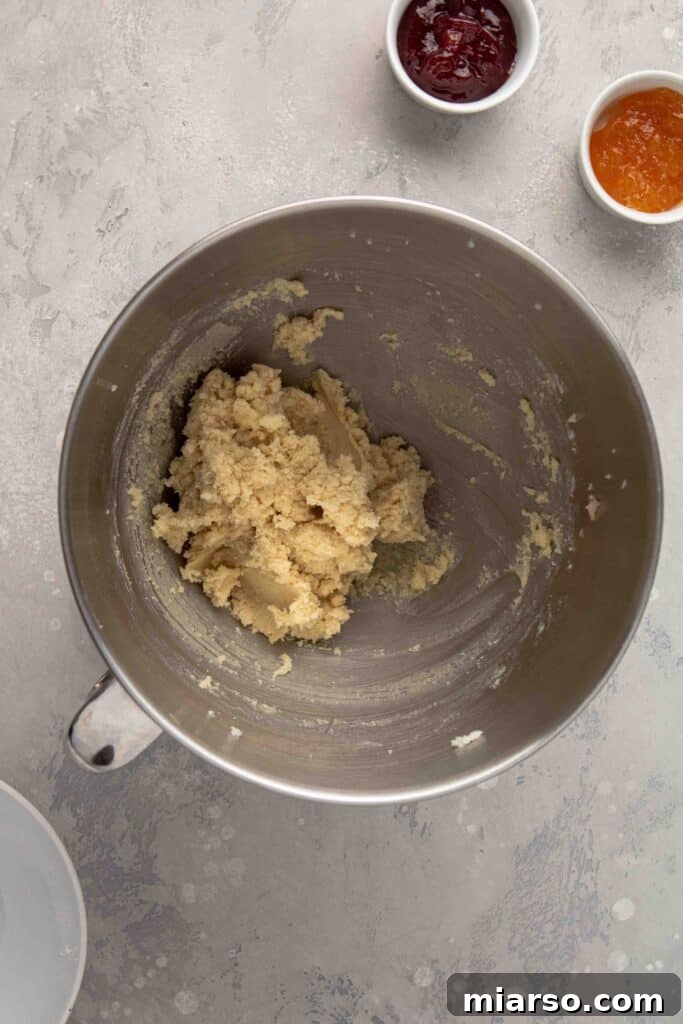
- Form the Dough: Gradually add the dry flour mixture to the wet ingredients, mixing on low speed until a cohesive cookie dough forms. Be careful not to overmix; stop as soon as the flour streaks disappear. The dough might seem slightly crumbly at first but will come together when pressed.
- Scoop and Indent: Using a measuring tablespoon or a small cookie scoop, portion out about 1 tablespoon of cookie dough for each cookie. Roll each portion into a smooth ball in the palm of your hands and place them evenly spaced on your prepared baking sheet. Once all the dough balls are on the sheet, use the back of a ½ teaspoon measuring spoon (or your thumb) to gently press an indentation into the center of each cookie. This creates the perfect well for your jam.
- Fill and Bake: Carefully fill each indentation with approximately ½ teaspoon of your chosen jam. Don’t overfill, or the jam might bubble over. Bake the cookies for 12-13 minutes, or until the edges are lightly golden and the jam is bubbly.
- Cool and Enjoy: Allow the cookies to cool on the baking sheet for 5-10 minutes before carefully transferring them to a wire rack to cool completely. This helps them set and prevents breakage. Then, enjoy your delicious creation!



When is the Best Time to Add the Jam?
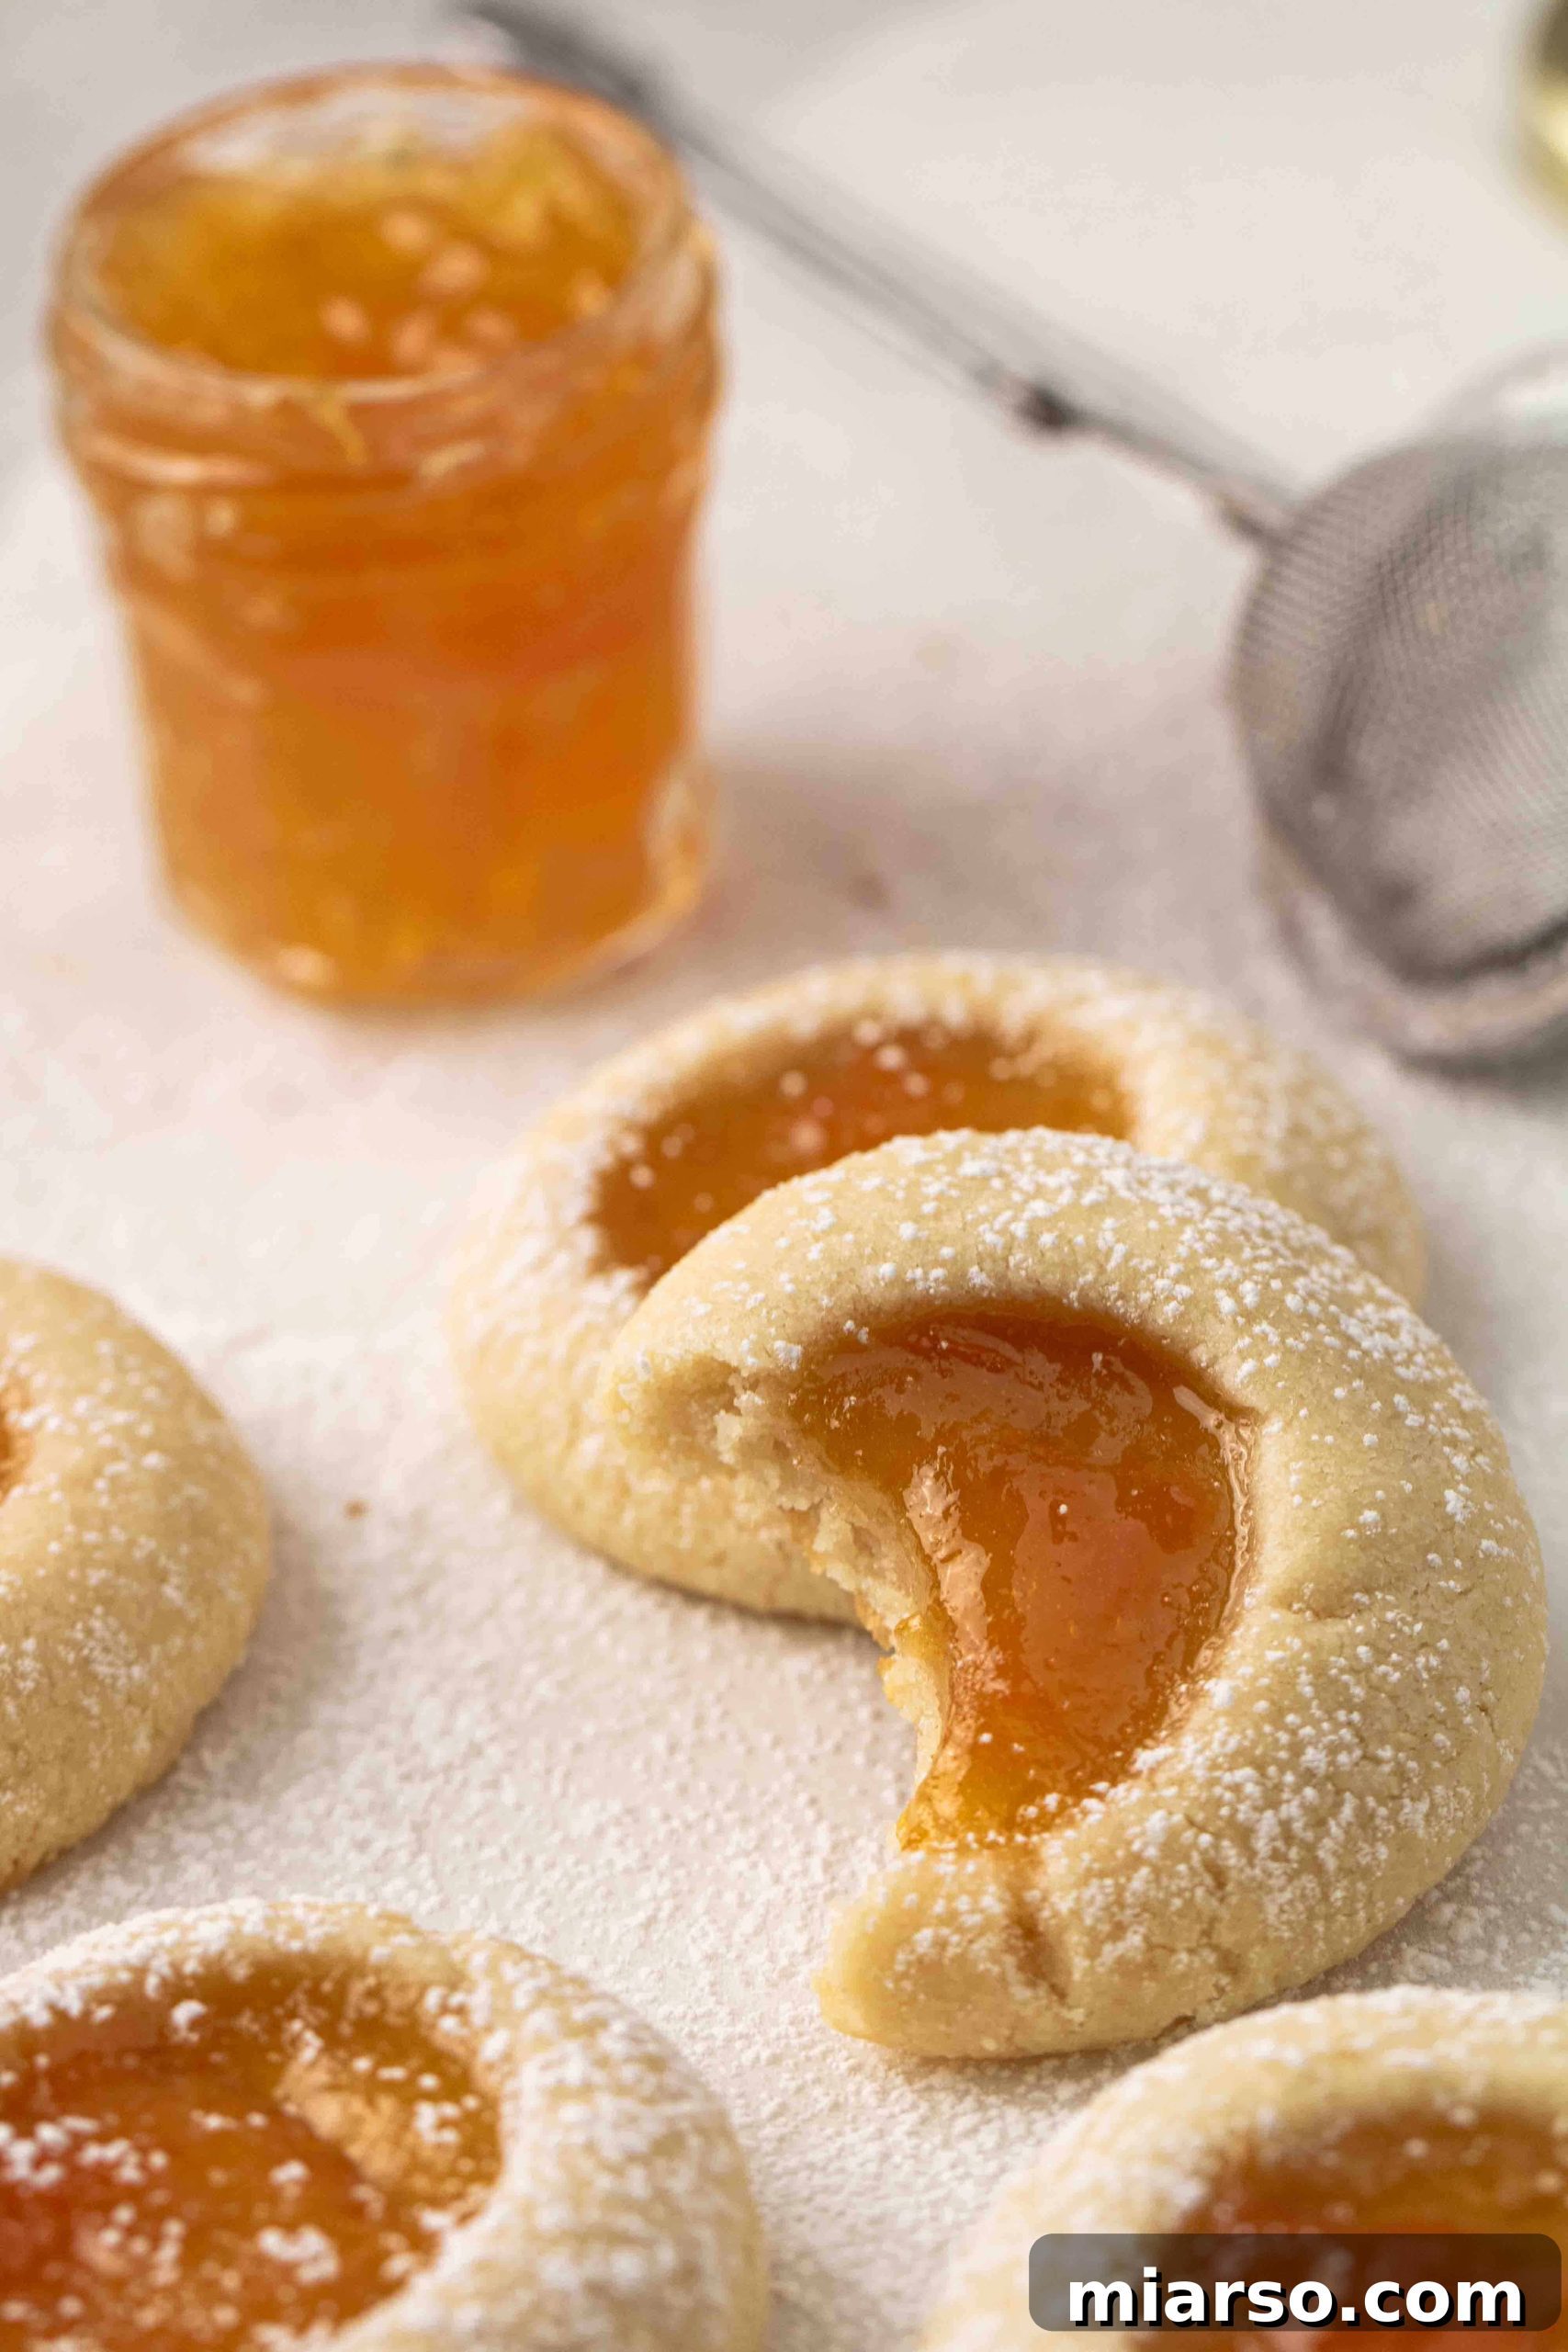
You might encounter various opinions on when to add the jam to thumbprint cookies – some recipes suggest adding it before baking, while others recommend after. For these almond thumbprint cookies, we firmly advocate for adding the jam *before* they go into the oven. Baking the jam directly into the cookies allows the flavors to meld and infuse, creating a more cohesive and delicious treat. The jam gently caramelizes, becoming slightly jammy and wonderfully flavorful, making each bite even better. Trust us, this method truly elevates the cookie experience.
Can I Make These Thumbprint Cookies Ahead of Time?
Absolutely! These easy thumbprint cookies are perfect for make-ahead preparation, which makes them ideal for busy holiday seasons or when you want fresh-baked cookies without all the fuss. There are a couple of ways to do this:
- Dough Preparation: You can prepare the cookie dough, roll it into balls, and even make the thumbprint indentations. Then, arrange them on a parchment-lined baking sheet and chill them in the refrigerator for up to 3 days, or freeze them for up to 3 months. If freezing, transfer the firm dough balls to an airtight freezer-safe bag or container once solid. When ready to bake, bring the dough balls to room temperature (if chilled) or bake directly from frozen, adding a few extra minutes to the baking time. Then, fill with jam and bake as instructed.
- Baked Cookies: Fully baked and cooled thumbprint cookies also store wonderfully. See the storage section below for details on how to keep them fresh.

Expert Tips for the Best Jam Thumbprint Cookies Ever
Achieving bakery-quality homemade jam cookies is simple with a few insider tips. Follow these recommendations to ensure your thumbprint cookies turn out perfectly soft, chewy, and full of flavor:
- Use Room Temperature Ingredients: Ensure your butter is properly softened (but not melted) and any other dairy ingredients are at room temperature. This allows them to cream together smoothly, creating a uniform dough that bakes evenly.
- Measure Flour Accurately: Flour is often over-measured, leading to dry, crumbly cookies. Use a kitchen scale for the most accurate results. If you don’t have one, use the “scoop and level” method: spoon flour into your measuring cup until it overflows, then level off the excess with a straight edge (like the back of a knife).
- Don’t Overmix the Dough: Once you add the dry ingredients to the wet, mix only until just combined. Overmixing develops gluten, which can lead to tough cookies.
- Chill the Dough (Optional, but Recommended): If your dough feels too soft or sticky, a brief chill in the refrigerator (30 minutes) can make it easier to handle, roll, and prevent excessive spreading during baking.
- Let Baking Sheets Cool Completely: If you’re baking multiple batches, make sure your baking sheet is cool before placing a new batch of cookie dough on it. Placing dough on a hot sheet will cause the butter to melt too quickly, leading to flat, overly spread cookies.
- Soften Stiff Jam: If your jam is too thick or stiff to easily spoon into the indentations, microwave it for a few seconds (10-15 seconds) until it’s slightly warmed and more pliable. Stir it well before filling the cookies.
- Invest in Quality Jam: The jam is a prominent flavor in these cookies, so using a good quality, flavorful fruit jam will truly make a difference in the final taste. Avoid overly watery jams that might seep into the cookie dough.
How to Store Your Perfect Thumbprint Cookies
Proper storage is key to enjoying your almond thumbprint cookies for as long as possible. Here’s how to keep them fresh:
- Room Temperature: Store baked and cooled thumbprint cookies in an airtight container at room temperature for up to 4 days. Layer them with parchment paper to prevent sticking.
- Refrigerator: For extended freshness, you can store them in an airtight container in the refrigerator for up to 7 days.
- Freezer: These cookies freeze beautifully! Once completely cooled, place them in a single layer on a baking sheet and freeze until solid. Then, transfer them to a freezer-safe airtight container or bag, layering with parchment paper if needed. They can be stored in the freezer for up to 3 months. To enjoy, thaw them overnight in the refrigerator, or for a quicker option, let them sit at room temperature for an hour or two.
Classic Jam Thumbprint Cookies Recipe
If you’ve tried and adored these delightful jammy thumbprint cookies, please consider leaving a 5-star rating by clicking on the stars below the description. Your feedback helps others discover and enjoy this recipe too!

Jam Thumbprint Cookies
10
12
22
15 cookies
Equipment
Ingredients
- ¾ cup all-purpose flour (use scoop and level method or a kitchen scale)
- ¾ cup blanched almond flour (use scoop and level method or a kitchen scale)
- ½ tsp salt
- ½ cup unsalted butter (softened to room temperature)
- ¼ cup + 1 tbsp granulated sugar
- ½ tsp vanilla extract
- ¼ tsp almond extract
- ½ cup jam (strawberry, raspberry, apricot, or your favorite)
Instructions
-
First, preheat your oven to 350°F (175°C). Line a large baking sheet with parchment paper and set it aside.
-
In a large bowl, whisk together the all-purpose flour, almond flour, and salt. Set this dry mixture aside.
-
In the bowl of a stand mixer (or using a hand mixer), cream the softened butter and granulated sugar together until the mixture is light, fluffy, and pale in color, about 2-3 minutes. Add the vanilla extract and almond extract and mix briefly until just incorporated.
-
Gradually add the flour mixture to the wet ingredients, mixing on low speed with the paddle attachment until a cohesive cookie dough forms. This usually takes about 60 seconds; avoid overmixing.
-
Using a measuring tablespoon, scoop out 1 tablespoon of cookie dough. Roll it into a smooth ball between the palms of your hands and place it on the prepared baking sheet. Repeat for the remaining dough. Next, use the back of a ½ teaspoon measuring spoon (or your thumb) to gently press an indentation into the center of each cookie dough ball, creating a small well.
-
Carefully fill each well with about ½ teaspoon of your preferred jam. Bake for 12-13 minutes, or until the edges of the cookies are lightly golden. Let the cookies cool on the baking sheet for 5-10 minutes before transferring them to a wire rack to cool completely.
Notes
How to Store These Cookies?
You can store these cookies in an airtight container at room temperature for up to 4 days, or in the fridge for up to 7 days. For longer storage, freeze the cookies for up to 2 months. Make sure to thaw them in the fridge overnight before serving!
Help, My Cookie Dough is Too Crumbly!
Your cookie dough might appear slightly crumbly, but when you touch it, it should feel soft and come together easily into a ball. If it doesn’t, it likely means you’ve used a bit too much flour or almond flour. For best results, always measure these dry ingredients using a kitchen scale or the scoop and level method.
Nutrition
Nutrition information is automatically calculated and should be used as an approximation.
Thank you for exploring this wonderful thumbprint cookie recipe with us! We hope you enjoy baking and sharing these delightful treats as much as we do. If you have any comments, questions, or just want to share your baking successes, we’d love to hear from you. Don’t forget to follow us on Instagram for more delicious recipes and baking inspiration!

Pin This Recipe for Later!
If you loved making these soft and chewy almond thumbprint cookies with jam, be sure to save this recipe! Pin these beautiful images to your favorite Pinterest boards so you can easily find it whenever a cookie craving strikes.