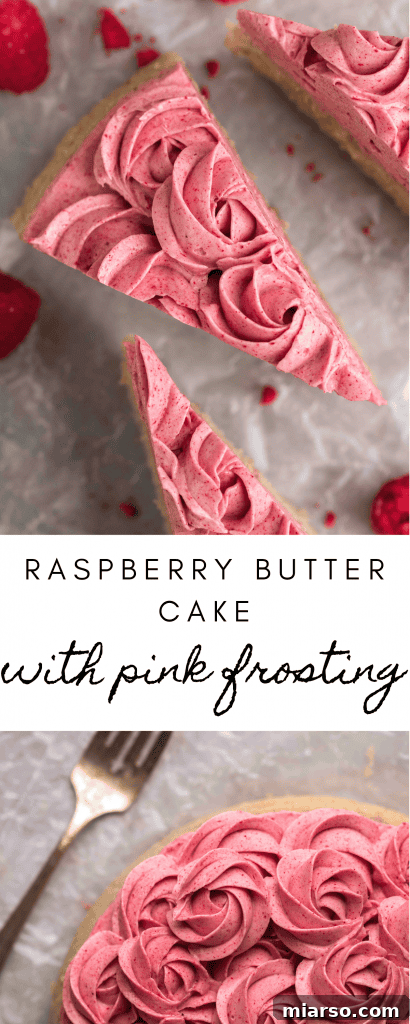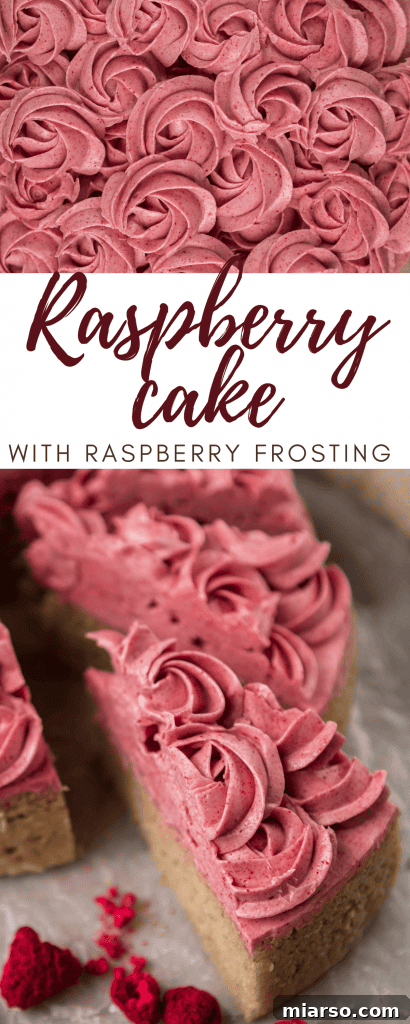
The Ultimate Raspberry Cake with Velvety Raspberry Buttercream
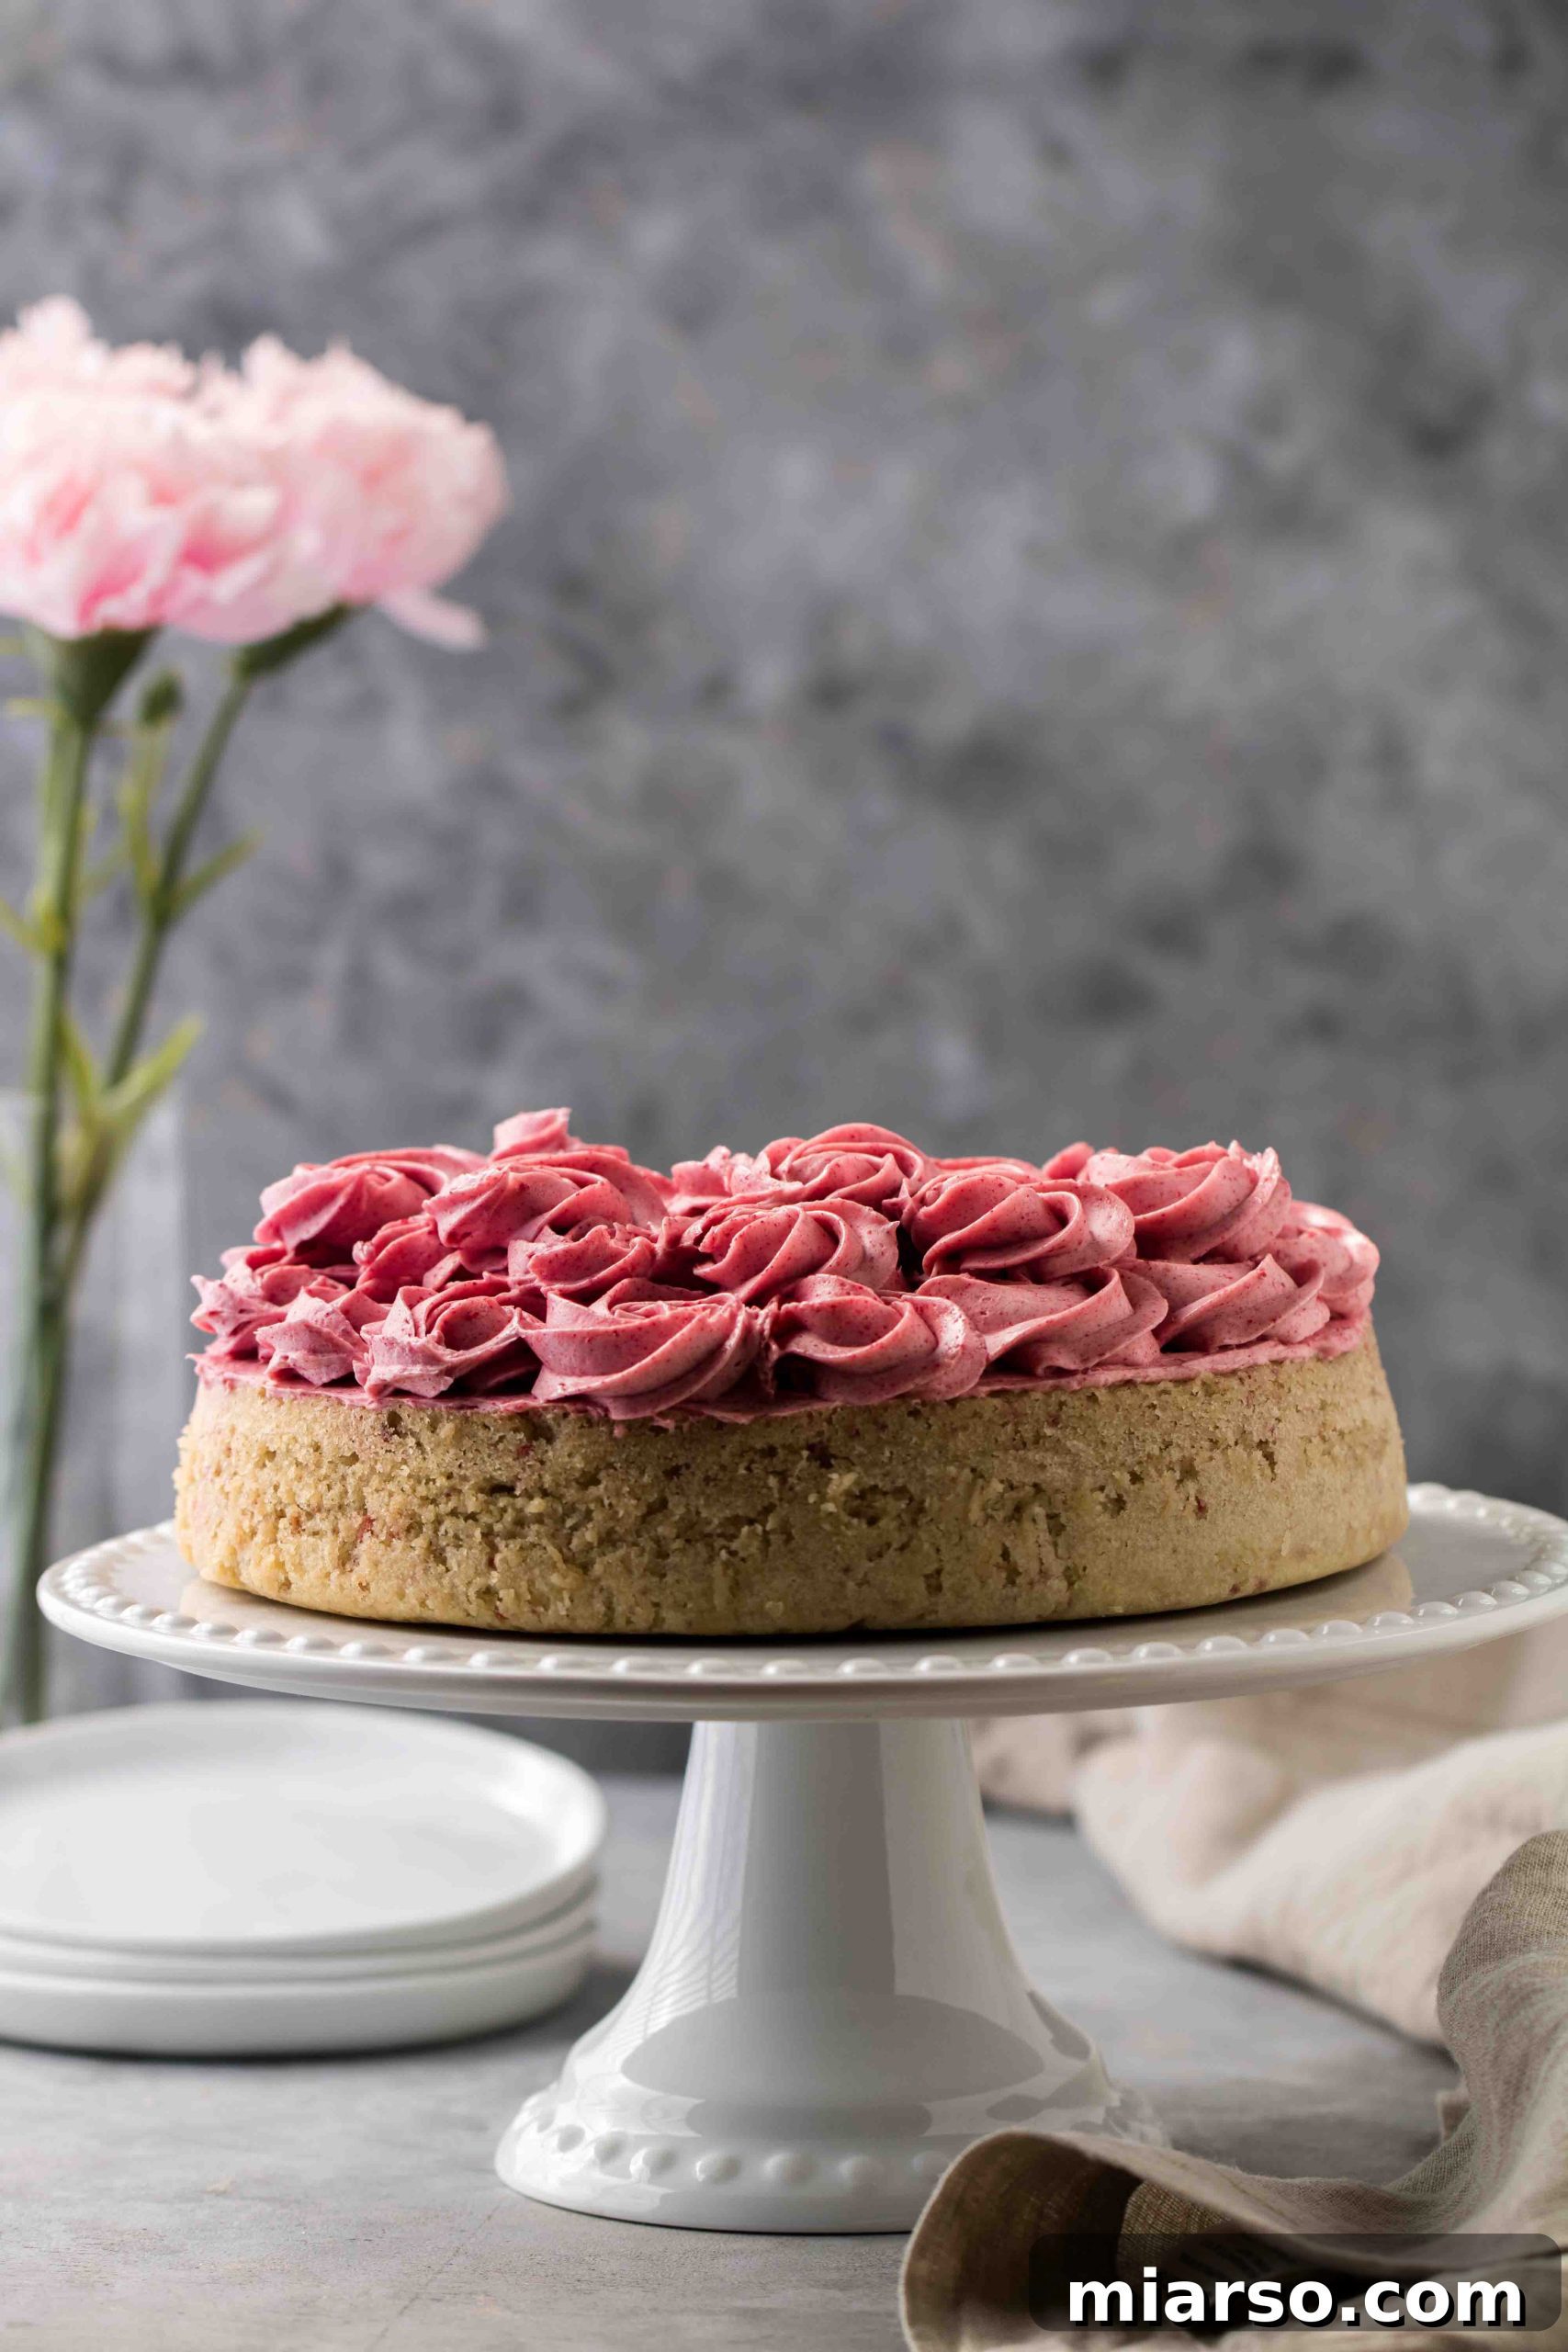
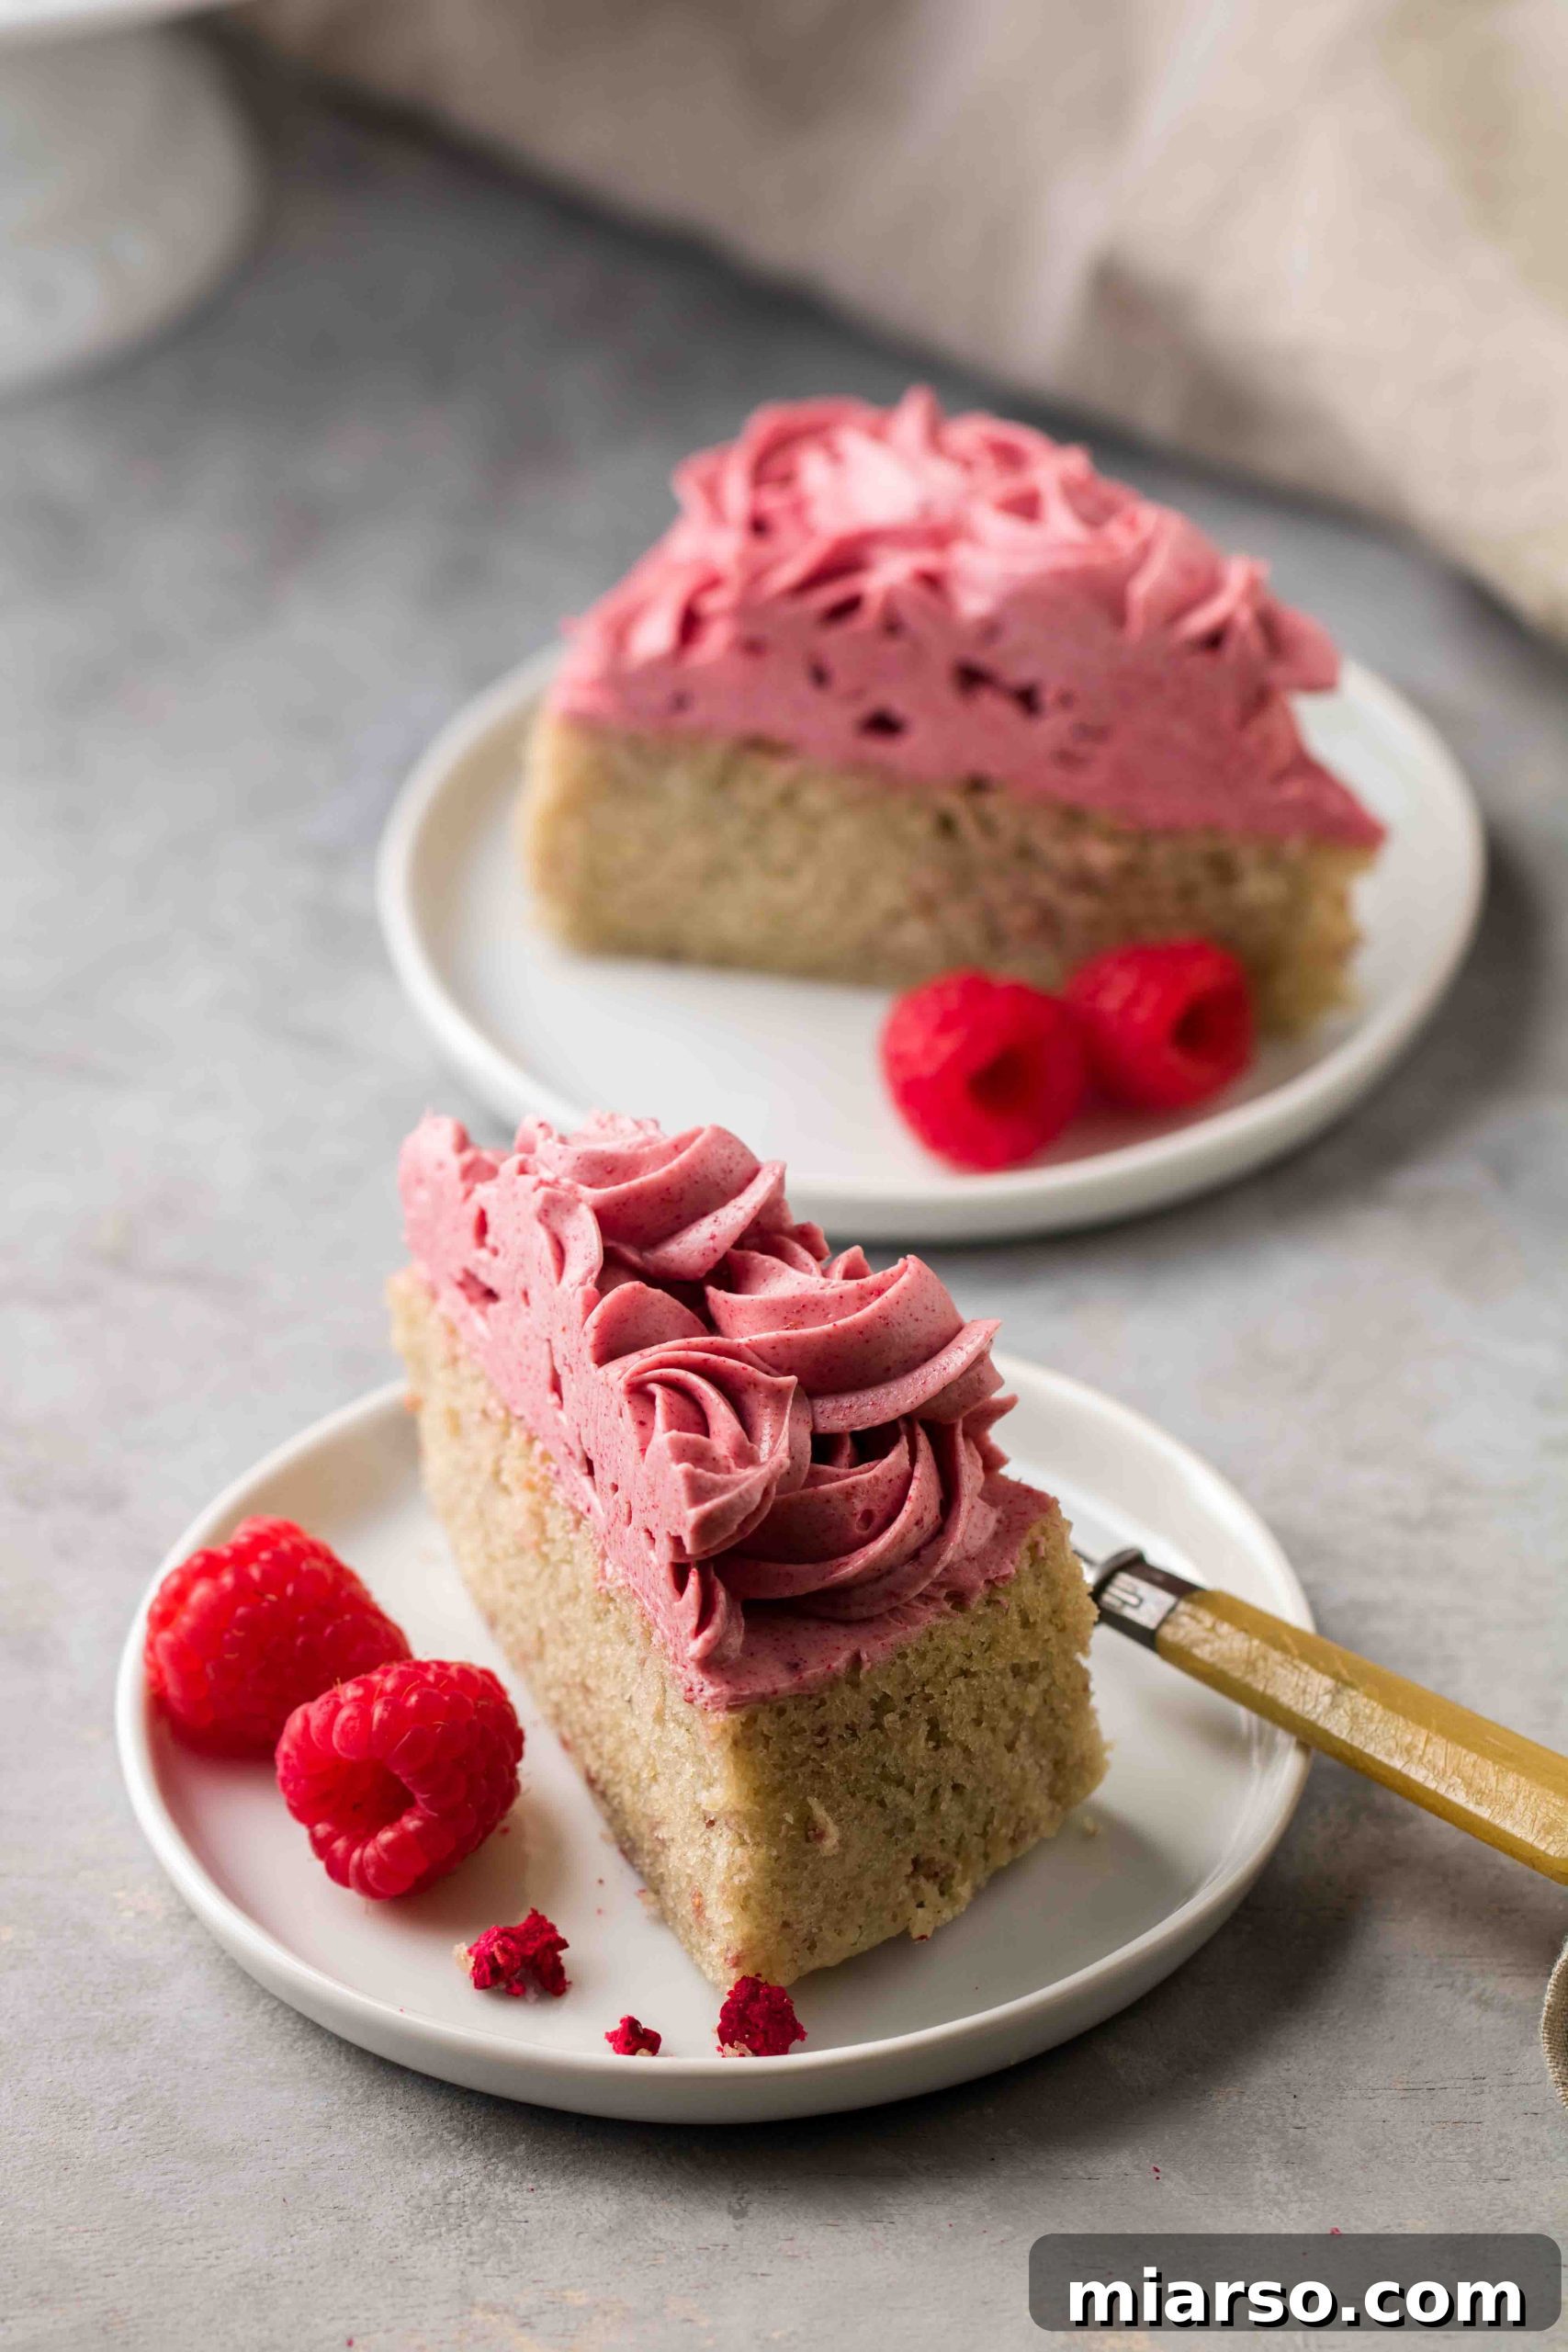
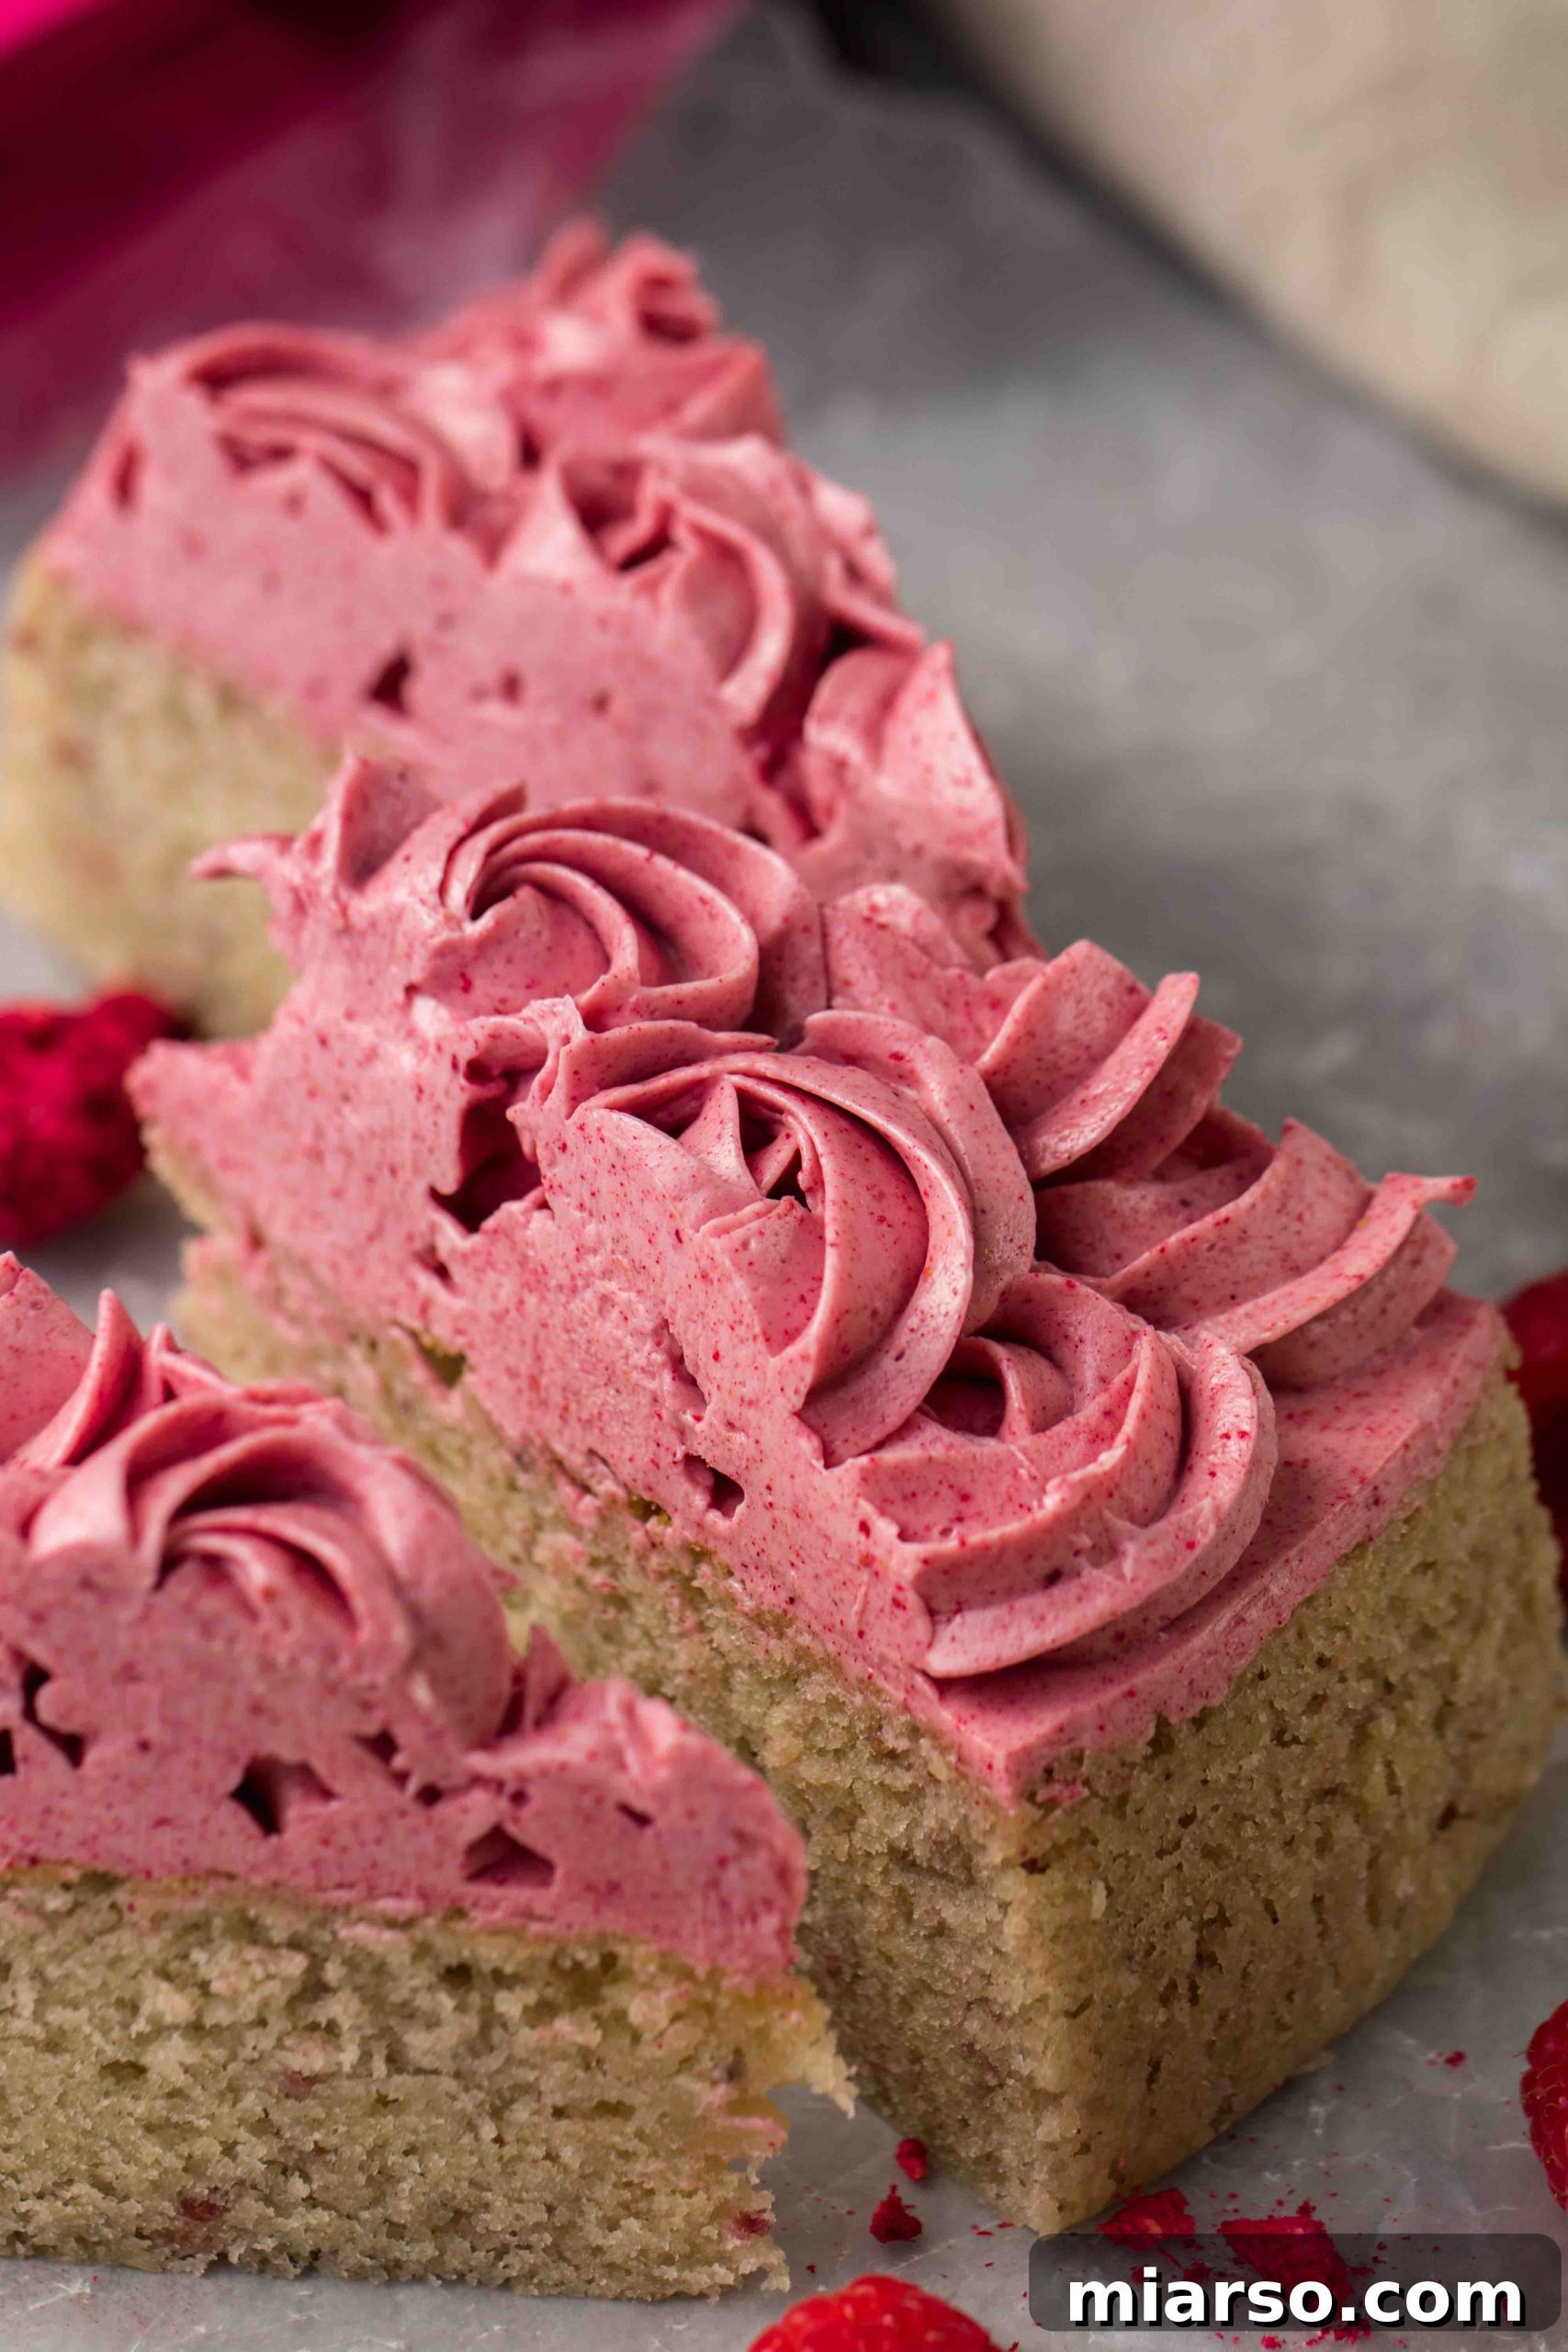
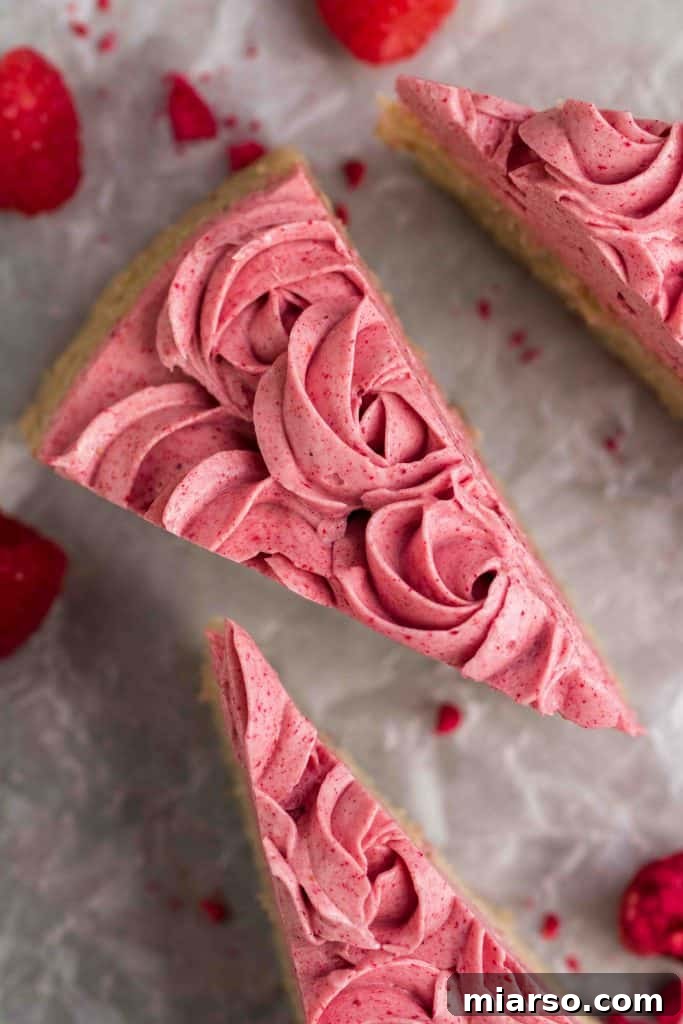
Indulge in a truly unforgettable dessert experience with this exquisite raspberry cake, perfectly complemented by a luscious, lightly sweetened pink raspberry buttercream. This isn’t just any cake; it’s a culinary masterpiece that will leave a lasting impression on everyone who tries it. Imagine a soft, moist, and buttery cake infused with vibrant raspberry flavor, crowned with a dreamy frosting that captures the essence of fresh raspberries without a hint of cloying sweetness. This single-layer cake is a showstopper, consistently requested by friends and family for its irresistible taste and stunning presentation. Whether you’re celebrating a special occasion or simply want to treat yourself to a joyful baking project, this recipe promises pure delight.
Are you a true cake connoisseur? For many years, I considered myself merely a “cake liker” rather than a “cake lover.” I admired the beautiful cakes I saw online and in cookbooks, their elaborate designs and enticing flavors promising an unparalleled experience. Yet, when I finally took a bite, something often felt missing. The balance of sweetness, the texture of the frosting, or simply the overall taste rarely lived up to the visual splendor. It wasn’t until I embarked on my own baking journey that I discovered the profound difference homemade cakes make. There’s an undeniable magic in creating a cake from scratch – a depth of flavor and a freshness that store-bought options simply cannot replicate. This realization transformed my appreciation for cake, turning me into an enthusiastic devotee.
Discover the Secret to the Best Raspberry Cake with Pink Raspberry Frosting
My baking philosophy shifted dramatically once I began understanding the science behind ratios and the delicate art of balancing sweetness and richness. Experimenting with butter content, sugar levels, and various flavor profiles became a passion. This particular quest led me to one of my all-time favorite berries: raspberries. Growing up in Algeria, fresh raspberries were a luxury I rarely encountered. Strawberries were common, but blueberries, blackberries, and especially raspberries, were almost mythical fruits reserved for special visits to my aunt in France. To me, raspberries were the “golden berry,” a symbol of exotic sweetness and culinary possibility.
Upon arriving in a place where raspberries were readily available, I seized every opportunity to buy them, eager to transform them into elaborate desserts. This journey of discovery confirmed what I had long suspected: I had been missing out on a world of flavor! Now, I pour that passion into every recipe, and I’m thrilled to share this exceptional raspberry cake recipe with you. I trust you’ll enjoy baking and savoring it as much as my family and I do. The process of creating that vibrant pink raspberry buttercream using freeze-dried raspberries was particularly enjoyable, and I’m confident you’ll find immense satisfaction in crafting it too.
Why This Raspberry Cake Stands Out From The Rest
Having evolved from a mere cake appreciator to a genuine cake lover, I can now articulate precisely why this raspberry cake recipe will become your new favorite:
- Unparalleled Moisture and Tenderness: This cake boasts an incredibly moist, buttery crumb that truly melts in your mouth. Each bite is a testament to perfect baking, leaving you craving more.
- Double the Raspberry Delight: We incorporate fresh raspberries directly into the cake batter AND into the buttercream frosting. This dual infusion guarantees an intense, authentic raspberry flavor that permeates every layer, delivering a delightful burst of fruitiness.
- A Visual and Flavorful Treat: The charming pink hue of this raspberry cake makes it an ideal choice for birthdays, especially for little girls, or any occasion where a touch of sweetness and vibrant color is desired. Who can resist beautifully colored food?
- Effortless Elegance: Despite its impressive appearance, this is an easy-to-follow recipe, making it accessible for bakers of all skill levels. You’ll be amazed at the sophisticated results you can achieve with minimal fuss.
- Guaranteed Crowd-Pleaser: Prepare for an avalanche of compliments! When I first shared this cake, the reactions were overwhelmingly positive. People become absolutely obsessed with its flavor and ask for the recipe constantly. Bake this, and you’ll undoubtedly impress everyone around you!
Essential Ingredients for Your Raspberry Cake
Gathering the right ingredients is the first step toward baking perfection. Here’s what you’ll need to create this delightful raspberry butter cake:
- Butter: For the cake, either salted or unsalted butter works beautifully. Ensure it’s at room temperature for optimal creaming.
- Granulated Sugar: Standard white sugar provides the perfect sweetness and contributes to the cake’s tender texture.
- Eggs: You’ll need three medium-sized eggs, also at room temperature. This helps them emulsify properly with the butter and sugar, creating a smoother batter.
- Vanilla Extract: A touch of vanilla enhances all the other flavors, adding a warm, aromatic depth to the cake.
- All-Purpose Flour: The foundation of our cake, providing structure and stability. Sifting it ensures a light, airy crumb.
- Baking Powder: This leavening agent is crucial for achieving the cake’s desirable rise and fluffy texture.
- Salt: A pinch of salt balances the sweetness of the dessert, highlighting the raspberry flavor and preventing it from being overly sugary.
- Raspberry Powder: This is the secret to a concentrated raspberry punch! You can either purchase high-quality raspberry powder or easily make your own from freeze-dried raspberries (instructions below).
For the renowned raspberry “no powdered sugar” frosting, you will need:
- Butter: For the frosting, use softened, unsalted butter. Its creamy texture is key to a smooth, pipeable frosting.
- Sweetened Condensed Milk: This unique ingredient replaces traditional powdered sugar, providing a silky sweetness. It must be extra cold to ensure the frosting holds its shape beautifully and achieves that desirable thick consistency.
- Raspberry Powder: Again, this star ingredient is vital for imparting the stunning pink color and intense natural raspberry flavor to our signature frosting.
Crafting Your Own Raspberry Powder: A Step-by-Step Guide
Making your own raspberry powder is simpler than you might think and ensures the freshest flavor for your cake and frosting. To begin, gather your freeze-dried raspberries. These berries are already devoid of moisture, making them perfect for grinding into a fine powder. Transfer them to a coffee grinder or a high-speed blender. Pulse until they are reduced to a fine, powdery consistency. The goal is to achieve a texture similar to confectioners’ sugar.
For an exceptionally smooth cake and frosting, I highly recommend going the extra mile to sift the powdered raspberries. This crucial step removes any tiny seeds that might otherwise create a slightly grainy texture in your delicate buttercream or cake batter. Simply pass the ground powder through a fine-mesh sieve. Discard any remaining seeds. If you prefer to save time or don’t have the necessary equipment, store-bought raspberry powder is a perfectly acceptable alternative. This method isn’t just for raspberries; you can apply it to other freeze-dried fruits to create a variety of natural fruit powders for baking, adding vibrant flavors and colors to frostings, glazes, or even cookie dough!
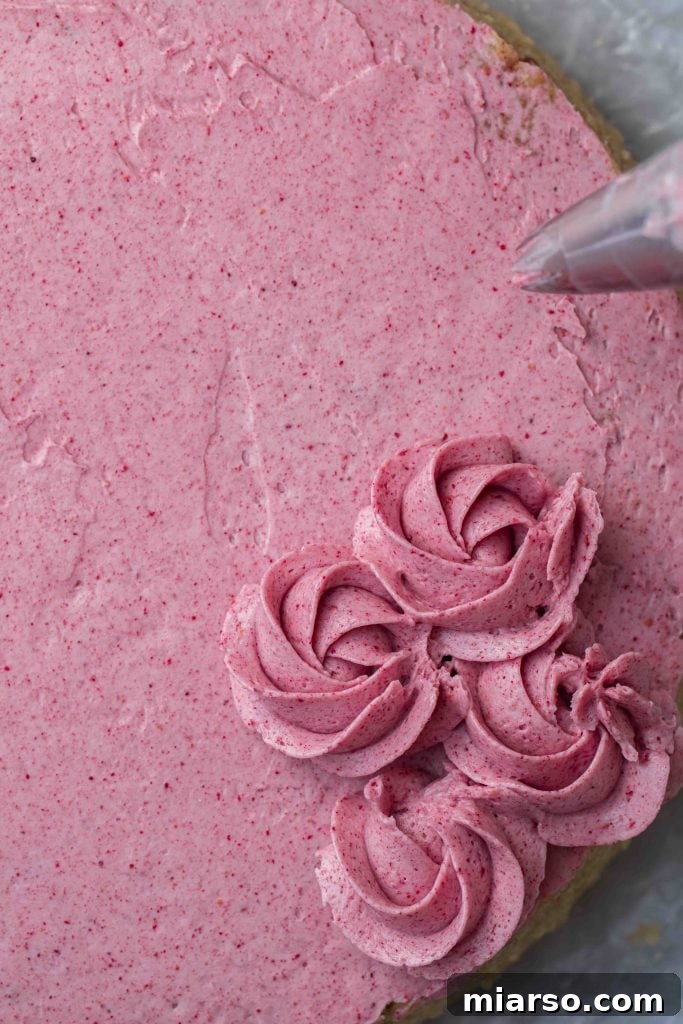
Mastering Buttercream Rosettes for a Beautiful Finish
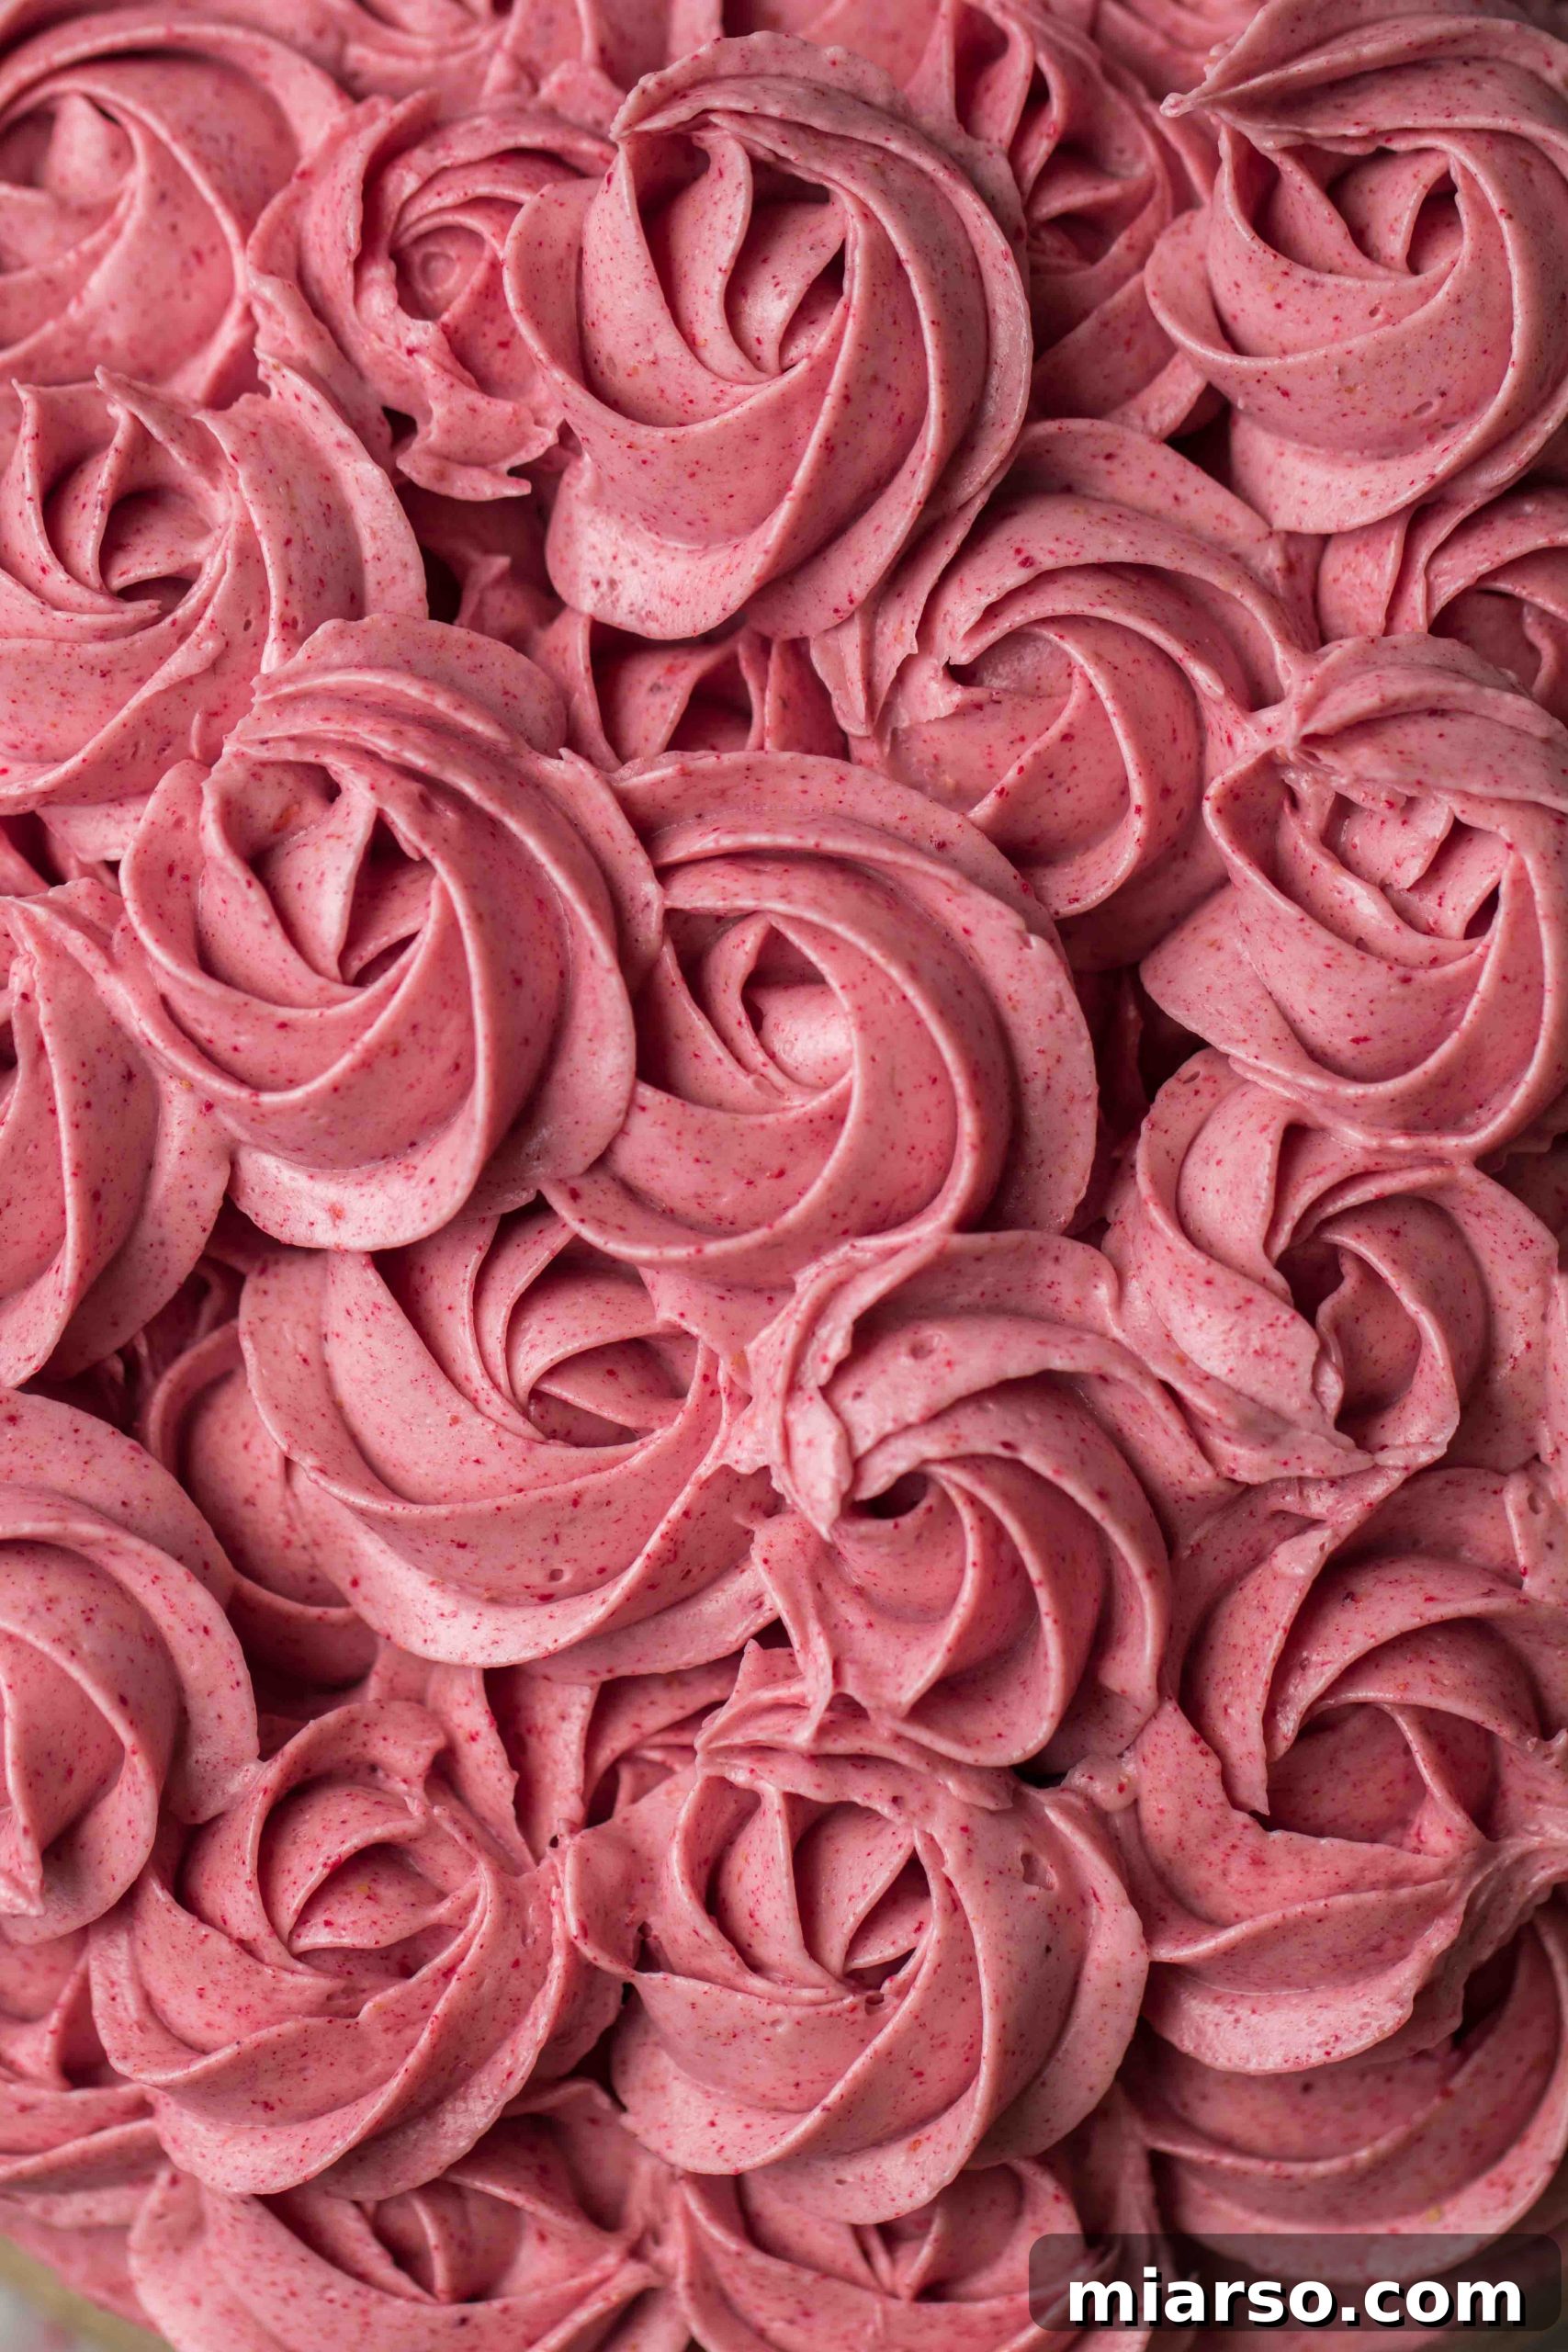
Decorating your cake with elegant buttercream rosettes might seem daunting, but with a little practice, you’ll be piping like a professional. Here’s how to create those beautiful, swirling frosting designs:
- First, prepare your piping bag. Fit it with a 1M Wilton star tip – this is a classic choice for beautiful rosettes. Then, carefully fill the piping bag with your prepared raspberry buttercream, twisting the top to seal the frosting.
- Hold the piping bag vertically, with the tip positioned just slightly above the surface of your lightly frosted cake. Apply gentle but steady pressure, squeezing the bag to form a small star shape as the frosting touches the cake. This will be the center of your rosette.
- Without releasing the pressure, begin moving the piping bag in a circular motion, swirling outwards from the center star. Continue to go around, maintaining consistent pressure, until you return to your starting point, forming a complete spiral.
- As you approach the point where you want to close your rosette, gradually release the pressure on the piping bag. Stop squeezing entirely just before the rosette connects, then swiftly pull the tip away, leaving a clean, delicate finish. Repeat this process across your cake for a stunning, elegant design.
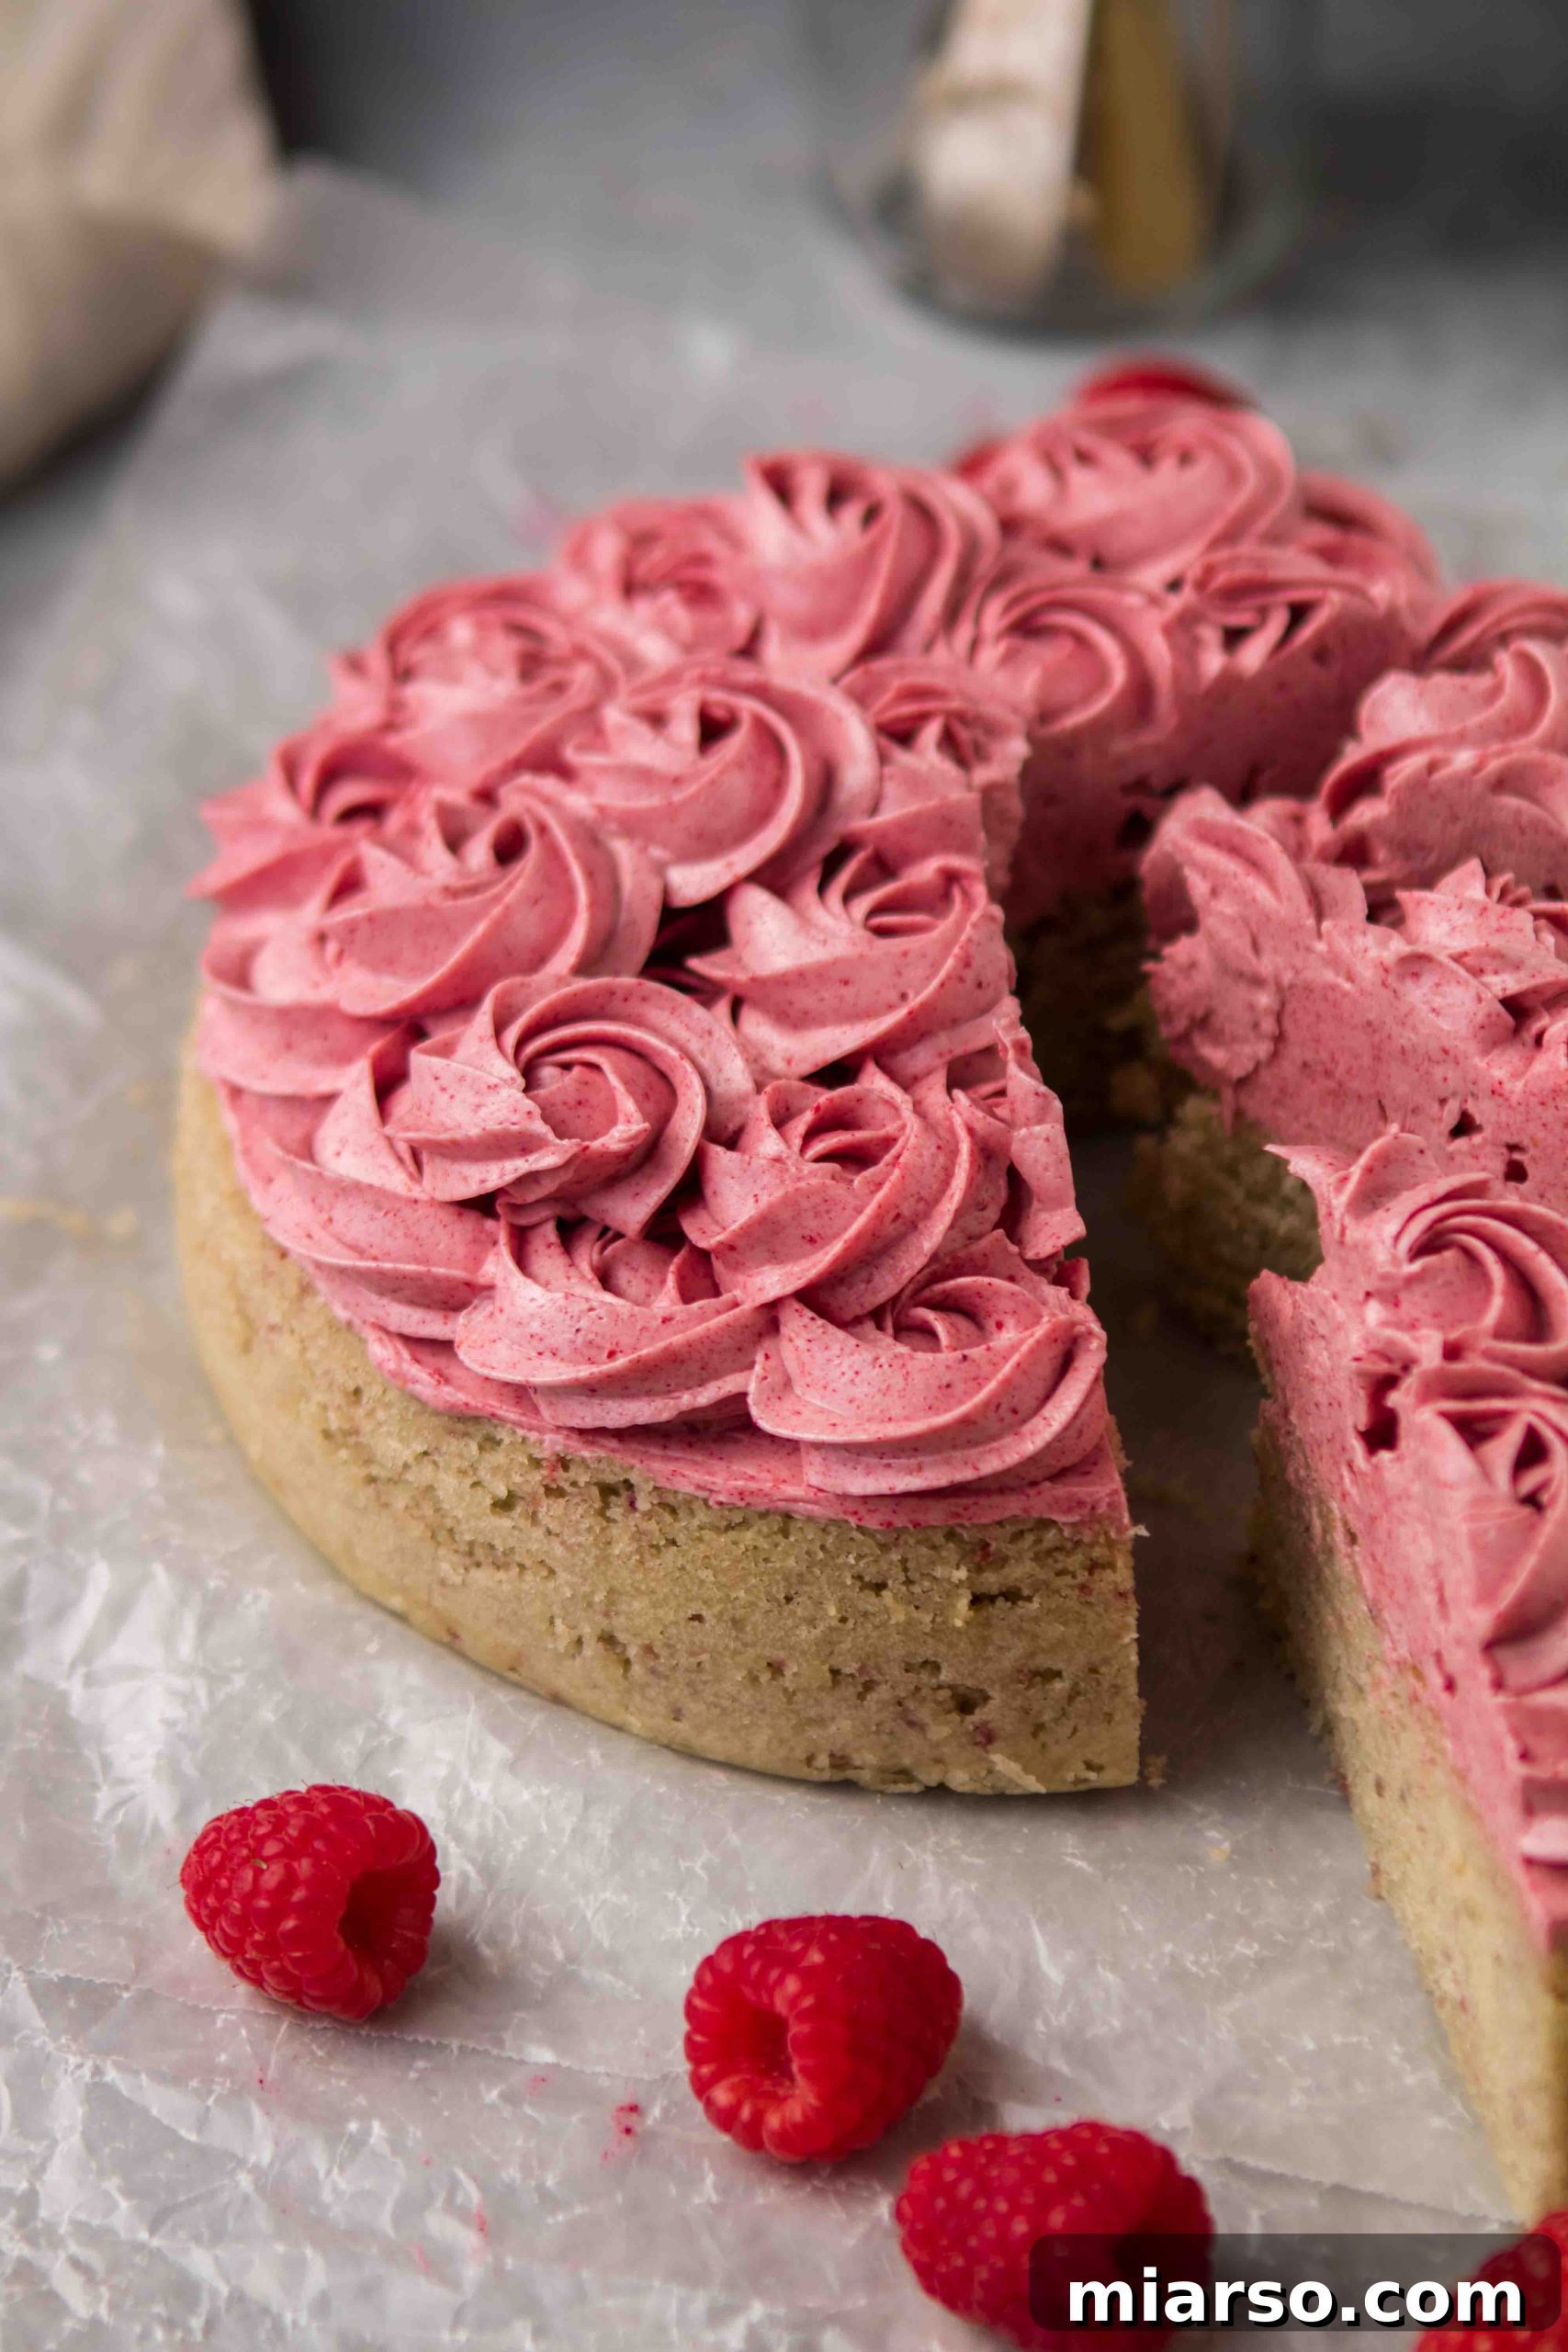
Baking the Perfect Raspberry Butter Cake: A Detailed Guide
Creating this wonderfully moist and flavorful raspberry butter cake involves a few key steps that ensure a flawless result every time. Follow these instructions carefully:
- Prepare Your Pan: Begin by preheating your oven to 350°F (175°C). Take an 8-inch circular cake pan. Generously butter the entire inside surface, then lightly dust it with flour, tapping out any excess. This creates a non-stick barrier. For extra insurance, you can also line the bottom with a circle of parchment paper. Set the prepared pan aside.
- Cream Butter and Sugar: In the bowl of a stand mixer fitted with the paddle attachment, combine the softened butter and granulated sugar. Cream them together on medium-high speed for 5-10 minutes. This is a crucial step for a light cake; the mixture should become pale in color and visibly fluffy, incorporating air that contributes to the cake’s tender crumb.
- Add Eggs and Vanilla: Reduce the mixer speed to medium-low. Add the eggs one at a time, beating well after each addition until fully incorporated. This allows each egg to blend seamlessly into the butter mixture, preventing curdling. Finally, stir in the vanilla extract, mixing until just combined.
- Incorporate Dry Ingredients: In a separate medium bowl, whisk together the all-purpose flour, baking powder, salt, and raspberry powder. Gradually add these dry ingredients to the wet mixture in the stand mixer, mixing on low speed. Mix only until the flour streaks have just disappeared. Be careful not to overmix, as this can develop the gluten too much, leading to a tough cake.
- Bake the Cake: Pour the smooth cake batter evenly into your prepared cake pan. Gently tap the pan on the counter a couple of times to release any air bubbles. Bake in the preheated oven for 30-35 minutes, or until a wooden skewer or toothpick inserted into the center of the cake comes out clean, indicating it’s fully baked.
- Cool Completely: Once baked, remove the cake from the oven and let it cool in the pan for about 10-15 minutes. This allows the cake to set and prevents it from breaking. Then, carefully run a sharp knife around the edges of the pan to loosen the cake, invert it onto a wire rack, and let it cool completely to room temperature before frosting. A warm cake will melt your beautiful buttercream!
Understanding Raspberry Powder Measurements: Key for Flavor and Color
Achieving the perfect flavor and vibrant color in your raspberry cake and buttercream heavily relies on accurate raspberry powder measurements. It’s important to note that the weights listed in this recipe for raspberry powder refer to the quantity *after* sifting to remove seeds. This process ensures a consistent flavor strength and a smooth texture in your finished dessert.
If you’re making your own raspberry powder from whole freeze-dried raspberries and measuring before sifting, you will need approximately three times the amount of whole berries to yield the same quantity of sifted powder. For example, to get 30 grams of sifted raspberry powder, you would need about 85-90 grams of unsifted, whole freeze-dried raspberries. Always sift your ground raspberries for the best results, unless you specifically prefer a slightly textured frosting with tiny seed remnants.
Crafting the Irresistible Pink Raspberry Buttercream
This “no powdered sugar” frosting is truly a revelation – light, creamy, and bursting with raspberry flavor. Here’s how to make it:
- Whip the Butter: In the bowl of a stand mixer fitted with a whisk attachment, add the softened, unsalted butter. Beat on medium-high speed for 3-4 minutes. Continue whipping until the butter transforms into a pale, almost white color, and becomes incredibly fluffy and aerated. This step is crucial for achieving a light, ethereal buttercream.
- Add Cold Condensed Milk: Reduce the mixer speed to medium. While the mixer is running, slowly and steadily drizzle in the extra-cold sweetened condensed milk in a thin stream. The cold temperature of the milk helps the frosting emulsify and thicken properly. Adding it too quickly can sometimes cause the mixture to curdle or split, so patience is key here. Continue mixing until the condensed milk is fully incorporated and the frosting starts to thicken.
- Infuse with Raspberry Flavor: Now, add the raspberry powder to the mixture. Increase the mixer speed to medium-high and whip for another 1-2 minutes. The frosting will become smooth, glossy, and beautifully creamy, taking on a delightful pink hue and rich raspberry aroma.
- Use Immediately or Store: For best results, use the frosting immediately after preparing it. If you need to prepare it in advance, cover the bowl tightly with plastic wrap and store it in the refrigerator for up to 3 days. Before using, simply rewhip the cold frosting for about 1 minute on medium speed. This will bring it back to a glossy, pipeable consistency.
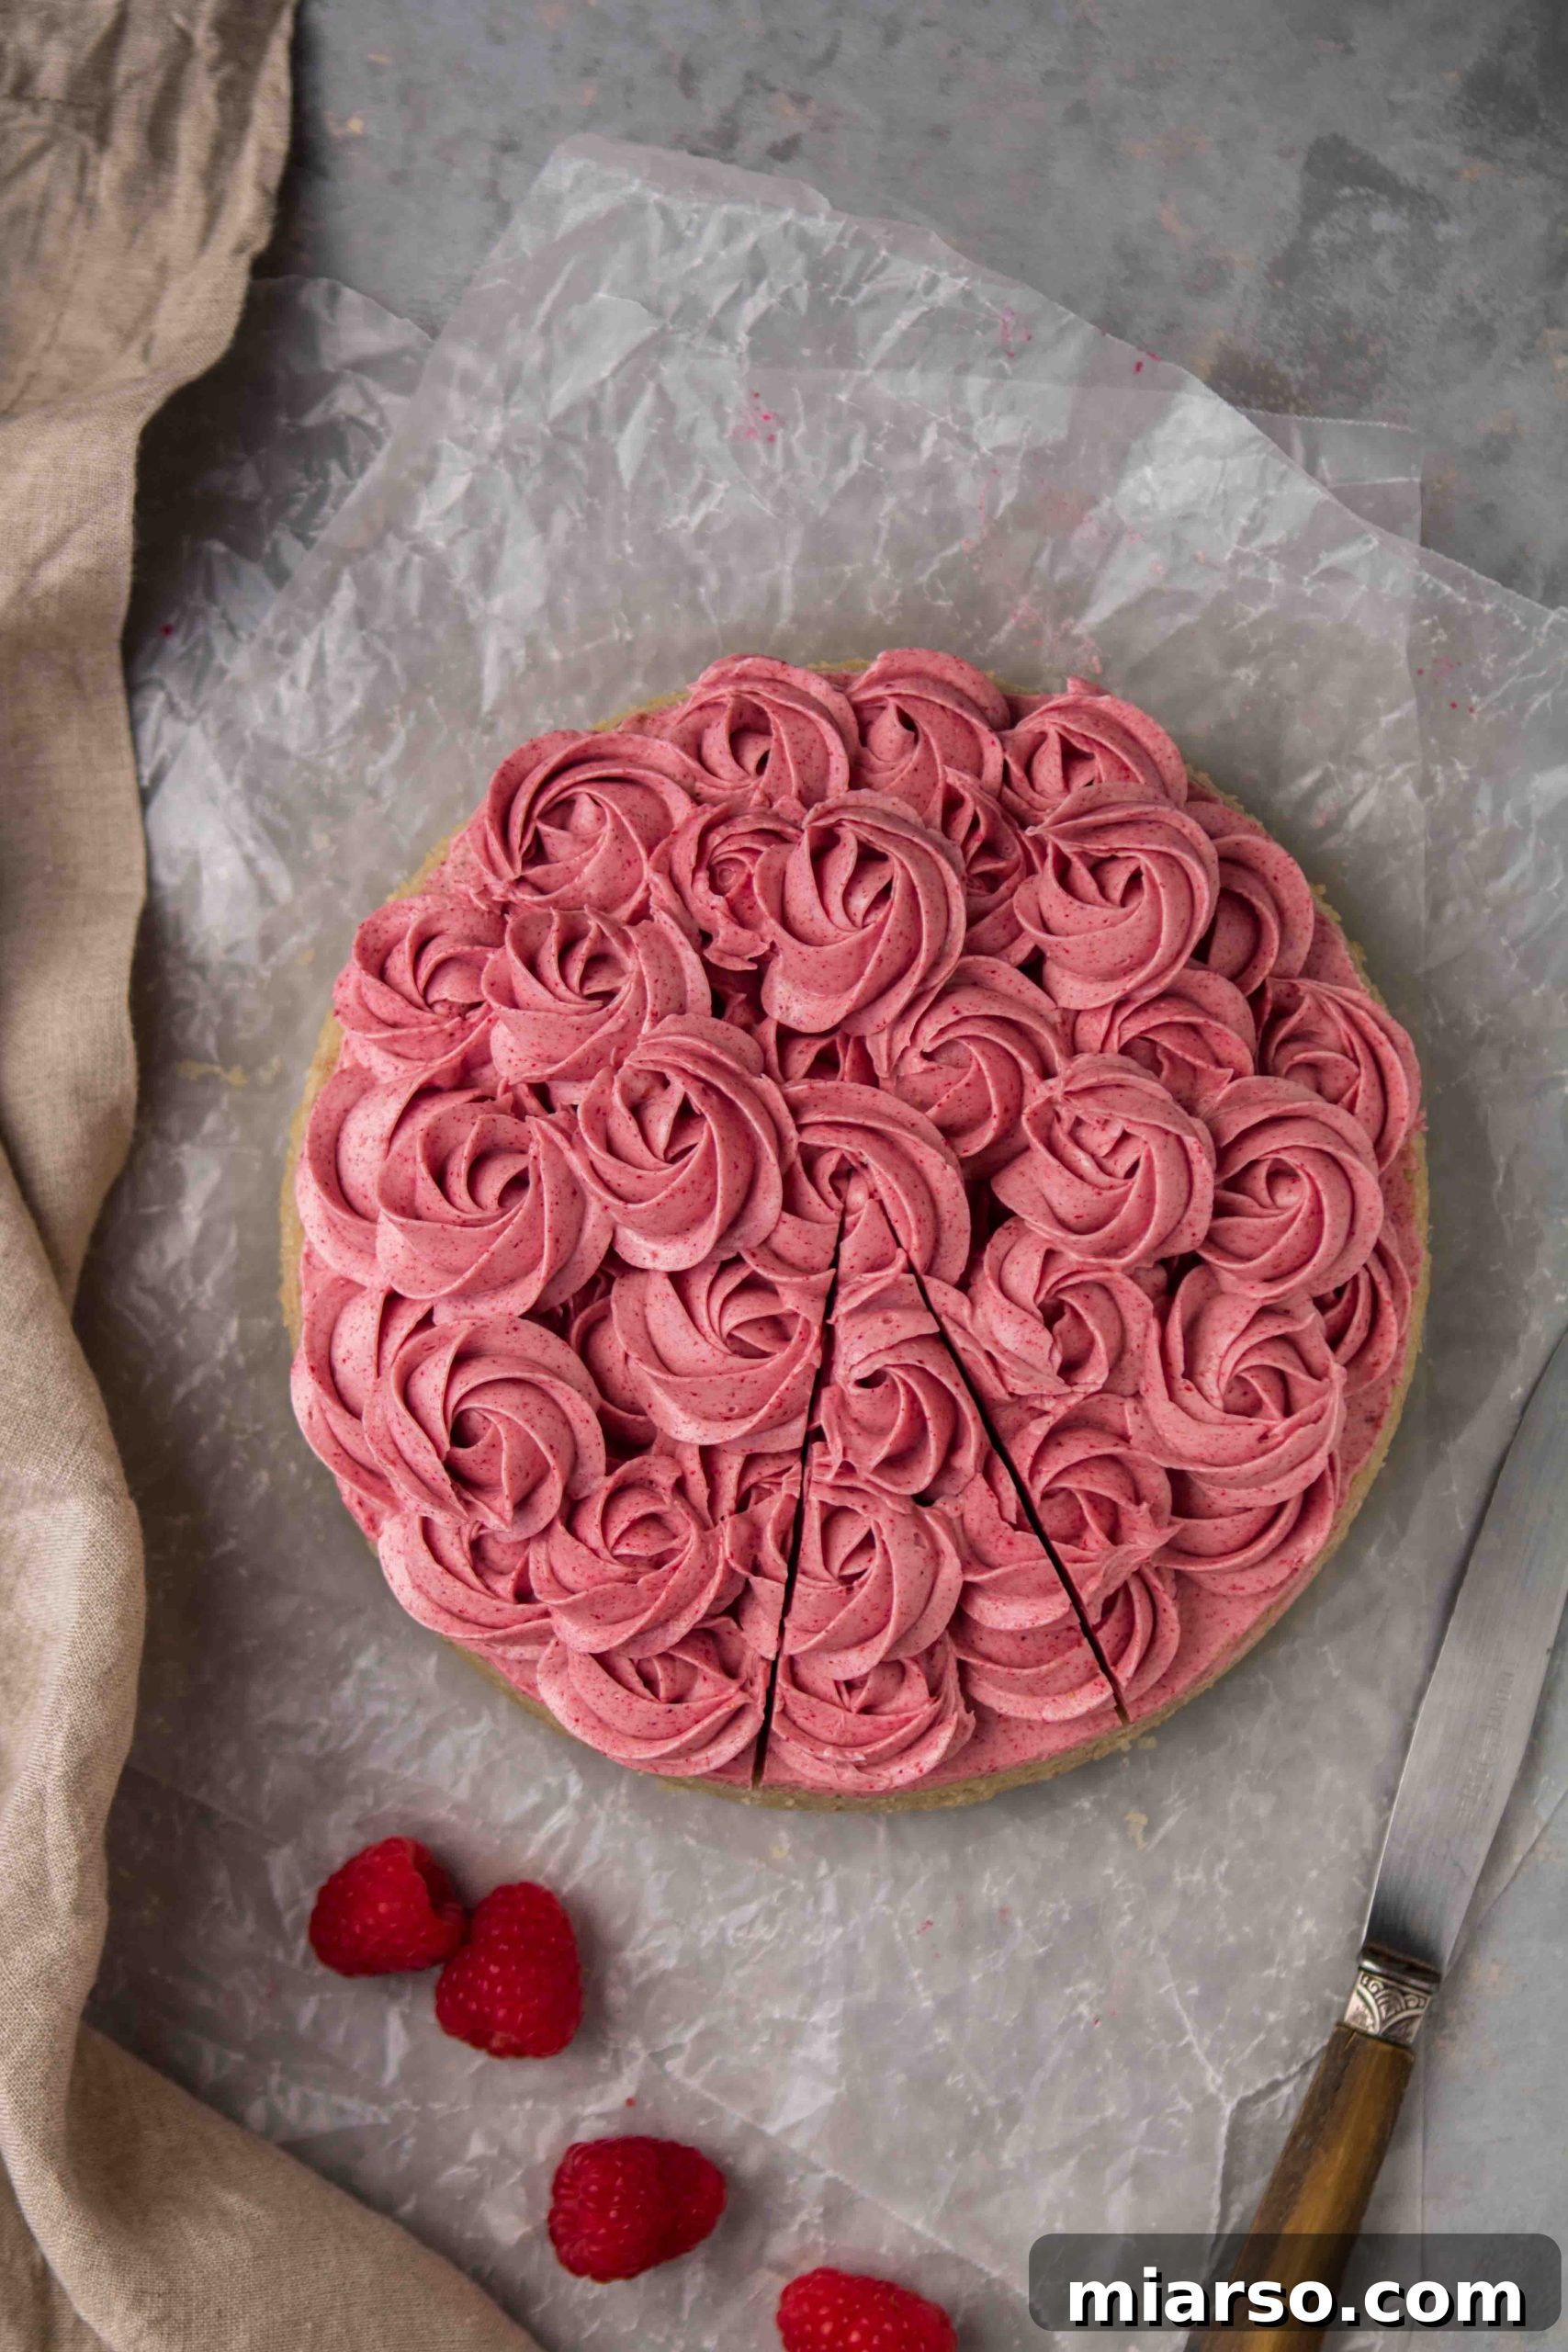
Raspberry Butter Cake with Raspberry Buttercream Recipe
If you loved this recipe, please consider giving it a 5-star rating by clicking on the stars below the title and description. Your feedback helps others discover and enjoy this delicious treat!
Raspberry Cake with Raspberry Buttercream
Print Recipe
Equipment
Ingredients
For the raspberry butter cake
- 1 stick + 1 & 1/2 tbsp unsalted butter, softened
- 3/4 cup granulated sugar
- 3 medium eggs, room temperature
- 2 tsp vanilla extract
- 1 cup all-purpose flour
- 1 & 1/2 tsp baking powder
- 1/2 tsp salt
- 2 tbsp raspberry powder (from freeze-dried raspberries, finely ground and sifted)
For the raspberry frosting
- 2 sticks unsalted butter, softened
- 9 oz sweetened condensed milk, very cold
- 1/4 cup raspberry powder (about 30 grams sifted, from freeze-dried raspberries, finely ground and sifted)
About Raspberry Powder: The listed weight for raspberry powder is after sifting to remove seeds. This ensures accurate flavor strength and color. If measuring before sifting, you will need approximately 3 times as much whole freeze-dried raspberries to yield the same amount of sifted powder (e.g., 30 g sifted ≈ 85–90 g unsifted berries).
Instructions
Making the Cake Layer
-
Preheat oven to 350°F (175°C). Grease and flour an 8-inch round cake pan, then line the bottom with parchment paper.
-
In a medium bowl, whisk together the flour, baking powder, salt, and raspberry powder. Set aside.
-
In a stand mixer, cream the butter and sugar on medium-high speed for 5 minutes, until pale and fluffy.
-
Add the eggs one at a time, beating well after each addition. Mix in the vanilla extract.
-
Reduce mixer speed to low and add the dry ingredients in two additions, mixing just until combined. Do not overmix.
-
Spread batter evenly in prepared pan. Bake for 28–32 minutes, or until a toothpick inserted in the center comes out clean.
-
Cool in the pan for 10 minutes, then turn out onto a wire rack to cool completely.
Making the Pink Raspberry Frosting
-
In a stand mixer with a whisk attachment, beat the softened butter on medium-high speed for 3–4 minutes until pale and fluffy.
-
With the mixer running on medium speed, slowly drizzle in the cold sweetened condensed milk in a thin stream. Adding it too quickly can cause curdling.
-
Add the raspberry powder and continue whipping for 1–2 more minutes until smooth and creamy. If not using immediately, store covered in the fridge. Re-whip for 1 minute before frosting.
Assemble the Cake
-
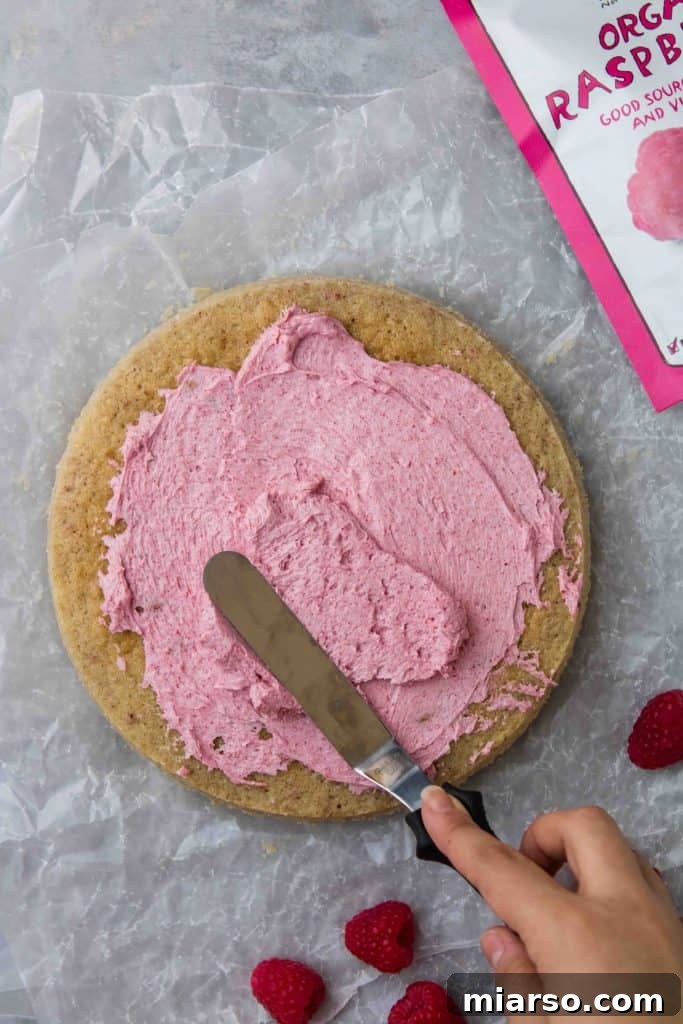
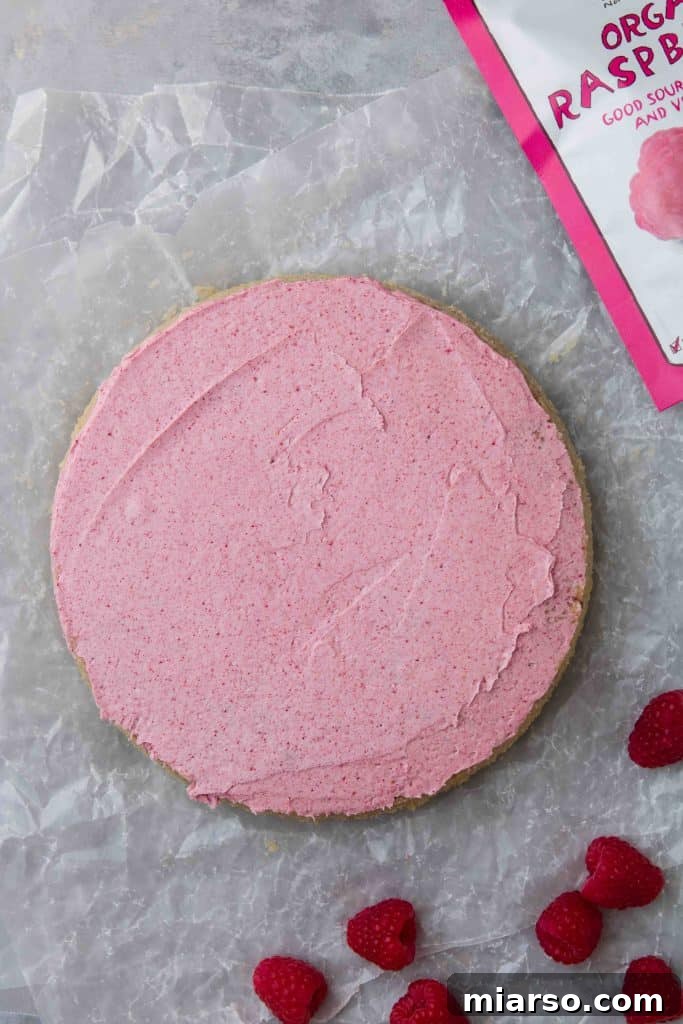
Place the cooled cake on a serving plate. Spread about ⅓ cup of frosting evenly over the top for a base layer.
-
Transfer remaining frosting to a piping bag fitted with a 1M Wilton tip. Pipe decorative rosettes to cover the top of the cake. Serve immediately, or refrigerate and allow to come to room temperature for 1–2 hours before serving for the best texture.
Notes
Helpful Notes for Success
- Raspberry Powder Tip: For the smoothest texture, always blend freeze-dried raspberries into a fine powder, then sift thoroughly to remove any seeds. This step is crucial for an elegant buttercream.
- Condensed Milk Caution: Ensure your sweetened condensed milk is very cold before adding it to the butter. Incorporate it slowly, in a thin stream, while the mixer is running to prevent the frosting from splitting or curdling.
- Intensify Raspberry Flavor: If you desire an even more pronounced raspberry flavor in your frosting, you can increase the amount of raspberry powder up to ⅓ cup (approximately 40 grams sifted).
- Storing Leftovers: Store any leftover cake in an airtight container in the refrigerator for up to 3-4 days. Allow slices to come to room temperature for about 30 minutes before enjoying for optimal texture.
- Troubleshooting Frosting: If your frosting appears too soft, try chilling it in the refrigerator for 15-20 minutes, then re-whipping it until firm. If it appears grainy, ensure your raspberry powder was finely ground and sifted.
Nutrition
Nutrition information is automatically calculated and should only be used as an approximation.
Thank you for exploring this delicious raspberry cake recipe! Your culinary journey means a lot to me. If you’ve baked this cake, I would absolutely love to hear about your experience. Please don’t hesitate to share your thoughts, tips, and photos in the comments section below. Your feedback truly brightens my day and helps fellow bakers!
In the meantime, stay connected for more irresistible recipes and baking inspiration. Don’t forget to follow me on Instagram to catch all my latest creations and behind-the-scenes glimpses of my kitchen adventures! You can find me at: https://www.instagram.com/chahinez_tbt/

Shop Essential Tools & Ingredients for this Recipe
Please note: This post may contain affiliate links. This means that, at no extra cost to you, I may earn a small commission on qualifying purchases you make through these links. Your support helps keep this blog running!
If you enjoyed this raspberry butter cake with raspberry buttercream, make sure to pin it for later!