
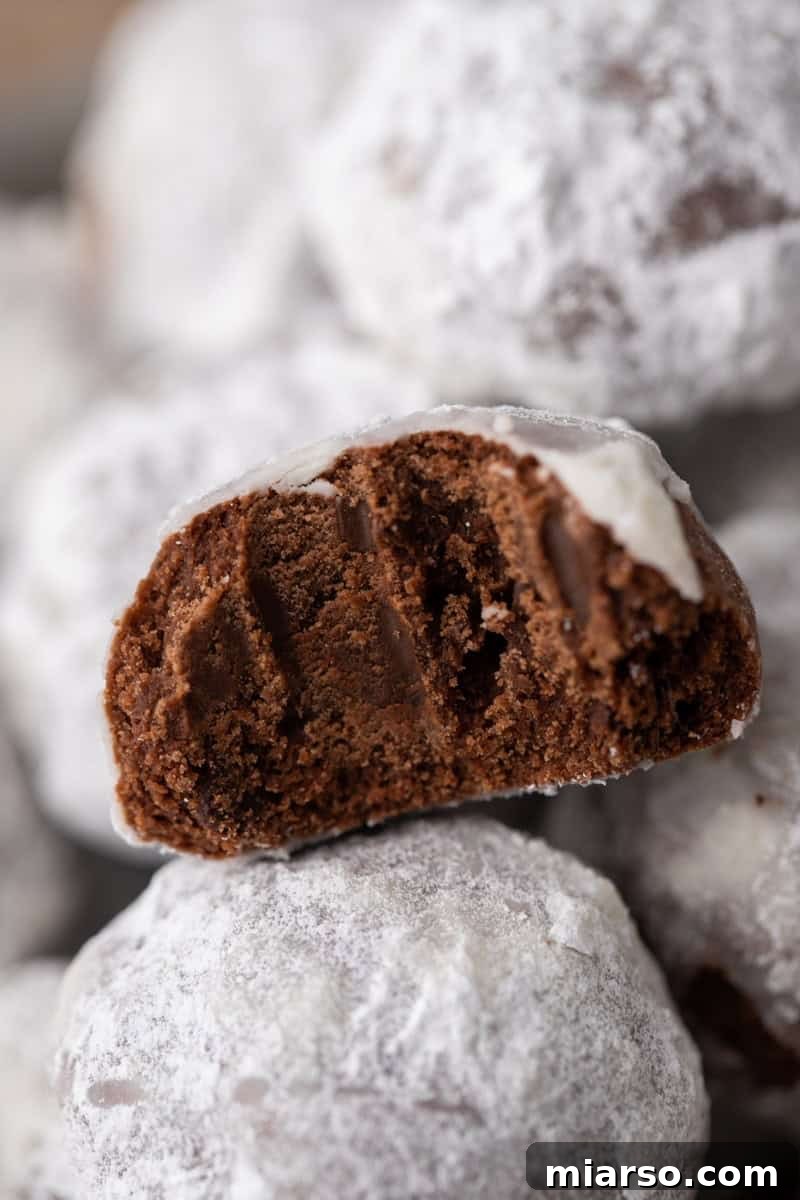
Step into a world of enchanting holiday flavors with these irresistible Chocolate Snowball Cookies. Imagine a classic holiday favorite, but taken to a decadently rich, fudgy, and utterly melt-in-your-mouth chocolate level. These delightful, bite-sized treats are more than just cookies; they’re tiny spheres of pure joy, boasting a deeply satisfying chocolate flavor complemented by an abundance of mini chocolate chips. Each cookie is then generously rolled in a soft, ethereal cloud of powdered sugar, creating that iconic “snowball” appearance that makes them absolutely perfect for festive gatherings. If you adore the tender, crumbly texture of traditional Mexican Wedding Cookies, get ready for an elevated experience – this version is a true upgrade, crafted specifically for the most devoted chocolate enthusiasts.
Whether you’re compiling beautiful Christmas cookie boxes, seeking thoughtful homemade gifts, or simply craving a comforting treat to pair with a steaming mug of hot cocoa on a chilly evening, these chocolate snowball cookies are an impeccable choice. Their charm lies not only in their exquisite taste and appearance but also in their incredible simplicity. You’ll be amazed that such a luxurious dessert requires only a handful of everyday pantry ingredients and approximately 10 minutes of active preparation time. They are truly foolproof, guaranteeing baking success even for novice home bakers, making them an ideal recipe to add to your holiday repertoire.
For those who revel in crafting festive delights, we invite you to explore more of our cherished holiday cookie recipes. Discover the delicate charm of our Melting Moments Cookies, the artistic appeal of Festive Marbled Christmas Sugar Cookies, or the whimsical fun of our Grinch Sugar Cookies!
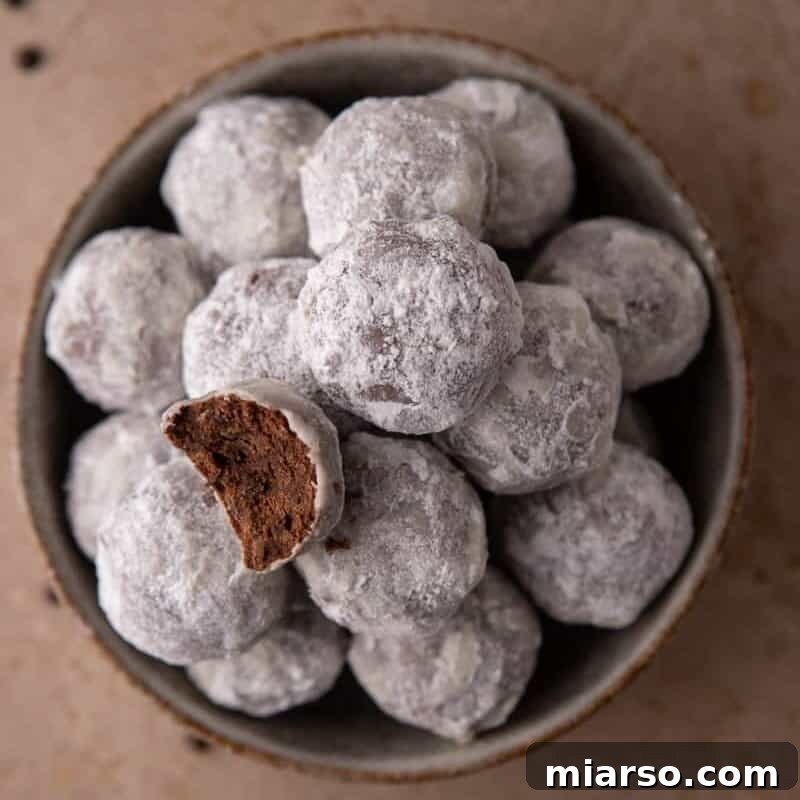
Why These Chocolate Snowball Cookies Will Become Your Holiday Favorite
These chocolate snowball cookies aren’t just another treat; they embody everything you could wish for in a holiday dessert and beyond. Here’s why they’re destined to become a beloved staple in your kitchen:
- Effortlessly Freezer-Friendly: Planning for the busy holiday season is made simple! These cookies can be prepared well in advance, whether you freeze the dough balls or the baked, uncoated cookies. This incredible flexibility allows you to bake a batch whenever a craving strikes or be perfectly prepared for any last-minute celebrations or gifting opportunities.
- A Decadent Chocolate Transformation of a Classic: We all cherish the nostalgic appeal of traditional snowball cookies, but this recipe takes that beloved memory to an entirely new dimension. By infusing them with rich cocoa and a generous helping of mini chocolate chips, we’ve created a profoundly chocolatey, deeply satisfying version that truly stands out. It’s a sophisticated upgrade that chocolate aficionados will adore.
- No Chill Time Required: Say goodbye to frustrating waiting periods! This recipe is designed for instant gratification. From mixing the dough to rolling and baking, you can have a fresh batch of warm, delicious cookies ready in under 30 minutes. It’s perfect for spontaneous baking sessions or when time is of the essence.
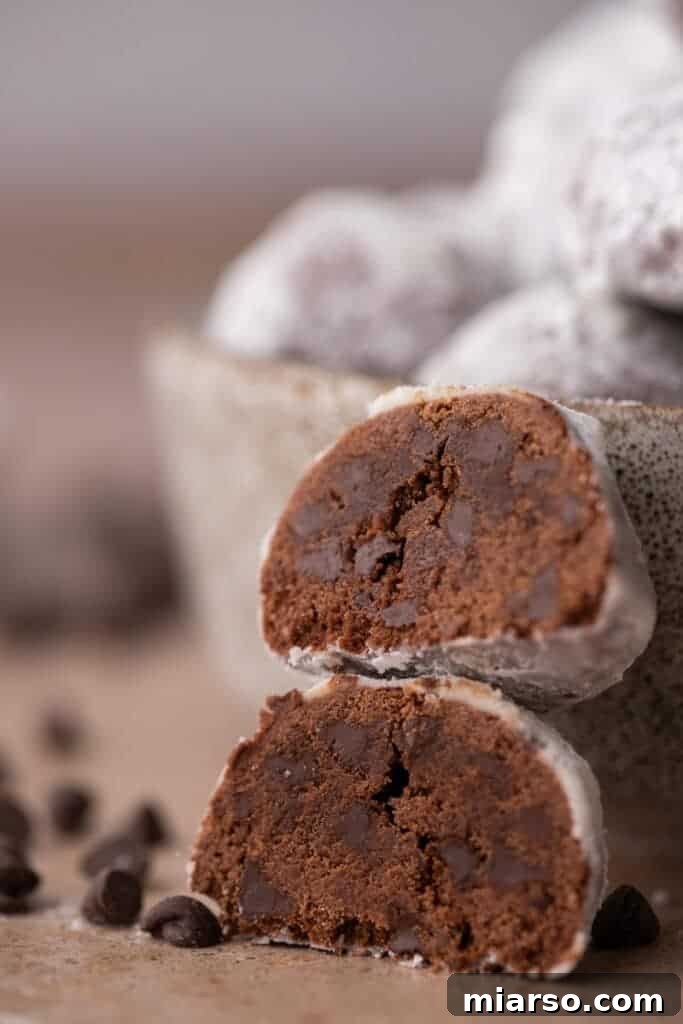
- Unforgettable Melt-in-Your-Mouth Texture: The secret to their allure lies in their incredibly tender and buttery crumb. Each bite promises a delicate, crumbly texture that truly melts away on your tongue, leaving behind a rich, lingering chocolate flavor. This signature texture is what makes them so utterly addictive.
- Visually Stunning for Gifting and Display: Dusted in a pristine coating of powdered sugar, these cookies resemble tiny, elegant snowballs, making them exceptionally appealing. They are a magnificent addition to any holiday cookie platter, an impressive component for homemade gift boxes, or simply a beautiful display on your dessert table. Their charm is undeniable, guaranteed to garner compliments.
The Inspiration Behind Our Decadent Chocolate Snowball Cookies
Every truly great recipe often springs from a moment of inspired craving, and these chocolate snowball cookies are no exception. There was a particular day when I found myself longing for a dessert that was both incredibly fudgy and profoundly chocolatey, yet still possessed the exquisite, soft, and buttery shortbread texture characteristic of classic snowball cookies. It was a delightful challenge: how to marry the familiar charm of a nostalgic treat with an intensified chocolate experience?
The revelation struck – why not transform the beloved traditional snowball cookie into a rich, cocoa-infused masterpiece? Instead of the usual chopped nuts, I decided to elevate the chocolate factor by folding in an abundance of tiny, yet impactful, mini chocolate chips. This simple swap introduced an unparalleled depth of flavor and an extra layer of textural delight, ensuring every bite was packed with intense chocolate goodness. The outcome was nothing short of extraordinary: irresistible, melt-in-your-mouth, double-chocolate snowballs that vanished from the plate almost as quickly as they appeared. It was clear from that moment on that these would be a new holiday favorite, a testament to how a small twist can create something truly spectacular.
Essential Ingredients for Perfect Chocolate Snowball Cookies
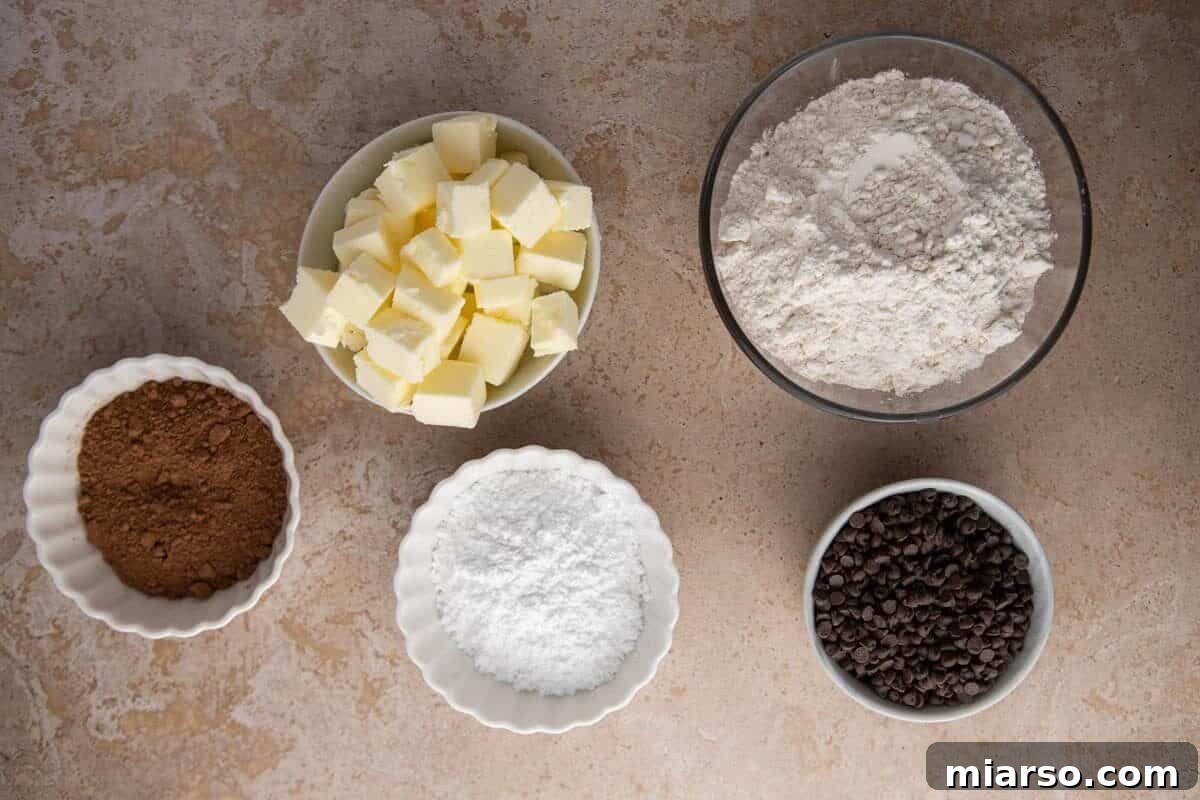
Crafting these delectable chocolate snowball cookies requires a surprisingly simple list of pantry staples. Each ingredient plays a crucial role in achieving that signature melt-in-your-mouth texture and rich chocolate flavor. Here’s a closer look at what you’ll need and why:
- Unsalted Butter (Softened): This is the cornerstone of our cookies’ tender, crumbly texture. Using unsalted butter allows you to control the overall saltiness of the recipe. Ensure it’s softened to room temperature – not melted – so it creams properly with the sugar, creating an airy base that contributes to that irresistible melt-in-your-mouth quality.
- Powdered Sugar (Confectioners’ Sugar): This ingredient is vital for two reasons. Firstly, it’s incorporated directly into the cookie dough, dissolving more readily than granulated sugar to create a uniquely smooth, tender crumb. Secondly, it forms the gorgeous, snowy coating that gives these cookies their festive name and adds an extra layer of sweetness.
- Pure Vanilla Extract: A baking essential, vanilla extract works wonders in balancing and enhancing the rich chocolate notes in these cookies. It adds a warm, aromatic depth that prevents the chocolate from becoming too overwhelming, making the overall flavor profile more complex and inviting.
- All-Purpose Flour: As the structural backbone of these cookies, all-purpose flour provides the necessary body and tenderness. Measuring it correctly (preferably by weight or using the spoon-and-level method) is key to ensuring your cookies don’t become dense or dry.
- Unsweetened Cocoa Powder: This is where the magic of rich chocolate flavor truly begins. Opt for a good quality unsweetened cocoa powder for the best depth and intensity. It transforms the classic snowball into a deeply indulgent chocolate delight without adding excessive sweetness.
- Salt: Often overlooked, salt is a flavor enhancer that plays a critical role in baking. A small amount of salt in this recipe wakes up all the other flavors, notably balancing the sweetness of the sugar and deepening the chocolate profile, preventing the cookies from tasting flat.
- Mini Chocolate Chips: While optional, these are highly recommended for a truly decadent experience. Mini chocolate chips disperse evenly throughout the dough, ensuring that every single bite delivers an extra burst of molten chocolate goodness. They elevate the fudginess and make these cookies exceptionally addictive.
(For precise measurements, please refer to the detailed recipe card below.)
Step-by-Step Guide: Crafting Your Chocolate Snowball Cookies
Making these delightful chocolate snowball cookies is a straightforward and enjoyable process. Follow these detailed steps to achieve perfect, melt-in-your-mouth results every time. Remember, no chilling time is needed, so you’ll be enjoying these festive treats in no time!
- Prepare Your Baking Environment: Begin by preheating your oven to 325°F (160°C). While the oven warms up, take a baking sheet and line it with either parchment paper or a silicone baking mat. This crucial step prevents sticking and ensures even baking.
- Cream Butter and Sugar to Perfection: In a large mixing bowl, combine your softened unsalted butter with the specified amount of powdered sugar (typically ½ cup for the dough). Using an electric mixer, beat these two ingredients together on medium speed until the mixture becomes wonderfully light, fluffy, and pale in color. This creaming process incorporates air, which is essential for the cookies’ tender texture. Once creamed, mix in the pure vanilla extract until just combined.

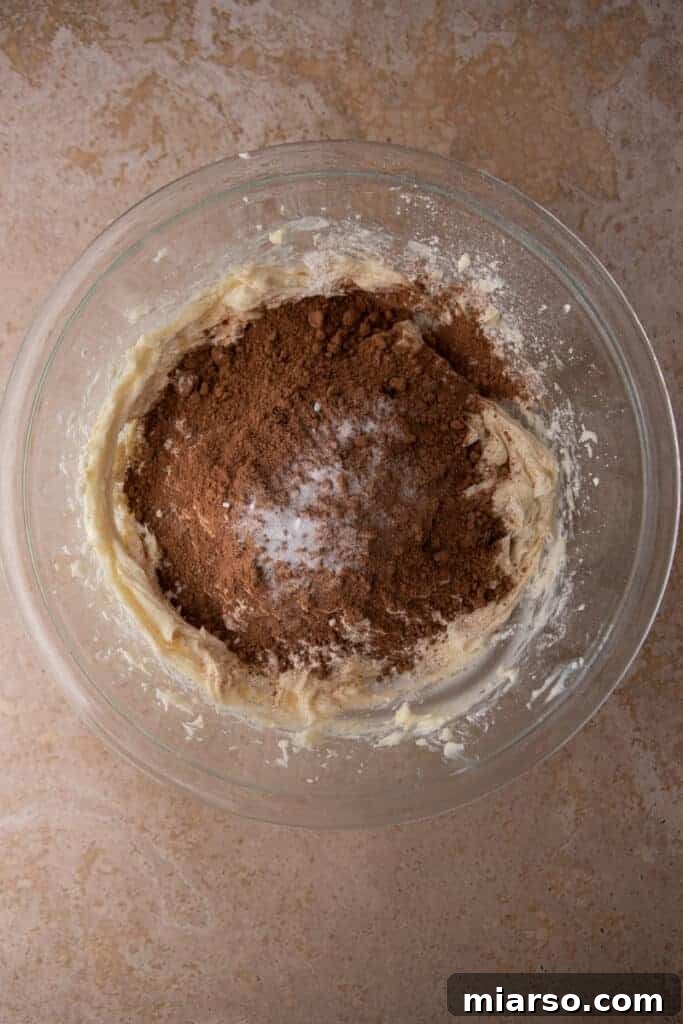
- Incorporate the Dry Ingredients: To the creamed butter mixture, gradually add the all-purpose flour, unsweetened cocoa powder, and a pinch of salt. Mix on low speed or by hand until these dry ingredients are just barely combined with the wet mixture. It’s incredibly important not to overmix the dough, as this can develop the gluten in the flour, resulting in tough, dry cookies instead of the desired tender, crumbly ones.
- Fold in the Mini Chocolate Chips: Gently fold in the mini chocolate chips. Mini chips are preferred here because their smaller size ensures they are evenly distributed throughout the dough, guaranteeing a burst of chocolate in every single bite without altering the delicate texture of the cookies.
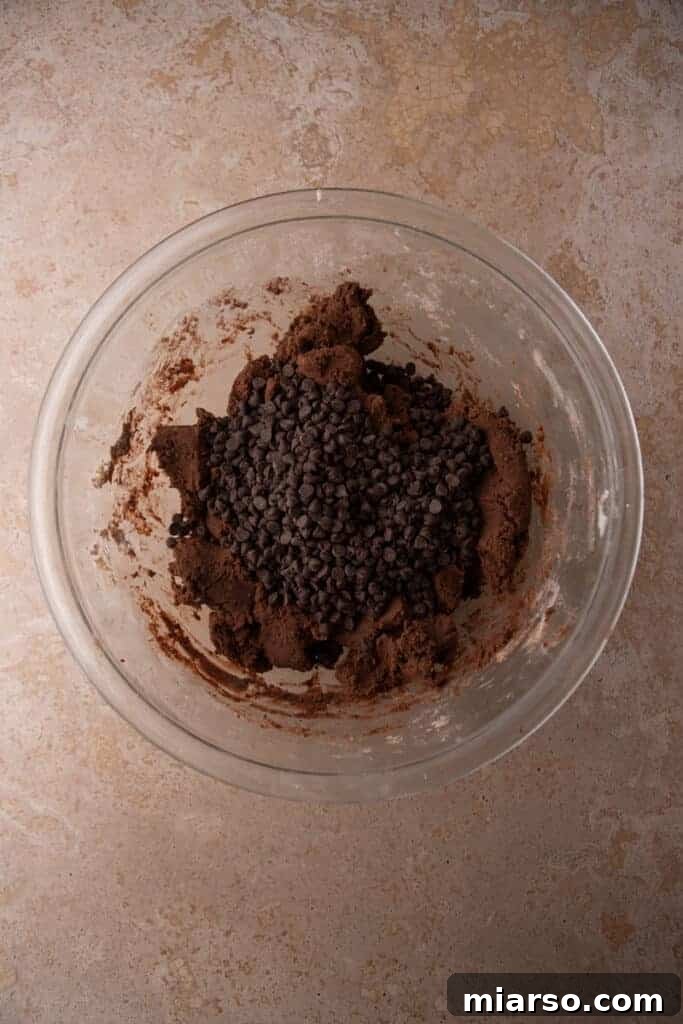

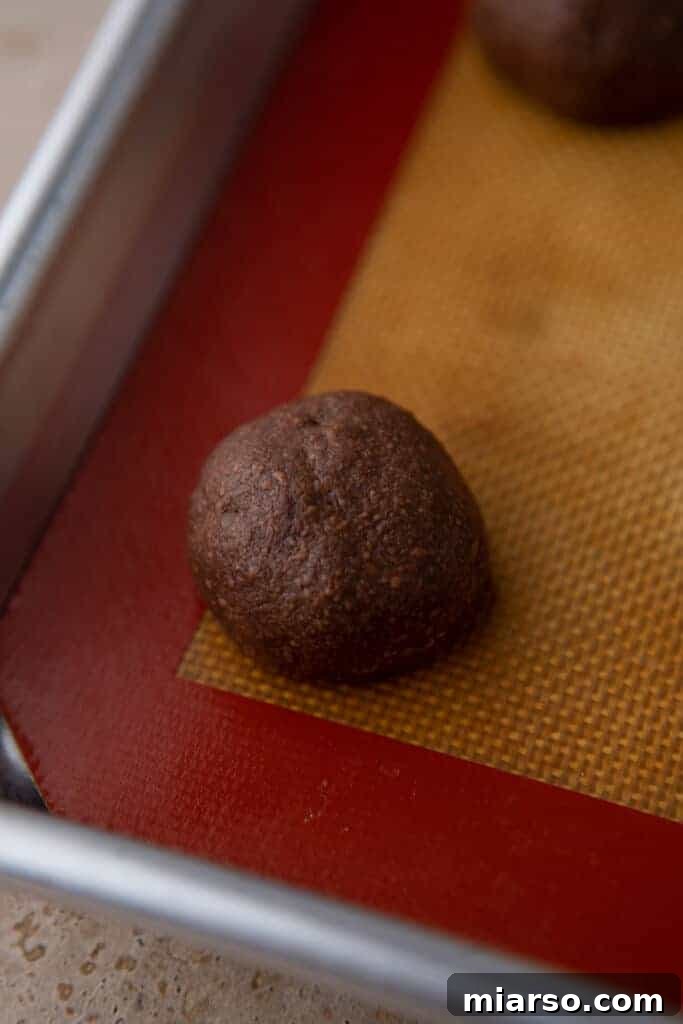
- Shape and Bake: Using a 1-tablespoon cookie scoop or simply rolling by hand, form the dough into uniform 1-inch balls. Place these balls about 1-2 inches apart on your prepared baking sheet. Transfer the baking sheet to your preheated oven and bake for approximately 16-18 minutes, or until the edges are just set and the centers still appear slightly soft. These cookies don’t spread much, and over-baking will make them dry, so keep a close eye on them.

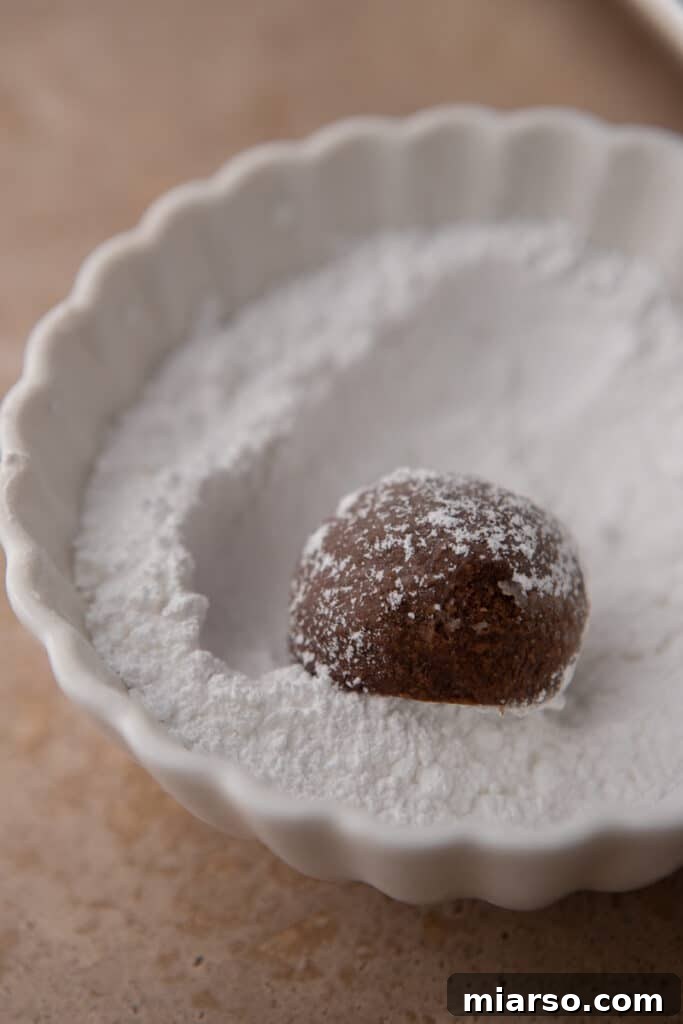
- Double Sugar Coating for a Snowy Finish: This step is key for that signature “snowball” look. As soon as the cookies are out of the oven, allow them to cool on the baking sheet for just a few minutes until they are warm enough to handle but not hot. While still warm, gently roll each cookie in a bowl of powdered sugar to give it its first delicate coating. Transfer these lightly coated cookies to a wire rack and let them cool completely. Once fully cooled, roll them again in fresh powdered sugar. This double coating ensures a thick, opaque, and beautifully snowy finish that adheres perfectly and won’t melt away.
Expert Tips for Irresistible Chocolate Snowball Cookies
Achieving the perfect chocolate snowball cookies is simple with a few insider tips. These pointers will help ensure your cookies are tender, perfectly coated, and an absolute delight to devour:
- Master the Double Sugar Coating: This is arguably the most crucial step for that iconic snowy finish. Your first roll in powdered sugar should occur while the cookies are still slightly warm from the oven. This warmth allows a thin layer of sugar to melt and adhere, creating a subtle ‘glue’ for the second coating. After the cookies have cooled completely on a wire rack, roll them generously a second time in fresh powdered sugar. This ensures a thick, opaque, and stable coating that won’t absorb into the cookie or clump.
- Mind the Dough Ball Size: Aim for uniform 1-inch dough balls. Consistency in size is key for even baking. Smaller, consistently sized balls will bake through at the same rate, preventing some from being overdone while others are still raw in the center. Avoid making them too large, as this can affect their delicate structure and baking time.
- Opt for Mini Chocolate Chips: While tempting to use standard chocolate chips, mini chocolate chips are truly the secret to a superior texture in these delicate cookies. Their small size allows them to be evenly distributed throughout the dough without making it too chunky or compromising the tender, crumbly nature of the snowball. Larger chips can disrupt the cookie’s structure, potentially leading to cracking or an uneven bake.
- Don’t Overmix the Dough: After adding the dry ingredients, mix only until just combined. Overmixing develops gluten in the flour, which can lead to tough, chewy cookies instead of the desired melt-in-your-mouth tenderness. Gentle folding is always best once the flour is introduced.
- Bake Until Just Set: These cookies are meant to be soft and tender. Bake them only until their edges are lightly set and the centers still look slightly soft. They will continue to firm up as they cool. Over-baking can dry them out, diminishing their signature melt-in-your-mouth quality.
Storing Your Delicious Chocolate Snowball Cookies
Proper storage is essential to keep your chocolate snowball cookies fresh, tender, and delicious for as long as possible. Their robust nature makes them excellent candidates for making ahead, especially during the busy holiday season:
- Room Temperature Storage: Once completely cooled and double-coated, store these cookies in an airtight container at room temperature for up to 5 days. Ensure they are kept away from direct sunlight or heat, as this can cause the powdered sugar to melt or become sticky. Layering them with parchment paper can help prevent sticking if stacking.
- Refrigeration: For a slightly extended shelf life, you can store the cookies in an airtight container in the refrigerator for a little over a week. Allow them to come to room temperature for about 15-20 minutes before serving to fully appreciate their tender texture and flavor.
- Freezing for Long-Term Enjoyment: These cookies are wonderfully freezer-friendly, making them perfect for holiday meal prep or for stashing away for future cravings. You have a couple of options:
- Freezing Baked Cookies (Uncoated): Bake the cookies as directed, but *do not* roll them in powdered sugar. Let them cool completely, then place them in a single layer on a baking sheet and freeze until solid. Once frozen, transfer them to a freezer-safe airtight container or heavy-duty freezer bag for up to 2 months. When ready to serve, thaw them at room temperature, then roll them generously in powdered sugar (the warmth from thawing will help the first coat stick).
- Freezing Cookie Dough: You can also prepare the dough, roll it into balls, and freeze the raw dough balls on a baking sheet until solid. Transfer to a freezer bag and freeze for up to 2 months. Bake from frozen, adding a couple of minutes to the baking time, then coat with powdered sugar as usual.
Freezing baked cookies without the powdered sugar is often preferred, as it ensures the snowy coating remains pristine when served. This prep-ahead capability makes them an ideal choice for Christmas cookie boxes or spontaneous entertaining.
Frequently Asked Questions About Chocolate Snowball Cookies
Here are some common questions to help you bake and enjoy your chocolate snowball cookies to perfection:
The incredibly tender, crumbly texture of snowball cookies, including this chocolate version, primarily comes from two key factors: the absence of eggs and the exclusive use of powdered sugar in the dough. Eggs can add chewiness, which we avoid here. Powdered sugar, with its finer consistency, dissolves more completely into the butter, resulting in a delicate, almost sandy texture that truly melts on your tongue.
If your snowball cookies are falling apart or developing significant cracks, the most common reason is that the dough is too dry. These cookies rely on a sufficient amount of butter to bind the flour and cocoa powder together. Ensure your butter is softened correctly and accurately measured. If your dough feels crumbly and doesn’t hold its shape when pressed, try adding 1 to 2 teaspoons of extra softened butter or heavy cream until it comes together nicely.
Absolutely! These cookies are perfect for making ahead, either before or after baking, which is a huge advantage for holiday planning. To freeze baked cookies, allow them to cool completely without the powdered sugar coating, then freeze them in an airtight container. Once thawed, roll them in powdered sugar. Alternatively, you can shape the dough into balls and freeze them raw; simply bake from frozen, adding a few extra minutes to the baking time.
While you technically can use regular chocolate chips, we highly recommend sticking to mini chocolate chips for the best results. Regular-sized chips can make the delicate cookie dough too chunky and uneven, potentially leading to cracking or a less consistent texture. Mini chips integrate seamlessly, ensuring every bite has chocolate without compromising the cookie’s signature tender crumb.
Converting this recipe to be sugar-free is quite simple! Just swap the traditional powdered sugar with an equivalent amount of a sugar-free powdered sweetener, such as Swerve or Lakanto. Additionally, make sure to use sugar-free mini chocolate chips. These substitutions will yield cookies with a very similar texture and flavor profile to the original, without the added sugar.
Yes, this recipe is adaptable for gluten-free diets. Simply replace the all-purpose flour with a high-quality 1:1 gluten-free baking flour blend. For the best possible texture, akin to traditional snowball cookies, we recommend using a blend that already contains xanthan gum, as this helps with binding and elasticity.
Absolutely! This recipe lends itself exceptionally well to a vegan adaptation. You will need to substitute the regular butter with a good quality vegan butter (stick form works best) and ensure you use dairy-free mini chocolate chips. The cookies will maintain their delightful shape and characteristic soft, melt-in-your-mouth texture, making them suitable for everyone to enjoy.
Exciting Flavor Variations for Your Chocolate Snowball Cookies
While the classic chocolate snowball cookie is perfect as is, its rich chocolate base makes it an excellent canvas for creative flavor experimentation. Feel free to keep the core chocolate dough and simply switch up the delightful mix-ins to discover your new favorite:
- Black Forest Delight: Fold in a handful of finely chopped dried cherries (or even dried cranberries) along with the mini chocolate chips. The tartness of the cherries beautifully complements the deep chocolate, evoking the flavors of a classic Black Forest dessert.
- Nutty Crunch: For those who appreciate a textural contrast, incorporate finely chopped pecans or walnuts into the dough. The toasted, earthy notes of the nuts add a wonderful crunch and depth, reminiscent of traditional snowball cookies but with a chocolate twist.
- Festive Peppermint Twist: Especially popular during the holiday season, add crushed peppermint candies (candy canes work perfectly!) to the dough. The cool, minty flavor pairs sensationally with the rich chocolate, creating a truly festive and refreshing cookie.
- Peanut Butter Chocolate Dream: For an irresistible flavor combination, swap out some or all of the mini chocolate chips for mini peanut butter chips. The salty-sweet creaminess of peanut butter is a natural match for chocolate, creating a beloved classic pairing.
- Salty-Sweet Pretzel Crunch: Introduce an exciting salty-sweet dimension by folding in finely crushed pretzels. The crunch and hint of salt provide a fantastic counterpoint to the rich, sweet chocolate, creating a surprisingly addictive snowball experience.
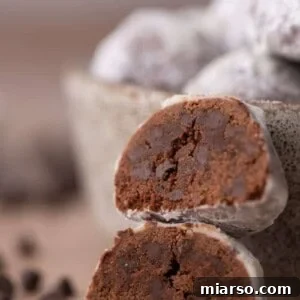
Chocolate Snow Ball Cookies
30
servings
Print Recipe
Equipment
Ingredients
- 1 & 1/4 cup unsalted butter, softened
- 2/3 cup powdered sugar
- 2 teaspoon vanilla extract
- 2 cups all-purpose flour
- 1/3 cup unsweetened cocoa powder
- 1/4 teaspoon salt
- 3/4 cup mini chocolate chips
Instructions
-
In a large bowl, cream together the softened butter and 1/2 cup powdered sugar until fluffy. Add vanilla extract and mix well.
-
Add in the flour, salt, and cocoa powder and mix to combine. Make sure to not overtax the cookie dough. Fold in mini chocolate chips.
-
Scoop 1 tablespoon worth of cookie dough, and shape into 1-inch balls and place them on the baking sheet. Set aside, while you preheat the oven.
-
Preheat your oven to 325°F and line a baking sheet with parchment paper or a silicone mat (read the notes)
-
Bake for 16-18 minutes, until set but still soft. Don’t over bake.
-
Allow cookies to cool slight, then roll them in powdered sugar to coat. Place those on a wire rack to cool down fully before rolling in powdered sugar for the second time.
Notes
-
Recipe Notes
-
Parchment vs. silicone mat:
Your cookies will spread less when baked on a silicone baking mat. If you prefer a slightly thicker, rounder snowball, use a silicone mat. For a touch more spreading and a softer texture, parchment works great. -
Letting the dough rest:
Allowing the shaped cookie dough balls to rest on the tray while the oven preheats helps them stay a little thicker and keeps the centers extra tender. -
About the photos vs. the updated recipe:
You’ll notice the cookies in the step-by-step photos look very thick. After re-testing, I updated the recipe so the baked cookies are just slightly less thick, giving them a softer bite and a richer, melt-in-your-mouth texture. These changes make the final version even better!
-
Parchment vs. silicone mat:
Nutrition
Nutrition information is automatically calculated, so should only be used as an approximation.
Like this? Leave a comment below!