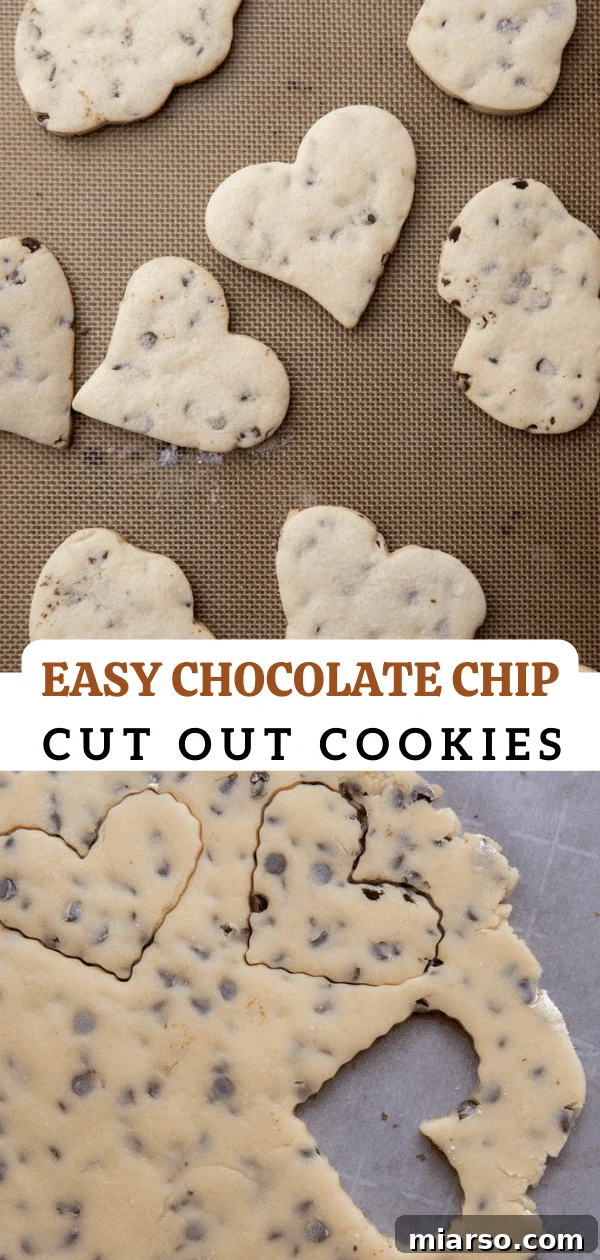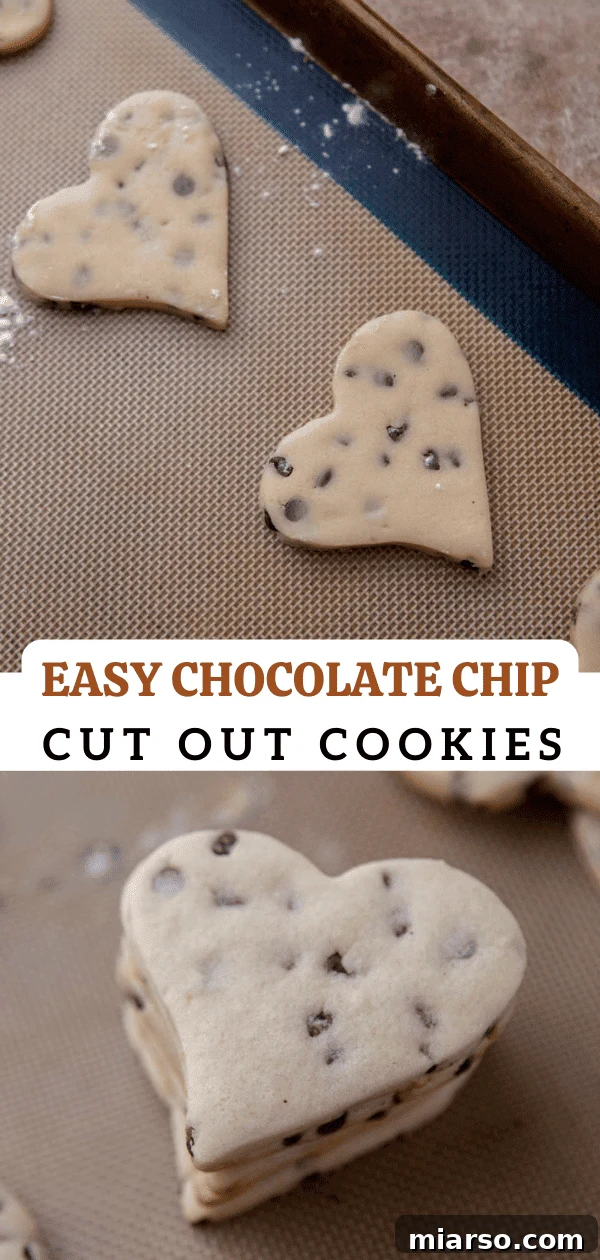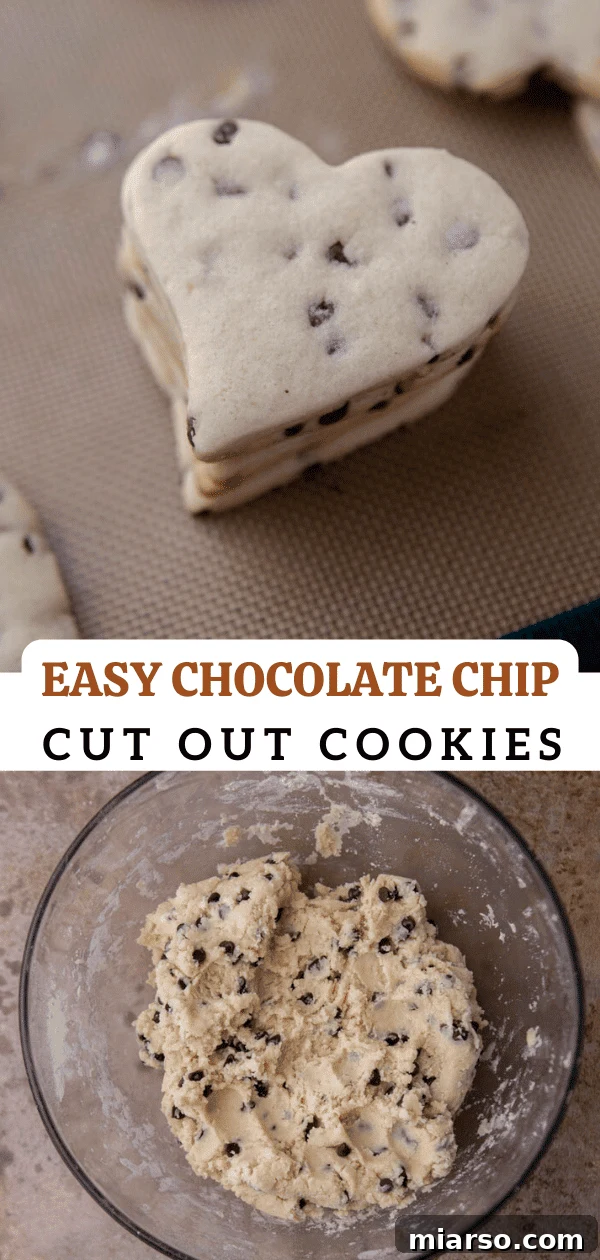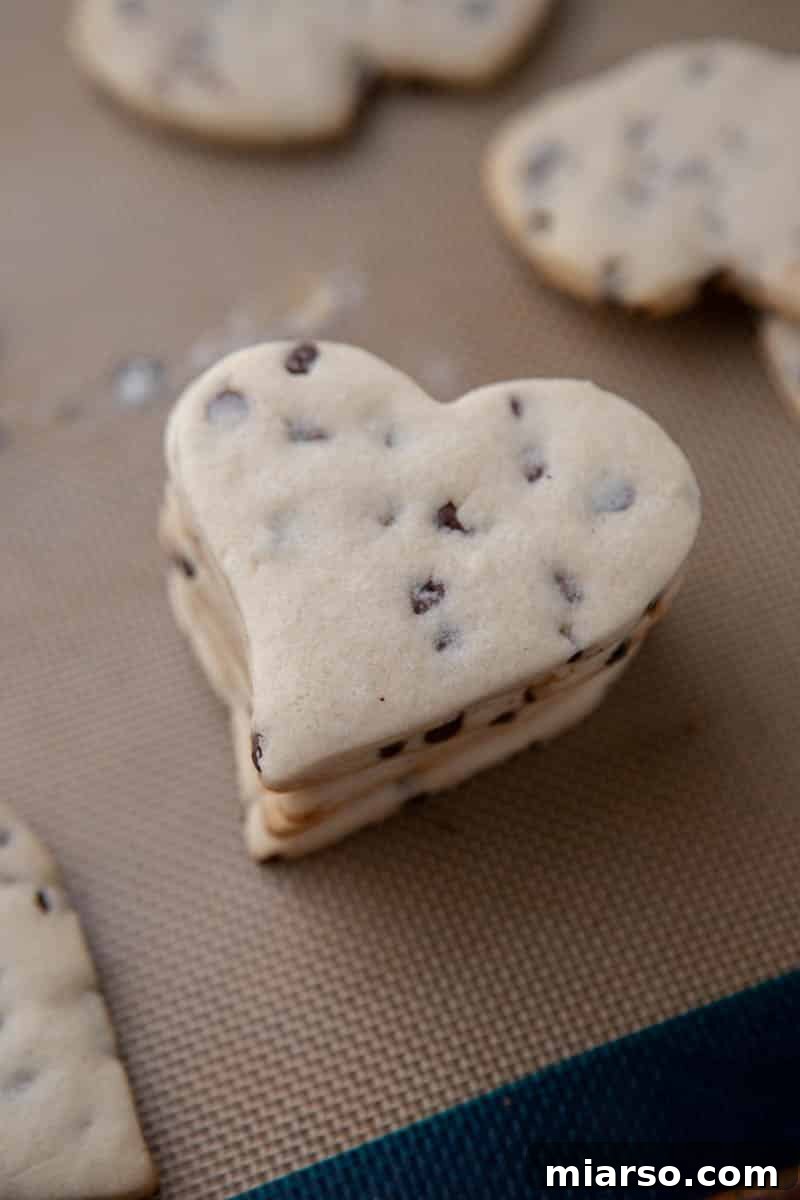
Craving the delicate texture of a classic sugar cookie but can’t resist the irresistible allure of chocolate chips? Look no further! These amazing chocolate chip cut-out cookies offer the best of both worlds, blending a buttery sugar cookie base with delightful bursts of mini chocolate chips. They’re designed to hold their shape beautifully in the oven, making them perfect for creating intricate designs or simply baking into classic rounds to enjoy with a glass of milk. Whether you’re planning a festive baking session or just want a batch of perfectly shaped, utterly delicious cookies, this recipe is your new go-to.
If you’re here to master the art of cookie making, be sure to explore my no-spread cut-out sugar cookies for flawless shapes, my delicious sugar cookie icing that hardens for stunning decorations, and these rich brown butter chocolate chip cookie bars for another incredible treat!
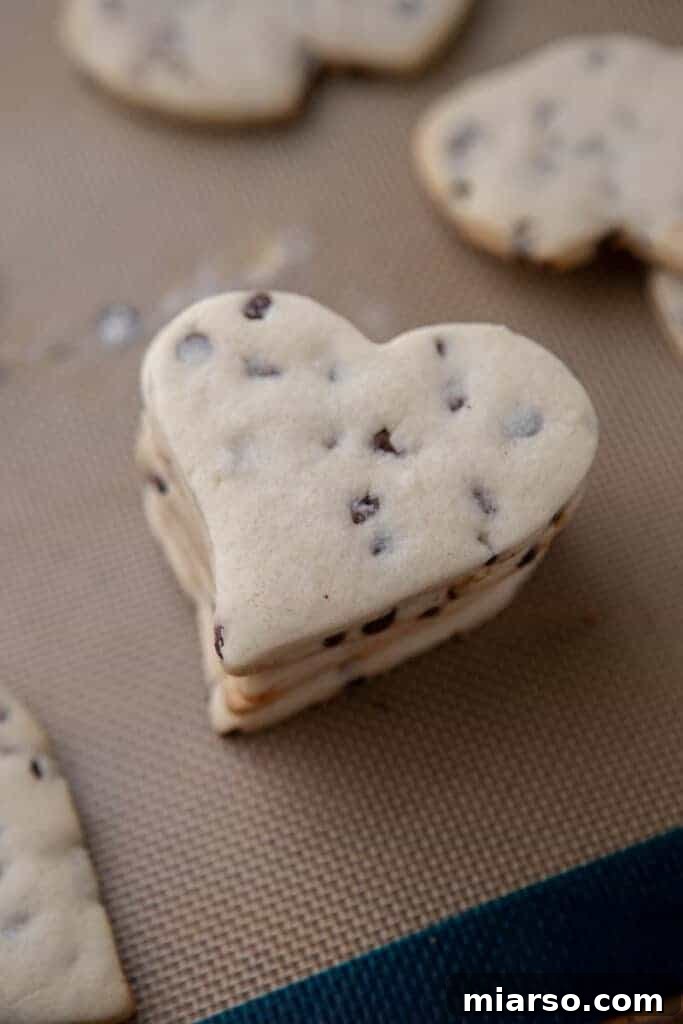
Discover the Best Chocolate Chip Cut-Out Cookies for Any Occasion
While the holiday season may have wrapped up, the craving for exceptional cookies never fades. That’s why I’m thrilled to share this recipe for the best chocolate chip cut-out cookies – a true favorite that deserves a permanent spot in your baking repertoire. Imagine a rich, buttery cookie dough generously studded with a mountain of mini chocolate chips, all ready to be rolled out and transformed into delightful shapes. What makes this recipe truly stand out is its incredible reliability: these cookies are designed to retain their perfect form during baking, meaning absolutely no spreading in the oven. Say goodbye to distorted designs and hello to beautifully crisp edges and tender centers, every single time.
These aren’t just any ordinary cookies; they offer the charm and versatility of classic sugar cookies, elevated by the timeless appeal of chocolate. Perfect for decorating, gifting, or simply enjoying as a homemade treat, their robust structure and exquisite flavor profile make them a joy to bake and an even greater pleasure to eat. Get ready to impress with cookies that look as good as they taste!
Why This No-Spread Chocolate Chip Cookie Recipe is a Must-Try!
If you’re searching for a reliable, delicious, and fun cookie recipe, these no-spread chocolate chip cut-out cookies tick all the boxes. Here’s why you absolutely need to add this recipe to your baking collection:
- Flawless Shapes, Every Time: The unique composition of this dough ensures your cookies will hold their precise shapes during baking. This is crucial for intricate designs, preventing any frustrating spreading or distortion in the oven. You can confidently use your favorite cookie cutters knowing your creations will look exactly as intended, making them ideal for any decorating project or special event.
- Made with Pantry Staples: You won’t need to hunt for exotic ingredients. This recipe relies on common, accessible items you likely already have in your kitchen, making it a convenient choice for spontaneous baking sessions. Simple ingredients combine to create an extraordinary flavor.
- Unforgettable Flavor and Texture: Each bite delivers a heavenly combination of rich buttery notes, sweet vanilla, and delightful pockets of melted chocolate. The cookies boast a perfect balance of tenderness and a slight crispness at the edges, ensuring a truly satisfying experience that will leave everyone reaching for more.
- No Chill Time Required: Unlike many cut-out cookie recipes that demand hours of chilling, this dough is ready to go almost immediately. Prepare, roll, cut, and bake – it’s that simple! This streamlines the baking process, saving you precious time and allowing you to enjoy your delicious cookies sooner.
- Endless Versatility: While perfect for cut-outs, this dough is incredibly adaptable. Make classic round cookies, bars, or even bake them into different sizes for variety. They’re fantastic plain, but also serve as a superb canvas for various decorations and frostings, making them suitable for any holiday or celebration.
- Fun for All Ages: The process of rolling and cutting shapes is a fantastic activity for bakers of all ages. Get your family involved in creating beautiful, edible art, fostering cherished memories in the kitchen.
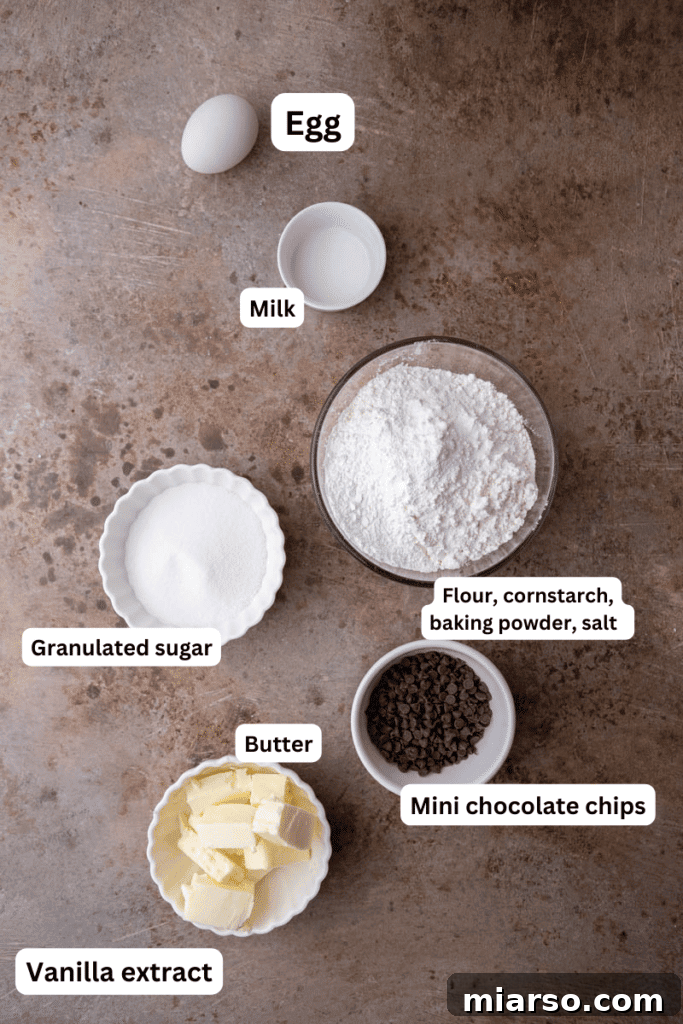
Essential Ingredients for Perfect Chocolate Chip Cut-Out Cookies
Crafting these exceptional chocolate chip cut-out sugar cookies requires a few key ingredients. Each component plays a vital role in achieving their delicious flavor, tender texture, and signature no-spread quality. Below is a detailed look at what you’ll need. For precise measurements, please refer to the complete recipe card further down the page.
- Unsalted Butter: The foundation of any great cookie! Using softened, unsalted butter is crucial. Softened butter creams beautifully with sugar, creating air pockets that contribute to a light texture. Unsalted butter allows you to control the overall saltiness of your cookies, ensuring a perfectly balanced flavor profile. Remember to take it out of the fridge at least an hour before baking.
- Granulated Sugar: This provides the primary sweetness and contributes to the cookie’s golden color and crisp edges. It also aids in the creaming process, further enhancing the texture.
- Salt: A pinch of salt is essential to balance the sweetness of the sugar and chocolate, enhancing all the other flavors in the cookie. Don’t skip it; it makes a significant difference!
- Vanilla Extract: For truly outstanding flavor, opt for high-quality pure vanilla extract. It infuses the cookies with a warm, inviting aroma and taste. Alternatively, vanilla butter emulsion can be used to prevent flavor evaporation during baking, resulting in an even more pronounced vanilla presence.
- Large Egg: The egg acts as a binder, helping to hold the dough together and adding moisture. Using a large egg at room temperature ensures it incorporates smoothly into the butter mixture, creating a more uniform dough.
- Milk: Just a tablespoon of milk is added to gently thin the dough, making it supple and easier to roll out without becoming sticky or tough. Any type of milk (whole, 2%, skim) will work.
- All-Purpose Flour: The primary structural component of our cookies. All-purpose flour is ideal for this recipe, providing the right balance of gluten development to keep the cookies sturdy enough for cutting without being overly chewy. Proper measurement (spooned into the cup and leveled) is key to avoid a dense cookie.
- Cornstarch: This is a secret weapon for no-spread cookies! Adding cornstarch to the dry ingredients helps to tenderize the cookie and, more importantly, prevents excessive spreading in the oven, ensuring your cut-out shapes remain sharp and defined.
- Baking Powder: A minimal amount of baking powder is used to give the cookies a slight lift, contributing to their light and airy texture without causing them to spread excessively.
- Mini Chocolate Chips: The star of the show! Mini chocolate chips are preferred over regular-sized chips because they distribute more evenly throughout the dough and don’t create large bulges that can distort the cookie shape during rolling and cutting. Both semi-sweet and mini milk chocolate chips work wonderfully, depending on your preference for sweetness.
Step-by-Step Guide: Crafting Easy No-Spread Chocolate Chip Cut-Out Cookies
Creating these perfect chocolate chip cut-out cookies is a straightforward process, even for novice bakers. Follow these detailed steps to achieve beautifully shaped, delicious results every time. For the full, printable recipe with precise measurements, scroll down to the recipe card.
- Prepare Your Workspace: Begin by preheating your oven to 350°F (175°C). Line a large baking sheet with parchment paper or a silicone baking mat. This prevents sticking and ensures even baking, making cleanup a breeze.
- Cream Butter and Sugar: In the bowl of a stand mixer fitted with a paddle attachment (or using a large bowl with a hand mixer), cream together the softened unsalted butter and granulated sugar on medium speed. Beat for 3-4 minutes until the mixture is light, fluffy, and pale in color. This step incorporates air, contributing to the cookies’ tender texture.
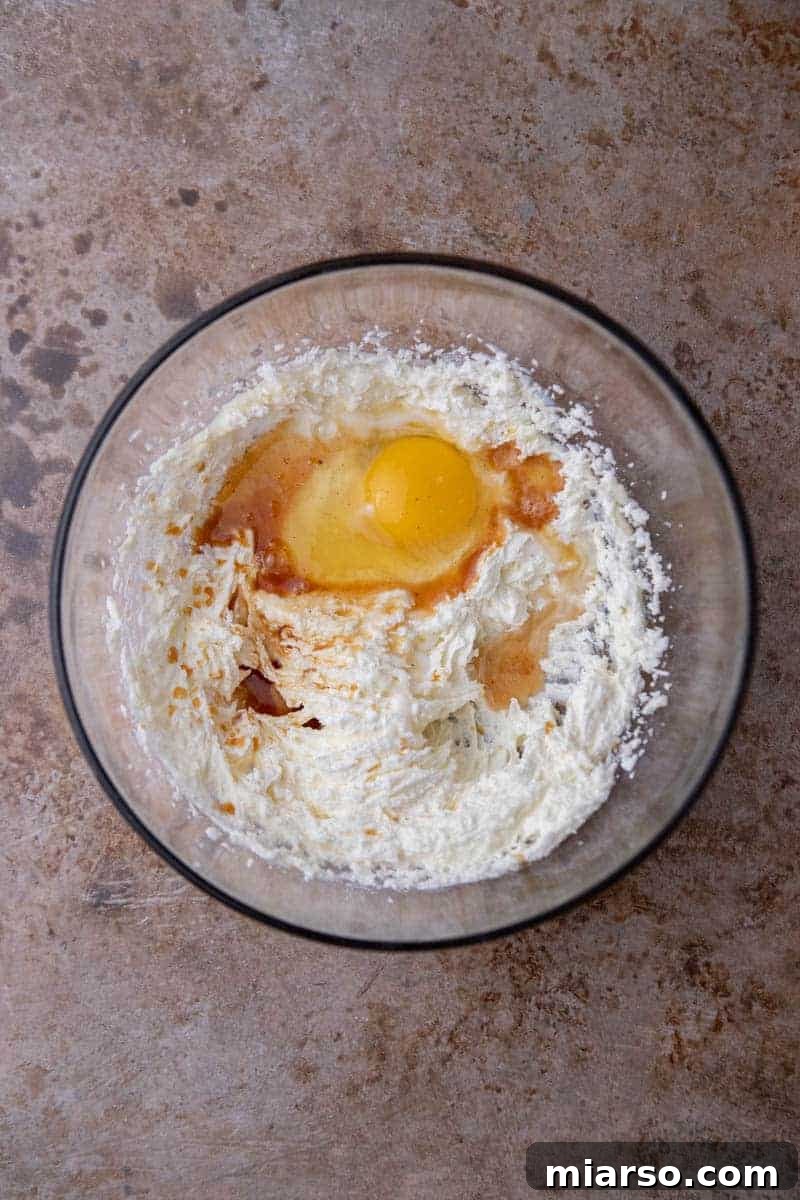
- Incorporate Wet Ingredients: Add the room temperature egg, vanilla extract (or vanilla butter emulsion), and milk to the creamed butter mixture. Continue mixing on medium speed for another 2-3 minutes until well combined and smooth. Scrape down the sides of the bowl as needed to ensure everything is fully incorporated.
- Combine Dry Ingredients: In a separate medium bowl, whisk together the all-purpose flour, cornstarch, and baking powder. This ensures that the leavening agents and cornstarch are evenly distributed throughout the dry mixture, which is crucial for uniform texture and preventing spreading.
- Add Dry to Wet: Gradually add the dry ingredients to the wet ingredients in the stand mixer. Mix on low speed just until the flour mixture has almost disappeared. Be careful not to overmix the dough, as overmixing can develop too much gluten, resulting in tough cookies. Stop as soon as no pockets of dry flour remain.
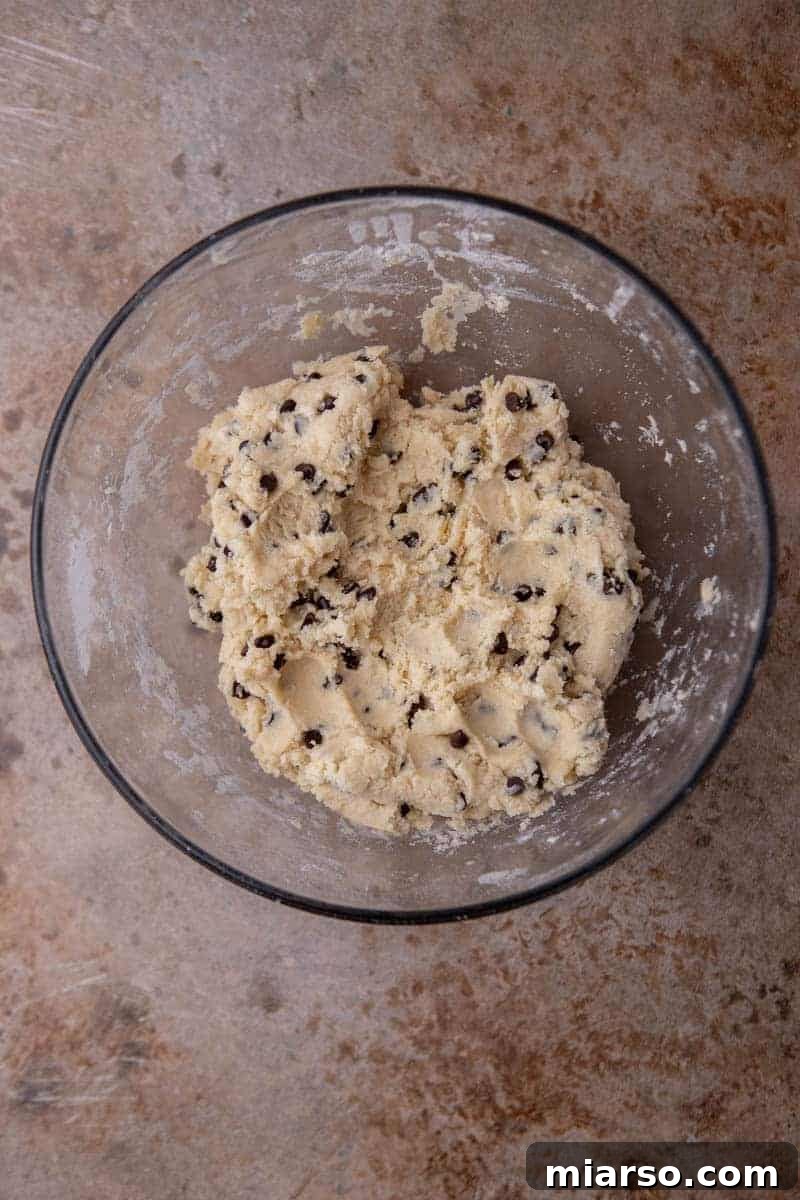
- Fold in Chocolate Chips: Gently fold in the mini chocolate chips using a spatula. Distribute them evenly throughout the dough without crushing them. The mini chips are ideal here as they integrate seamlessly without interfering with the rolling and cutting process.
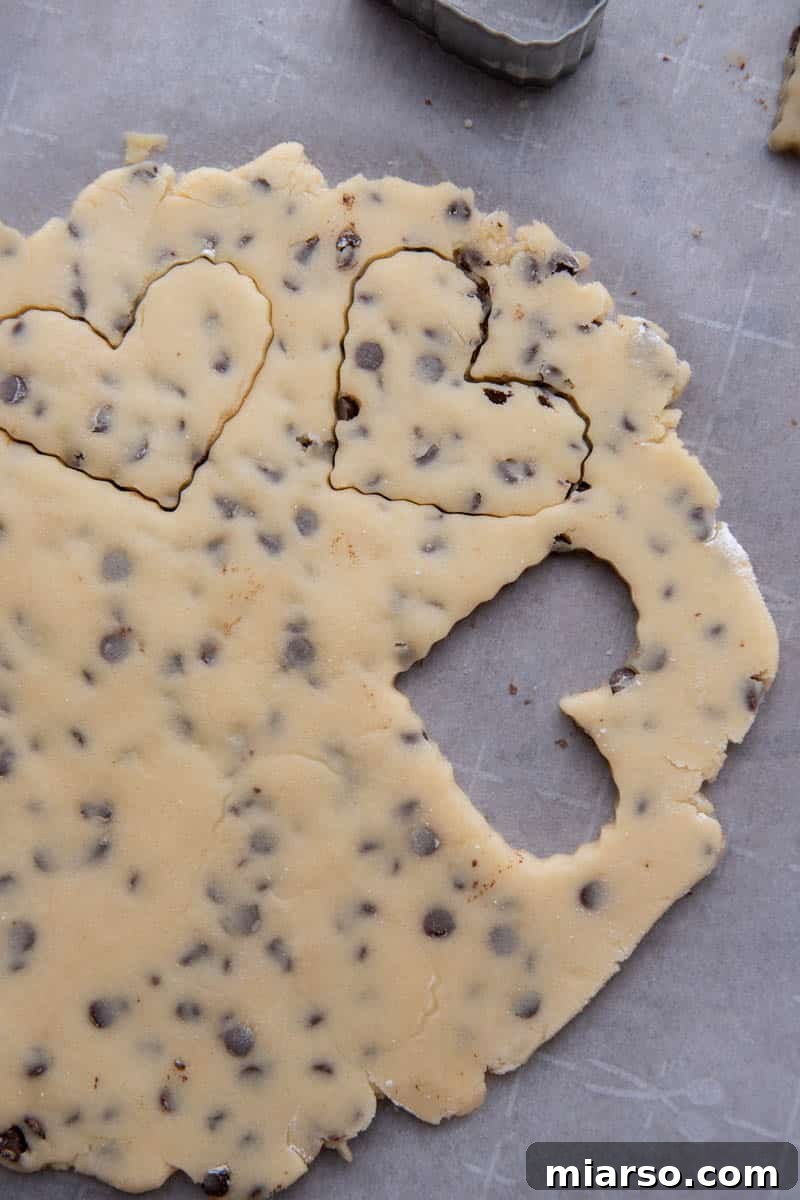
- Roll Out the Dough: Lightly dust a clean surface or a large piece of parchment paper with a small amount of flour. Place half of your cookie dough on the floured surface and sprinkle a little more flour on top. Using a rolling pin, roll the dough evenly to about ⅓ inch (approximately 8-9 mm) thickness. Aim for consistent thickness across the entire sheet of dough for even baking.
- Cut and Bake: Use your favorite cookie cutters to create unique shapes. Carefully transfer the cut-out shapes to your prepared baking sheet, leaving about an inch of space between each cookie. For larger cookies, bake for 9-10 minutes. For smaller, more delicate shapes, bake for 6-7 minutes. The cookies should be lightly golden at the edges but still appear soft in the center.
- Cool Completely: Once baked, remove the cookies from the oven and let them cool on the baking sheet for a few minutes before transferring them to a wire rack to cool completely. Allowing them to cool on the rack prevents them from becoming soggy and helps them set properly before decorating.
- Decorate (Optional): Once fully cooled, your beautiful chocolate chip cut-out cookies are ready to be decorated with your favorite royal icing, buttercream, or a simple chocolate glaze. Enjoy your perfectly shaped, delectable creations!

Frequently Asked Questions (FAQ) About Chocolate Chip Cut-Out Cookies
Here are some common questions and helpful answers to ensure your chocolate chip cut-out cookie baking experience is a complete success:
CAN THIS DOUGH BE MADE AHEAD OF TIME?
Absolutely! This cookie dough is excellent for preparing in advance. Wrap the dough tightly in plastic wrap, ensuring no air can reach it, then place it in an airtight container in the refrigerator for up to 3-4 days. When you’re ready to bake, let the dough sit at room temperature for about 15-20 minutes to soften slightly, making it easier to roll. If you find your dough has become a bit dry after storage, you can knead in a few drops of milk or heavy cream to restore its pliability.
HOW TO STORE CUT-OUT COOKIES?
Once baked and completely cooled, these cookies can be stored in an airtight container at room temperature for up to one week. To extend their freshness, you can store them in the refrigerator for an additional few days. If decorated with royal icing, ensure the icing is fully hardened before stacking to prevent smudging.
CAN I FREEZE THESE COOKIES?
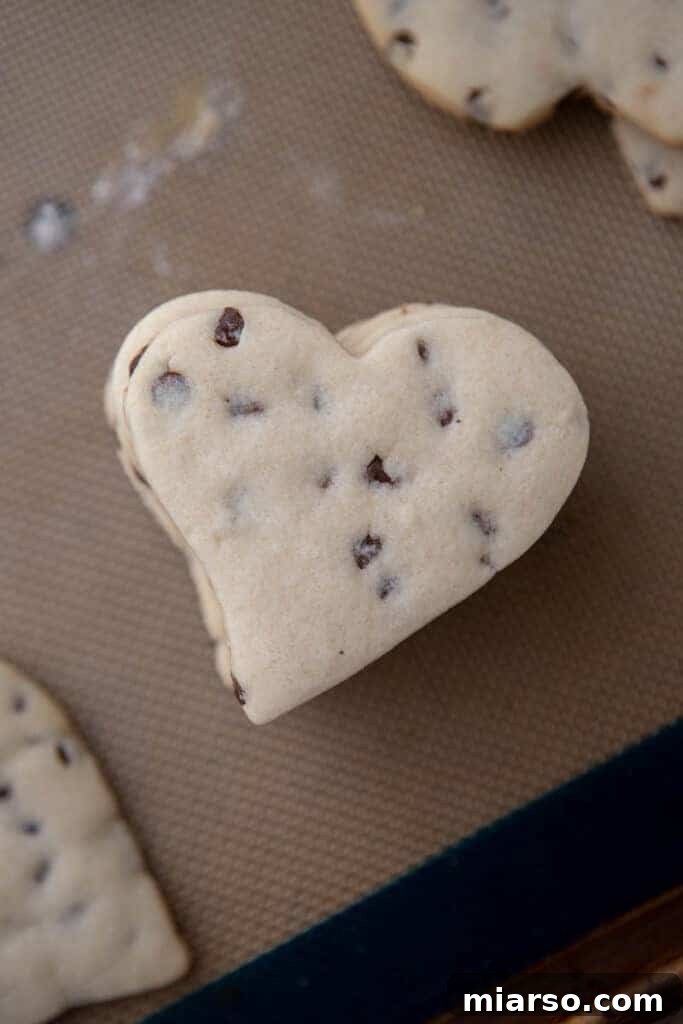
Yes, both baked and unbaked cookies can be frozen. For unbaked dough, wrap it tightly in plastic wrap and then in aluminum foil, or place it in a freezer-safe bag. It will last for up to 3 months. Thaw in the refrigerator overnight before rolling and baking. For baked cookies, allow them to cool completely before layering them with parchment paper in an airtight freezer-safe container. They will stay fresh for up to 3 months. Thaw at room temperature before serving or decorating.
WHY ARE MY COOKIES SPREADING?
If your cookies are spreading, there are a few common culprits. Firstly, ensure your butter isn’t too soft or melted; it should be softened but still firm enough to hold its shape. Over-creaming butter and sugar can also incorporate too much air, leading to spreading. Incorrect flour measurement (too little flour) or omitting cornstarch, which is key to this no-spread recipe, will cause issues. Always spoon and level your flour, don’t scoop directly from the bag. Finally, ensure your oven temperature is accurate; an oven that’s not hot enough can also contribute to spreading before the cookies set.
CAN I USE REGULAR CHOCOLATE CHIPS INSTEAD OF MINI?
While mini chocolate chips are recommended for their even distribution and ease of cutting, you can certainly use regular-sized chocolate chips. Just be aware that they might make the dough slightly harder to roll out smoothly and cut cleanly, potentially resulting in less precise shapes. If using regular chips, chop them roughly into smaller pieces before adding them to the dough for better results.
Creative Ways to Decorate Your Chocolate Chip Cut-Out Cookies
These versatile chocolate chip cut-out cookies are a blank canvas, eagerly awaiting your creative touch! While they are absolutely delicious on their own, decorating them adds an extra layer of fun and makes them perfect for any celebration. Here are a few ideas to get you started:
- Cookie Icing that Hardens: This is a classic choice for intricate designs and a smooth, glossy finish. A good royal icing recipe that hardens will allow you to create detailed patterns, flood cookies with color, and stack them without worry. It creates a beautiful, professional look.
- Buttercream Frosting: For a softer, creamier texture and a richer flavor, buttercream frosting is an excellent option. You can pipe it onto your cookies using various tips to create swirls, rosettes, or simple borders. It’s wonderfully adaptable and can be flavored in countless ways.
- A Simple Chocolate Glaze: To enhance the chocolate flavor, consider a quick and easy chocolate glaze. A drizzle or a full dip will add an elegant finish and an extra layer of chocolatey goodness. This is perfect if you want to keep decorations minimal but impactful.
- Peanut Butter Buttercream: If you’re a fan of the chocolate and peanut butter combination, this is a must-try! A creamy peanut butter buttercream adds a nutty depth that pairs beautifully with the chocolate chips in the cookies.
- Sprinkles and Candies: No matter which frosting you choose, sprinkles, colored sugars, or small candies are always a fun addition. Add them while the frosting is still wet to ensure they stick.
- Melted Chocolate Drizzle: For a simple yet effective decoration, melt some extra chocolate (white, dark, or milk) and drizzle it over your cooled, unfrosted cookies. This adds visual appeal and another layer of chocolate flavor with minimal effort.

Chocolate Chip Cut-Out Cookies Recipe
No-Spread Chocolate Chip Cut-Out Cookies
30 mins
9 mins
39 mins
45 cookies
Print Recipe
Ingredients
- 1 cup unsalted butter softened
- 1 cup granulated sugar
- 1/2 tsp salt
- 1 tbsp vanilla extract
- 2 large eggs at room temperature
- 4 cups all-purpose flour
- 2 tbsp cornstarch
- 1/8 tsp baking powder
- 1 tbsp milk
- 1 cup mini chocolate chips
Instructions
-
Preheat the oven to 350°F (175°C) and line a baking sheet with parchment paper. Set aside.
-
In a large bowl or in the bowl of your stand mixer, cream the softened butter and granulated sugar together on medium speed for 3-4 minutes until the mixture is light, fluffy, and pale.
-
Add the room temperature eggs, vanilla extract, and milk to the creamed butter mixture. Mix for another 2-3 minutes until everything is well combined and smooth.
-
In a separate bowl, whisk together the all-purpose flour, cornstarch, and baking powder. Gradually add these dry ingredients to the wet ingredients in the mixer. Mix on low speed just until the flour mixture disappears and no dry streaks remain. Be careful not to overmix.
-
Gently fold in the mini chocolate chips with a spatula until evenly distributed throughout the dough.
-
On a lightly floured surface or a piece of parchment paper, roll out the cookie dough to about ⅓ inch (approximately 8-9 mm) thickness. Use your favorite cookie cutters to cut out shapes.
-
Carefully transfer the cut-out cookies to the prepared baking sheet. Bake larger cookies for 9-10 minutes and smaller cookies for 6-7 minutes, or until the edges are lightly golden and the centers are just set.
-
Allow the cookies to cool on the baking sheet for a few minutes before transferring them to a wire rack to cool completely. Once fully cooled, they are ready to decorate or enjoy!
Notes
Nutrition
Carbohydrates: 16g |
Protein: 2g |
Fat: 5g |
Saturated Fat: 3g |
Polyunsaturated Fat: 0.2g |
Monounsaturated Fat: 1g |
Trans Fat: 0.2g |
Cholesterol: 19mg |
Sodium: 65mg |
Potassium: 17mg |
Fiber: 0.4g |
Sugar: 7g |
Vitamin A: 146IU |
Vitamin C: 0.02mg |
Calcium: 10mg |
Iron: 1mg
Nutrition information is automatically calculated, so should only be used as an approximation.

Shop This Recipe: Tools & Ingredients for Success
To help you create these delightful chocolate chip cut-out cookies with ease, here are some recommended products. Using the right tools and quality ingredients can make all the difference in your baking journey. This post may contain affiliate links, meaning that at no cost to you, I will get a small percentage of every purchase you make!
If you enjoyed this chocolate chip cut-out cookies recipe, make sure to pin it for later!