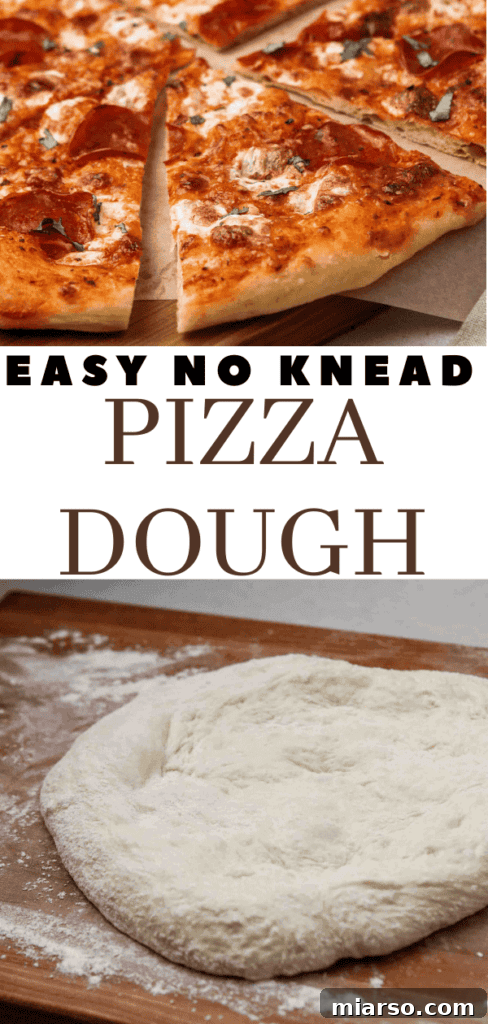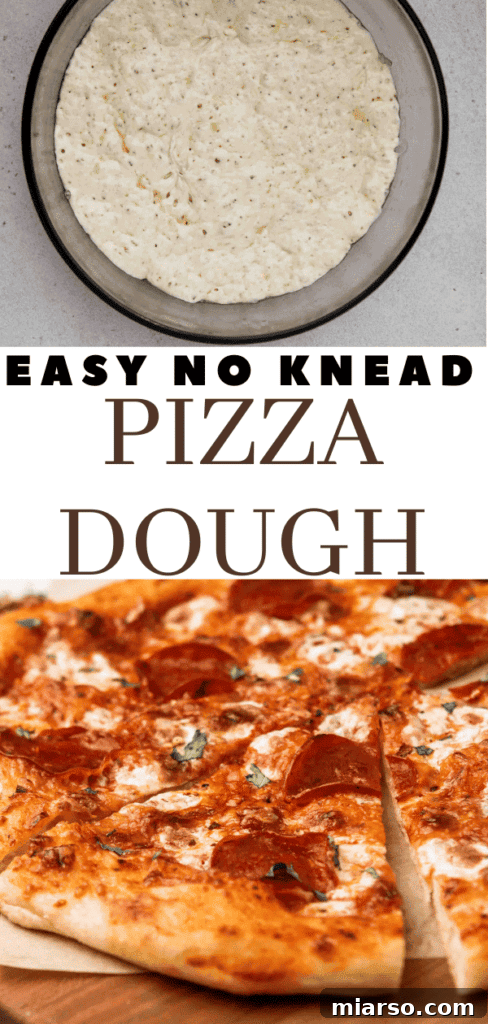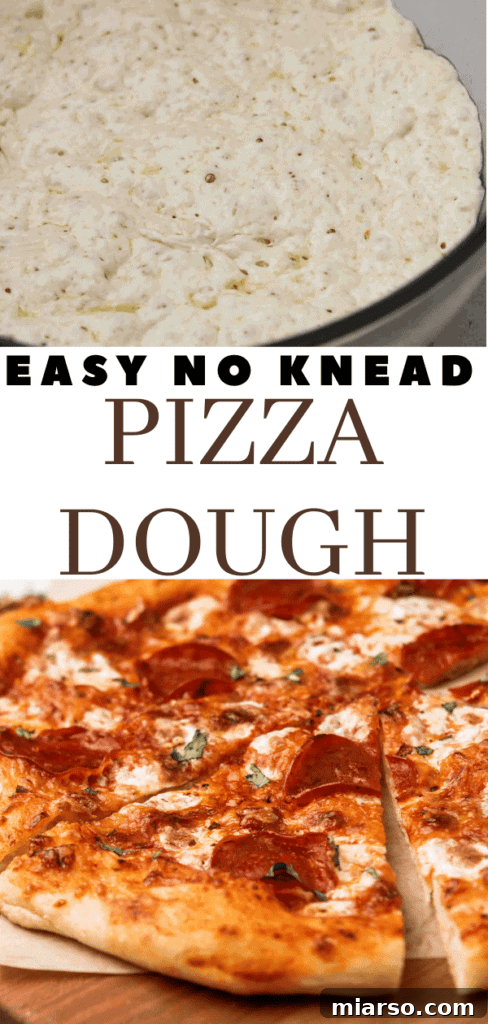
Have you ever craved homemade pizza but felt daunted by the lengthy, often messy process of kneading dough? Imagine a world where creating a perfectly crispy, chewy, and flavorful pizza crust requires just four simple ingredients and minimal effort. This is that world! Our no-knead pizza dough recipe is an absolute game-changer, designed for everyone from novice bakers to seasoned home cooks who are short on time but refuse to compromise on taste. Forget the endless kneading and sticky countertops; this foolproof method guarantees delicious, artisanal-quality pizza with hardly any hands-on work. It’s the ultimate secret weapon for quick weeknight dinners, spontaneous pizza parties, or simply satisfying that deep-seated craving for authentic, homemade goodness. Get ready to transform your pizza nights forever!
Sign Up to Our Mailing List for a Free Weekly Meal Planner & Recipe Card!
Sign up to receive our weekly meal planner and recipe cards directly to your inbox!
We respect your privacy and will never share your email. You can unsubscribe at any time.
Why Homemade Pizza is Always a Good Idea
The aroma of freshly baked pizza wafting through the house is pure comfort. For years, homemade pizza has been a staple in my home, especially after my sister and I moved out. It became our go-to for cozy evenings, a delicious way to unwind and enjoy a meal together. This consistent tradition led me on a quest to perfect the ultimate pizza crust. We developed high standards, expecting nothing less than a crust that was spot-on every single time – fluffy yet crispy, with an incredible depth of flavor.
After countless experiments and tweaks over the past seven years, I discovered the magic of the no-knead method. What started as a way to save time quickly became our preferred method because the results were indistinguishable from, if not superior to, traditional kneaded dough. The convenience, combined with the phenomenal texture and taste, made this no-knead pizza dough an indispensable part of our culinary routine.
Unlocking the Secret: The Best No-Knead Pizza Dough
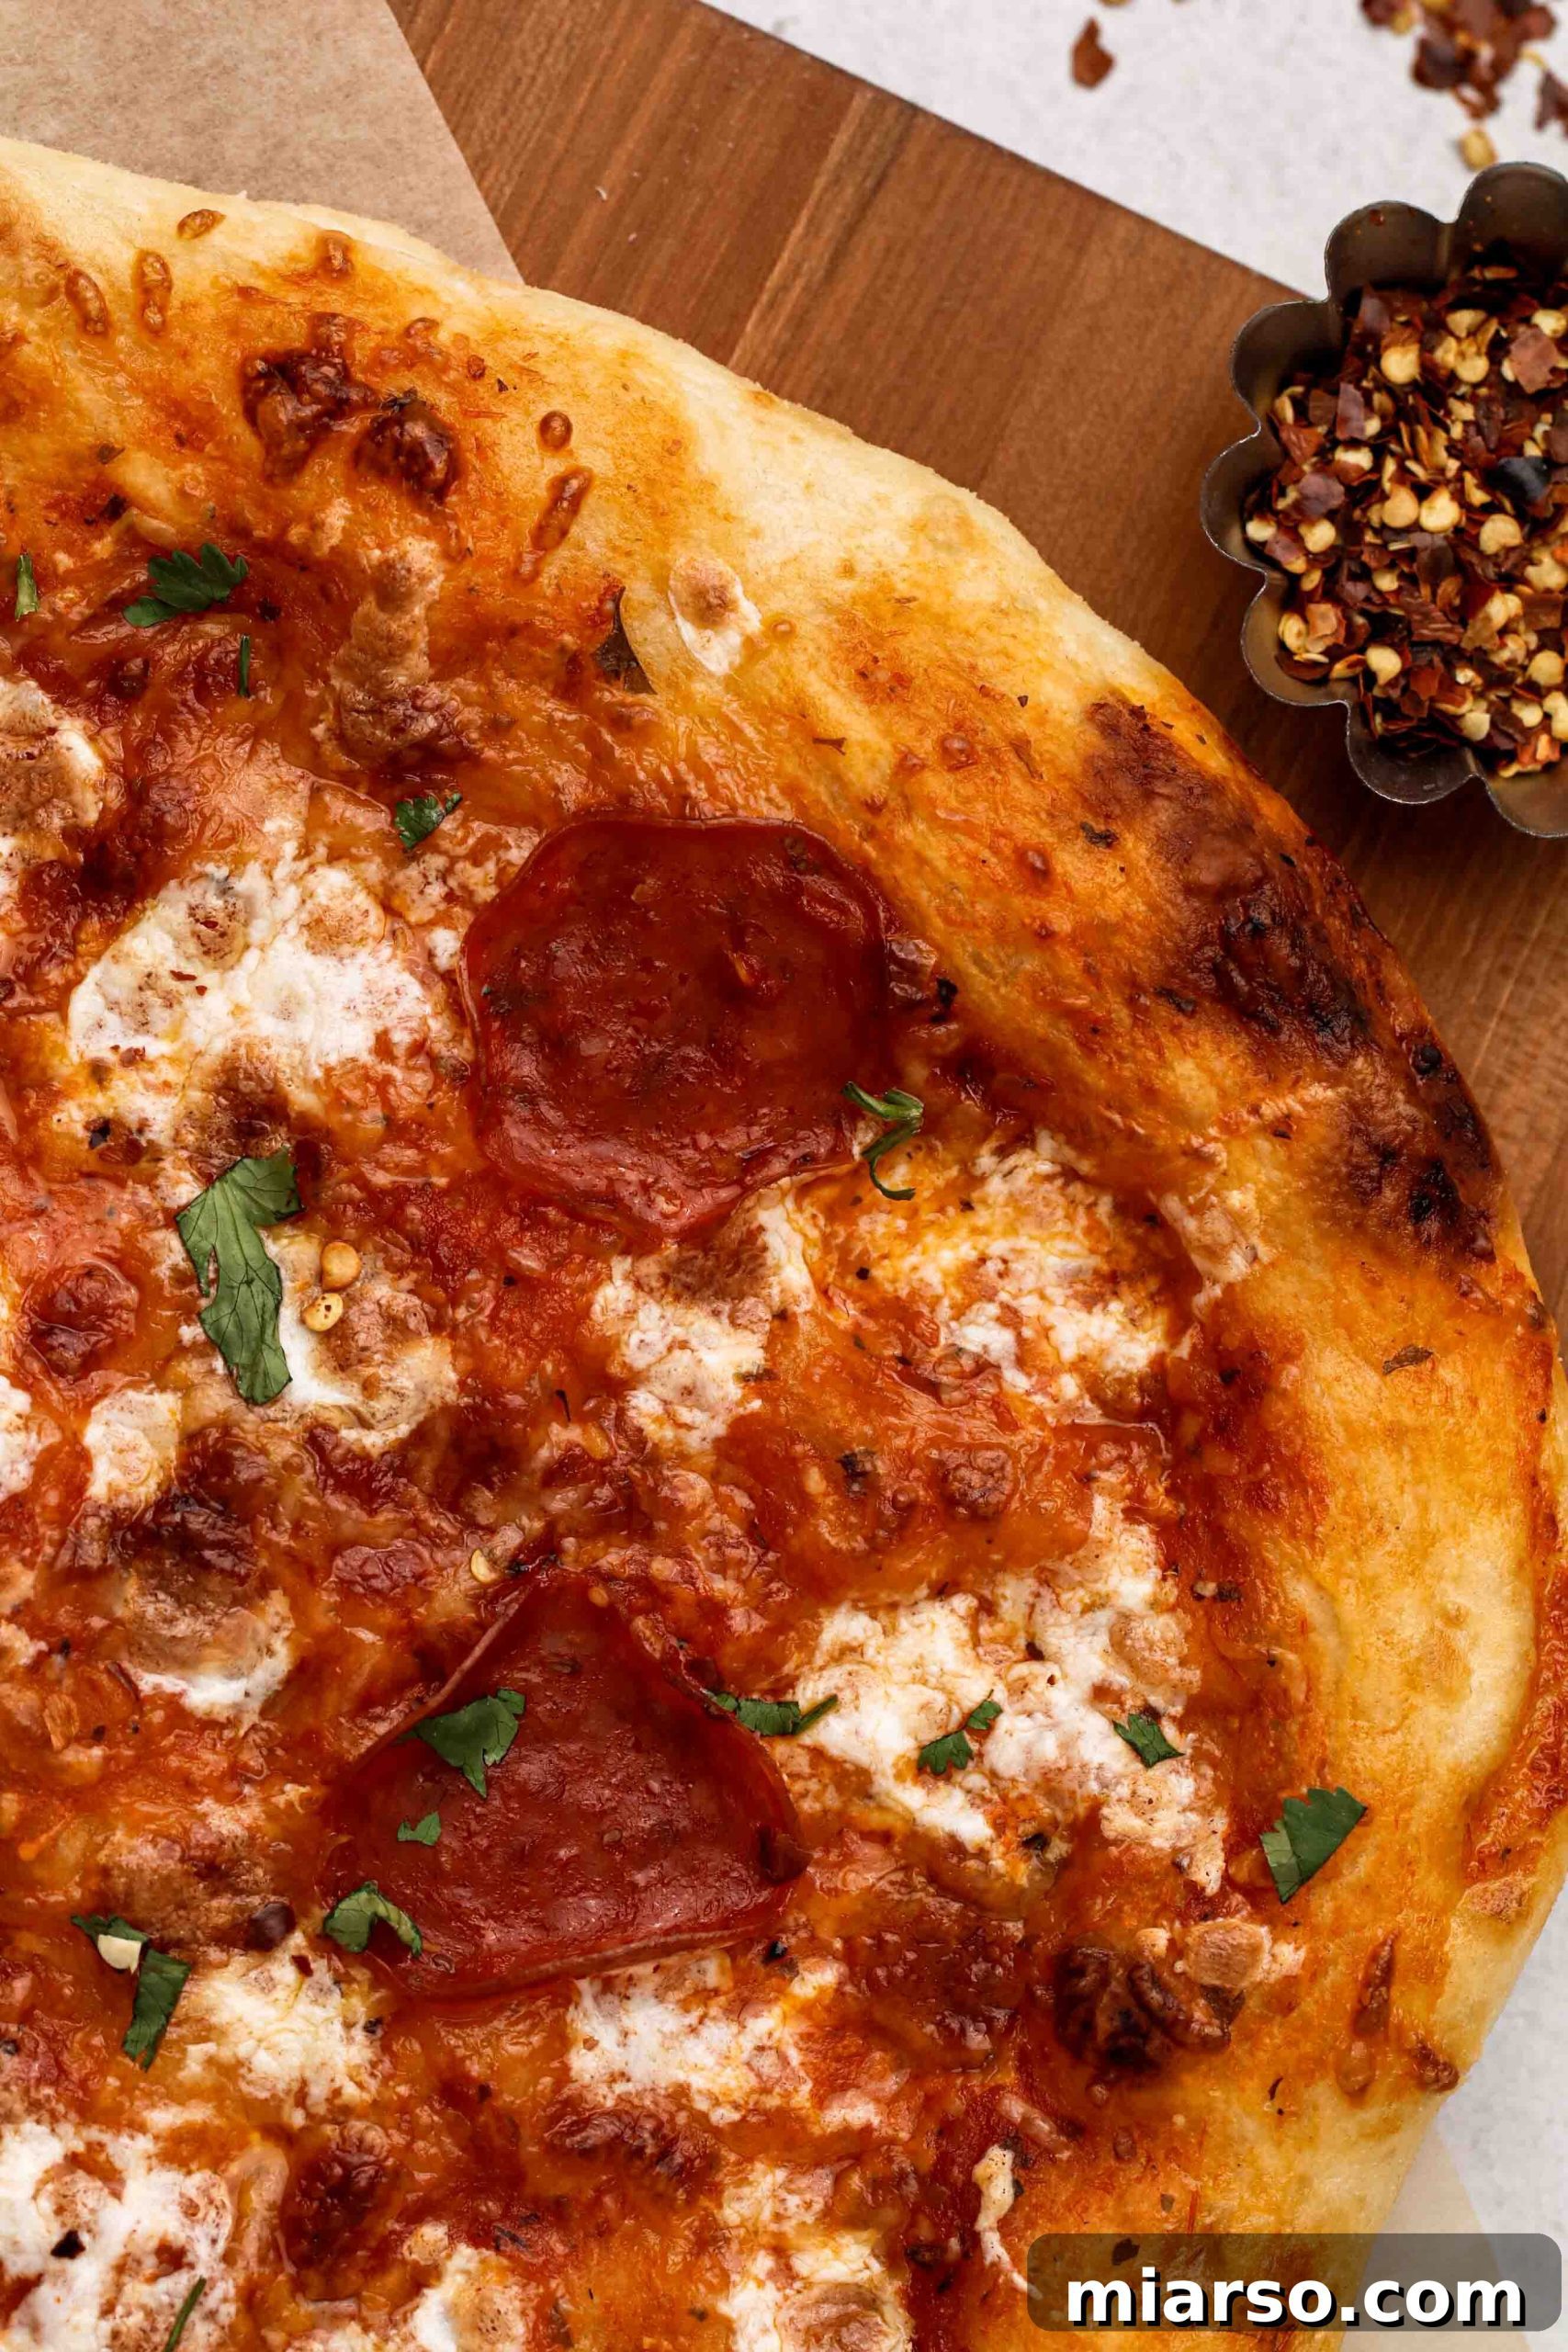
This isn’t just a recipe; it’s a revelation. Our no-knead pizza dough is truly the best because it delivers exceptional results with minimal fuss. The beauty lies in its simplicity. Instead of vigorous kneading, time does all the heavy lifting, allowing the gluten to develop naturally through a long, slow fermentation process. This not only saves you precious time and effort but also deepens the flavor profile of the dough, resulting in a complex, yeasty taste that’s hard to achieve with quicker methods.
Beyond saving your hands from kneading fatigue, this recipe minimizes cleanup. Everything comes together in a single bowl, from mixing to rising. This “one-bowl wonder” approach means less washing up, leaving you more time to enjoy your delicious creation. I remember throwing this dough together in the morning before work (ah, pre-COVID days!), letting it rise slowly in the turned-off oven until I returned. By evening, it was perfectly proofed and ready to be shaped, topped, and baked into an irresistible dinner.
What Makes This No-Knead Pizza Dough Recipe Stand Out?
This remarkable no-knead pizza dough boasts several distinct advantages that elevate it above other recipes:
- Effortless Preparation: Requires less than 5 minutes of active, hands-on work. Most of the magic happens while the dough rests, allowing you to focus on other tasks.
- No Special Equipment Needed: Forget stand mixers, dough hooks, or fancy bread machines. All you need is a large bowl, measuring cups, and a sturdy wooden spoon. Simplicity at its best!
- Minimal Cleanup: As a “one-bowl pizza dough” recipe, all mixing and initial rising occur in the same vessel. This significantly reduces post-baking cleanup, making your life easier.
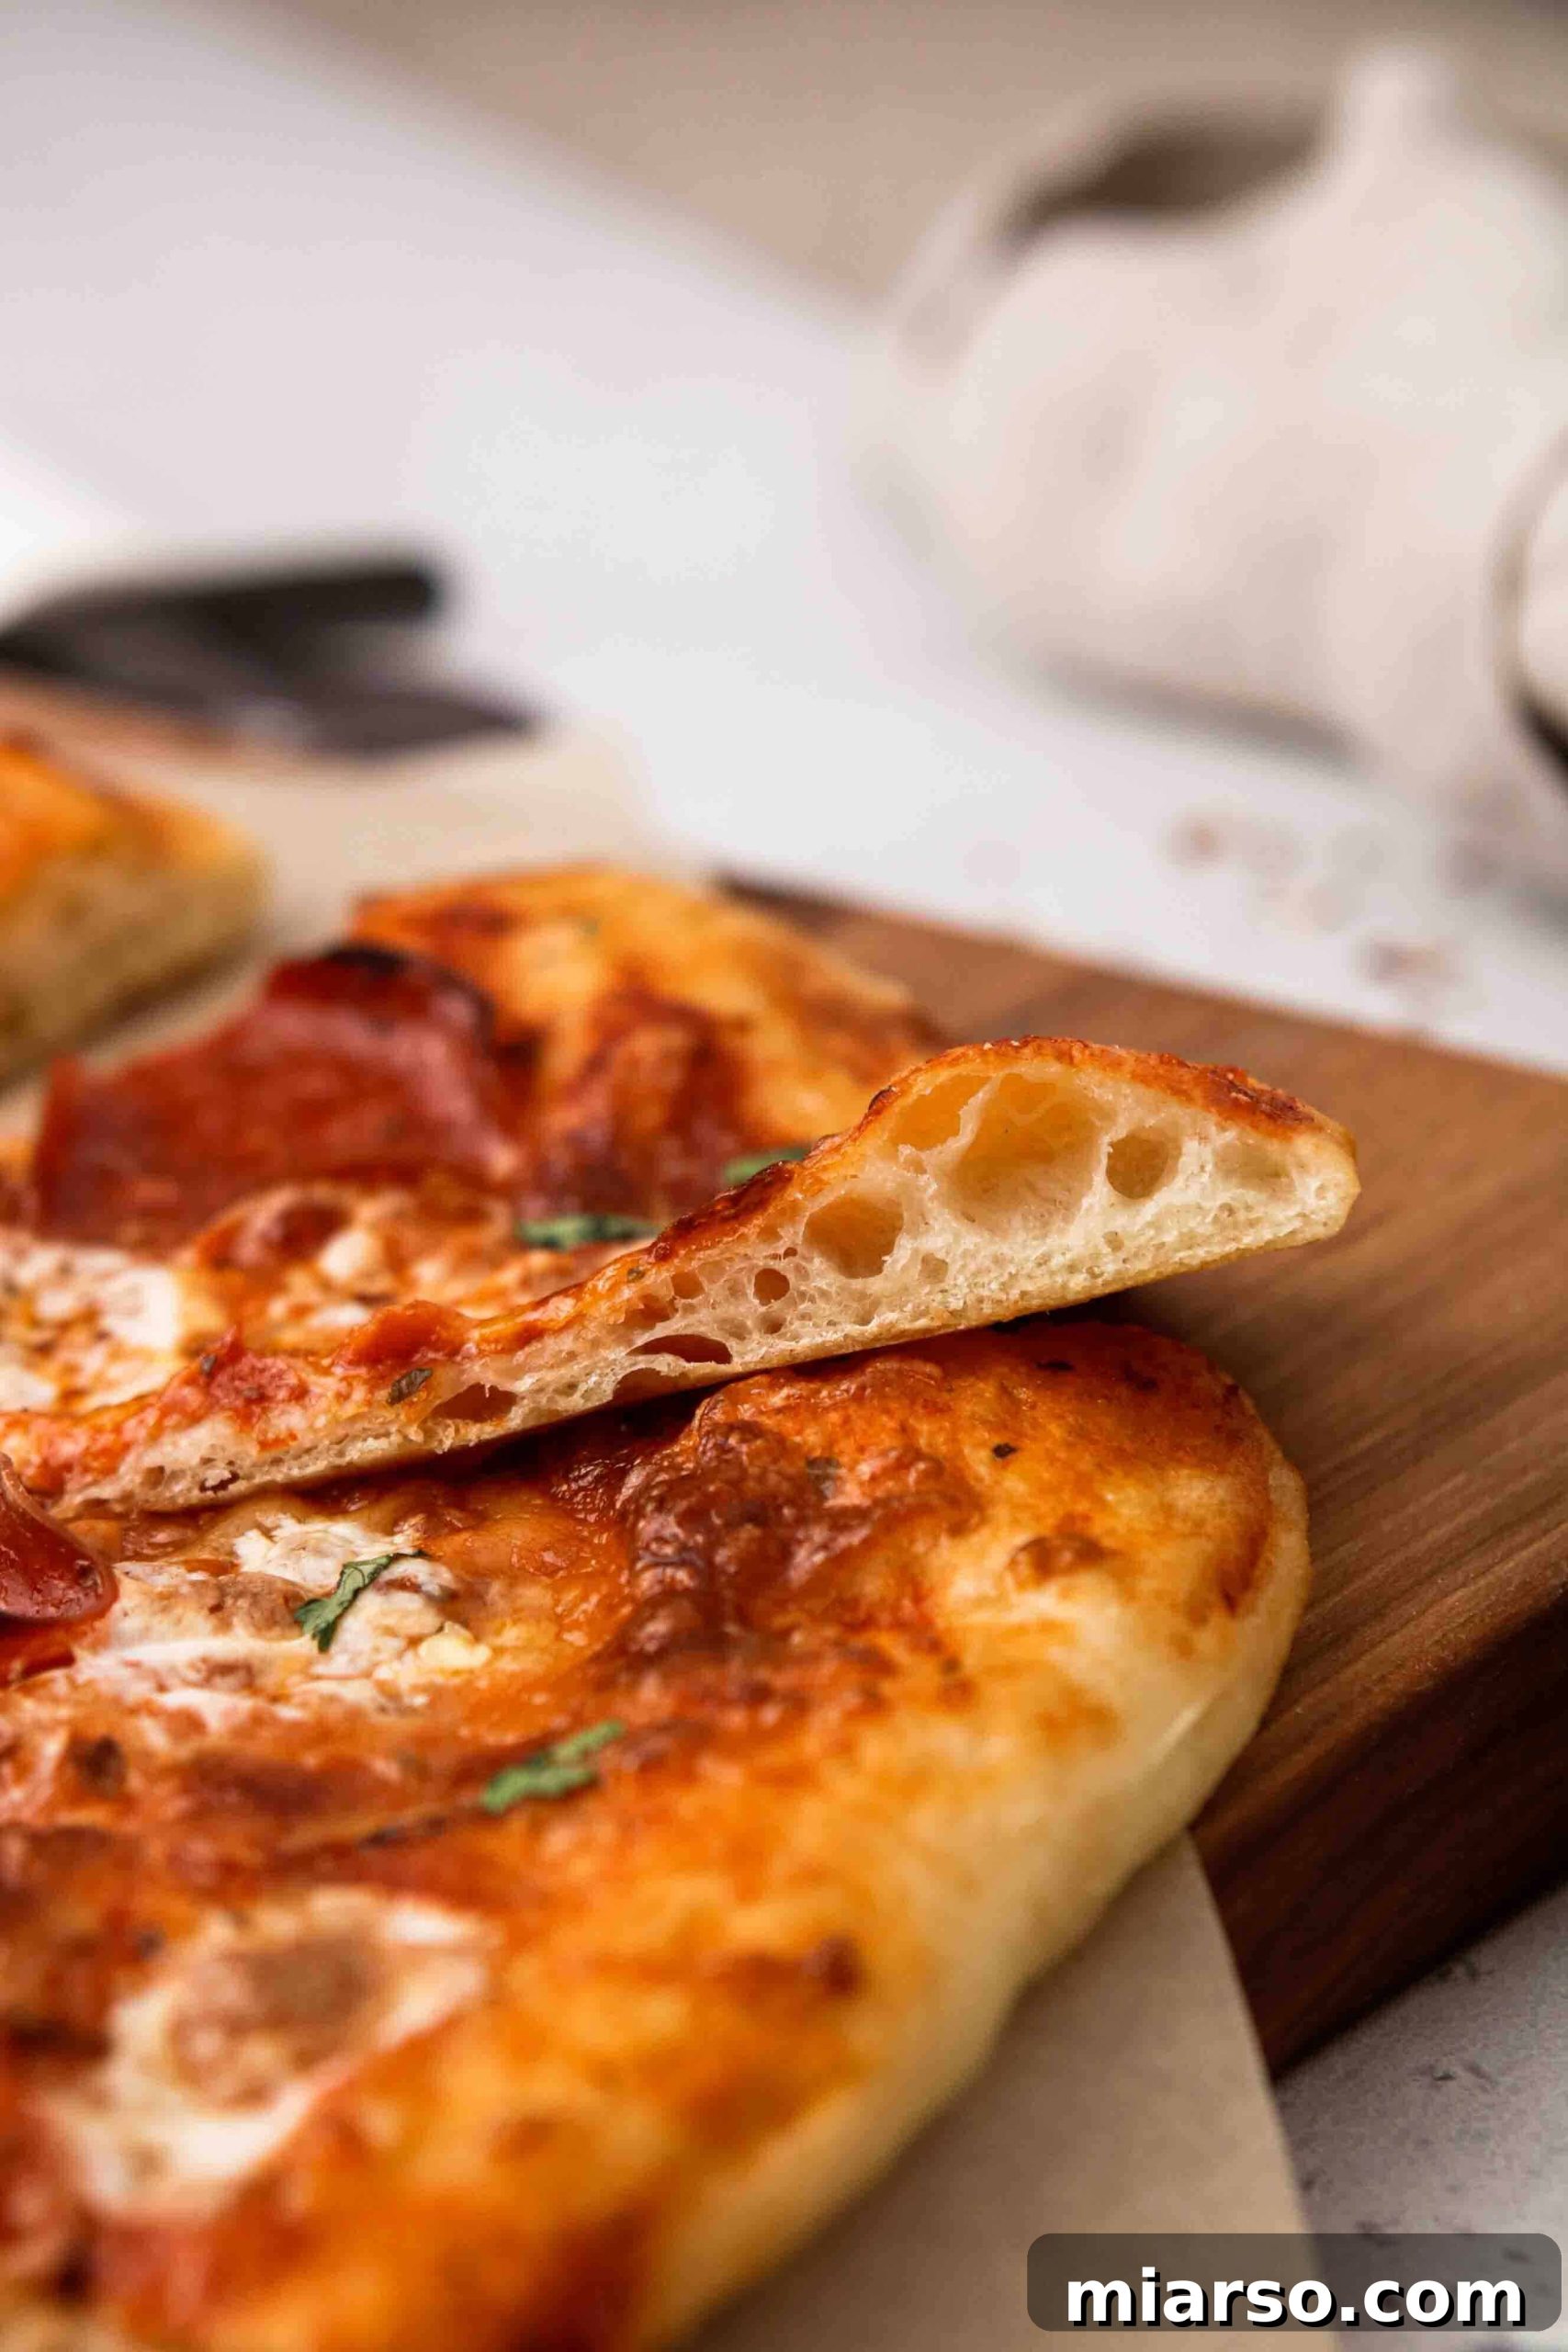
- Perfect Texture Balance: Achieve a crust that is wonderfully fluffy on the inside and irresistibly crispy on the outside. It’s the best of both worlds!
- Rich & Chewy: The extended fermentation process develops the gluten naturally, contributing to a wonderfully chewy texture and a profound, savory flavor that truly enhances your pizza.
- Excellent for Meal Prep: This dough can be prepared ahead of time and stored in the fridge or freezer, making it incredibly convenient for future pizza cravings.
More Pizza Recipes You’ll Absolutely Love!
Once you master this versatile no-knead pizza dough, a world of delicious pizza creations awaits. Explore these other fantastic pizza recipes to inspire your next meal:
- Quick Spinach Pizza With White Sauce
- Creamy Garlic White Pizza Sauce
- No-Fail Pizza Dough for Two (Small Batch)
Essential Ingredients for the Best No-Knead Pizza Dough
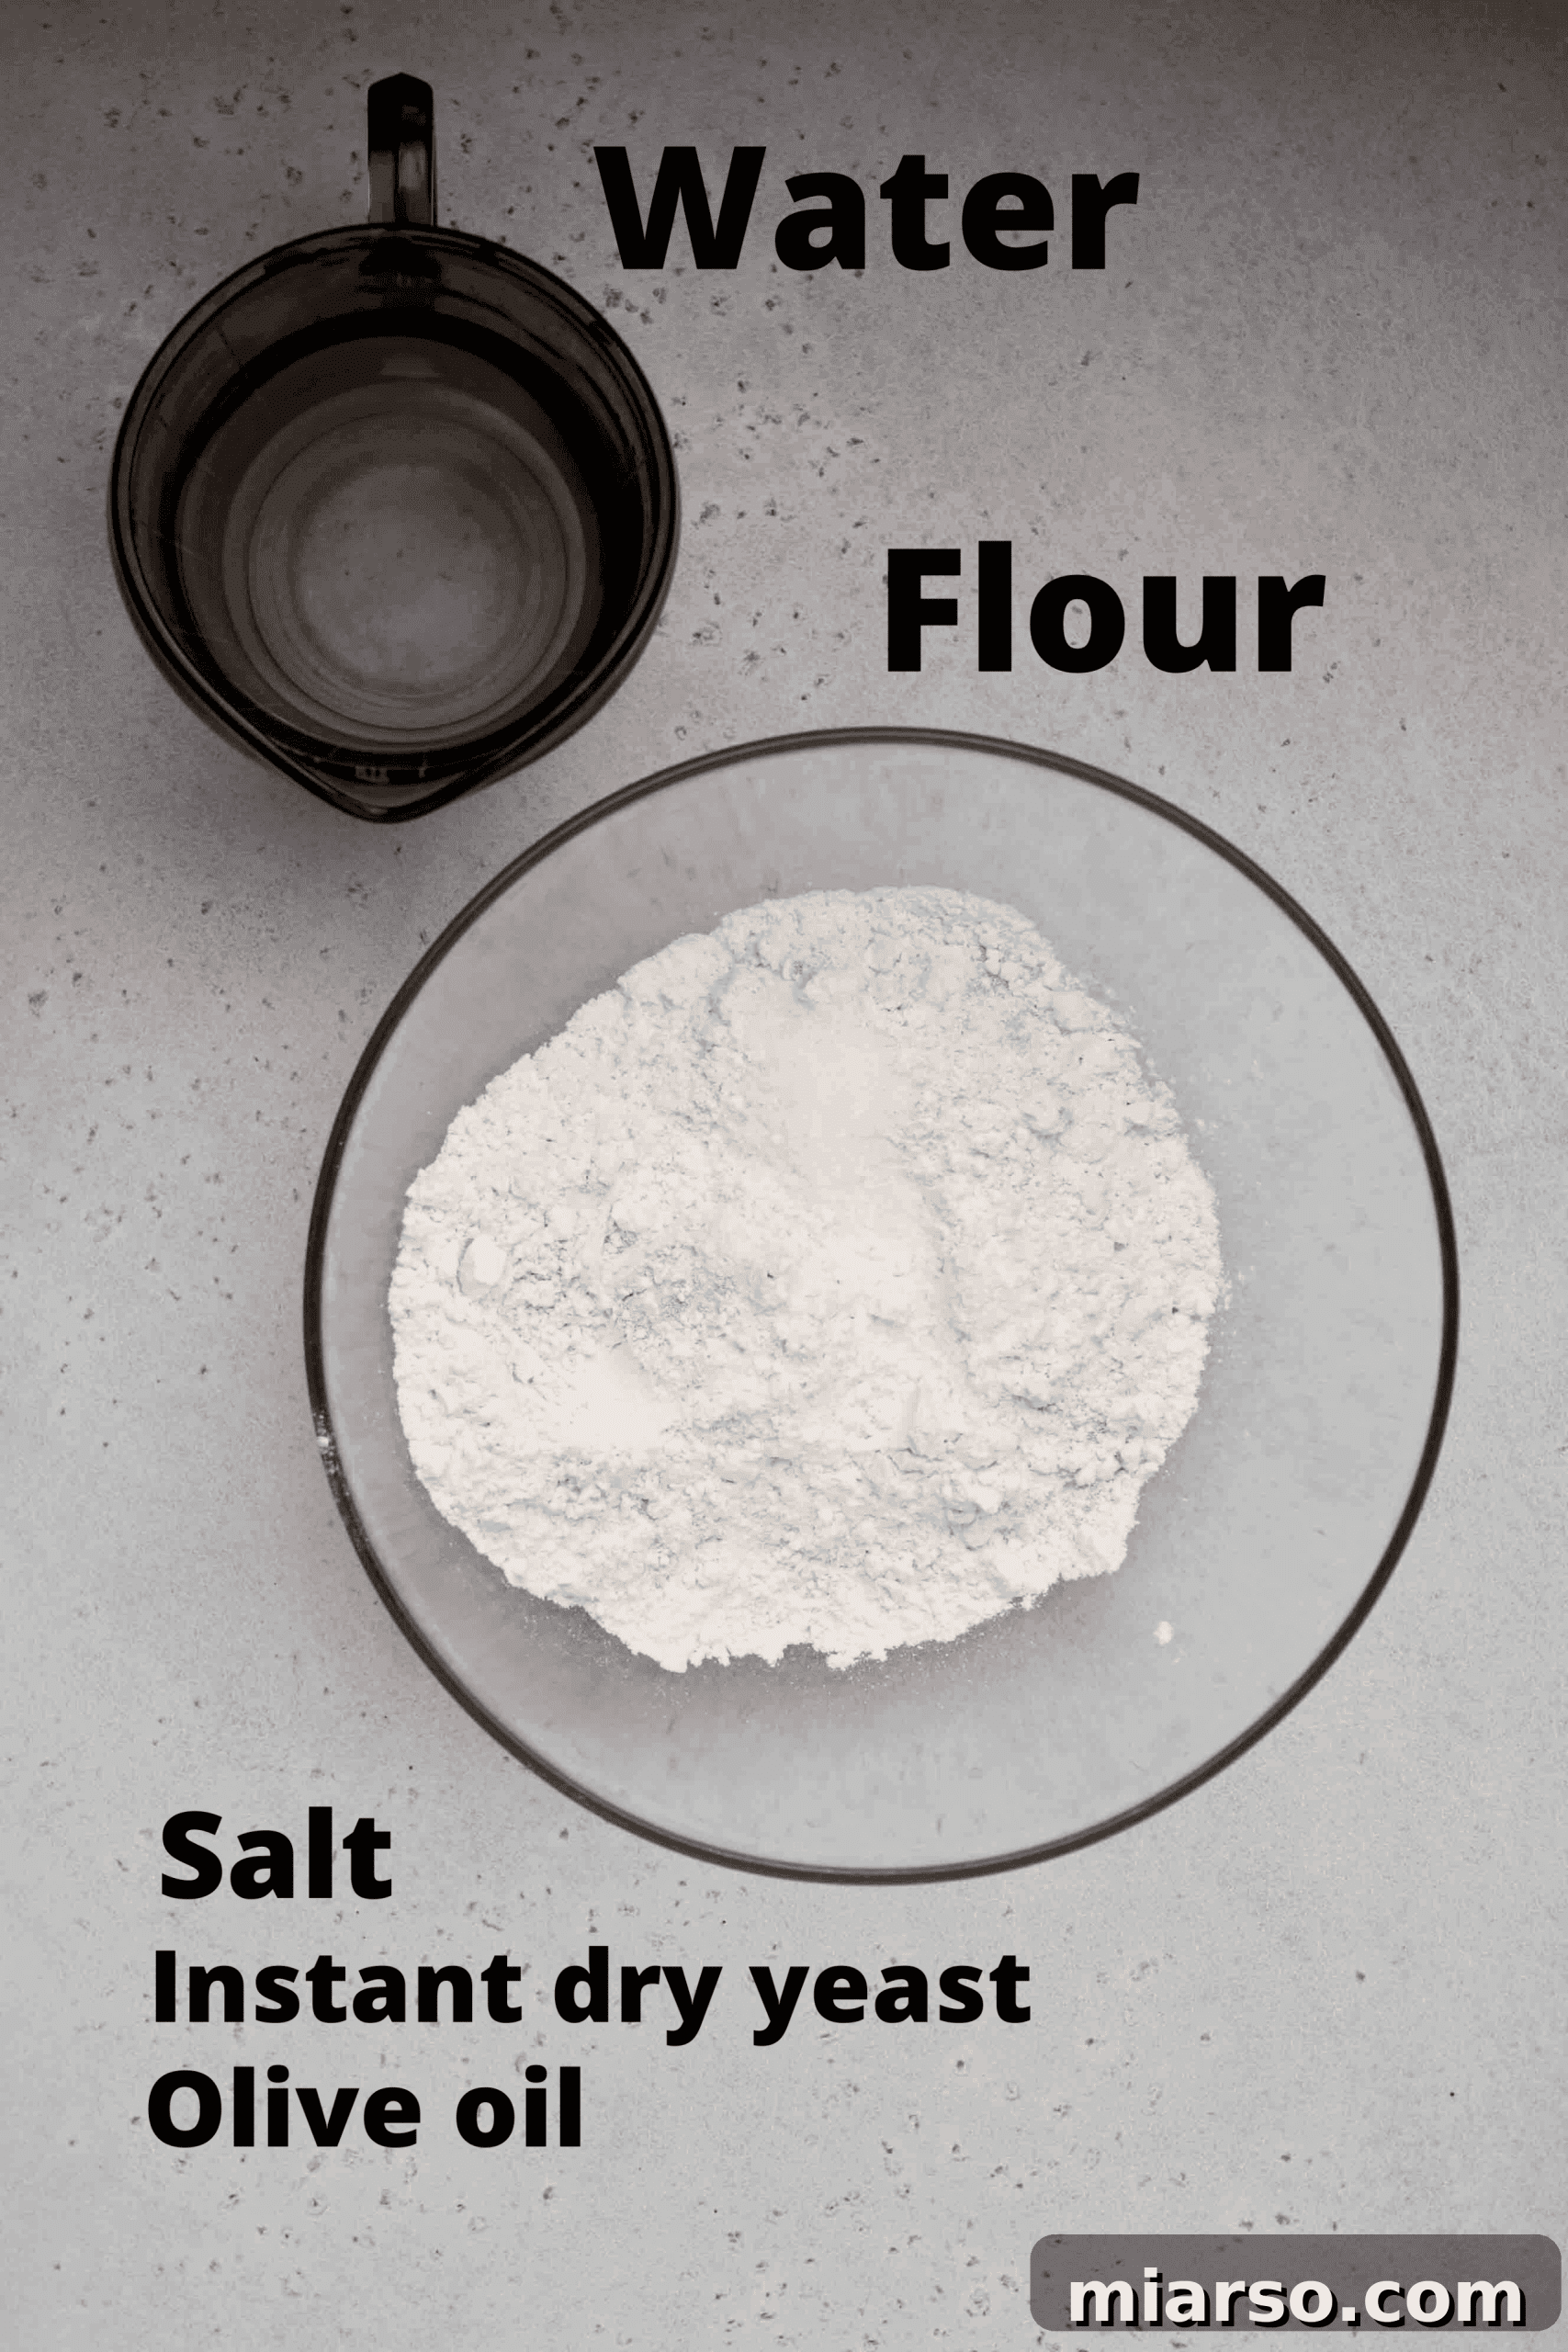
Creating this incredible no-knead pizza dough requires just a handful of basic ingredients, most of which you likely already have in your pantry. The quality of these simple components plays a crucial role in the final texture and flavor of your crust. Below, we’ll delve into each ingredient, but remember to scroll down to the full recipe card for precise measurements.
- Flour: All-purpose flour works beautifully for this easy pizza dough, providing a tender yet sturdy crust. For a slightly chewier texture, you could experiment with bread flour, which has a higher protein content. Just be aware that different flours absorb water differently, so you might need to adjust the liquid slightly.
- Yeast: I prefer instant dry yeast because it can be mixed directly with the dry ingredients without needing to be proofed separately in water. If you only have active dry yeast, you’ll want to proof it first by dissolving it in the lukewarm water for 5-10 minutes until foamy, ensuring it’s active before combining with the flour. This ensures your dough rises properly and develops its characteristic airy texture.
- Water: Lukewarm water is essential for activating the yeast without killing it. Water that’s too cold will delay the rising process, while water that’s too hot can destroy the yeast, preventing the dough from rising altogether. Aim for a temperature between 105-115°F (40-46°C). The hydration level in this recipe is key to the dough’s wet, sticky consistency, which contributes to its amazing chewiness.
- Olive Oil: A drizzle of olive oil in the bowl and on the dough itself is crucial. It helps prevent the dough from drying out and forming a crust during its long rise, ensuring a supple and pliable texture. It also imparts a subtle richness and classic Mediterranean flavor to the finished crust, contributing to its golden hue when baked.
- Salt: More than just a seasoning, salt plays several vital roles in dough making. It enhances the flavor of the pizza crust, balancing the sweetness of the yeast and flour. Critically, salt also regulates yeast activity, slowing down fermentation to allow for better flavor development and gluten structure. Without salt, your dough might rise too quickly and taste bland.
How to Make No-Knead Pizza Dough at Home: A Step-by-Step Guide
Preparing this homemade no-knead pizza dough is wonderfully straightforward. Follow these simple steps for a truly delicious result. For the complete, detailed recipe with exact measurements, please refer to the recipe card below.
- Combine Dry Ingredients: In a large mixing bowl, start by whisking together the flour, yeast, and salt. Ensure these dry ingredients are well combined, as this provides a uniform base for the dough and helps distribute the yeast effectively.
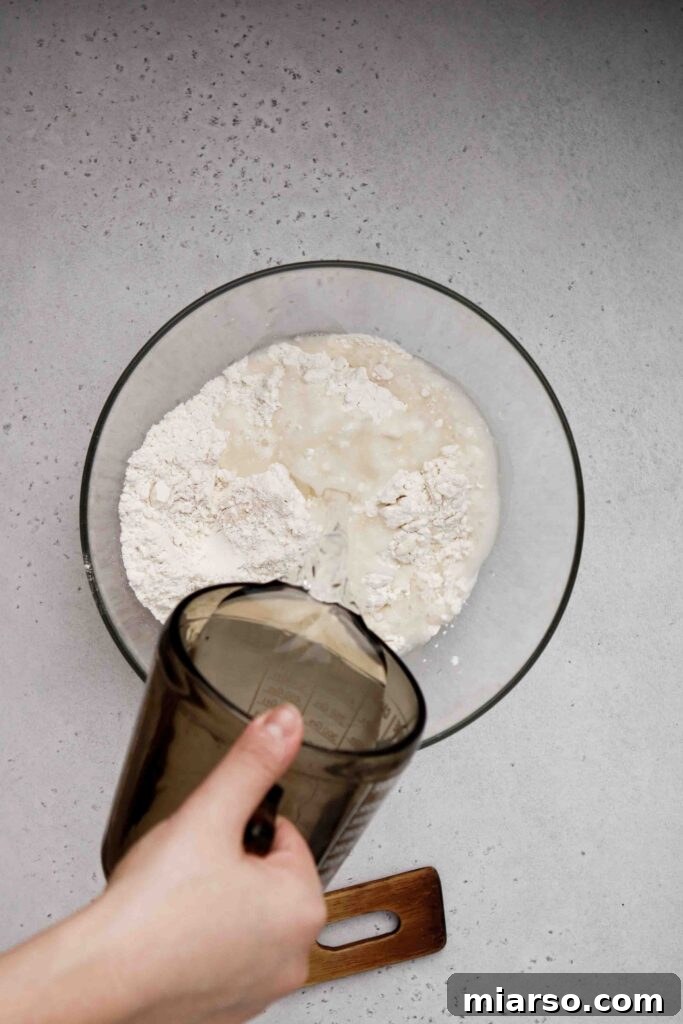
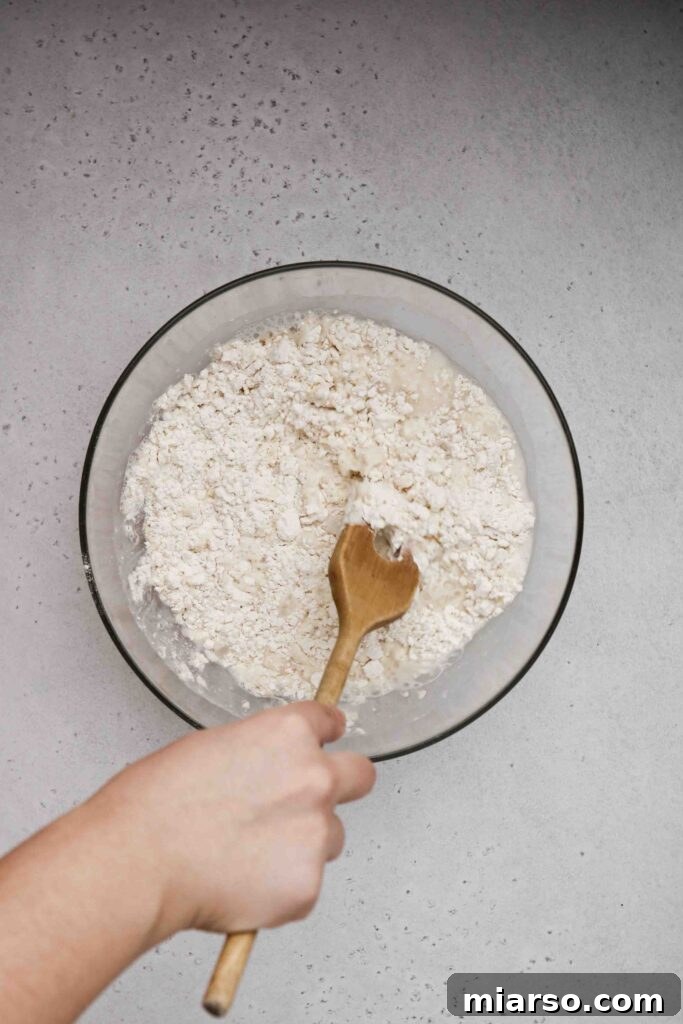
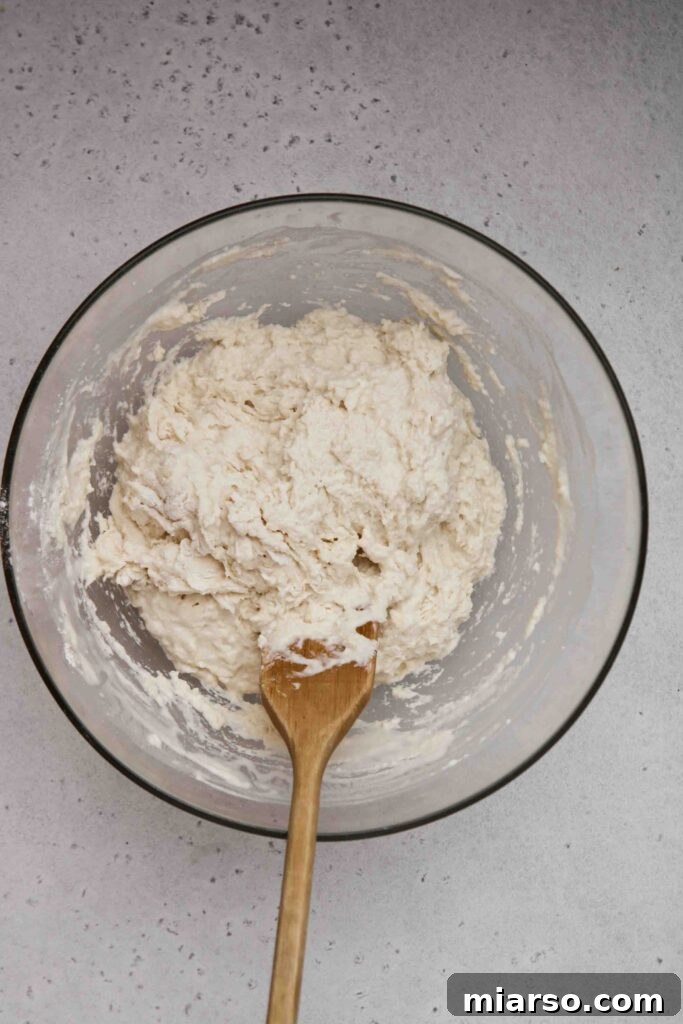
- Add Water & Stir: Pour the lukewarm water over the dry mixture. Using a sturdy wooden spoon or spatula, stir vigorously until all the flour is incorporated and a wet, shaggy, and sticky dough forms. Don’t worry about lumps; they will disappear during the long rise. The key is to ensure there are no dry pockets of flour remaining.
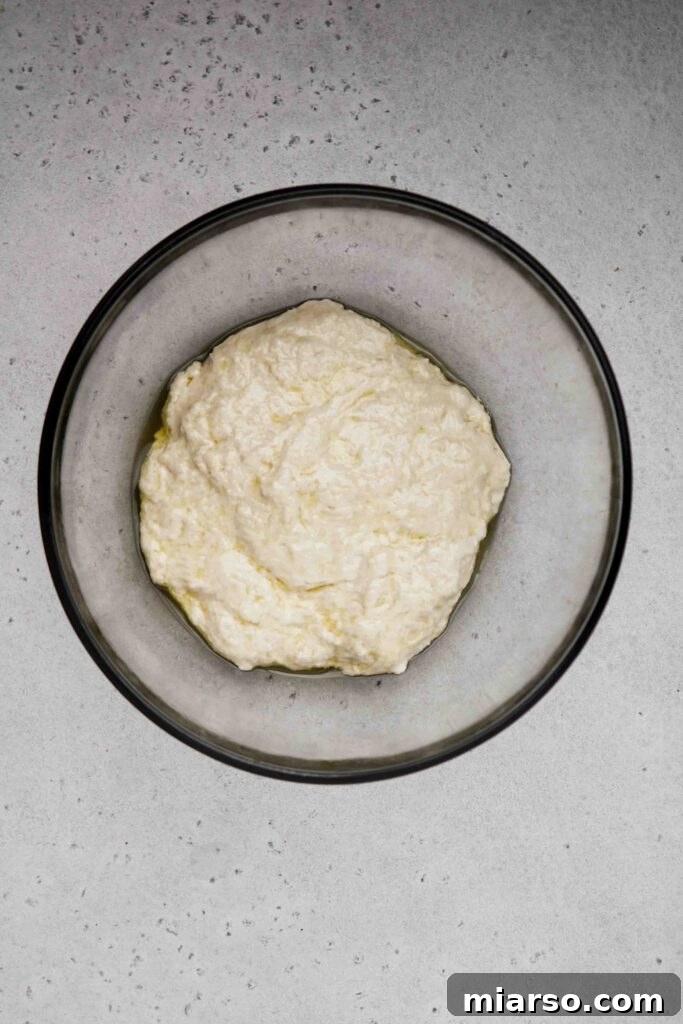
- Prepare for Rising: Drizzle 1-2 tablespoons of olive oil into another large bowl (or two bowls if making two smaller pizzas) and swirl it around to coat the entire interior. Transfer your sticky dough into the oiled bowl(s), gently turning it a few times to ensure it’s fully coated with oil. This prevents a dry skin from forming on the dough surface and keeps it from sticking to the bowl. Cover the bowl(s) tightly with plastic wrap.
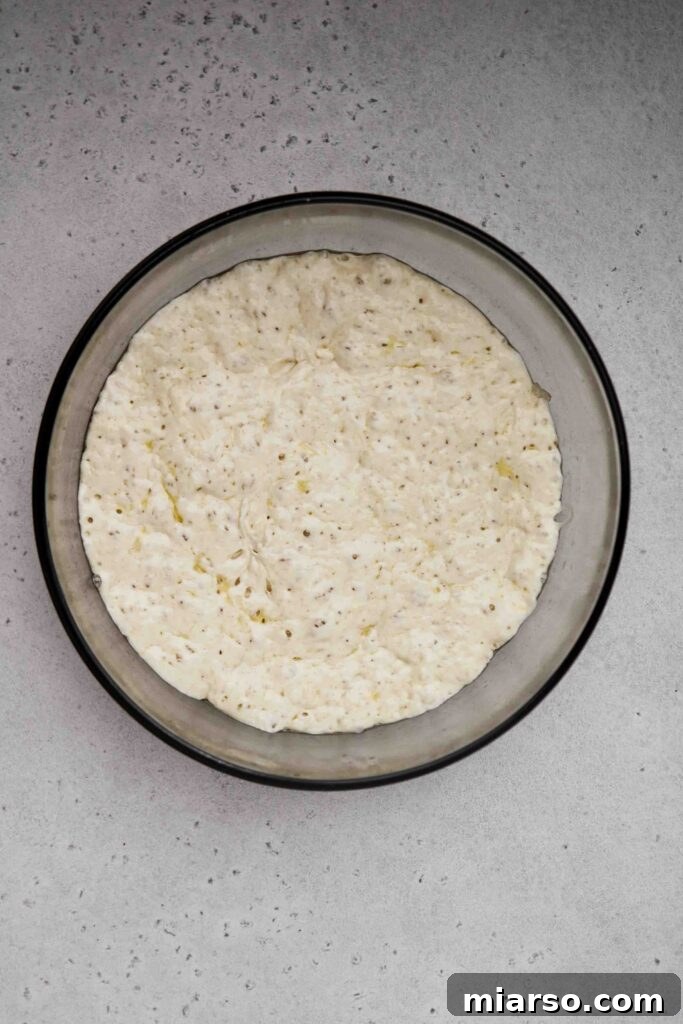
- The Long Rise (Fermentation): Allow the dough to rest and rise at room temperature for a minimum of 8 hours, or ideally, overnight (up to 24 hours). A warm spot in your kitchen is ideal, but avoid anywhere too hot. If your kitchen is particularly cool, you can place the covered bowl in a turned-off oven with the light on (creating a gentle warmth). This extended fermentation is crucial for flavor development and the signature airy, chewy texture. The dough should at least double in volume.
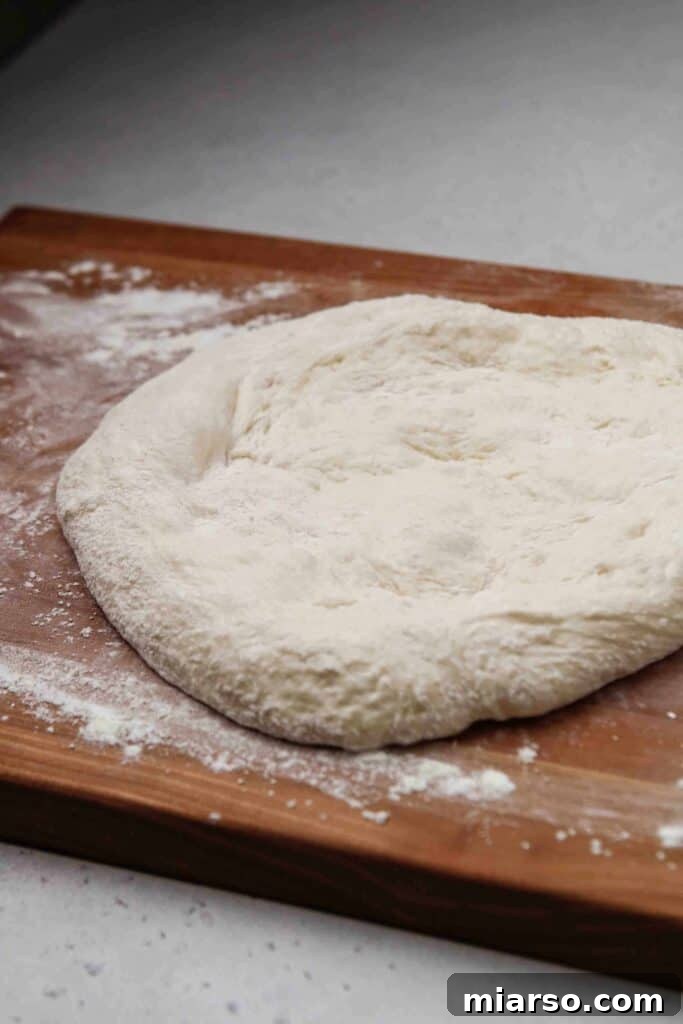
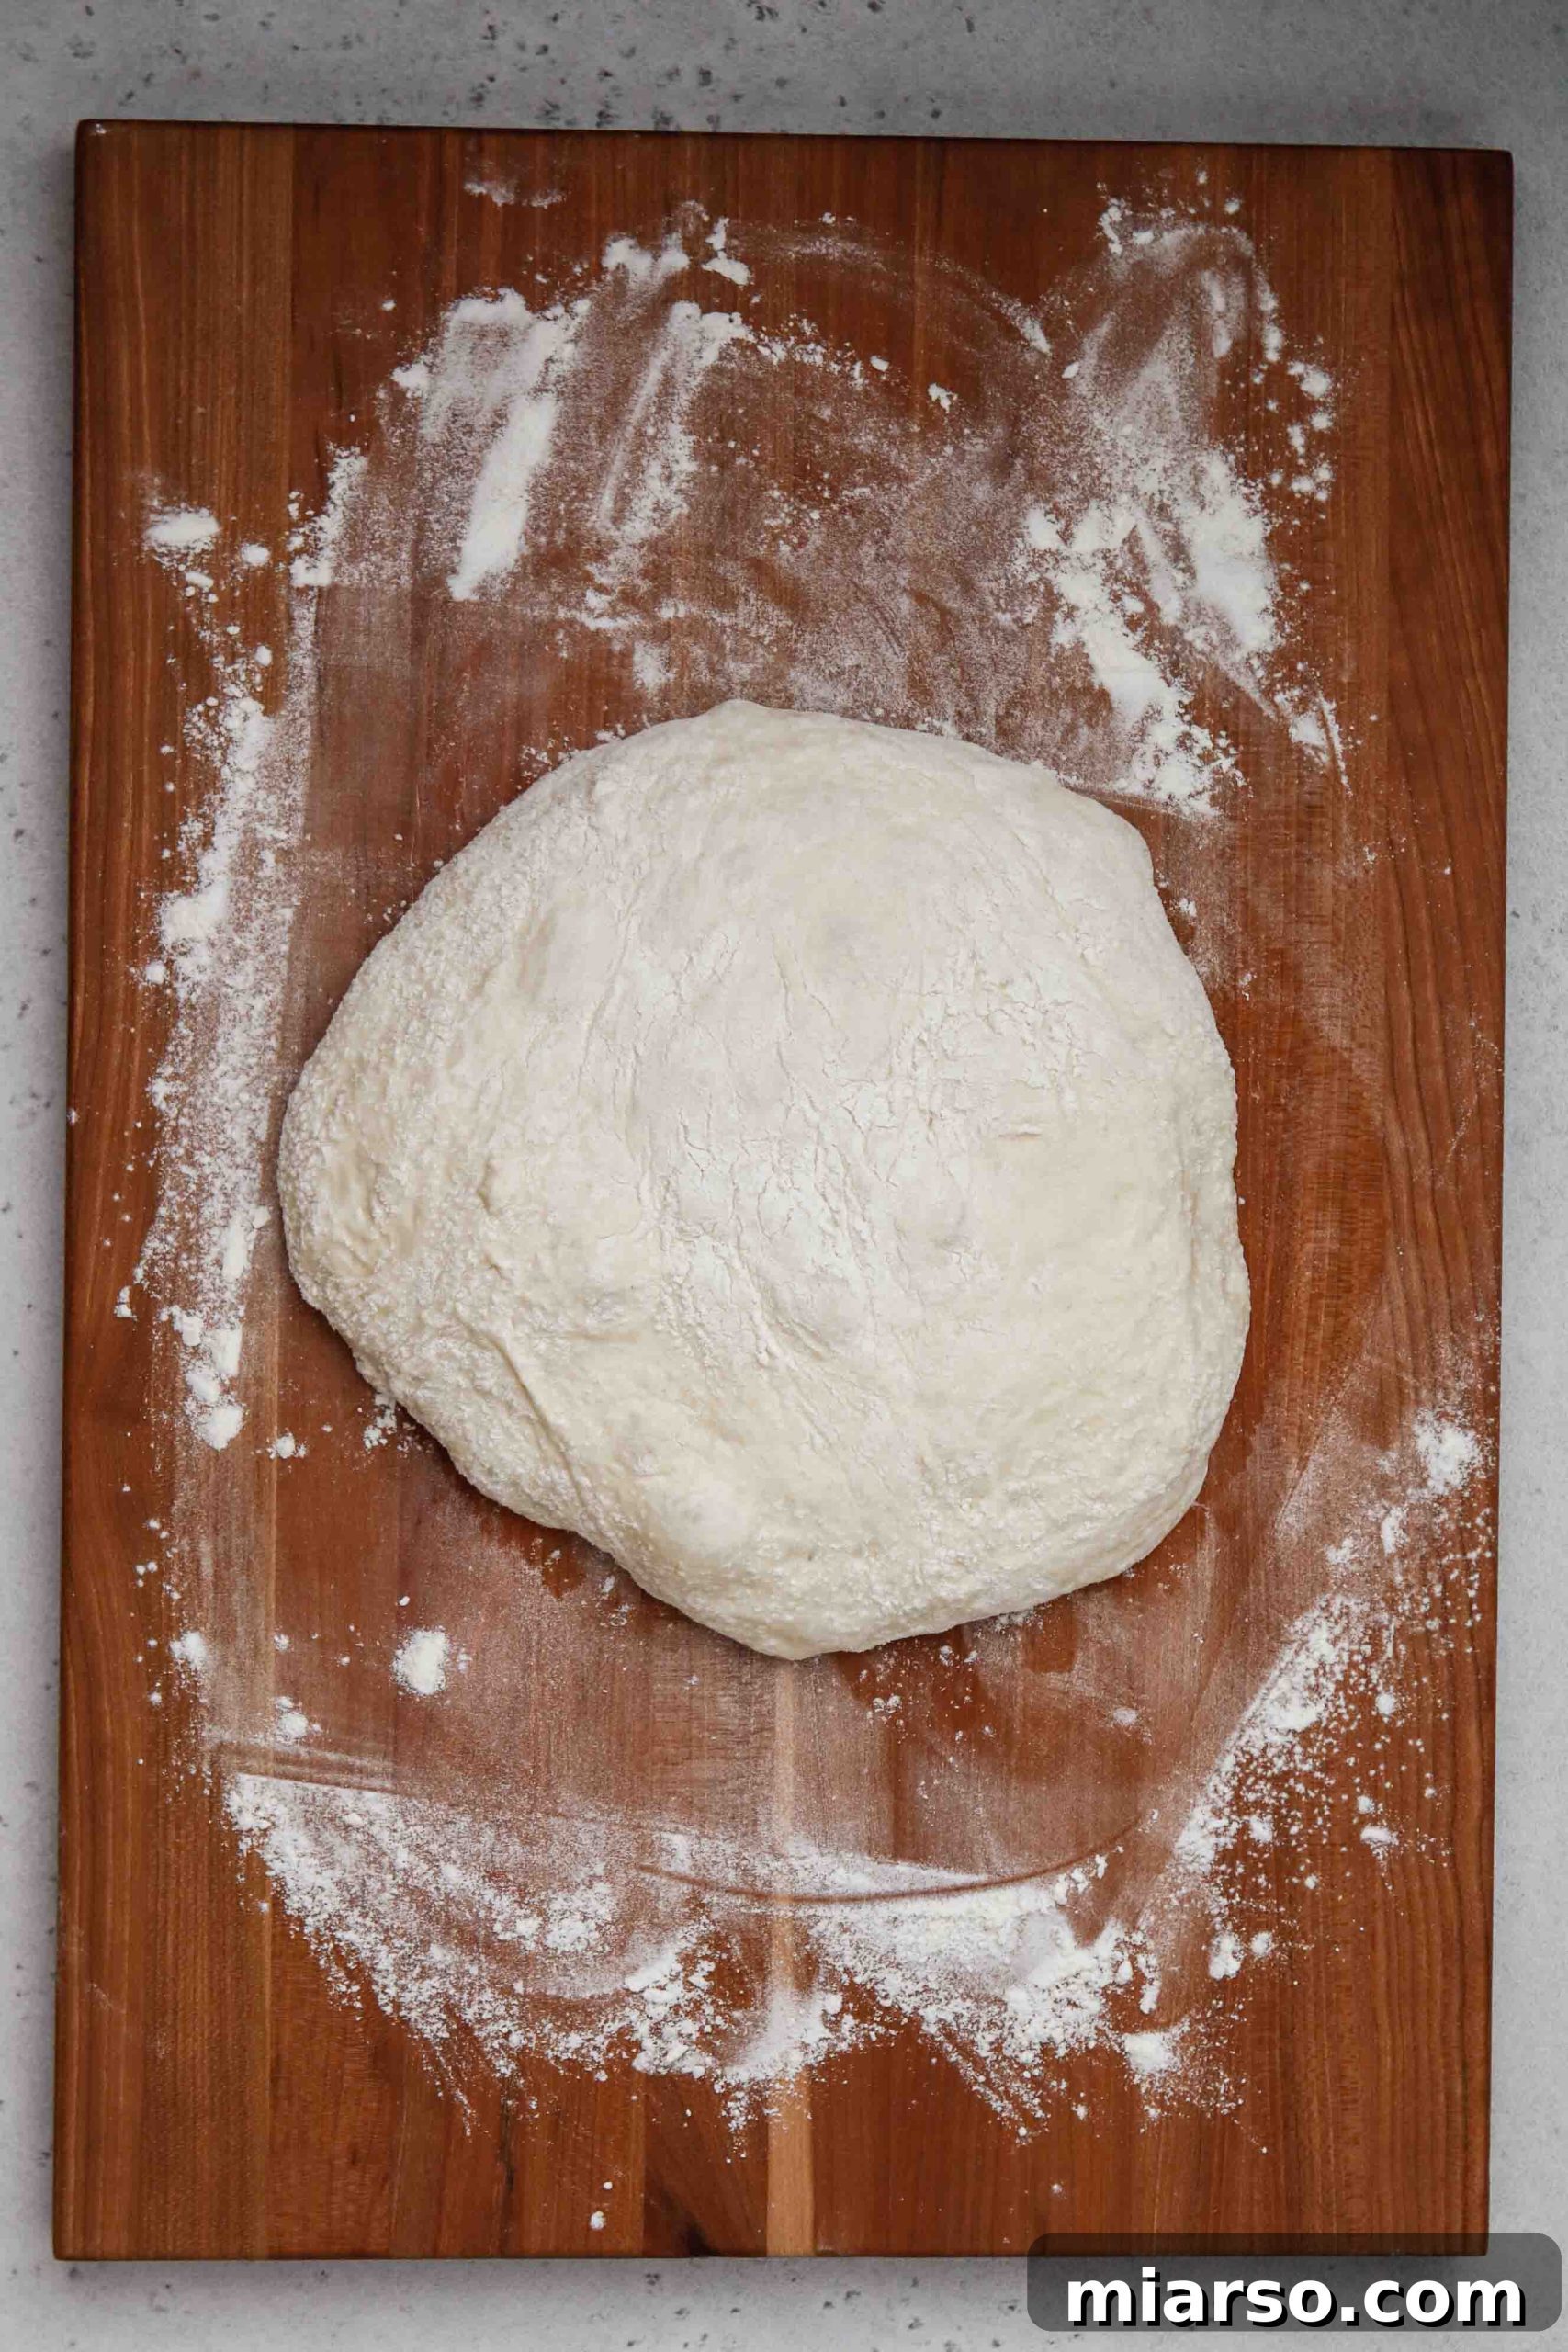
- Shape & Bake: When the dough is ready, gently turn it out onto a generously floured surface. Because the dough is quite wet, don’t be shy with the flour on your hands and work surface to prevent sticking. Gently stretch and spread the dough with floured hands into your desired pizza shape (round or rectangular). Carefully transfer the shaped dough to a baking sheet prepared with a sprinkle of semolina (for extra crispness and easy transfer) or a preheated pizza stone. Top with your favorite sauce, cheese, and toppings. Bake in a preheated oven (see tips below for optimal temperature) until the crust is golden brown and the cheese is bubbly and melted. Enjoy your incredible homemade pizza!
-

Combine water with dry ingredients. -
Stir well until a sticky dough forms. -
Ensure no dry flour remains. -
Coat the dough thoroughly with olive oil. -
Let the dough rise until doubled. -
Shape the dough on a floured surface.
Expert Tips for the Best No-Knead Pizza Dough Results
While this recipe is incredibly forgiving, a few expert tips can elevate your no-knead pizza crust from great to absolutely phenomenal. Pay attention to these details for a truly unforgettable homemade pizza:
- Prioritize Long Fermentation for Gluten Development: The “no-knead” magic hinges on time. Since you’re not actively working the dough, a long resting period (preferably 8-24 hours) is essential for the gluten strands to develop naturally. This prolonged fermentation not only builds the strong, elastic structure we love in pizza but also contributes immensely to the depth of flavor, giving the crust a complex, almost sourdough-like tang. If you’re pressed for time, a minimum of 2 hours will yield a usable dough, but the longer rise is always better for superior texture and taste.
- Generously Coat Dough with Olive Oil: Before letting your pizza dough rise, always coat both the inside of the rising bowl and the dough itself with a good quality olive oil or any other unflavored oil. This critical step prevents the dough from drying out and forming a tough, unyielding skin on top. It also ensures the dough remains supple and easy to handle when it’s time to shape, contributing to a tender interior in the final baked product.
- Don’t Be Shy with Flour During Shaping: This no-knead dough is intentionally wet and sticky – that’s its secret to incredible chewiness! When it’s time to shape it, generously flour your work surface and your hands. This prevents the dough from sticking everywhere and makes it manageable. A bench scraper can also be a helpful tool for gently lifting and moving the dough. Remember, a little extra flour for handling won’t negatively impact the final crust texture.
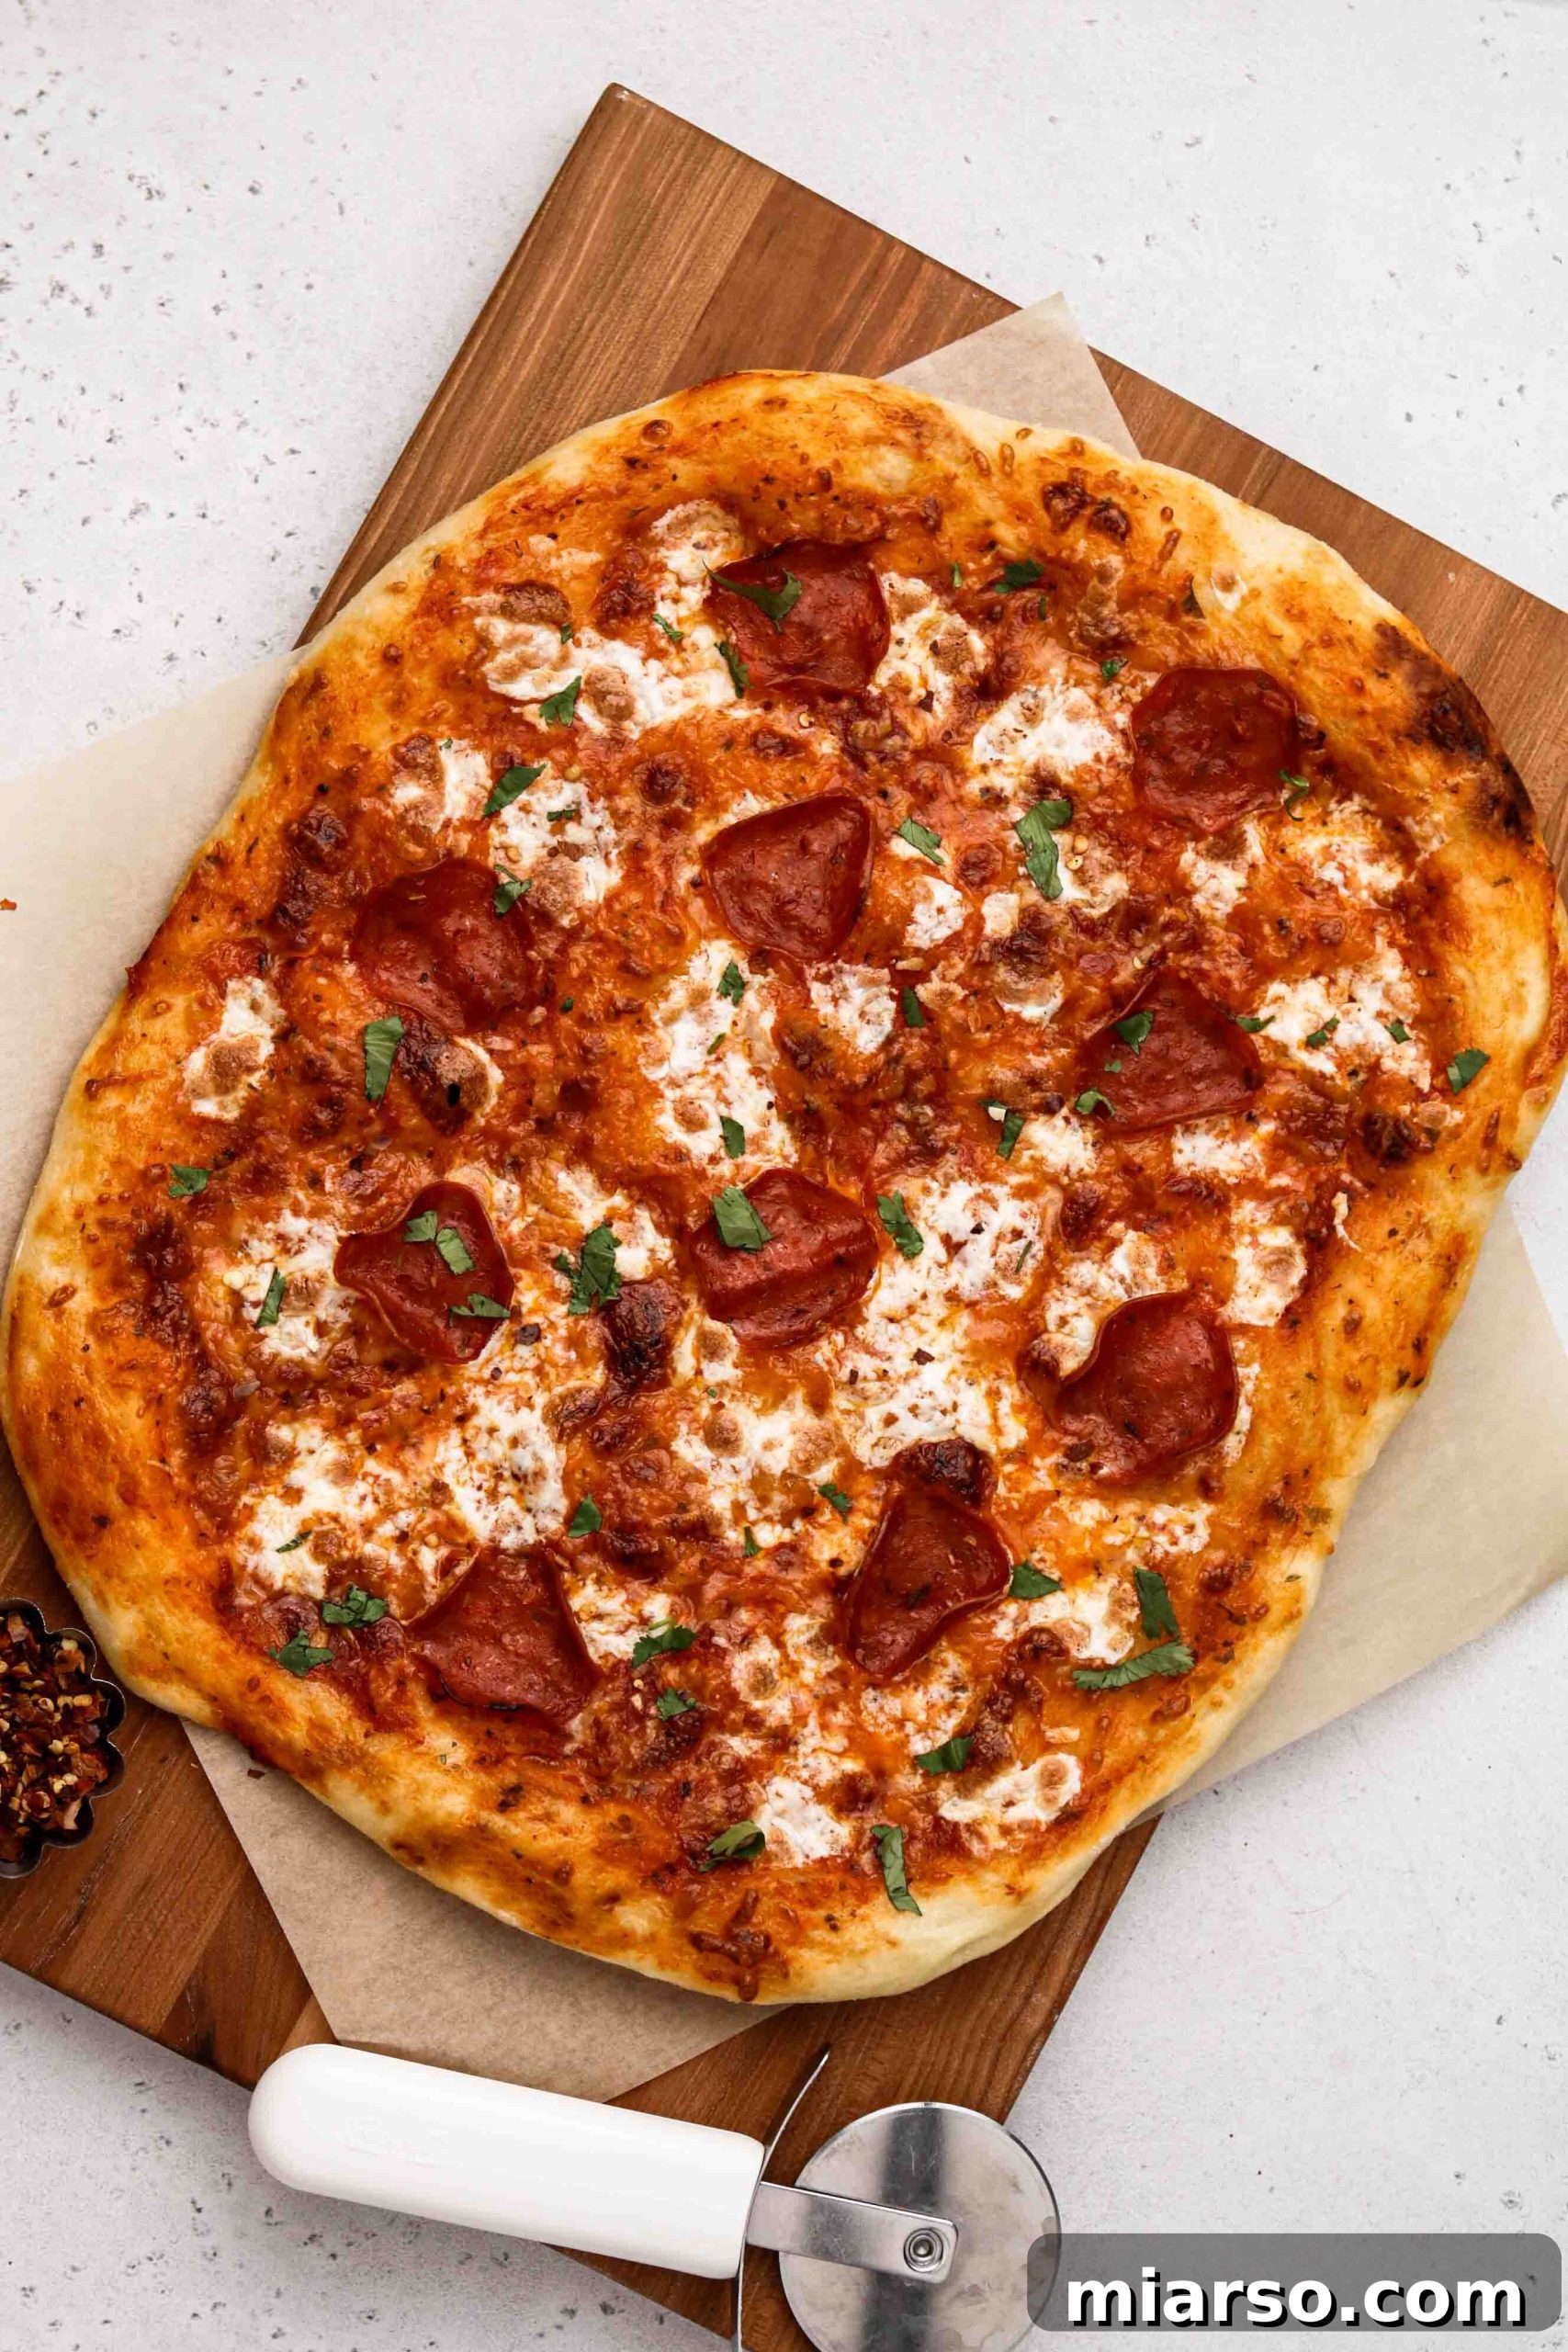
- Bake at High Temperatures for Restaurant-Quality Pizza: To achieve that coveted crispy exterior and fluffy interior reminiscent of a great pizzeria, you must bake your pizza in a very hot oven. Preheat your oven to its highest setting (typically 450-500°F or 230-260°C) for at least 30-60 minutes before baking. If you have a pizza stone or steel, preheat it along with the oven. The intense, initial blast of heat rapidly cooks the crust, creating a beautiful char and preventing it from becoming soggy.
- Consider a Pizza Stone or Steel: While a baking sheet works, a preheated pizza stone or steel will significantly improve your crust. These tools retain and transfer heat more efficiently, mimicking a brick oven. This results in a crispier bottom crust and a faster, more even bake.
- Avoid Over-Topping: Less is often more with pizza, especially with a delicious homemade crust. Overloading your pizza with too many toppings can make the crust soggy and prevent it from cooking evenly. Stick to a moderate amount of sauce, cheese, and toppings to let the crust truly shine.
- Don’t Deflate Completely: When transferring the risen dough to your floured surface, handle it gently. While some air will naturally escape, avoid punching it down completely. You want to retain some of that precious air for an airy, open crumb structure in the finished crust.
How to Store No-Knead Pizza Dough for Future Enjoyment
One of the many advantages of this no-knead pizza dough is its excellent storability. This makes it perfect for meal prepping or simply having a batch ready whenever a pizza craving strikes. You can easily make a double or triple batch and have homemade pizza on demand!
Storing Pizza Dough in the Fridge
For short-term storage, your risen pizza dough can be kept in the refrigerator for up to 3 days. After the dough has completed its initial 8-hour (or longer) rise, gently transfer it to an airtight container or a bowl tightly covered with plastic wrap. Ensure the dough is still lightly coated with olive oil to prevent it from drying out. Placing it in the fridge will slow down the yeast activity significantly. When you’re ready to use it, simply pull it out of the fridge about 30-60 minutes before shaping to allow it to come closer to room temperature, making it easier to work with.
Can You Freeze Pizza Dough? Absolutely!
Freezing pizza dough is a fantastic way to extend its shelf life and boost your kitchen convenience. This dough freezes beautifully for up to 2 months. Here’s how:
- Allow the dough to complete its full rise at room temperature (8+ hours) as instructed.
- Once fully risen, gently divide the dough into the portion sizes you plan to use (e.g., in half for two medium pizzas).
- Lightly coat each portion of dough with olive oil.
- Place each oiled dough portion into an individual airtight freezer-safe container or a heavy-duty freezer bag, squeezing out as much air as possible.
- Label with the date and freeze for up to 2 months.
Having frozen dough on hand means you’re always just a thaw away from a freshly baked pizza!
How to Thaw Frozen Pizza Dough
When you’re ready to turn your frozen dough into a delicious pizza, proper thawing is key to maintaining its texture and workability:
- Overnight in the Fridge: The best and most recommended method is to transfer the frozen dough from the freezer to the refrigerator the night before you plan to use it. This slow thaw allows the dough to gently come back to life without shocking the yeast. Once thawed, let it sit at room temperature for about 30 minutes before shaping.
- Room Temperature Thaw (Faster Method): If you’re in a hurry, you can thaw the dough at room temperature. Remove it from the freezer, keep it in its oiled container or bag, and let it sit on your countertop for 2-4 hours, or until it’s soft and pliable. This method is quicker but can sometimes lead to a slightly less even thaw.
Once thawed, your dough is ready to be shaped and transformed into your pizza masterpiece!
Inspiration: Delicious Pizza Topping Ideas!
Now that you have the perfect foundation – your incredible no-knead pizza crust – it’s time to get creative with toppings! The possibilities are truly endless, allowing you to customize your pizza to suit any taste or occasion. Here are some of my all-time favorite topping combinations to get you started:
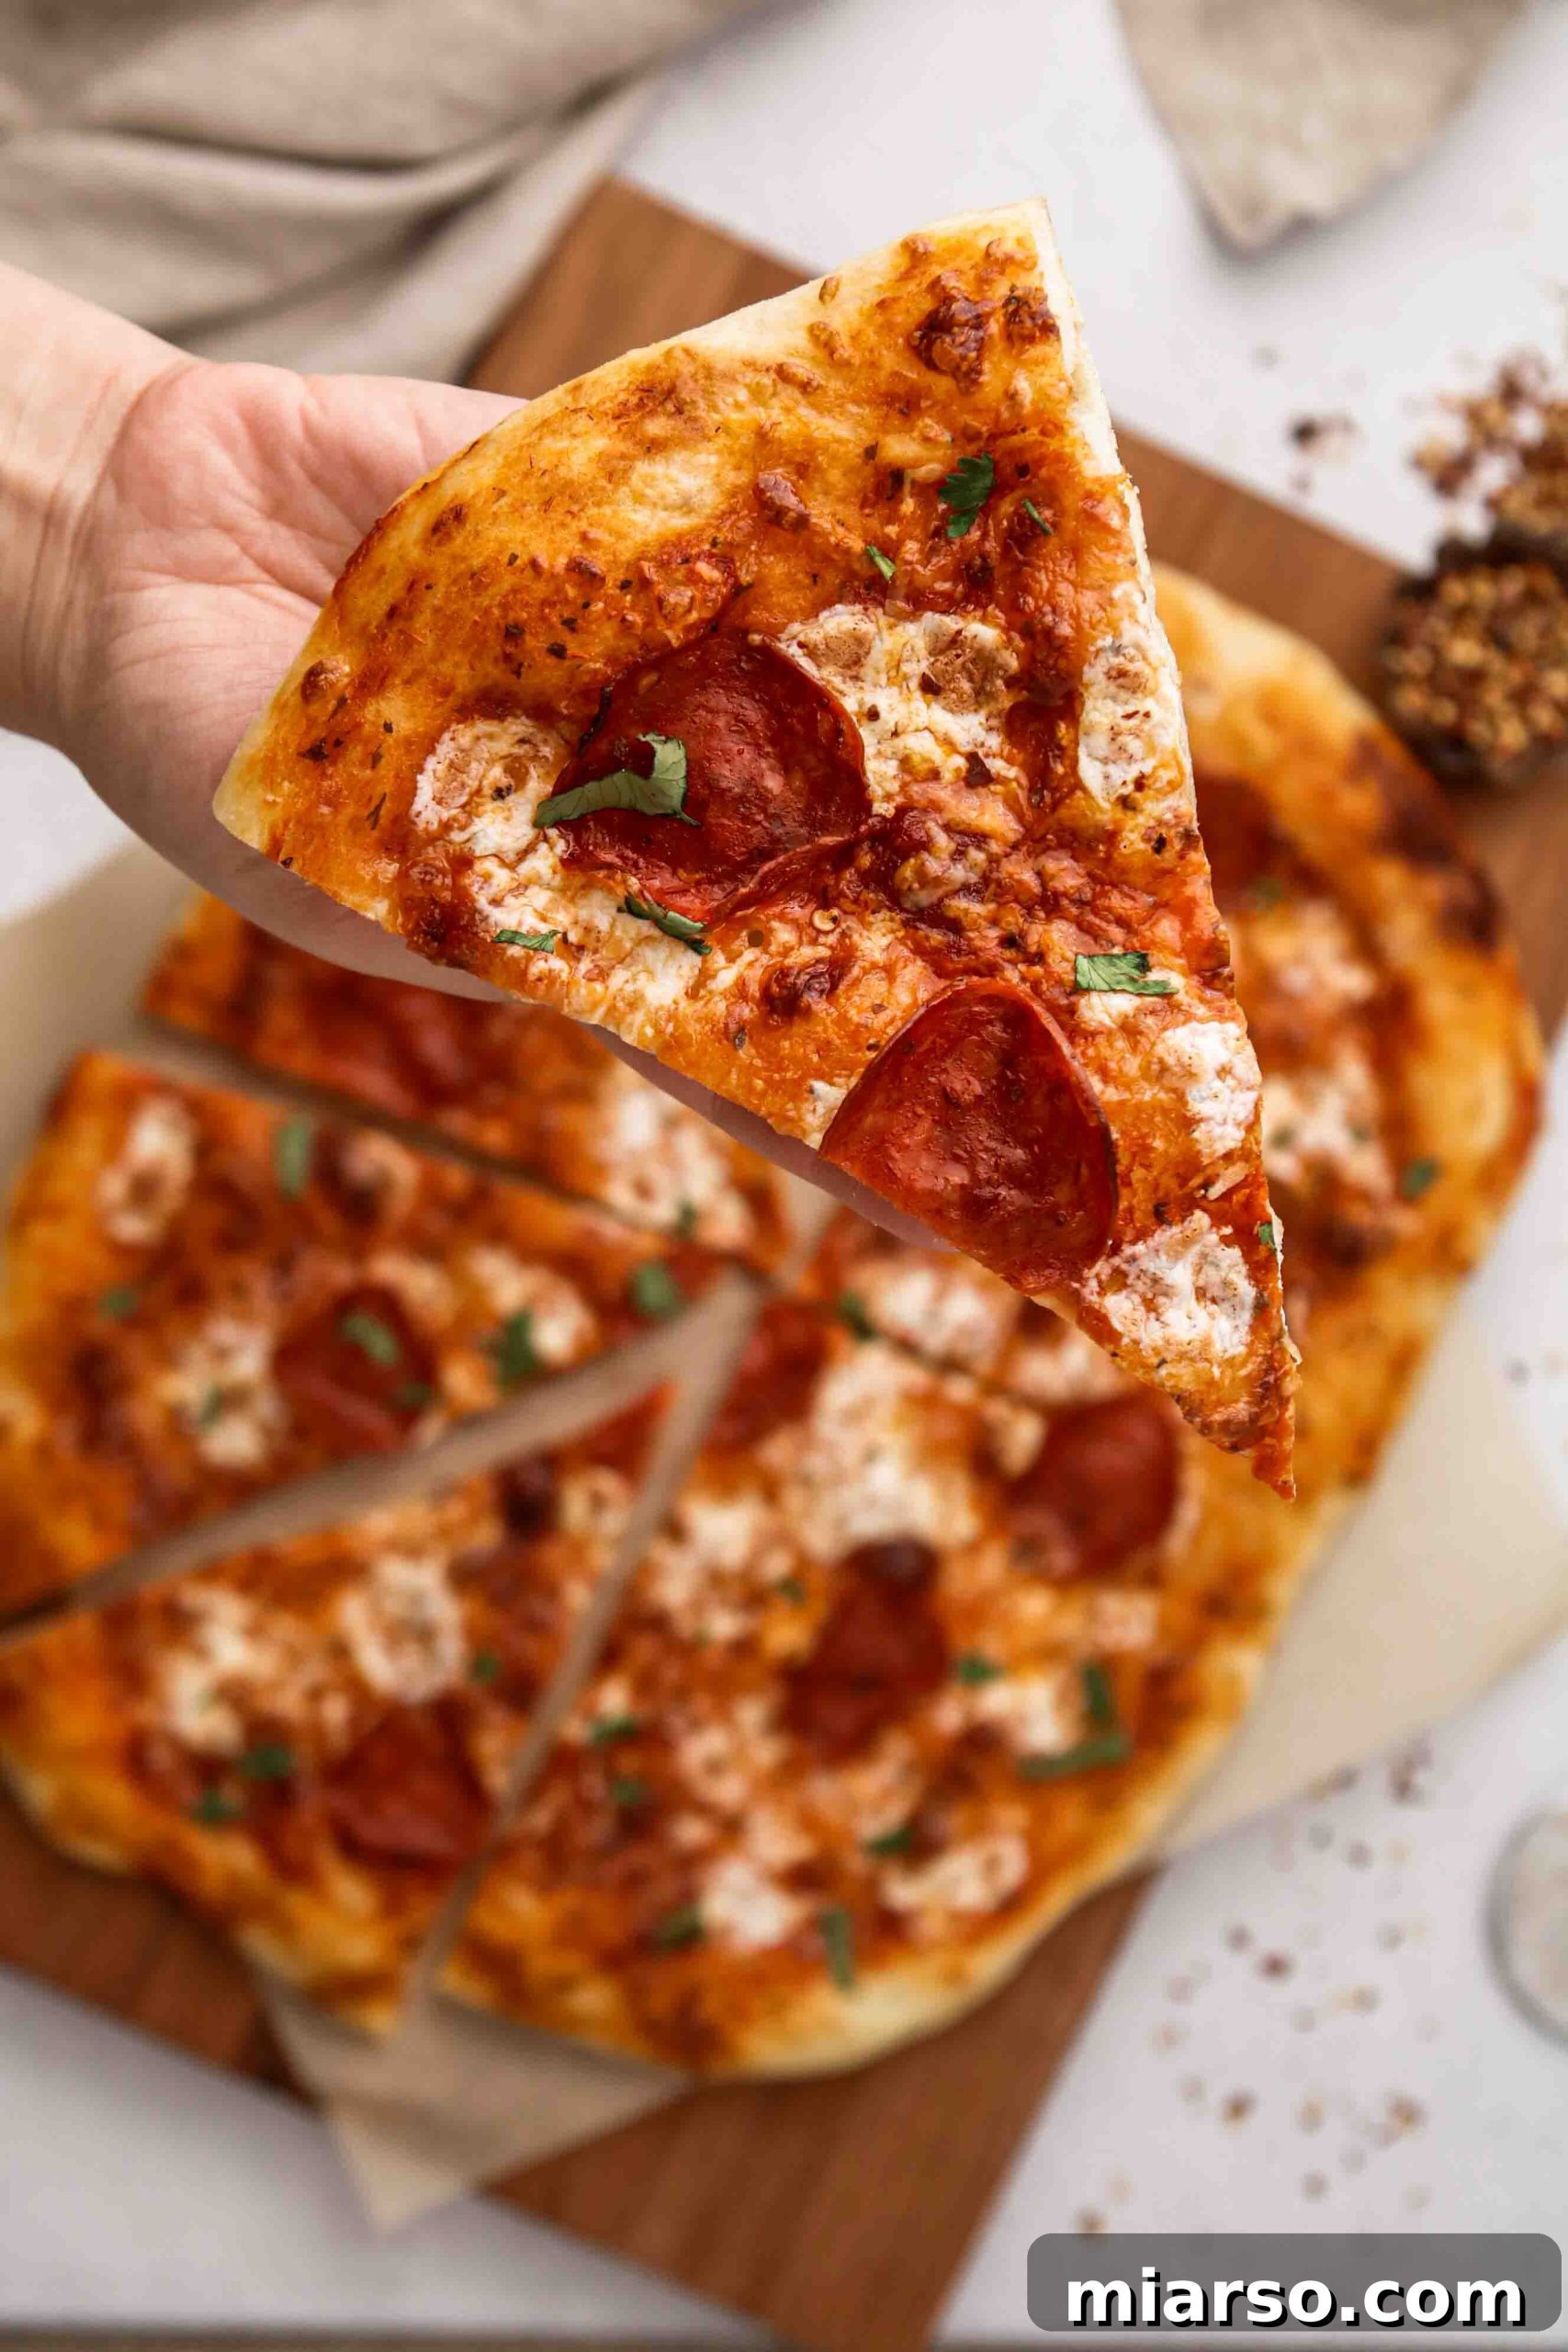
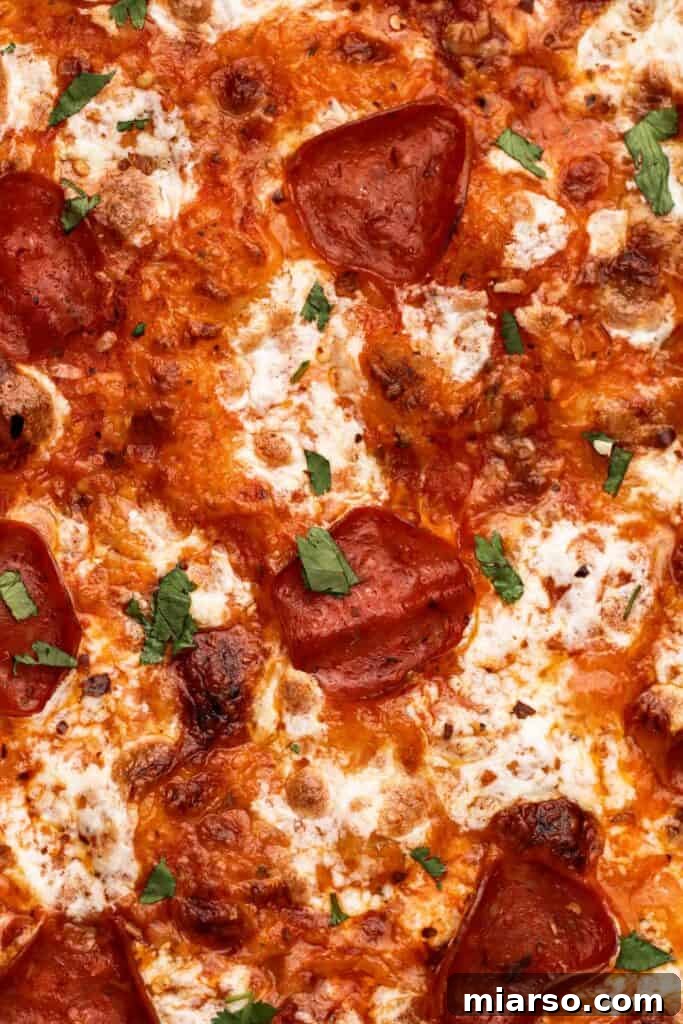
- Classic Pepperoni and Cheese: You can never go wrong with this timeless favorite. Layer a rich tomato sauce, plenty of shredded mozzarella, and generous slices of pepperoni for a satisfying, savory experience.
- Vibrant Vegetarian Pizza: Load up your crust with a rainbow of fresh vegetables! Think bell peppers, red onion, mushrooms, black olives, cherry tomatoes, and a sprinkle of fresh basil. A drizzle of balsamic glaze after baking adds a gourmet touch.
- Tangy BBQ Chicken Pizza: Swap out the traditional tomato sauce for a smoky BBQ sauce base. Top with shredded cooked chicken, red onion, a mix of mozzarella and provolone, and fresh cilantro after baking.
- Earthy Kale/Spinach and Sun-Dried Tomato Pizza: For a sophisticated twist, try a white sauce base (like our white pizza with kale and sun-dried tomatoes!). Add wilted kale or spinach, chewy sun-dried tomatoes, and perhaps some crumbled feta or goat cheese.
- Fresh Margarita Pizza with Pesto Drizzle: Embrace Italian simplicity with a classic Margherita. San Marzano tomato sauce, fresh mozzarella slices, and basil leaves. A generous drizzle of homemade pesto after baking elevates the flavors beautifully.
- Decadent Four Cheese Pizza (Quattro Formaggi): A cheese lover’s dream! Combine mozzarella, provolone, parmesan, and gorgonzola (or your favorite blend) for a rich and indulgent pizza experience.
- Spicy Sausage and Mushroom: A robust tomato sauce, spicy Italian sausage, sliced mushrooms, and mozzarella cheese make for a hearty and flavorful pizza.
- Sweet and Savory Fig and Prosciutto: For an adventurous palate, try a base of olive oil, fresh figs (or fig jam), prosciutto, goat cheese, and a sprinkle of arugula after baking.
This list is just the beginning! Feel free to experiment with different cheeses, sauces, meats, and vegetables. The beauty of homemade pizza is the freedom to customize. Don’t be afraid to get creative and discover your own favorite combinations!
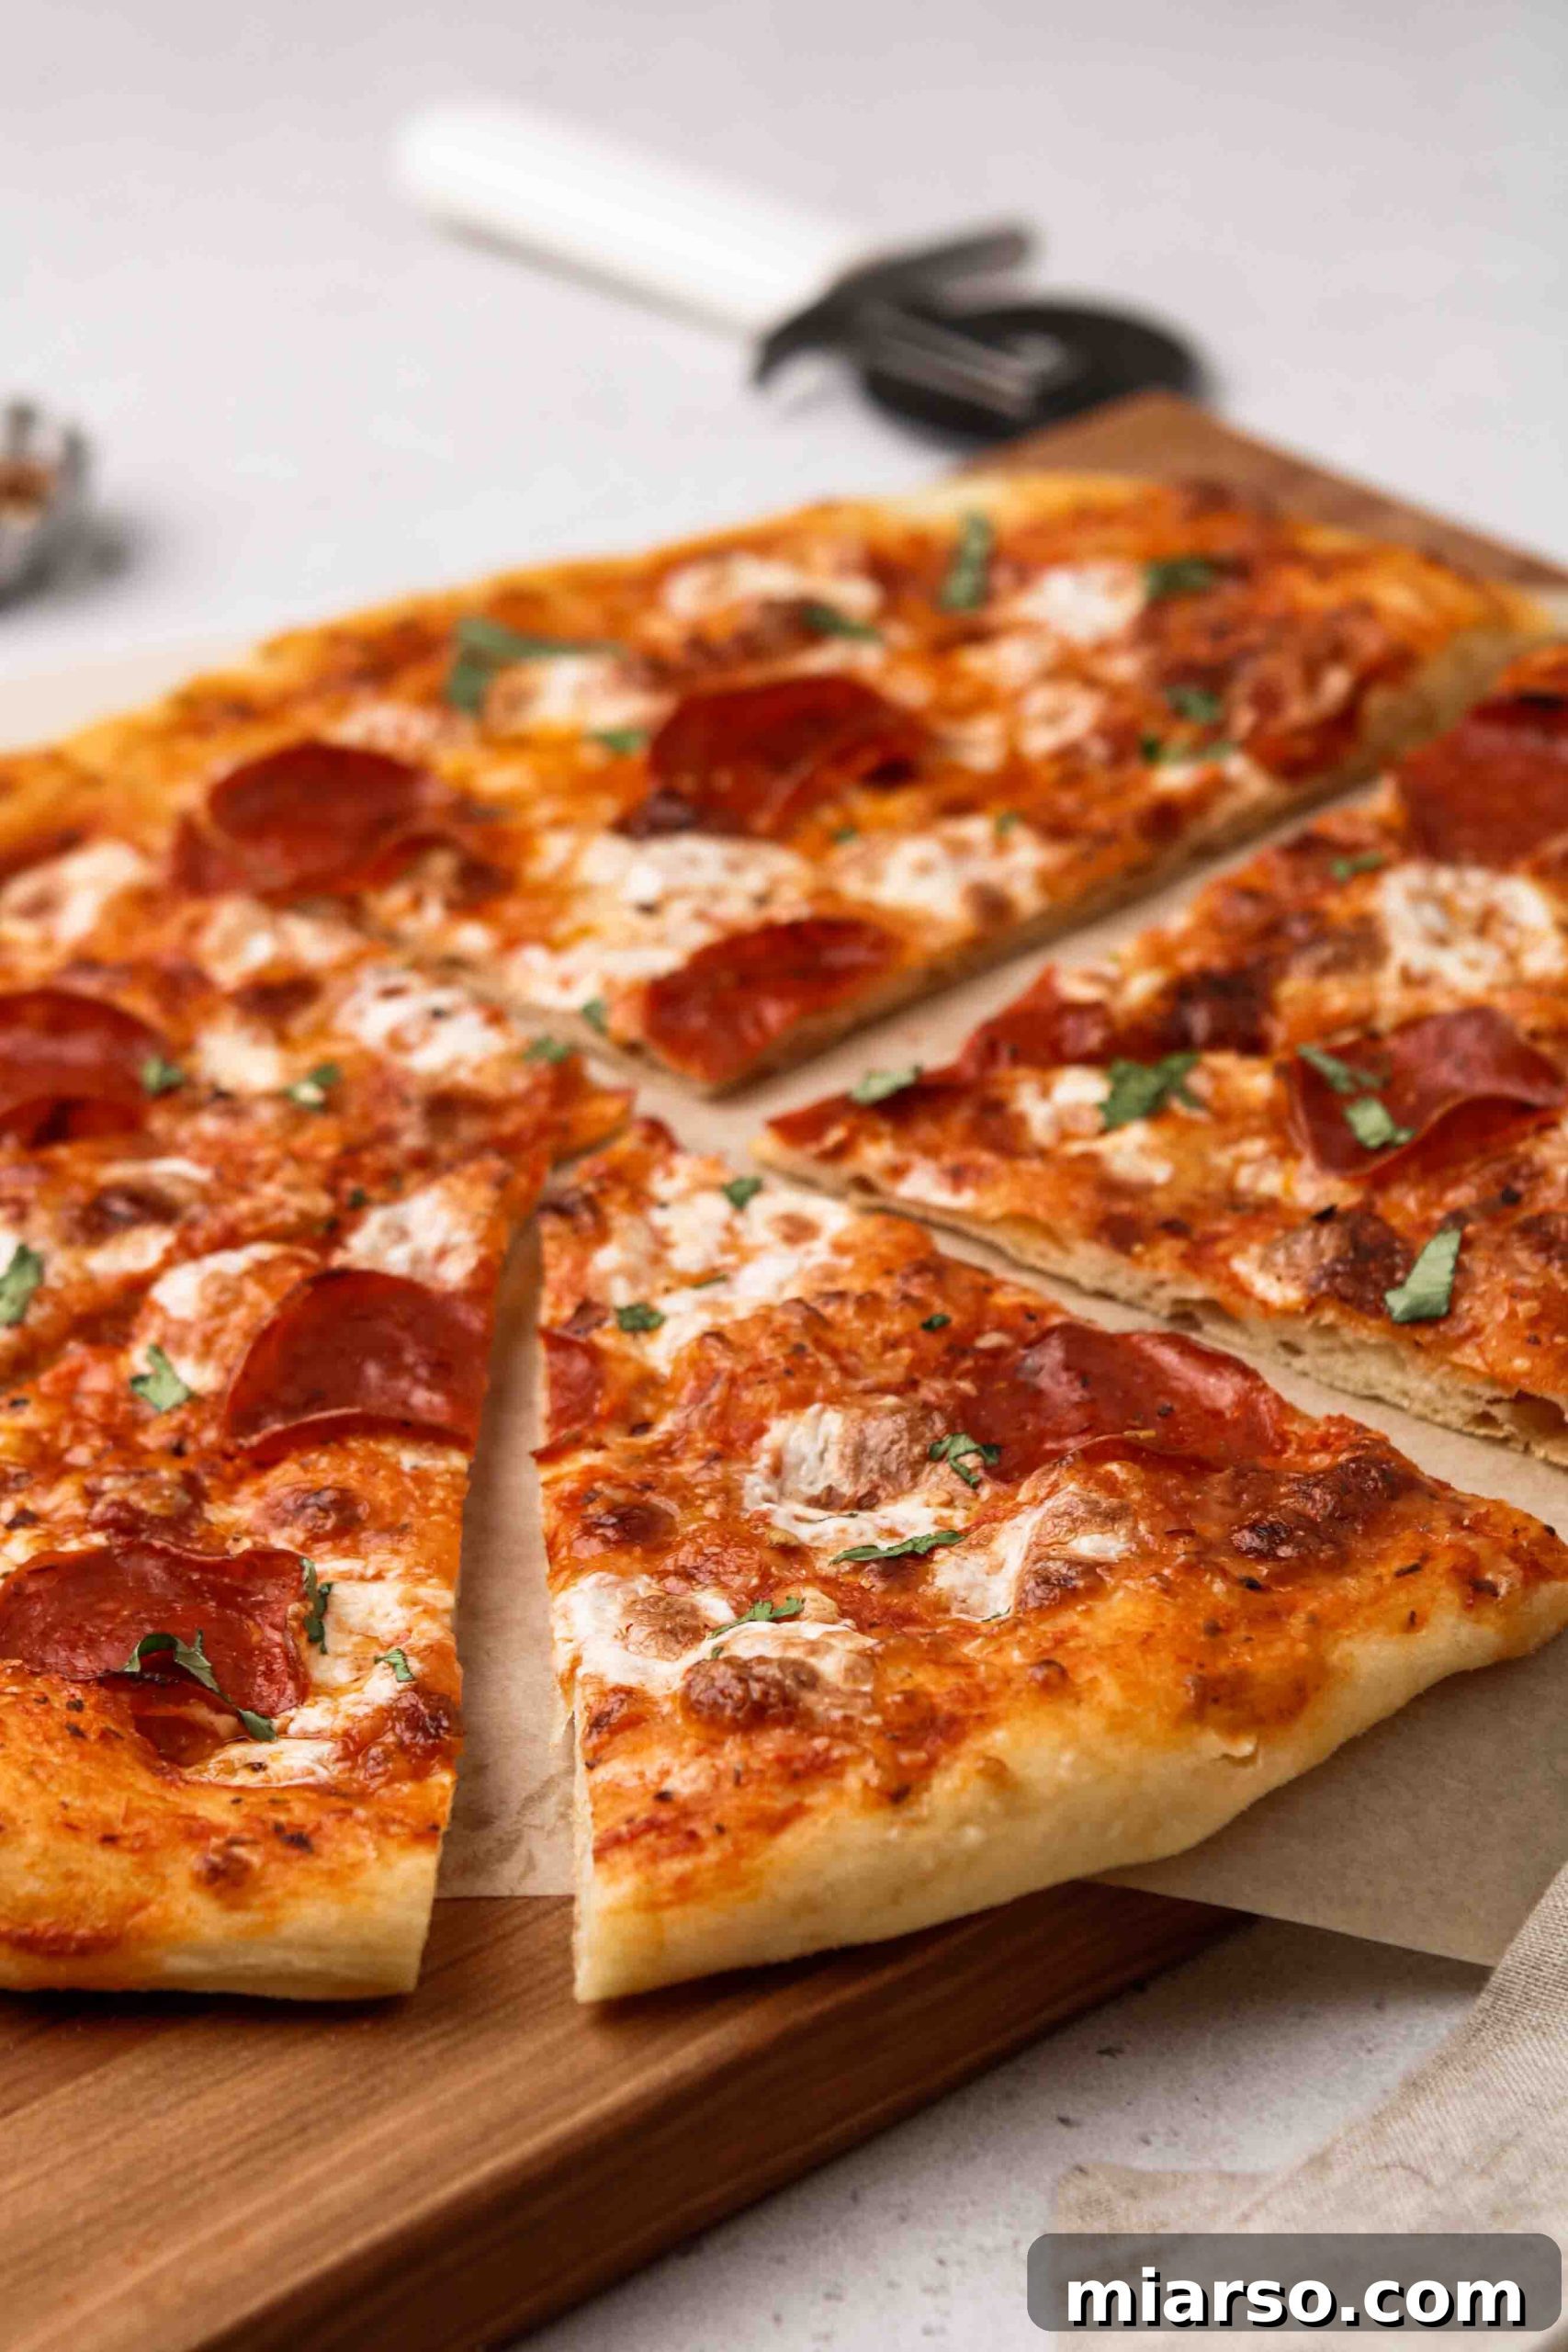
Homemade No-Knead Pizza Dough Recipe
If you’ve tried this incredible no-knead pizza dough recipe and loved it, please consider leaving a 5-star review below. Your feedback means the world to us and helps other home cooks discover this fantastic recipe!

Homemade No-Knead Pizza Dough
No-knead pizza is the perfect recipe for when you want minimal effort for maximum dinner delight. It’s incredibly fluffy, wonderfully crispy, and totally delicious!
5 mins
15 mins
8 hrs 20 mins
16 slices (or 2 14-inch pizzas)
Print Recipe
Want to save this recipe? Enter your email below to get it sent directly to your inbox, plus new recipes from us every week!
Ingredients
- 4 cup flour (480g)
- 1/2 tsp yeast
- 1 & 1/2 tsp salt
- 1 & 1/2 cup lukewarm water
- 1-2 tbsp olive oil (to coat the bowl)
Instructions
-
Add the flour, yeast, and salt to a large bowl. Pour in the lukewarm water and stir using a wooden spoon until a sticky, shaggy dough forms. Ensure all dry flour is incorporated.
-
This recipe yields one large pizza or two medium ones. Depending on your preference, either divide the dough between two separate oiled bowls to make 2 pizzas, or keep it in one oiled bowl for a single large pizza.
-
Brush the inside of 1 or 2 bowls generously with olive oil. Place your dough into the oiled bowl(s), gently swirl it around to coat the top and bottom surfaces with oil. Cover the bowl(s) tightly with plastic wrap and let the dough rest for approximately 8 hours at room temperature, or until it has at least doubled in volume. For optimal flavor and texture, an overnight rise (12-24 hours) is recommended.
-
When the dough is ready, preheat your oven to 450°F (230°C) with a pizza stone or baking sheet inside. Lightly sprinkle your baking sheet (or peel, if using a stone) with semolina flour or cornmeal. On a generously floured surface, gently spread the pizza dough with well-floured hands to your desired thickness. Transfer the shaped dough to the prepared baking sheet or hot pizza stone, add your favorite sauce and toppings, and bake for 15 minutes. Rotate the pizza halfway through baking to ensure even cooking. Enjoy your homemade masterpiece!
Notes
Remember to flour your work surface and hands generously before shaping the pizza dough. This dough is intentionally wet, which is what gives it its incredible chewy texture, but it also means it will stick if not handled with sufficient flour.
This pizza dough can be stored in an airtight container in the fridge for up to 3 days after its initial rise.
Nutrition
Nutrition information is automatically calculated and should only be used as an approximation.
Like this recipe? Leave a comment below!
Thank you for exploring our guide to the ultimate no-knead pizza dough. We hope this recipe empowers you to create incredible homemade pizzas with ease.
If you made this recipe and enjoyed it, don’t forget to share your experience in the comments below! In the meantime, be sure to follow us on Instagram for more delicious inspiration and behind-the-scenes glimpses.

Shop This Recipe: Essential Tools & Ingredients
This post may contain affiliate links, meaning that at no additional cost to you, I will earn a small percentage of every purchase you make. Your support helps keep this blog running!
If You Enjoyed This No-Knead Pizza Dough Recipe, Make Sure to Pin It for Later!
-
Pin for later: No-Knead Pizza Dough. -
Save this easy pizza dough! -
Your new go-to pizza dough. -
Perfectly risen dough, no kneading! -
Easy & delicious pizza dough. -
Simple mixing steps. -
Stirring to perfection. -
Homemade pizza perfection. -
Your ultimate pizza guide. -
Mix, rise, and enjoy!