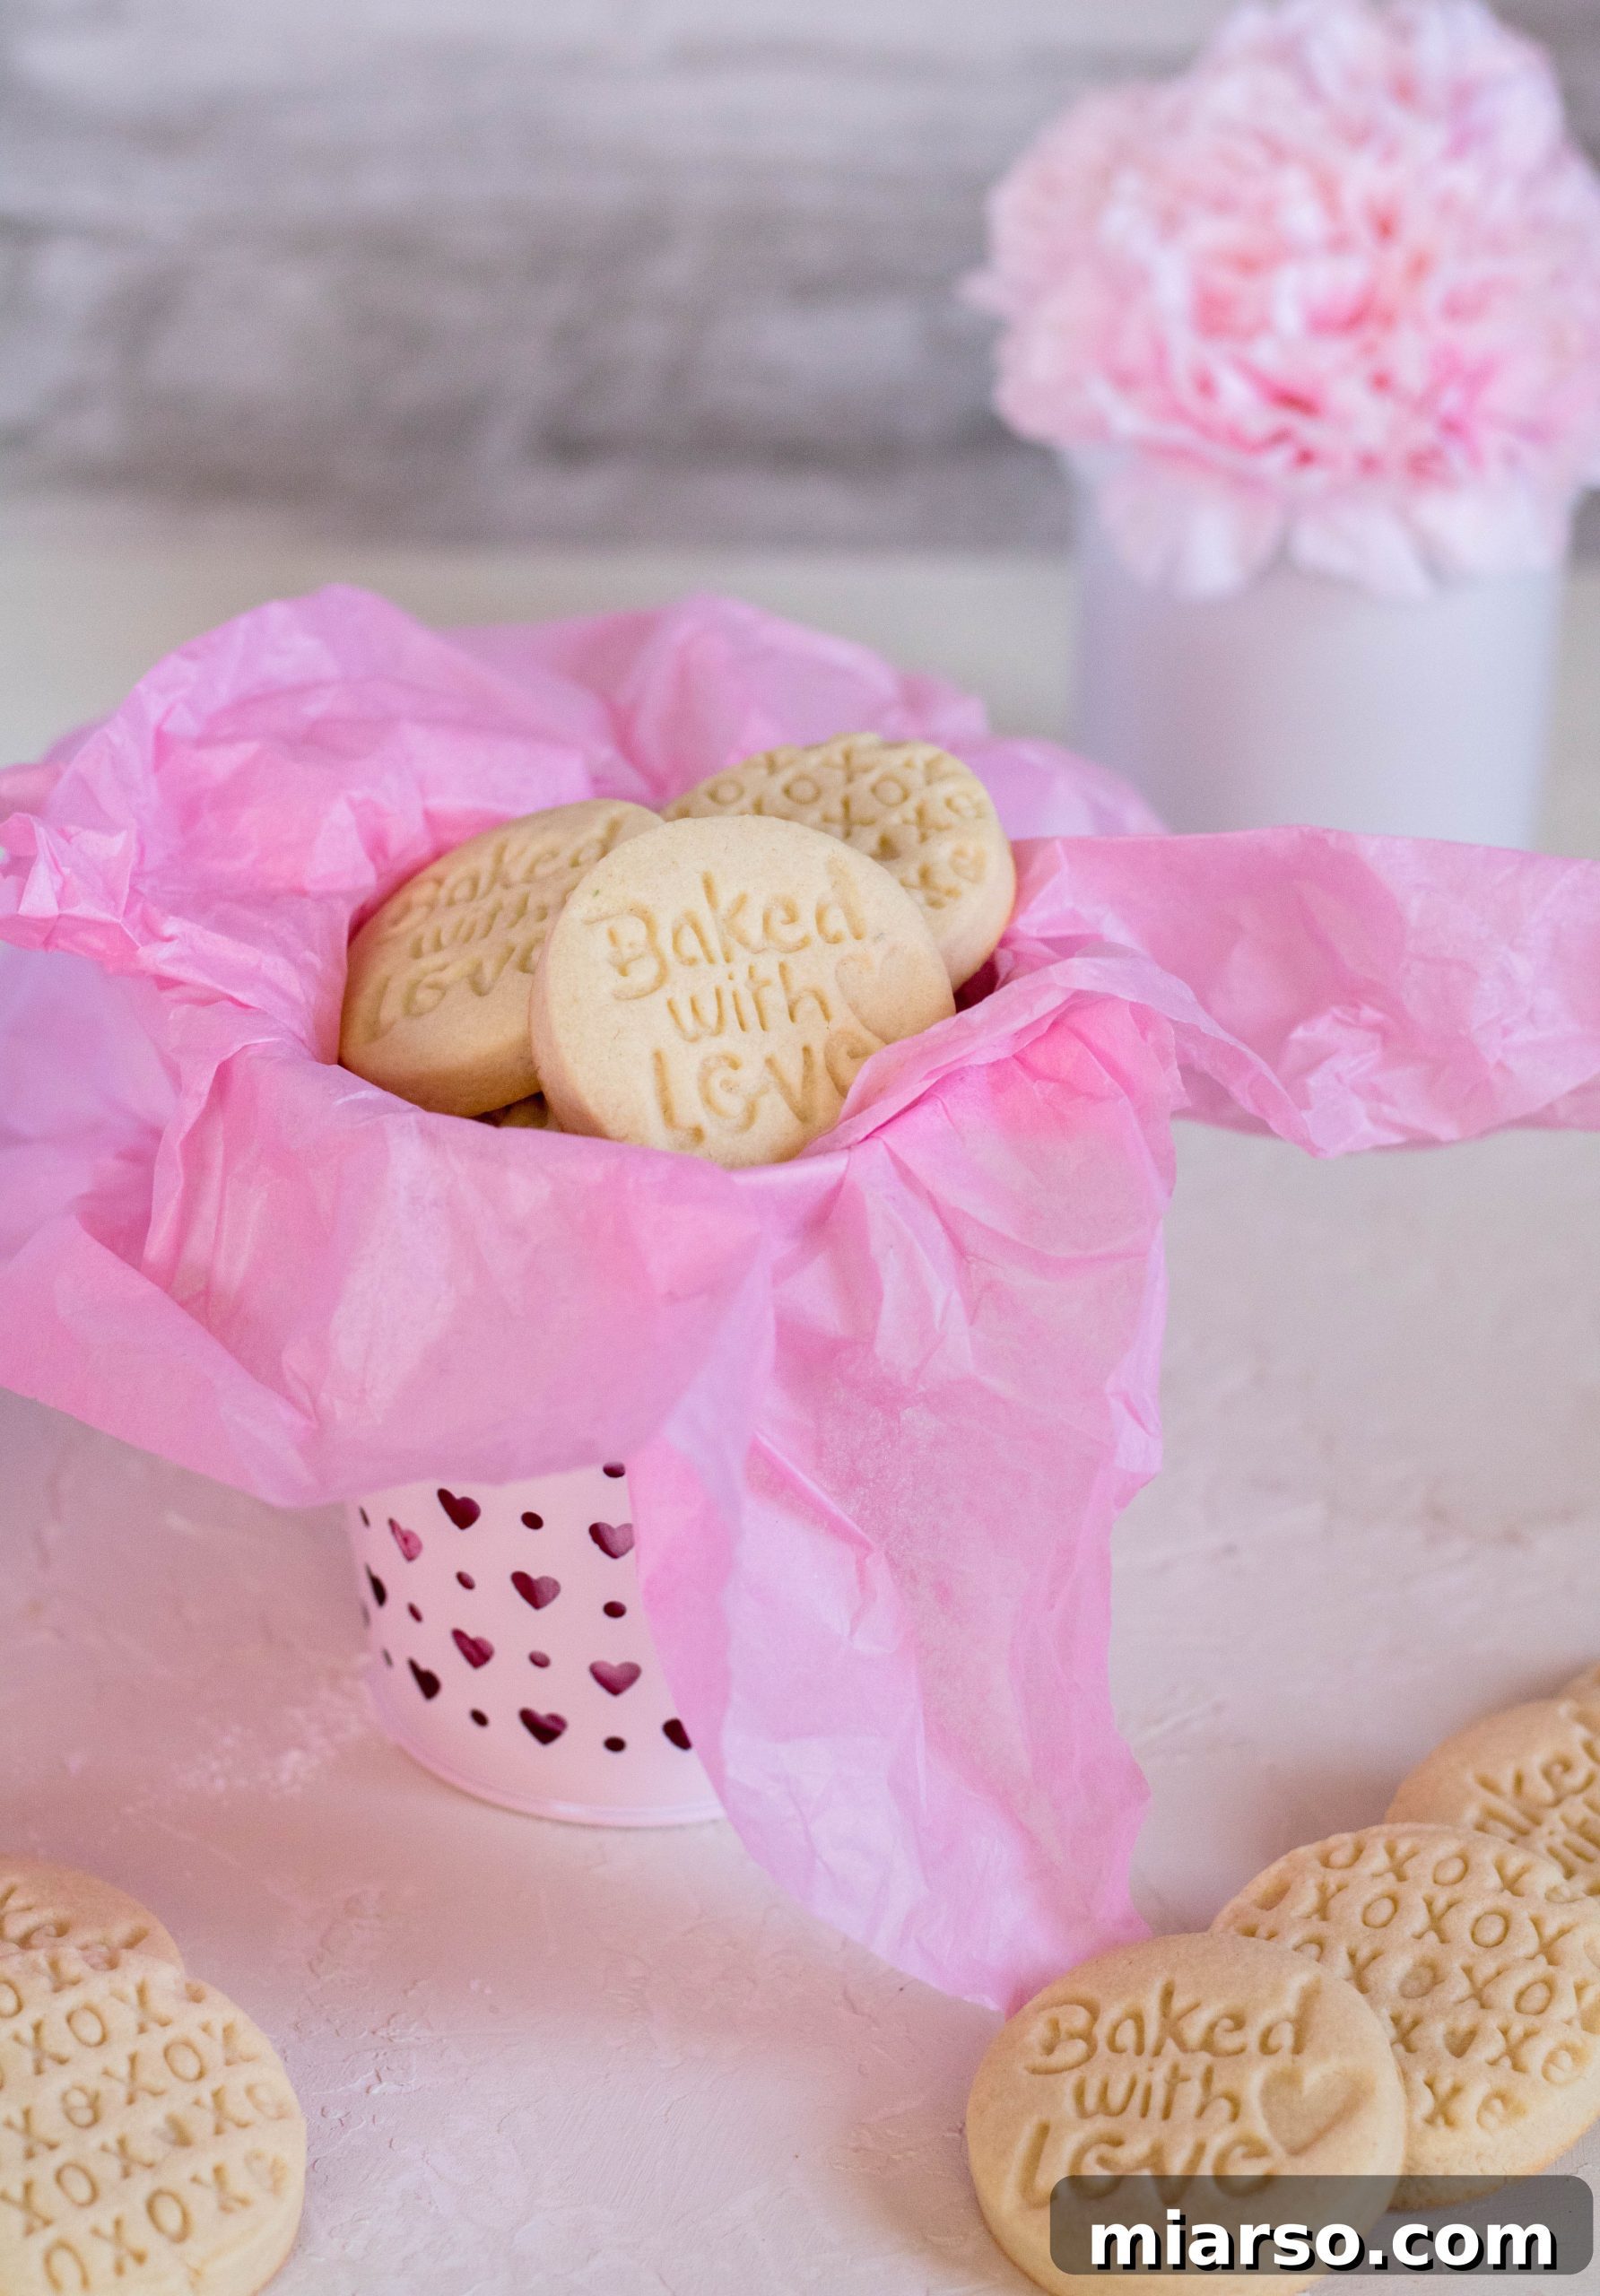
Welcome, fellow baking enthusiasts! As the season of love approaches, my thoughts inevitably turn to delightful treats that capture the warmth and affection of Valentine’s Day. And what better way to express heartfelt sentiments than with a batch of beautifully handcrafted, melt-in-your-mouth shortbread cookies? These Valentine’s Day stamped shortbread cookies are more than just a dessert; they’re an annual tradition I eagerly anticipate, offering a perfect blend of buttery goodness and personalized charm.
These aren’t just any shortbread cookies. They are a labor of love, designed to be perfectly buttery, with a tender crumb that dissolves in your mouth. The magic truly happens when you personalize each cookie with a sweet message or a charming design using cookie stamps. Imagine gifting a box of these to your loved ones, each bearing a unique token of your affection! Plus, with their straightforward preparation, they are an absolutely ideal project for baking with children, creating cherished memories alongside delicious results.
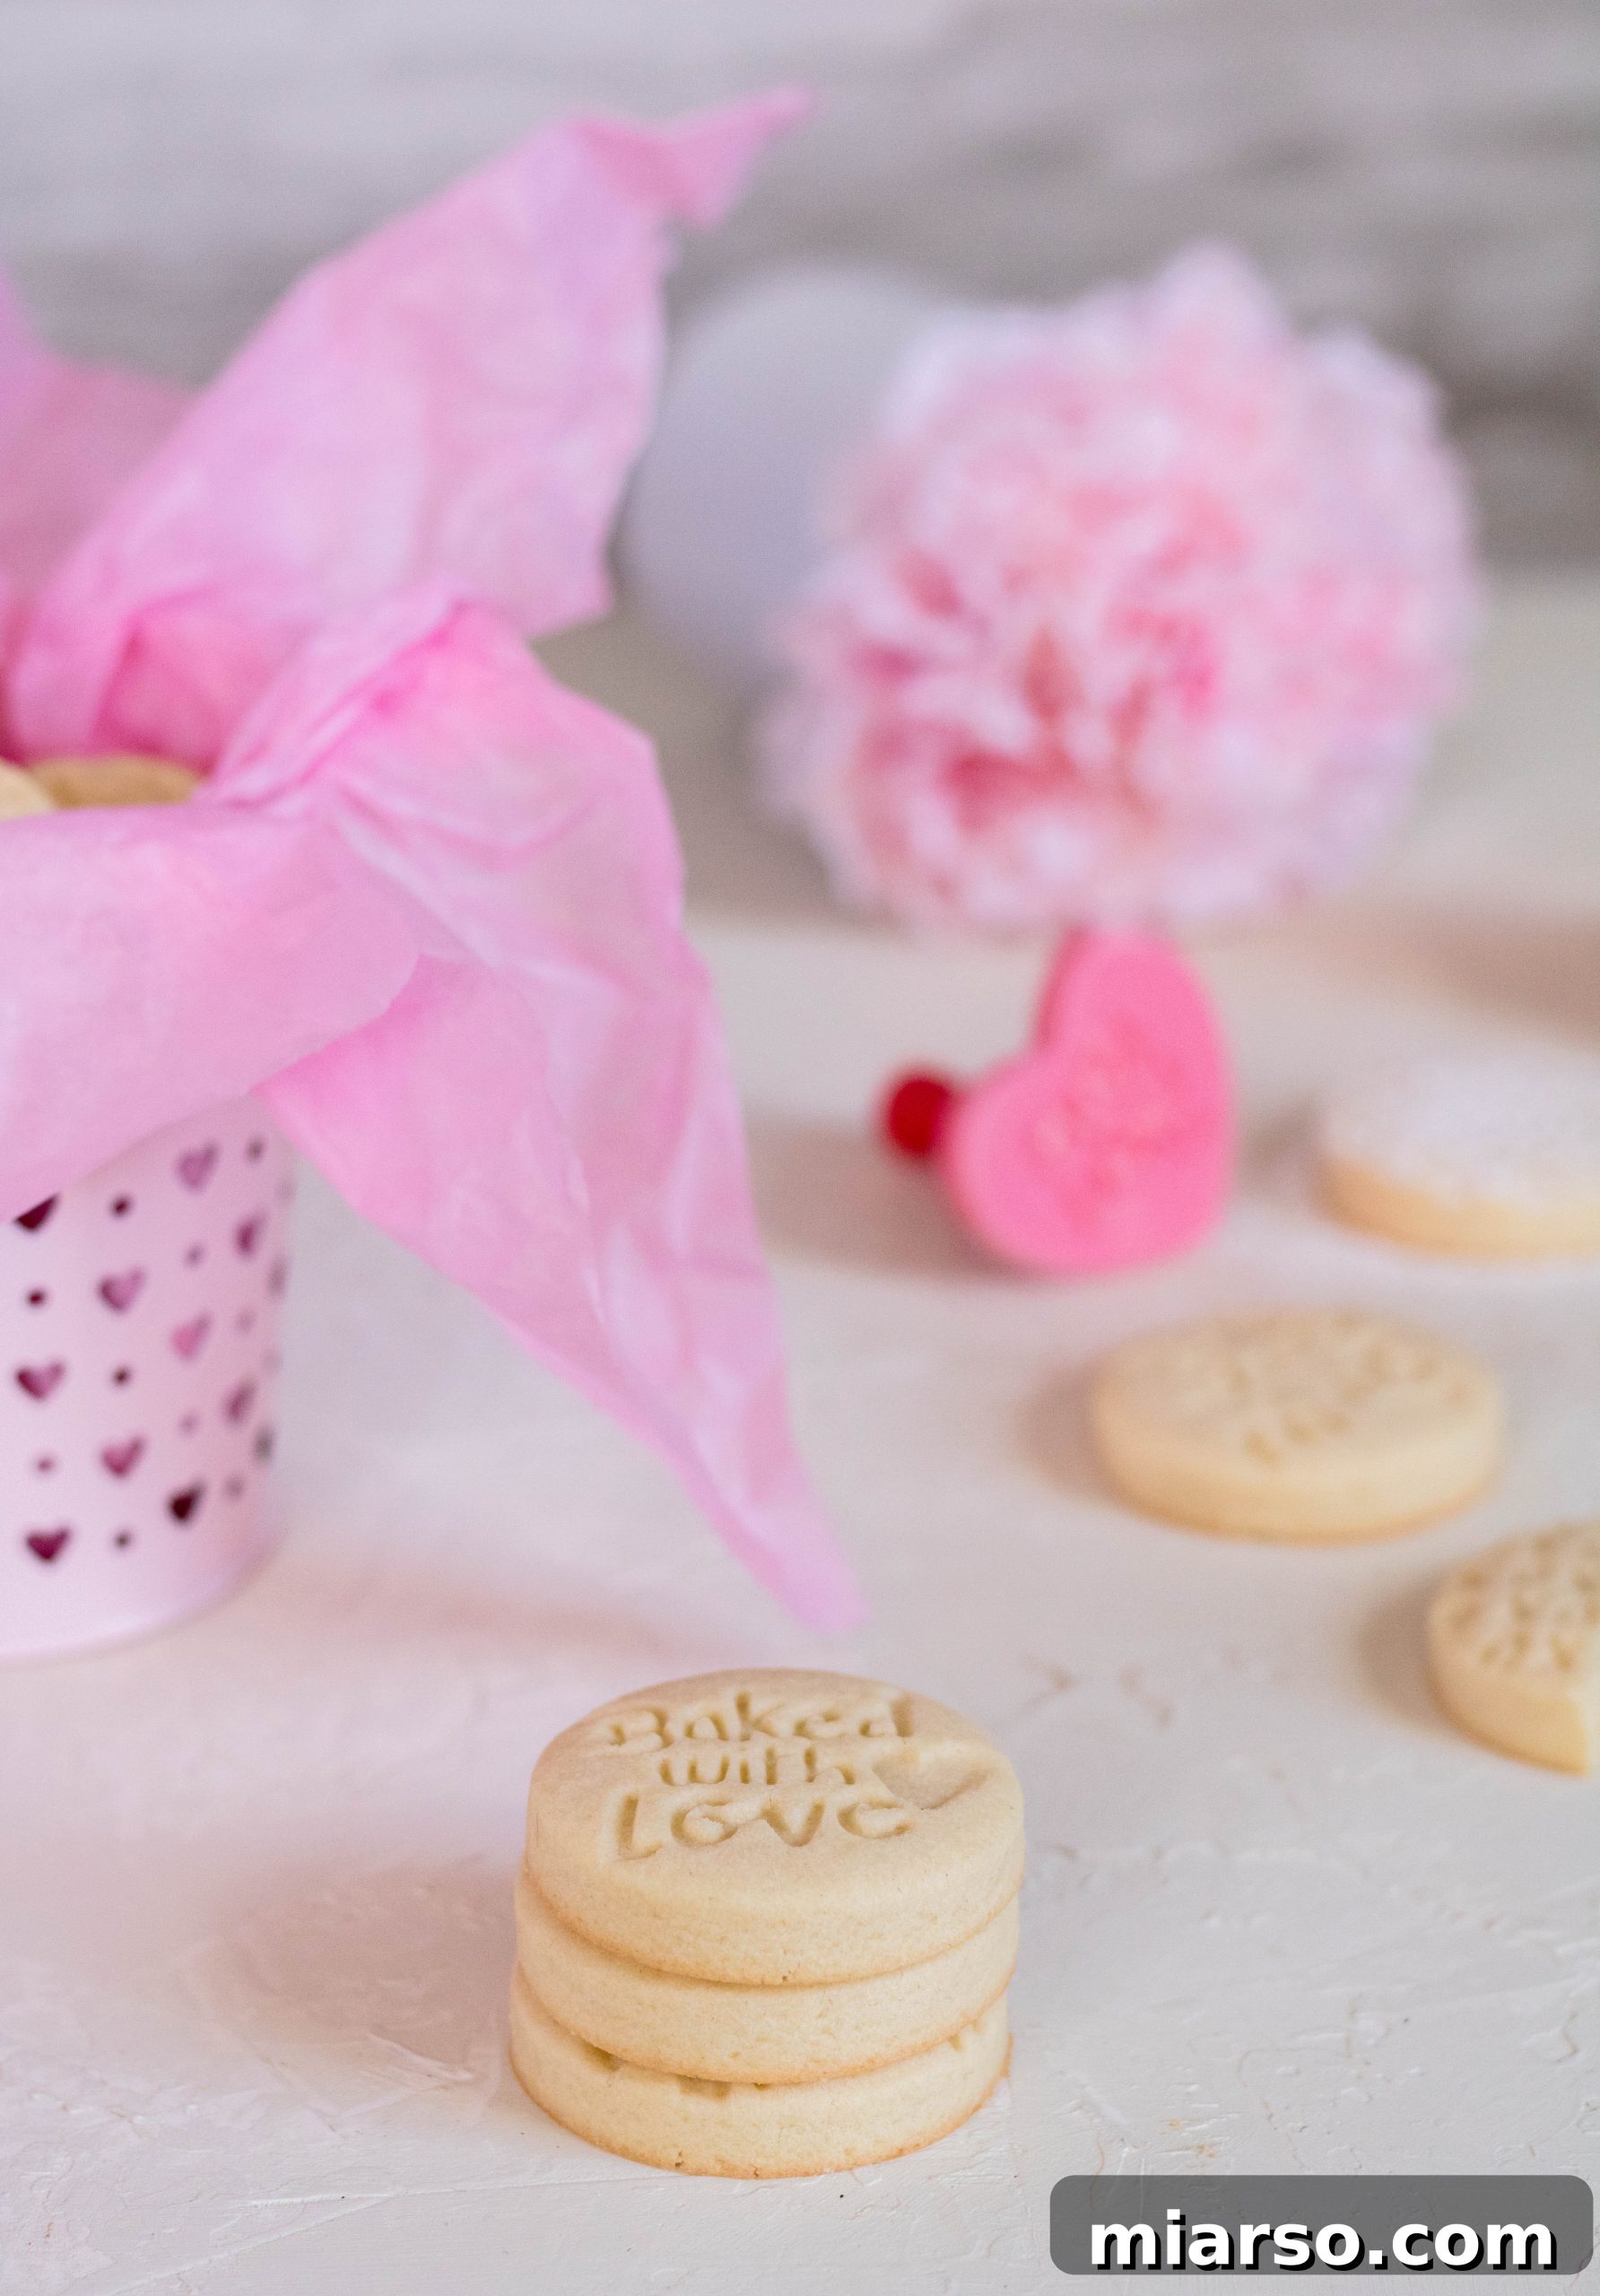
With Valentine’s Day just around the corner, I’m thrilled to share this exceptional recipe for stamped shortbread. I understand that many of us aim for healthier eating habits, even during holidays. That’s why this particular shortbread recipe yields a manageable batch and is intentionally not overly sweet, striking a delightful balance that appeals to a wide range of palates.
For those who know me well, my passion for cookies and desserts that aren’t excessively sweet is no secret. I often find myself creating my own recipes because store-bought treats frequently lack that perfect equilibrium of sweetness. This shortbread recipe is a testament to that philosophy – allowing the rich, pure butter flavor and delicate vanilla notes to shine through, rather than being masked by an avalanche of sugar. It’s a truly sophisticated indulgence, light enough to enjoy without feeling overwhelmed.
The Art and Charm of Valentine’s Day Cookie Stamps
Just a few days ago, I embarked on one of my favorite rituals: a leisurely stroll through Target. Call me eccentric, but I’m absolutely enchanted by that store! Whether it’s the inviting lighting, the vibrant splash of red, the comforting aroma of Starbucks coffee, or perhaps a magical combination of all these elements, I could happily lose myself for hours within its aisles, only to find myself drawn back the very next day. Am I alone in this delightful obsession, or are there other Target aficionados out there?
During my recent visit, I made a bee-line for the charming Valentine’s Day section, and that’s where I instantly fell in love. Their collection of cookie stamps, adorned in cheerful pink and red, caught my eye. Made of durable plastic and incredibly affordable (a mere dollar each!), they were an irresistible find. Naturally, my indecisive self compelled me to get both designs, assuring myself I’d certainly find a creative use for them.
The moment I arrived home, my mind raced with ideas. What kind of cookie would best showcase these adorable stamps? The answer was clear: shortbread. Its firm yet tender texture and classic appeal make it the ideal canvas for intricate designs. And so, here we are, about to embark on a delightful baking journey, all thanks to a serendipitous Target run and a handful of charming cookie stamps. These stamps aren’t just tools; they’re tiny storytellers, allowing you to infuse each cookie with a unique message of love, friendship, or simple joy.
Finding Your Perfect Valentine’s Day Cookie Stamps
If a Target isn’t readily accessible in your area, or if you’re simply looking for a broader selection of charming designs, don’t worry! The world of online shopping offers a treasure trove of cookie stamps perfect for Valentine’s Day and beyond. I’ve curated a few options that you might find appealing, ensuring you can personalize your shortbread creations with ease, no matter where you are. Consider stamps with hearts, “XOXO,” “Love,” or other sweet phrases that resonate with your festive spirit. They add that extra touch of thoughtfulness to your homemade gifts.
More Valentine’s Day Recipes You’ll Adore!
Looking to expand your romantic menu beyond these delightful shortbread cookies? I’ve got you covered with more scrumptious Valentine’s Day recipes that are sure to impress and satisfy. From rich and creamy desserts designed for two, to quick and easy treats, these recipes will help you celebrate love in the most delicious way possible.
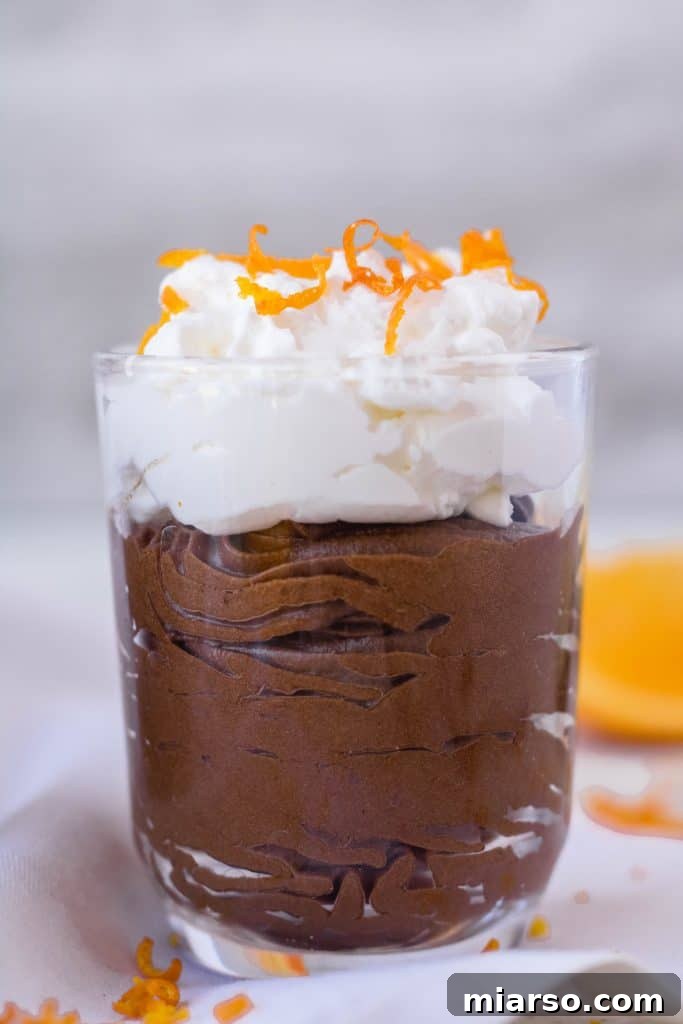
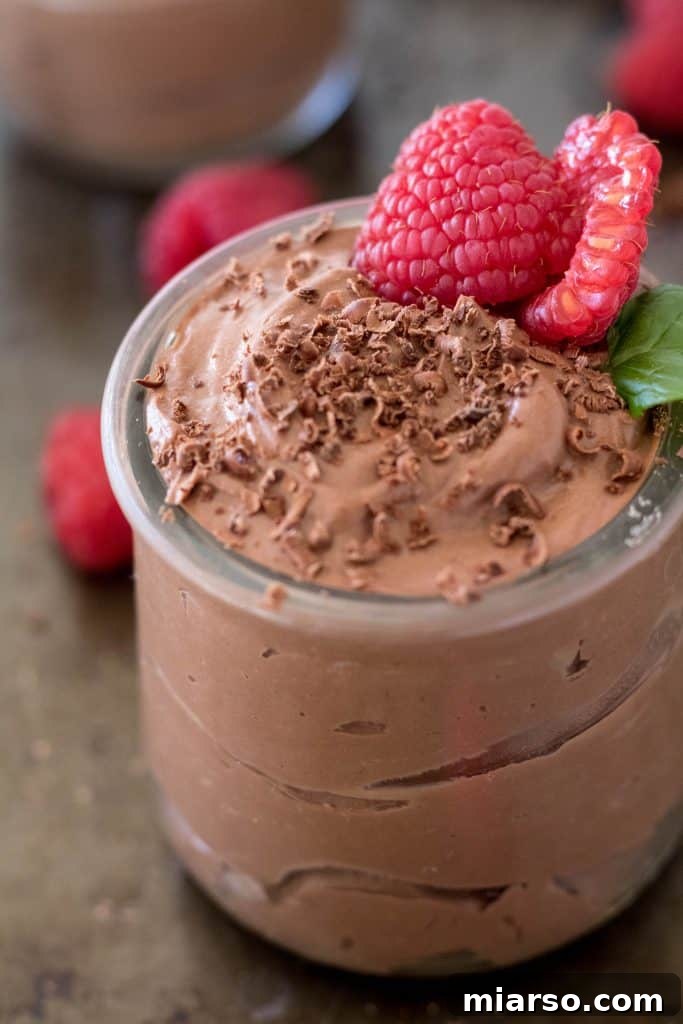
- Vegan Chocolate Orange Avocado Mousse for Two
- 3 Ingredient Silken Tofu Chocolate Mousse
What Makes These Valentine’s Day Stamped Shortbread Cookies So Special?
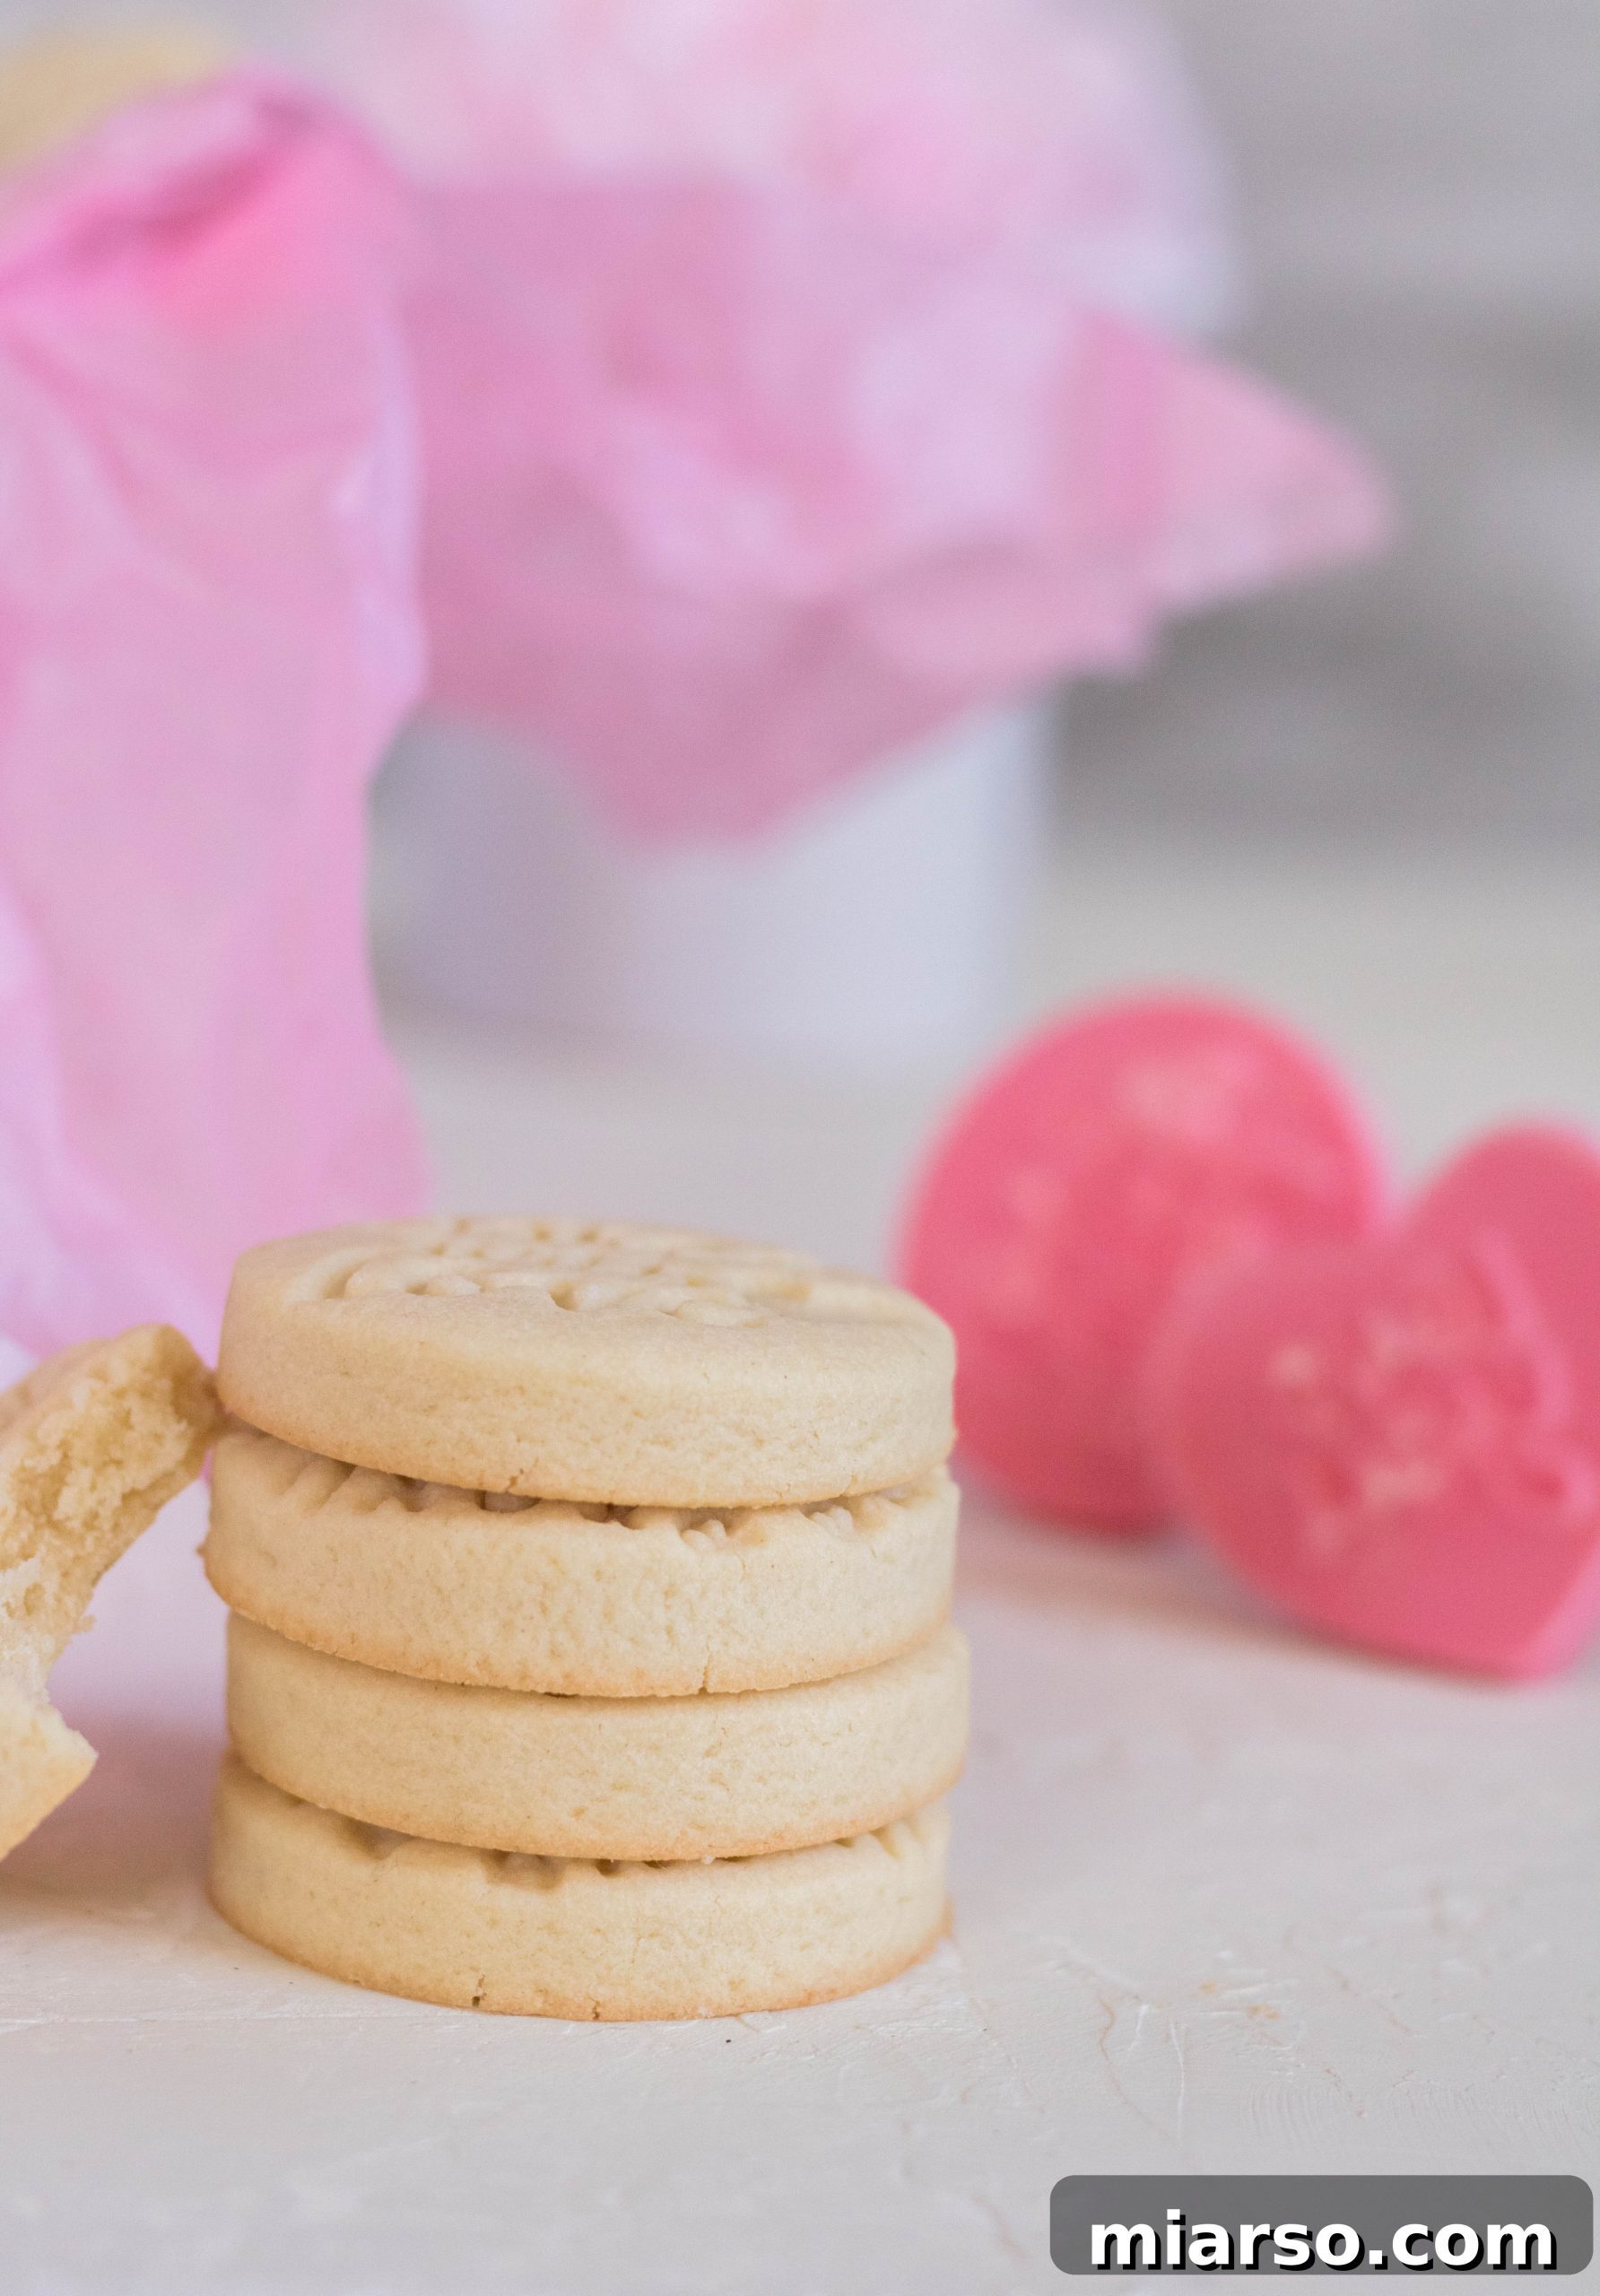
These aren’t just another cookie recipe; they hold a unique place in my heart, and I believe they’ll quickly earn a spot in yours too. As I mentioned earlier, one of their most distinguishing features is their perfectly balanced sweetness. Unlike many overly sugary desserts, these shortbread cookies allow the pure, rich flavor of butter and fragrant vanilla to truly sing. This makes them an absolutely ideal companion for your afternoon tea or morning coffee, offering a sophisticated indulgence without overwhelming your palate.
Beyond their exquisite flavor, these cookies boast incredible simplicity. Shortbread, by nature, is a minimalist’s dream, requiring only a handful of basic ingredients that you likely already have in your pantry. This means less fuss, less stress, and more enjoyment. Their straightforward preparation makes them wonderfully accessible, even for novice bakers. In fact, their unassuming charm is so potent that even those who claim not to be “cookie lovers” often find themselves reaching for a second, or third! They’re proof that sometimes, the simplest things are truly the most delightful.
Furthermore, their stampable nature adds an unparalleled personal touch. You’re not just baking cookies; you’re crafting edible messages of love and appreciation. This makes them exceptional for gifting, party favors, or simply brightening someone’s day. Their elegant appearance, combined with their divine taste and ease of creation, truly sets these Valentine’s Day stamped shortbread cookies apart.
Understanding the Ingredients: What’s in These Buttery Shortbread Cookies?
This recipe, while yielding exceptional results, remains true to the classic simplicity of shortbread. It relies on a few core ingredients, each playing a vital role in creating that signature buttery, melt-in-your-mouth texture we all adore. Here’s a closer look at what you’ll need and why each component is essential:
- Butter: This is the star of the show, providing the rich, luxurious flavor that defines shortbread. It’s crucial to use high-quality unsalted butter here, as it’s the dominant taste. Ensure it’s at room temperature for optimal creaming, which incorporates air for a tender crumb.
- Granulated Sugar: While many shortbread recipes call for powdered sugar for a super fine texture, we’re using granulated sugar in this recipe. This choice contributes to a slightly crisper bite and a delicate sweetness that isn’t overpowering, allowing the butter flavor to remain prominent.
- Brown Sugar: A small touch of brown sugar is added for depth. Brown sugar contains molasses, which imparts a subtle caramel-like flavor and helps keep cookies wonderfully soft and moist. This hint of molasses complements the vanilla beautifully.
- Salt: Often overlooked, salt is an indispensable ingredient in baking. It doesn’t just make things salty; it enhances and balances all the other flavors, making the sweetness pop and the buttery notes sing. Always use a good quality fine-grained salt.
- Egg Yolk: The egg yolk acts as a binding agent, bringing the dough together and adding a touch of richness that contributes to the cookie’s tender texture. If you don’t have a large egg yolk, a very small whole egg can work as a substitute, but the yolk alone provides concentrated richness without excess moisture.
- Vanilla Extract: Given the minimal number of ingredients, the quality of your vanilla extract truly matters. It infuses the cookies with a warm, inviting aroma and a classic flavor that complements the butter perfectly, elevating the overall taste profile. Opt for pure vanilla extract for the best results.
- All-Purpose Flour: The structural backbone of our cookies. All-purpose flour is ideal for this recipe, providing the necessary gluten development for structure without making the cookies tough. Always measure flour accurately, preferably by weight, or by spooning it into the measuring cup and leveling off.
- Cornstarch: This is a secret weapon for achieving that coveted, delicate crispness in shortbread! Cornstarch interferes with gluten development, resulting in a more tender, melt-in-your-mouth texture that makes these shortbread cookies truly irresistible. It’s what gives them that extra special, crumbly quality.
Frequently Asked Questions About Shortbread
Can I use salted butter for this recipe?
Absolutely! While my recipe calls for unsalted butter with added salt for precise control over the flavor, you can certainly use salted butter for these stamped shortbread cookies. The key is to remember to omit the additional 1/2 teaspoon of salt from the recipe. Salted butter can vary in its salt content, so if you’re concerned, taste a small piece of the dough before chilling to adjust if necessary, though it typically balances out nicely once baked.
Why is chilling the dough important?
Chilling the shortbread dough before baking is a crucial step! It helps the butter solidify, which prevents the cookies from spreading too much in the oven. This ensures your beautiful stamped designs remain sharp and defined. It also allows the flavors to meld and hydrate the flour, leading to a better texture.
How do I prevent my cookie stamps from sticking?
The simplest trick is to lightly dust your cookie stamp with flour before each impression. You can also lightly oil the stamp with a neutral oil (like vegetable oil) or even coat it with a little powdered sugar. If the dough is too warm or sticky, chill it for a few more minutes.
Can I make the dough ahead of time?
Yes, shortbread dough is excellent for making ahead! You can prepare the dough, wrap it tightly in plastic wrap, and refrigerate it for up to 3-4 days. You can also freeze the dough for up to 3 months. Just thaw it in the refrigerator overnight before rolling and stamping.
More Irresistible Cookie Recipes to Try
If you’ve enjoyed baking these delightful shortbreads, you’ll be thrilled to discover more of my favorite cookie creations. From classic comfort to unique flavor combinations, there’s a cookie here for every craving and occasion. Dive into these recipes and find your next baking obsession!
- Classic Chocolate Chip Walnut Cookies
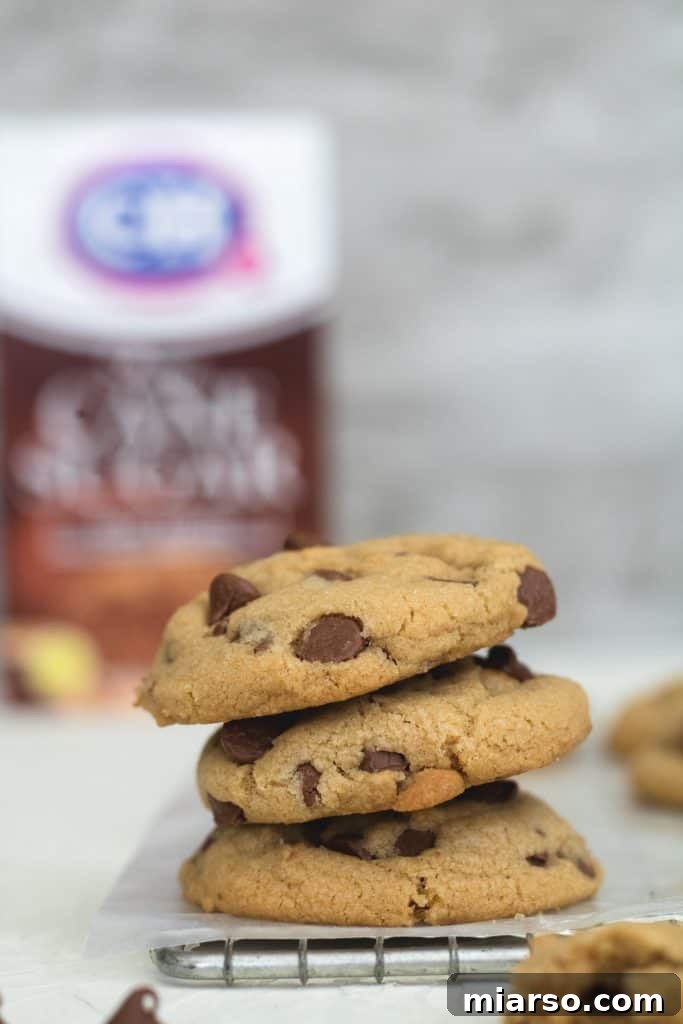
- Small Batch Chocolate Chip Cookies
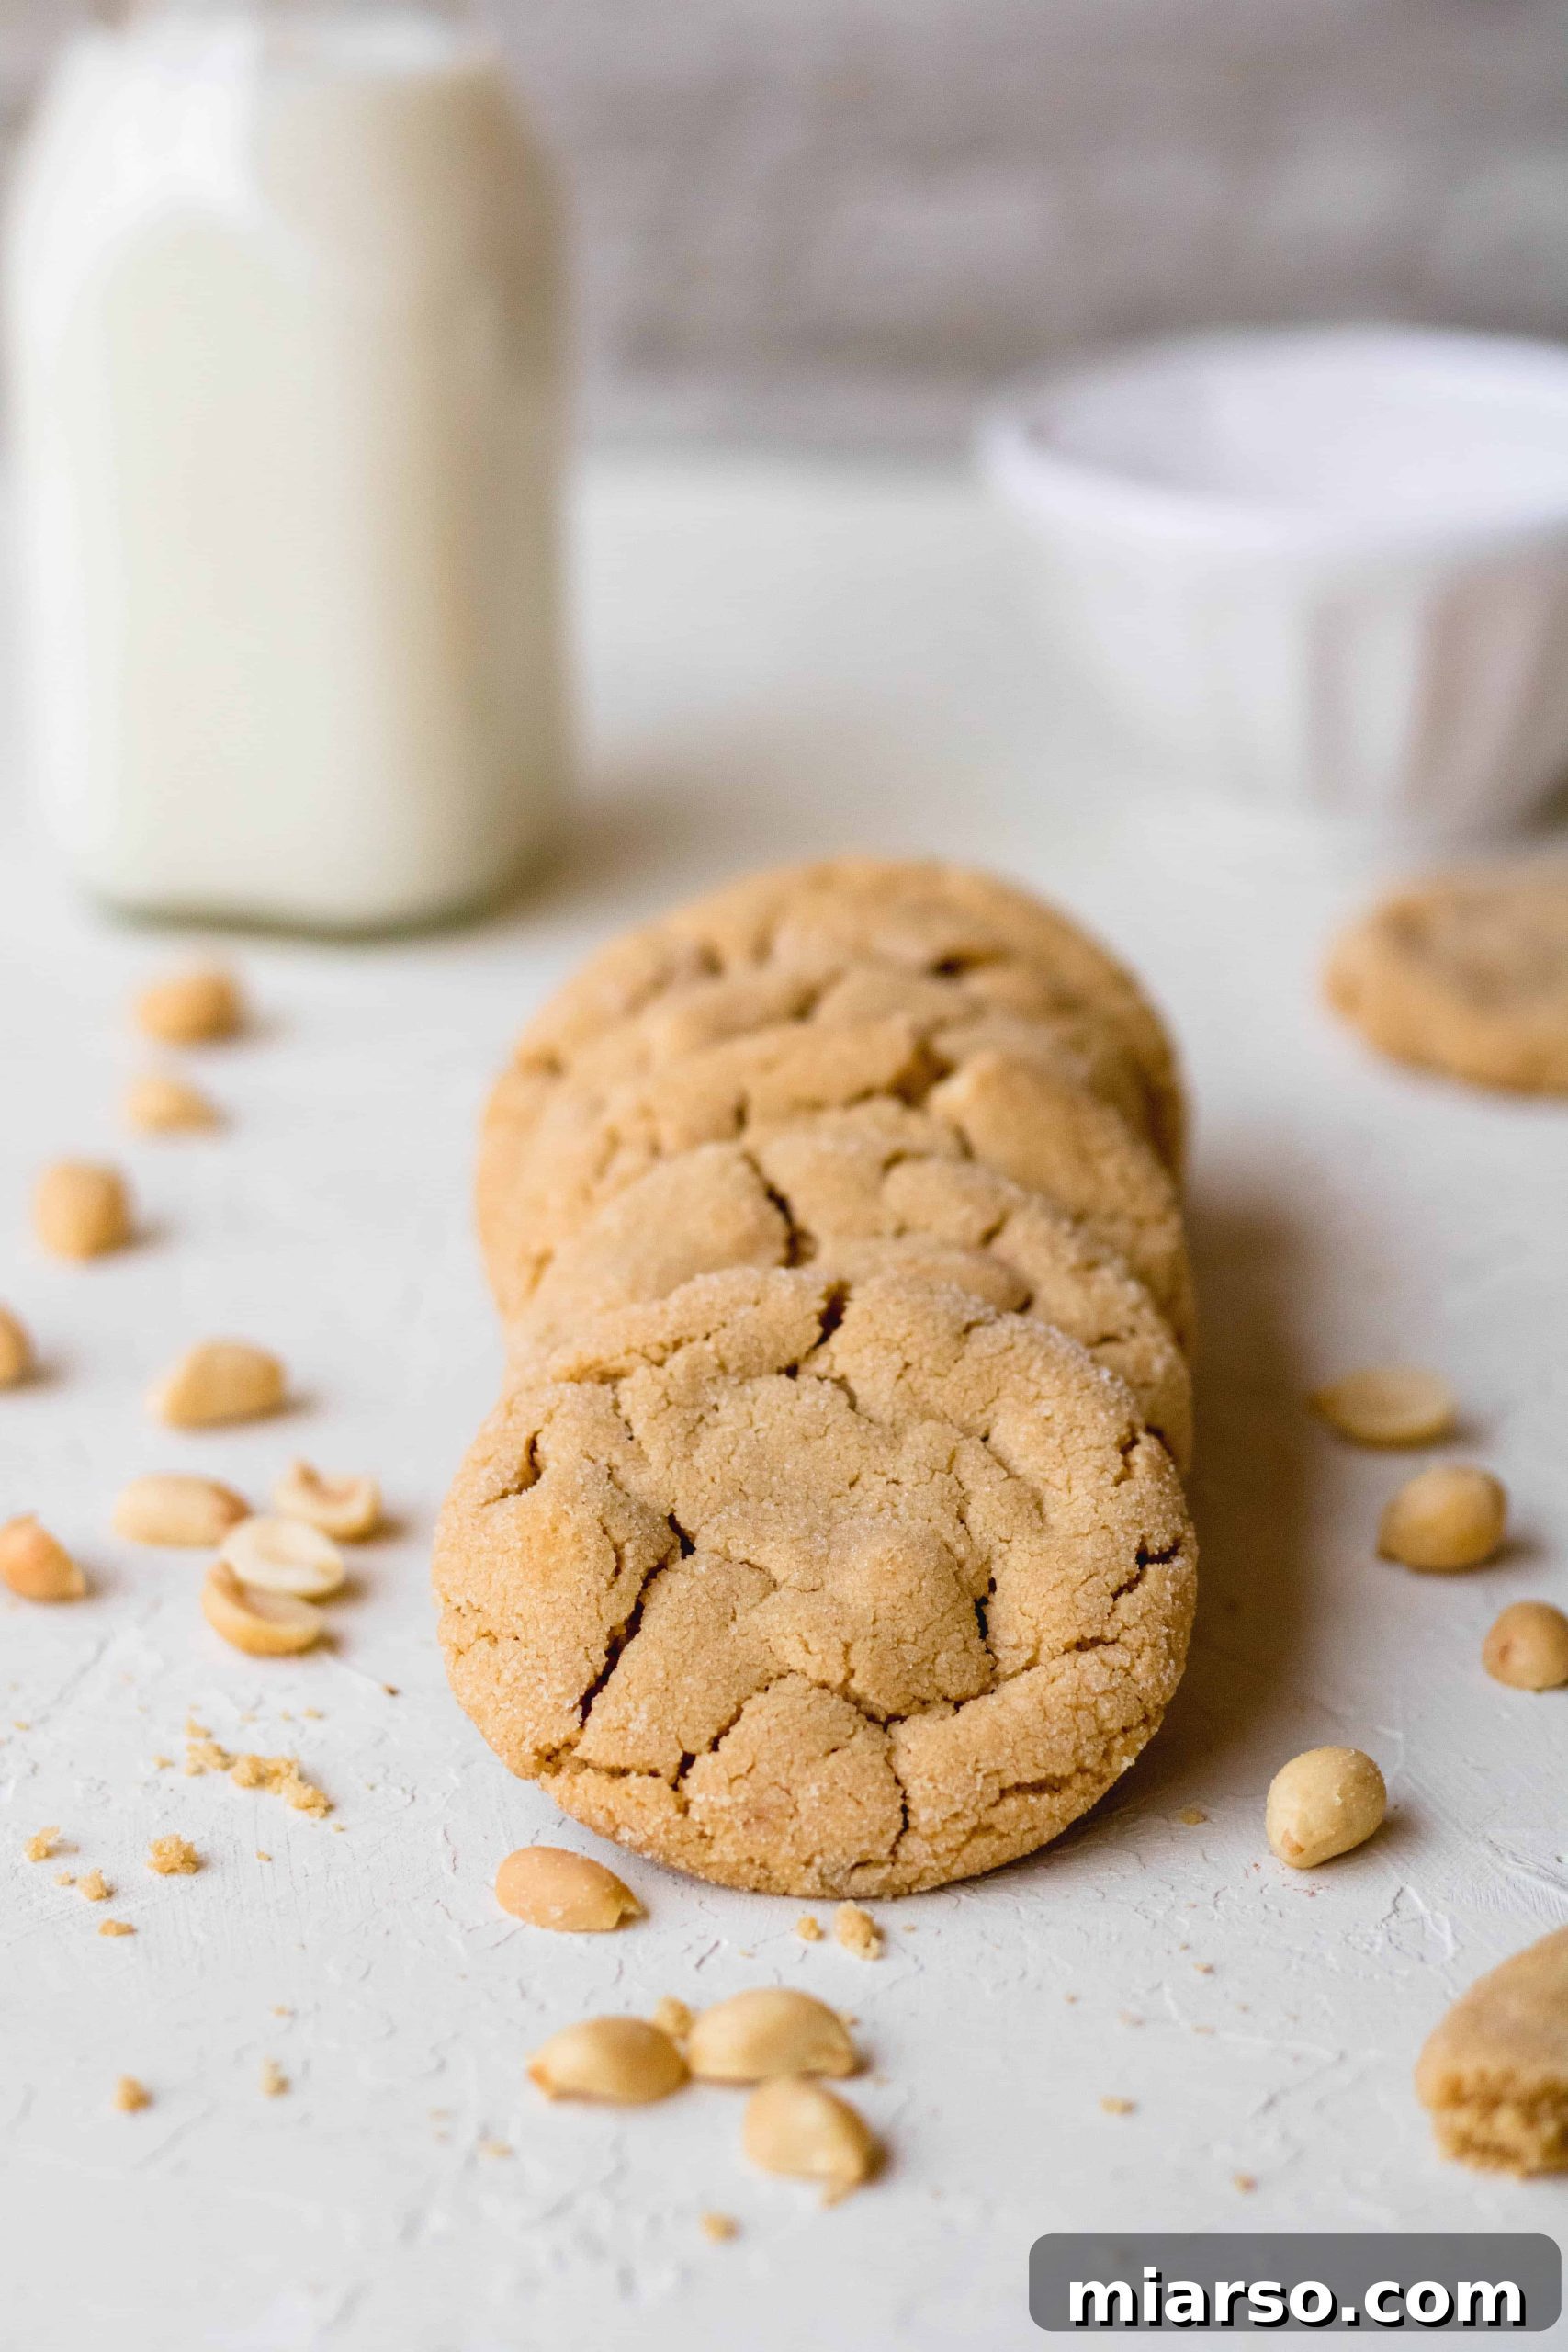
- Small Batch Peanut Butter Cookies
Step-by-Step Guide: How to Make Valentine’s Day Stamped Shortbread Cookies
Creating these beautiful stamped shortbread cookies is a wonderfully rewarding process, and surprisingly simple! Follow these detailed steps to ensure your cookies turn out perfectly crisp, buttery, and adorned with charming designs.
Step 1: Prepare Your Baking Surface. Begin by lining a large baking sheet with either parchment paper or a silicone baking mat. This crucial step prevents sticking and ensures even baking, making cleanup a breeze.
Step 2: Cream the Wet Ingredients. In a large mixing bowl, combine the softened butter, granulated sugar, brown sugar, and salt. Beat these ingredients together using an electric mixer until the mixture becomes light, fluffy, and beautifully creamy. This process incorporates air, which contributes to the shortbread’s delicate texture. Next, add in the egg yolk (or the small whole egg) and the pure vanilla extract. Continue to beat for approximately one more minute until everything is well combined and fragrant.
Step 3: Incorporate Dry Ingredients. Gradually add the all-purpose flour and cornstarch to the wet mixture. Using a spatula, gently fold the dry ingredients into the wet until just combined. Be careful not to overmix, as overworking the dough can develop too much gluten, leading to tougher cookies. The dough should come together in a soft, pliable mass.
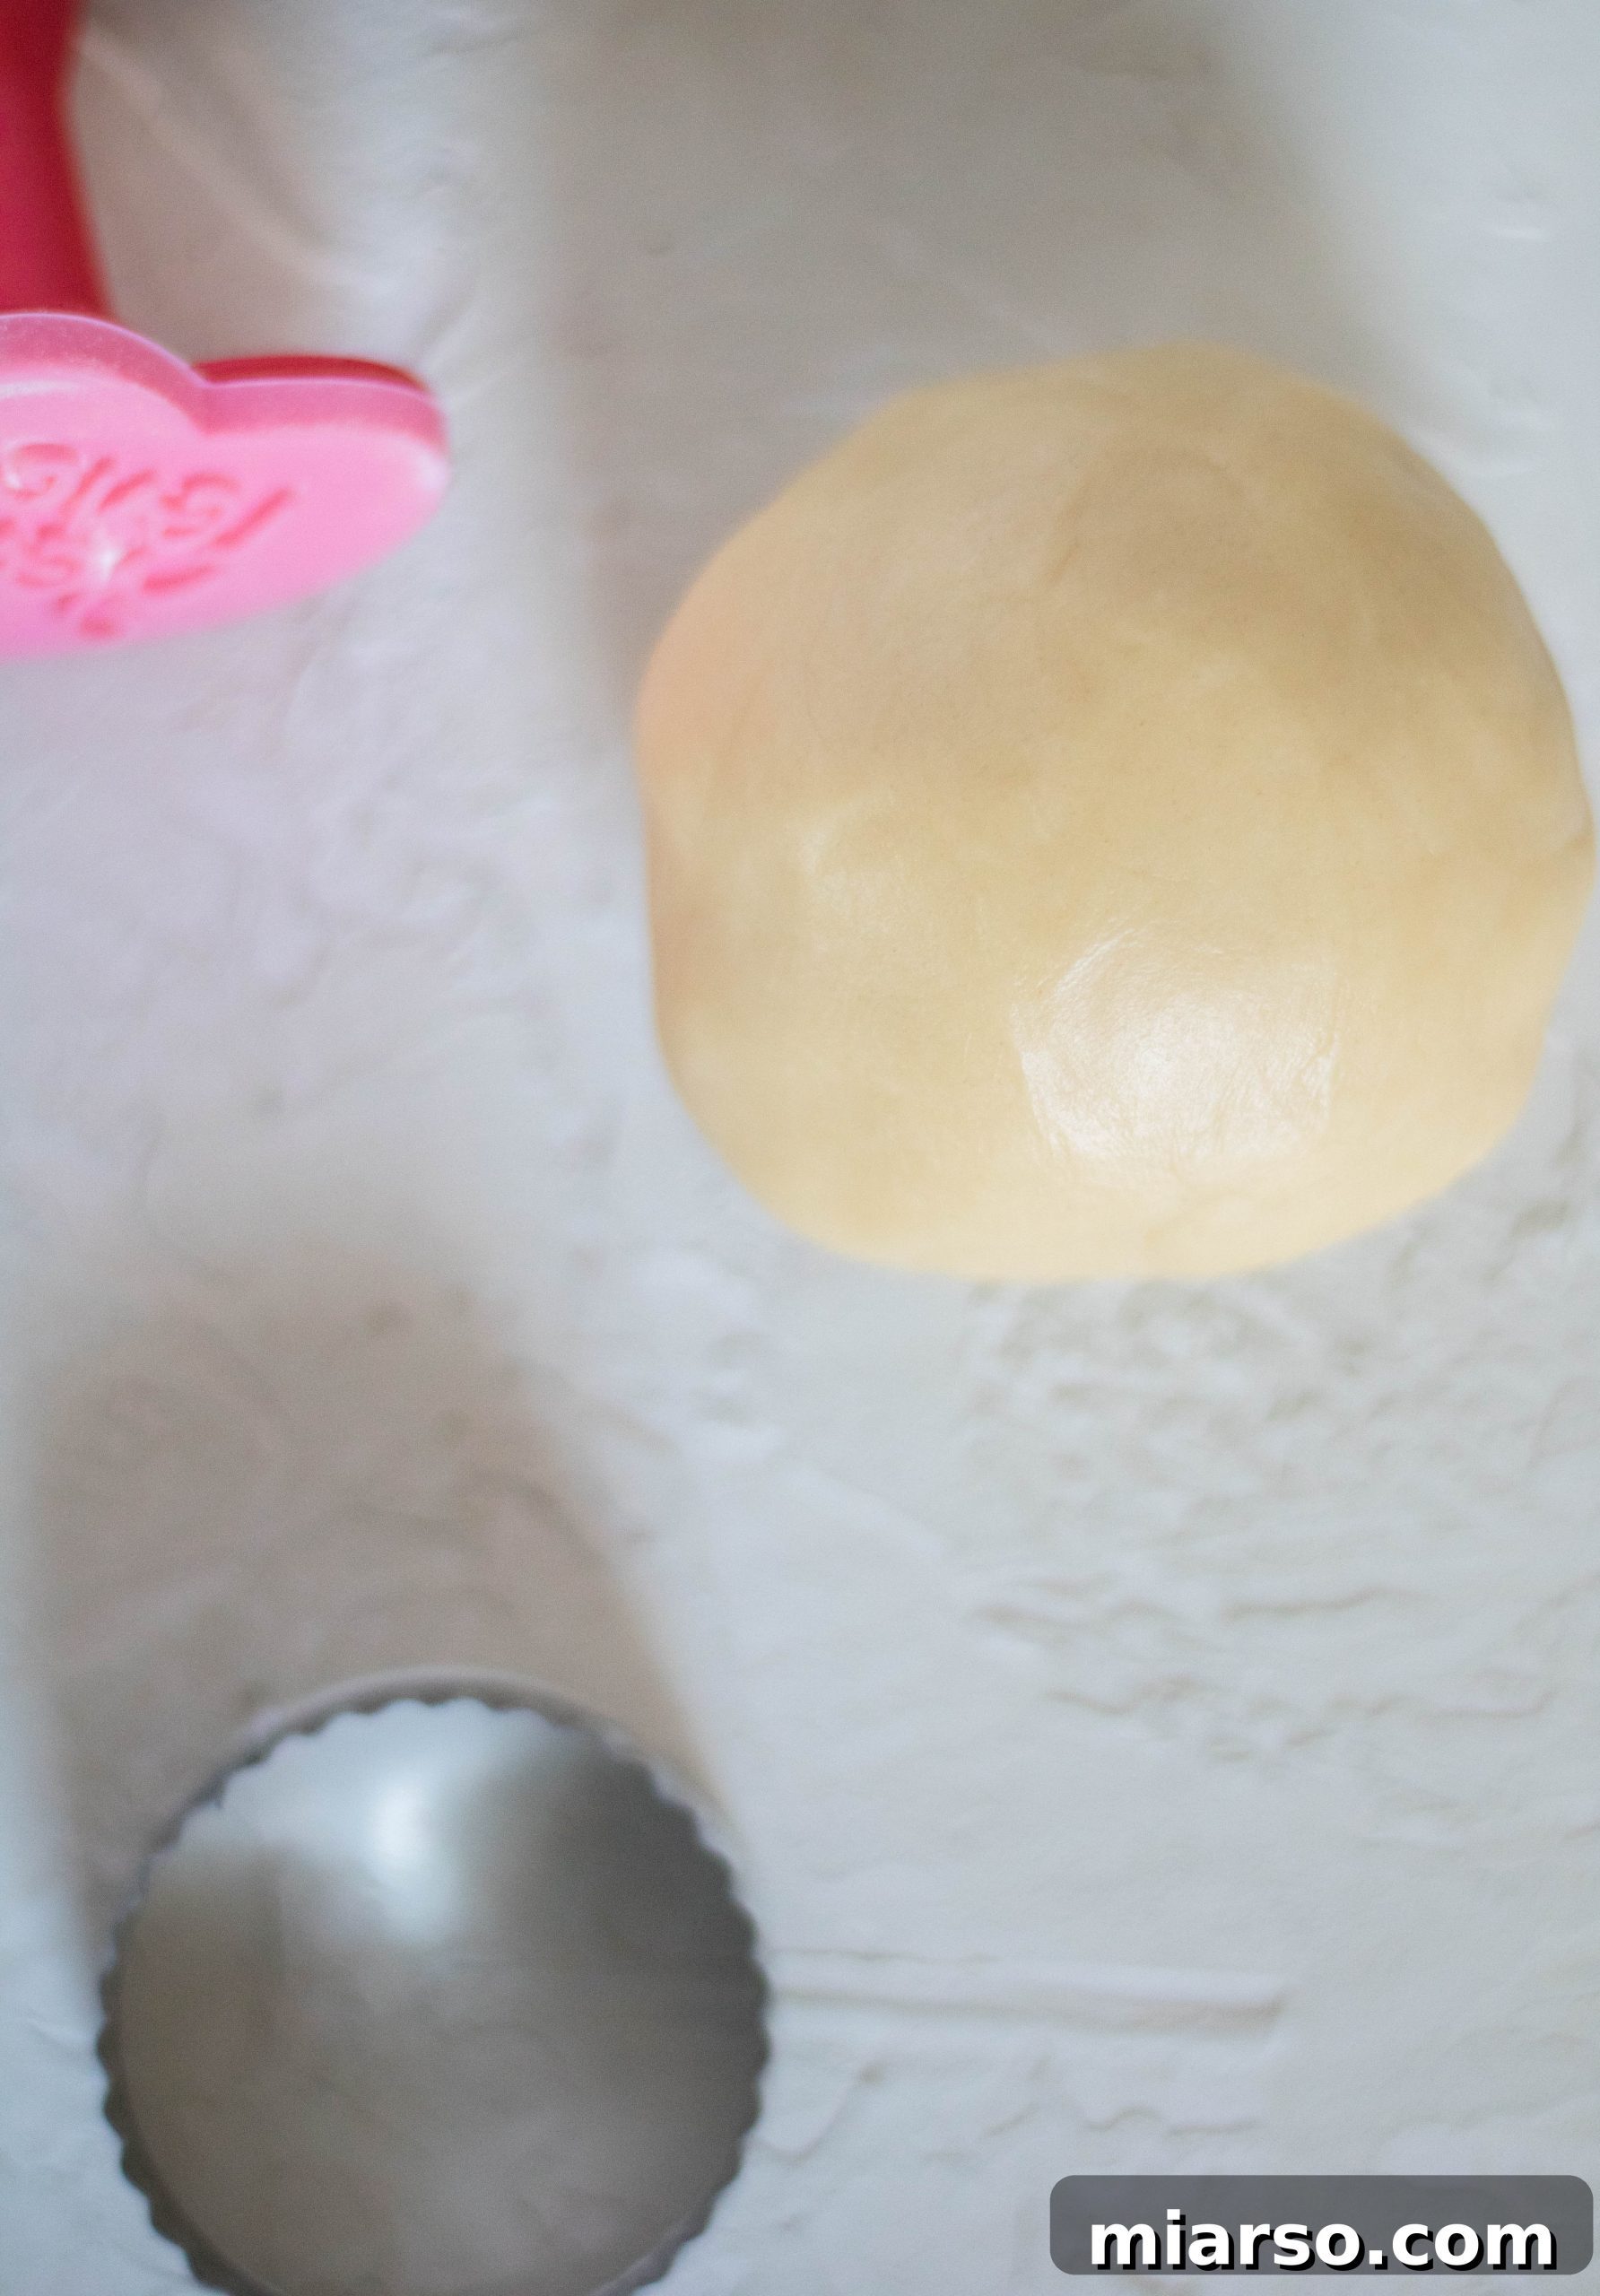
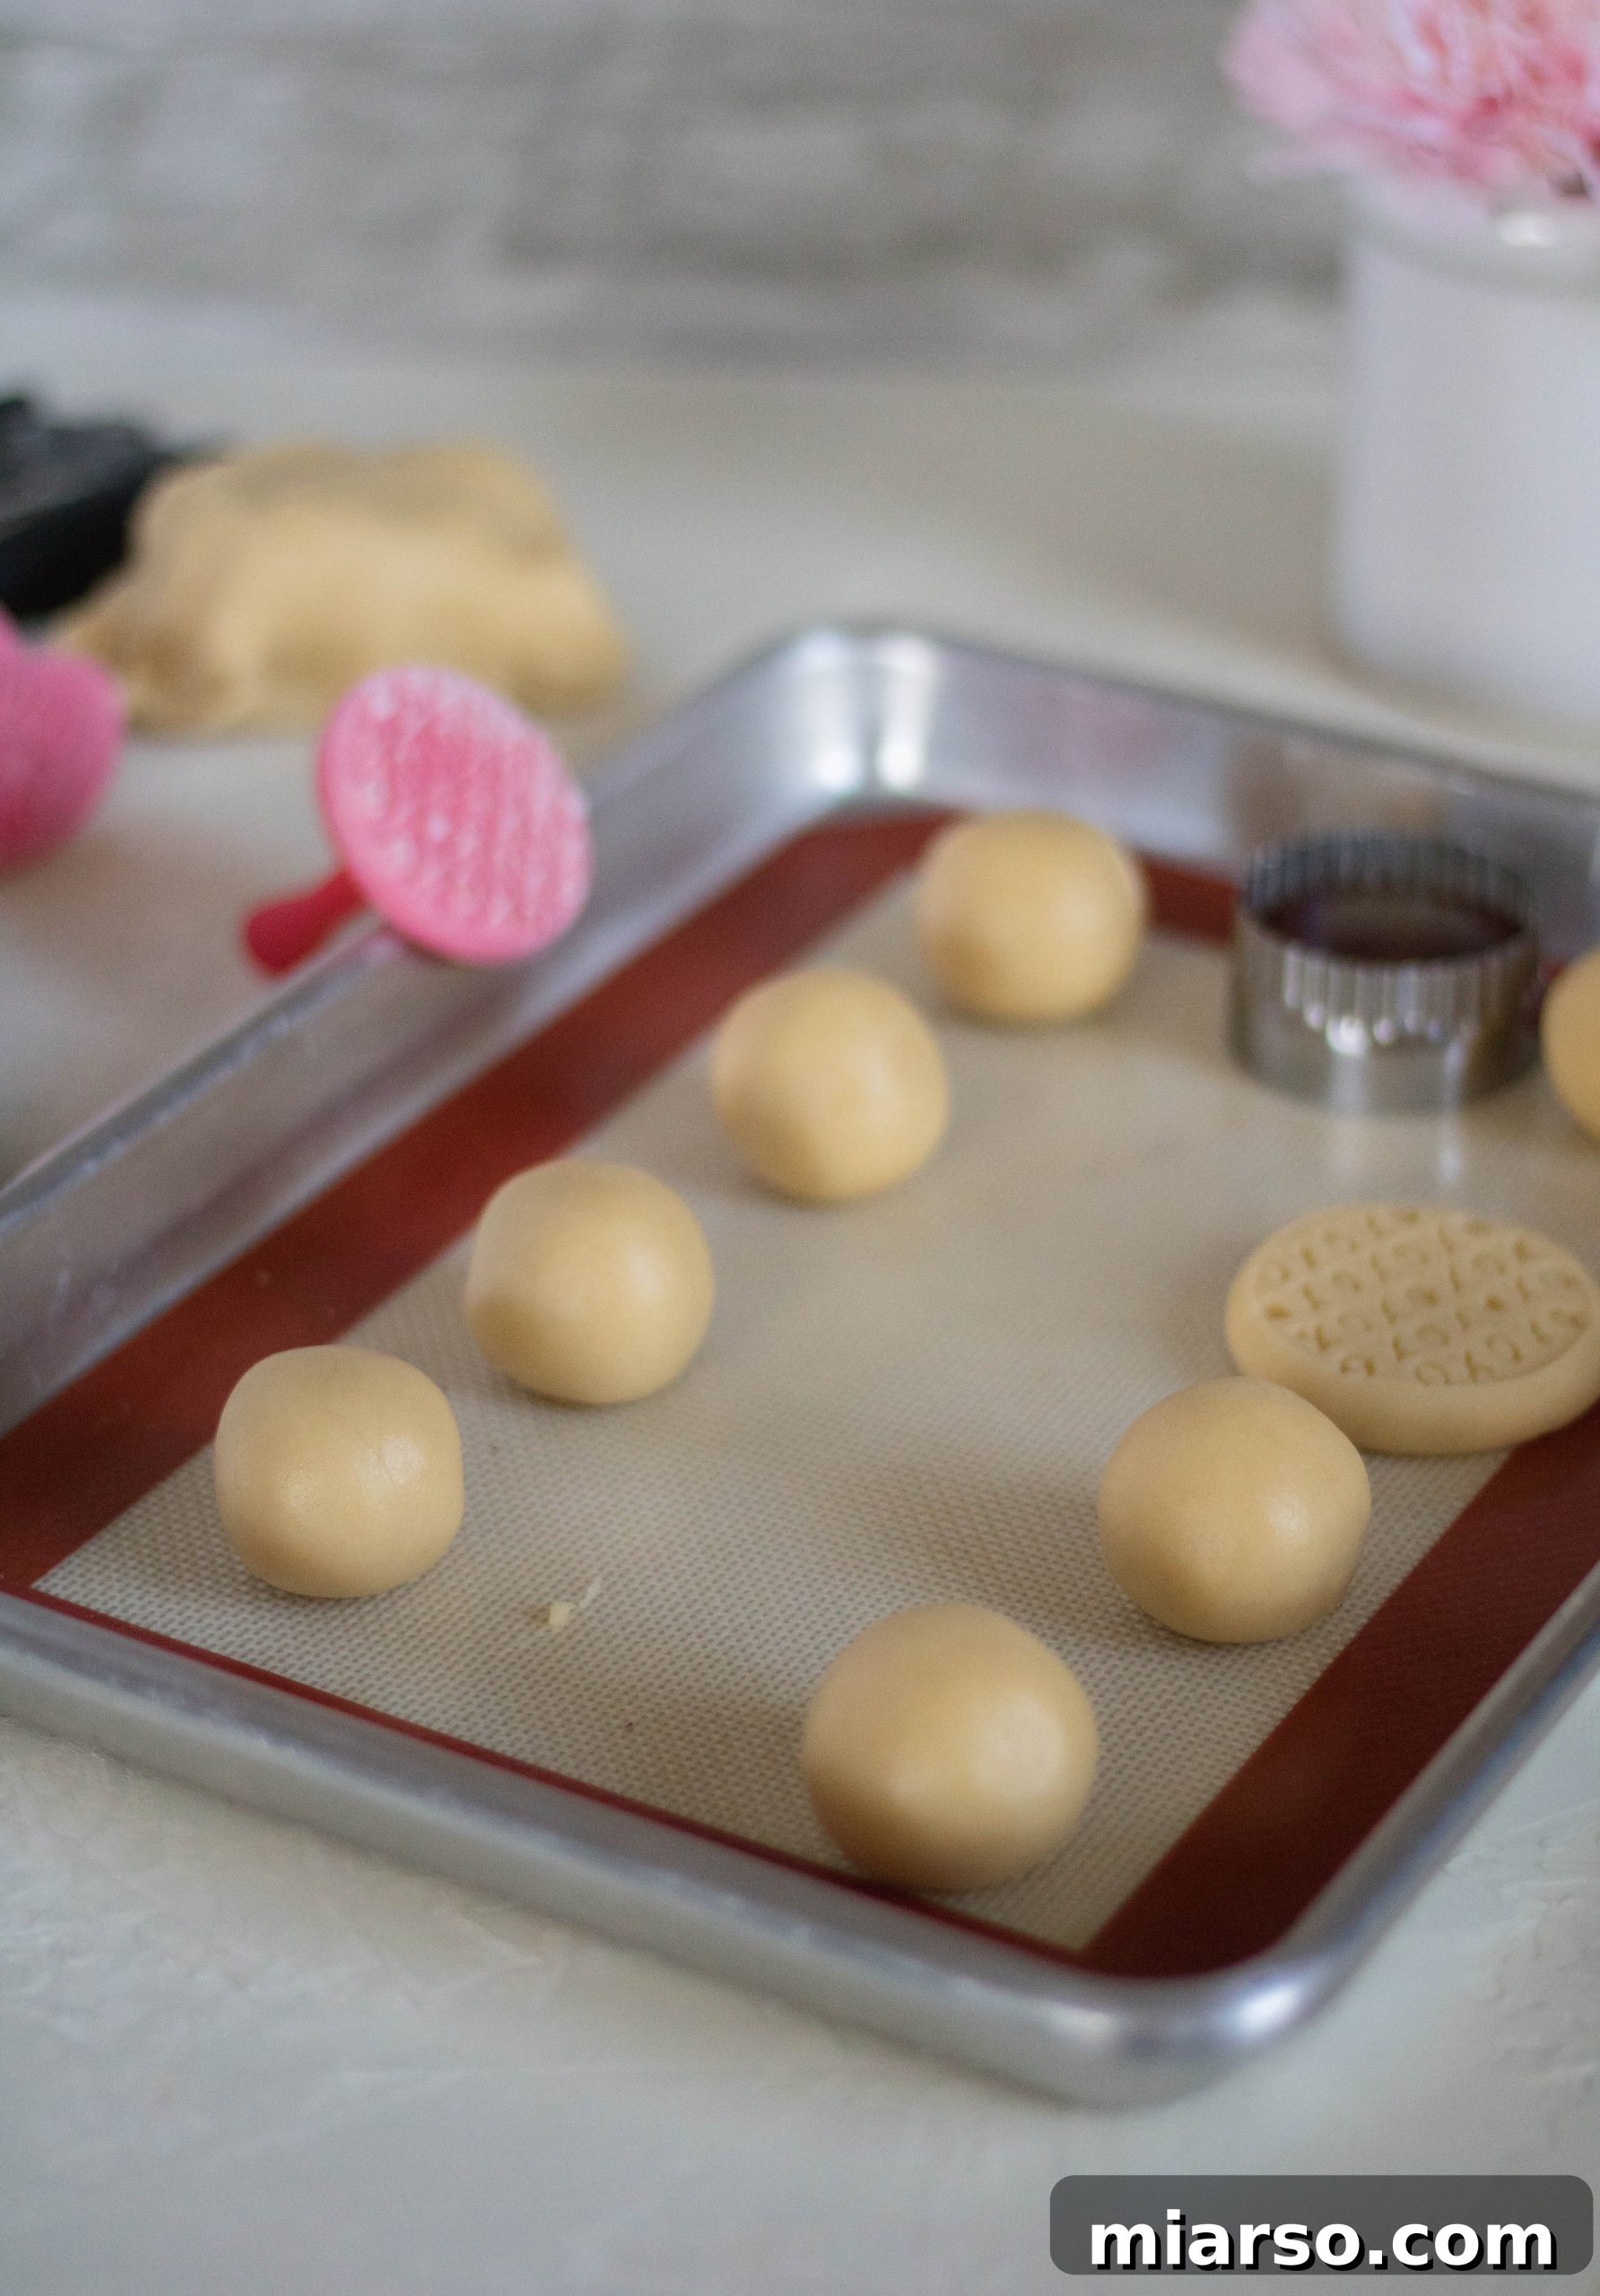
Step 4: Form and Flatten the Cookies. Once your dough is ready, divide it into 18 equal-sized balls, roughly the size of a golf ball. A small cookie scoop can be incredibly helpful for ensuring uniform sizing. Arrange these dough balls evenly on your prepared baking sheet. Gently flatten each ball slightly with the palm of your hand to create a disc.
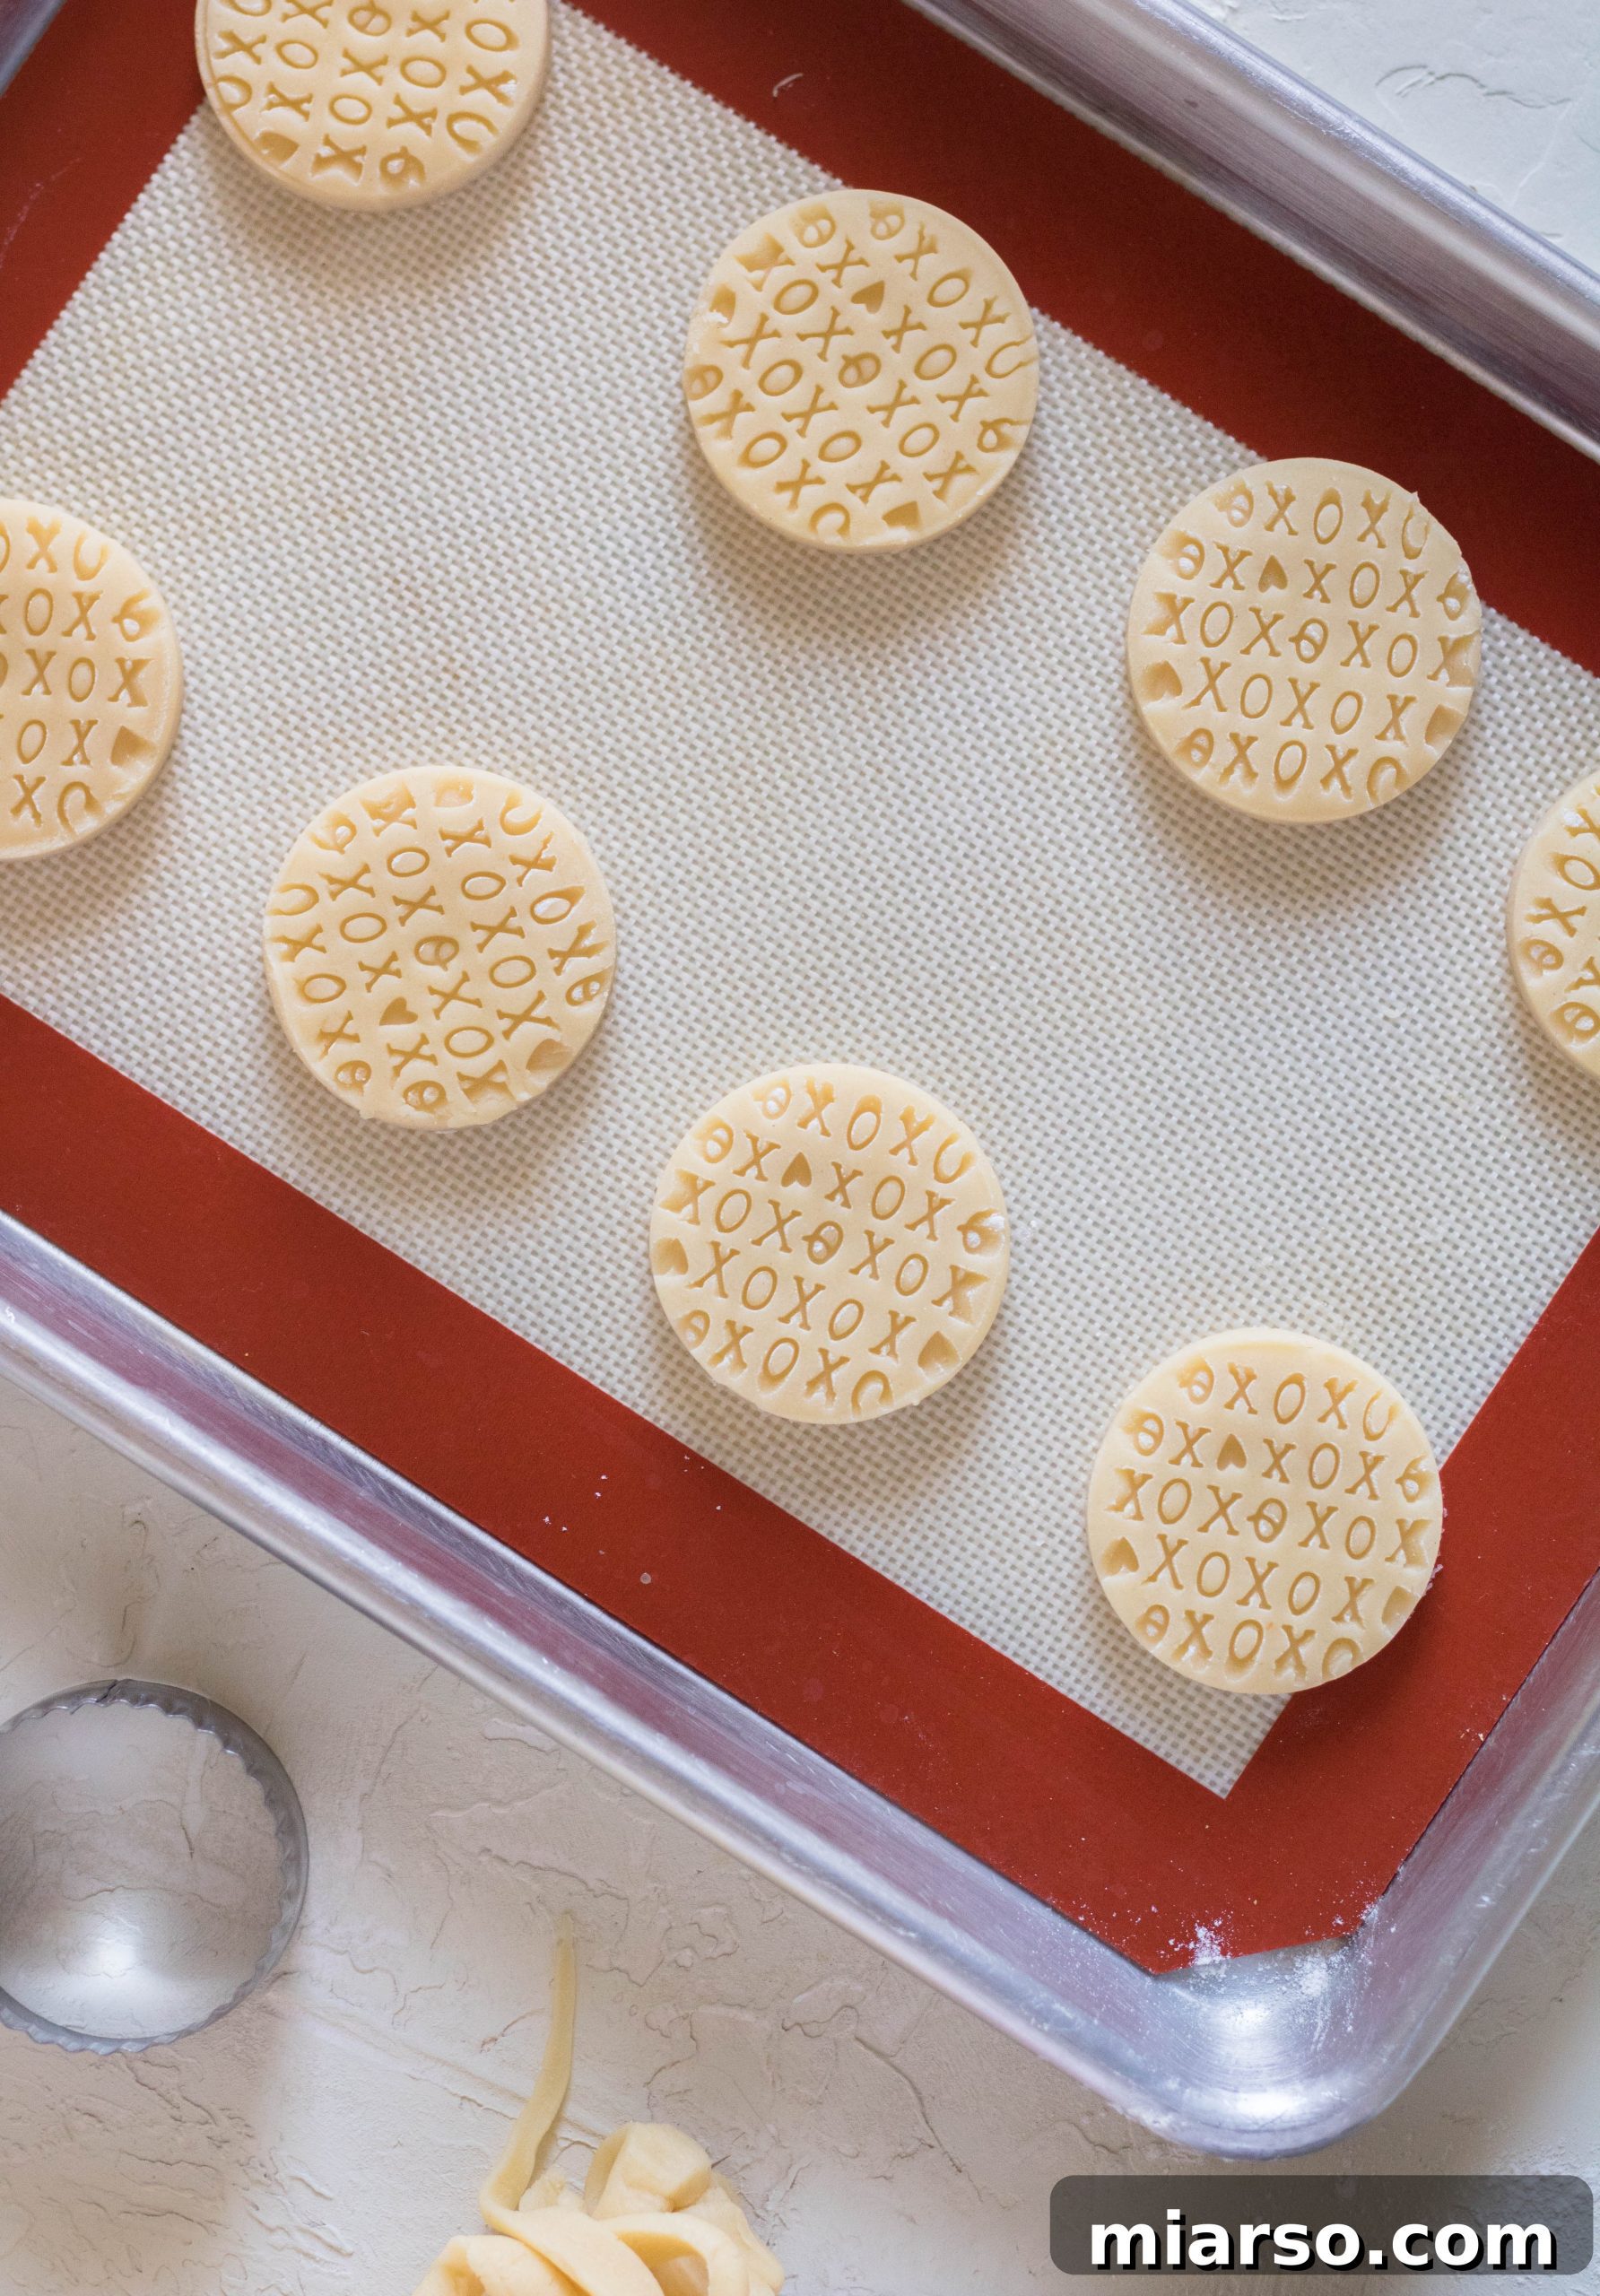
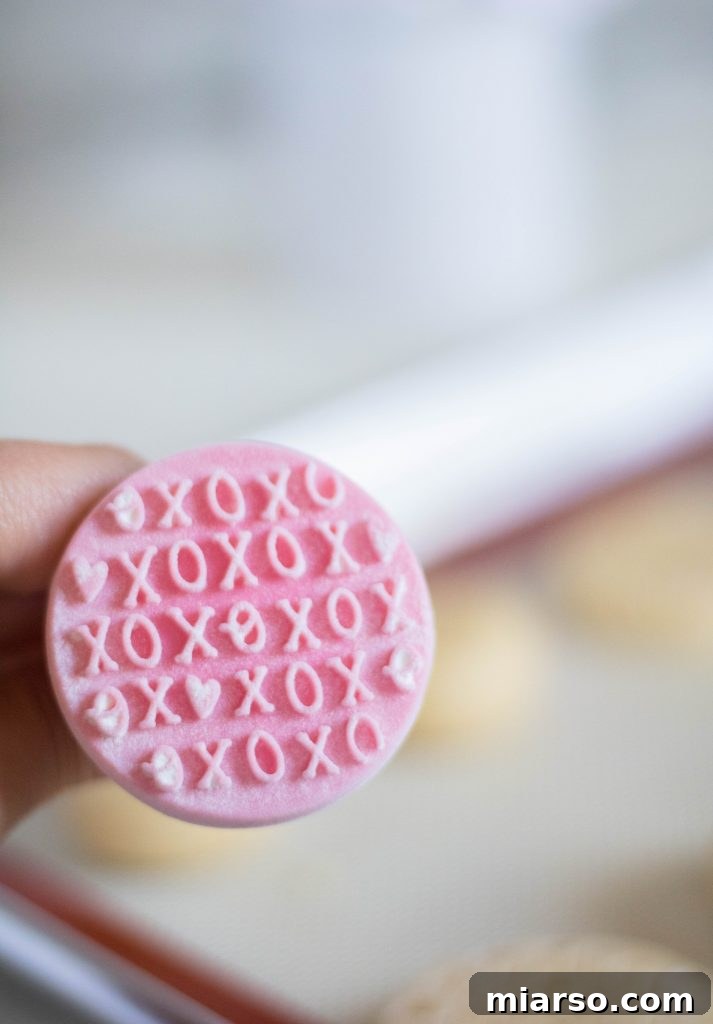
Step 5: Stamp Your Designs. Now for the fun part! Lightly dust your chosen cookie stamp with flour to prevent it from sticking. Press the stamp firmly and evenly onto each flattened cookie dough ball until it is about 1 centimeter (approximately 0.4 inches) thick. At this stage, you have two options: you can leave the cookies with their rustic edges, or for a more polished look, use a round cookie cutter that is slightly larger than your stamped design to trim around the edges, creating a perfectly neat circle. This gives them a professional, bakery-quality finish.
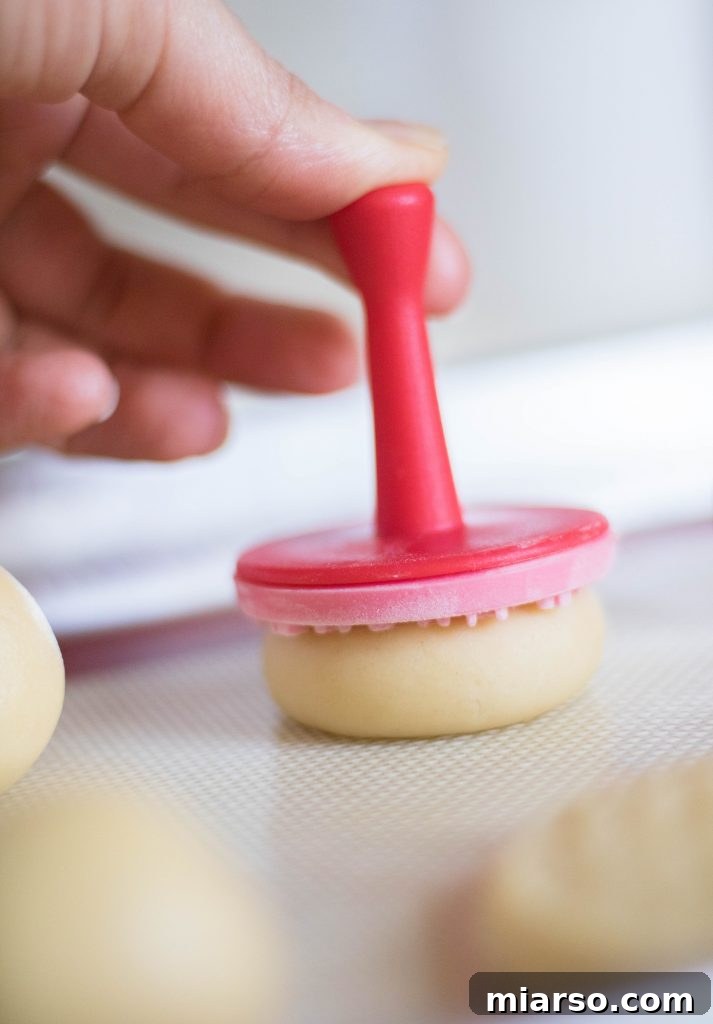
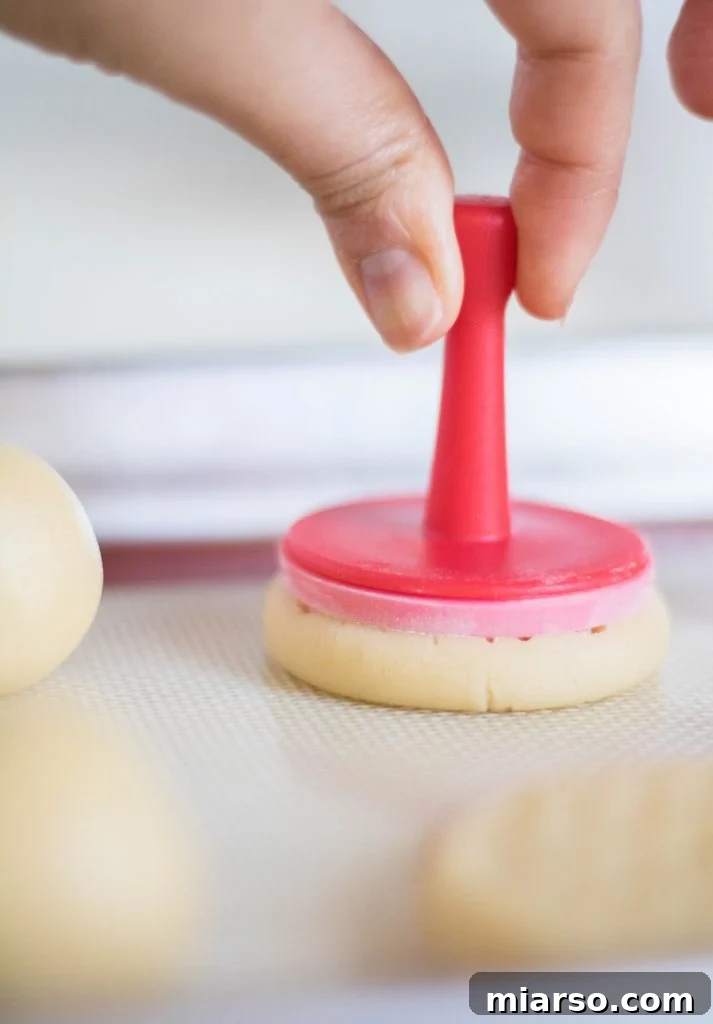
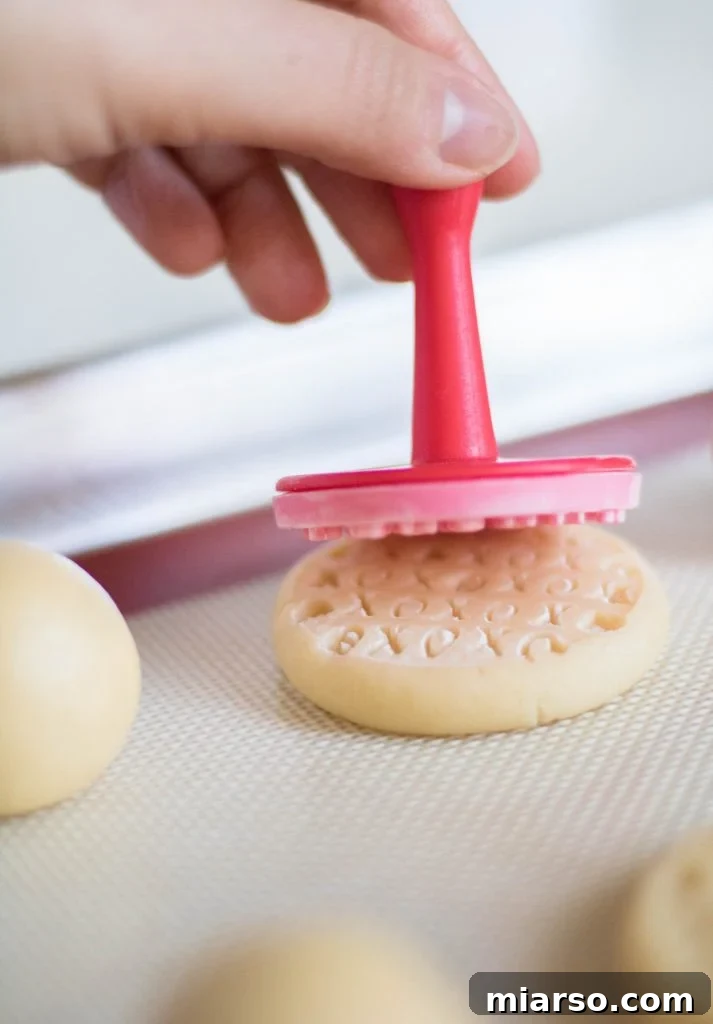
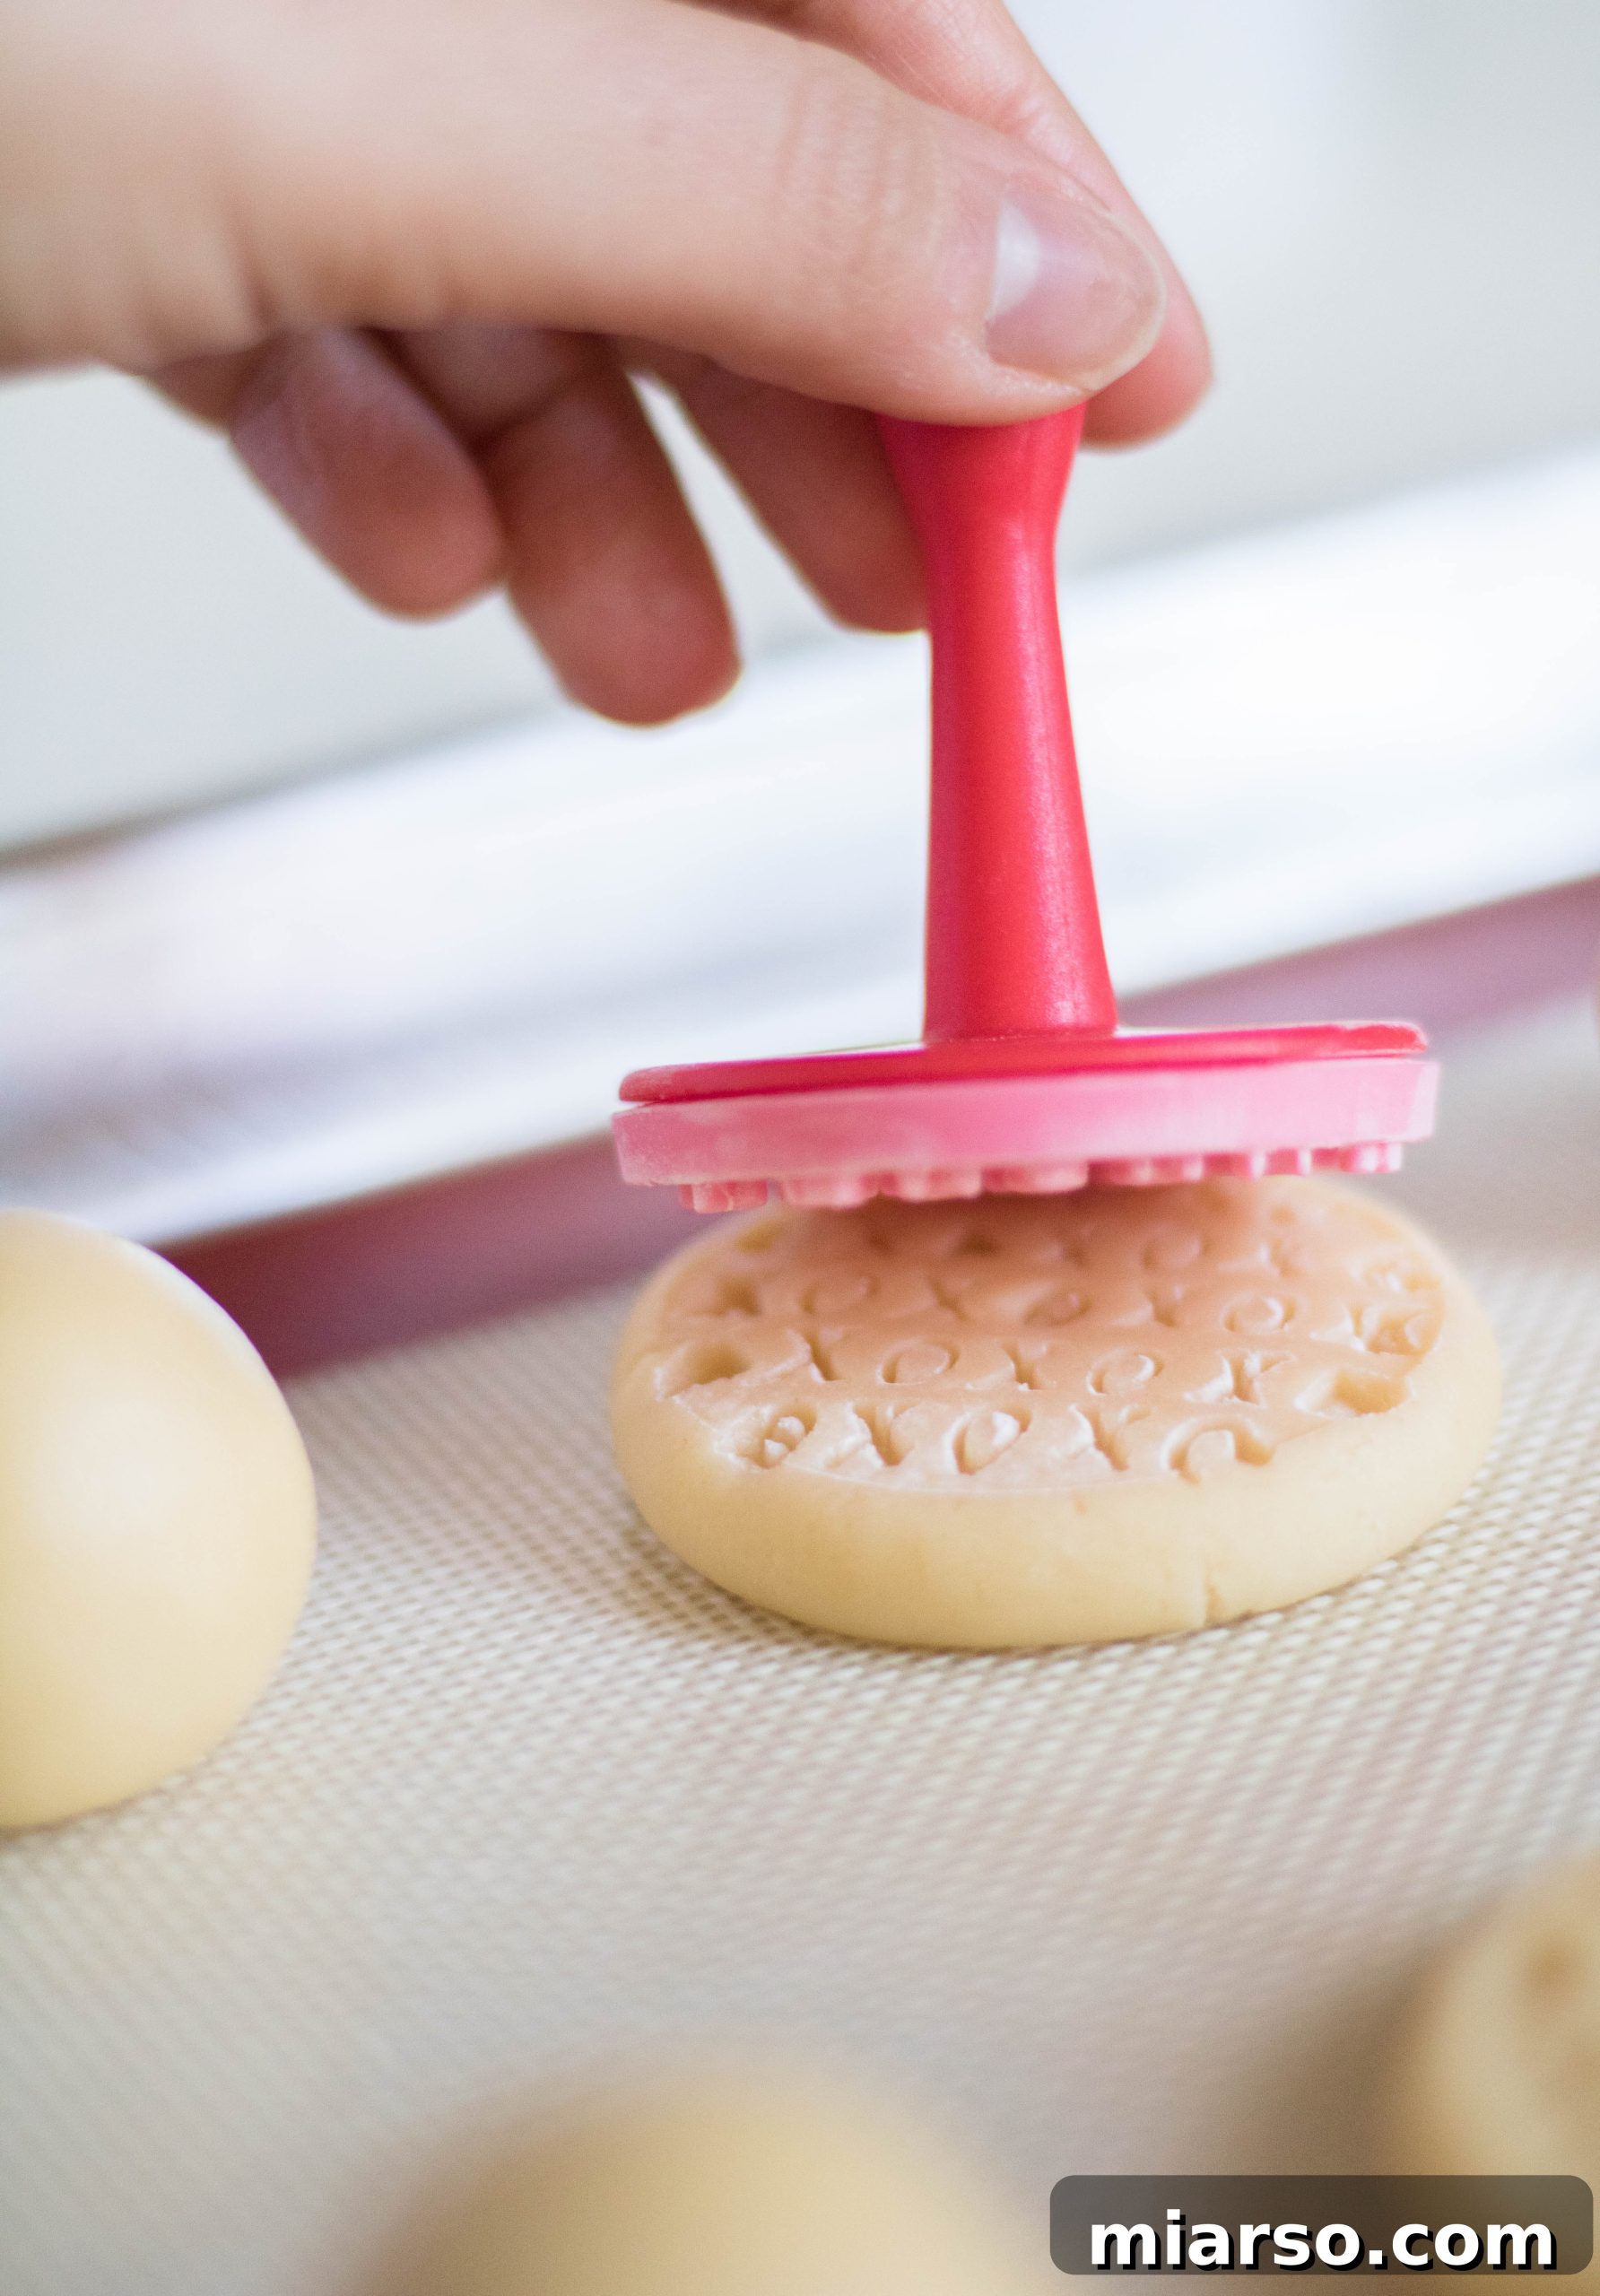
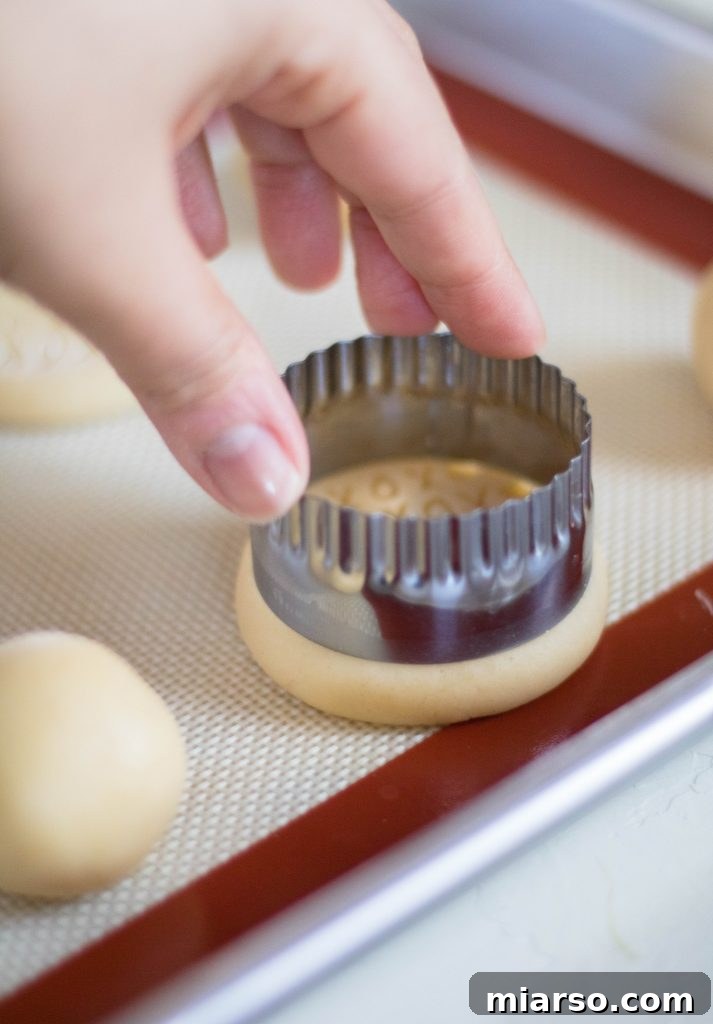
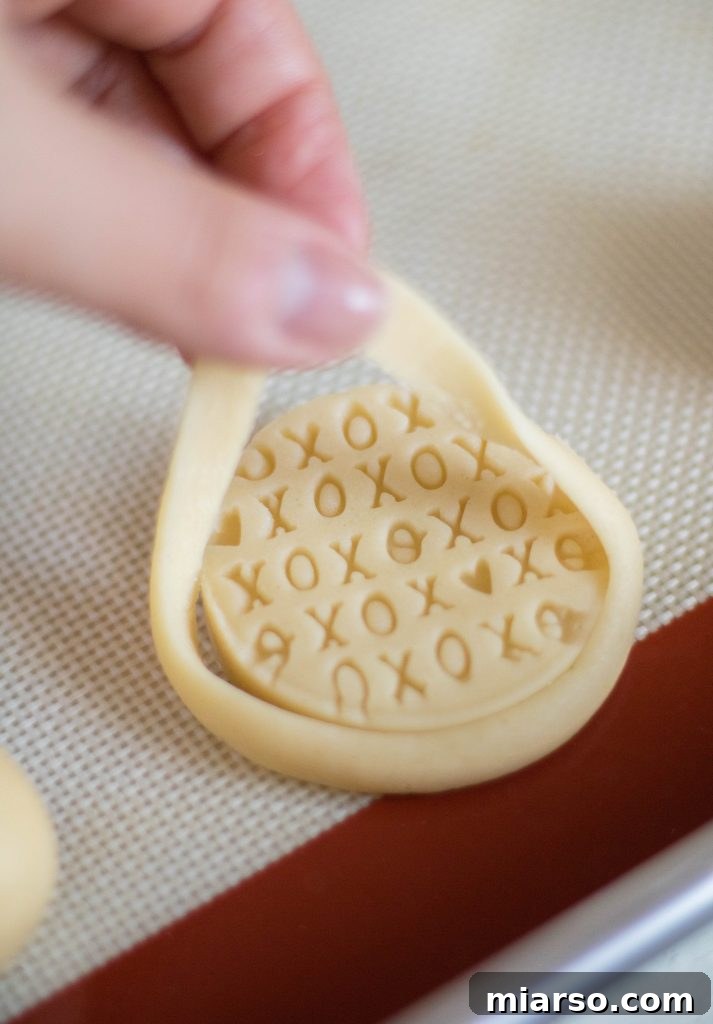
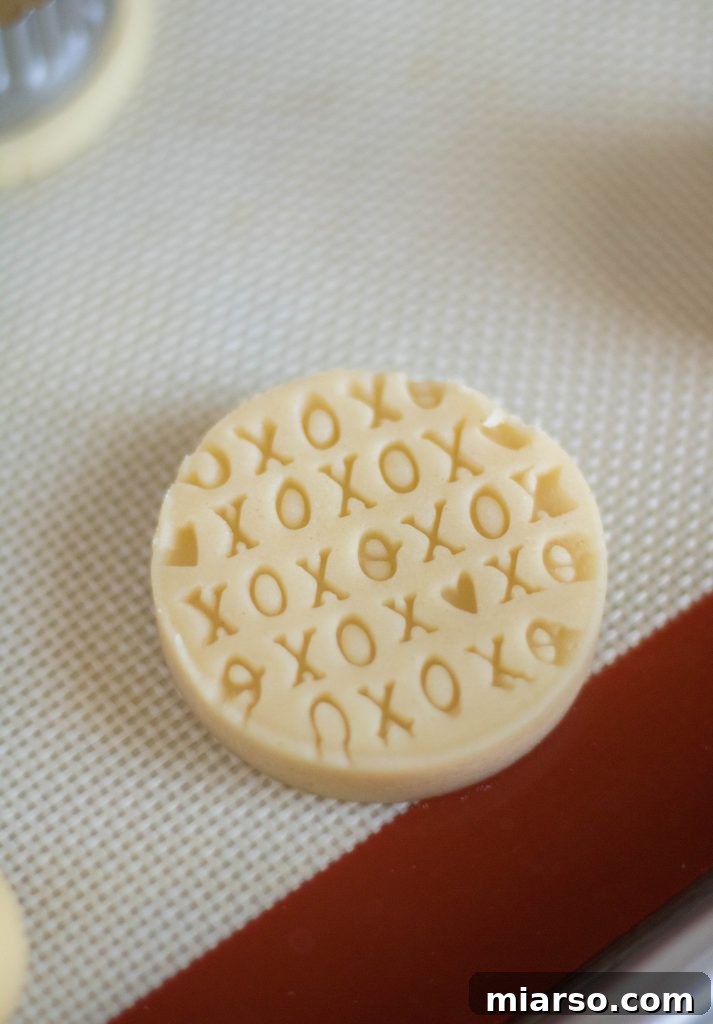
Step 6: Chill the Cookies. Once all your cookies are stamped and shaped, place the entire baking sheet into the freezer for a minimum of 30 minutes. This chilling period is absolutely vital as it helps the cookies hold their shape beautifully during baking, preventing them from spreading and blurring your intricate designs. About 20 minutes into the chilling time, preheat your oven to 400°F (200°C).
Step 7: Bake to Golden Perfection. After the 30-minute chilling period, retrieve your baking sheet from the freezer. Transfer it directly into the preheated oven and bake for approximately 11 minutes. For even baking, consider rotating the baking sheet halfway through the cooking time. Keep a close eye on them; the cookies are done when their edges are lightly golden, indicating they’ve achieved that perfect shortbread crispness.
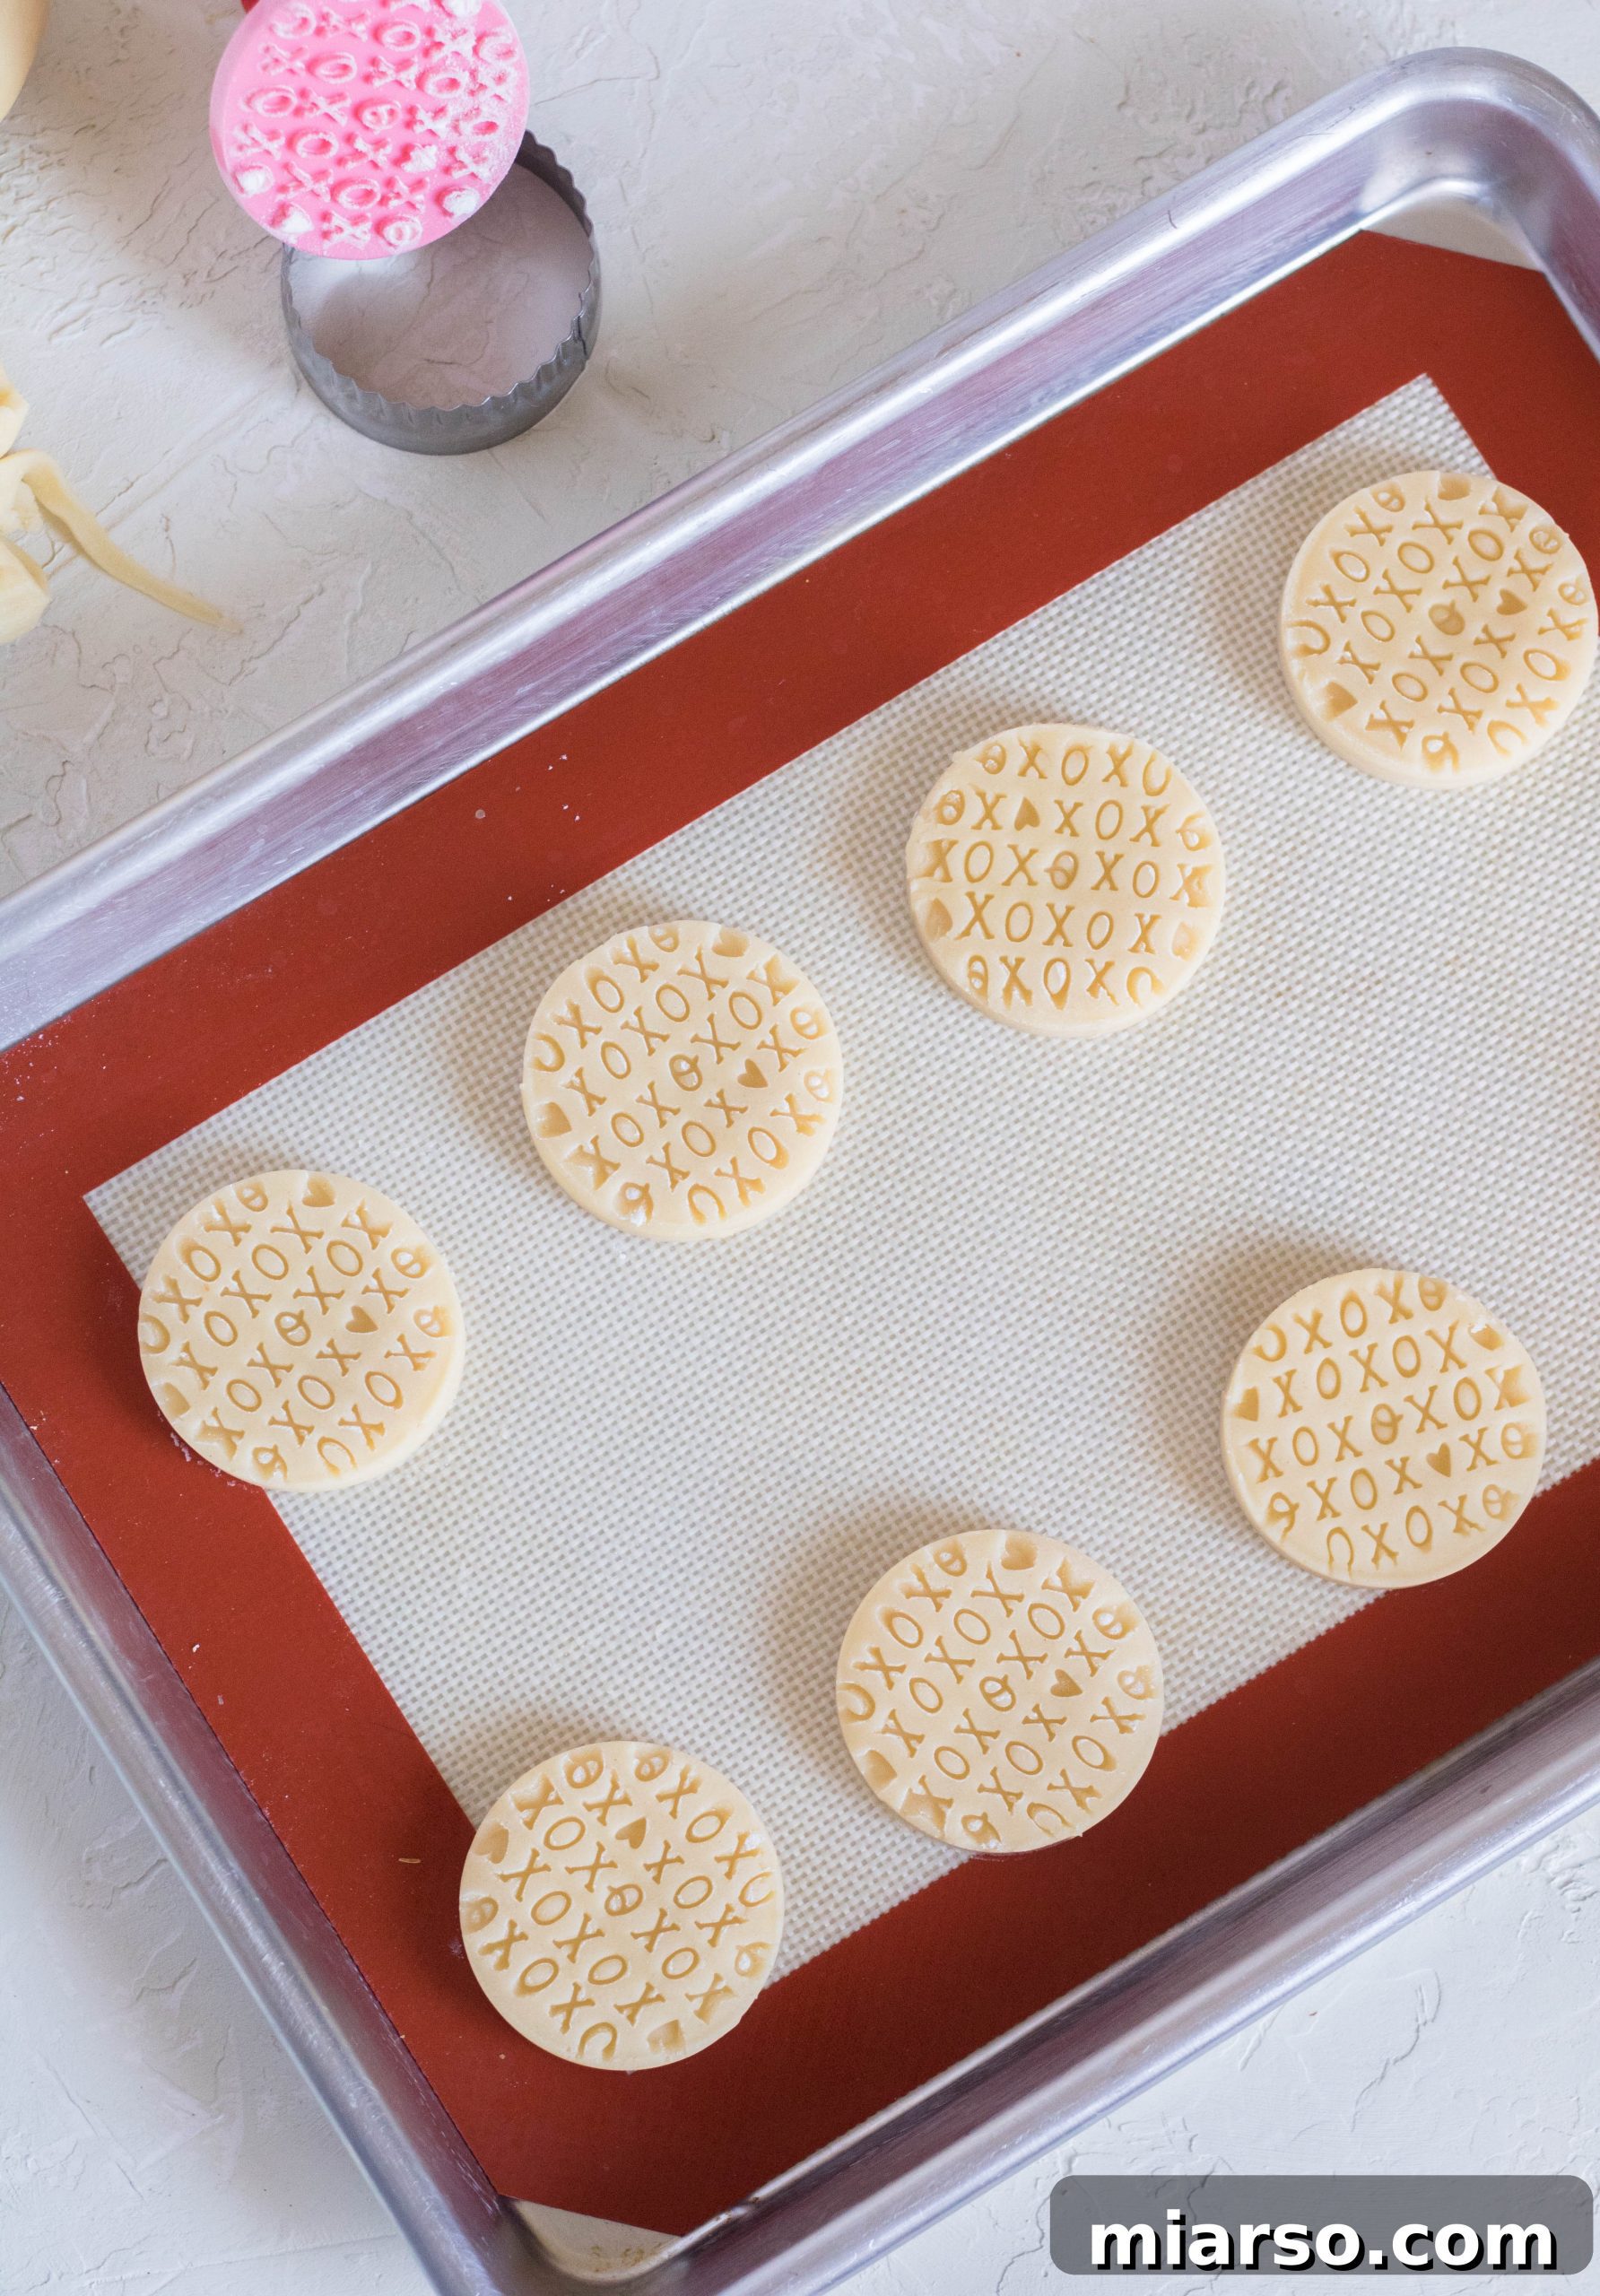
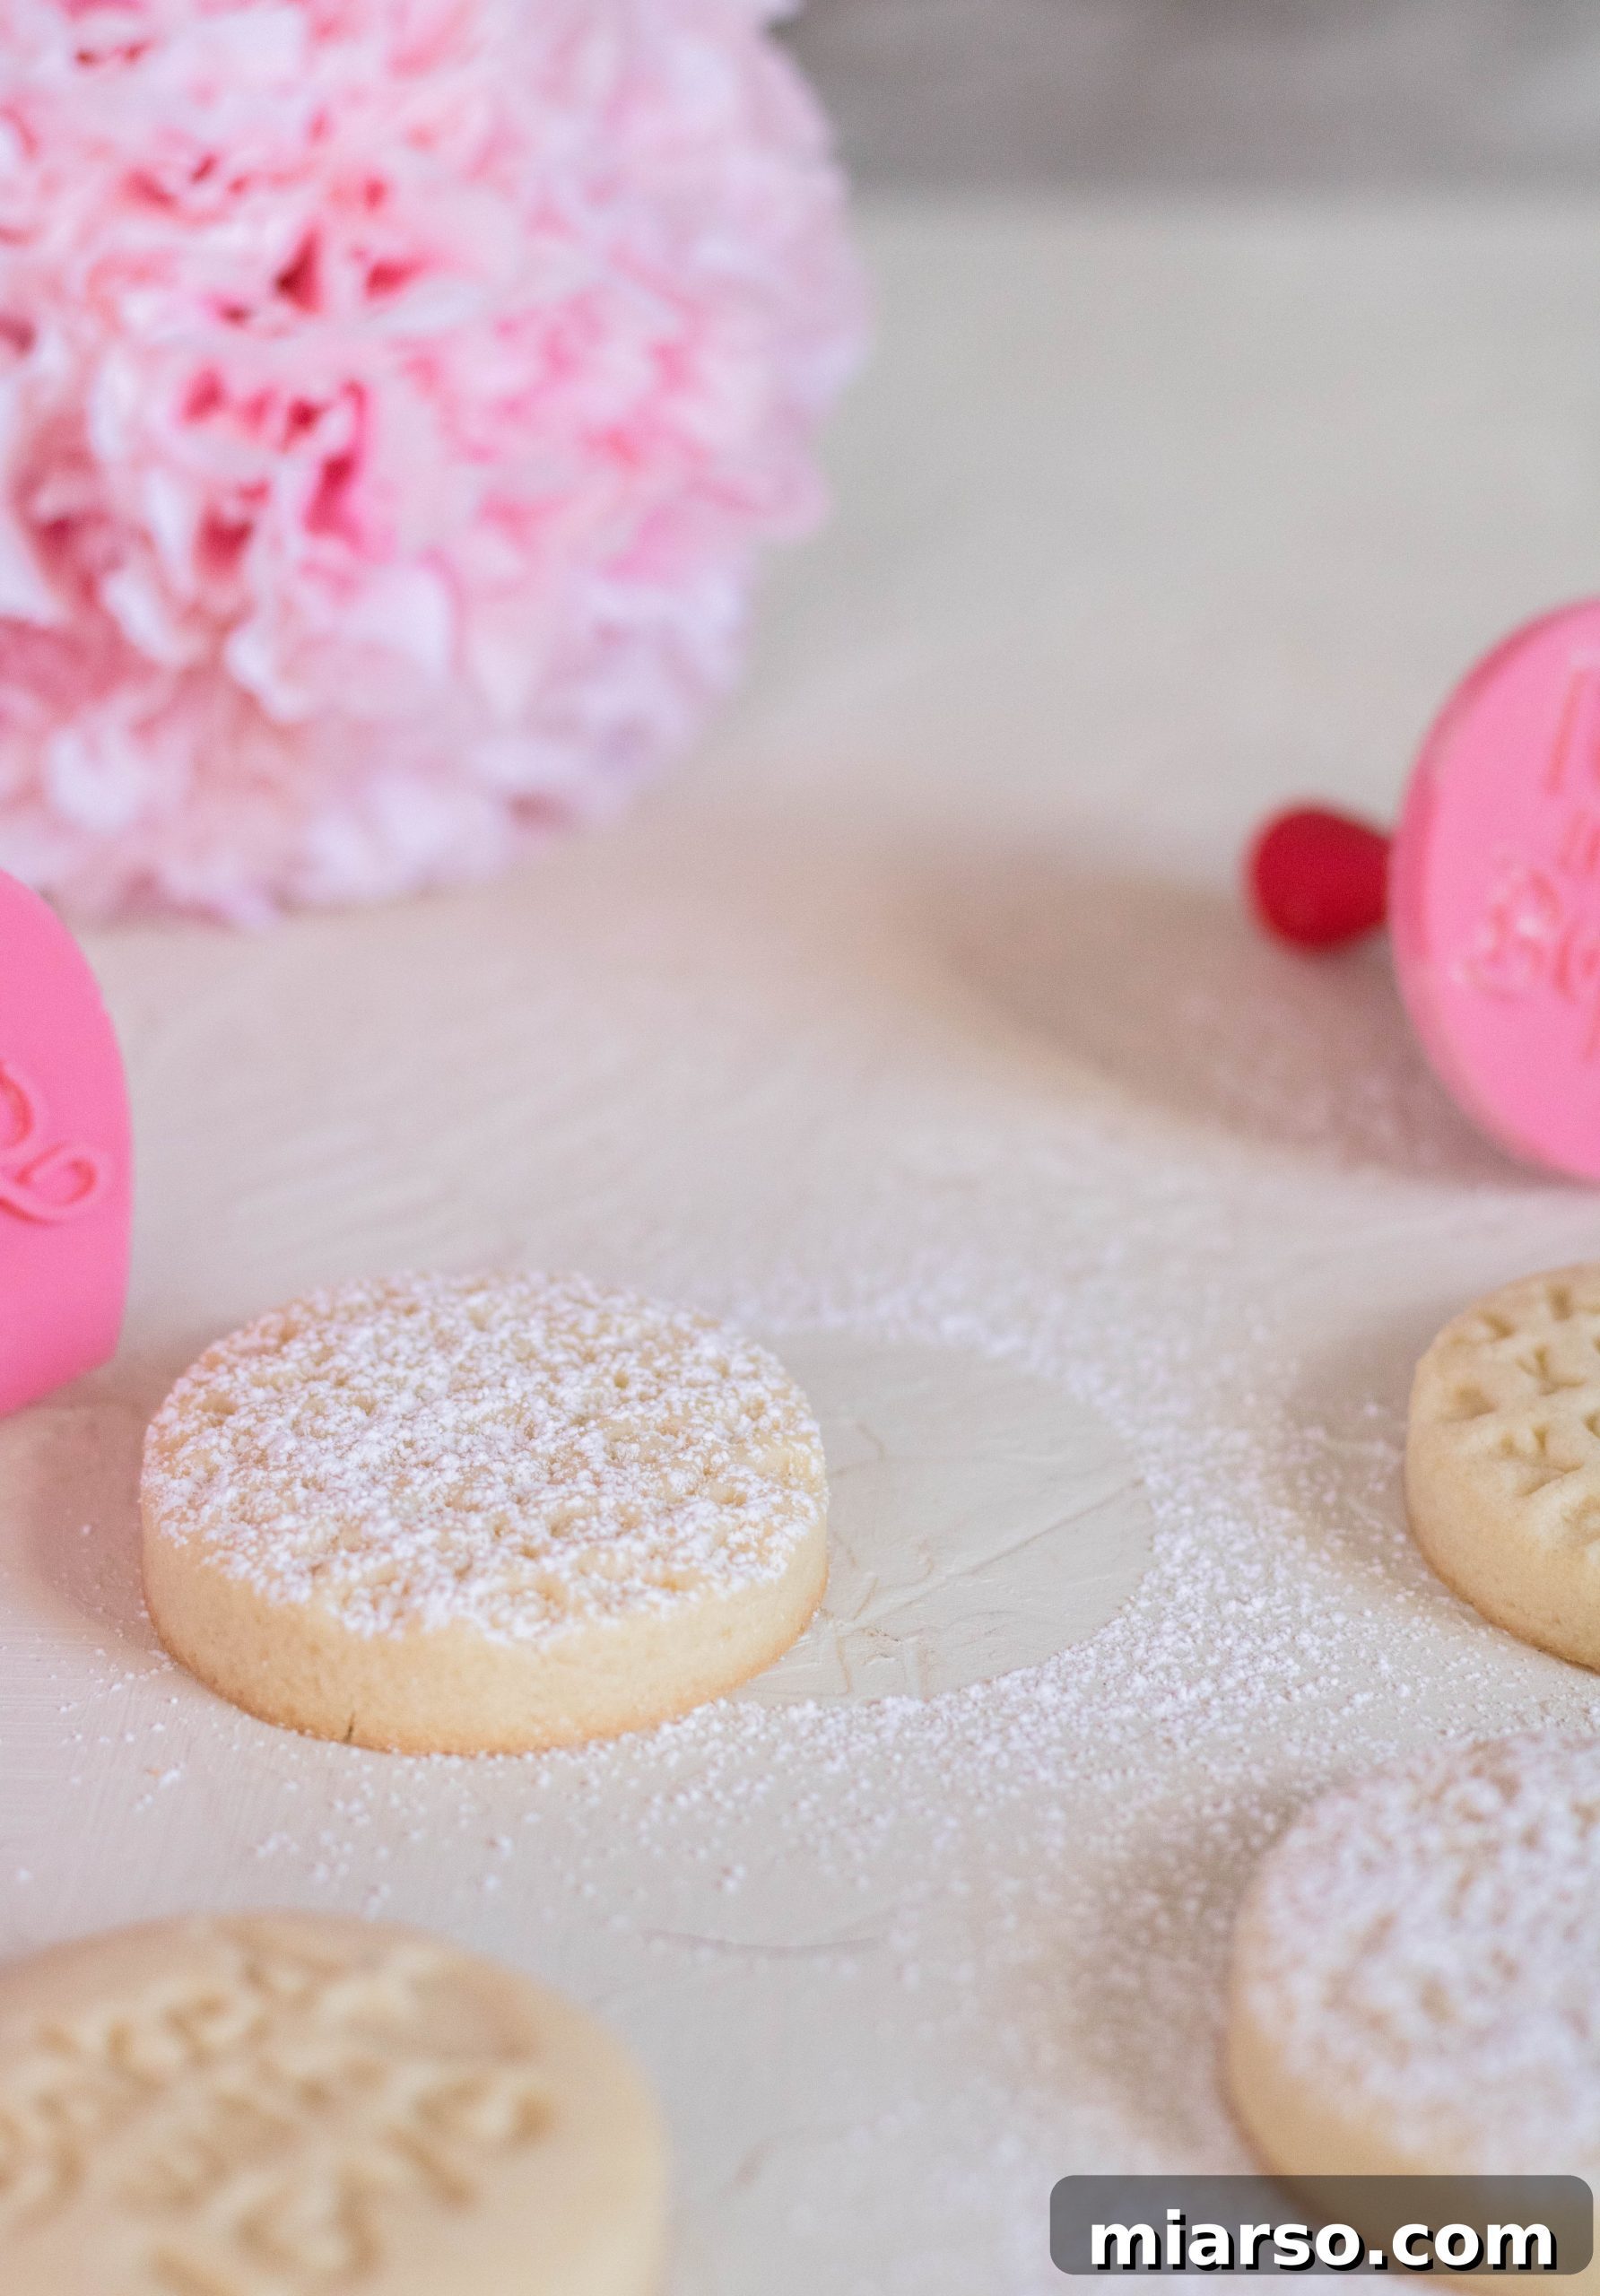
Step 8: Cool and Enjoy. Once baked, remove the cookies from the oven. It’s important to let them cool completely on the baking sheet. Shortbread can be quite delicate when warm, and cooling on the sheet allows them to firm up and prevents breakage. Once fully cooled, they’re ready to be savored, shared, and admired!
Top Tips for Baking the Best Stamped Shortbread Cookies Every Time!
Achieving perfect stamped shortbread cookies isn’t just about following the recipe; it’s about understanding a few key techniques that guarantee stunning results. Here are my tried-and-true tips to ensure your cookies are consistently delicious and beautifully imprinted:
- Keep Your Stamp Lightly Floured: This is arguably the most critical step for crisp, clear designs. Before pressing your stamp onto each cookie, dip it lightly into a small bowl of flour, then tap off any excess. This thin layer of flour creates a barrier, preventing the dough from sticking to the stamp and ensuring a clean release, revealing every detail of your design. Re-flour after every few cookies.
- Never Skip the Freezing Time: The 30-minute freezer chill is non-negotiable! This step firms up the butter in the dough, which significantly reduces spreading during baking. A colder dough means your intricate stamped patterns will hold their shape beautifully in the hot oven, resulting in perfectly defined and elegant cookies. Don’t rush this stage – patience will be rewarded!
- For Thinner Cookies, Adjust Baking Time and Temperature: If you prefer a thinner, even crisper shortbread, you’ll need to slightly adapt your baking. Roll your dough to a thinner consistency before stamping (perhaps 0.5 cm instead of 1 cm). Then, start checking your cookies around the 8-minute mark. Keep a close watch, as thinner cookies bake much faster. You’ll know they’re perfectly done when the very bottom edges turn a delicate, light golden-brown.
- Do Not Overmix the Dough: Shortbread is all about its tender, crumbly texture. Overmixing the flour will develop too much gluten, which can make your cookies tough and chewy, rather than tender and melt-in-your-mouth. Mix just until the ingredients are combined and no streaks of flour remain.
- Use Room Temperature Butter: Ensuring your butter is properly softened (but not melted!) is essential for creaminess. It allows the butter to emulsify with the sugars, creating a smooth, airy base for your dough. Cold butter won’t cream properly, and melted butter will lead to a greasy, dense cookie.
- Cool Completely on the Baking Sheet: Freshly baked shortbread is delicate. Resist the urge to move them too soon! Allow the cookies to cool completely on the baking sheet for at least 15-20 minutes. This gives them time to firm up and set, preventing them from breaking when you transfer them to a cooling rack or serving platter.
IF YOU MADE SOMETHING FROM LIFESTYLEOFAFOODIE, I WOULD LOVE TO SEE ALL YOUR CREATIONS AND KNOW HOW EVERYTHING TURNED OUT! SO DON’T FORGET TO LEAVE A COMMENT BELOW AND FOLLOW ALONG WITH ME ON INSTAGRAM, PINTEREST, AND FACEBOOK.

Valentine’s Day Stamped Shortbread Cookies Recipe
Rating: 5 out of 5 stars (based on 2 reviews)
Valentine’s Day Stamped Shortbread Cookies
These Valentine’s Day cookies are the cutest and only require a couple of ingredients you probably already have at home! Treat your loved ones to some delicious shortbread cookies today!
20 mins
11 mins
40 mins
18 cookies
Equipment
Ingredients
-
1
stick
unsalted butter (room temperature) -
1/4
cup
granulated sugar -
1
tbsp
brown sugar (lightly packed) -
1/2
tsp
salt -
1
large egg yolk (or 1 very small whole egg) -
1
tsp
pure vanilla extract -
1 1/4
cup
all-purpose flour -
1/4 cup + 1
tbsp
cornstarch
Instructions
-
First, prepare a baking sheet by lining it with parchment paper or a silicone mat.
-
In a large bowl, beat together the room temperature butter, both granulated and brown sugars, and salt until the mixture is light and creamy. Add in the egg yolk (or small egg if substituting) and vanilla extract, then continue to beat for another minute or until fully incorporated.
-
Add in the all-purpose flour and cornstarch. Using a spatula, gently fold these dry ingredients into the wet mixture until just combined. Be careful not to overmix the dough.
-
Once the dough comes together, divide it into 18 equal-sized balls, roughly the size of a golf ball. A small cookie scoop can help with consistency. Place these dough balls onto the prepared baking sheet. Slightly flatten each ball with your hand. Lightly dust your chosen cookie stamp with flour and press it firmly onto each flattened dough ball until it is about 1 cm (0.4 inches) thick. For a clean finish, you can use a round cookie cutter to trim the edges around the stamped design.
-
Place the baking sheet with the stamped cookies into the freezer for 30 minutes. About 20 minutes into the chilling time, begin preheating your oven to 400°F (200°C).
-
After the cookies have chilled for 30 minutes, remove the baking sheet from the freezer. Place it directly into the preheated oven and bake for 11 minutes. Remember to rotate the baking sheet halfway through for even baking. The cookies are done when their edges appear lightly golden. (Ensure your baking sheet is cold before baking; this helps prevent the cookies from spreading.)
-
Once baked, remove the cookies from the oven and let them cool completely on the baking sheet before handling.
Notes
Nutrition information is automatically calculated, so should only be used as an approximation.
Like this recipe? Leave a comment below!
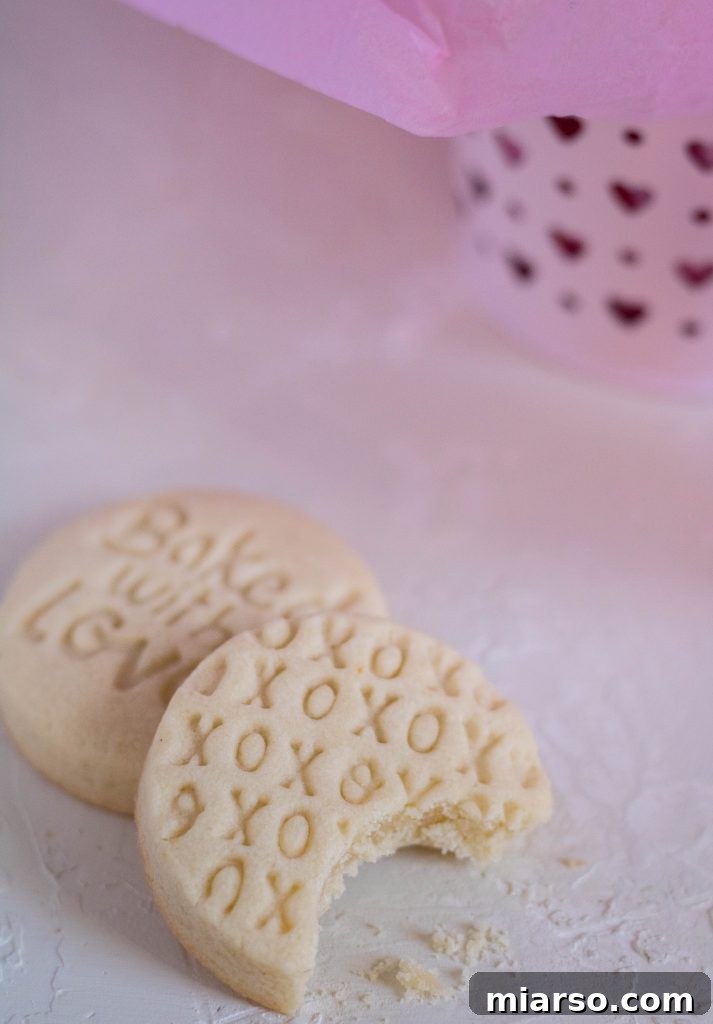
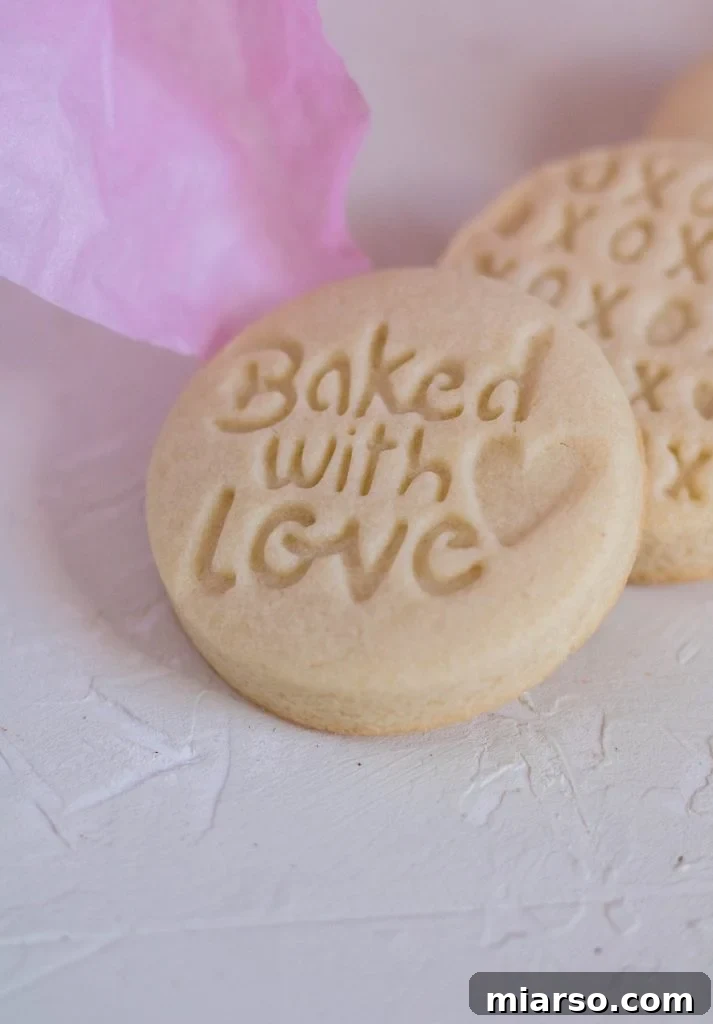
The beauty of these shortbread cookies is their versatility. While I’ve highlighted Valentine’s Day specific stamps, you can truly use any cookie stamps that inspire you, or even simple cookie cutters. These buttery vanilla shortbread cookies will turn out incredibly delicious and delightful, regardless of the decorative tools you choose. The pure flavor and tender texture are always a win!
Shop the Essentials for This Recipe
This article may contain some affiliate links, meaning, at no additional cost to you, I will earn a commission if you click through and make a purchase. These are products I genuinely recommend and use in my own kitchen.