
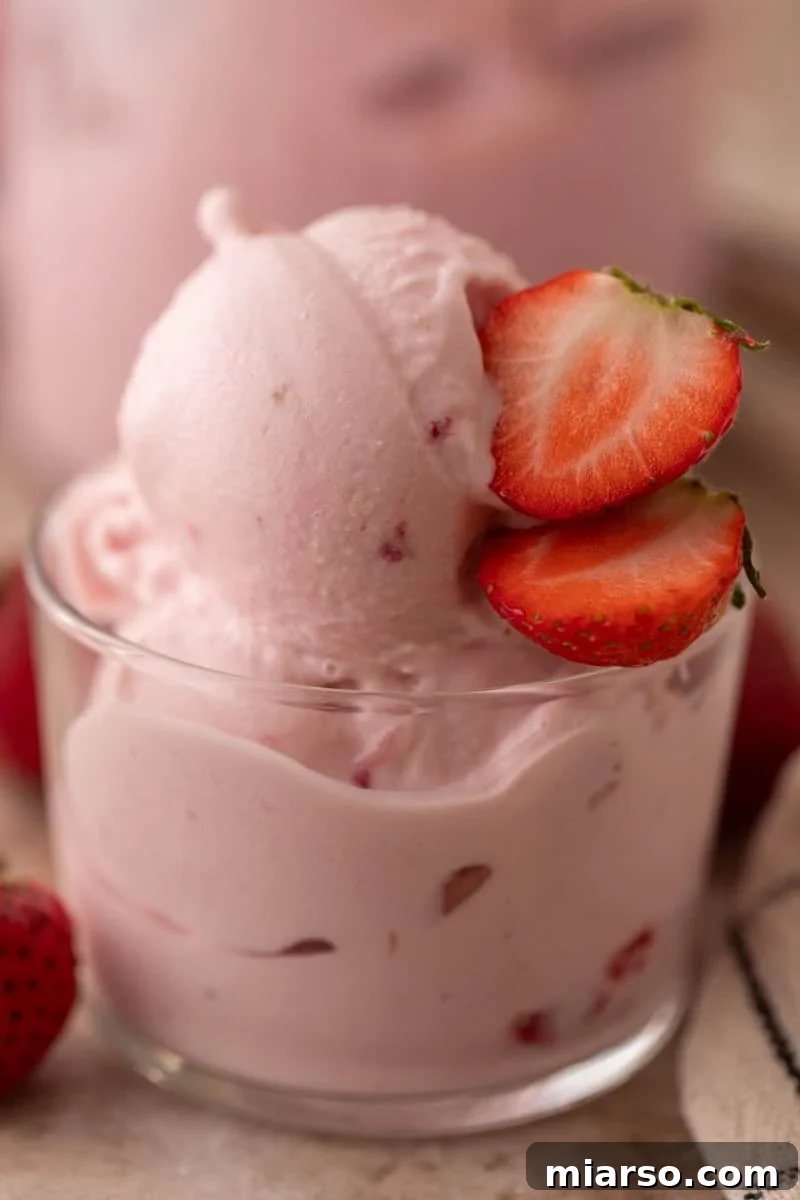
The Ultimate High-Protein Strawberry Cottage Cheese Ninja Creami Ice Cream
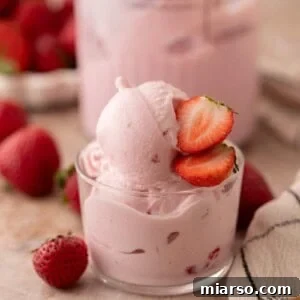
Prepare to revolutionize your summer dessert routine with this incredibly simple and refreshingly delicious **high-protein strawberry cottage cheese ice cream**, crafted effortlessly in your Ninja Creami. This viral sweet treat offers a guilt-free indulgence, boasting a remarkable protein punch without compromising on flavor or creamy texture. It’s the perfect solution for anyone seeking a healthier dessert option that truly satisfies, especially as the temperatures rise.
Forget complex steps and long ingredient lists. This recipe is designed for maximum ease: simply combine all ingredients in your Ninja Creami pint, freeze, then let the machine work its magic. Within minutes, you’ll be enjoying a luscious, vibrant pink ice cream that tastes like a dream. If you’re a fan of protein-packed frozen treats, you might also want to explore our other Ninja Creami protein ice cream recipes, including variations using actual protein powder for an even bigger boost!
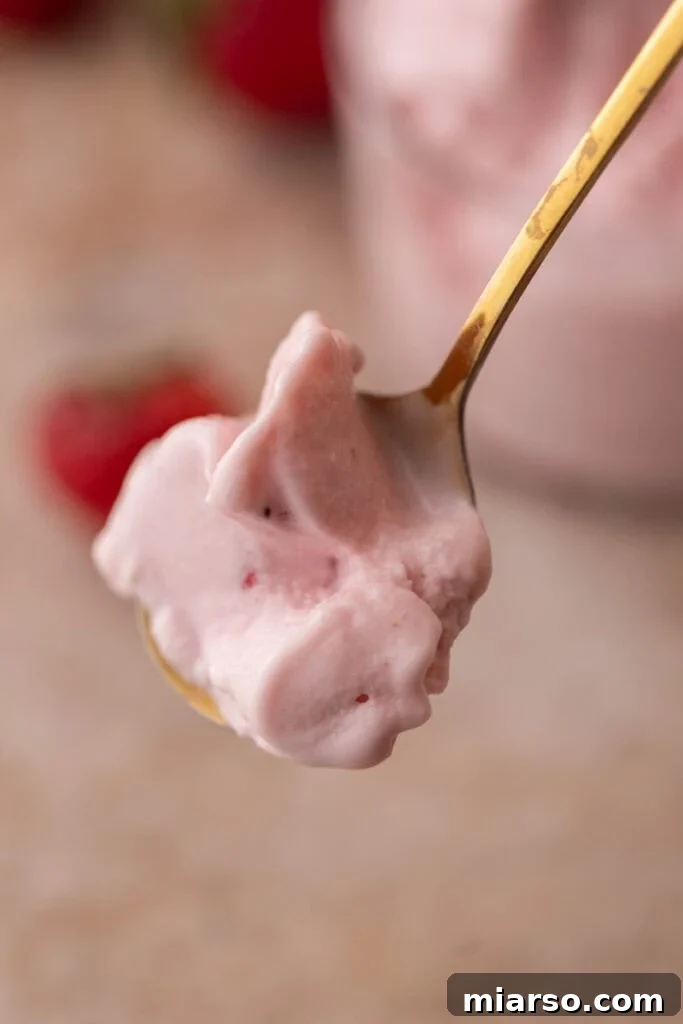
Sweet tooth lovers, rejoice! The internet’s latest sensation combines the nostalgic delight of ice cream with the wholesome goodness of cottage cheese, resulting in a dessert that’s both decadently delicious and surprisingly good for you. This innovative approach to homemade ice cream simplifies the process dramatically. By blending fresh fruit with creamy cottage cheese before freezing, and then re-spinning it in the Ninja Creami, we unlock an unparalleled velvety texture and a dessert experience that will keep you coming back for more.
Beyond its health benefits and incredible taste, this strawberry cottage cheese ice cream recipe is a fantastic way to utilize any ripening fruits you have on hand. It minimizes food waste while transforming simple ingredients into an extraordinary frozen confection. It’s a versatile base that invites endless customization, making it a staple in any healthy dessert repertoire.
Why You’ll Love This Strawberry Cottage Cheese Ninja Creami Ice Cream
This recipe isn’t just another dessert; it’s a game-changer for anyone looking for healthy, delicious, and easy-to-make frozen treats. Here’s why this strawberry cottage cheese Ninja Creami creation will quickly become a favorite in your household:
- Unbelievably Simple: With just a handful of ingredients and minimal prep time, you can whip up the base for this ice cream in under 10 minutes. The Ninja Creami handles the heavy lifting, making the entire process stress-free and enjoyable.
- Packed with Protein: Cottage cheese is a superstar ingredient, naturally rich in protein. This makes our ice cream a fantastic high-protein dessert option that helps keep you feeling full and satisfied, making it perfect for a post-workout treat or a healthy evening snack.
- Healthier Indulgence: Say goodbye to artificial ingredients and excessive sugars found in store-bought ice cream. You control exactly what goes into your pint, allowing for a naturally sweetened, wholesome treat that supports your wellness goals.
- Customizable to Your Liking: While strawberries shine in this recipe, the base is incredibly versatile. Swap in your favorite fruits, adjust the sweetness level, and add your preferred mix-ins to create a unique flavor experience every time. It’s also an excellent way to use up overripe fruit that might otherwise go to waste.
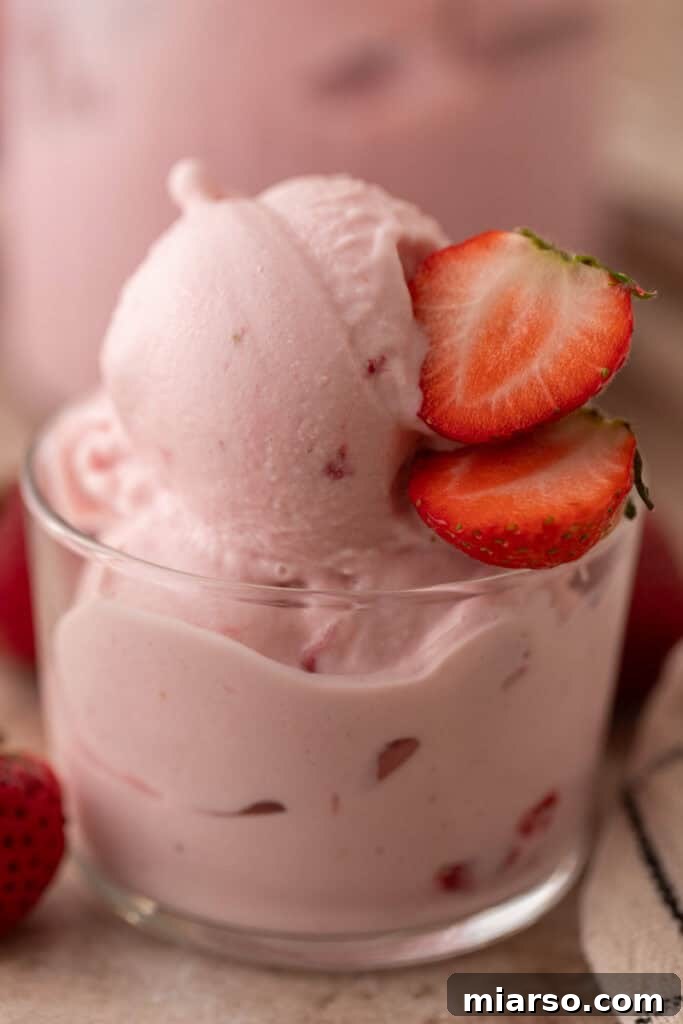
- Creamy, Dreamy Texture: The Ninja Creami is renowned for its ability to transform frozen bases into incredibly smooth and creamy desserts. Even with cottage cheese, which might sound unconventional for ice cream, the result is a luxuriously soft and scoopable texture that rivals traditional ice cream.
- Trendy and Viral: Cottage cheese ice cream has taken social media by storm for a reason! It’s a smart, delicious way to enjoy a sweet treat while boosting your protein intake. Join the trend and discover why everyone is raving about this innovative dessert.
Essential Ingredients for Your High-Protein Strawberry Ice Cream
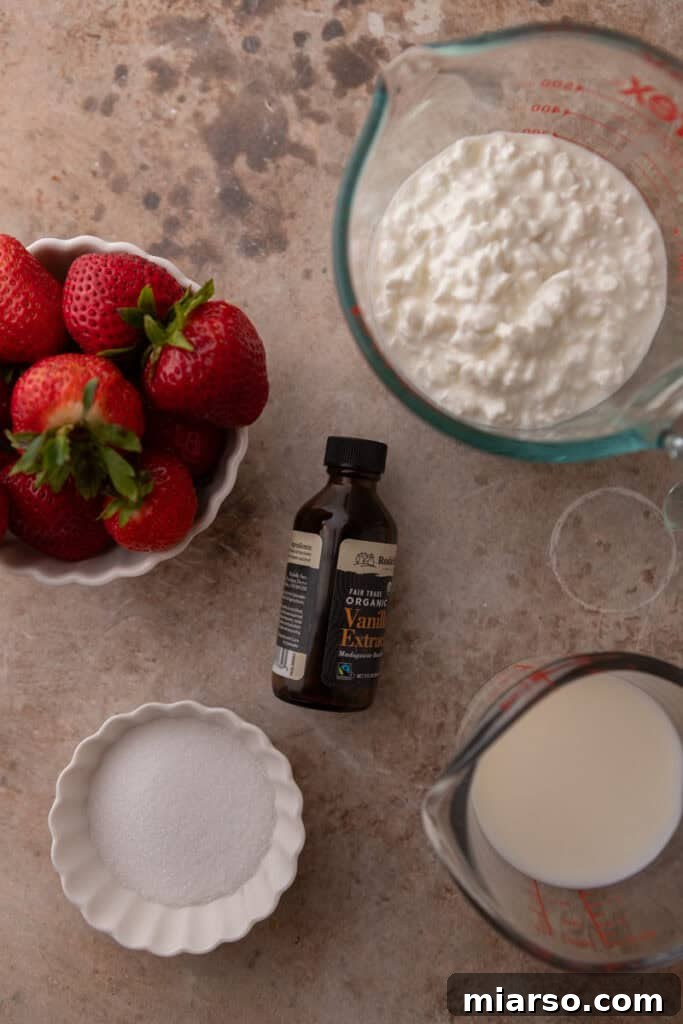
Crafting this delightful Ninja Creami strawberry cottage cheese ice cream requires just a few basic ingredients. Each plays a crucial role in achieving the perfect flavor and creamy consistency. Remember to check the full detailed ingredient measurements in the recipe card below for precision.
- Cottage Cheese: This is the star of our high-protein dessert. You have the flexibility to use either reduced-fat or full-fat cottage cheese. For the silkiest, most luxurious ice cream texture, we highly recommend opting for full-fat cottage cheese. Its higher fat content contributes significantly to a smoother, richer final product, mimicking the mouthfeel of traditional ice cream.
- Milk: A touch of milk is essential to help balance the density of the cottage cheese and achieve the ideal liquid consistency for freezing and spinning. Any type of milk works here – dairy milk (whole, 2%, skim) or non-dairy alternatives like almond milk, oat milk, or soy milk will all do the trick. Choose what you prefer for taste and dietary needs.
- Fresh Strawberries: The fresher and riper your strawberries, the more vibrant and flavorful your ice cream will be. Ripe strawberries inherently offer a natural sweetness that enhances the overall taste. While fresh is ideal, frozen strawberries work perfectly too; just ensure they are slightly thawed before blending to make the process easier.
- Sweetener of Choice: This allows you to customize the sweetness to your palate and dietary preferences. Popular options include natural sweeteners like honey or maple syrup, which add a lovely depth of flavor. For a low-sugar or sugar-free dessert, consider using monk fruit sweetener, stevia, or allulose. Adjust the amount gradually to taste after blending.
- Vanilla Extract or Vanilla Bean Paste: Vanilla is a powerful flavor enhancer that adds a delicious, aromatic depth to our strawberry ice cream. It complements the fruit beautifully and brings out the overall sweetness, making the dessert taste more complex and satisfying. Vanilla bean paste offers a more intense flavor and visual appeal with its tiny specks of vanilla bean.
- Pinch of Salt: A small pinch of salt might seem counterintuitive in a sweet dessert, but it’s a chef’s secret weapon. Salt helps to brighten and balance the sweetness, preventing the ice cream from tasting one-dimensional and enhancing the natural flavors of the strawberries and vanilla.
Explore Fruit Variations: What Other Fruits Work Well?
The beauty of this cottage cheese ice cream base is its incredible adaptability. While strawberries are a classic choice, feel free to experiment with other fruits to create a variety of flavors. The key is to maintain the same base formula (cottage cheese, milk, sweetener, vanilla, salt) and then simply swap out the fruit.
Fantastic alternatives include:
- Mangoes: For a tropical twist, use ripe mango chunks.
- Blueberries: Offers a slightly tart and sweet profile.
- Raspberries: Creates a vibrant, tangy, and incredibly refreshing ice cream.
- Peaches: Perfect for a summery, mellow, and sweet flavor.
- Cherries: Adds a rich, deep fruit flavor.
- Pineapple: For a tangy and bright option.
Always adjust the amount of sweetener to match the natural sweetness of the fruit you choose. Taste the base mixture before freezing and add more sweetener if needed.
Step-by-Step Guide: How to Make This Ninja Creami Strawberry Ice Cream
Creating this delicious high-protein ice cream is incredibly straightforward thanks to the Ninja Creami machine. Follow these simple steps for a perfectly creamy, homemade treat. For precise measurements and detailed instructions, refer to the comprehensive recipe card provided below.
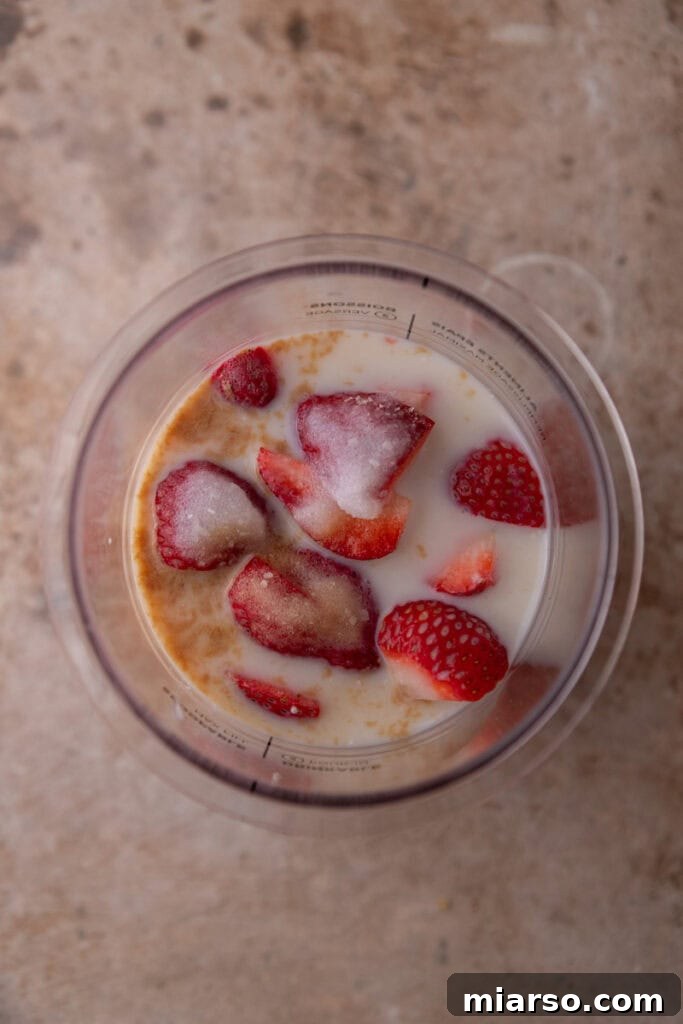
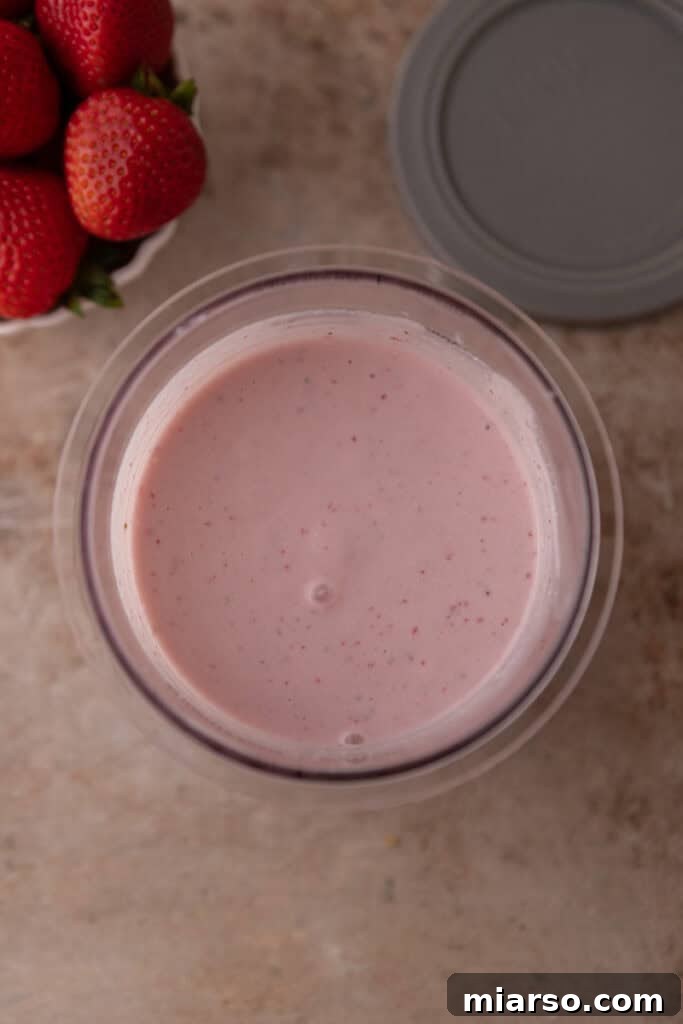
- Prepare the Base: Begin by adding all your ingredients—cottage cheese, milk, fresh or thawed strawberries, your chosen sweetener, vanilla extract, and a pinch of salt—directly into your Ninja Creami pint container.
- Blend Until Smooth: Using an immersion blender, thoroughly blend all the ingredients together right inside the Ninja Creami pint. Continue blending until the mixture is completely smooth and creamy, with no visible lumps of cottage cheese or large fruit pieces. Alternatively, if you don’t have an immersion blender, you can blend all the ingredients in a standard blender until smooth, then carefully transfer the mixture to the Ninja Creami pint. Ensure the blended mixture remains below the “Max Fill” line on the pint.
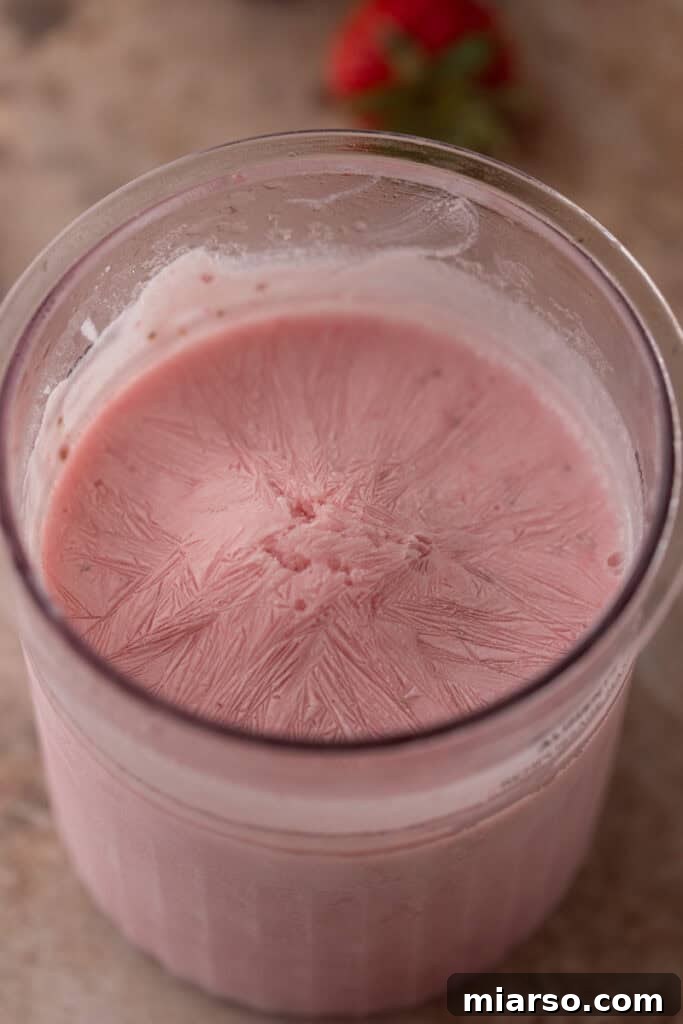
- Freeze Solid: Once blended, place a lid securely on your Ninja Creami pint container. Transfer the pint to your freezer and freeze for a minimum of 24 hours. It’s crucial for the mixture to be completely frozen solid for the Ninja Creami to work its magic effectively. A full 24 hours ensures optimal firmness and prevents a slushy texture.
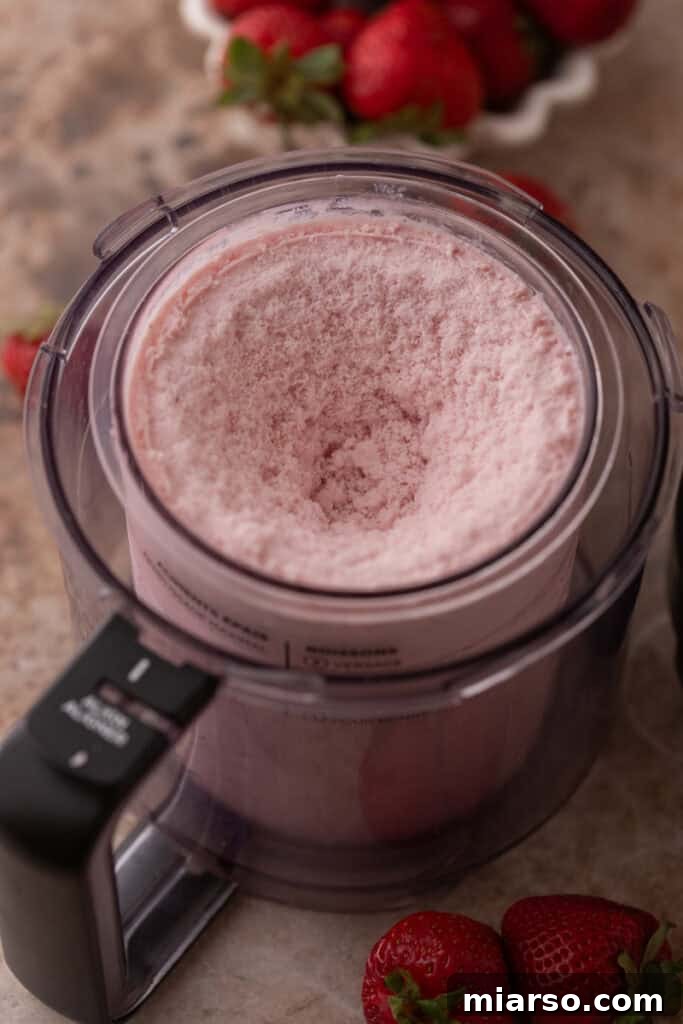
- Process in the Ninja Creami: After the base is thoroughly frozen, remove the pint from the freezer and place it into the outer bowl of your Ninja Creami machine. Secure the lid with the paddle and lock the outer bowl into place. Select the “LITE ICE CREAM” mode on your Ninja Creami. This setting is ideal for lighter, higher-protein bases like this one, providing the perfect spin for a smooth consistency.
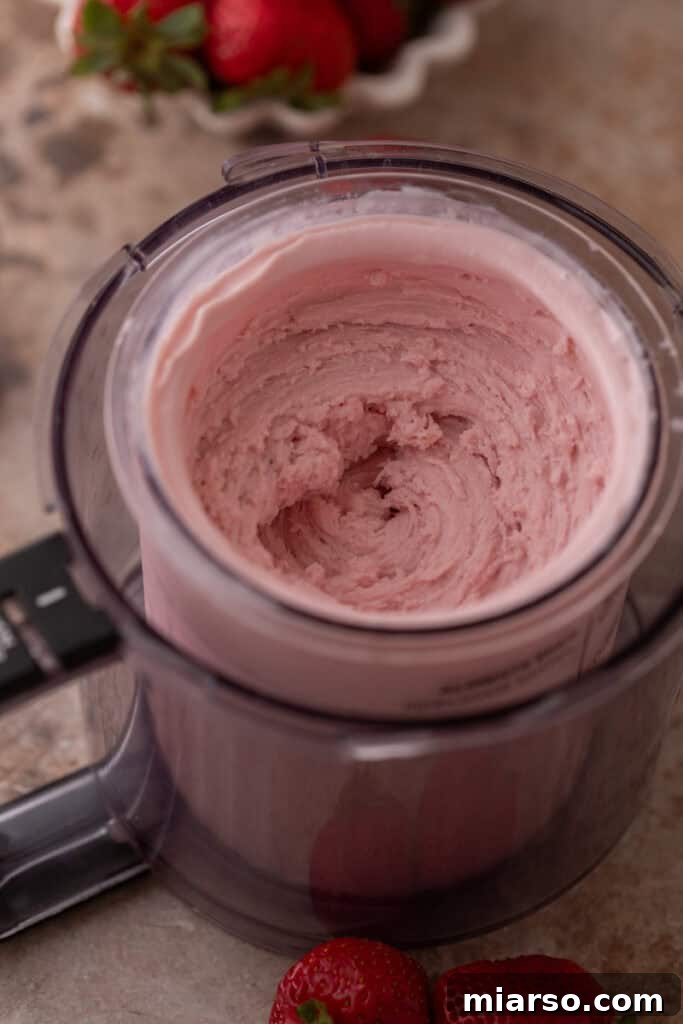
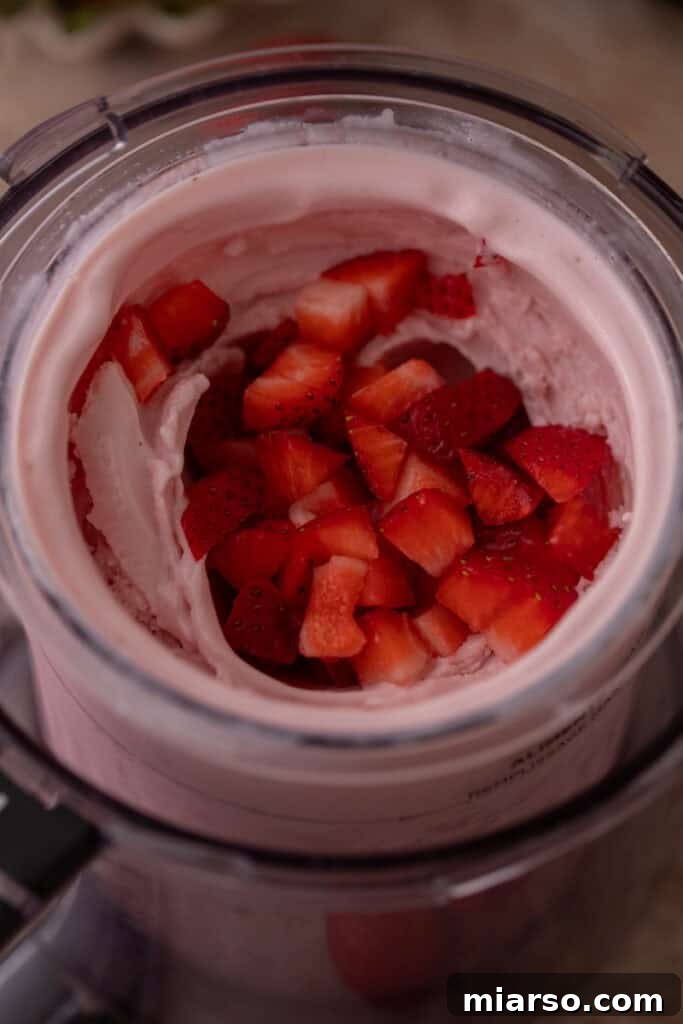
- Check and Re-Spin for Creaminess: After the first cycle, your ice cream might appear slightly crumbly or powdery. This is completely normal and expected. Remove the pint and check the texture. If it’s not yet to your desired creamy consistency, return the pint to the machine and press the “RE-SPIN” button. You may need to re-spin one or two more times to achieve that perfectly smooth, silky ice cream texture.
- Add Mix-ins (Optional): Once your ice cream has reached its creamy perfection, you can add your favorite mix-ins. Create a small well in the center of the pint, add your chosen additions (like extra fruit, chocolate chips, or cookie crumbs), then place the pint back in the machine and press the “MIX-IN” button. This will evenly distribute your additions throughout the ice cream. Alternatively, enjoy your delicious high-protein strawberry cottage cheese ice cream as is!
Pro Tips for the Creamiest Ninja Creami Ice Cream Every Time
Achieving that perfectly smooth and luscious texture is key to an exceptional Ninja Creami experience. Here are some expert tips and tricks to ensure your high-protein strawberry cottage cheese ice cream turns out wonderfully creamy:
- The Hot Water Re-Spin Trick: This is my favorite secret weapon for combating any crumbliness after the initial spin. After the first processing cycle, remove the pint container from the Ninja Creami outer bowl. Close the pint lid and briefly run the outside of the pint under hot tap water for about 10-20 seconds. This gentle warming helps to slightly melt the super-frozen outer layer of the ice cream base, making it easier for the blade to incorporate everything during the re-spin cycle. The result? A remarkably smoother, silkier ice cream that’s utterly irresistible.
- Ensure Complete Freezing: Patience is paramount! Do not rush the freezing process. For optimal results, your pint should be frozen solid for at least 24 hours. If the base isn’t completely frozen, the Ninja Creami won’t be able to properly process it, leading to a slushy or icy texture instead of creamy ice cream.
- Level the Pint: Before freezing, make sure the top of your blended ice cream base is as flat and level as possible. Use a spoon or spatula to smooth it out. This ensures even freezing and allows the Ninja Creami paddle to engage with the entire surface of the frozen block efficiently, leading to a more consistent texture.
- Don’t Overfill: Always adhere to the “Max Fill” line on your Ninja Creami pint. Overfilling can prevent proper processing and potentially damage your machine. Leaving adequate space allows the ingredients to expand slightly during freezing and ensures the blade has enough room to churn effectively.
- Adjust Sweetener to Taste (Before Freezing): It’s easier to adjust the sweetness of the base *before* you freeze it. After blending, taste a small spoonful of the mixture and add more sweetener if you prefer it sweeter. Keep in mind that flavors mellow slightly when frozen, so it’s okay for the unfrozen base to taste a touch sweeter than your ideal final product.
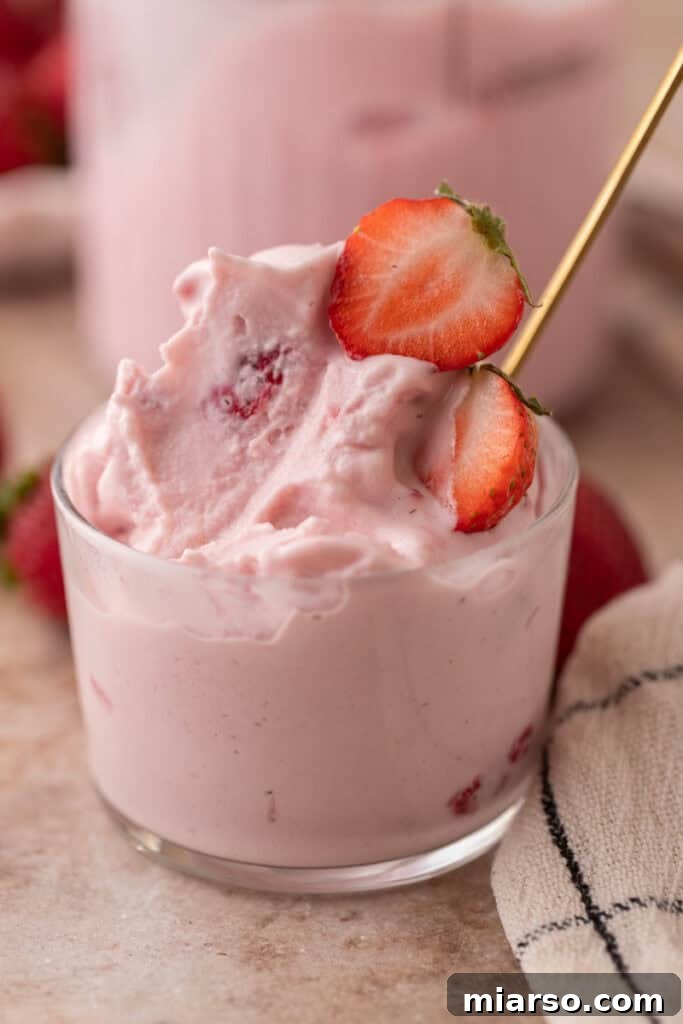
Frequently Asked Questions (FAQ) About Ninja Creami Cottage Cheese Ice Cream
Can I use frozen strawberries instead of fresh ones?
Absolutely, yes! Frozen strawberries work wonderfully in this recipe and are a convenient option, especially when fresh berries are out of season. Just be sure to let them thaw slightly before blending. This makes them easier to process into a smooth mixture with the cottage cheese, preventing your blender from overworking.
Do I need to use full-fat cottage cheese for the best results?
While you don’t strictly *have* to use full-fat cottage cheese, we highly recommend it for the best texture. Full-fat or 2% cottage cheese will yield a significantly creamier and richer ice cream. The fat content contributes to a smoother, less icy consistency, closely mimicking traditional ice cream. If you use fat-free or low-fat cottage cheese, your ice cream might be slightly icier, but rest assured, the powerful blending of the Ninja Creami will still produce a delicious result! (As a happy user, I truly love my Ninja Creami for this versatility!)
What if my ice cream turns out crumbly or powdery after the first spin?
It’s entirely normal for the ice cream to appear crumbly or powdery after the initial processing cycle. This is a common occurrence with Ninja Creami recipes. Simply use the “RE-SPIN” cycle once or twice until your ice cream transforms into a smooth and creamy consistency. For an even silkier result, try the hot water trick: after the first spin, run the sides of the pint container under hot water for 10-20 seconds to slightly melt the icy outer layer before re-spinning. This technique works wonders!
Can I blend directly in the Ninja Creami container?
Yes, absolutely! For ultimate convenience, you can use an immersion blender to blend all the ingredients together right inside your Ninja Creami pint (or Deluxe container, if applicable). Ensure you blend until the mixture is completely smooth and homogeneous, with no visible cottage cheese curds. Always remember to keep the mixture well below the “Max Fill” line to allow for proper freezing and processing.
Is this Ninja Creami strawberry cottage cheese ice cream recipe genuinely high in protein?
Yes, it most certainly is! The primary ingredient, cottage cheese, is naturally an excellent source of protein, making this dessert inherently high in protein. If you’re looking to further boost the protein content, you can easily stir in a scoop of unflavored, vanilla, or strawberry protein powder into the base mixture before blending and freezing. This simple addition will significantly increase the protein per serving, making it an even more powerful and satisfying treat.
Can I make this without any added sugar?
You definitely can! This recipe is highly adaptable to your sugar preferences. To create a sugar-free dessert, you can use artificial or natural zero-calorie sweeteners such as monk fruit (which was used in the original recipe), allulose, or stevia, adjusting the amount to your personal taste. If your strawberries are exceptionally ripe and sweet, you might even find that you can skip the added sweetener entirely and rely solely on the fruit’s natural sugars.
How do I store leftovers of this recipe?
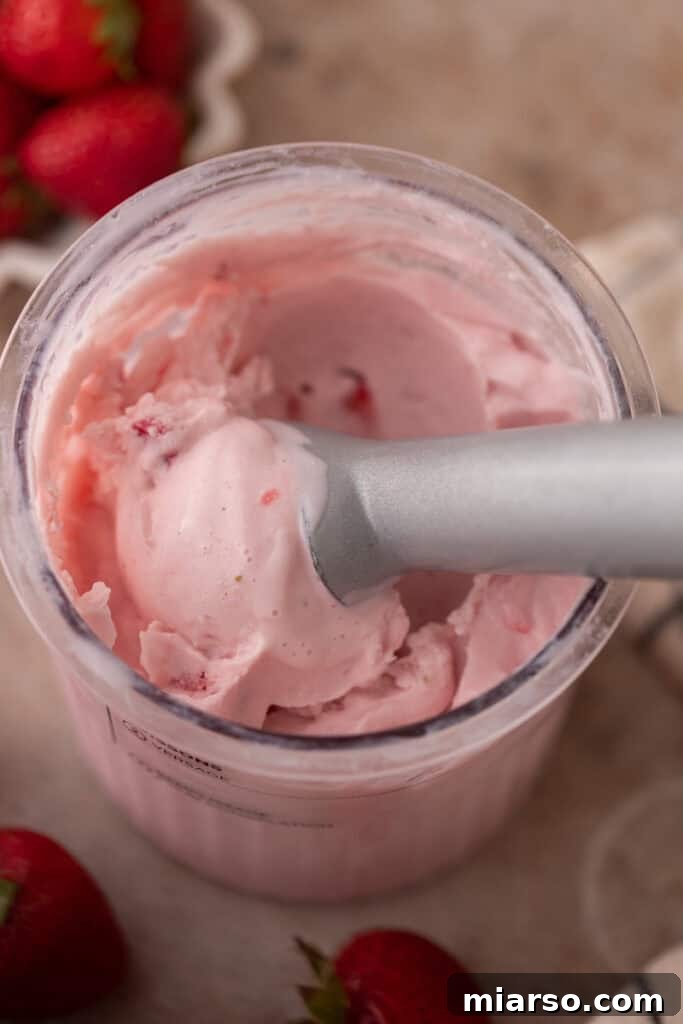
Storing leftovers is incredibly convenient! Simply leave any remaining ice cream right in its Ninja Creami pint container and return it to the freezer. When you’re ready for another scoop, you might find that the ice cream has refrozen quite hard. If so, simply run it through another “RE-SPIN” cycle in your Ninja Creami machine to restore its perfectly creamy texture. This high-protein ice cream typically stays fresh and delicious in the freezer for about 1 to 2 months.
What delicious mix-ins can I add to this ice cream?
Once you’ve achieved that beautiful creamy texture after the initial or second spin, the fun of customization begins! Create a small well in the center of your ice cream pint and add your favorite mix-ins. Then, use the Ninja Creami’s “MIX-IN” button to perfectly incorporate them. Here are some fantastic ideas to elevate your strawberry cottage cheese ice cream:
- For more strawberry goodness: Add chopped fresh strawberries, freeze-dried strawberry pieces, or swirls of strawberry jam or preserves.
- For a “Strawberry Cheesecake” twist: Crush some graham crackers or shortbread cookies and mix them in. A dollop of cream cheese frosting (if you’re feeling indulgent) could also be swirled in.
- For a chocolate-covered strawberry vibe: Incorporate mini chocolate chips, chocolate shavings, or even small pieces of chocolate-coated strawberries.
- For extra crunch: Add chopped nuts like almonds, pecans, or walnuts.
- For a different texture: White chocolate chips, shredded coconut, or even a drizzle of a different fruit sauce.
Strawberry Cottage Cheese Ninja Creami
Print Recipe
Equipment
Ingredients
- 1& 1/2 cups cottage cheese
- 1/2 cup milk
- 1 cup fresh or frozen strawberries hulled
- 3-4 tbsp maple syrup, honey, monkfruit sweetener, or agave adjust to taste
- 1 tsp vanilla extract
- Pinch of salt
Instructions
-
In your Ninja Creami Deluxe pint container, add the cottage cheese, strawberries, sweetener, vanilla, and salt.1& 1/2 cups cottage cheese, 1/2 cup milk, 1 cup fresh or frozen strawberries, 3-4 tbsp maple syrup, honey, monkfruit sweetener, or agave, 1 tsp vanilla extract, Pinch of salt
-
Use an immersion blender to blend everything together right inside the pint until smooth and creamy. Scrape down the sides to make sure everything is fully incorporated. Make sure the mixture stays below the max fill line.
-
Level the top with a spoon or spatula, then secure the lid and place in the freezer for at least 24 hours.
-
After freezing, insert the container into the Ninja Creami Deluxe and use the Lite Ice Cream setting. Once done, check texture.
-
If it’s too crumbly, Place it back in the machine and hit Re-Spin.
-
Add crushed freeze-dried strawberries, white chocolate chips, or graham chunks and run the Mix-In cycle if you want some texture!
Nutrition
Nutrition information is automatically calculated, so should only be used as an approximation.
Enjoyed this recipe? Leave a comment below and share your thoughts!