
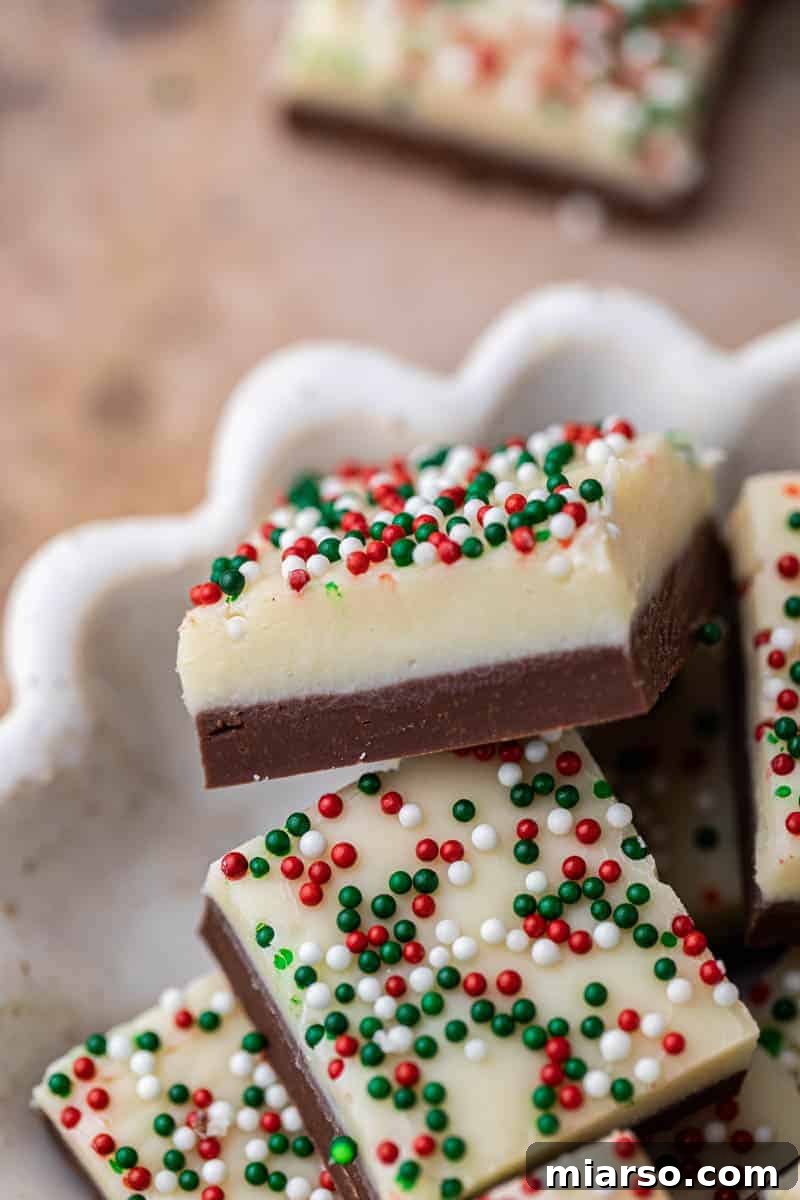
This classic Christmas fudge recipe is your ultimate guide to creating the creamiest, smoothest, and most irresistible holiday treat. Crafted with a perfect blend of rich white chocolate chips, decadent semi-sweet chocolate chips, a hint of warm vanilla extract, and luscious sweetened condensed milk, this fudge melts in your mouth with every bite. To add a festive touch, vibrant Christmas sprinkles provide a beautiful pop of color and delightful texture, making it a standout dessert on any holiday platter. Whether you’re serving it to cherished friends and family or gifting homemade sweetness this season, this fudge is sure to spread cheer and create lasting memories.
As you embark on your holiday baking adventures, you might also enjoy exploring other festive delights. Consider our delectable Christmas Crack recipe for a truly addictive sweet and salty snack, or whip up a batch of these super festive holiday sugar cookie bars. And for a simple yet satisfying treat, don’t miss out on these delightful Rolo pretzel bites.
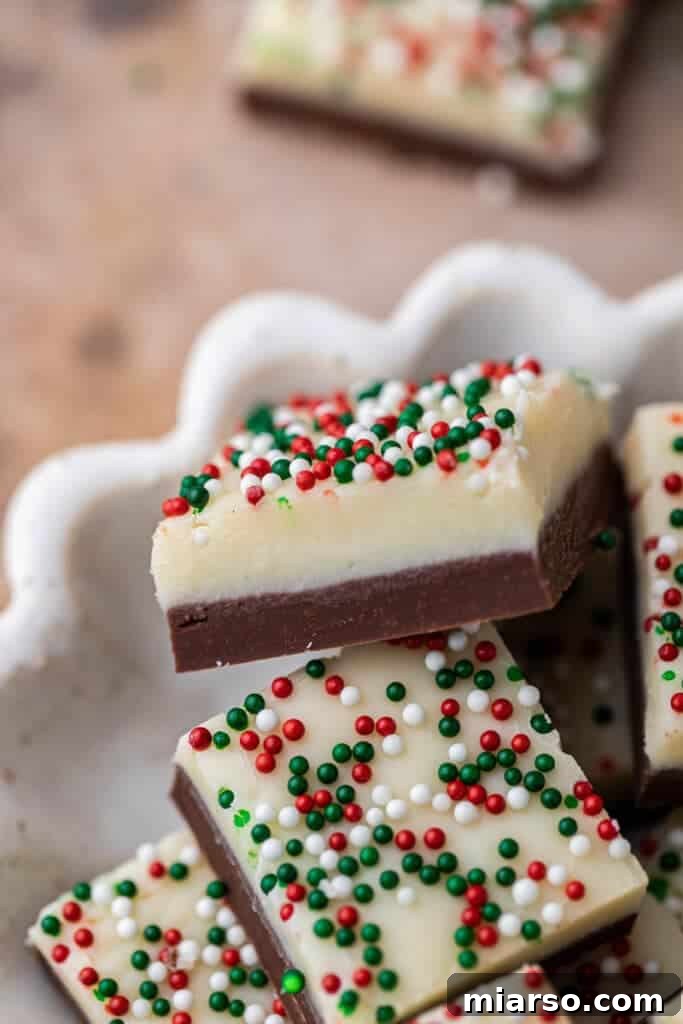
What Makes This Christmas Fudge Recipe Truly Special?
From a seasoned recipe developer’s perspective, creating the perfect fudge involves meticulous testing and a deep understanding of ingredients. This particular Christmas fudge recipe has been refined to stand out from the crowd, offering several distinctive advantages that guarantee a superior result every time.
- Optimized Chocolate Ratio for Perfect Set: Many condensed milk fudge recipes can result in a fudge that’s too soft or doesn’t set properly, leaving you with a sticky mess rather than a firm, sliceable treat. Based on valuable feedback from our community, we’ve meticulously re-evaluated and increased the chocolate content from 6 oz to a precise 8.5 oz (approximately 1 cup of chips) per layer. This updated ratio ensures your fudge achieves a beautifully firm yet incredibly creamy texture, setting perfectly without being overly hard or crumbly. It’s the secret to a professional-quality fudge at home.
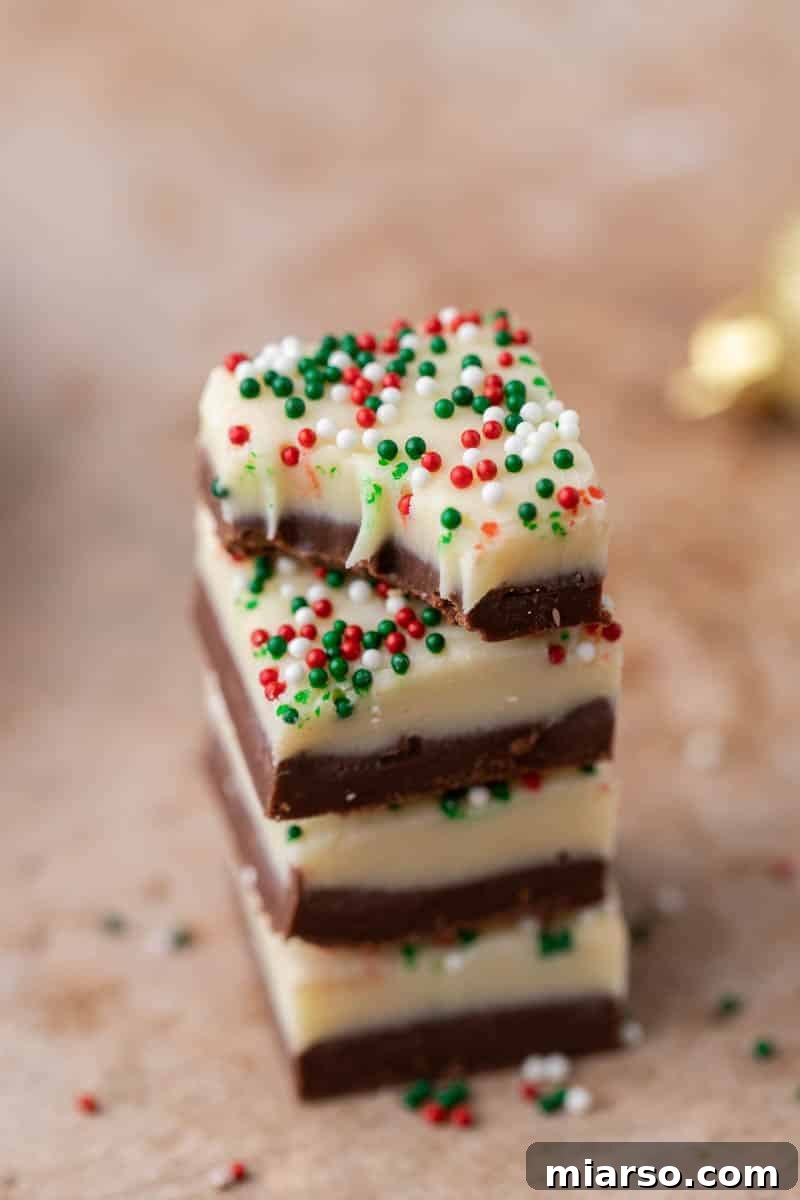
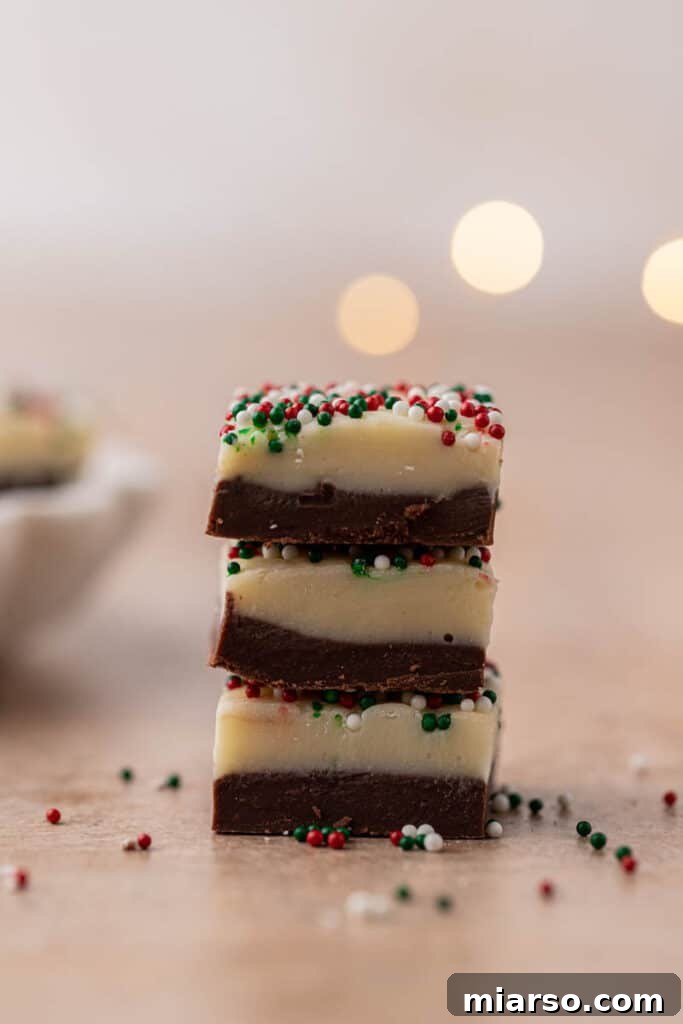
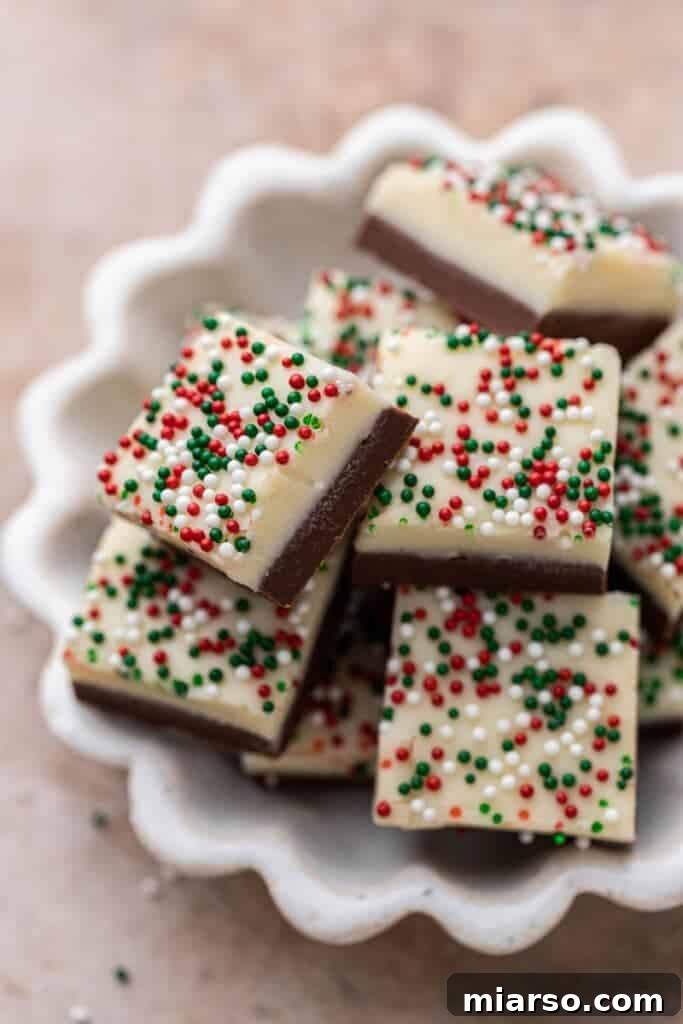
- Visually Stunning Two-Layer Design: Beyond taste, presentation is key, especially during the festive season. This recipe creates a gorgeous two-layer effect, combining the rich depth of semi-sweet chocolate with the bright creaminess of white chocolate. This striking visual contrast makes each piece of fudge an eye-catching addition to your holiday dessert platters, cookie boxes, or gift baskets, making them truly stand out amidst other treats.
- Flexible Melting Methods: We understand that every kitchen is different, and convenience matters. That’s why this recipe provides clear, detailed instructions for both stovetop (double boiler) and microwave melting methods. Whether you prefer the controlled, gentle heat of a double boiler or the speed and simplicity of a microwave, you can achieve perfectly melted chocolate every time. This flexibility ensures that anyone, regardless of their preferred cooking style or equipment, can successfully make this delicious fudge.
- Community-Driven Perfection: This recipe is a testament to the power of collaboration. It has been rigorously retested and improved based on real-world feedback from our wonderful readers. By actively listening to suggestions and addressing common challenges, we’ve transformed this recipe into a foolproof guide, ensuring a successful and delightful fudge-making experience for everyone. Your input has helped us make this recipe even better, making it truly a community favorite.
What is Christmas Fudge? A Holiday Staple Explained
Christmas fudge is more than just a sweet treat; it’s a beloved holiday tradition, a no-bake candy that epitomizes the festive spirit. Characterized by its rich, creamy, and intensely sweet profile, fudge is a simple yet indulgent confection enjoyed by many during the colder months, particularly around Christmas. While traditional fudge recipes often involve precise temperature control and a candy thermometer, the easiest and most popular method, especially for home bakers, involves combining melted chocolate with sweetened condensed milk. This creates a remarkably smooth mixture that sets into a delightful, chewy, and melt-in-your-mouth candy with minimal effort.
The beauty of this type of fudge lies in its simplicity, requiring only minutes of active prep time before chilling. This makes it an ideal choice for busy holiday schedules, allowing you to whip up a batch of homemade goodness without extensive kitchen time. We lovingly call this “Christmas fudge” because of its festive embellishments, primarily colorful sprinkles that instantly evoke the holiday season. However, the true joy of this recipe is its adaptability. Feel free to decorate it with any festive elements you desire – whether it’s crushed candy canes, edible glitter, mini chocolate chips, or even a simple dusting of cocoa powder. Anything that adds a touch of holiday magic will elevate this basic homemade fudge into a seasonal masterpiece.
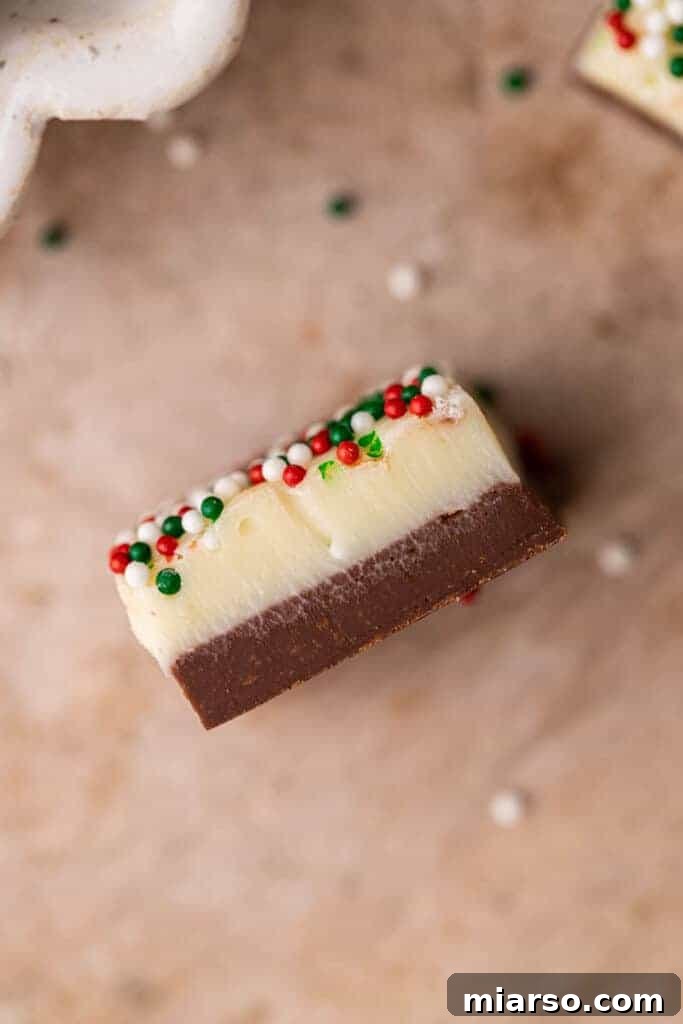
Why You Need to Make This Easy Christmas Fudge This Year!
The holiday season is a time for joy, celebration, and, of course, delicious treats! This easy Christmas fudge recipe ticks all the boxes, making it an absolute must-make for your festive celebrations. Here’s why it deserves a spot in your holiday baking repertoire:
- Simple Ingredients, Incredible Flavor: This recipe proves that you don’t need fancy ingredients or complex techniques to create something extraordinary. Using basic pantry staples, it delivers a rich, luxurious flavor that truly packs a punch and satisfies every sweet tooth.
- Start a Cherished Family Tradition: Food is often at the heart of family traditions. Imagine making this adorable fudge every year, a ritual that signals the start of the holiday season. It’s a wonderful way to create lasting memories and build anticipation for the festive period.
- Effortless Holiday Gifting: Need to fill up those charming cookie boxes or elaborate Christmas cookie trays? These simple fudge bites are your secret weapon. They come together incredibly fast and require minimal effort, yet look impressive and taste divine, making them perfect for sharing with neighbors, colleagues, and loved ones.
- A Fun Activity for All Ages: Get the whole family involved! This straightforward recipe is perfect for including kids in the kitchen. Measuring ingredients, stirring the melted chocolate (with supervision!), and especially adding the festive sprinkles are tasks that little hands will love, fostering a sense of accomplishment and holiday spirit.
- Versatile Preparation Options: We believe in making baking accessible. This recipe can be prepared using either a stovetop double boiler method for a gentle melt or the convenience of a microwave. Both methods are clearly outlined, ensuring you can choose the option that best suits your kitchen and time constraints.
- Perfect for Make-Ahead Planning: Holidays are busy! This fudge is an excellent make-ahead treat, as it stores beautifully in the refrigerator or freezer. Prepare it days or even weeks in advance, then simply slice and serve when guests arrive or when you’re ready to assemble your gift baskets.
- Customizable for Any Palate: While delicious as is, this fudge is a fantastic canvas for customization. From different types of chocolate to various extracts and toppings, you can easily adapt it to suit individual preferences or create new flavor combinations each year.
Essential Ingredients for Your Perfect Christmas Fudge Recipe
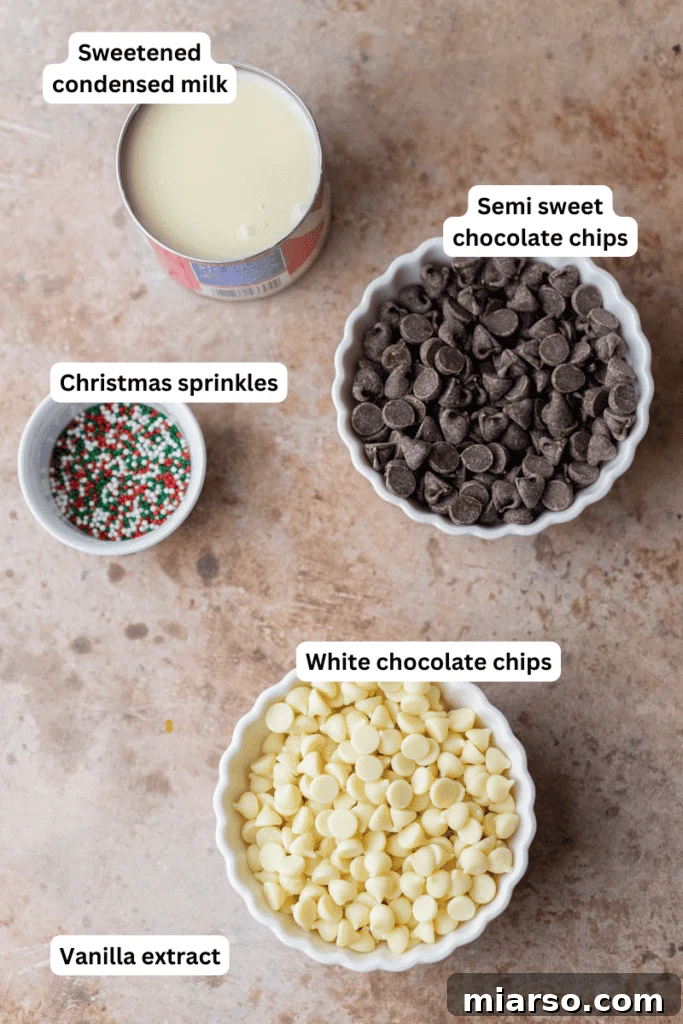
Crafting the best Christmas fudge begins with selecting quality ingredients. Each component plays a vital role in achieving that sought-after creamy texture and rich flavor. Here’s a breakdown of what you’ll need and some tips for best results. Remember to check the recipe card below for precise, detailed measurements.
- White Chocolate Chips: Essential for the vibrant top layer and a distinct sweet, milky flavor. Opt for high-quality white chocolate chips for the best melting consistency and taste. Brands like Ghirardelli or Callebaut are excellent choices, as they melt smoothly without seizing. Avoid bargain brands that may contain more oils, which can sometimes interfere with the setting process.
- Semi-Sweet Chocolate Chips: These form the rich, dark base layer of our fudge. While semi-sweet is recommended for a balanced chocolate flavor, feel free to experiment with other varieties. Dark chocolate chips will yield a more intense, less sweet fudge, while milk chocolate chips will result in a sweeter, creamier profile. Choose a good quality brand for superior taste and texture.
- Sweetened Condensed Milk: This is the magical ingredient that transforms chocolate chips into luscious fudge. It provides both sweetness and the necessary liquid to create a smooth, creamy consistency without the need for a candy thermometer. It is crucial to use sweetened condensed milk and not evaporated milk or regular condensed milk, as they lack the sugar and thickness required for this recipe to set correctly. Ensure your can is the full 14 oz.
- Vanilla Extract: A touch of pure vanilla extract enhances the overall sweetness and adds a warm, aromatic depth to both chocolate layers, complementing the rich flavors beautifully. If you’re a fan of festive flavors, this is where you can get creative! Consider swapping out half or all of the vanilla extract for a little peppermint extract in the semi-sweet chocolate layer to create a delightful peppermint bark-inspired Christmas treat. Just a small amount (¼ to ½ teaspoon) of peppermint extract goes a long way.
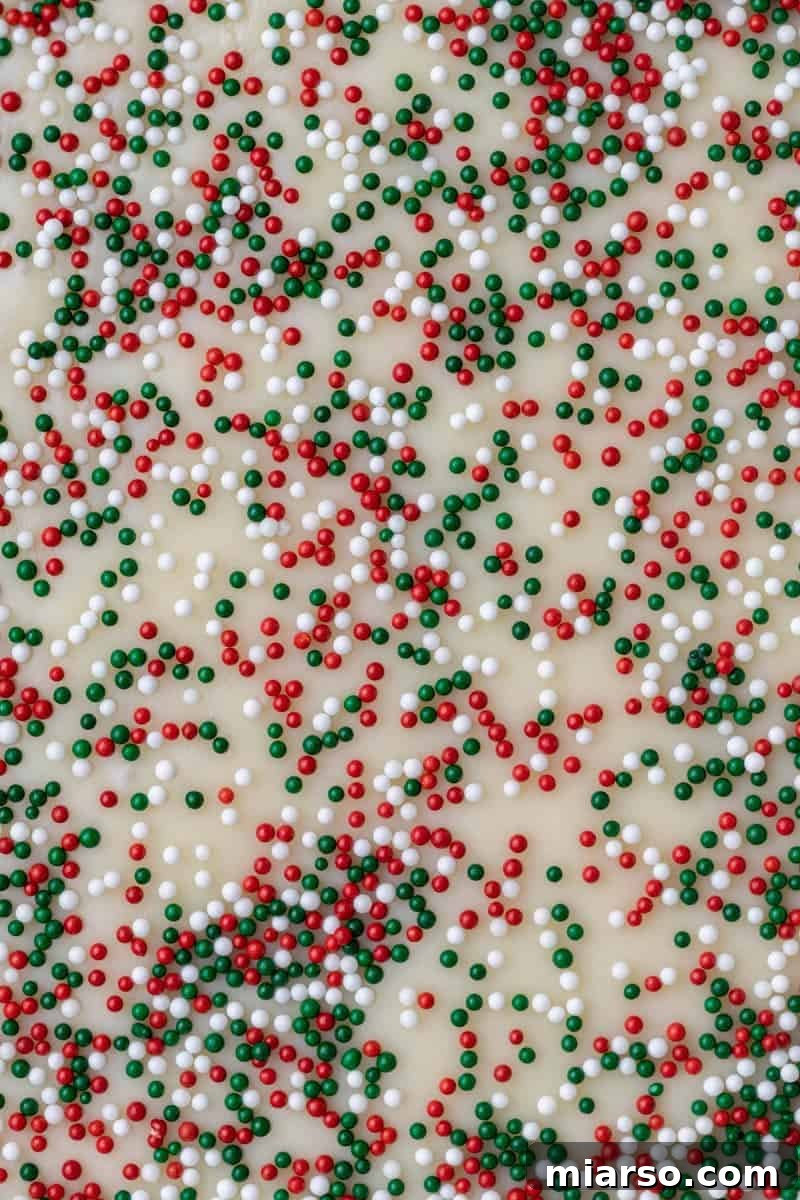
- Festive Sprinkles: These are primarily for decoration and add a playful, crunchy texture. Choose your favorite Christmas-themed sprinkles, such as nonpareils, jimmies in red and green, or holiday-shaped sprinkles. Nonpareils tend to hold their shape and color best, while jimmies might bleed color if they are too soft or left in contact with the wet fudge for too long.
Fun Christmas Fudge Variations to Try
While the classic two-layer fudge is undeniably delicious, this recipe serves as a fantastic base for endless creative variations. Here are some festive ideas to inspire your holiday baking:
- Peppermint Bark Fudge: Transform your fudge into a classic holiday candy by adding ¼ teaspoon of peppermint extract to the white chocolate layer. Once poured, immediately scatter plenty of crushed candy canes over the top for that iconic peppermint bark flavor and crunch. This variation is a guaranteed crowd-pleaser and screams Christmas!
- Hot Cocoa Fudge: Bring the comforting flavors of hot cocoa to your fudge. After the fudge has set, top it with a generous sprinkle of mini marshmallows and a light dusting of unsweetened cocoa powder. You can even swirl a bit of melted chocolate on top for an extra decadent touch.
- Grinch Fudge: Perfect for a whimsical holiday treat! Achieve the Grinch’s signature green by adding a few drops of green food coloring to the white chocolate layer. Once set, decorate with small red heart sprinkles to represent his growing heart. This fun variation is especially popular with kids.
- Gingerbread Fudge: Infuse your fudge with the warm, spicy notes of gingerbread. Add about ½ teaspoon of gingerbread spice (a blend of ginger, cinnamon, cloves, and nutmeg) to the white chocolate layer before melting. You can also sprinkle some crushed gingerbread cookies on top for extra texture and flavor.
- Cookies & Cream Fudge: A universally loved flavor! Simply fold in about 1 cup of crushed Oreo cookies (or similar chocolate sandwich cookies) into either the white chocolate or semi-sweet chocolate layer (or both!) before spreading. This adds a delightful crunch and a familiar, comforting taste.
- Nutty Chocolate Fudge: For those who love a bit of crunch, fold in ½ cup of chopped toasted pecans, walnuts, or almonds into either chocolate layer. The toasted nuts add a wonderful depth of flavor and texture.
- Salted Caramel Swirl Fudge: Drizzle warm salted caramel sauce over the semi-sweet chocolate layer before adding the white chocolate. Use a toothpick to gently swirl the caramel into the chocolate for a beautiful marbled effect and an irresistible flavor combination.
How to Make This Delicious Christmas Fudge Recipe: Step-by-Step Guide
Making this layered Christmas fudge is incredibly straightforward, designed for efficiency and delicious results. Follow these detailed steps to create your perfect holiday candy. For full ingredient measurements and precise timings, please refer to the comprehensive recipe card below.
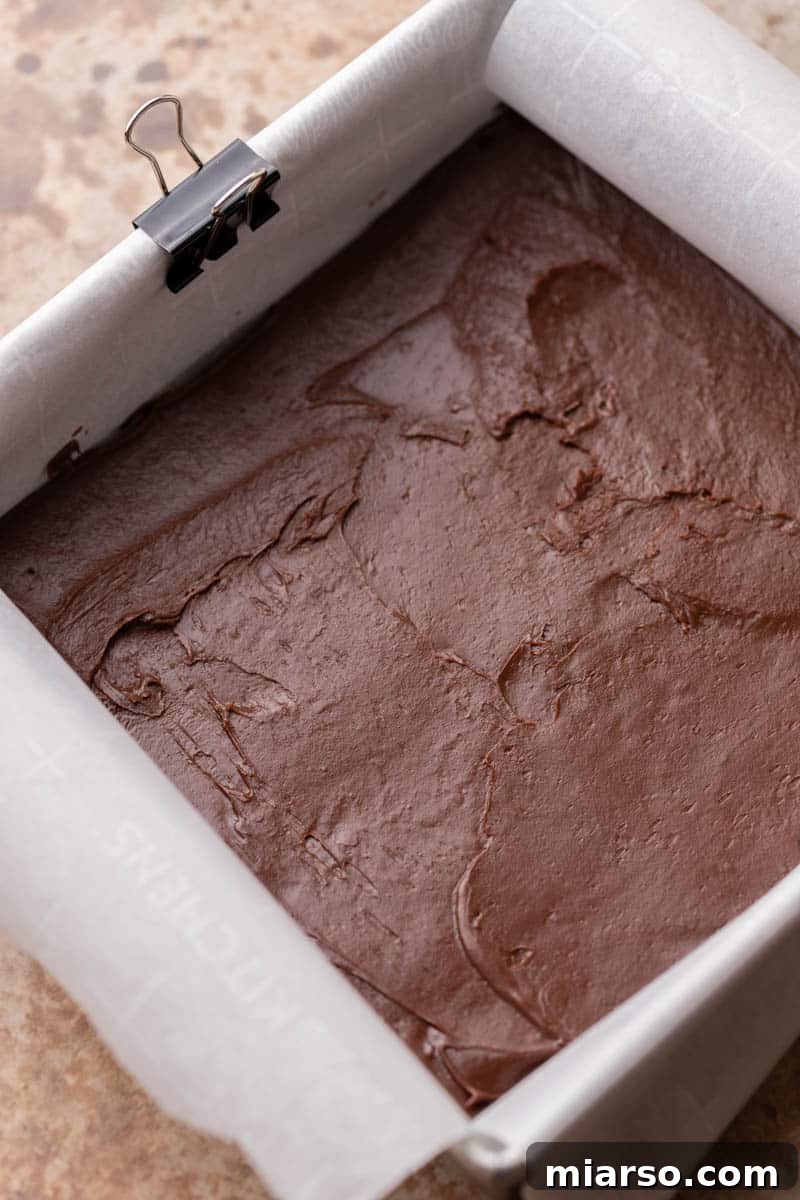
- Prepare Your Pan: Begin by lining an 8×8 inch square baking pan with parchment paper, ensuring extra paper overhangs the sides. This overhang acts as “handles” making it easy to lift the set fudge out of the pan. Lightly spray the parchment paper with non-stick cooking spray for extra assurance that the fudge won’t stick, then set the pan aside.
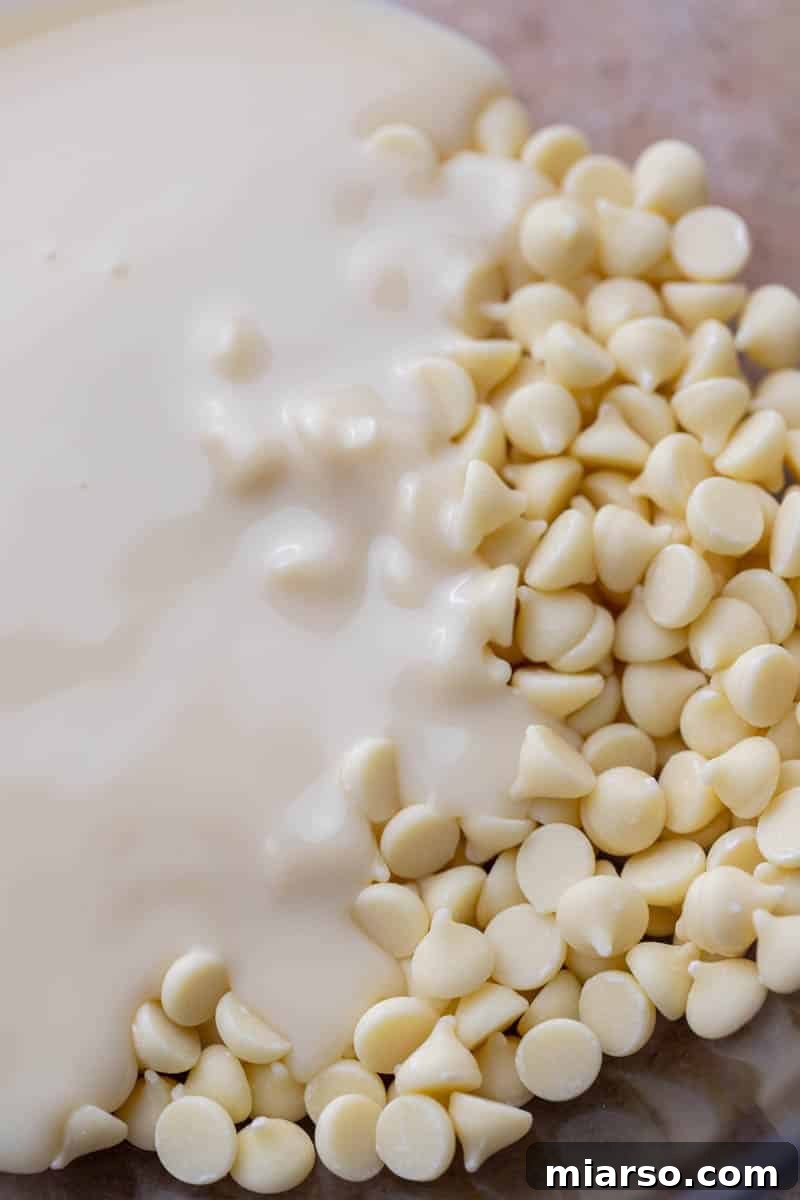
- Divide Ingredients: Place your white chocolate chips in one medium, heatproof bowl and your semi-sweet chocolate chips in another separate medium, heatproof bowl. Next, divide the 14 oz can of sweetened condensed milk evenly between the two bowls, so each bowl receives approximately 7 oz of condensed milk. This precise division ensures both layers have the perfect consistency.
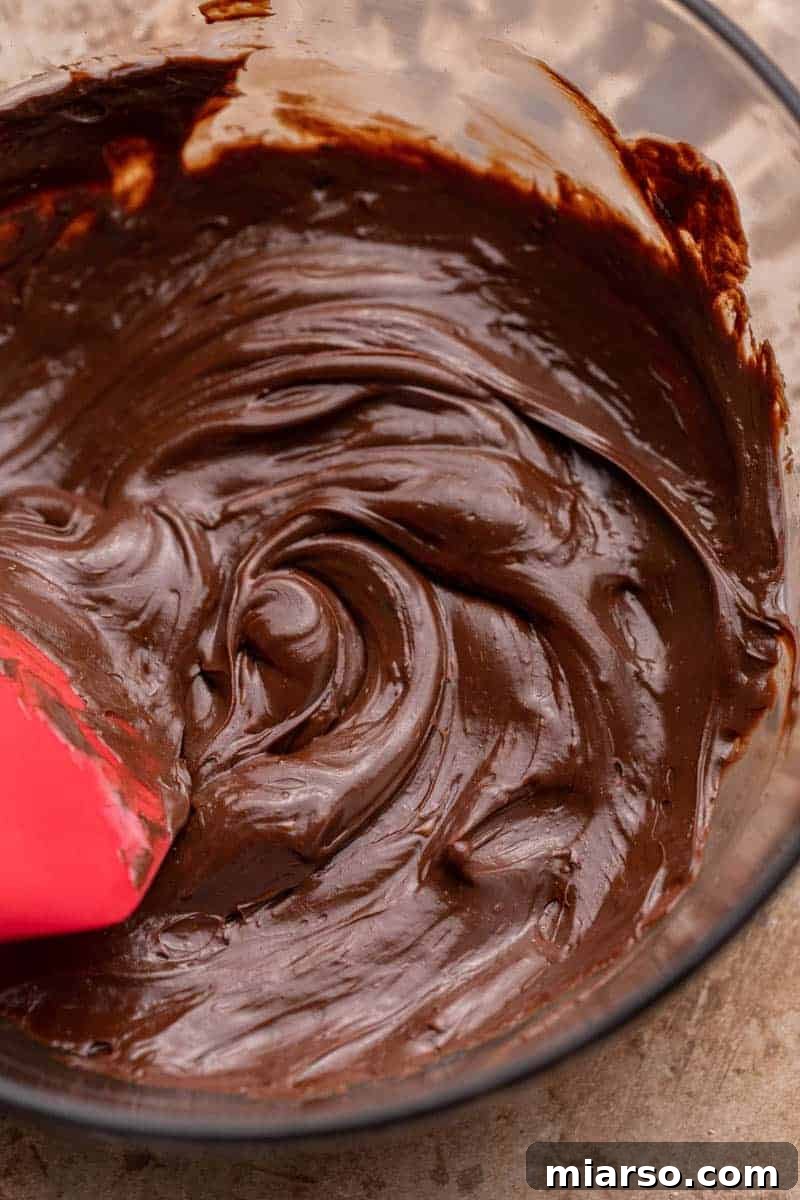
- Melt the Semi-Sweet Chocolate Layer: In the bowl containing the semi-sweet chocolate chips and condensed milk, melt the mixture using your preferred method.
- Microwave Method: Heat in the microwave in 30-second increments on medium power, stirring vigorously with a spatula or spoon between each interval. Continue until the mixture is completely smooth and free of lumps. This usually takes 1.5 to 2 minutes total. Be careful not to overheat the chocolate, as it can seize.
- Stovetop (Double Boiler) Method: Place the bowl over a saucepan of gently simmering water, ensuring the bottom of the bowl does not touch the water. Stir continuously until the chocolate and condensed milk are fully melted and smooth. This method provides more controlled, even heating.
Once melted, stir in 1 teaspoon of vanilla extract until well combined. Promptly pour this chocolate mixture into your prepared baking pan and gently spread it evenly across the bottom using your spatula. Work quickly as fudge begins to set as it cools.
- Melt the White Chocolate Layer: Clean your spatula. In the second bowl, containing the white chocolate chips and the remaining condensed milk, repeat the melting process as described in step 3 (either microwave or double boiler). White chocolate can be more delicate, so melt it carefully to prevent graininess. Once smooth, stir in the remaining 1 teaspoon of vanilla extract until fully incorporated.
- Layer and Decorate: Immediately pour the melted white chocolate mixture on top of the semi-sweet chocolate layer in the baking pan. Gently spread it out evenly using your clean spatula, working quickly to ensure the layers bond slightly without fully mixing. This creates the distinct two-tone effect.
- Chill to Set: Generously sprinkle your chosen Christmas nonpareils or festive sprinkles over the top of the white chocolate layer while it’s still warm and soft, gently pressing them in slightly if desired. This ensures they adhere well. Transfer the baking pan to the refrigerator and chill for at least one hour, or until the fudge is completely firm to the touch.
- Slice and Enjoy: Once thoroughly chilled and firm, use the parchment paper overhangs to lift the fudge block out of the pan. Place it on a cutting board and use a sharp knife (lightly warmed under hot water and wiped dry, if needed, for cleaner cuts) to slice it into desired squares or rectangles. Serve immediately or store for later enjoyment!
Quick Tip: Fudge sets relatively quickly, especially when made with condensed milk. To ensure smooth, even layers, have all your ingredients measured and your pan prepared before you start melting the chocolate. Work efficiently when spreading each layer.
Why Your Fudge Didn’t Set (and How to Fix It)
Homemade fudge is incredibly rewarding, but sometimes things don’t go exactly as planned. If your fudge turns out too soft or doesn’t set, don’t despair! Here are the common culprits and how to prevent them:
- Too much condensed milk: The ratio of chocolate to condensed milk is crucial. Adding too much condensed milk will result in a softer fudge that struggles to set properly. Stick to the specified amount for the best results.
- Not enough chocolate: Conversely, insufficient chocolate also leads to a runny fudge. Our updated recipe addresses this by increasing the chocolate content to ensure optimal firmness.
- Overheated white chocolate: White chocolate is particularly sensitive to heat. If it gets too hot, it can become grainy, seize, or refuse to set properly. Always melt white chocolate slowly and gently.
- Using reduced-fat condensed milk: This is a common mistake! Reduced-fat or skim condensed milk lacks the fat content needed for the fudge to emulsify and set correctly. Always use full-fat sweetened condensed milk.
- Using low-quality or old chocolate chips: The quality of your chocolate matters. Low-quality chocolate chips or those past their prime may not melt smoothly or have the right properties to set into a firm fudge. Invest in good quality baking chocolate.
Expert Troubleshooting for Your Christmas Fudge
Even with the best intentions, baking can sometimes present challenges. Here’s a comprehensive guide to troubleshoot common Christmas fudge issues, ensuring your holiday treat turns out perfectly every time:
- My fudge is too soft. This is the most common issue. It usually means the chocolate-to-condensed-milk ratio was incorrect (too little chocolate or too much milk). Our updated recipe uses 8.5 oz of chocolate per layer to counter this. Additionally, some white chocolate brands contain too much oil, which can prevent proper setting. Stick to reputable brands like Ghirardelli or high-quality baking chocolate, and avoid cheaper alternatives for white chocolate. If your fudge is still too soft after an hour of chilling, try returning it to the fridge for several more hours or even overnight. If it’s still too soft, you can try gently remelting it with a bit more chocolate (about 1-2 oz per batch) and chilling again.
- My fudge is grainy. A grainy texture is almost always a sign of overheated chocolate, particularly white chocolate. Chocolate should be melted slowly and gently. Whether using a microwave or double boiler, always melt on low heat and stir frequently. For the microwave, use 30-second bursts and stir thoroughly between each. For the stovetop, ensure the water is simmering gently, not boiling vigorously, and the bowl doesn’t touch the water. If your fudge has already set grainy, unfortunately, it’s hard to fully reverse, but remelting very gently with a teaspoon of butter or coconut oil might help slightly, then re-chill.
- The layers are separating. For a clean bond between your chocolate and white chocolate layers, timing is key. Spread the white chocolate layer while the bottom semi-sweet layer is still *slightly warm* and soft. If the bottom layer has completely firmed up, the new layer won’t adhere well, leading to separation. Work relatively quickly when making and spreading both layers to maintain some warmth.
- The sprinkles melted or bled color. The type of sprinkles you use makes a difference! For optimal results and vibrant color, use crunchy nonpareils. Soft jimmies, especially cheaper brands, tend to bleed color into the white layer when in contact with the warm fudge, creating a less appealing appearance. Add sprinkles right after spreading the top layer, pressing them gently if desired, then chill promptly.
- My fudge is oily. This could be due to using low-quality chocolate with high oil content, or accidentally using too much butter/oil if you were trying to fix a grainy batch. Ensure you’re using good quality baking chocolate chips.
- My fudge is too hard/crumbly. While rare with this condensed milk method, if your fudge is too hard, it might be due to slightly overcooking the chocolate (especially on the stovetop) or perhaps a brand of chocolate that sets exceptionally firm. Ensure you’re not continuously heating beyond the point where it just melts smoothly.
Frequently Asked Questions – FAQ about Christmas Fudge
How to store this Christmas time fudge?
To maintain its perfect creamy texture and freshness, this Christmas fudge should be stored in an airtight container in the refrigerator. When stored properly, it will remain delicious for up to 3 weeks. Placing parchment paper between layers of fudge in the container can prevent sticking and make serving easier.
Can I freeze this festive fudge?
Absolutely! This delicious treat is incredibly freezer-friendly, making it perfect for preparing well in advance of the holidays or for extending its shelf life. To freeze, wrap individual pieces or small blocks of fudge tightly in plastic wrap, then place them in an airtight freezer-safe container or a heavy-duty freezer bag. It can be stored in the freezer for up to 3 months. When you’re ready to enjoy, simply thaw the fudge in the refrigerator for a few hours or at room temperature until soft enough to eat.
Is fudge difficult to make?
This particular recipe for Christmas fudge is renowned for its simplicity and ease. Unlike traditional fudge, which often requires a candy thermometer and precise temperature control, this condensed milk-based recipe is incredibly straightforward. The main challenge is to work quickly when spreading the melted chocolate layers. Because the fudge begins to set as it cools, having all your tools and ingredients ready and close by will ensure you can spread each layer smoothly and evenly before it becomes too firm to work with. With a little organization, it’s a wonderfully accessible recipe for even novice bakers!
How to serve this Christmas fudge?
One of the best ways to serve this fudge is by packaging it in cute holiday boxes, decorative tins, or festive baggies. This makes it an ideal homemade gift that friends, family members, neighbors, and even colleagues will adore. For serving at home, arrange the sliced fudge pieces attractively on a holiday platter alongside other festive cookies and candies. It’s also delightful with a cup of hot cocoa or coffee.
Can I store fudge at room temperature?
While some traditional fudge recipes might tolerate short periods at room temperature, it is generally best to store this particular condensed milk fudge in the refrigerator. At room temperature, especially in warmer environments, this type of fudge tends to soften significantly and can lose its desirable firm, sliceable shape. Storing it in the fridge ensures that your sweet bites retain their structure and creamy consistency, making them easier and more pleasant to handle and enjoy.
What are the best tools for making fudge?
You’ll need an 8×8 inch square baking pan, parchment paper, medium heatproof bowls for melting, a sturdy spatula for stirring and spreading, and a sharp knife for clean slices once the fudge is set.
Can I make this fudge nut-free?
Yes, this recipe is naturally nut-free as long as you use chocolate chips and sprinkles that are certified nut-free and process them in a nut-free environment. Always check ingredient labels carefully if allergies are a concern.
Is this fudge gluten-free?
Yes, this recipe is inherently gluten-free, provided all your ingredients (chocolate chips, condensed milk, vanilla extract, sprinkles) do not contain hidden gluten and are processed in a gluten-free facility. Most standard brands of these ingredients are gluten-free, but it’s always wise to check labels.
The Best Christmas Fudge Recipe
Print Recipe
Ingredients
- 14 oz sweetened condensed milk, divided
- 8.5 oz white chocolate chips (about 1 cup)
- 8.5 oz semi-sweet chocolate chips (about 1 cup)
- 2 tsp vanilla extract, divided
- 2 tbsp Christmas sprinkles
Instructions
-
Line an 8×8 baking pan with parchment paper, spray with nonstick cooking spray and set aside.
-
Place the white chocolate chips in a medium bowl, the semi-sweet chocolate chips in a separate medium bowl. Divide the sweetened condensed milk in half, adding some to the white chocolate and some to the semi-sweet chocolate (approximately 7 oz of condensed milk will be added to each bowl).14 oz sweetened condensed milk, 8.5 oz semi-sweet chocolate chips, 8.5 oz white chocolate chips
-
Melt the semi-sweet chocolate mixture in the microwave in 30-second increments, stirring well between each time until smooth. Stir in 1 teaspoon of vanilla extract to combine. Spread this mixture evenly into the prepared baking pan.1 tsp vanilla extract
-
Melt the white chocolate mixture in the microwave in 30-second increments, stirring well between each time until smooth. Stir in the remaining 1 teaspoon of vanilla extract to combine. Carefully spread this white chocolate layer on top of the semi-sweet chocolate fudge layer.1 tsp vanilla extract
-
Top with Christmas sprinkles immediately after spreading the white chocolate layer. Chill the fudge in the fridge for at least one hour (or until completely firm) before slicing and enjoying.2 tbsp Christmas sprinkles
Notes
Stovetop Instructions (Double Boiler Method)
If you prefer making your fudge on the stove, here’s the quick version:
Place a heatproof bowl over a pot of gently simmering water (the bowl shouldn’t touch the water). Melt the chocolate chips with half the sweetened condensed milk, stirring until smooth, then spread into your lined pan. Repeat with the white chocolate layer in a clean bowl. Add sprinkles on top and chill until set.
Recipe Notes for The Best Christmas Fudge
- Sweetened Condensed Milk: Use the whole 14 oz (approximately 397 g) can, divided evenly between the two chocolate mixtures (about 7 oz or 198 g per bowl). Don’t use only half the can total; both layers need milk for the right texture and to set properly.
- Vanilla Extract: The total amount is 2 teaspoons, split evenly between the white chocolate and semi-sweet chocolate mixtures (1 tsp each). This balances the flavor without overpowering the chocolate.
- Melting Chocolate: Melt in short 30-second bursts in the microwave, stirring well between each to avoid burning and ensure smooth melting. Always use a low and slow approach.
- Peppermint Extract (optional): If adding peppermint flavor, add about ½ to 1 teaspoon with 1 teaspoon of neutral oil (like vegetable oil) to the semi-sweet chocolate fudge layer only for a festive touch. Add to taste.
- Setting & Cutting: Chill the fudge in the fridge for at least 1 hour or until completely firm before slicing. If the fudge is too soft, more chilling time will certainly help it set.
- Sprinkles: Add sprinkles on the white chocolate layer and extra on top before chilling for a colorful festive look. Use nonpareil sprinkles for best results.
- Storage: Store fudge in an airtight container in the fridge for up to 2 weeks. It also freezes well for up to 3 months.
Recipe Update (December 2025): This recipe has been retested and improved based on valuable user feedback! Many of you mentioned the fudge stayed a bit soft, so we increased the chocolate from 6 oz to 8.5 oz (approximately 1 cup of chips) per layer. This updated ratio ensures a firmer fudge that sets beautifully while still staying wonderfully creamy. Thank you for helping us make this recipe even better!
Nutrition
Carbohydrates: 13g |
Protein: 2g |
Fat: 6g |
Saturated Fat: 3g |
Polyunsaturated Fat: 0.2g |
Monounsaturated Fat: 2g |
Trans Fat: 0.01g |
Cholesterol: 6mg |
Sodium: 21mg |
Potassium: 98mg |
Fiber: 1g |
Sugar: 12g |
Vitamin A: 35IU |
Vitamin C: 0.3mg |
Calcium: 49mg |
Iron: 0.5mg
Nutrition information is automatically calculated, so should only be used as an approximation.
Like this? Leave a comment below!