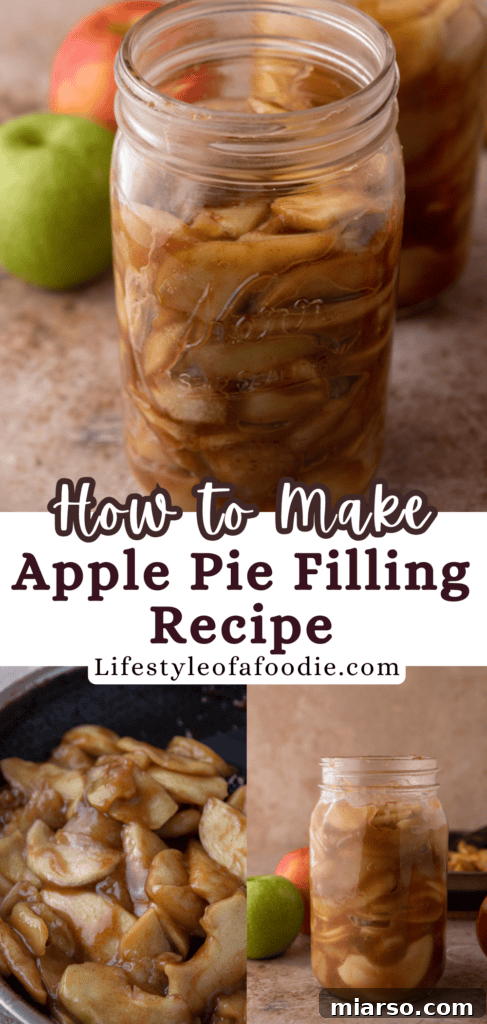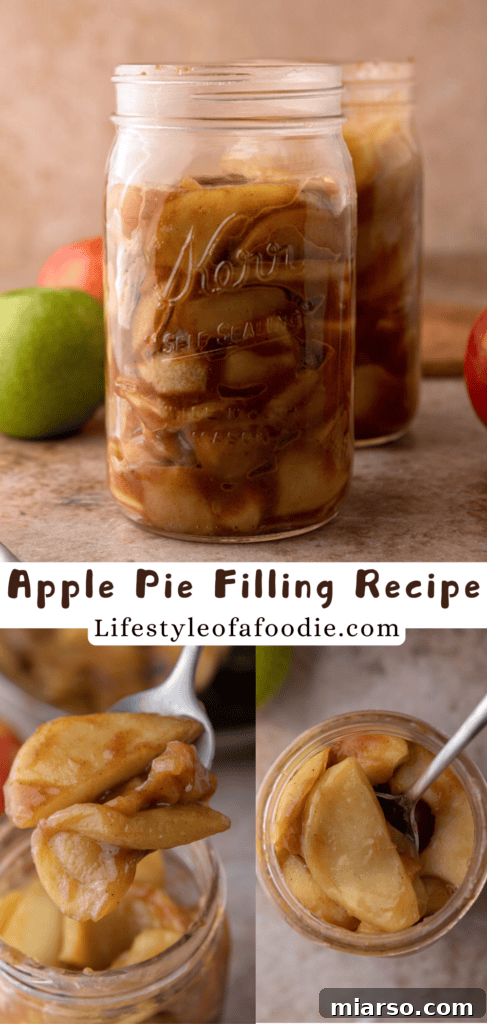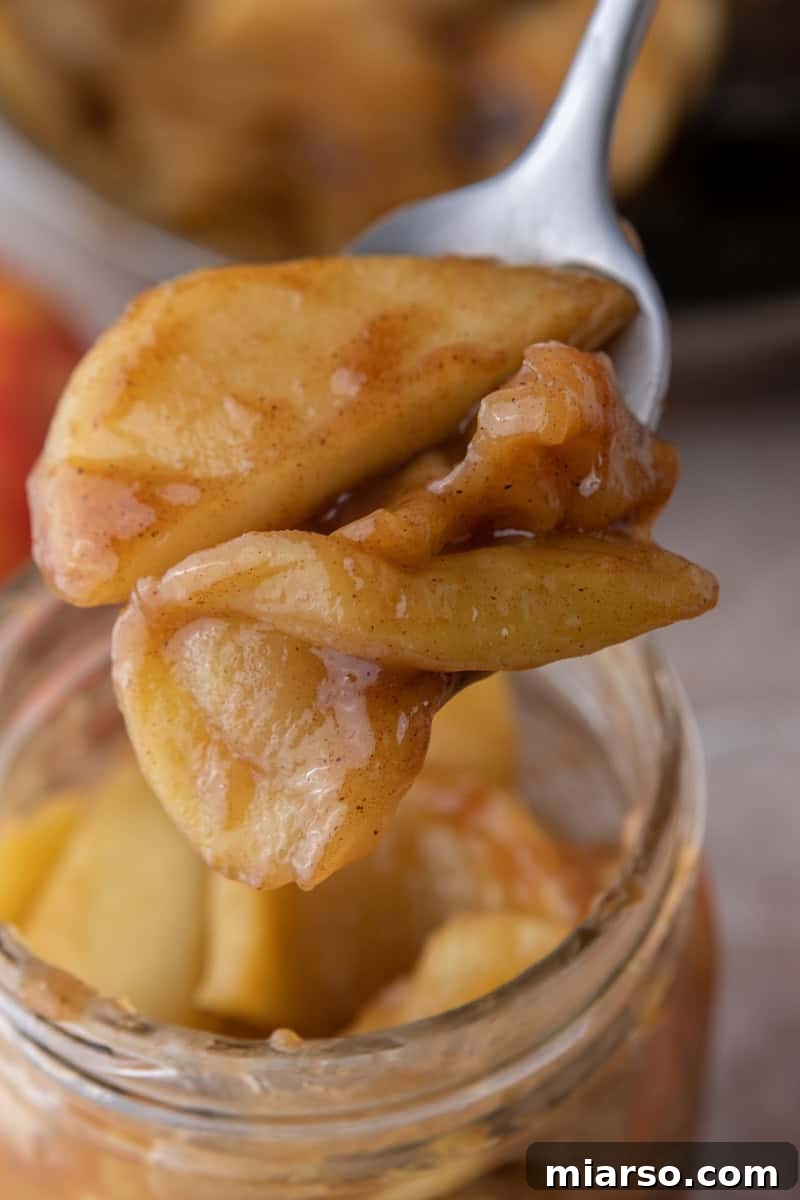
Welcome to the ultimate guide for creating the most exquisite homemade apple filling! Far superior to anything you’ll find in a can, this recipe is a true game-changer for home bakers, dessert enthusiasts, and anyone who loves the comforting taste of fresh apples. Crafted with simple, wholesome ingredients like crisp apples, aromatic spices, and a touch of cornstarch for that perfect consistency, this versatile filling unlocks a world of dessert possibilities. Imagine enhancing your classic apple pie, layering it into a delightful apple crumble, or even creating an indulgent apple pie cheesecake – the culinary journey starts right here.
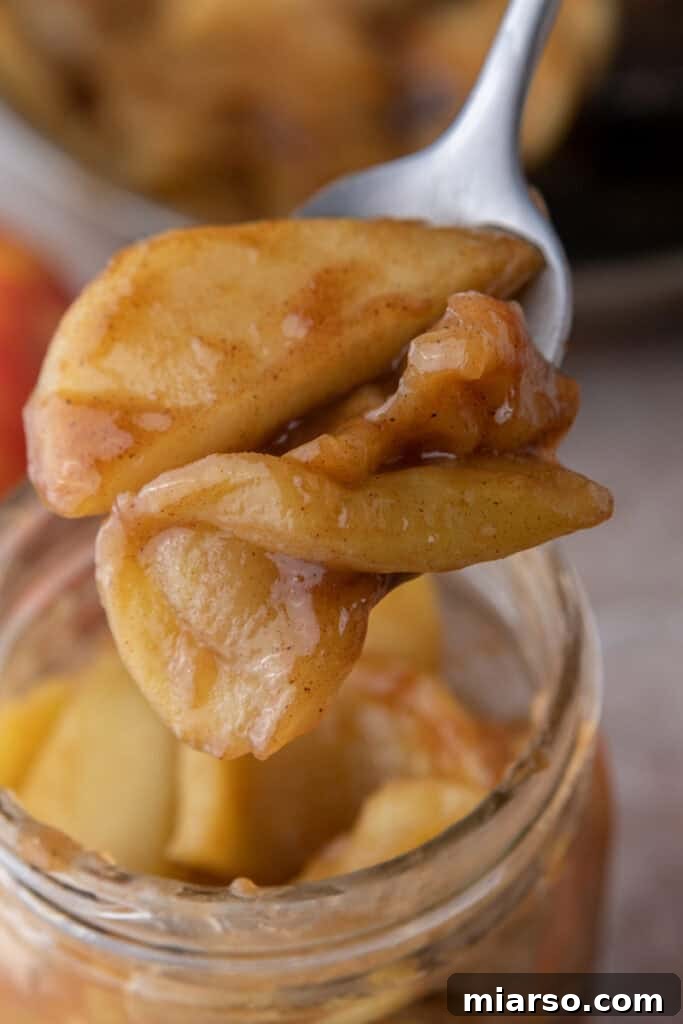
Diving into the world of homemade apple pie filling is an incredibly rewarding experience, surprisingly simple yet yielding results that are leagues ahead of store-bought alternatives. Once your fresh ingredients are prepped, it’s merely a matter of combining everything in a pot, allowing it to simmer gently, and letting the magic unfold. The difference in flavor, texture, and freshness compared to the often overly sweet and artificial canned versions is truly incomparable. What’s even better? You control every single ingredient, ensuring no unwanted preservatives and the ability to tailor the flavor profile to your precise liking. Whether you prefer a sweeter blend, a tart tang, or an extra kick of spice, this recipe empowers you to create your perfect apple filling.
From the iconic, comforting embrace of a classic apple pie to the delightful surprises of apple turnovers, or even as a luxurious topping for your morning pancakes, this homemade apple filling adds an unparalleled richness and depth of flavor. The vibrant taste and natural sweetness are simply unmatched by any pre-made option. But don’t just take our word for it – embark on this culinary adventure and experience the difference yourself. We wouldn’t be surprised if you find yourself wanting to put this irresistible apple filling on just about everything!
If you’re already an apple recipe enthusiast, be sure to explore more of our favorites: delve into the crispy, sweet perfection of this Dutch Apple Pie with Crumb Topping, indulge in the unique textures of these Copycat Crumbl Apple Pie Cookies with Oats, or discover the ease and deliciousness of this Easy Dutch Apple Pie Bars Recipe. Each offers a wonderful way to celebrate the versatile apple!
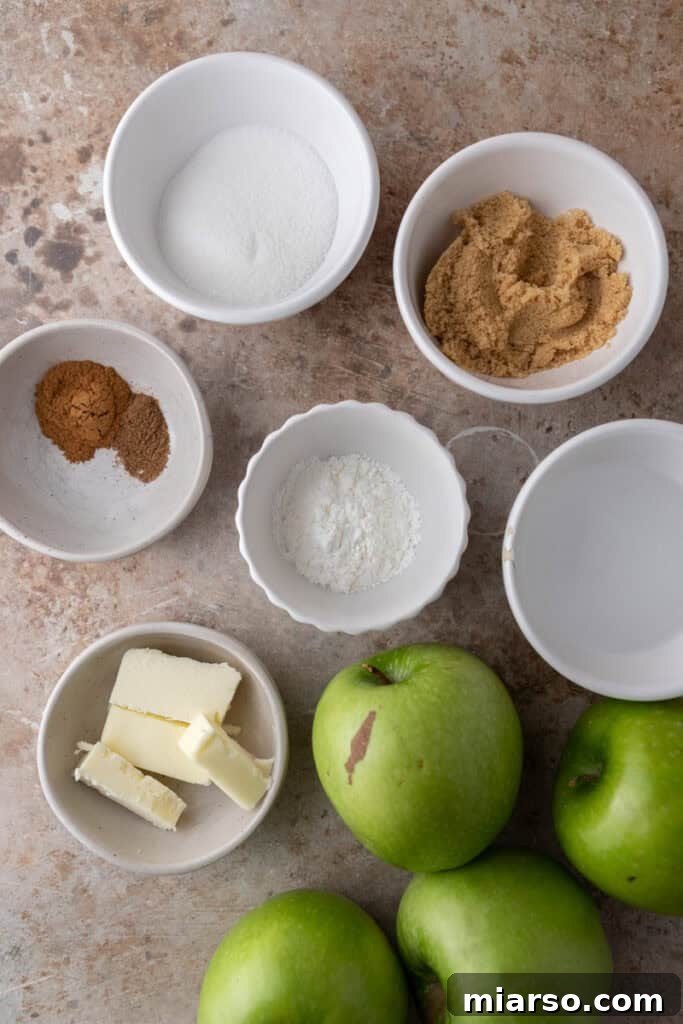
Unlocking Flavor: The Essential Ingredients for Homemade Apple Filling
Crafting the perfect apple filling begins with selecting the right ingredients. Here’s a detailed look at what you’ll need to create this simple yet spectacular homemade delight. For precise measurements, please refer to the comprehensive recipe card conveniently located at the bottom of this page.
- Apples: The undeniable star of our show. You’ll need approximately four medium-sized apples. While personal preference plays a significant role, we highly recommend using a tart variety like Granny Smith. Their firm texture holds up beautifully during cooking, preventing mushiness, and their natural tartness perfectly balances the sweetness of the added sugars, creating a more complex and satisfying flavor profile. Combining them with a sweeter apple can also offer a delightful complexity.
- Brown Sugar and Granulated Sugar: This dynamic duo sweetens the apple slices while introducing rich, nuanced flavors. Granulated sugar provides a clean, pure sweetness, while brown sugar adds a deep, caramel-like warmth and a hint of molasses that complements the apples and spices wonderfully. For an intriguing flavor variation, consider substituting some of the brown sugar with pure maple syrup, which will infuse the filling with an earthy sweetness.
- Ground Cinnamon and Nutmeg: These classic autumnal spices are indispensable, infusing your filling with warm, inviting notes that harmonize exquisitely with the natural sweetness and tartness of the apples. Cinnamon brings a comforting, aromatic embrace, while nutmeg adds a subtle, earthy depth. You can adjust the amounts to your personal preference, adding more for a bolder spice presence or less for a lighter touch.
- Butter: A small amount of unsalted butter is crucial. It melts down to create a rich, silky base that beautifully coats the apple slices, helping to meld all the flavors together and add a luxurious mouthfeel to the final product. It also contributes to the golden-brown hue of the cooked apples.
- Water: This simple liquid plays a vital role in cooking the apples gently, ensuring they become tender without breaking down too much. It also forms the initial liquid base for the luscious syrup that will eventually thicken. For an intensified apple flavor, feel free to substitute some or all of the water with apple juice or, even better, apple cider.
- Vanilla Extract: A splash of pure vanilla extract is a secret weapon in many dessert recipes. It provides a sweet, fragrant undertone that enhances and brightens all the other flavors, adding a subtle complexity that makes your apple filling truly unforgettable.
- Cornstarch: Our thickening agent! Cornstarch is essential for transforming the apple-infused liquid into a perfectly rich, glossy, and spoonable sauce. It ensures your filling achieves that ideal consistency, whether it’s destined for a pie, crisp, or as a topping. It’s a key ingredient for preventing a watery filling.
- Salt: Often overlooked in sweet recipes, a pinch of salt is incredibly important. It doesn’t make the filling salty but rather acts as a flavor enhancer, balancing out the sweetness of the sugars and making the apple and spice flavors pop, resulting in a more well-rounded and delicious filling.
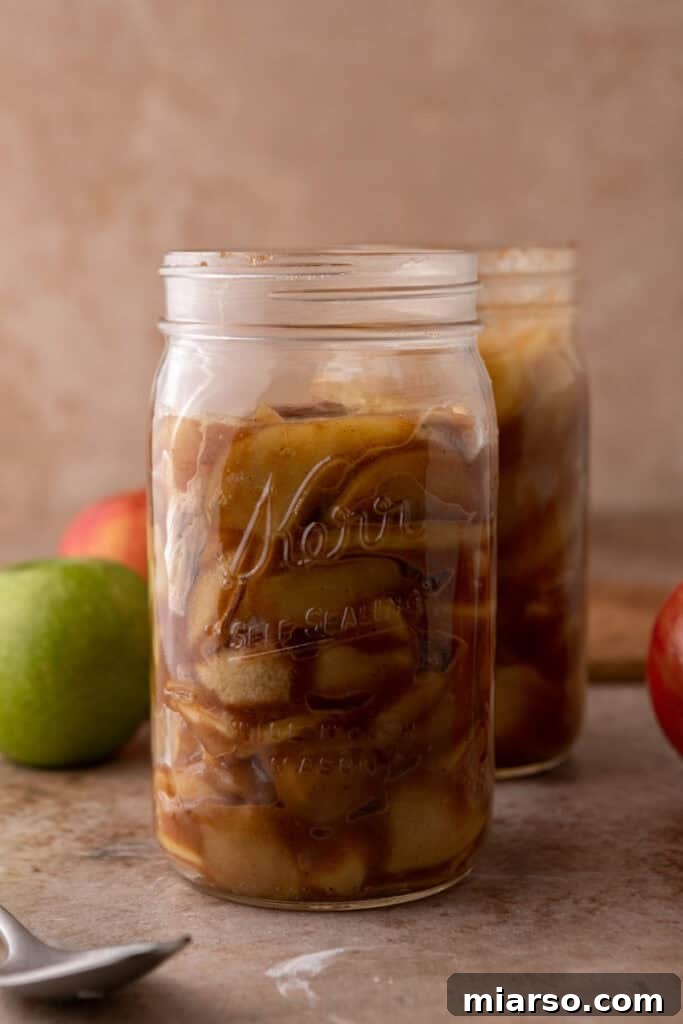
Crafting Perfection: How to Make the Best Homemade Apple Pie Filling
Creating this easy and delectable apple pie filling is a straightforward process that yields incredibly rewarding results. Follow these steps for a filling that will elevate any dessert. Remember to scroll down to the full recipe card at the end of this post for detailed ingredient measurements and complete step-by-step instructions!
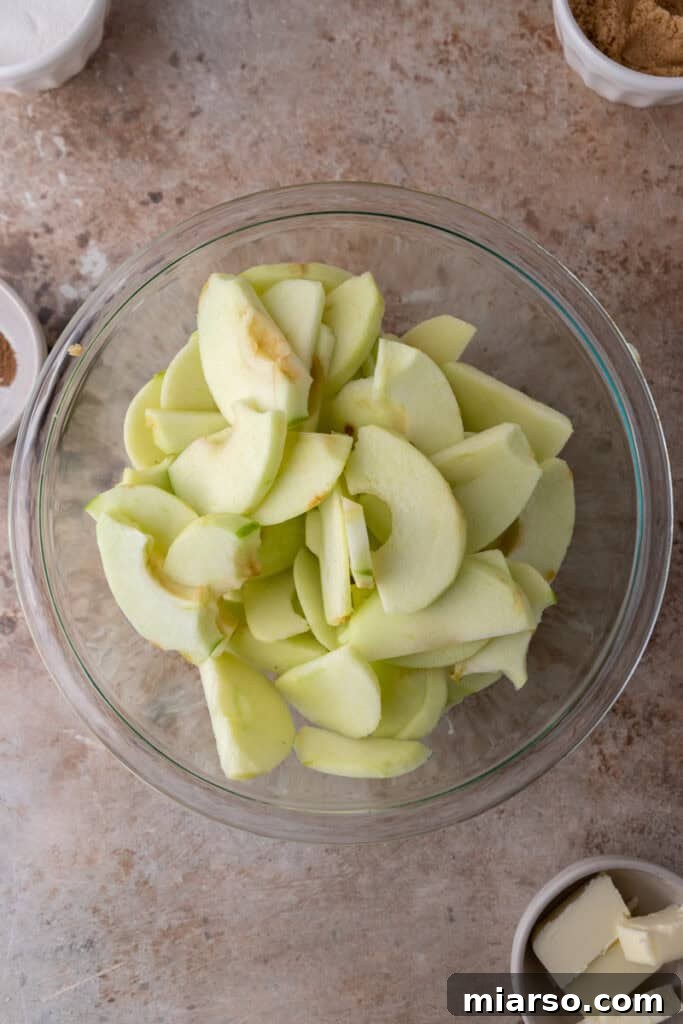
- Prepare the Apples: Begin by carefully peeling, coring, and cutting your chosen apples into small, uniformly sized pieces. Consistency in size is key here, as it ensures even cooking and prevents some pieces from becoming mushy while others remain too firm. Aim for about ½-inch to ¾-inch cubes.
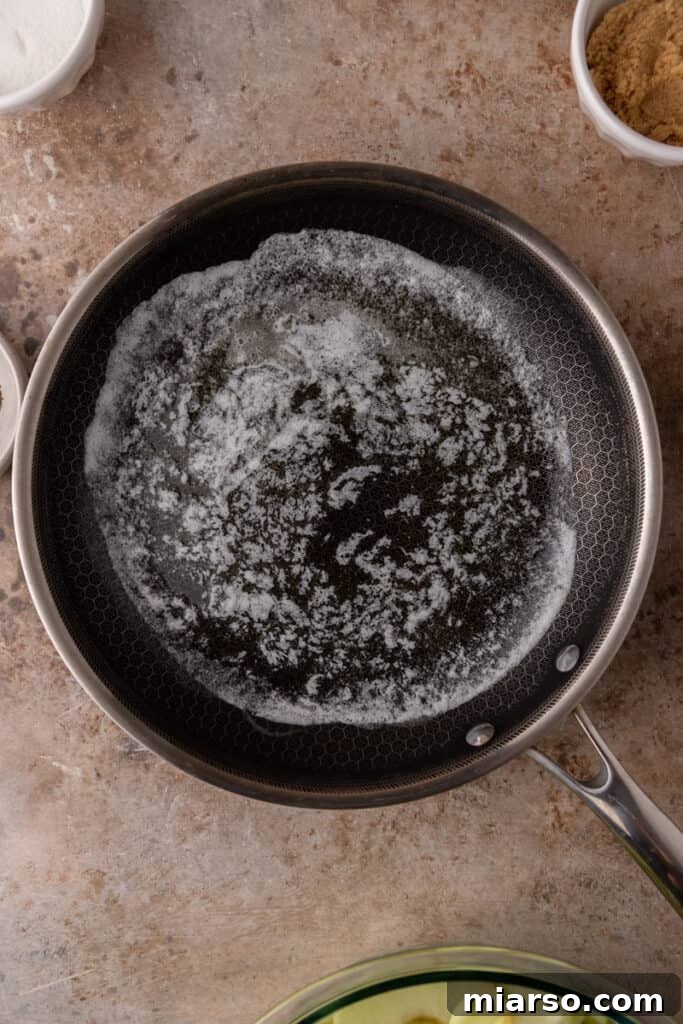
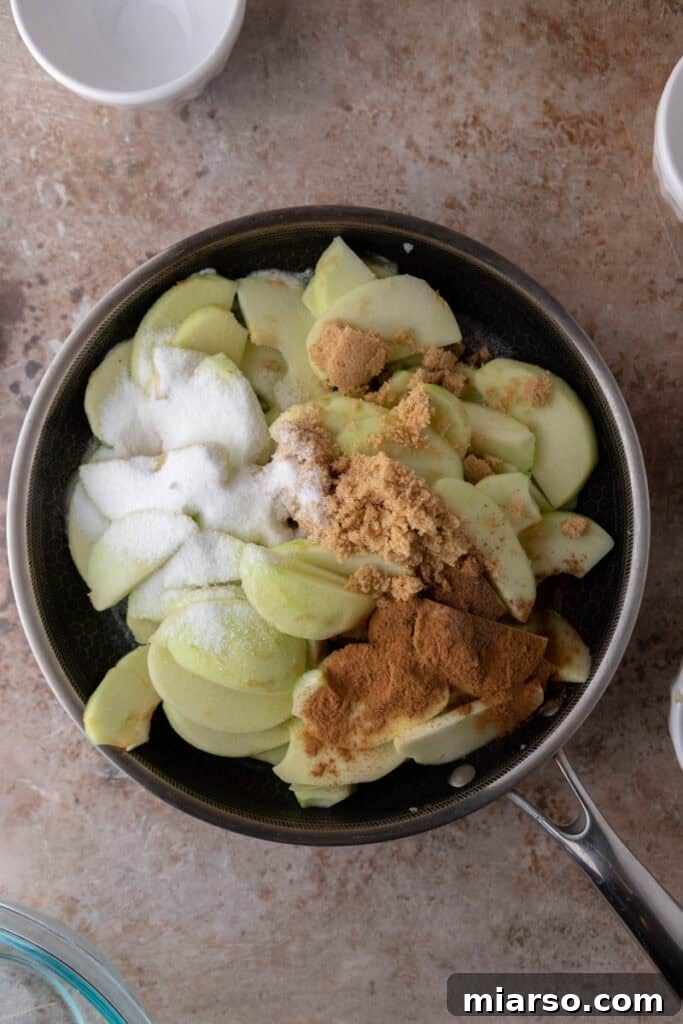
- Sauté the Apples with Aromatics: In a large, heavy-bottomed saucepan or Dutch oven, melt the butter over medium heat. Once shimmering, add the prepared apple pieces, brown sugar, granulated sugar, ground cinnamon, and nutmeg. Stir everything together thoroughly, ensuring the apples are evenly coated with the buttery sugar and spice mixture. This step begins to infuse the apples with incredible flavor.
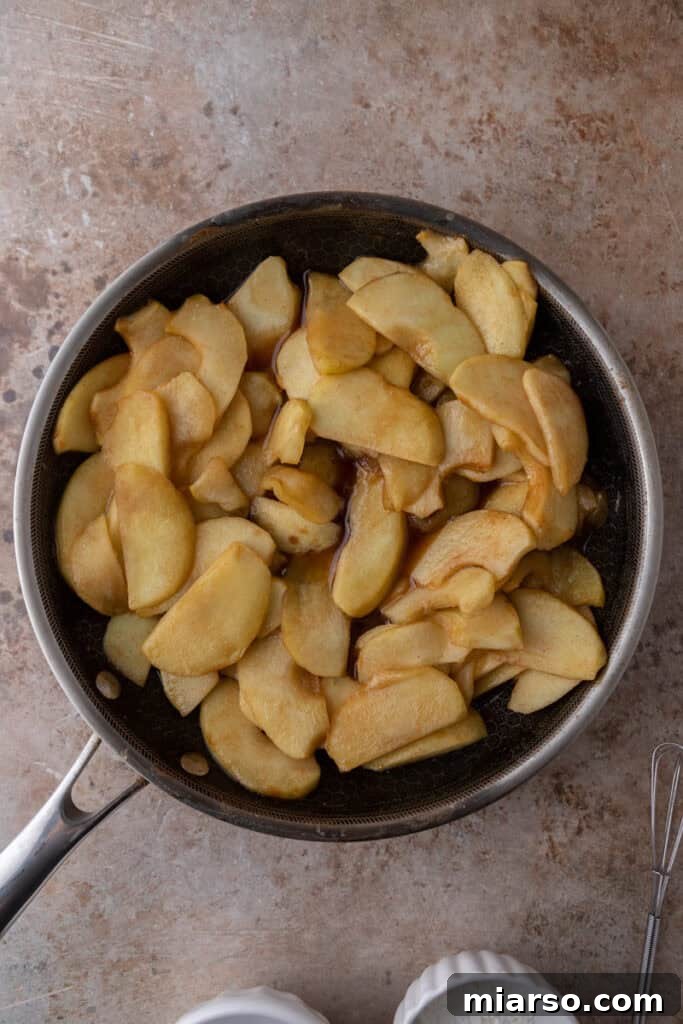
- Gently Cook to Tenderness: Pour in 2 tablespoons of water (or apple cider for enhanced flavor) into the saucepan. Bring the mixture to a gentle simmer, then reduce the heat slightly to maintain a consistent bubble. Allow the apples to cook, stirring occasionally, for about 8-10 minutes. The goal is for the apples to become tender, but still hold their shape – they should be soft when pierced with a fork but not at all mushy. Keep a close eye on them to achieve that perfect al dente texture.
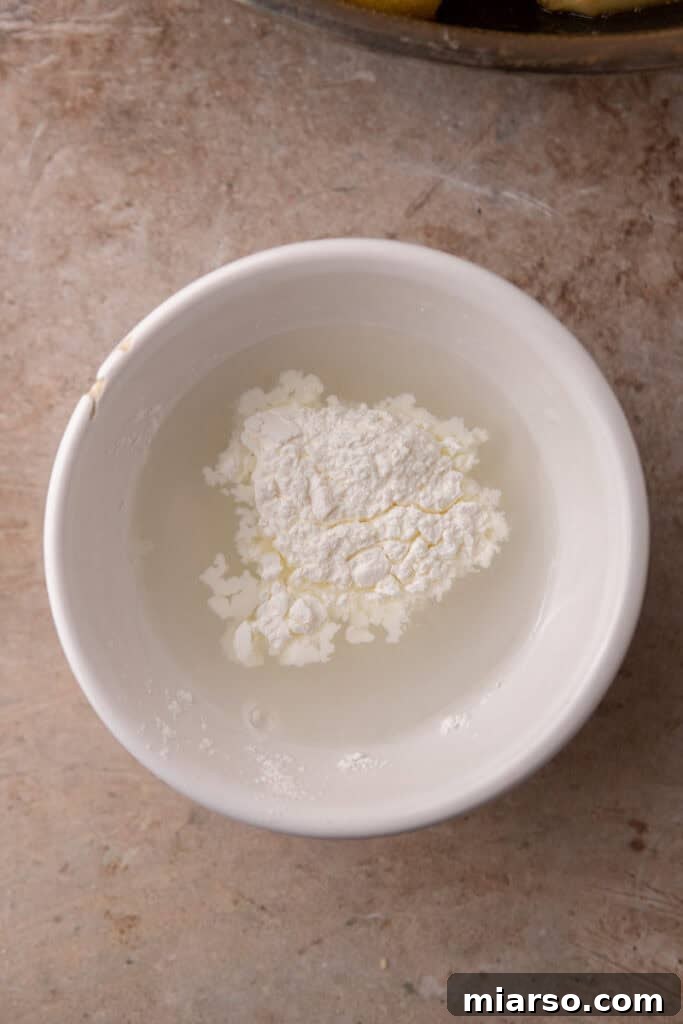
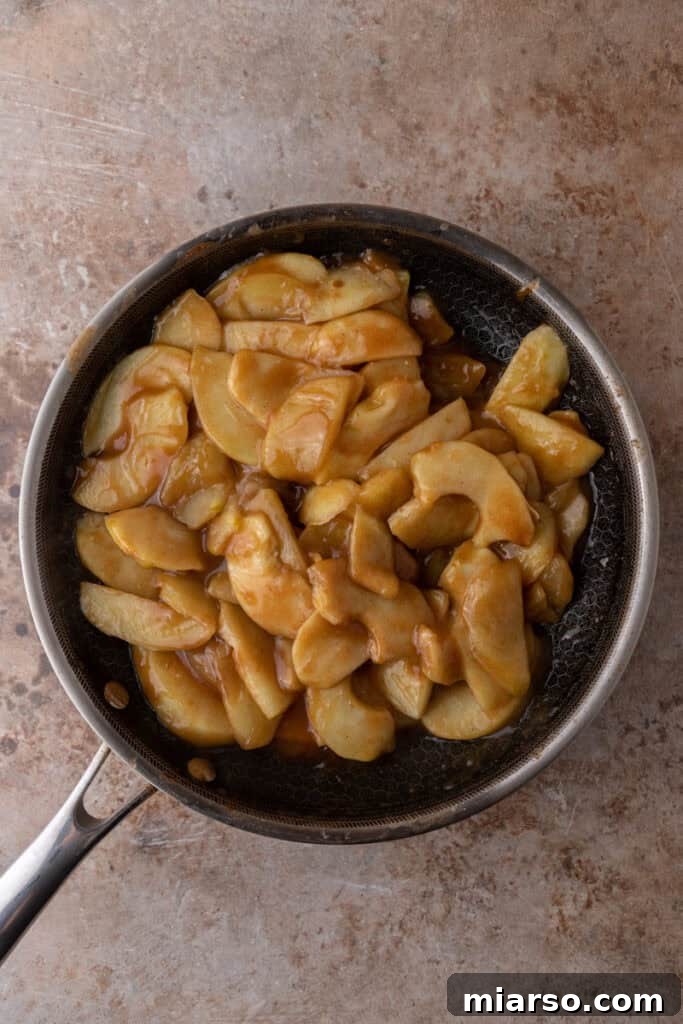
- Thicken to Perfection: In a small separate bowl, combine 1 tablespoon of cornstarch with 1 tablespoon of cold water to create a smooth “slurry.” This prevents lumps when added to the hot apple mixture. Stir the cornstarch slurry into the simmering apples. Continue to cook, stirring constantly, for another 2-3 minutes, or until the sauce visibly thickens to your desired consistency. It should be glossy and coat the back of a spoon.
- Finish and Cool: Once the filling has reached the desired thickness, remove the pan from the heat. Stir in the vanilla extract, which adds a beautiful aromatic finish. Allow the apple filling to cool slightly, or even completely, before incorporating it into your favorite baking recipe. Cooling is particularly important if you’re using it in a pie crust or puff pastry to prevent the dough from becoming soggy.
Expert Tips for an Even Better Homemade Apple Filling
Elevate your apple filling from delicious to truly extraordinary with these insightful tips and tricks:
- Strategic Cornstarch Usage: The decision to add cornstarch, and how much, depends on your intended use. You will definitely want to use cornstarch if your apple filling is destined for a pie crust, tart, or puff pastry. The cornstarch creates a thick, stable sauce that prevents the liquid from making your dough soggy and ensures a beautifully set filling. For dishes like apple cobbler or crumbles, it also ensures a cohesive texture. However, if you’re planning to use the filling as a topping for breakfast items like pancakes, waffles, or oatmeal, you might omit the cornstarch entirely, or use less. A looser, saucier consistency can actually enhance the texture of these breakfast carbs, allowing the liquid to be absorbed delightfully. If you prefer a thicker, more substantial apple topping for yogurt or oatmeal bowls, then by all means, use the cornstarch!
- Mastering Apple Selection: The type of apples you choose dramatically influences the final flavor and texture. For a perfectly balanced filling, we recommend using a mix of sweet and tart varieties. Tart apples, such as Granny Smith, are fantastic because they hold their shape well during cooking and provide a crucial counterpoint to the sweetness. Pair them with sweeter, softer apples like Honeycrisp, Gala, Fuji, or Golden Delicious for added complexity and aroma. This combination ensures a harmonious blend of flavors and textures, preventing the filling from being either too tart or too sweet.
- Creative Flavor Enhancements: Don’t be afraid to experiment with additional flavors to personalize your filling. A squeeze of fresh lemon juice is a wonderful addition; it brightens the apple flavor and helps to balance the sweetness, preventing the filling from tasting flat. Beyond cinnamon and nutmeg, explore other warm spices like a pinch of ground cardamom for an exotic twist, or a tiny dash of cloves for deeper, spicier notes. A tablespoon of bourbon or rum can also add sophisticated depth, especially for adult-oriented desserts.
- The Importance of Proper Cooling: This tip is critical for optimal results, particularly when baking with a dough base. Always allow your stovetop apple pie filling to cool completely to room temperature before adding it to an uncooked pie crust, tart shell, or any other doughy foundation. Adding a warm or hot filling to raw dough can prematurely melt the butter in the crust, leading to a soggy bottom and a less flaky texture. Patience here truly pays off for a perfectly baked dessert.
- Achieving the Ideal Apple Texture: When cooking the apples, be mindful not to overcook them. You want them to be tender but still slightly firm and hold their shape. Overcooked apples can turn into an unappealing mush. Test for doneness by gently pressing a piece of apple against the side of the pot with a spoon. It should yield easily but not disintegrate. This careful cooking ensures a pleasant bite in your finished dessert.
- Scaling the Recipe: This recipe is easily scalable. If you need a larger batch for multiple desserts or for preserving, simply double or triple all the ingredients proportionally. Ensure you use a sufficiently large pot or Dutch oven to accommodate the increased volume and allow for even cooking and stirring.
Why You Absolutely Need This Delicious Homemade Apple Filling Recipe
Still wondering if homemade is worth the effort? Here are compelling reasons why this easy apple filling recipe deserves a permanent spot in your culinary repertoire:
- Unbeatable Flavor and Freshness: A homemade version is profoundly superior to any store-bought canned filling. You get the vibrant, natural taste of fresh apples combined with perfectly balanced spices, free from artificial flavors and excessive sweetness.
- Effortless Preparation: This easy recipe requires minimal time and effort. With just a few simple steps and readily available ingredients, you can create a gourmet-quality filling in your own kitchen.
- Incredible Versatility: This isn’t just for pie! It can be used for a vast array of apple desserts, from crisps and crumbles to turnovers and tarts. Surprisingly, it even pairs wonderfully with some savory dishes, offering a sweet counterpoint to meats.
- Reduce Food Waste: It’s an excellent and delicious way to utilize fresh apples that might be nearing their peak or that you have an abundance of from a harvest or apple picking adventure.
- Customization at Your Fingertips: Unlike pre-made fillings, you have complete control over the sweetness, spice level, and even the type of apples used, allowing you to tailor the filling to your exact preferences.
- No Preservatives or Artificial Ingredients: Enjoy peace of mind knowing exactly what goes into your food – no hidden chemicals, artificial colors, or unhealthy additives.
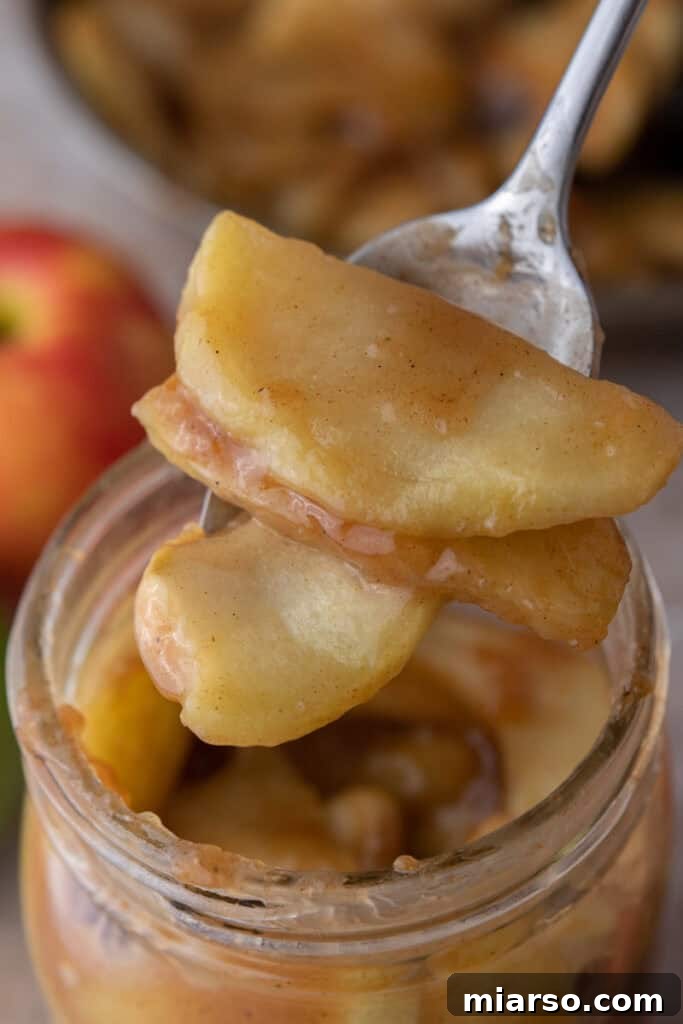
Frequently Asked Questions (FAQ) About Homemade Apple Filling
Which kind of apples work best for this filling?
For the best apple filling, a combination of apples is highly recommended. Granny Smith apples are a popular choice due to their firm texture, which helps them retain their shape during cooking, and their delightful tartness, which balances the sweetness. For added complexity and a richer apple flavor, pair them with a sweeter, aromatic variety such as Honeycrisp, Gala, Fuji, Pink Lady, or Golden Delicious. This blend ensures a filling that’s neither too sweet nor too tart, with varied textures that make each bite exciting.
What Can I use this versatile apple filling for?
The possibilities are endless! This homemade apple filling is incredibly versatile:
- The Ultimate Apple Pie: Its primary and most celebrated use is, of course, for crafting the best apple pie. Nothing compares to a homemade pie filled with this deliciousness. Serve it warm with a generous scoop of vanilla ice cream, and for an extra touch, pair it with our Homemade Pie Dough. If a full pie is too much, consider making charming Mini Apple Hand Pies In A Muffin Tin.
- Quick Desserts: Use it to whip up a speedy apple crisp or crumble when you’re short on time but craving something sweet. Just add a crumb topping and bake!
- Apple Butter: For a smoother consistency, blend the cooled apple filling using a food processor or blender to create your own homemade apple butter, perfect for spreading on toast or muffins.
- Pastries and Donuts: It makes an exquisite inner filling for classic apple turnovers, delicate tarts, or even our irresistible Stuffed Apple Donuts.
- Breakfast Boost: Significantly enhance the flavor of nearly any breakfast carb. Spoon it generously over pancakes, waffles, French toast, or oatmeal for a luxurious morning treat.
- Savory Pairings: Don’t limit it to desserts! Apple filling pairs surprisingly well with certain savory dishes, acting as a sweet and tangy accompaniment. Try it alongside roasted pork loin, grilled ham steak, or pork chops for a gourmet touch.
- Yogurt and Ice Cream: Swirl it into plain yogurt for a healthy snack or spoon it over vanilla ice cream for an instant dessert upgrade.
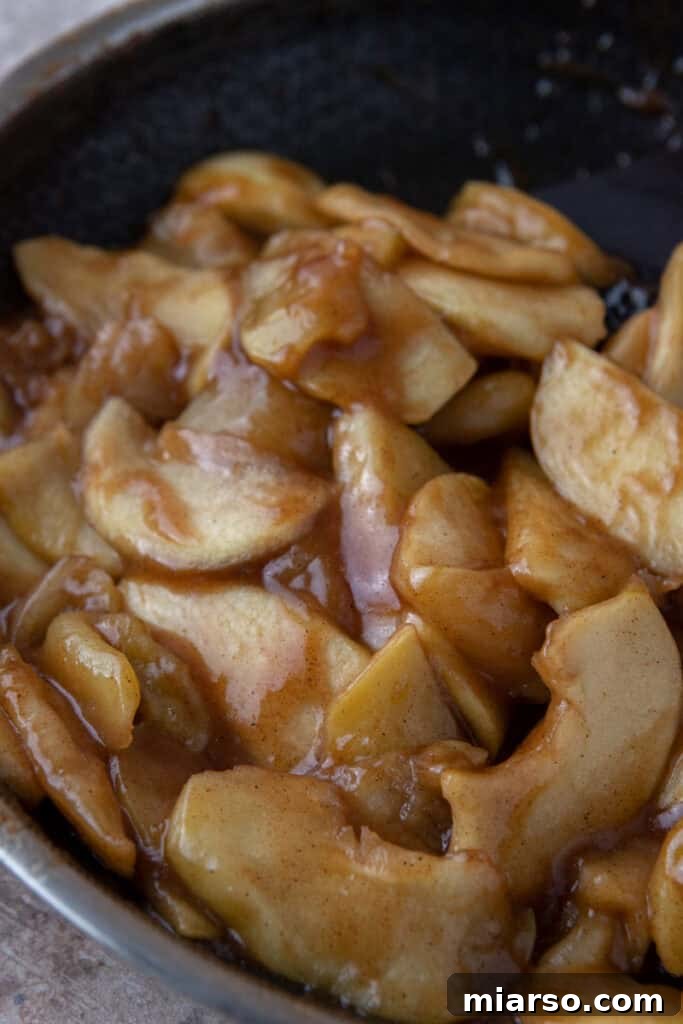
How do I store my leftover apple filling?
One of the many benefits of making your own apple filling is the ease of storing it for future use. For short-term storage, transfer the cooled filling to an airtight container or clean glass jars and refrigerate for up to one week. For longer preservation, this apple filling freezes beautifully. Simply portion it into freezer-safe bags or containers, leaving a little headspace, and freeze for up to two to three months. When ready to use, thaw in the refrigerator overnight and reheat gently on the stovetop over low heat, or in the microwave, stirring occasionally, until warmed through. Add a splash of water or apple juice if it seems too thick after reheating.
Can I make this recipe vegan?
Absolutely! Making this recipe vegan is incredibly simple. Just replace the dairy butter with an equal amount of your preferred plant-based alternative. Vegan butter sticks work exceptionally well, providing a similar richness and texture. Coconut oil can also be used for a slightly different flavor profile that still complements the apples beautifully.
Can I double or triple the recipe?
Yes, you certainly can! This recipe scales up effortlessly. When doubling or tripling the recipe, ensure you accurately increase all the ingredient measurements proportionally. It’s also crucial to use a larger pot or Dutch oven to accommodate the increased volume of apples and liquid, allowing them to cook evenly and prevent overcrowding, which can lead to steaming rather than sautéing. The cooking time might increase slightly, so pay attention to the apple’s tenderness rather than strictly adhering to the original timing.
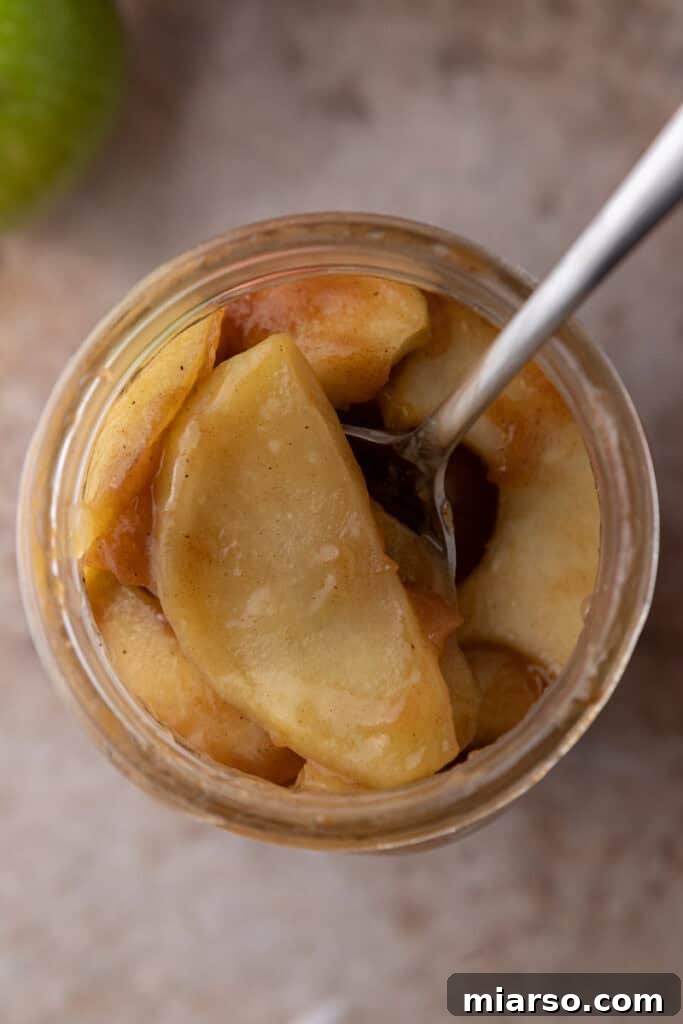
How to Make Apple Filling Recipe
How to Make Apple Filling
Print Recipe
Ingredients
- 4 medium apples peeled, cored, and diced – Granny Smith works well
- 1/4 cup brown sugar
- 1/4 cup granulated sugar
- 1 tsp ground cinnamon
- 1/8 tsp ground nutmeg optional
- 3 tbsp butter
- 1/4 cup water Could use apple cider for a stronger apple flavor, divided
- 2 tsp vanilla extract
- 1 tbsp cornstarch
Instructions
-
Peel, core, and dice the apples into small cubes.4 medium apples
-
In a medium saucepan, melt the butter over medium heat. Add the diced apples, brown sugar, granulated sugar, cinnamon, and nutmeg. Stir to combine.1/4 cup brown sugar, 1/4 cup granulated sugar, 1 tsp ground cinnamon, 3 tbsp butter, 1/8 tsp ground nutmeg
-
Add 2 tablespoons of water and cook for 8-10 minutes, stirring occasionally, until the apples are soft but not mushy.1/4 cup water
-
If you prefer a thicker filling, mix 1 tablespoon of cornstarch with 2 tablespoons of water to make a slurry. Stir it into the apple mixture and cook for another 2-3 minutes until the filling thickens.1 tbsp cornstarch
-
Remove from heat and stir in the vanilla extract. Let the filling cool slightly before using in your recipe.2 tsp vanilla extract
Nutrition
Nutrition information is automatically calculated, so should only be used as an approximation.
If you enjoyed this how to make apple filling recipe, make sure to pin it for later!