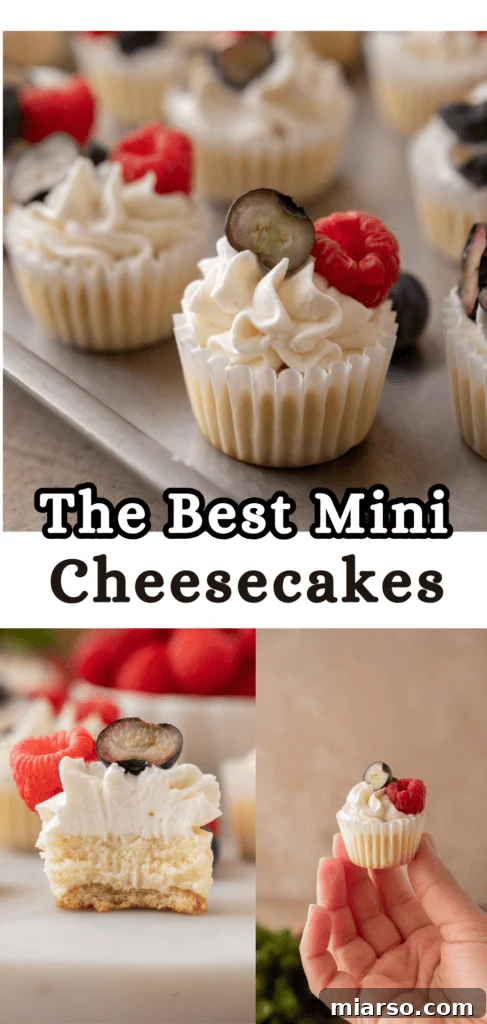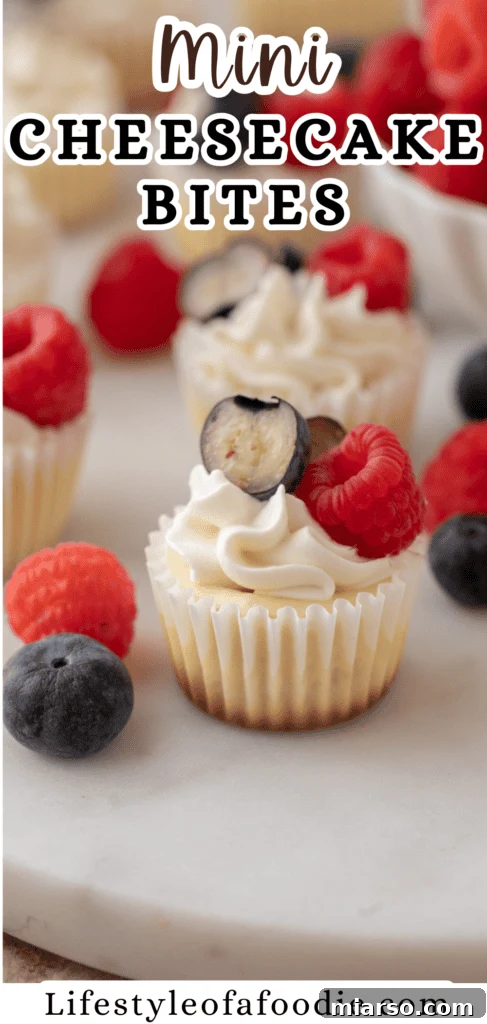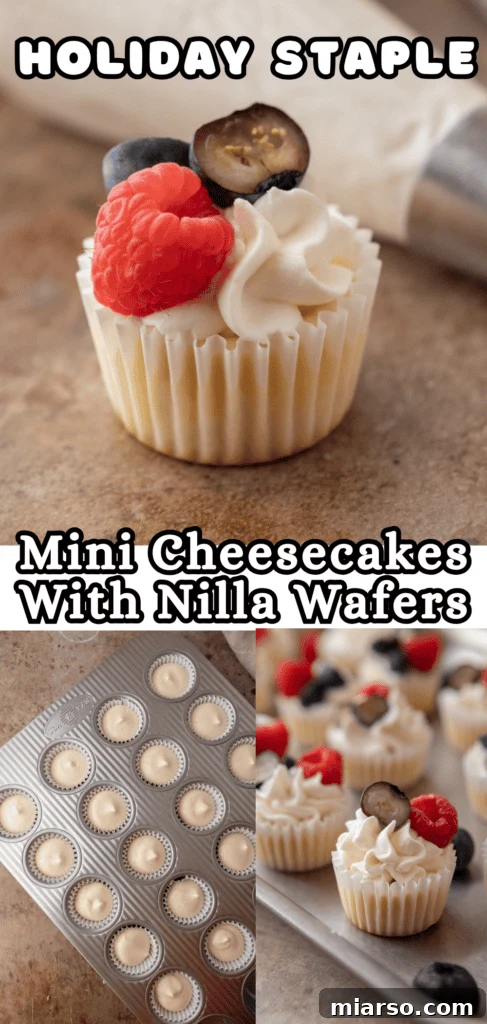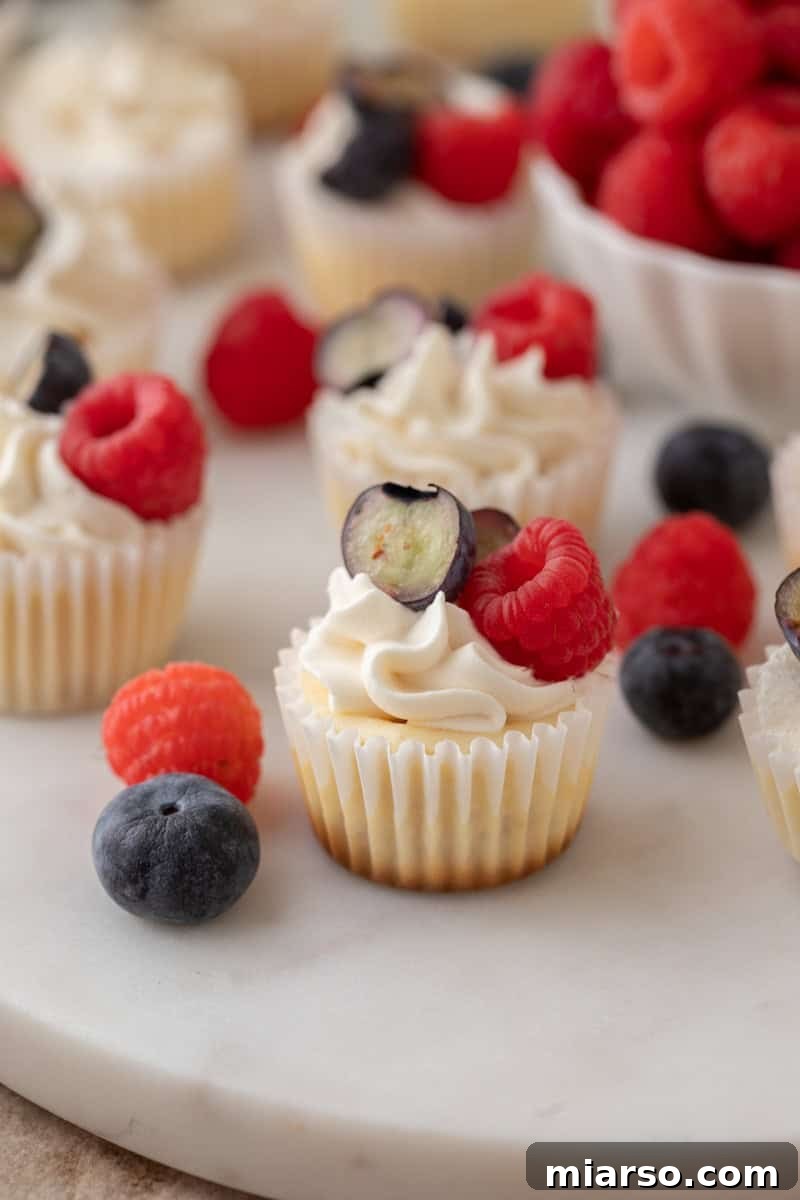
Craving a delightful, creamy dessert that’s perfectly portioned and easy to share? Look no further than these incredible **Mini Cheesecakes with Nilla Wafers**! This recipe delivers a simple yet irresistibly delicious bite-sized treat, featuring a smooth, rich cream cheese filling nestled atop a sweet Nilla wafer crust. It’s the ultimate dessert for any occasion, combining classic cheesecake flavor with a fun, individual serving size. Get ready to impress your family and friends with these charming and easy-to-make mini delights!
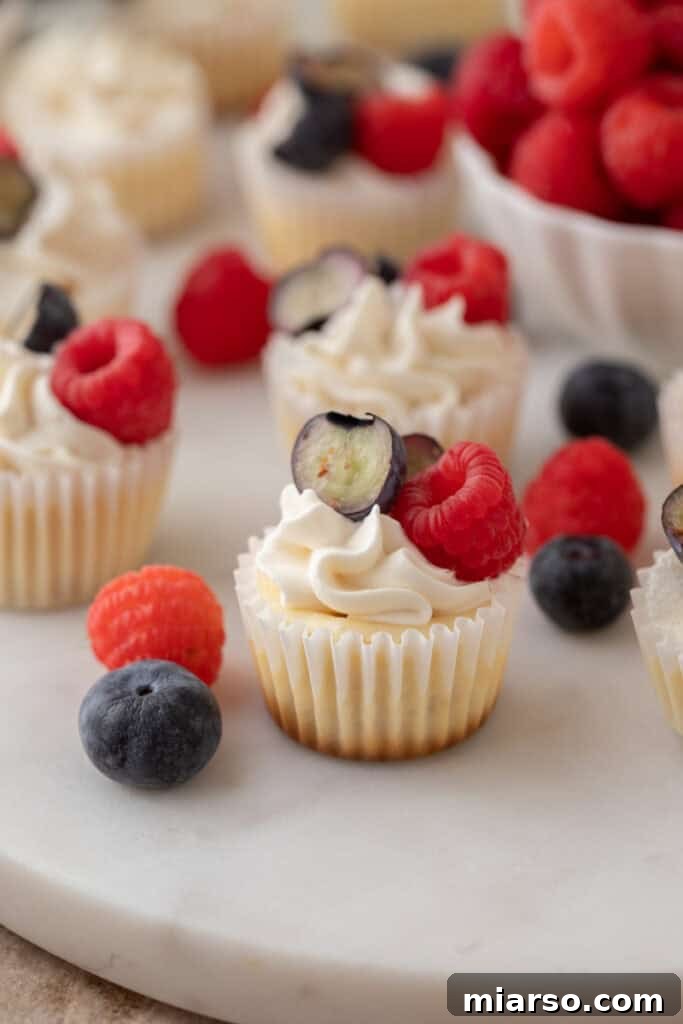
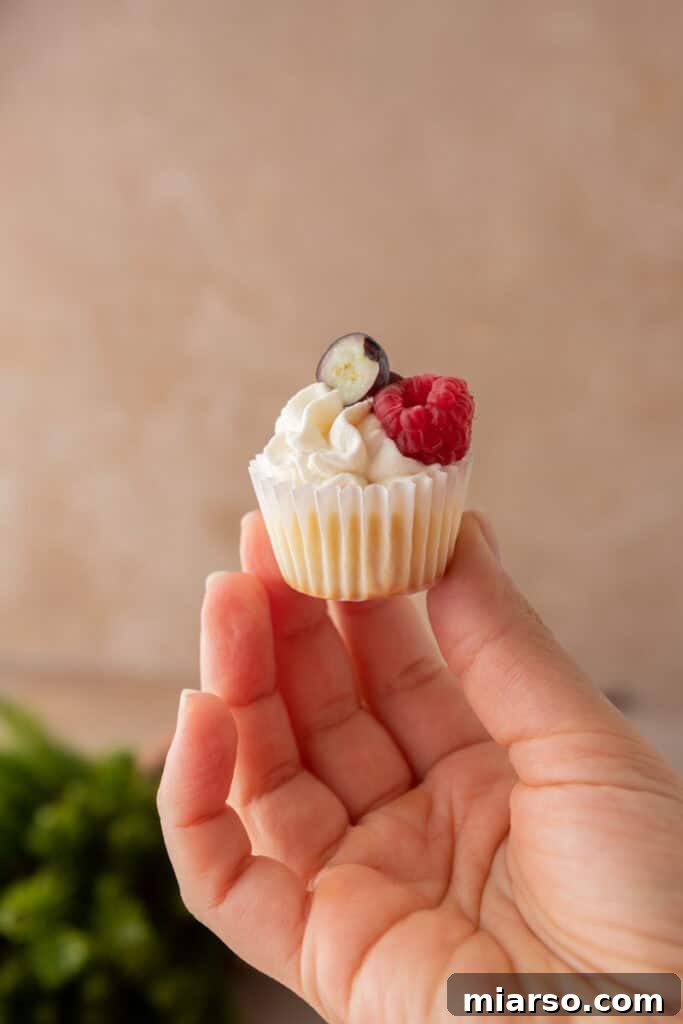
There’s something undeniably charming about anything miniature, isn’t there? From tiny cookies to bite-sized brownies, mini versions of our favorite treats just make them more enjoyable and perfectly portioned. These individual cheesecakes embody that mini magic, making them ideal for any gathering, a delightful party dessert, or even a cozy evening indulgence. They’re designed to chill beautifully in the fridge, allowing you to prepare them ahead of time and have them ready to serve with your favorite toppings. Their perfect sizing and endless versatility ensure that once you try this recipe, it’ll become a staple in your dessert repertoire!
Especially during the festive holiday season, when you’re seeking a diverse array of treats to enchant your loved ones and guests, these mini cheesecakes truly shine. Their compact size makes them an excellent addition to any dessert spread, offering a lighter option compared to a traditional full-sized cheesecake while still delivering all the beloved flavor and creaminess.
If you’re a fan of mini cheesecake recipes, don’t forget to explore our other delightful creations such as the Mini Cheesecakes with Oreo Crust, this rich Chocolate Cheesecake Mini Recipe, or our classic Creamy 4-inch Mini Cheesecake Recipe. Each offers a unique twist on the beloved individual cheesecake concept, perfect for satisfying any sweet tooth.
Key Ingredients for Easy Mini Cheesecakes with Nilla Wafer Crust
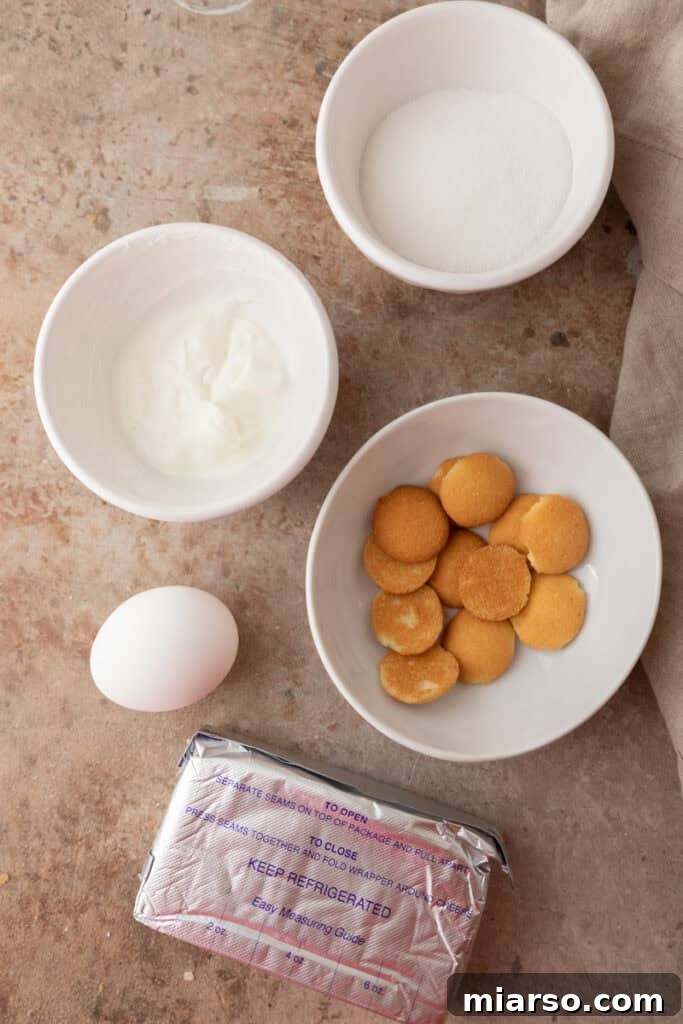
Crafting these delectable tiny cheesecakes requires a handful of essential ingredients that come together to create that signature creamy texture and sweet flavor. Precision in ingredient selection and preparation is key to achieving the best results. Below is a detailed look at what you’ll need:
- Full-fat Cream Cheese: This is the heart of your cheesecake, providing its characteristic tang, richness, and smooth, velvety texture. For optimal mixing and a lump-free batter, ensure your cream cheese is completely softened to room temperature. It’s best to take it out of the fridge at least 30-60 minutes before you plan to start baking. Using full-fat cream cheese is crucial for that luxurious, dense consistency we all love in a classic cheesecake.
- Granulated Sugar: Essential for sweetening the cheesecake filling, balancing the tang of the cream cheese and sour cream. Adjusting the amount slightly can cater to your personal sweetness preference, but the recipe provides a perfect baseline.
- Sour Cream: A secret weapon for enhancing the cheesecake’s creaminess and adding a subtle, elegant tang. This addition eliminates the need for lemon juice, giving the cheesecake an authentic, rich flavor profile without any extra steps. The acidity of sour cream also helps prevent cracking during baking.
- Vanilla Extract: A fundamental flavor enhancer, vanilla extract brings warmth and depth to the cheesecake. For an even more pronounced and sophisticated vanilla aroma, consider using vanilla bean paste, which also adds beautiful specks of vanilla bean to the filling. A high-quality extract truly makes a difference. Good vanilla extract
- Large Egg: The egg acts as a binder, providing structure and helping the cheesecake filling set properly. It contributes to the smooth texture and prevents the cheesecakes from becoming too crumbly. Ensure your egg is also at room temperature for better emulsification with the other ingredients.
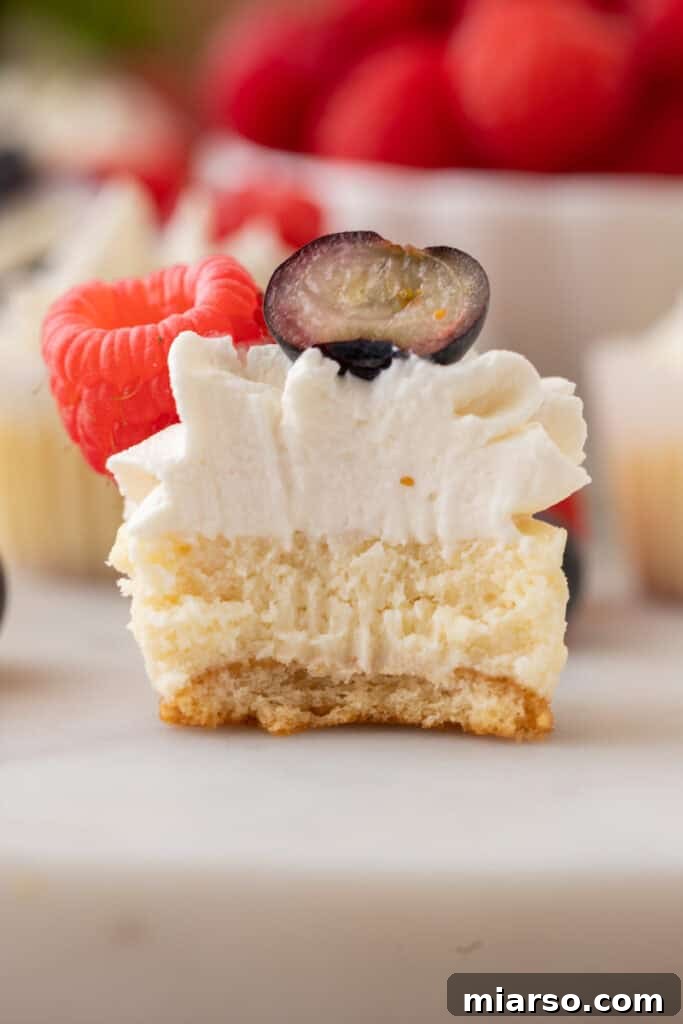
- Mini Nilla Wafers: These iconic vanilla wafers form the quick and easy crust for each mini cheesecake. They offer a delicate sweetness and a pleasant, slightly crisp texture without the fuss of preparing a traditional graham cracker crust from scratch. Their size is perfect for fitting into mini muffin cups, streamlining the baking process significantly.
To ensure your mini cheesecakes hold their perfect shape, you will need a mini muffin pan. For a superior baking experience and to minimize the risk of cracked cheesecakes, I highly recommend using a silicone mold, such as the Flexipan Mini Muffin Silicone Mold. Silicone conducts heat more evenly than traditional metal pans, contributing to a perfectly smooth top every time.
How to Craft Perfect Mini Nilla Wafer Cheesecakes
Making these creamy, delightful mini cheesecakes is surprisingly simple. Follow these step-by-step instructions to achieve individual cheesecakes that are both beautiful and bursting with flavor. For precise oven temperatures, bake times, and ingredient measurements, refer to the full recipe card at the end of this post.
- Prepare Your Muffin Tins: Begin by preheating your oven to 325°F (160°C). Line 34 mini muffin tin cavities with mini cupcake liners. You’ll likely need two 24-cavity muffin tins to accommodate all the liners for this recipe. This ensures easy removal and a clean presentation.
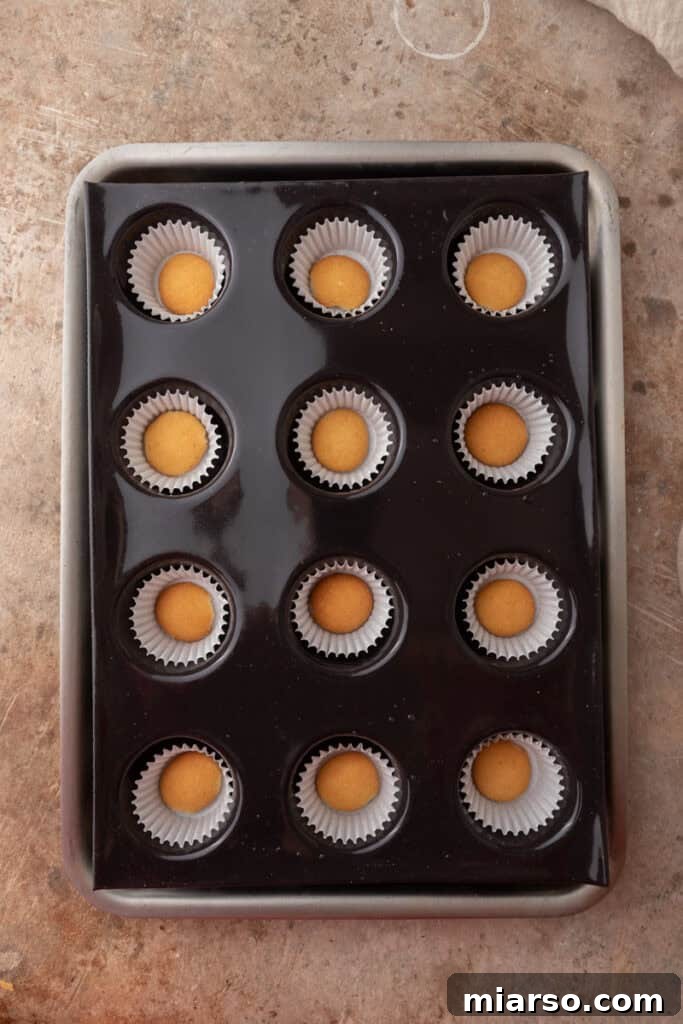
- Form the Crust: Place a single Nilla wafer flat into the bottom of each prepared cupcake liner. These wafers will become the sweet, slightly crunchy crust for your cheesecakes, providing a delightful base without any extra preparation.
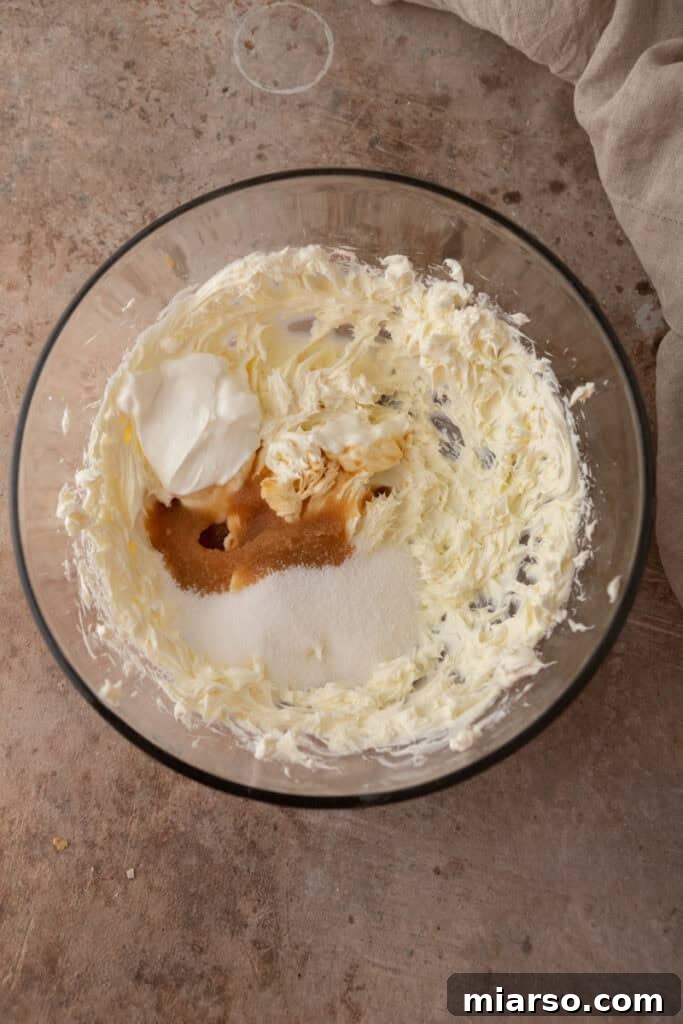
- Prepare the Cheesecake Filling: In a large mixing bowl, use an electric mixer to beat the softened room-temperature cream cheese until it’s perfectly smooth and free of lumps. This creates the foundation for a silky-smooth cheesecake.
- Combine Wet Ingredients: Add the granulated sugar, sour cream, and vanilla extract to the cream cheese mixture. Continue beating on medium speed until all ingredients are thoroughly combined and the mixture is light and creamy. Scrape down the sides of the bowl as needed to ensure everything is incorporated.
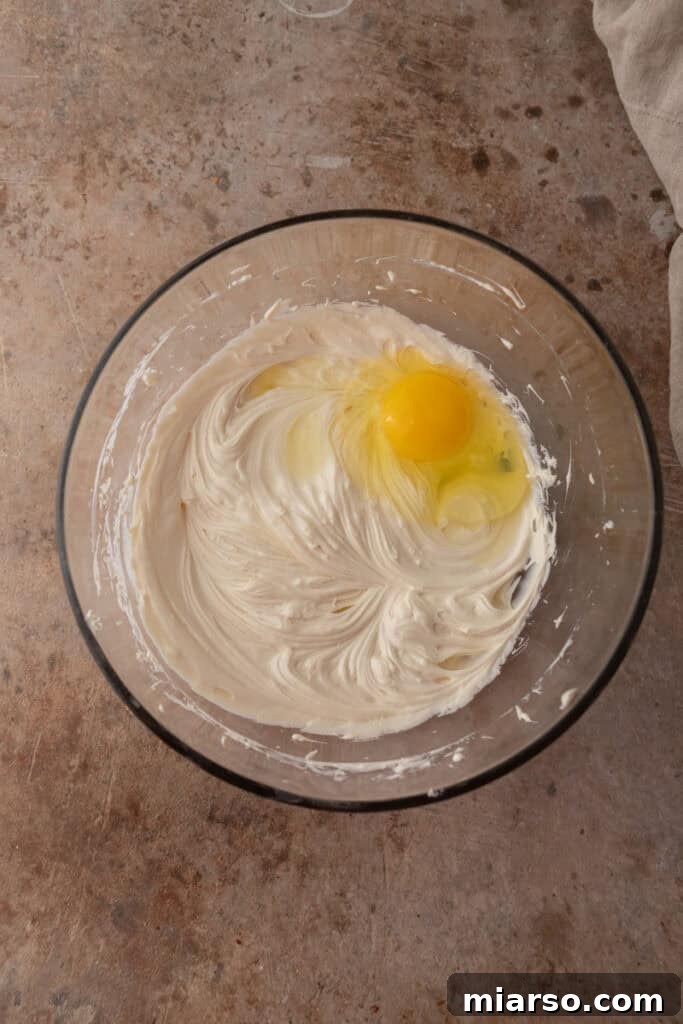
- Incorporate the Egg: Gently add the large egg to the mixture. Beat just until the egg is fully combined. It’s crucial to avoid overmixing at this stage, as over-aerating the batter can lead to cracks in your cheesecakes. Mix until just uniform.
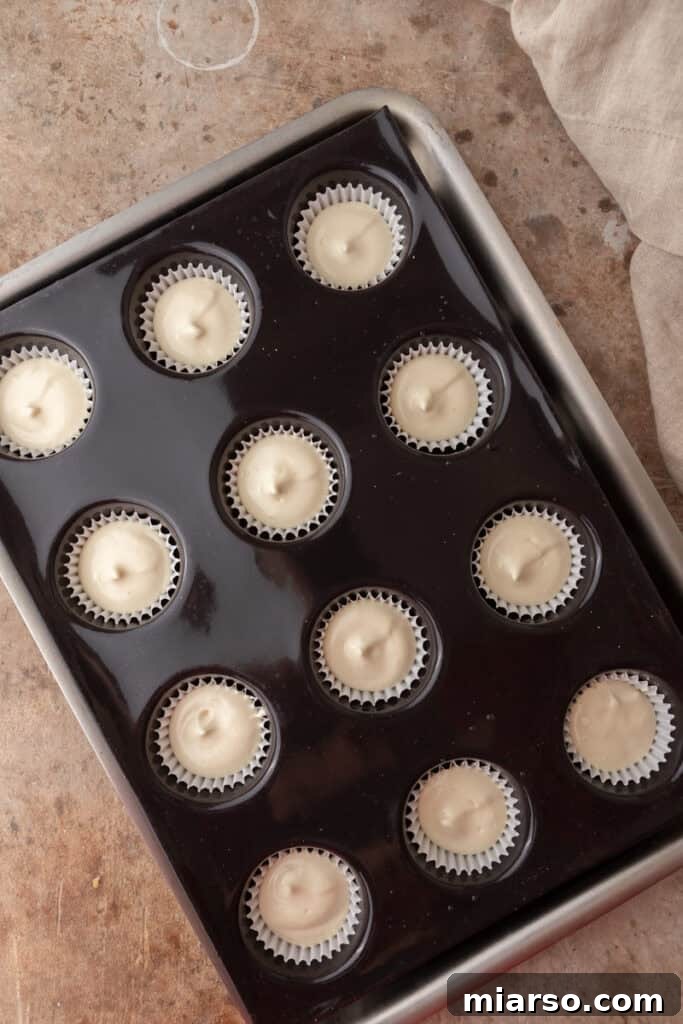
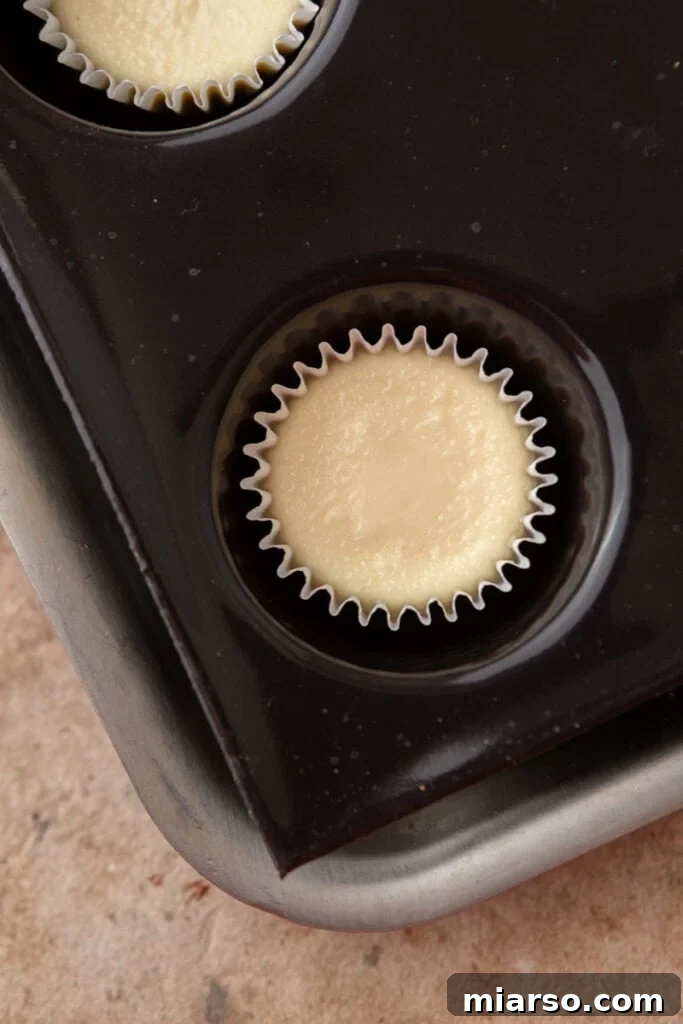
- Fill the Liners: Carefully spoon the creamy cheesecake filling evenly over each Nilla wafer, filling each mini cupcake liner approximately three-quarters of the way full. For a neater and more consistent fill, you can transfer the batter to a piping bag (with or without a tip) and pipe it into the liners.
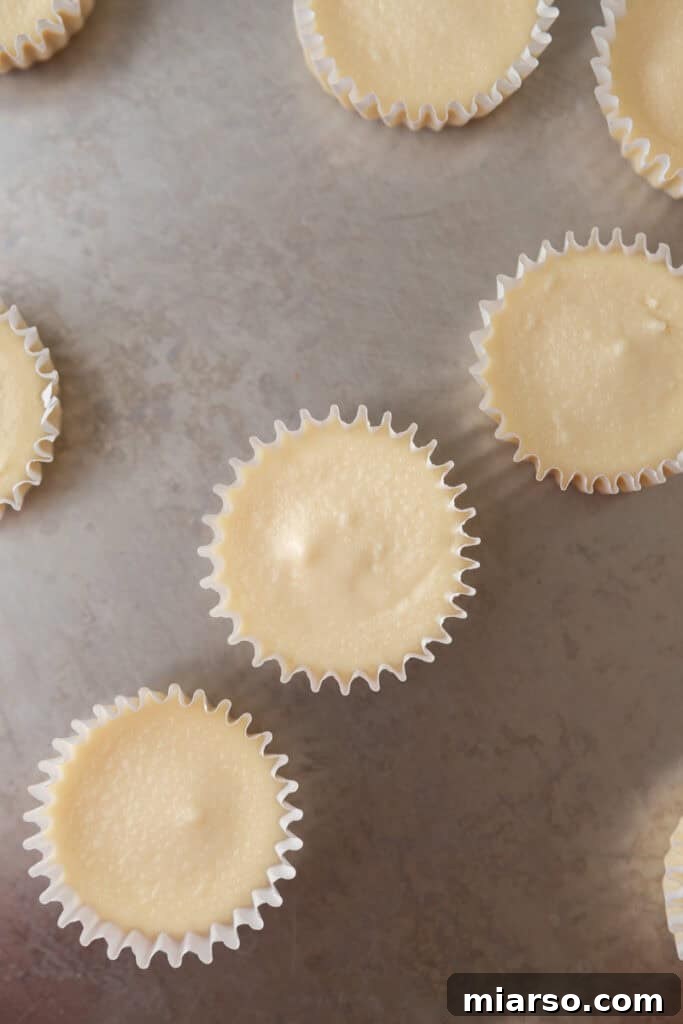
- Bake to Perfection: Place the muffin tins in the preheated oven and bake for 14-17 minutes. The cheesecakes are ready when their centers are just set, looking slightly puffy, but may still have a gentle jiggle when the tin is lightly shaken. This slight jiggle indicates they are cooked through but still moist and creamy.
- Cool and Chill: Allow the individual mini cheesecakes to cool completely in their muffin tins on a wire rack for about 10 minutes before transferring them directly to the wire rack to finish cooling to room temperature. Once fully cooled, transfer them to the refrigerator and chill for a minimum of 2 hours, or until they are thoroughly cold and firm. Chilling is essential for the cheesecake to fully set and for the flavors to meld beautifully.
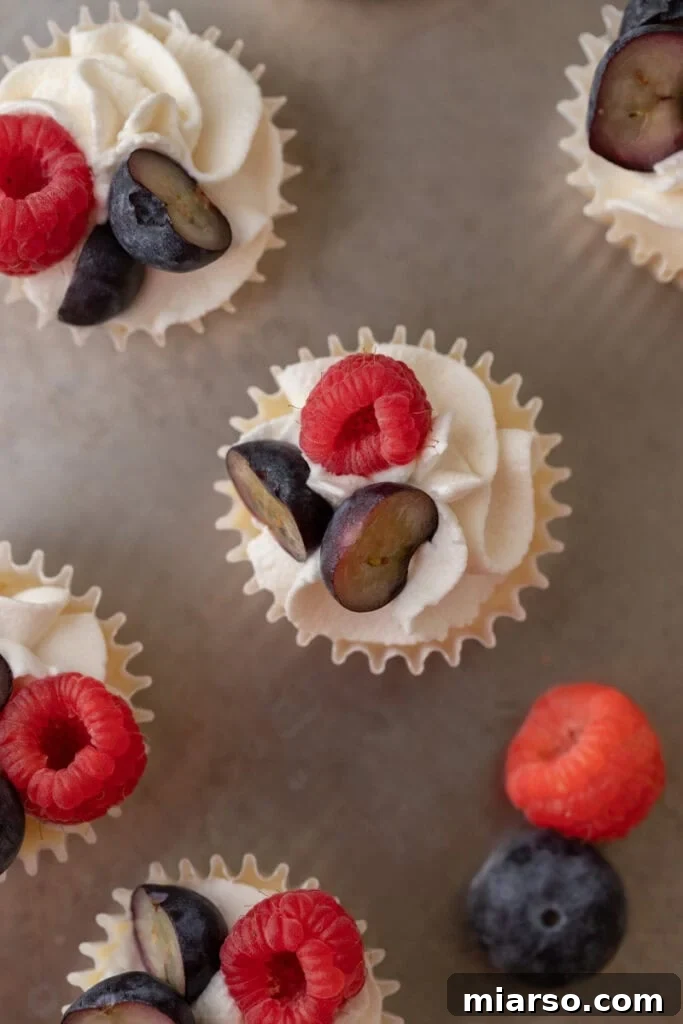
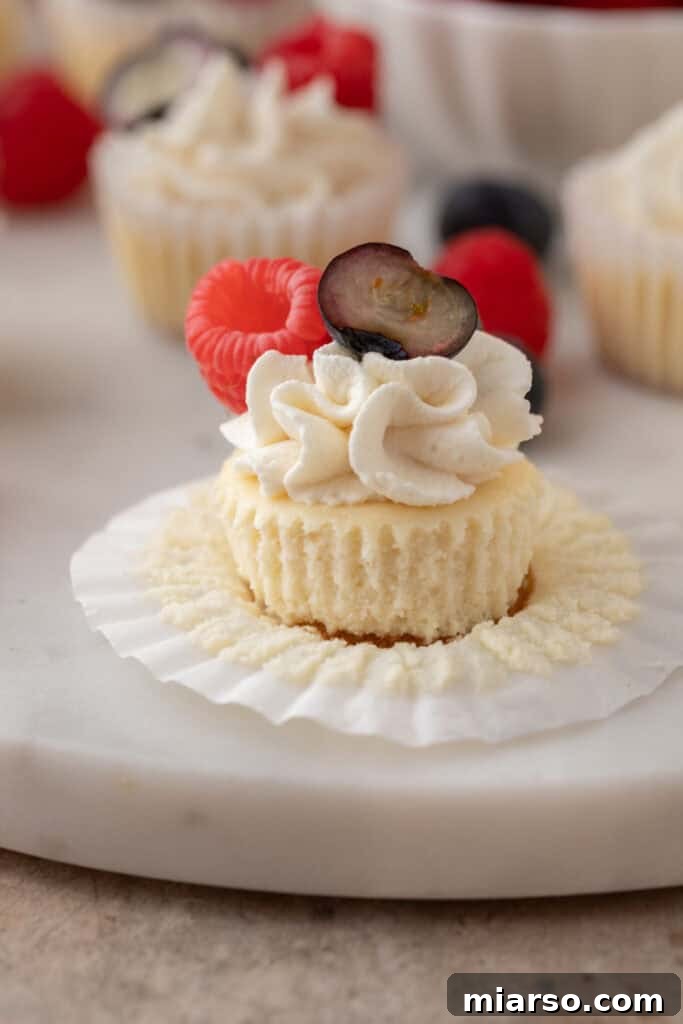
- Serve and Enjoy: These mini cheesecakes are absolutely delicious as is, showcasing their pure, creamy vanilla flavor. For an extra touch of indulgence, top them with fresh berries, a dollop of whipped cream, a spoonful of cherry or blueberry pie filling, a drizzle of luscious caramel sauce, or a decadent chocolate syrup. The possibilities for customization are endless!
Why You’ll Love This Easy Mini Cheesecake Recipe
This Mini Nilla Wafer Cheesecake recipe isn’t just another dessert; it’s a game-changer for anyone who loves cheesecake but desires convenience, versatility, and charming presentation. Here’s why this recipe will become a new favorite:
- A Dream for Cheesecake Enthusiasts: If you adore the rich, creamy texture and tangy-sweet flavor of classic cheesecake, this recipe delivers all that goodness in a convenient, individual serving. It’s a perfect tribute to traditional cheesecake, made accessible for everyday enjoyment or special occasions.
- Ideal for Special Occasions and Parties: The individual servings are a host’s best friend. No need for slicing, messy plates, or special serving utensils. Guests can easily grab their own perfectly portioned dessert, making it an elegant and practical choice for holiday gatherings, birthdays, potlucks, or any celebration where ease of serving is a plus.
- Effortless Portion Control: Struggling with dessert temptation? These mini cheesecakes offer built-in portion control, allowing you to enjoy a satisfying sweet treat without overindulging. They’re just the right size to satisfy a craving without feeling overly heavy.
- Delightful Texture and Customization: Experience the perfect harmony of textures: a crisp, sweet Nilla wafer crust beautifully complementing the incredibly smooth and creamy cheesecake filling. Beyond that, these mini marvels are a blank canvas for customization. From simple fruit toppings to decadent chocolate drizzles, you can easily transform them to suit any taste or theme.
- Simple and Approachable: Don’t let the elegant appearance fool you; this recipe is designed to be straightforward. Using Nilla wafers for the crust eliminates the need for crumb-making, making it a fantastic option for beginners and experienced bakers alike who are looking for a quick and easy dessert solution.
- Make-Ahead Convenience: These cheesecakes chill beautifully and can be prepared in advance, saving you time and stress when hosting. Their flavor often deepens after a day in the fridge, making them an excellent option for meal prepping your desserts.
Frequently Asked Questions (FAQ) About Mini Cheesecakes
What are the best toppings for these mini cheesecakes?
The beauty of these mini cheesecakes lies in their versatility when it comes to toppings! You can keep it simple or get creative. Some popular and delicious options include:
- Fresh Berries: Strawberries, blueberries, raspberries, or a mix of all three add a burst of freshness and vibrant color.
- Whipped Cream: A light and airy dollop of homemade or store-bought whipped cream provides a cloud-like contrast to the rich cheesecake.
- Fruit Compotes or Pie Fillings: A spoonful of cherry, blueberry, or strawberry pie filling instantly turns these into classic mini fruit cheesecakes.
- Caramel Sauce or Chocolate Syrup: For a decadent touch, drizzle with your favorite caramel or chocolate sauce.
- Lemon Curd: A tangy lemon curd offers a delightful citrusy counterpoint to the sweet cream cheese.
- Crushed Cookies or Nuts: Sprinkle with extra Nilla wafer crumbs, crushed Oreos, or toasted nuts for added texture.
Can I add other flavors to the cheesecake filling?
Absolutely! The base recipe is wonderful on its own, but it’s also perfect for experimentation. Here are a few ideas to infuse new flavors:
- Almond or Lemon Extract: A quarter to half teaspoon of almond extract would complement the vanilla beautifully, creating a more complex flavor profile. Alternatively, a teaspoon of lemon extract combined with a tablespoon of fresh lemon zest will make your filling bright, fresh, and delightfully citrusy.
- Mini Chocolate Chips: Fold in a quarter cup of mini chocolate chips into the batter before spooning it into the liners for a delicious mini chocolate chip cheesecake experience.
- Spices: A pinch of cinnamon or nutmeg can add a warm, comforting twist, especially great for fall or holiday treats.
- Coffee or Espresso Powder: For a mocha-inspired treat, dissolve a teaspoon of instant espresso powder in a tiny bit of hot water and mix it into the batter.
Can I use a different type of cookie for the crust?
Yes, you can certainly experiment with other cookies! While Nilla wafers offer unique convenience and flavor, here are some alternatives:
- Graham Crackers: This is a classic cheesecake crust. You would need to finely crush graham crackers, mix them with melted butter and a little sugar, then press the mixture into the bottom of the cupcake liners. You might need to pre-bake this crust for 5-8 minutes before adding the cheesecake batter.
- Oreo Cookies: For a chocolatey twist, crush whole Oreo cookies (filling included) and mix with melted butter. Press into the liners and consider a short pre-bake.
- Ginger Snaps or Biscoff Cookies: These cookies offer a spiced or caramelized flavor profile that pairs wonderfully with cream cheese. Crush and mix with butter as you would with graham crackers.
When using other cookies, if they are not already mini-sized like Nilla wafers, you will generally need to create a traditional crumb crust by crushing the cookies and mixing them with melted butter. Then, press this mixture firmly into the bottom of each cupcake liner. A brief pre-bake (5-8 minutes) can help set the crust before adding your cheesecake filling.
What if I don’t have a mini muffin tin?
While a mini muffin tin is highly recommended for consistent shape and ease of handling, you can improvise:
You can use sturdy foil or silicone baking cups placed directly on a baking sheet. Ensure the cups are stable and can support the cheesecake batter without collapsing. When placing them in the oven, be extra cautious to keep them level, as they won’t have the rigid support of a muffin tin. The baking time might vary slightly due to different heat distribution, so keep a close eye on them.
How do I store these Mini Cheesecakes with Nilla Wafers?
Proper storage is key to keeping your mini cheesecakes fresh and delicious:
Once cooled and chilled, transfer any leftover cheesecakes to an airtight container. Store them in the refrigerator for up to 3 to 4 days. Keep in mind that the longer they sit, the Nilla wafer crust will naturally soften a bit due to moisture from the filling. However, they will still retain their amazing flavor and creamy texture.
Can I freeze them?
Yes, these mini cheesecakes freeze wonderfully! This makes them perfect for preparing ahead for future events or for satisfying a sudden cheesecake craving:
Once the cheesecakes are completely cooled after baking, place them on a baking sheet, ensuring they are not touching each other, and freeze them individually until solid. This prevents them from sticking together. Once frozen solid, transfer them to an airtight container or individually wrap them in plastic wrap and then place them in an airtight container or freezer-safe bag. This double protection helps maximize freshness and prevents freezer burn. When you’re ready to enjoy them, simply thaw them in the refrigerator for several hours or overnight.
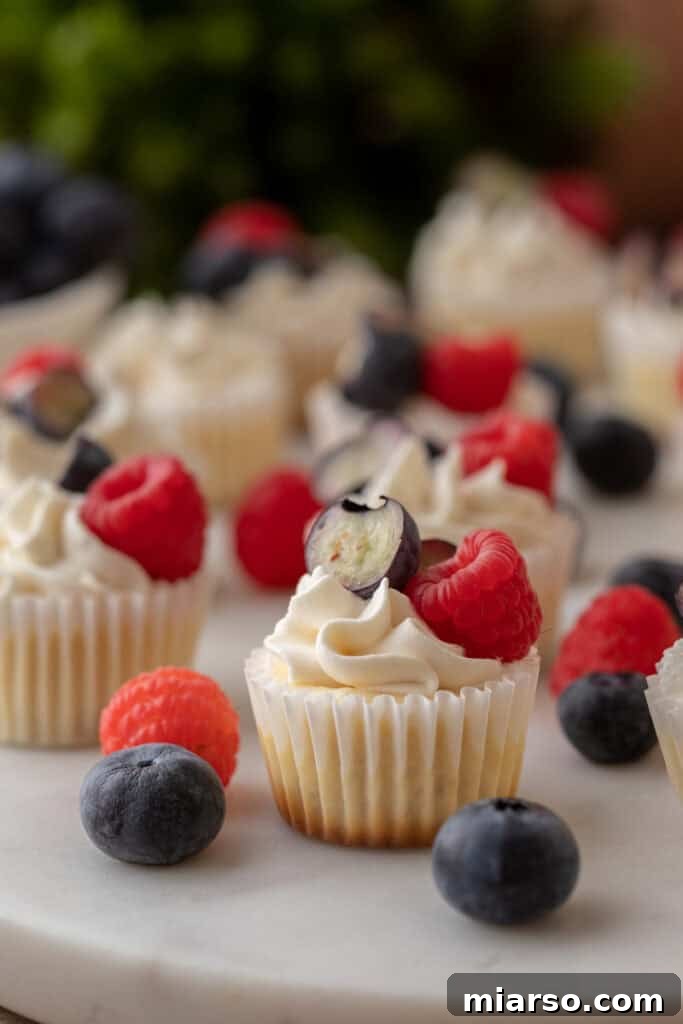
The Best Mini Cheesecakes with Nilla Wafers Recipe
Mini Nilla Wafer Cheesecakes
These Mini Cheesecakes with Nilla Wafers are the perfect bite-sized dessert, featuring a smooth and creamy filling made from a simple blend of cream cheese, sugar, and vanilla, all resting on a delightful Nilla wafer crust. They are easy to make, charming to serve, and utterly delicious!
Prep Time: 20 mins
Cook Time: 15 mins
Total Time: 35 mins
Servings: 34 mini cheesecakes
Ingredients
- 1 package (8 oz) full-fat cream cheese, softened
- 1/3 cup granulated sugar
- 3 tablespoons sour cream
- 1 teaspoon vanilla extract
- 1 large egg, room temperature
- 34 Mini Nilla wafers
Instructions
- Preheat your oven to 325°F (160°C). Line 34 mini muffin tin cavities with mini cupcake liners. You will need two 24-cavity muffin tins to hold all the liners.
- Place one Nilla wafer at the bottom of each cupcake liner to create the crust for each mini cheesecake.
- In a large mixing bowl, beat the softened cream cheese with an electric mixer until it is smooth and creamy.
- Add the sugar, sour cream, and vanilla extract to the bowl. Continue beating until all ingredients are fully combined and the mixture is uniform.
- Add the egg and beat just until it is fully incorporated into the batter. Be careful not to overmix, as this can introduce too much air and cause cracks in the cheesecakes.
- Spoon the cheesecake batter evenly over each Nilla wafer, filling each cupcake liner about 3/4 of the way full. For a cleaner finish, you can use a piping bag for this step.
- Bake for 14-17 minutes, or until the centers of the cheesecakes are slightly puffy but still soft. They should have a slight jiggle in the center, which indicates they are perfectly set.
- Allow the cheesecakes to cool in the muffin tin for approximately 10 minutes. Then, carefully transfer them to a wire rack to cool completely to room temperature.
- Once cooled, refrigerate the mini cheesecakes for at least 2 hours, or until they are thoroughly chilled and firm. This is essential for the cheesecake to fully set and for optimal flavor.
- Serve and enjoy! These cheesecakes are delicious on their own, or you can top them with fresh fruit, whipped cream, cherry or blueberry pie filling, or a drizzle of chocolate syrup for extra indulgence.
Notes
These mini cheesecakes can be stored in an airtight container in the fridge for up to 5 days. For longer storage, they can be frozen for up to a month. Thaw in the refrigerator before serving.
Nutrition
Calories: 48 Calories | Carbohydrates: 4g | Protein: 1g | Fat: 3g | Saturated Fat: 2g | Polyunsaturated Fat: 0.3g | Monounsaturated Fat: 1g | Trans Fat: 0.01g | Cholesterol: 12mg | Sodium: 34mg | Potassium: 14mg | Fiber: 0.04g | Sugar: 3g | Vitamin A: 103IU | Vitamin C: 0.01mg | Calcium: 8mg | Iron: 0.03mg
Nutrition information is automatically calculated and should only be used as an approximation.
Enjoyed this recipe? Leave a comment below and share your thoughts!
If you enjoyed this Mini Cheesecakes with Nilla Wafers recipe, make sure to pin it for later!