
The Ultimate Chewy Candy Corn Cookies Recipe: A Perfect Fall Treat
As the leaves begin to turn and a crisp chill fills the air, there’s no better way to embrace the autumn season than with a batch of freshly baked cookies. This Candy Corn Cookies recipe offers the perfect blend of sweet, chewy goodness with a festive, autumnal twist. Crafted with the rich depth of browned butter, the delightful crunch of roasted peanuts, and a generous scattering of vibrant candy corn pieces, these cookies are a celebration of fall flavors and a must-make for any occasion.
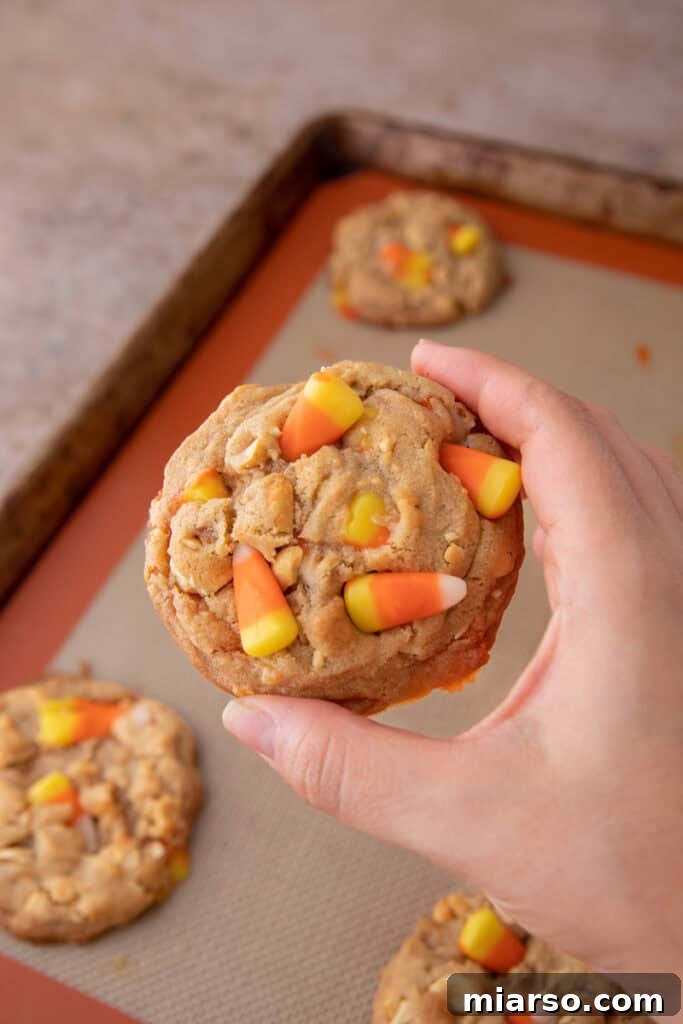
Whether you’re hosting a lively Halloween party, gathering with loved ones for a cozy fall evening, or simply craving a delightful homemade treat, these cookies are an absolute standout. The ingenious combination of sweet candy corn and salty peanuts creates an irresistibly satisfying crunch in every single bite. They are incredibly easy to make, making them an ideal baking project for home cooks of all skill levels, and a fantastic way to involve kids in the kitchen during the spooky season.
Imagine sinking your teeth into a warm, chewy cookie, its buttery aroma mingling with hints of vanilla and nutty goodness, punctuated by the vibrant sweetness of candy corn. These cookies are not just a dessert; they’re an experience, a miniature celebration of autumn in every mouthful. For the ultimate fall indulgence, enjoy these delightful cookies with a steaming mug of homemade apple cider or a rich, creamy hot cocoa. They truly embody the spirit of the season.
If you’re a fan of unique candy-inspired recipes and fall baking, you’re in the right place! After mastering these candy corn cookies, be sure to explore other fun and festive treats. Try our popular Leftover Halloween Candy Cookies for a creative way to use up holiday treats, whip up some Easiest Rolo Pretzel Turtles for a quick sweet and salty fix, or get into the festive spirit early with this delicious Christmas Peanut Pretzel M&M’s Bark Recipe. Each recipe promises to bring joy and deliciousness to your kitchen.
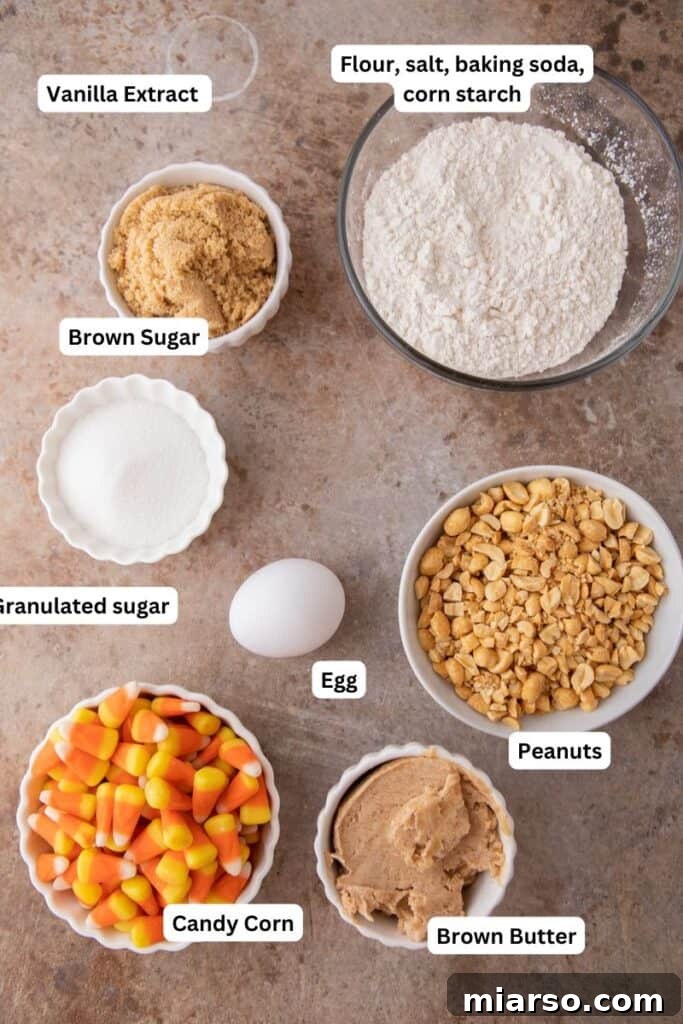
Essential Ingredients for These Chewy Candy Corn Cookies
Crafting the perfect chewy candy corn cookie starts with quality ingredients. Each component plays a vital role in achieving that sought-after texture and balanced flavor profile. Here’s a closer look at what you’ll need and why each ingredient is important for this easy Halloween cookie recipe:
- Unsalted Butter: This is the foundation of our cookies, providing richness and moisture. Browning the butter transforms its flavor into a nutty, aromatic essence, which elevates these cookies beyond a typical sugar cookie. Using unsalted butter allows you to control the overall salt content of the recipe.
- Brown Sugar (packed): Essential for that signature soft and chewy texture. The molasses content in brown sugar not only adds moisture but also contributes a deeper, caramel-like sweetness that complements the browned butter beautifully. Make sure to pack it firmly for accurate measurement.
- Granulated Sugar: Works in conjunction with brown sugar to provide sweetness and helps the cookies spread slightly during baking, ensuring a pleasant texture without being too dense.
- Large Egg: Acts as a binder, holding all the ingredients together, while also adding moisture and richness to the dough. Using a room-temperature egg helps it incorporate more smoothly into the butter and sugar mixture.
- Pure Vanilla Extract: A classic flavor enhancer that brings warmth and sweetness, perfectly harmonizing with the complex notes of browned butter and the simple sweetness of candy corn. Don’t skimp on good quality vanilla!
- All-purpose Flour: The primary structural component of the cookie dough. Make sure to measure it correctly, either by weight or by spooning it into your measuring cup and leveling it off, to avoid dense cookies.
- Cornstarch: This secret ingredient is key to achieving an incredibly tender and soft cookie. It lightens the dough, preventing the cookies from becoming too chewy or tough, ensuring that melt-in-your-mouth texture.
- Baking Soda: Our leavening agent, responsible for the slight rise and delightful spread of the cookies, contributing to their soft interior and lightly crisp edges.
- Fine Sea Salt: Crucial for balancing the sweetness and enhancing all the other flavors in the cookie. It truly brings out the depth of the browned butter and the sweetness of the candy corn.
- Roasted Peanuts (chopped): These add a fantastic crunch and a rich, nutty flavor that beautifully complements the sweetness of the candy corn. If you prefer a delicious sweet-and-salty contrast, opt for salted peanuts. For a purely sweet focus, unsalted peanuts work just as well. Ensure they are coarsely chopped for distinct texture.
- Candy Corn: The iconic star of this recipe! It provides vibrant colors, a unique waxy-sweet flavor, and a delightful chewiness. As it bakes, candy corn melts slightly, creating gooey pockets and a charming visual appeal on top of each cookie.

How to Bake Irresistible Candy Corn Cookies
Making these chewy, flavor-packed cookies is a delightful process, especially with the unique step of browning the butter. Follow these detailed instructions to create cookies that will be the highlight of your fall festivities. Remember to scroll down to the full recipe card at the end of this post for precise oven temperatures, bake times, and complete step-by-step instructions.
- Brown the Butter: Begin by melting the unsalted butter in a medium-sized, light-colored saucepan over medium heat. A light-colored pan allows you to easily observe the butter’s color change. As the butter melts and starts to boil, gently stir it continuously with a wooden spoon or swirl the pan. After a few minutes, the butter will transform from a pale yellow to a deep, rich golden hue, resembling amber or honey. It will bubble and foam; keep stirring to ensure even browning and to see the color change beneath the foam.
- Achieve Nutty Perfection: The butter is perfectly browned when small, amber-colored specks form at the bottom of the pan and a distinct, nutty aroma fills your kitchen. This stage happens quickly, so do not leave it unattended, as browned butter can burn in an instant. Immediately transfer the hot browned butter into a separate heatproof large bowl to stop the cooking process. Place this bowl in the refrigerator for about an hour, or until it has solidified slightly, reaching a consistency similar to softened butter. This crucial chilling step ensures your cookies will be perfectly thick and chewy, not flat.
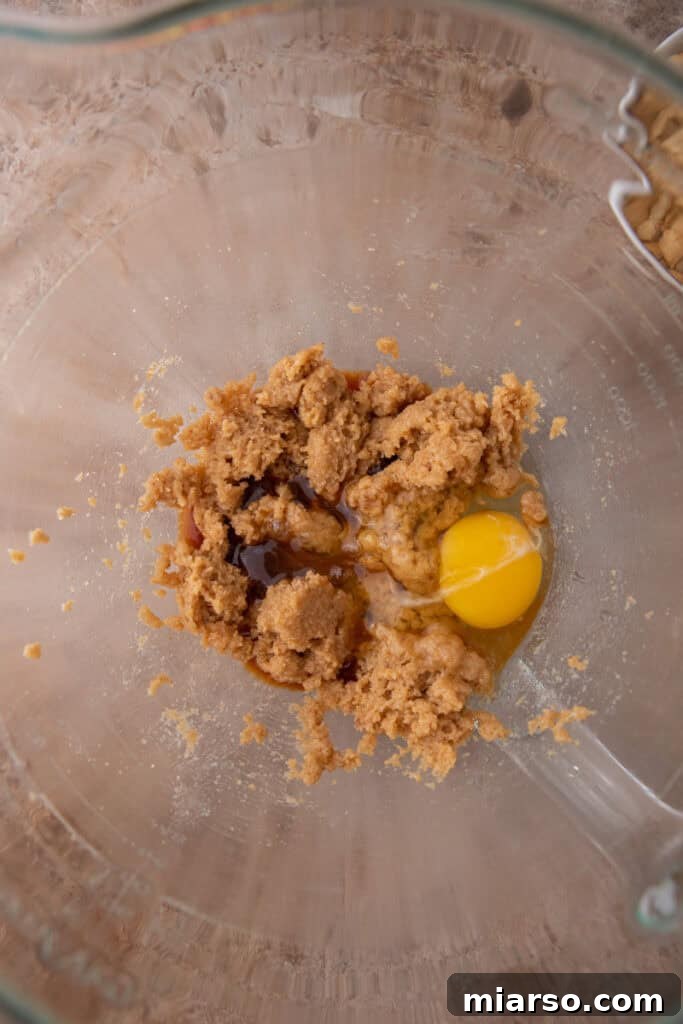
- Cream the Mixture: Once your browned butter has firmed up, transfer it to the bowl of your stand mixer (or use a large bowl with a hand mixer). Add both the packed brown sugar and granulated sugar. Cream the butter and sugar mixture together on medium-high speed for approximately 2 minutes, until it becomes light, fluffy, and well combined. Next, beat in the large egg and vanilla extract until they are fully incorporated into the mixture.
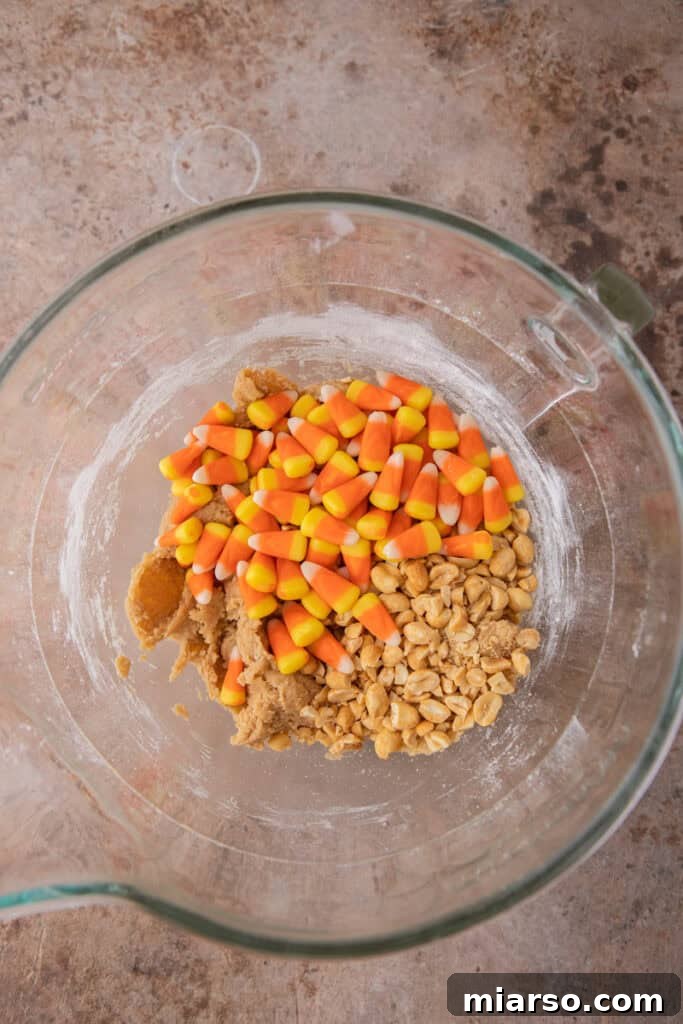
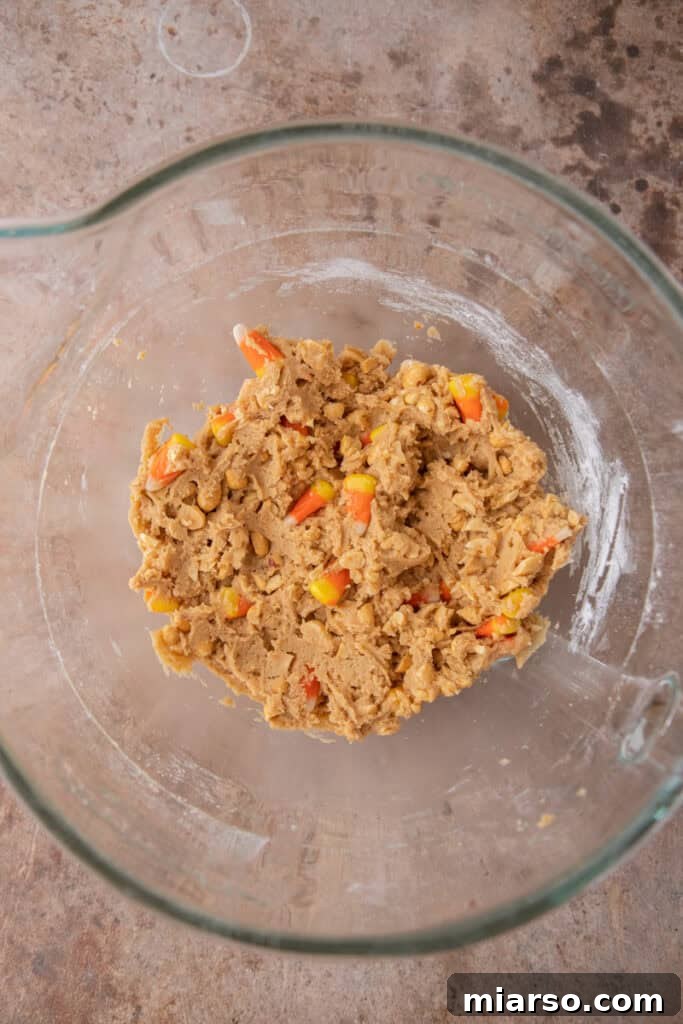
- Combine Dry Ingredients: In a separate bowl, whisk together the all-purpose flour, cornstarch, baking soda, and salt. Gradually add this dry mixture to the wet ingredients in the stand mixer bowl. Mix on low speed just until the flour streaks disappear. Be careful not to overmix the dough, as this can lead to tough cookies. Finally, gently fold in the chopped roasted peanuts and candy corn until they are evenly distributed throughout the dough.
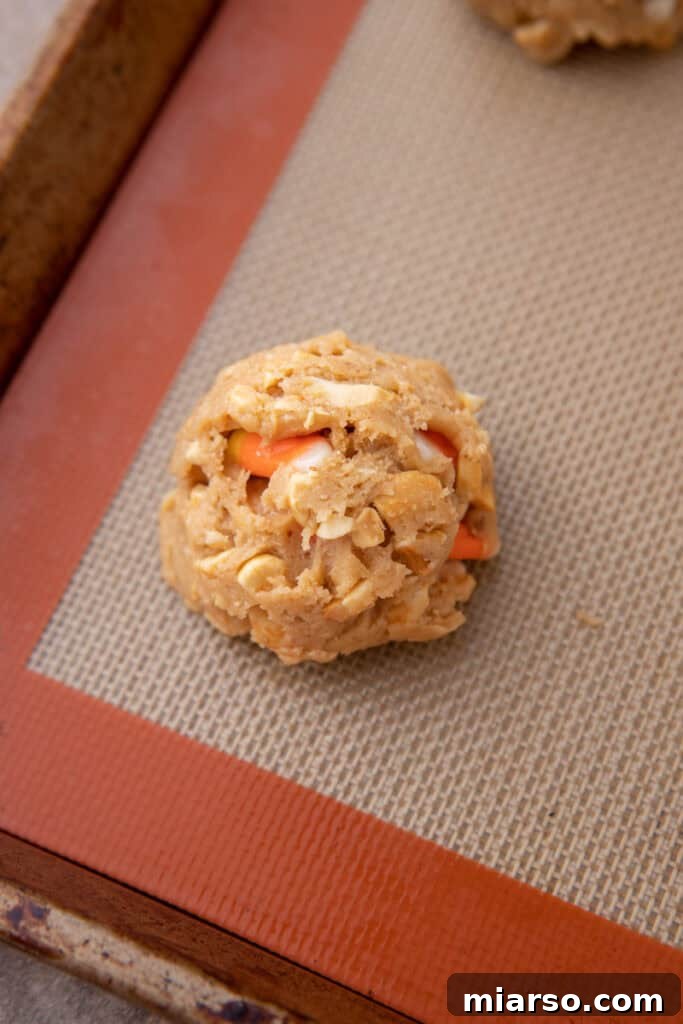
- Chill and Scoop: Briefly chill the cookie dough in the refrigerator while your oven preheats. This short chill time is sufficient to help the dough set and prevent excessive spreading. Once your oven is preheated to the specified temperature (check recipe card for details), use a large cookie scoop or a 1/4-cup measuring cup to portion out uniform balls of cookie dough. Place them onto a baking sheet lined with parchment paper or a silicone mat, ensuring enough space between each cookie for spreading.
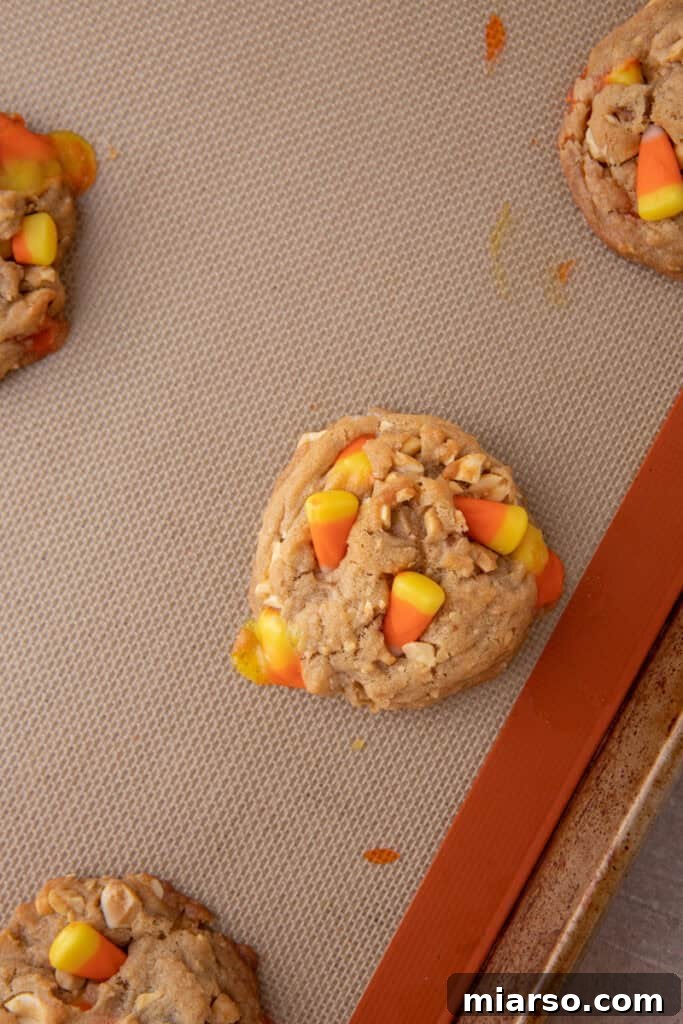
- Bake to Golden Perfection: Bake the cookies in the preheated oven for the recommended time (typically 10-12 minutes), or until the edges are golden brown and the centers are still slightly soft. This indicates a perfectly chewy cookie. Allow them to cool on the baking sheet for about 5-10 minutes before carefully transferring them to a wire cooling rack to cool completely to room temperature. This initial cooling on the hot pan helps them set without falling apart.
Why You’ll Absolutely Love This Candy Corn Cookie Recipe
There are countless reasons why these candy corn cookies deserve a spot on your fall baking list. They’re more than just a seasonal treat; they’re a delightful experience waiting to happen!
- Perfectly Balanced Flavor Profile: These aren’t your average overly sweet cookies. They strike a harmonious balance between savory, buttery notes from the browned butter, the crunch and subtle saltiness of roasted peanuts, and the unique sweetness of candy corn. My husband often calls them “literally perfect,” and I think you’ll agree!
- Simple & Accessible Ingredients: You won’t need to hunt for exotic items. This easy recipe calls for basic wet and dry ingredients readily available at any local grocery store. No fuss, just deliciousness.
- Unforgettable Texture: Prepare for a cookie that is wonderfully chewy in the center with slightly crispy, golden edges, and a delightful textural variety from the peanuts and candy corn. The cornstarch works wonders to create that tender, soft crumb that keeps you coming back for more.
- Fun for All Ages: With their festive colors and iconic candy, these cookies are incredibly fun, especially for kids and those celebrating the spookiest time of year. They’re a fantastic addition to any Halloween party spread or a charming treat for a school bake sale.
- A Touch of Gourmet with Browned Butter: The browned butter isn’t just a step; it’s a flavor secret weapon. It adds a depth of nutty, caramel-like complexity that transforms a simple cookie into something truly special and memorable.
Frequently Asked Questions (FAQ) About Candy Corn Cookies
Will the candy corn melt in the cookies?
Yes, candy corn will melt slightly when baked, which is part of what makes these cookies so delightfully gooey and fun! As it melts, it creates soft, chewy pockets within the cookie and a slightly crunchy, caramelized texture around the edges where it’s exposed. To prevent too much spreading or excessive melting, try to avoid placing candy corn directly on the very edges of the cookie dough balls. For an extra pop of color and texture, you can gently press a few additional candy corn pieces onto the tops of the warm cookies immediately after they come out of the oven.

How do I store leftover Candy Corn Cookies?
Proper storage ensures your delicious candy corn cookies stay fresh and chewy for longer. Once completely cooled, place your cookies in an airtight container. They will maintain their quality at room temperature on your kitchen counter for at least 3-4 days. For extended freshness, you can store them in the refrigerator for up to a week. If you wish to freeze them, arrange baked cookies in a single layer on a baking sheet to freeze solid, then transfer them to a freezer-safe bag or container for up to a few months. When ready to enjoy, transfer them to the fridge to thaw overnight, then bring them to room temperature on the kitchen counter for the best texture.
Can I use unsalted peanuts instead of salted?
Absolutely! You can certainly use unsalted peanuts if that’s your preference or what you have on hand. Salted peanuts contribute a wonderful sweet-and-salty flavor contrast that many people adore. However, unsalted peanuts will still provide a satisfying crunch and nutty flavor without the added saltiness. Feel free to adjust the amount of salt in the cookie dough recipe based on whether your peanuts are salted or unsalted, and to suit your personal taste.

How do I keep my cookies from spreading too much?
Several factors contribute to cookies spreading, but here are the best tips to ensure your cookies stay thick and chewy:
- Chill the Dough: This is a crucial step! Chilling the cookie dough, even just for the duration of your oven preheating, helps the butter firm up. Cold butter melts slower in the oven, allowing the cookies to set and rise slightly before spreading too much, resulting in thicker cookies.
- Properly Measure Flour: Too little flour can lead to over-spreading. Use a kitchen scale for the most accurate measurement, or if using measuring cups, spoon the flour into the cup and level it off with a straight edge rather than scooping directly from the bag (which compacts flour and can result in too much).
- Don’t Overmix: Overmixing the dough can develop the gluten in the flour too much, leading to tough cookies that spread more. Mix only until the dry ingredients are just combined.
- Baking Temperature: Ensure your oven is accurately preheated to the correct temperature. An oven that is too cool can cause cookies to spread before they have a chance to set. An oven thermometer can be a valuable tool.
- Use Parchment Paper or Silicone Mats: These non-stick surfaces can help prevent excessive spreading compared to baking directly on a greased pan.
Can I make the cookie dough ahead of time?
Absolutely! This recipe is excellent for meal prepping or baking in stages. You can prepare the cookie dough, form it into balls, and then chill it in the refrigerator for up to 2-3 days before baking. For longer storage, you can freeze the cookie dough balls for up to 3 months. When ready to bake from frozen, simply place them on a baking sheet and add an extra 2-4 minutes to the baking time, or allow them to thaw slightly in the fridge first.

The Best Chewy Candy Corn Cookies Recipe

Candy Corn Cookie Recipe
This Candy Corn Cookies recipe, featuring roasted peanuts and rich browned butter, creates an abundance of colorful, chewy, and perfectly festive fall treats.
Prep time: 20 minutes
Cook time: 10-11 minutes
Yields: 11 Cookies
Equipment
- Stand mixer or hand mixer
- Medium saucepan
- Heatproof bowl
- Large cookie scoop or 1/4 cup measuring cup
- Baking sheets
- Parchment paper or silicone mats
- Wire cooling rack
Ingredients
- 1/2 cup (1 stick) unsalted butter
- 1/2 cup packed light brown sugar
- 1/4 cup granulated sugar
- 1 large egg, at room temperature
- 2 tsp pure vanilla extract
- 1 cup + 2 tbsp all-purpose flour
- 1 tbsp cornstarch
- 1/2 tsp baking soda
- 1/2 tsp fine sea salt
- 1 cup roasted peanuts, chopped (salted for sweet-salty contrast, unsalted for pure sweetness)
- 1 cup candy corn (plus extra for topping, optional)
Instructions
Part 1: Brown the Butter
- In a medium, light-colored saucepan, melt the 1/2 cup of butter over medium heat.
- Once the butter starts boiling, gently stir it continuously with a wooden spoon or swirl the pan. It will foam, then change color from light yellow to a deep golden hue.
- Continue cooking until small brown bits form at the bottom of the pan and a nutty aroma is present. This indicates perfectly browned butter. Do not leave unattended, as it can burn quickly.
- Immediately transfer the browned butter to a heatproof bowl to stop the cooking. Place it in the refrigerator for about an hour, or until it has solidified slightly to a soft, spreadable consistency. This step is crucial for thick, chewy cookies.
Part 2: Assemble and Bake the Cookies
- Once the browned butter is firm, transfer it to the bowl of a stand mixer. Add the 1/2 cup packed brown sugar and 1/4 cup granulated sugar. Cream the mixture together on medium-high speed for about 2 minutes until light and fluffy.
- Add the large egg and 2 tsp vanilla extract, mixing until just combined and well incorporated. Scrape down the sides of the bowl as needed.
- In a separate bowl, whisk together the 1 cup + 2 tbsp all-purpose flour, 1 tbsp cornstarch, 1/2 tsp baking soda, and 1/2 tsp salt.
- Gradually add the dry ingredients to the wet ingredients, mixing on low speed just until no dry streaks of flour remain. Be careful not to overmix.
- Gently fold in the 1 cup chopped roasted peanuts and 1 cup candy corn until they are evenly distributed throughout the dough.
- Cover the cookie dough and chill it in the refrigerator while your oven preheats to 350°F (175°C). A 15-20 minute chill while the oven heats is usually sufficient.
- Line baking sheets with parchment paper or silicone mats. Use a large cookie scoop (about 1/4 cup) to portion out the cookie dough balls, placing them a few inches apart on the prepared baking sheets.
- Bake in the preheated oven for 10-11 minutes, or until the edges are golden brown and the centers are still slightly soft.
- Remove from the oven and, if desired, gently press a few extra candy corn pieces onto the tops of the warm cookies for added visual appeal.
- Allow the cookies to cool on the baking sheet for 5-10 minutes before transferring them to a wire rack to cool completely.
- Enjoy these delicious cookies with a large glass of milk or your favorite fall beverage!
Notes
Store cooled cookies in an airtight container at room temperature for up to 3-4 days, or in the refrigerator for up to a week. For longer storage, cookies can be frozen for up to 3 months.
Nutrition Information (Approximate per cookie)
- Calories: 275
- Carbohydrates: 46g
- Protein: 3g
- Fat: 9g
- Saturated Fat: 5g
- Polyunsaturated Fat: 1g
- Monounsaturated Fat: 2g
- Trans Fat: 0.3g
- Cholesterol: 37mg
- Sodium: 322mg
- Potassium: 77mg
- Fiber: 2g
- Sugar: 29g
- Vitamin A: 466IU
- Vitamin C: 0.01mg
- Calcium: 18mg
- Iron: 4mg
Nutrition information is automatically calculated and should be used as an approximation only.
Enjoyed this recipe? Leave a comment below and share your thoughts! Your feedback is invaluable.
Loved This Candy Corn Cookies Recipe? Pin It for Later!
If you’re as enchanted by these chewy, festive candy corn cookies as we are, don’t forget to save this recipe! Pin it to your favorite fall dessert board on Pinterest so you can easily find it for your next autumn baking adventure or Halloween celebration. Sharing is caring, and we’d love for you to spread the cookie love!