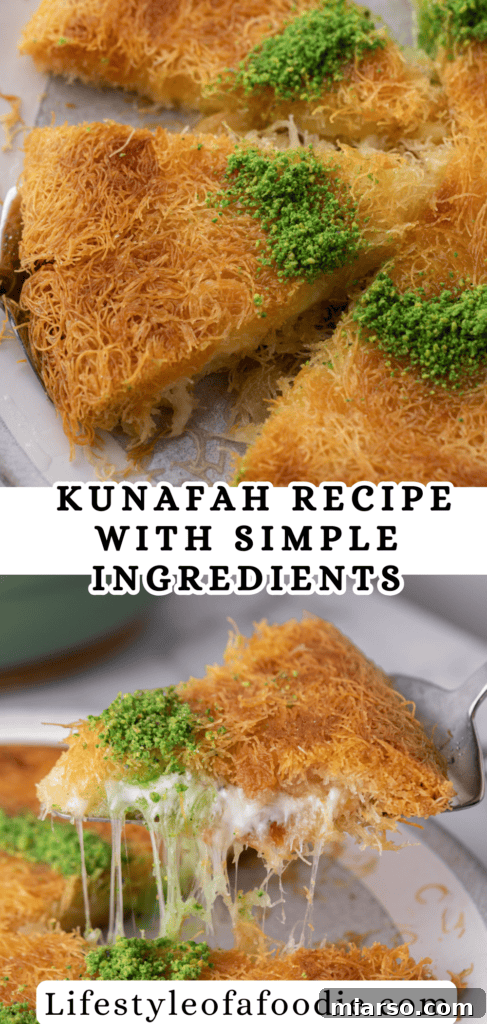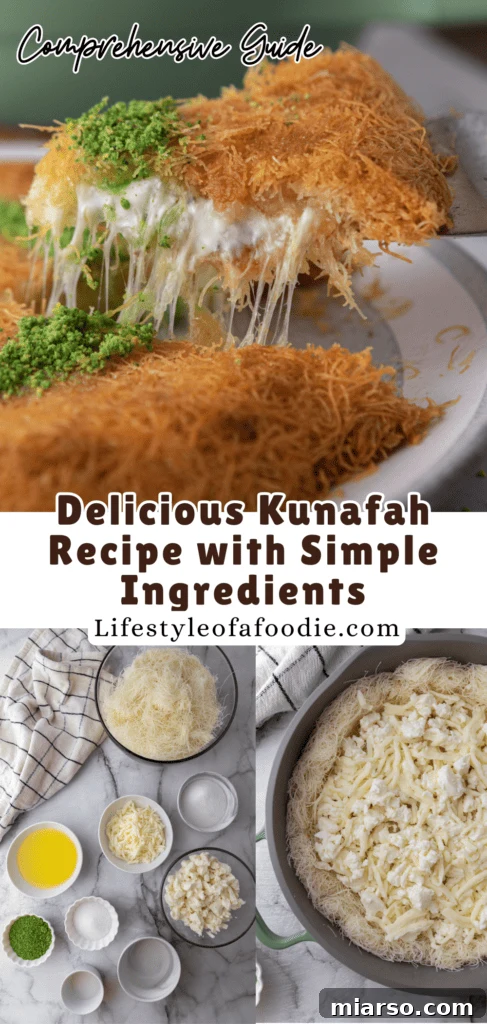
Embark on a culinary journey to the Middle East with this surprisingly easy Kunafa recipe. Crafted with readily available ingredients, this impressive dessert masterfully blends delicate textures, rich flavors, and a satisfying cheesy center, promising to delight every palate. Discover how simple it is to bring this iconic sweet pastry into your home kitchen.
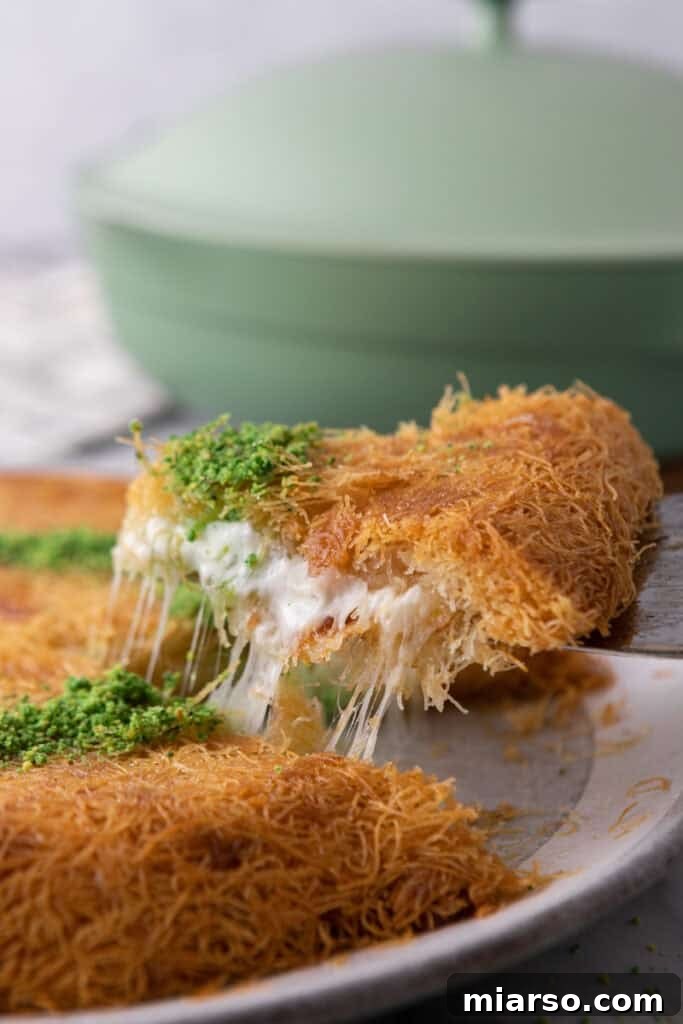
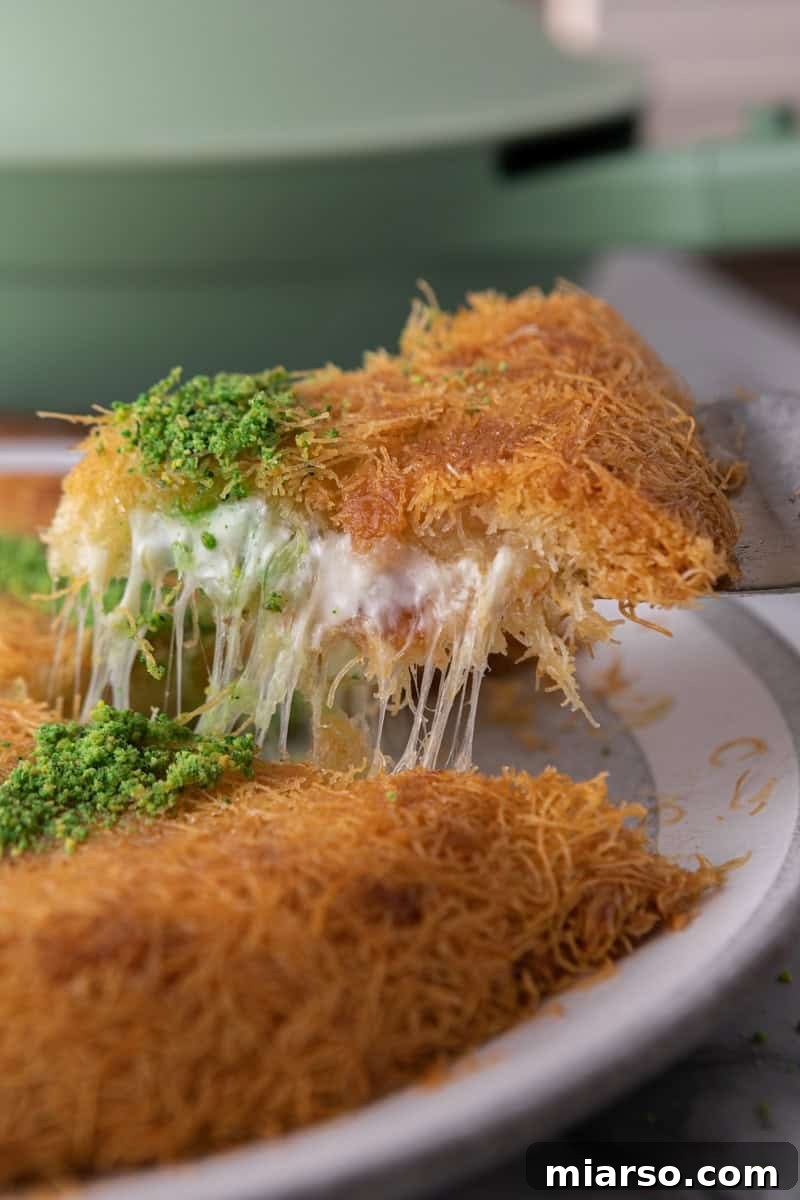
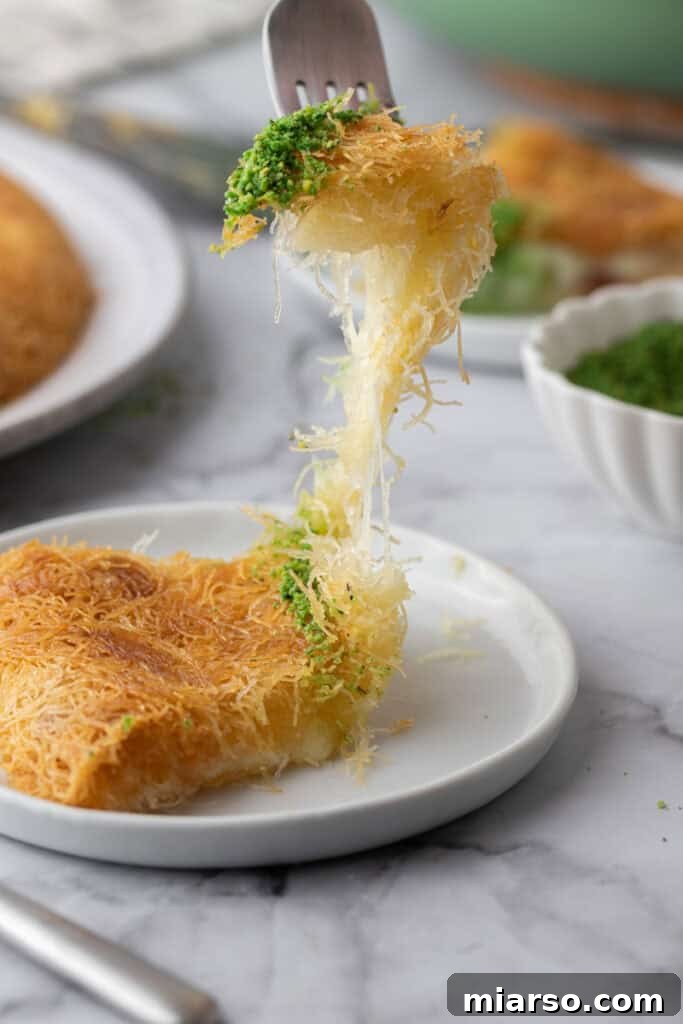
If you’ve yet to experience the magic of Kunafa, prepare to fall head over heels for this homemade rendition. This celebrated Middle Eastern delicacy offers the ultimate sweet-and-savory indulgence. At its heart lies a foundation of fine strands of pastry dough, meticulously toasted in rich ghee (clarified butter, often described as butter’s more flavorful cousin). This forms the crisp, golden crust. Next, a generous layer of warm, stretchy, melted cheese creates a luxurious textural contrast, resulting in an irresistible crunchy-gooey-crunchy sensation. Finally, the entire masterpiece is drenched in a fragrant floral syrup, which elegantly cuts through the richness of the butter and cheese, elevating the dessert to a truly unforgettable gastronomical experience.
The thought of preparing such an exotic dessert might seem daunting, but rest assured, it’s far from it! What makes this particular Kunafa recipe exceptional is its accessibility. We’ve thoughtfully adapted traditional methods to incorporate easy-to-find ingredients, ensuring that anyone, regardless of their proximity to a specialty Middle Eastern market, can create this delightful treat. It’s a dessert that feels incredibly indulgent and celebratory, yet is remarkably simple to assemble using common grocery store staples.
For those who appreciate exploring fun and authentic Middle Eastern flavors, don’t miss our other enticing recipes. Dive into the world of trending sweets with this Viral Chocolate Date Bark Recipe or savor the rich combination of flavors in our Dubai Pistachio Chocolate Bar Recipe. These offerings provide another delicious glimpse into the diverse and vibrant culinary landscape of the region.
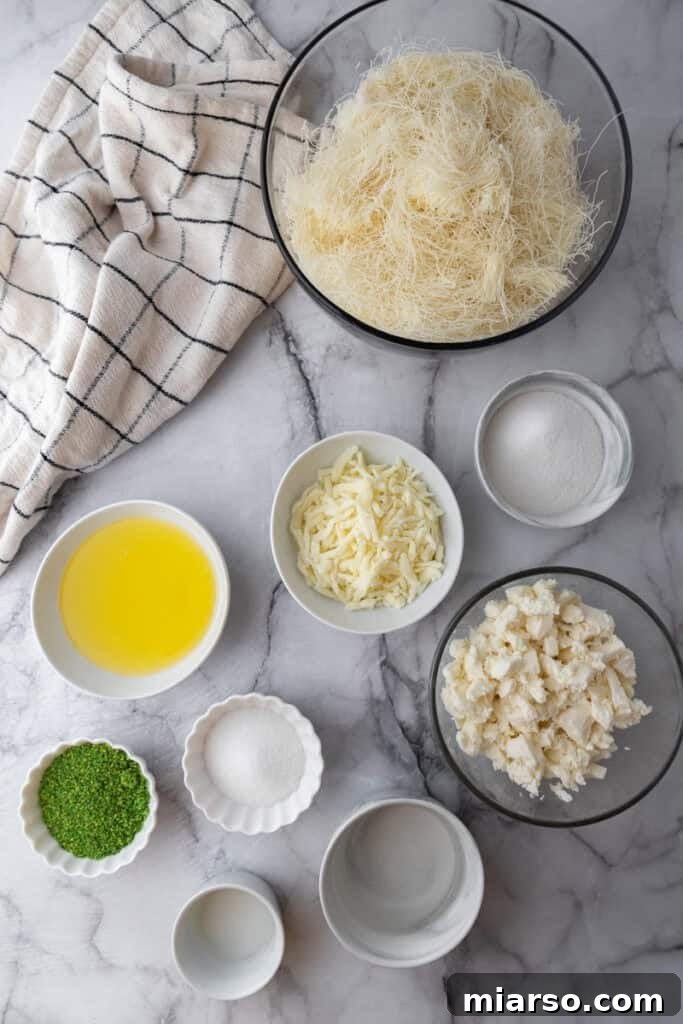
Essential Ingredients for Your Homemade Kunafa
Crafting the perfect Kunafa starts with selecting the right ingredients. This simplified recipe calls for components that are mostly available in standard grocery stores, ensuring a delicious result without the hunt for rare items. Here’s a detailed look at what you’ll need to create this Middle Eastern delight. For precise measurements, please refer to the comprehensive recipe card at the bottom of this page.
- Kunafa Dough (Kataifi Dough): This delicate, shredded phyllo dough forms the signature golden, crispy layers of your Kunafa. It’s the backbone of the dessert, providing that crucial crunch. While specialty stores often carry fresh versions, frozen kataifi dough is widely available in many supermarket freezer sections, usually near other phyllo pastries or international foods. Thawing it properly is key to working with it easily.
- Clarified Butter (Ghee): Ghee is essential for achieving Kunafa’s rich, nutty flavor and incredibly crispy texture. Unlike regular butter, ghee has a higher smoke point and contains no milk solids, which means it coats the dough more effectively and helps it crisp up beautifully without burning. If ghee isn’t available, you can clarify regular unsalted butter at home or use a high-quality unsalted butter, making sure to skim off any milk solids after melting.
- Granulated Sugar: A touch of granulated sugar mixed with the dough not only adds a subtle sweetness but also assists in achieving that desirable golden-brown color during baking, perfectly caramelizing the pastry.
- Shredded Mozzarella Cheese: This accessible cheese acts as a fantastic substitute for the traditional Akawi or Nabulsi cheese, which can be hard to find outside of Middle Eastern markets. Shredded mozzarella melts beautifully, providing a mild, salty counterpoint to the sweetness of the syrup and a lovely stretch that mimics traditional Kunafa cheese.
- Fresh Mozzarella Cheese in Water: Combining fresh mozzarella (the kind packed in water) with shredded mozzarella enhances the gooey, stretchy, and creamy texture of the cheese filling. Its softer consistency contributes to a more authentic mouthfeel once melted, creating that irresistible pull often associated with Kunafa.
- Simple Sugar Syrup (Sugar and Water): This sweet elixir is crucial for moistening the baked Kunafa, imparting sweetness, and enhancing its overall flavor. The syrup is made by simmering sugar and water until slightly thickened, creating a glaze that absorbs into the crispy dough.
- Orange Blossom Water: An iconic flavor of the Middle East, orange blossom water infuses the simple syrup with a delicate, intoxicating floral aroma. It’s what gives Kunafa its distinct, fragrant character and adds an authentic touch that elevates the entire dessert. A little goes a long way in creating a memorable flavor profile.
- Chopped Pistachios: Used as a garnish, chopped pistachios add a vibrant visual pop, a delightful nutty flavor, and an additional textural element. While traditionally unsalted pistachios are preferred, any good quality chopped pistachios will work wonders here. Some specialty pistachios, like those found in the UAE, may have a natural vibrant green hue or even a touch of food coloring to enhance their appeal.
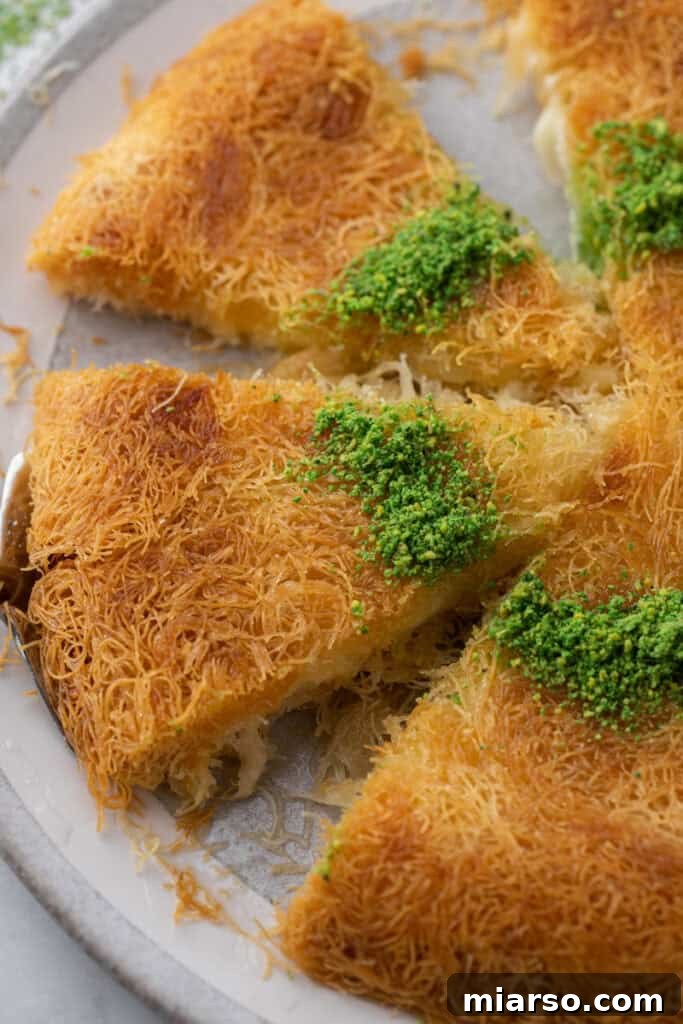
Step-by-Step Guide to Making Your Easy Kunafa
Creating this traditional Middle Eastern dessert at home is a rewarding experience, and with these clear instructions, you’ll achieve perfect results. The key is to follow each step carefully to ensure that beautiful golden crust and gooey cheese center. For exact oven temperatures and baking times, please refer to the detailed recipe card at the conclusion of this post.
- Prepare Your Oven: Begin by setting your oven to the specified temperature in the recipe card (typically around 350°F or 175°C) and allow it ample time to preheat thoroughly. A consistently hot oven is crucial for even baking and a crisp kunafa.
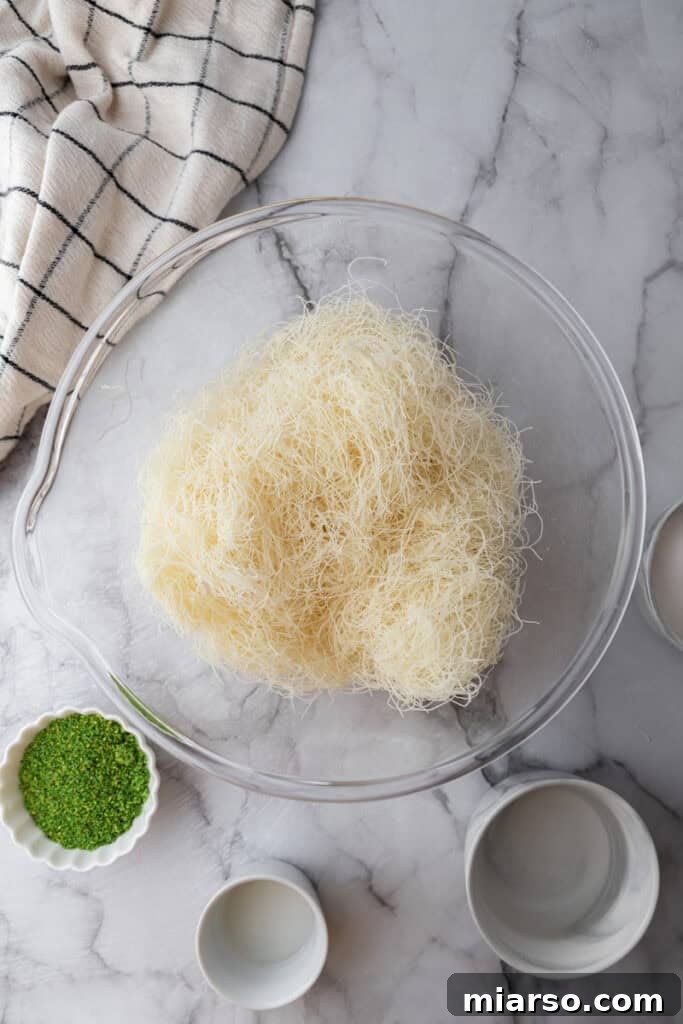
- Loosen the Kunafa Dough: In a spacious mixing bowl, take your thawed kunafa dough and gently separate the fine strands. The goal is to loosen them completely so they can be evenly coated. Don’t worry if the strands break into smaller pieces; this actually helps them crisp up even better and distribute more uniformly.
- Coat the Dough with Ghee and Sugar: Drizzle the melted ghee generously over the loosened kunafa dough. Follow this with a sprinkle of granulated sugar. Now, using your hands, thoroughly mix the dough, ghee, and sugar, ensuring every single strand is evenly coated. The best way to do this is by grabbing handfuls of the dough, pulling them apart, and repeating this process several times until the ghee is fully integrated. This coating is vital for achieving that signature golden crunch.
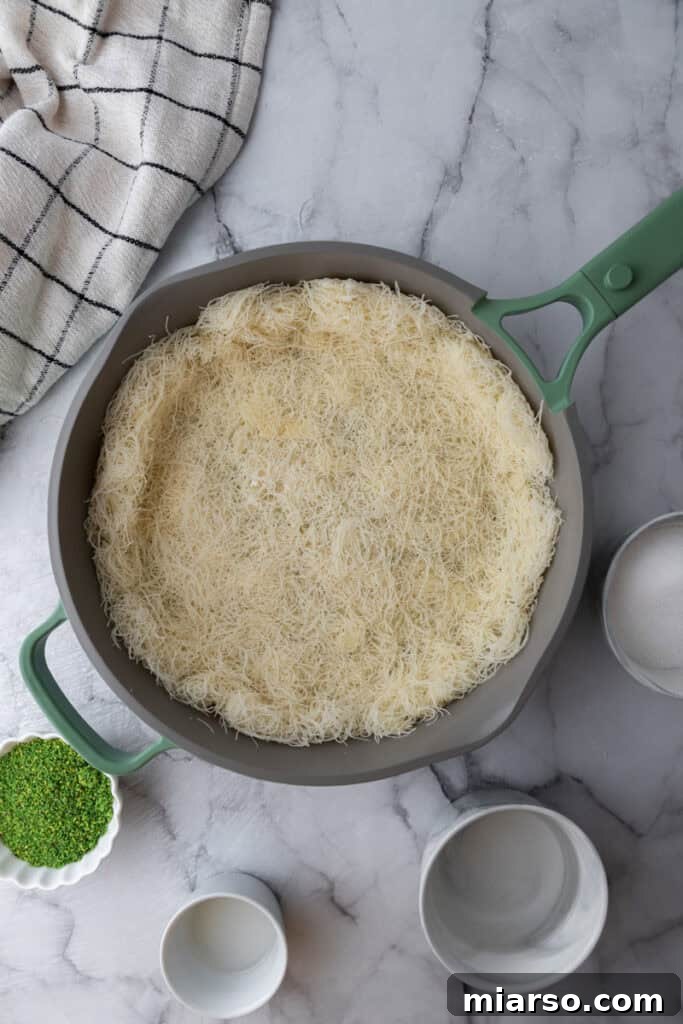
- Form the Base Layer: Take precisely half of your buttered kunafa mixture and press it firmly and evenly into the base of a 10.5-inch round baking pan. Ensure there are no gaps and that the layer is compact and level. This forms the bottom crust of your Kunafa.
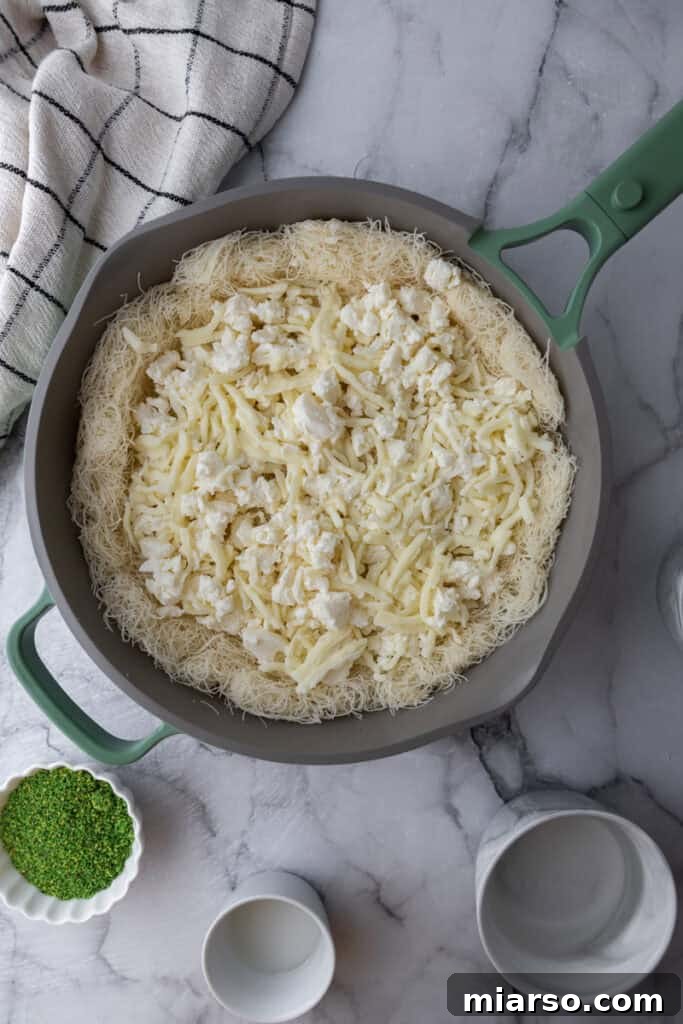
- Add the Cheesy Filling: Evenly distribute both the shredded mozzarella and the roughly chopped soft mozzarella cheese over the compacted dough layer. Spread the cheese right up to the edges of the pan to ensure every bite includes a delightful cheesy pull.
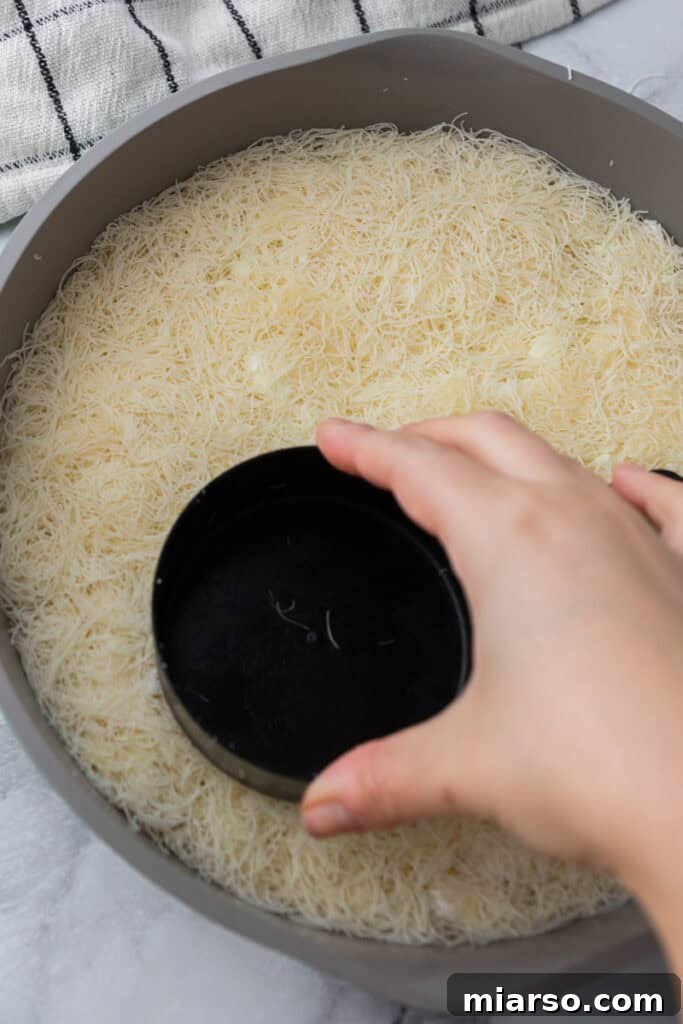
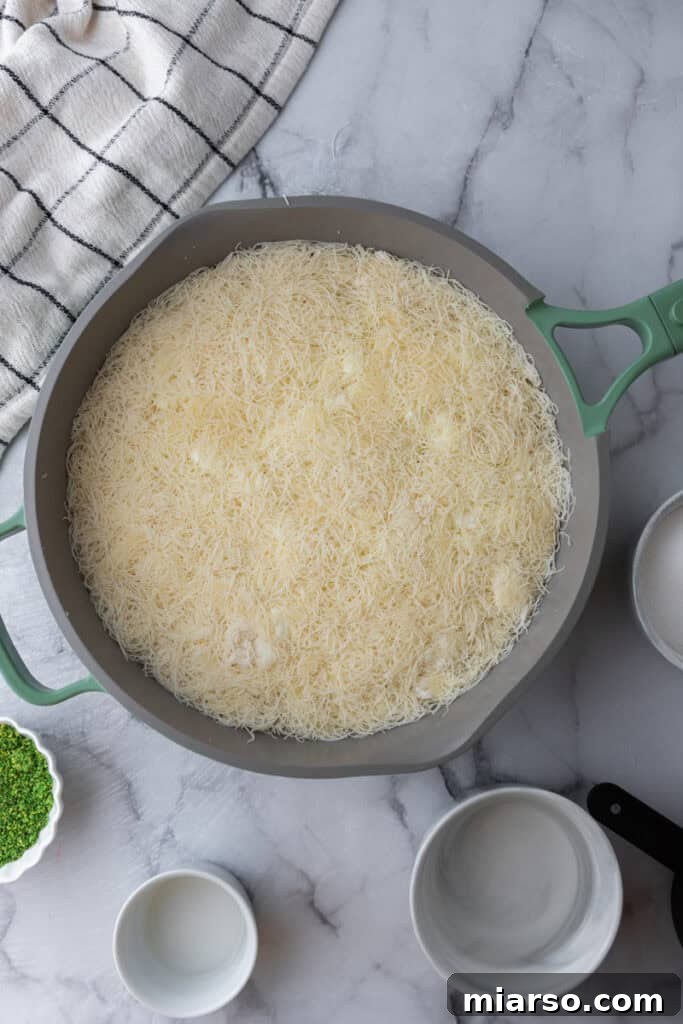
- Create the Top Layer: Cover the cheese layer completely with the remaining buttered kataifi dough. Once again, press it down very firmly. You can use the back of a measuring cup or a flat-bottomed glass to really compact the dough and secure the cheese filling in place. This firm press helps create a cohesive pastry that won’t fall apart when flipped.
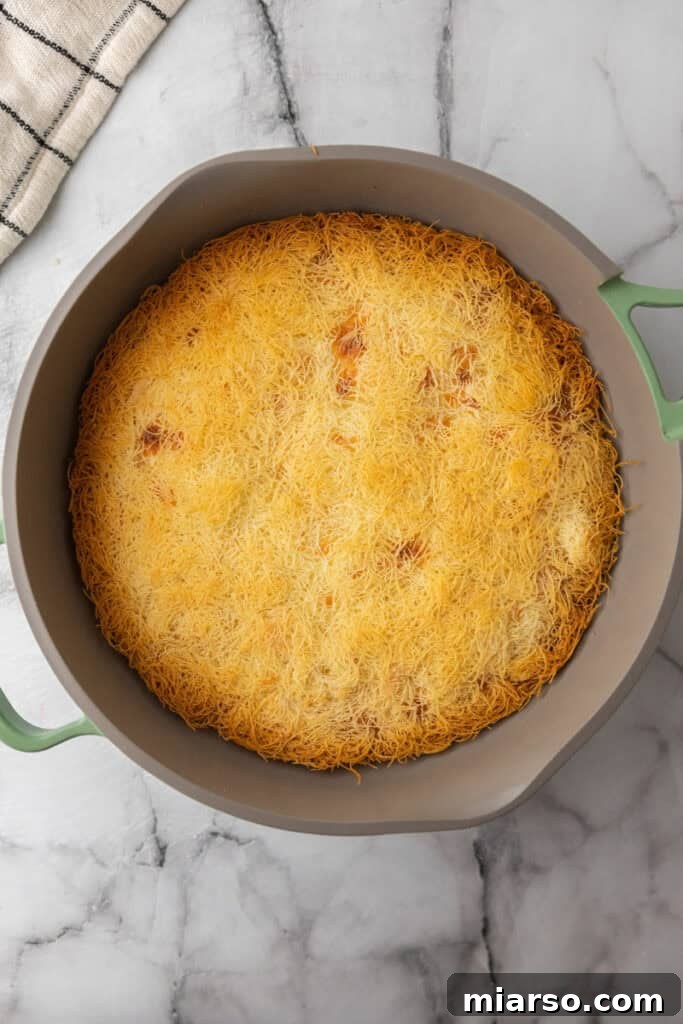
- Bake to Golden Perfection: Place your prepared baking dish into the preheated oven. Bake for approximately 50-55 minutes, or until the Kunafa achieves a deep, enticing golden-brown color and feels wonderfully crisp to the touch. Keep an eye on it to prevent over-browning.
- Prepare the Fragrant Syrup: While your Kunafa is baking, turn your attention to the simple syrup. In a small saucepan, combine the sugar and water. Bring this mixture to a boil over medium-high heat. Once boiling, reduce the heat to low and let it simmer gently for about 10 minutes, or until it has thickened slightly to a syrupy consistency. Remove the saucepan from the heat and stir in the orange blossom water. Allow the syrup to cool slightly; it should be warm, not boiling hot, when poured over the Kunafa.
- Syrup Infusion: As soon as the Kunafa emerges from the oven, immediately and evenly pour the warm sweet sugar syrup over the entire crispy pastry. The hot pastry will eagerly absorb the fragrant syrup, becoming moist and infused with flavor.
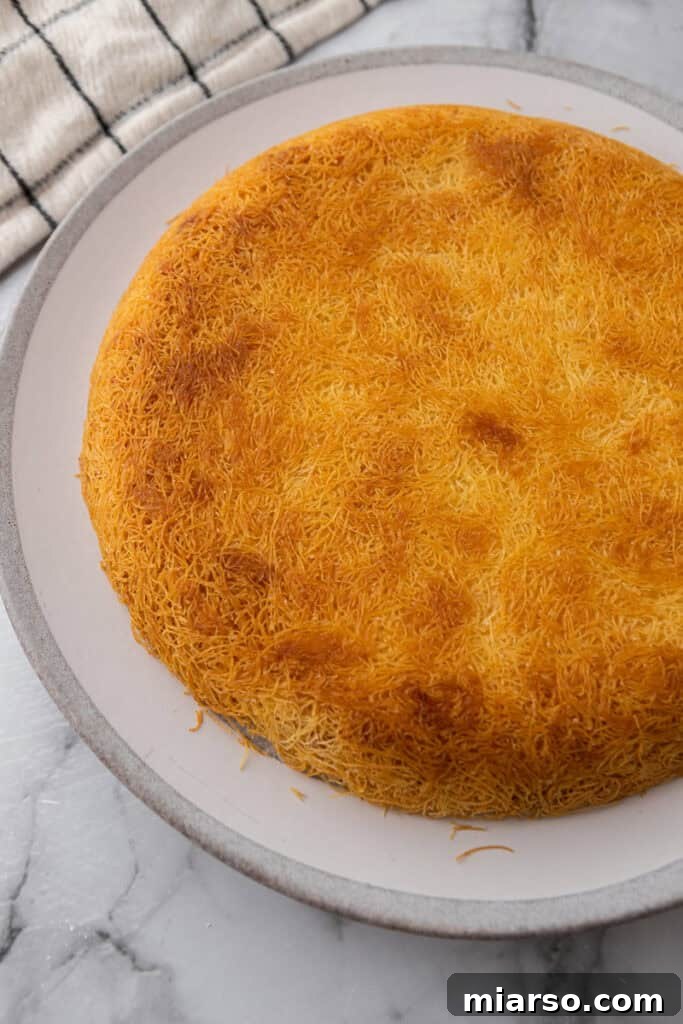
- Cool and Invert: Allow the Kunafa to cool in the baking pan for a few minutes. This brief cooling period helps the cheese set slightly and prevents the pastry from breaking when flipped. Then, carefully place a large serving platter over the baking tray and, with a swift and confident motion, invert the Kunafa onto the platter.
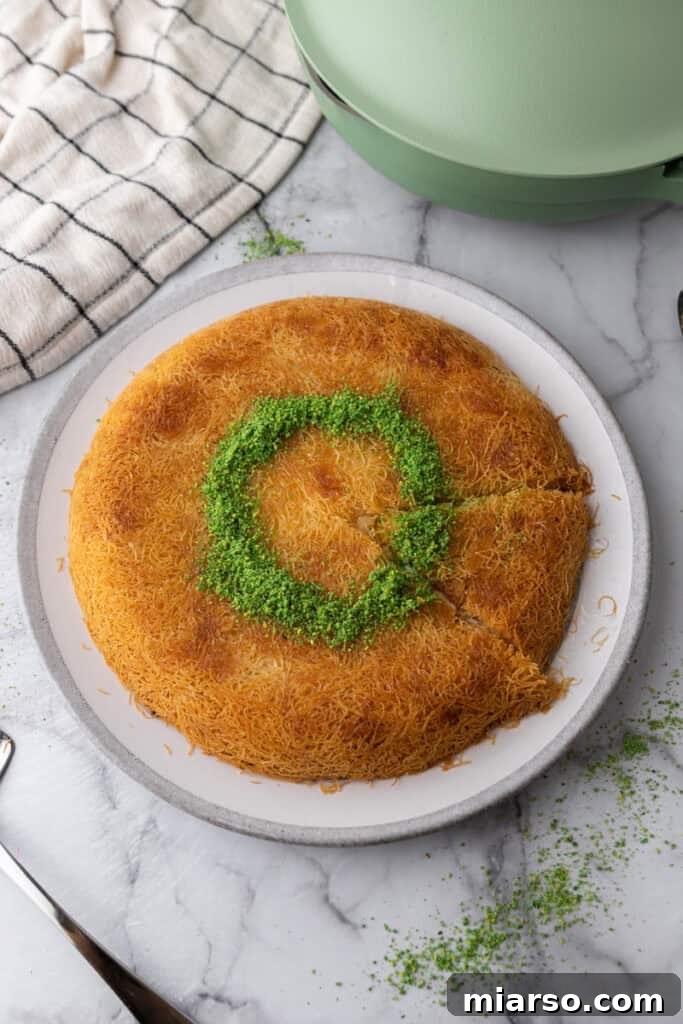
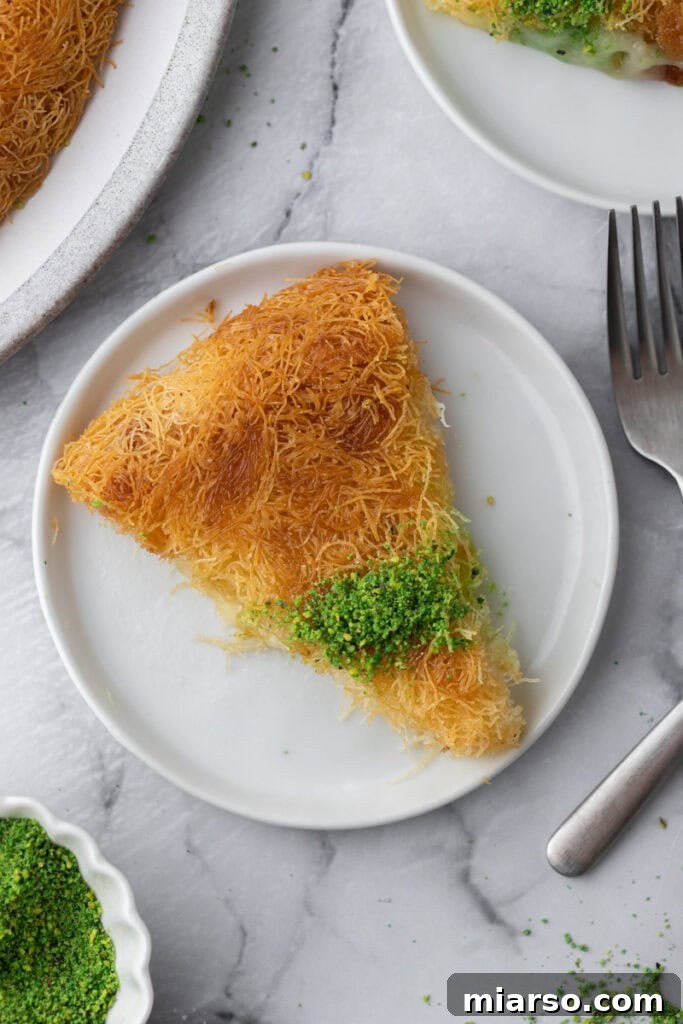
- Garnish and Serve: Finish your beautiful Kunafa by generously sprinkling the top layer with chopped pistachios. Serve it warm to best enjoy the contrast of crispy dough and melting, stretchy cheese. Enjoy this delightful Middle Eastern treat!
Expert Tips and Tricks for Perfect Kunafa
Achieving Kunafa perfection is simpler than you might think, especially with a few insider tips. These expert recommendations will help you ensure your homemade Middle Eastern sweet cheese pastry is consistently golden, crispy, and oozing with deliciousness.
- Choose Fresh Dough if Possible: While frozen kataifi (shredded phyllo) dough is perfectly acceptable and widely available, if you have access to a Middle Eastern grocery store, opt for fresh dough. Fresh kataifi can sometimes offer a slightly superior texture and is often easier to separate without excessive breakage. Regardless, ensure your dough is fully thawed before handling.
- Don’t Skimp on the Ghee (or Butter): The clarified butter is not merely a cooking fat; it’s a fundamental flavor and texture component. Every single strand of kunafa dough must be thoroughly coated in melted ghee. This even coating ensures maximum crispness and prevents any dry, tough spots in the final product. Think of it as painting each strand with liquid gold!
- Bake Until Deep Golden Brown: Patience is a virtue when baking Kunafa. Resist the urge to pull it out of the oven too early. The pastry needs to achieve a deep, rich golden-brown color, particularly on the bottom layer, to develop its characteristic crispness and flavor. A pale Kunafa will lack the desired crunch and visual appeal.
- Immediate Syrup Soak is Key: As soon as the hot Kunafa emerges from the oven, pour the fragrant sugar syrup over it immediately. The hot pastry will eagerly absorb the warm syrup, becoming perfectly moistened and infused with its aromatic essence. This rapid absorption helps the layers become delightfully soft and sweet on the inside while maintaining their crispy exterior.
- Mind the Syrup Temperature: For optimal absorption and texture, the syrup should be warm, but not boiling hot, when poured over the freshly baked Kunafa. If the syrup is too cold, it may not penetrate the pastry as effectively; if it’s too hot, it can make the Kunafa soggy. A slightly cooled, warm syrup is just right.
- Ease the Flip with a Spatula: After the initial cooling period, if your Kunafa feels a little stuck to the pan, use a thin, flexible spatula to gently loosen the edges all around before attempting to flip it. This small step can prevent any sticking or tearing, ensuring a perfect inversion onto your serving platter.
- Pressing is Paramount: When forming both the bottom and top layers of dough, press firmly and evenly. This compaction is critical for a cohesive Kunafa that holds its shape and provides a consistent crunch throughout. A measuring cup or flat glass works wonders for this.
Why This Kunafa Recipe Deserves a Spot in Your Kitchen
Beyond its exotic appeal, this cheese Kunafa recipe offers numerous compelling reasons to become your next baking project. It’s an approachable gateway to Middle Eastern cuisine and a guaranteed crowd-pleaser.
- An Easy Introduction to Global Flavors: If you’re looking to explore international desserts, this buttery Kunafa provides the perfect entry point. Its familiar components (like cheese and butter) are combined in a unique way that’s both exciting and comforting.
- Impressive for Any Occasion: Kunafa is a popular Middle Eastern dessert renowned for its stunning appearance and irresistible taste. It’s elegant enough to grace any special occasion, from holiday gatherings to intimate dinner parties, leaving a lasting impression on your guests.
- Simplified Accessibility: This recipe intelligently simplifies a classic, often complex dessert by substituting difficult-to-find ingredients, such as traditional Akawi cheese, with readily available alternatives like mozzarella. This ensures a delicious, authentic-tasting Kunafa without the ingredient scavenger hunt.
- Customizable to Your Taste: While offering a classic flavor profile, this Kunafa recipe is also wonderfully versatile. You can easily customize it to suit your personal preferences or the ingredients you have on hand, experimenting with different nuts or aromatic waters to make it uniquely yours.

Frequently Asked Questions (FAQ) About Kunafa
What is Kunafa dough and where do I find it?
Kunafa dough, also widely known as kataifi pastry, is essentially a type of shredded phyllo dough. It consists of incredibly fine, long strands of pastry that become wonderfully crispy when baked. You can typically find it in the freezer section of most Middle Eastern grocery stores. Many larger American supermarkets also carry it in their specialty or international freezer aisle, usually alongside other phyllo dough products. If local options are limited, it’s also conveniently available online from retailers like Amazon.
Can I use regular butter instead of ghee?
Yes, you can certainly use regular unsalted butter as a substitute for clarified butter (ghee) in this recipe. However, it’s important to note that using ghee will impart a richer, more authentic, and slightly nuttier flavor to your Kunafa. If you opt for regular butter, try to use the highest quality unsalted butter you can find. It’s also highly recommended to melt the butter and then carefully skim off any milk solids that rise to the top. Removing these solids will help prevent the dough from browning too quickly or burning, and will contribute to a crispier finish.
What other substitutions can I make for this easy Kunafa recipe?
This recipe is quite adaptable, allowing for several delightful substitutions to suit your preferences or what you have available:
- For the Mozzarella Cheese: If you’re looking for a different cheesy experience, you can experiment with ricotta cheese. Using ricotta will result in an extra creamy and slightly lighter filling, offering a different but equally delicious texture.
- For the Orange Blossom Water: To introduce a softer, more subtle floral note to your syrup, rose water can be used instead of orange blossom water. Both are traditional Middle Eastern aromatics and offer a beautiful perfume to the dessert.
- For the Pistachio Garnish: While pistachios are classic, feel free to get creative with your garnish. Any variety of finely chopped nuts, such as almonds, walnuts, or even pecans, would make a lovely addition, adding their own unique crunch and flavor.
How do I store leftover kunafa?
Proper storage ensures your delicious Kunafa remains enjoyable for longer. Once your Middle Eastern pastry has completely cooled to room temperature, transfer it to an airtight container. It can then be stored in the refrigerator for up to 3-4 days. For extended storage, you can freeze Kunafa. Wrap individual slices or the entire pastry tightly in plastic wrap, then place it in an airtight freezer-safe container or a heavy-duty freezer bag. It will keep well in the freezer for up to one to two months.
To reheat, for a quick warm-up and melty cheese, microwave a slice for about 30 seconds. To restore the outer layers’ crispness, transfer the microwaved slice (or a cold one) to a pan and heat for 3-5 minutes on each side over medium heat until golden and crispy again.
Why is my kunafa not crispy?
A lack of crispness in your Kunafa is a common issue, but usually easily remedied. The most frequent reason is insufficient baking time in the oven. Kunafa requires a good, long bake to become truly golden brown and develop that signature crispy texture. Make sure you allow it to bake until it reaches a deep, rich golden hue, particularly visible on the bottom layer, before removing it from the oven. Additionally, ensure that every strand of your kataifi dough was thoroughly coated in ghee; dry spots won’t crisp up properly.
Can I make kunafa ahead of time?
Absolutely! Kunafa is a fantastic dessert for making ahead, which can be a real time-saver, especially when entertaining. You can assemble the Kunafa completely, up to the point of baking (step 6 in the instructions), and then refrigerate it, tightly covered, for up to 24 hours. When you’re ready to bake, simply remove it from the fridge and let it sit at room temperature for about 15-20 minutes while your oven preheats. This allows for more even baking. Alternatively, you can bake the Kunafa fully, cool it, store it as described above, and then reheat it in the oven or on a pan to crisp it up again just before serving.
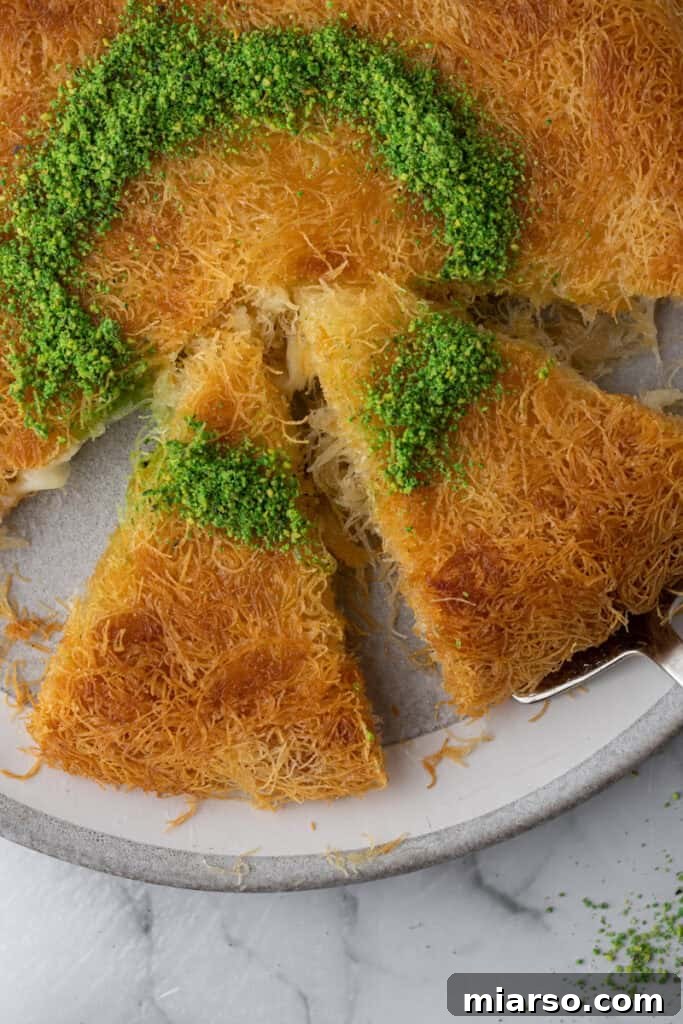
Easy Kunafa Recipe with Simple Ingredients
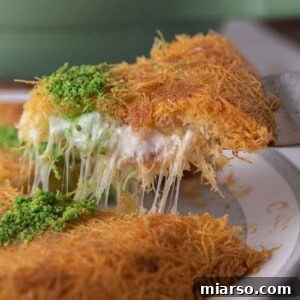
Middle Eastern Kunafah (with Simple Ingredients)
15 mins
50 mins
8 servings
Print Recipe
Ingredients
- 8 oz kunafa dough (thawed)
- 1/2 cup ghee/clarified butter (melted)
- 2 tablespoon granulated sugar
- 1 & 1/4 cup shredded mozzarella cheese
- 1 & 1/4 cup soft mozzarella cheese in water (roughly chopped)
- 1 cup sugar (for syrup)
- 1 cup water (for syrup)
- 1 tablespoon orange blossom water
- Chopped pistachios (for garnish)
Instructions
Make the Kunafa
-
Preheat your oven to 350°F (175°C).
-
In a large bowl, separate the kunafa dough strands to loosen them. Don’t worry about pulling on them too much, smaller pieces of shredded phyllo dough crisps up even better.
-
Pour the melted clarified butter over the dough and sprinkle with the granulated sugar then mix well to ensure all strands are coated. You can do this by repeating that pulling motion that you did in the previous step.
-
Press half of the buttered dough into the bottom of a 10.5-inch round pan, spreading it evenly and pressing it down firmly.
-
Sprinkle the shredded mozzarella and soft mozzarella cheese over the dough, spreading it evenly.
-
Top with the remaining half of the buttered dough, spreading it evenly and pressing it down firmly using the back of a measuring cup or a regular drinking glass.
-
Bake in the preheated oven for about 50-55 minutes, or until the kunafa is golden brown and crispy.
Make the Syrup
-
While the kunafa is baking, prepare the sugar syrup. In a saucepan, combine the sugar and water. Bring to a boil, then reduce heat and simmer for about 10 minutes, or until slightly thickened. Remove from heat and stir in the orange blossom water then allow it to cool down while the kunafa is still baking.
-
Remove the kunafa from the oven and immediately pour the sugar syrup evenly over the hot kunafa. Allow the kunafa to cool for a few minutes, then invert it onto a serving plate.
-
Garnish with chopped pistachios and serve warm. Enjoy your delicious kunafa!
Video
Watch how to make this delicious Kunafa with simple ingredients:
Make crispy, golden kunafa with simple grocery store ingredients! This buttery, cheesy Middle Eastern dessert is easy to bake and topped with a fragrant orange blossom syrup. Perfect for special occasions or a sweet treat anytime!
Nutrition
Carbohydrates: 44g |
Protein: 10g |
Fat: 21g |
Saturated Fat: 12g |
Polyunsaturated Fat: 1g |
Monounsaturated Fat: 6g |
Cholesterol: 56mg |
Sodium: 358mg |
Potassium: 48mg |
Fiber: 1g |
Sugar: 28g |
Vitamin A: 237IU |
Calcium: 181mg |
Iron: 1mg
Nutrition information is automatically calculated, so should only be used as an approximation.
Loved This Easy Kunafa Recipe? Pin It for Later!
If this delightful homemade Kunafa has captured your heart and taste buds, don’t forget to save it for future baking adventures! Pin this recipe to your favorite dessert boards on Pinterest so you can easily find it whenever a craving for this Middle Eastern classic strikes.