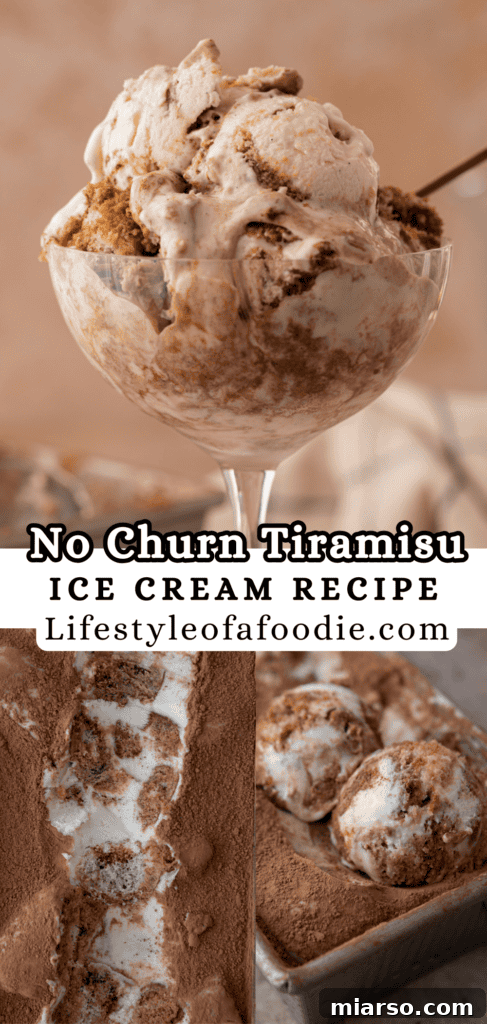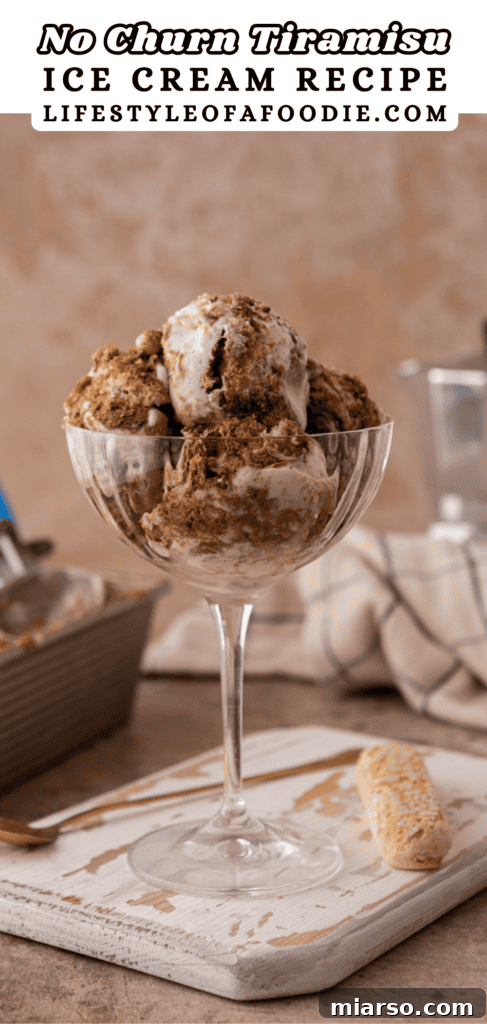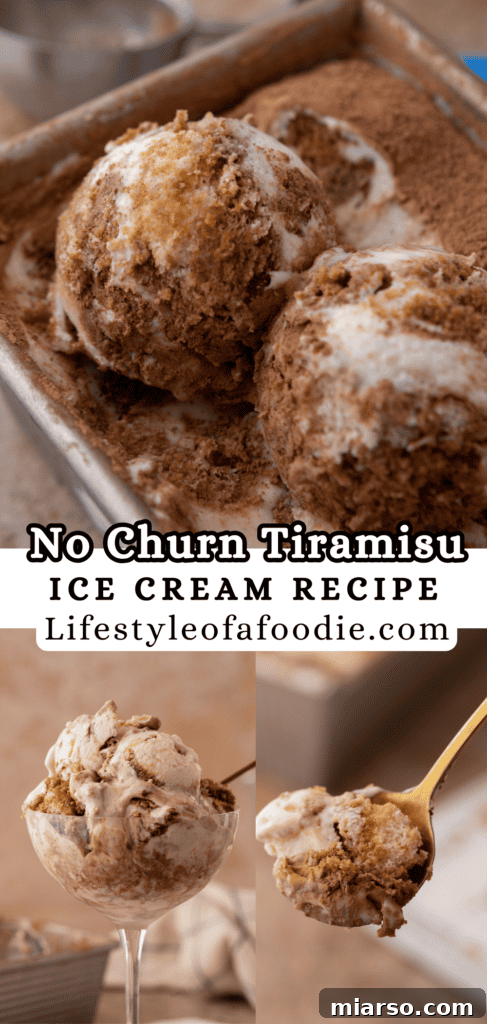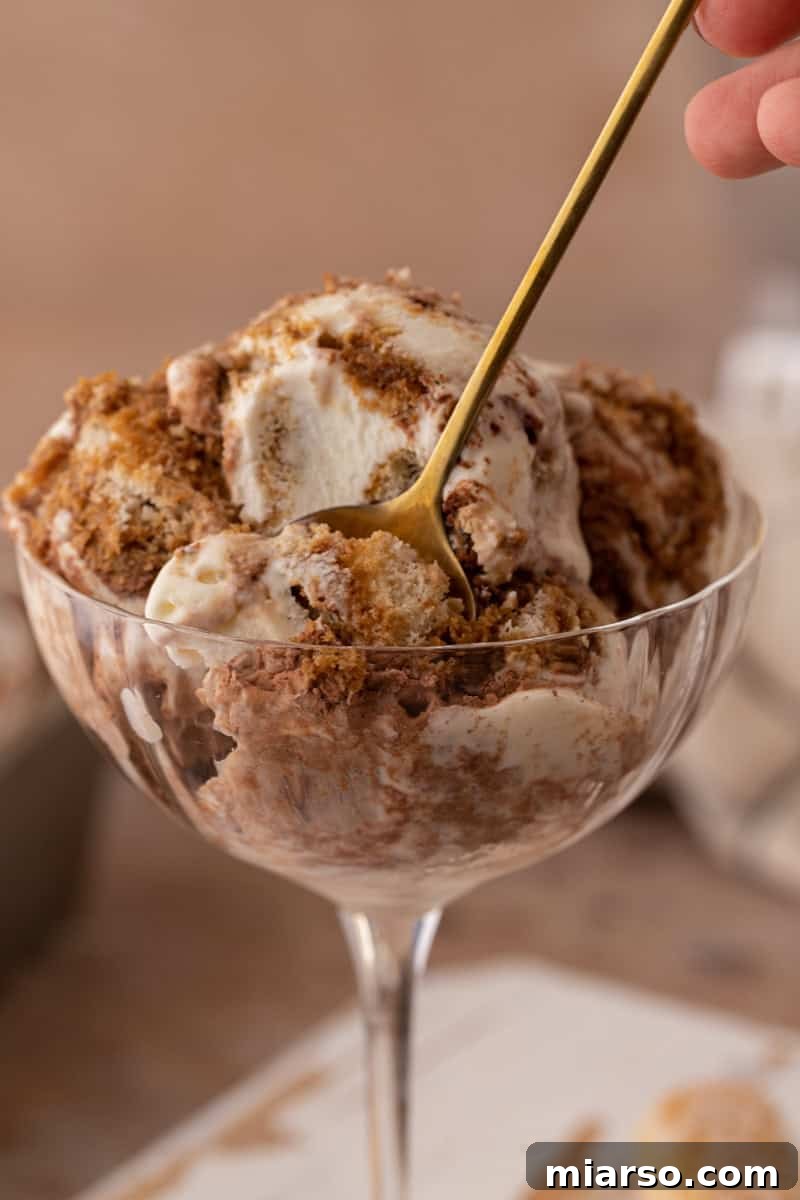
Craving a rich, creamy, and undeniably sophisticated dessert that transports you straight to an Italian café? Look no further! This **No-Churn Tiramisu Ice Cream** recipe is an absolute dream come true for coffee lovers and dessert enthusiasts alike. Imagine the classic layers of coffee-soaked ladyfingers combined with a velvety smooth mascarpone ice cream base, all without the need for an ice cream machine. It’s an effortless indulgence that promises to become a beloved staple in your dessert repertoire.
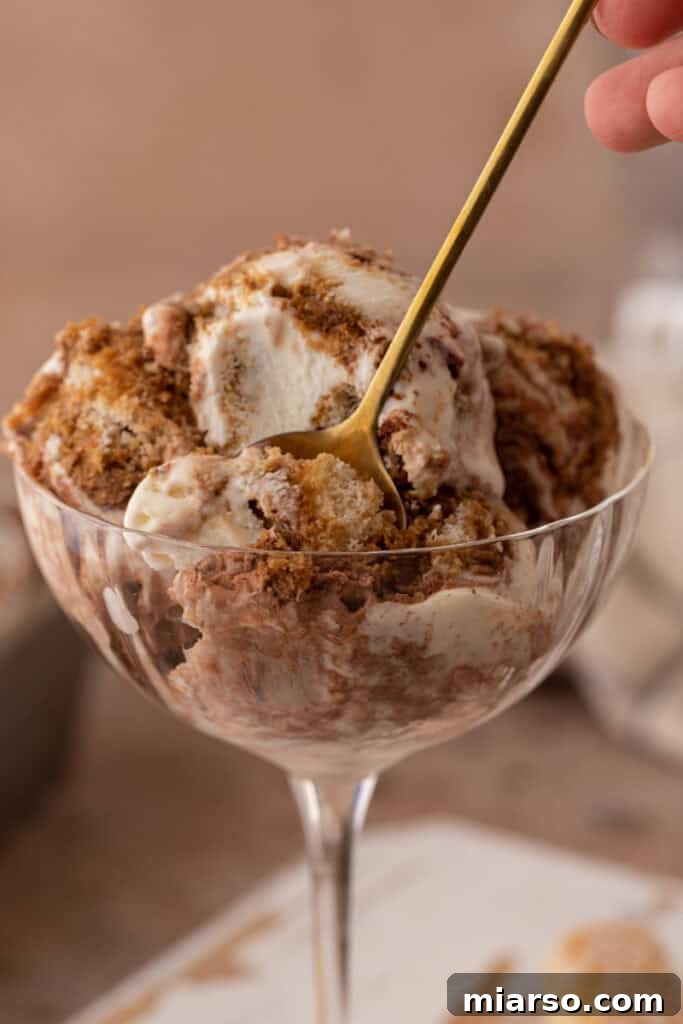
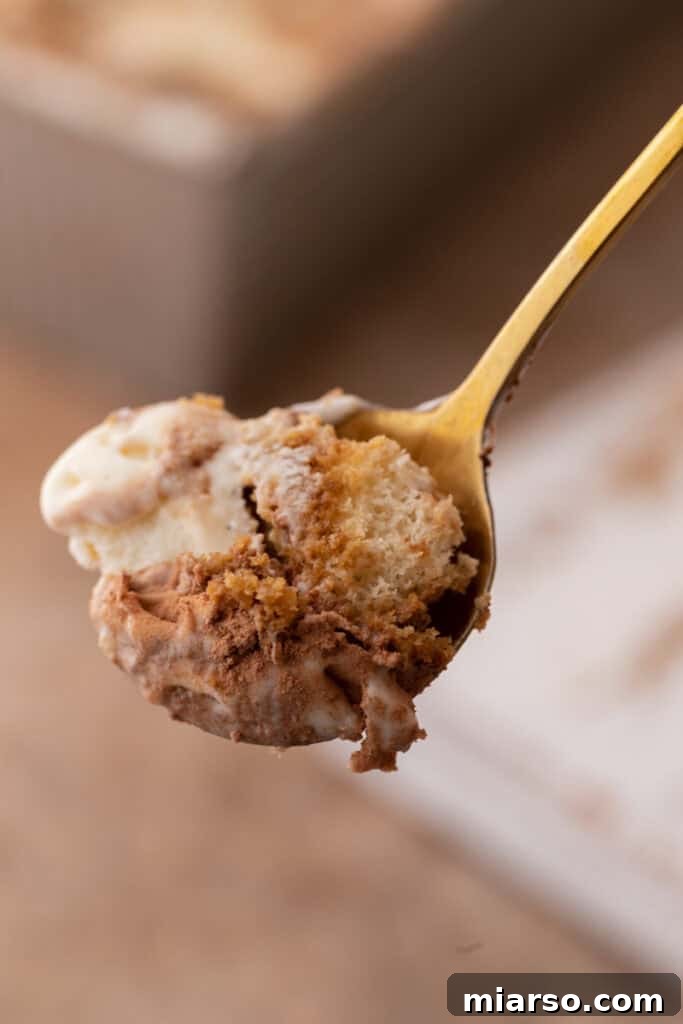
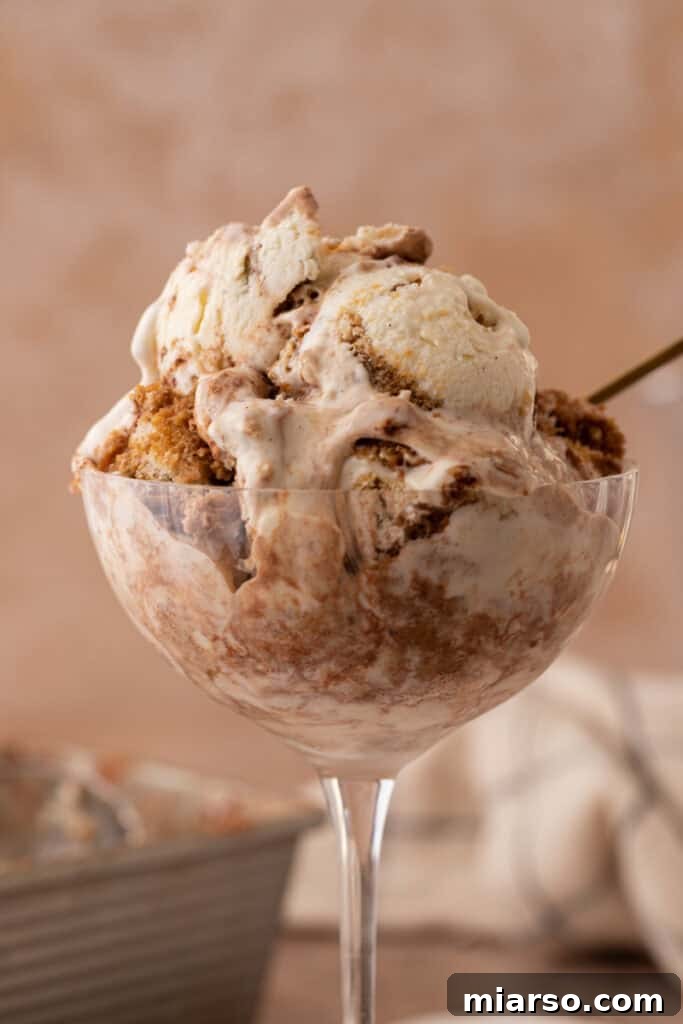
This exquisite dessert masterfully blends the beloved flavors of traditional tiramisu with the refreshing chill of homemade ice cream. Each spoonful offers a harmonious balance of robust espresso, delicate cocoa, and the luxurious tang of mascarpone, all punctuated by tender, coffee-infused ladyfingers. It’s a truly captivating experience for your taste buds, perfect for any occasion – from a casual summer afternoon treat to an elegant after-dinner indulgence. Prepare to embark on a delightful culinary journey with this easy, elegant, and incredibly satisfying no-churn dessert.
Whether you’re hosting a dinner party and want to impress your guests with a unique twist on a classic, or simply treating yourself to a moment of pure bliss, this tiramisu ice cream delivers. Its layered beauty and complex flavors make it a standout dessert that’s surprisingly simple to create. Forget complicated steps and specialized equipment; this recipe is designed for maximum flavor with minimal effort, making gourmet ice cream accessible to everyone. The seamless blend of creamy texture and rich coffee notes will leave you utterly enchanted and craving just one more scoop.
If you’re as passionate about homemade ice cream as we are, you’ll love exploring other delightful recipes. For those looking for healthier options, consider trying a Ninja Creami Protein Ice Cream Recipe. If chocolate is your weakness, our Chocolate No-Churn Ice Cream with Brownies offers an irresistible fudgy treat. And for a versatile classic, don’t miss out on The Best Ninja Creami Vanilla Ice Cream. These recipes are perfect companions to your new favorite tiramisu ice cream, offering a world of creamy, homemade goodness.
Key Ingredients for the Ultimate No-Churn Tiramisu Ice Cream
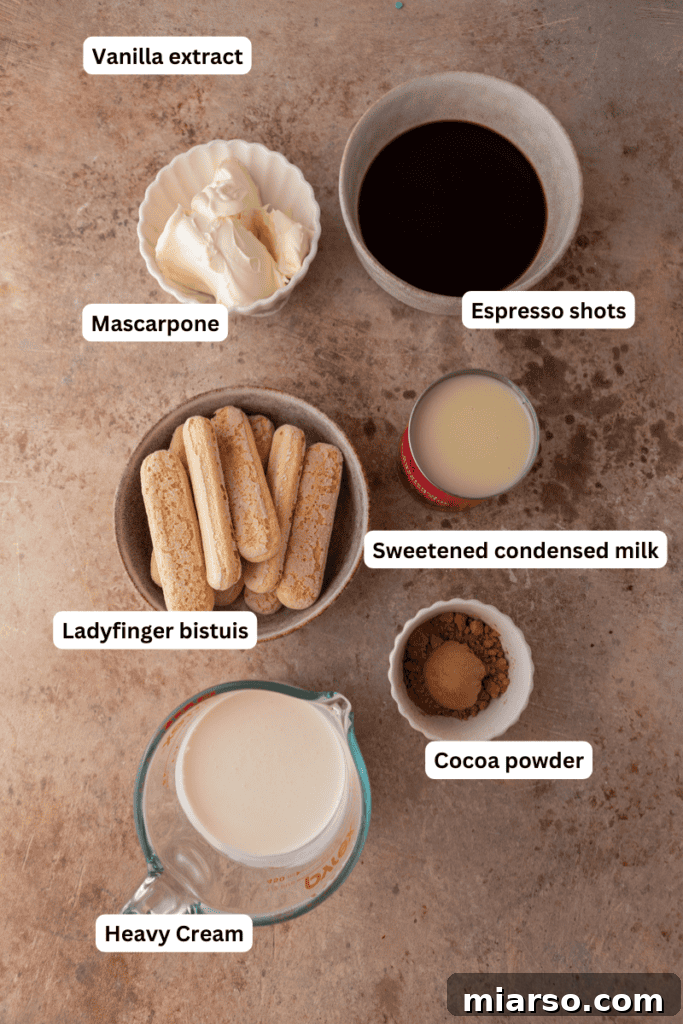
Crafting this incredible no-churn tiramisu ice cream requires just a few high-quality ingredients that come together to create a symphony of flavors and textures. Each component plays a crucial role in replicating the authentic taste of tiramisu in a chilled, scoopable form. Below, we detail the essential ingredients and provide some helpful tips for selecting and preparing them. For precise measurements, please refer to the detailed recipe card at the bottom of this page.
- Heavy Whipping Cream: This forms the rich, airy base of your no-churn ice cream. For the best results, ensure your heavy cream is very cold before whipping. Cold cream whips faster and holds its peaks better, leading to a lighter, more voluminous ice cream. Aim for a cream with at least 36% fat content.
- Mascarpone Cheese: The star of the show for that authentic tiramisu flavor! Mascarpone is an Italian cream cheese, known for its incredibly smooth, rich, and slightly sweet flavor. It’s vital that your mascarpone is softened to room temperature before mixing. This ensures it blends seamlessly with other ingredients, creating a silky-smooth ice cream base without any lumps. Remember to take it out of the refrigerator 30 minutes to an hour before you begin preparing the recipe.
- Sweetened Condensed Milk: This magical ingredient is key to any no-churn ice cream. It provides the perfect balance of sweetness and a wonderfully creamy texture, eliminating the need for an ice cream maker. Its thick consistency helps prevent ice crystal formation, ensuring a smooth and delightful scoop every time.
- Vanilla Extract: A touch of high-quality vanilla extract enhances the complex flavors of coffee and chocolate, adding depth and warmth to the overall profile. For an extra layer of gourmet richness and a beautiful speckled appearance, consider using vanilla bean paste.
- Unsweetened Cocoa Powder: You will need cocoa powder for two purposes in this recipe: to dust the layers for that classic tiramisu look and flavor, and potentially for incorporating into the ice cream base for an even richer chocolate note if desired. Using a good quality unsweetened cocoa powder will provide a deeper, more authentic chocolate bitterness that balances the sweetness of the ice cream.
- Fresh Espresso: The heart of the tiramisu experience! Strong, freshly brewed and cooled espresso is crucial for infusing the ladyfingers with that signature coffee flavor. If you don’t have an espresso machine, a very strong instant coffee dissolved in a small amount of hot water, then cooled, makes an excellent substitute. Ensure it’s fully cooled before using to prevent it from melting the cream layers.
- Ladyfinger Cookies: These light, porous cookies are essential for absorbing the espresso and providing the traditional tiramisu texture. Break them into smaller, manageable pieces that can be easily layered within the ice cream. If you can’t find traditional ladyfingers, a dry, crisp cookie like shortbread or vanilla wafers can be a suitable alternative in a pinch, though the texture will be slightly different.
How to Prepare This Irresistible No-Churn Tiramisu Ice Cream
Creating this coffee-infused dessert is a straightforward process, designed to be enjoyable and rewarding. Follow these detailed steps to achieve a perfectly layered and intensely flavorful no-churn tiramisu ice cream. Precision in each step ensures a delightful outcome. For a comprehensive list of ingredients and measurements, please refer to the recipe card at the end of this post.
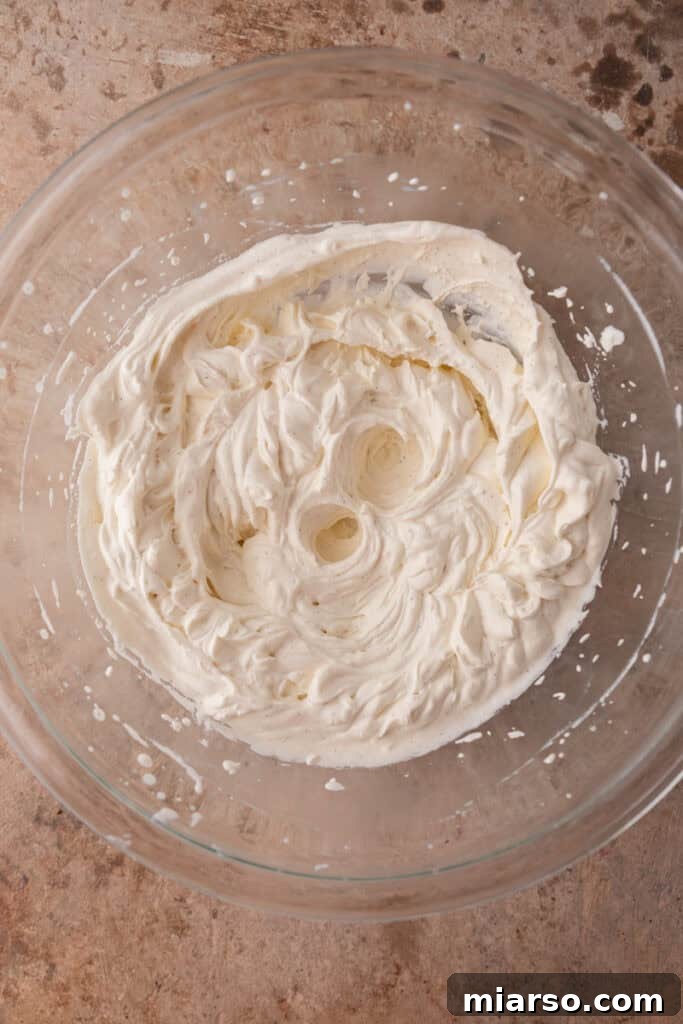
- Whip the Heavy Cream: Begin by pouring the very cold heavy whipping cream into a large mixing bowl. Using either a handheld electric mixer or a stand mixer fitted with a whisk attachment, whip the cream on medium-high speed until it forms stiff peaks. This means that when you lift the whisk, the cream will stand up firmly without collapsing. Be careful not to overmix, as it can turn into butter.
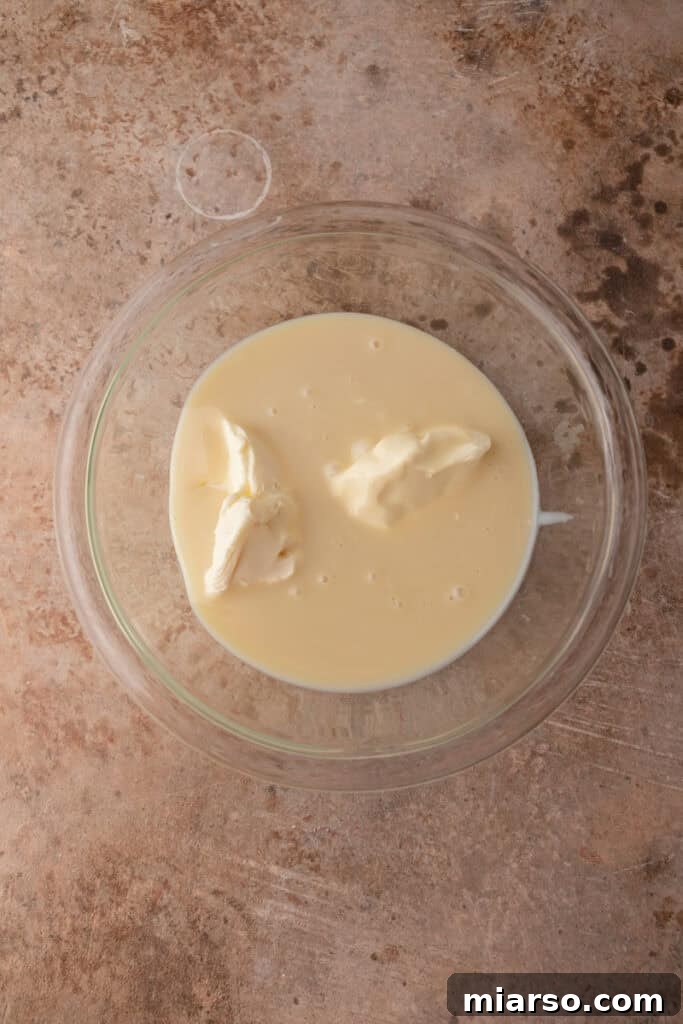
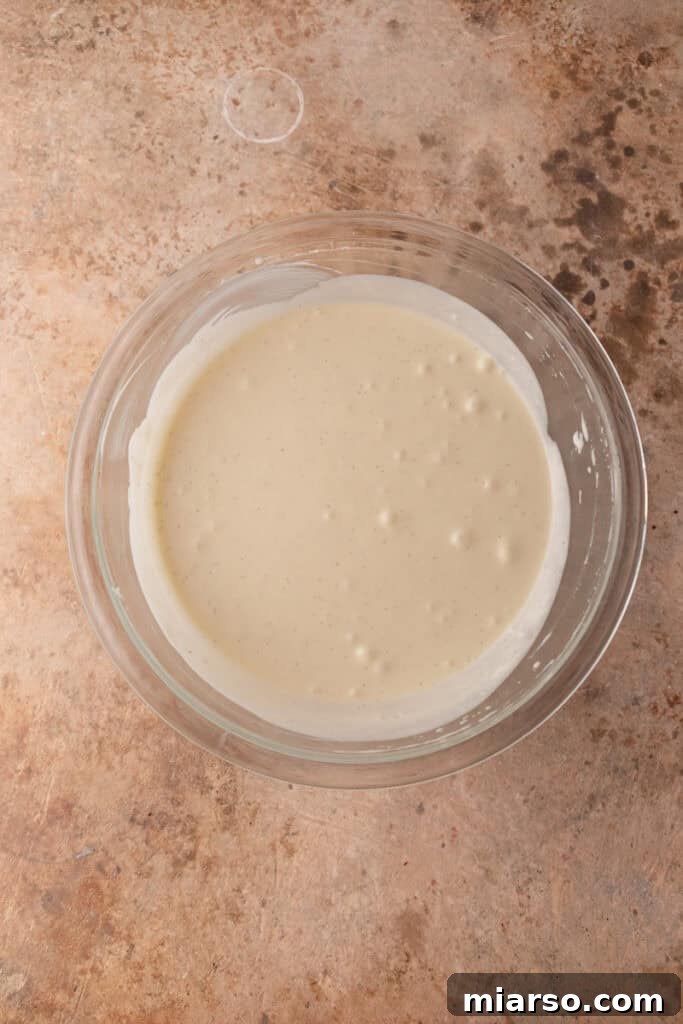
- Prepare the Mascarpone Mixture: In a separate, medium-sized mixing bowl, combine the softened mascarpone cheese, sweetened condensed milk, and vanilla extract (or vanilla bean paste). Whisk these ingredients together until the mixture is completely smooth, creamy, and free of any lumps. The room temperature mascarpone will ensure a silky consistency, which is crucial for the final ice cream texture.
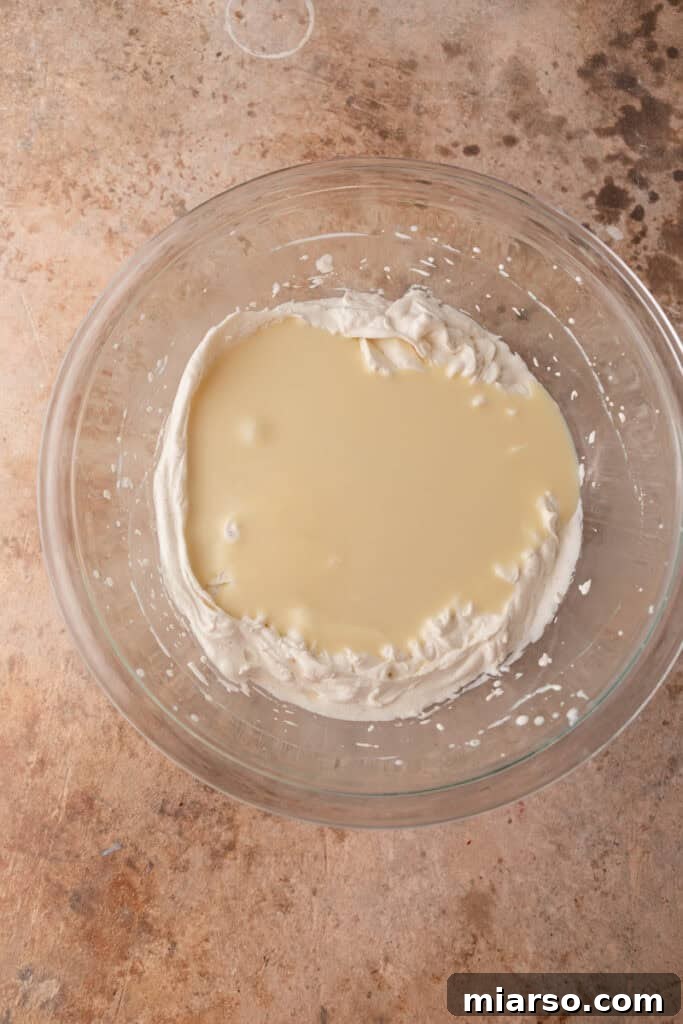
- Gently Combine Mixtures: Carefully pour the mascarpone and sweetened condensed milk mixture into the bowl with the whipped cream. Using a spatula, gently fold the two mixtures together. The key here is to fold, not stir, to maintain as much of the air in the whipped cream as possible. This aeration is what gives the no-churn ice cream its light and fluffy texture, preventing it from becoming too dense. Continue folding until just combined, being careful not to deflate the whipped cream.
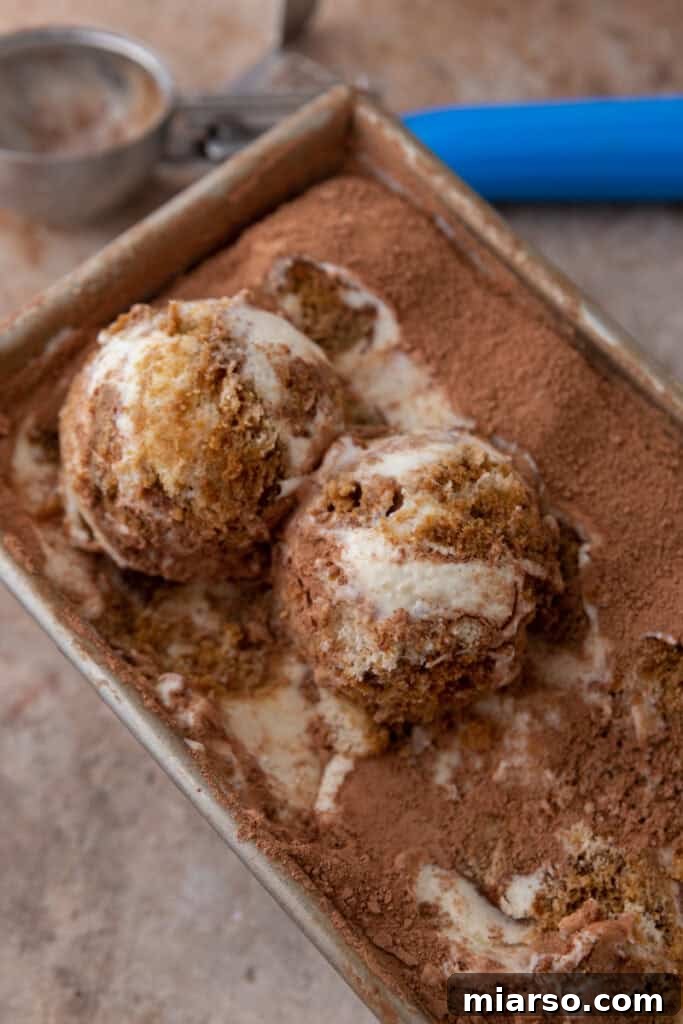
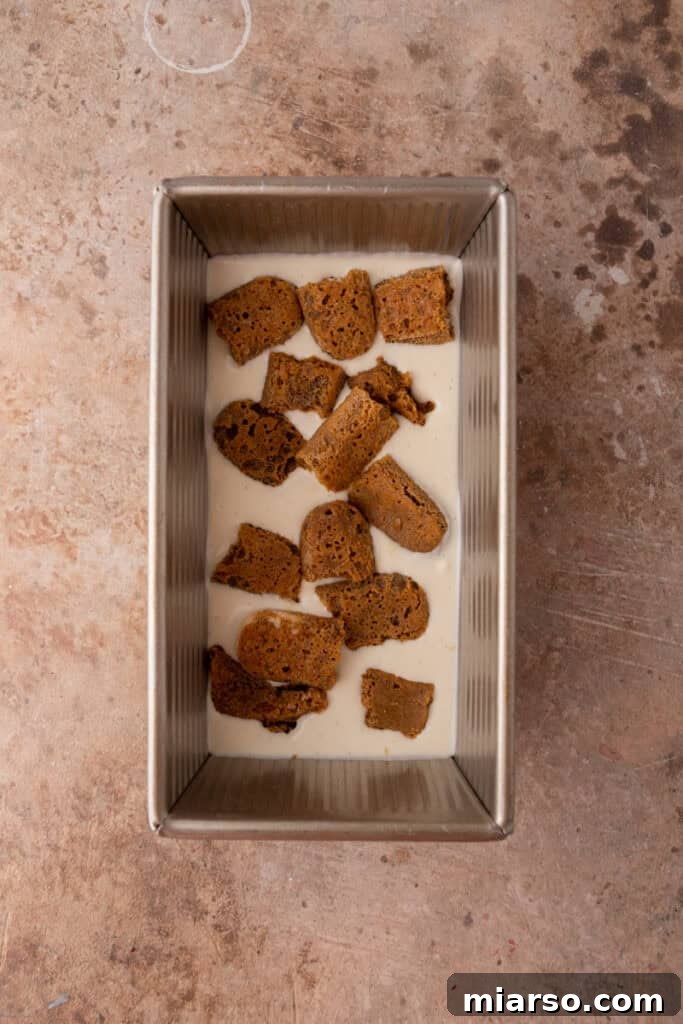
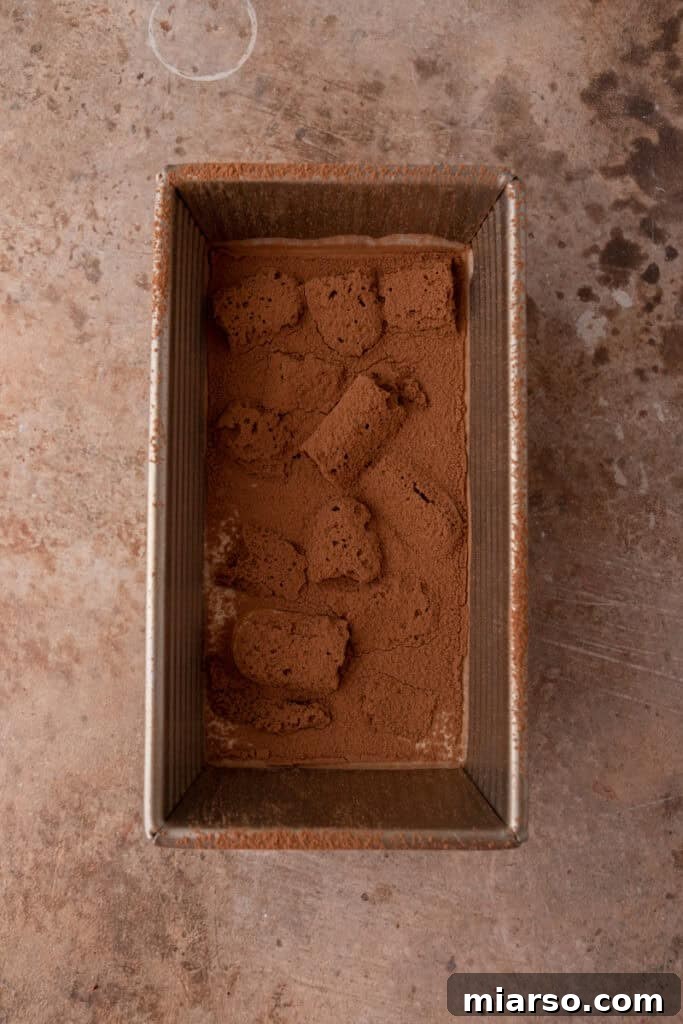
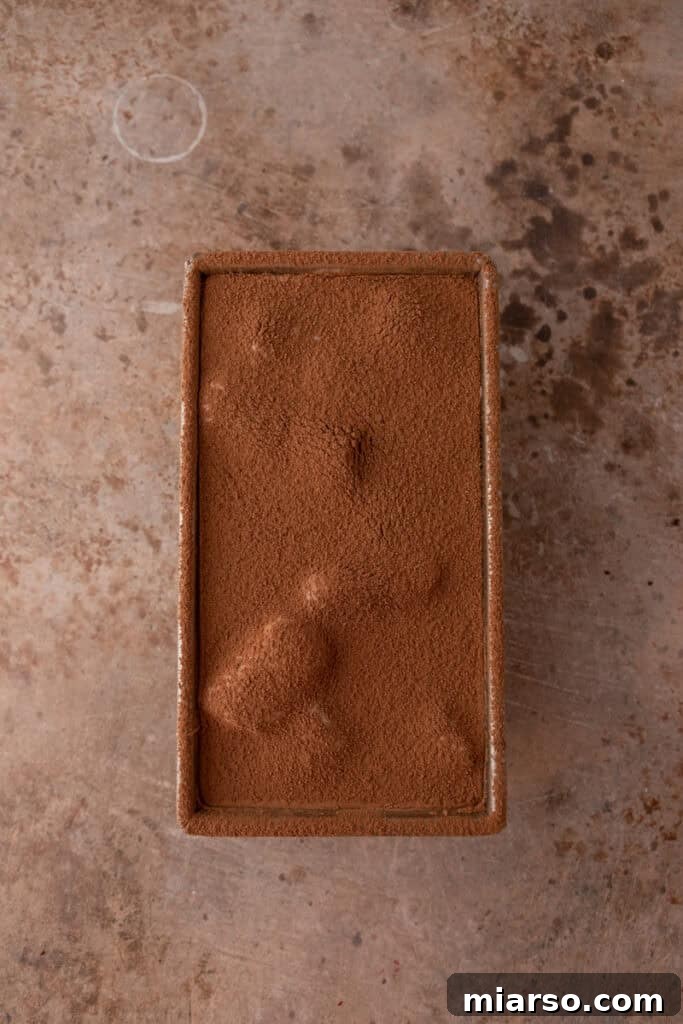
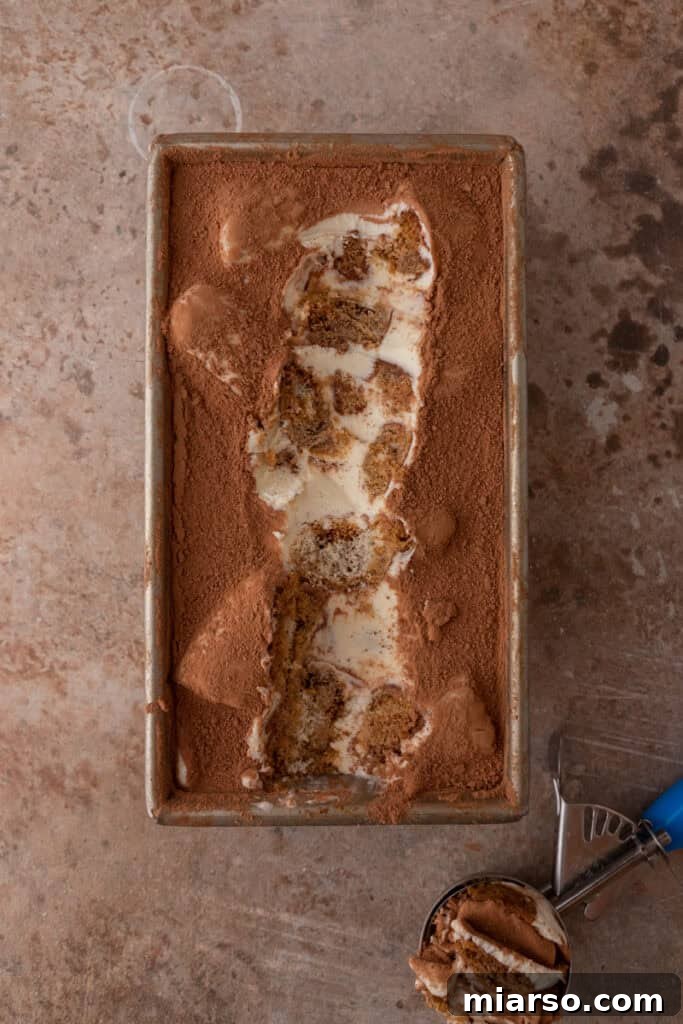
- Assemble the Layers: Select a 9×5 inch loaf pan or another freezer-safe container. Pour approximately one-third of the prepared whipped cream base into the bottom of the pan, spreading it evenly. Next, take your ladyfinger pieces and very lightly dip them into the cooled espresso. Do not soak them for too long, as they will become soggy; a quick dip is sufficient. Arrange half of the espresso-soaked ladyfinger pieces over the first layer of ice cream base. Generously dust this layer with cocoa powder using a fine-mesh sieve. Repeat this layering process: add another third of the whipped cream mixture, followed by the remaining espresso-soaked ladyfingers, and a final dusting of cocoa powder. Finish with the remaining whipped cream mixture, smoothing the top. For an extra touch of elegance, you can add a final, delicate dusting of cocoa powder before freezing.
- Freeze for Firmness: Once all layers are assembled, cover the container tightly with plastic wrap. Ensure the plastic wrap makes direct contact with the surface of the ice cream to help prevent ice crystals from forming and causing freezer burn. Place the covered container in the freezer for at least 6 hours, or preferably overnight, to allow the ice cream to firm up completely and for the flavors to meld beautifully.
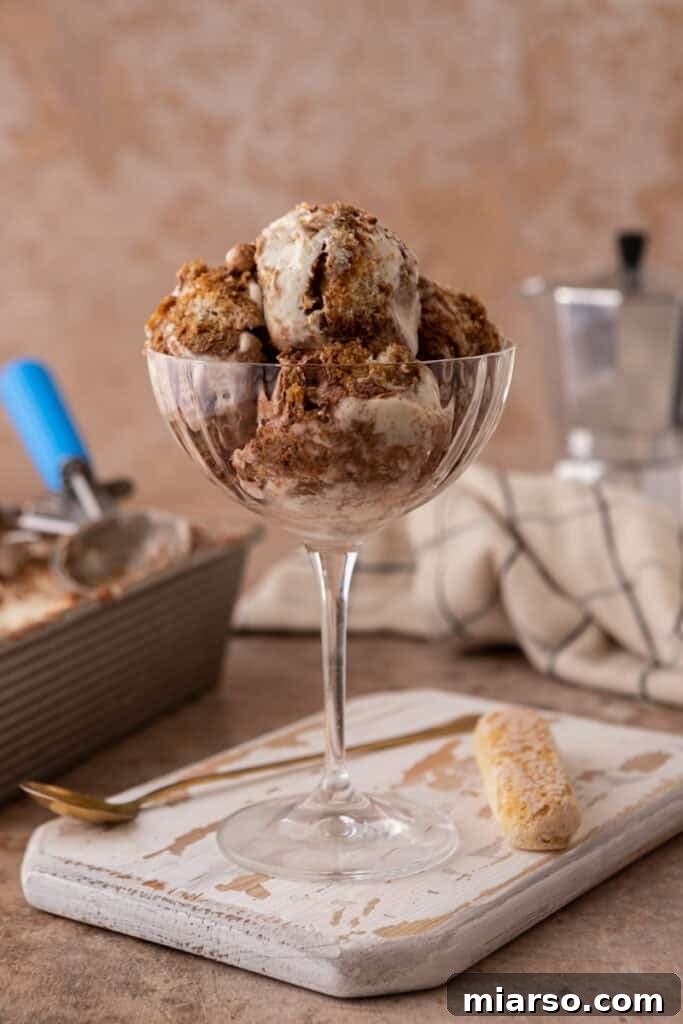
- Serve and Enjoy: When you’re ready to savor your homemade treat, remove the no-churn tiramisu ice cream from the freezer. Allow it to soften slightly at room temperature for a few minutes (typically 5-10 minutes) to achieve the perfect scoopable consistency. Scoop generous portions into individual serving dishes or cones and delight in the rich, invigorating taste of tiramisu in a wonderfully cool and refreshing format!
Why You Absolutely Must Make This No-Churn Tiramisu Ice Cream!
This isn’t just another ice cream recipe; it’s a delightful culinary experience that combines ease, elegance, and incredible flavor. Here are several compelling reasons why this no-churn tiramisu ice cream deserves a prime spot in your kitchen:
- Simplicity with Stunning Results: This incredibly easy recipe requires only a handful of readily available, simple ingredients that you can effortlessly find at any grocery store. You don’t need exotic items or a specialized shopping trip. The magic happens with minimal fuss, transforming everyday ingredients into an extraordinary dessert.
- No Special Equipment Needed: Forget about bulky, expensive ice cream makers! This coffee-flavored ice cream is a true “no-churn” marvel, meaning you won’t need any special equipment beyond standard kitchen tools like a mixer and a freezer-safe container. It’s perfect for home cooks who love delicious desserts but prefer to keep their kitchen gadgets minimal.
- A Fresh Take on a Beloved Classic: It’s a wonderfully fun and delicious twist on classic tiramisu. Instead of the traditional layered cake, you get all those beloved flavors – the rich, strong coffee, creamy mascarpone, and delicate cocoa – in a cool, refreshing ice cream format. It’s a perfect way to enjoy the essence of tiramisu with a delightful temperature contrast, especially on warmer days.
- Superior Homemade Satisfaction: There’s an unparalleled satisfaction that comes from creating a sweet dessert like this at home. Not only does it taste infinitely better and fresher than anything you could buy from an ice cream shop, but the process itself is also incredibly rewarding. It’s a fantastic activity to enjoy with kids, friends, or family, creating memories along with a delectable treat. The quality of homemade ingredients and the absence of artificial additives make it a healthier, more wholesome choice.
- Versatile for Any Occasion: Whether you’re planning a sophisticated dinner party, a casual family barbecue, or just a quiet evening in, this tiramisu ice cream fits perfectly. Its elegant appearance and universally loved flavors make it a crowd-pleaser that suits any event.
- Intense Coffee Flavor: If you’re a true coffee enthusiast, this recipe delivers! It’s packed with a robust coffee flavor, thanks to the espresso-soaked ladyfingers, ensuring that distinctive tiramisu kick in every spoonful.
Frequently Asked Questions – Your No-Churn Tiramisu Ice Cream Guide
Here are answers to some common questions about making and enjoying this delightful no-churn tiramisu ice cream:
How do I store leftover no-churn tiramisu ice cream?
To keep your delicious no-churn tiramisu ice cream fresh and free from ice crystals, store it in an airtight container in the freezer. Before sealing the container, for optimal freshness and to prevent freezer burn, gently press a piece of plastic wrap directly onto the surface of the ice cream. This creates a barrier against air, which is the main culprit for ice crystal formation. Properly stored, your homemade tiramisu ice cream can last for up to two weeks, though it’s so good, it rarely lasts that long!
Can I add alcohol to this recipe for an adult twist?
Absolutely! Adding a touch of liqueur is a classic element in traditional tiramisu and can elevate your ice cream to new heights. For an extra kick and authentic flavor, you can incorporate a tablespoon or two of coffee liqueur, such as Kahlúa or Tia Maria, directly into your cooled espresso mixture before soaking the ladyfingers. Alternatively, a splash of dark rum, brandy, or Marsala wine would also complement the flavors beautifully. Experiment to find your favorite boozy twist!
What type of coffee should I use for the best tiramisu flavor?
For the most authentic and robust tiramisu flavor, freshly brewed, strong espresso is highly recommended. The concentrated nature of espresso provides that deep, rich coffee essence without adding too much liquid. If you don’t own an espresso machine, don’t worry! You can achieve a strong coffee flavor by substituting with strongly brewed coffee. To make strong-brewed coffee, simply use more coffee grounds than usual with less water, creating a more concentrated brew. Ensure the coffee is completely cooled before you use it to soak the ladyfingers; otherwise, it could melt your creamy ice cream base.
Can I make this no-churn tiramisu ice cream recipe dairy-free?
Yes, with a few substitutions, you can certainly adapt this recipe to be dairy-free! Instead of traditional mascarpone cheese, opt for a high-quality dairy-free cream cheese alternative. For the heavy cream, full-fat coconut cream (chilled overnight and scooped from the top of the can) works wonderfully to create that rich, whipped texture. Just make sure to check that all other ingredients, such as your ladyfingers, cocoa powder, and sweetened condensed milk (there are dairy-free versions available!), are also certified dairy-free. While the flavor and texture might have a subtle coconut hint and not be exactly identical to the original, it will still yield a deliciously creamy and satisfying tiramisu-inspired frozen treat!
What can I use if I don’t have mascarpone cheese on hand?
If mascarpone cheese is unavailable at your local grocery store, you can create a suitable substitute. A common alternative is a blend of cream cheese and heavy cream. To prepare this, combine equal parts of softened full-fat cream cheese with cold heavy cream. Whip them together until the mixture is smooth, creamy, and has a consistency similar to mascarpone. This combination will offer a tangier flavor profile than mascarpone but will still provide the necessary richness and texture for your no-churn ice cream base. Ensure the cream cheese is at room temperature for the smoothest blend.
The Best No-Churn Tiramisu Ice Cream Recipe
No-Churn Tiramisu Ice Cream
Print Recipe
Ingredients
- 1 & 2/3 cups heavy whipping cream Cold
- 6 ounces mascarpone cheese softened to room temperature
- 14 oz sweetened condensed milk
- ½ teaspoon vanilla extract or 1 teaspoon vanilla bean paste
- 3 tablespoons Cocoa powder for dusting
- 1/3 cup fresh espresso cooled (or instant coffee dissolved in water)
- 8 ladyfingers broken into pieces
Instructions
-
In a large bowl, use a hand mixer or stand mixer with a whisk attachment to whip the cold heavy whipping cream until stiff peaks form. The cream should hold its shape when the whisk is lifted.1 & 2/3 cups heavy whipping cream
-
In a separate mixing bowl, whisk together the softened mascarpone cheese, sweetened condensed milk, and vanilla extract until the mixture is completely smooth and creamy. Ensure there are no lumps of mascarpone.6 ounces mascarpone cheese, 14 oz sweetened condensed milk, ½ teaspoon vanilla extract
-
Gently pour the mascarpone and sweetened condensed milk mixture into the whipped cream. Using a spatula, carefully fold the ingredients together until just combined. Overmixing will deflate the whipped cream.
-
Pour approximately one-third of the combined whipped cream mixture into a 9×5 inch loaf pan or freezer-safe container, spreading it evenly. Dip the ladyfinger pieces very lightly into the cooled fresh espresso and arrange half of them over the first cream layer. Dust generously with cocoa powder. Repeat this layering: add another third of the whipped cream mixture, followed by the remaining espresso-soaked ladyfingers, and dust with cocoa powder again. Top everything off with the final third of the whipped cream mixture, smooth the top, and add an extra dusting of cocoa powder for presentation. Cover the pan tightly with plastic wrap, pressing it directly onto the surface of the ice cream.3 tablespoons Cocoa powder, 1/3 cup fresh espresso, 8 ladyfingers
-
Freeze the ice cream for at least 6 hours, or ideally overnight, to ensure it achieves a firm, scoopable texture.
-
When you are ready to serve, remove the ice cream from the freezer and let it sit at room temperature for a few minutes to soften slightly. This will make it easier to scoop. Serve and enjoy the refreshing, rich taste of homemade tiramisu ice cream!
Notes for Success
If traditional ladyfingers are unavailable, you can substitute them with crunchy crushed cookies like shortbread, vanilla wafers, or even graham crackers. This will alter the texture slightly but still provide a delicious base.
To make it boozier, consider adding a splash of your favorite coffee liqueur, dark rum, or amaretto to the coffee mixture before soaking the ladyfingers.
Feel free to get creative with toppings! A simple sprinkle of cocoa powder is classic, but you could also add shaved dark chocolate, a drizzle of chocolate syrup, or chopped toasted nuts like almonds or hazelnuts for extra flavor and textural contrast.
Ensure all dairy ingredients are very cold when whipping and mascarpone is at room temperature for optimal consistency. The temperature difference is key for perfect no-churn ice cream.
Do not oversoak the ladyfingers; a quick dip is all that’s needed to prevent them from becoming mushy in the ice cream.
Nutrition Information
Carbohydrates: 37g |
Protein: 8g |
Fat: 33g |
Saturated Fat: 21g |
Polyunsaturated Fat: 1g |
Monounsaturated Fat: 6g |
Cholesterol: 118mg |
Sodium: 105mg |
Potassium: 272mg |
Fiber: 1g |
Sugar: 29g |
Vitamin A: 1220IU |
Vitamin C: 2mg |
Calcium: 211mg |
Iron: 1mg
Nutrition information is automatically calculated, so should only be used as an approximation.
Love this recipe? Leave a comment below and let us know!

If you enjoyed this No-Churn Tiramisu Ice Cream Recipe, make sure to pin it for later!