
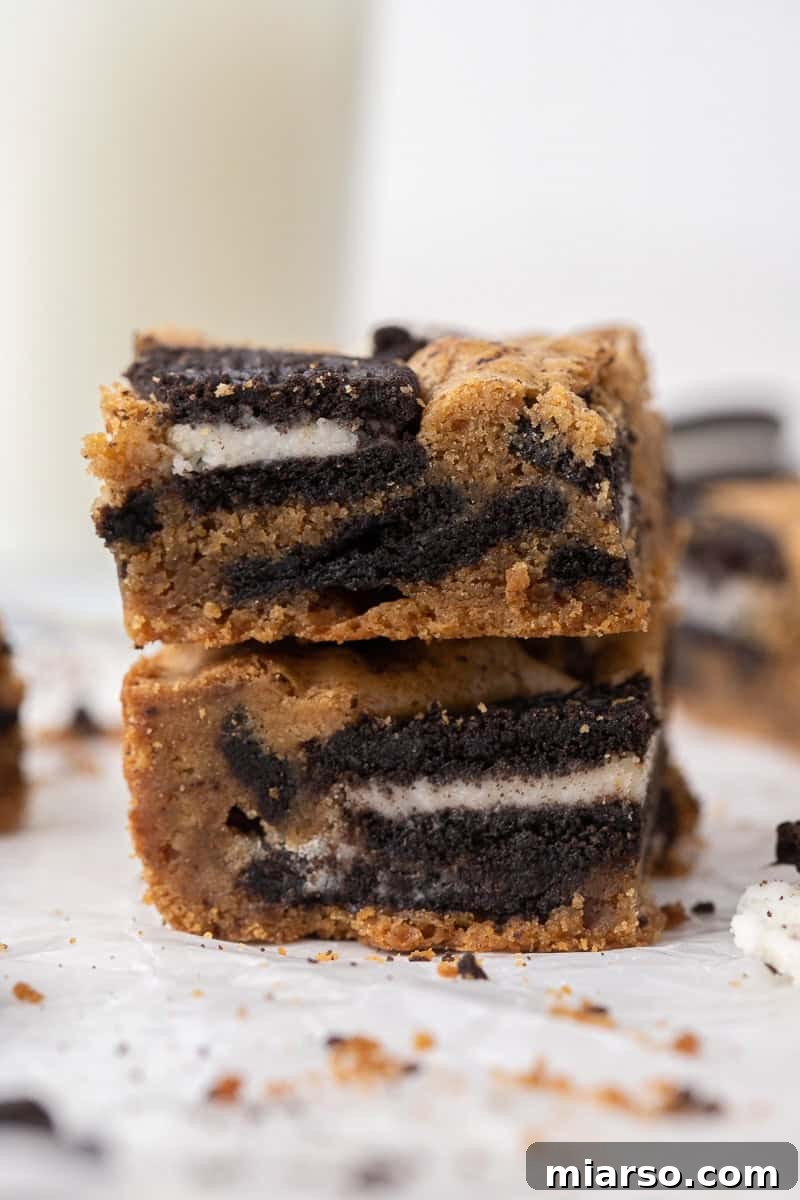
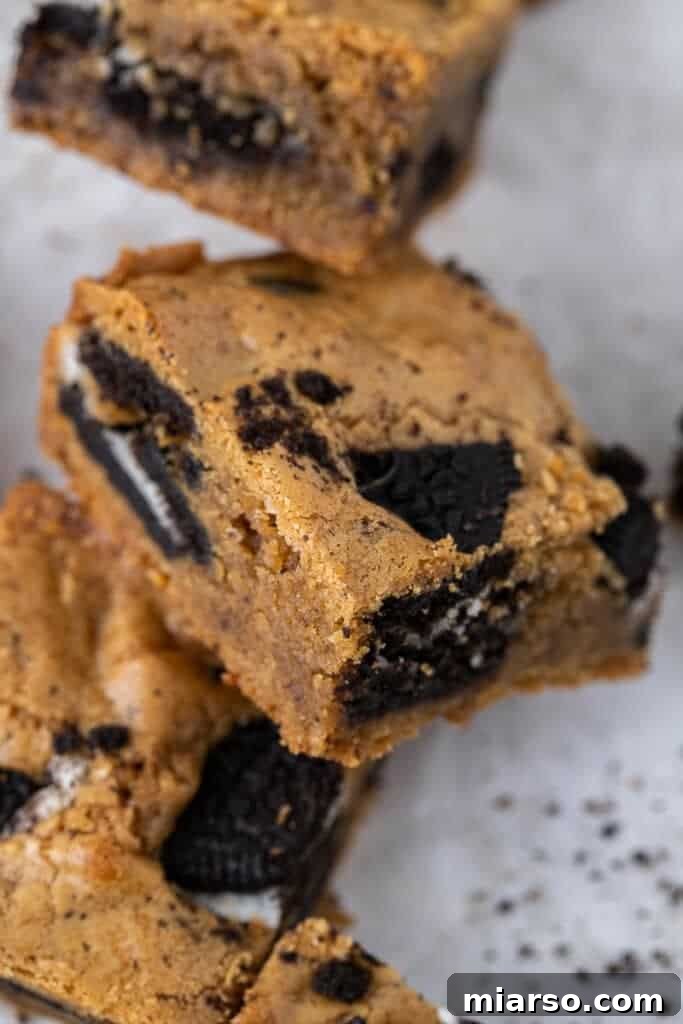
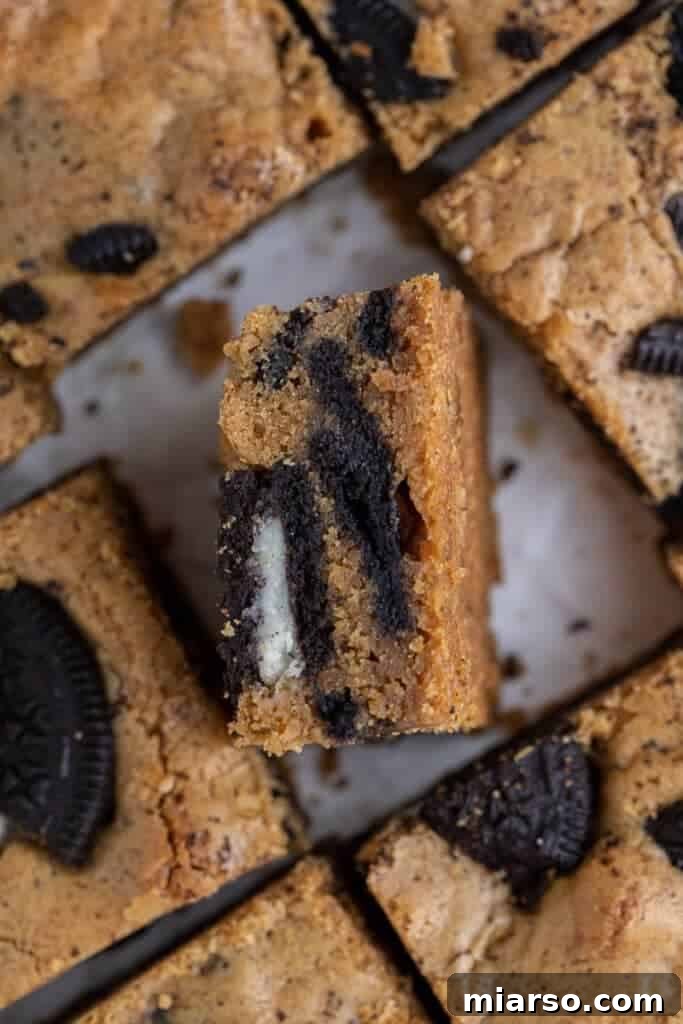
Get ready to discover the ultimate treat: these incredible Oreo Blondies! Imagine rich, fudgy blondies infused with the deep, nutty notes of brown butter and generously studded with chunks of America’s favorite cookie, Double Stuffed Oreos. Baked to perfection, they offer a delightful chewiness and an irresistibly gooey center. This simple yet utterly delicious dessert is guaranteed to become a new favorite in your baking repertoire. It’s truly the simplest path to a truly sensational sweet.
If you’re a fan of cookies and cream desserts, you’ll also adore our Easy Cookies and Cream Skillet Cookie – Oreo Pizookie, explore the delightful Easy Oreo Chocolate Chip Cookies, and for a quick personal indulgence, try our Single Serve Oreo McFlurry McDonald’s Recipe!
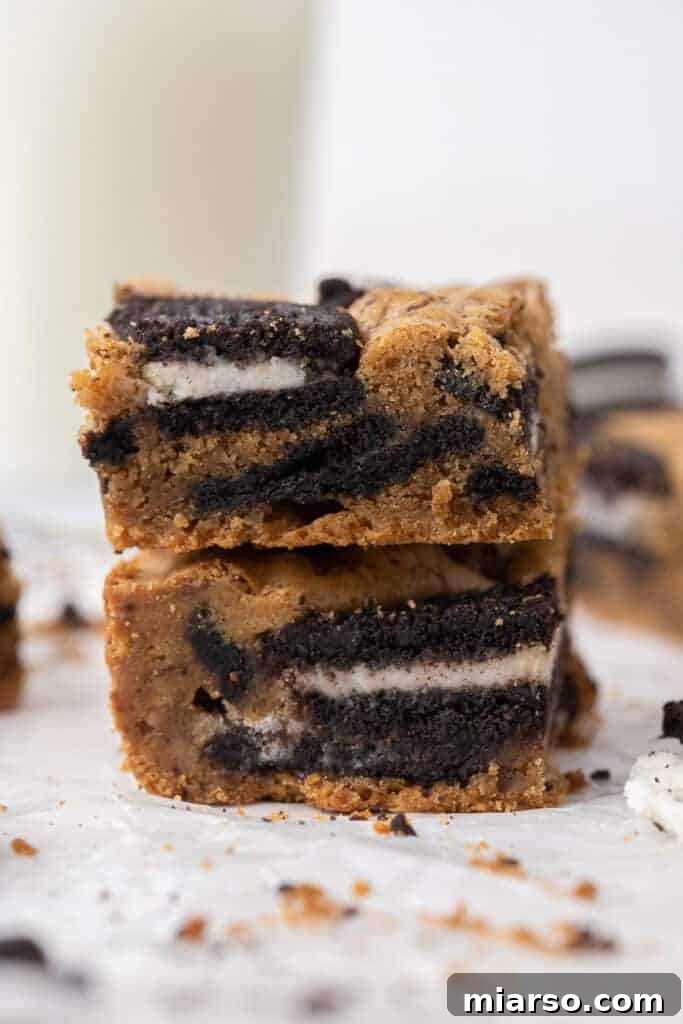
The Best Fudgy Brown Butter Oreo Blondies You’ll Ever Make
There’s something magical about pairing a classic cookie with a decadent cookie bar, and this recipe proves it’s one of the best ideas you’ll ever have in the kitchen. For these incredible blondies, we’ve taken the beloved Double Stuffed Oreos and folded them into a rich, fudgy brown butter blondie batter. This particular brown butter blondie base has been a trusted favorite for years, consistently delivering an astonishingly delicious result every single time.
This recipe isn’t just another sweet treat; it offers an extraordinary depth of flavor that will truly surprise and delight your palate. The combination of the warm, nutty notes from the browned butter and the iconic, deep chocolatey goodness of the Oreos creates an irresistible symphony of tastes. You’ll fall in love from the very first bite. We intentionally chose not to add chocolate chips to this particular mix, fearing they might overshadow the distinct Oreo flavor. However, if you crave an extra layer of chocolate, feel free to toss in a handful of your favorite chocolate chips – they would certainly complement the existing flavors beautifully!
Achieving Perfection: Why These Are the Best Oreo Blondies Ever
While we’re discussing the art of perfect blondies, it’s my pleasure to reveal a key secret to achieving those coveted, picture-perfect 8×8 blondie squares with sharp, clean edges. The real game-changer lies in selecting the right baking pan. A high-quality pan makes all the difference, not just in aesthetics but also in ensuring even baking and that desirable fudgy texture.
For me, those crisp edges elevate the entire experience, making each piece feel like it came straight from a gourmet bakery. If you’re currently in the market for a new baking pan, I wholeheartedly recommend investing in a sturdy 8×8 baking pan, such as the UsaPan. Its robust construction and non-stick properties are invaluable for achieving consistently superior results, making your homemade blondies truly look and taste professional.
Why You Absolutely Must Make These Easy Oreo Blondies!
Beyond their incredible taste, these Oreo blondies offer a multitude of reasons to whip up a batch today:
- Effortlessly Simple: The process is wonderfully straightforward. It’s a quick mix, spread, and bake, making it perfect for bakers of all skill levels.
- Minimal Ingredients: You’ll only need a handful of common pantry staples to bring these delicious bars to life, simplifying your shopping and preparation.
- One-Bowl Wonder: Say goodbye to a mountain of dirty dishes! This recipe primarily uses a single bowl for mixing, ensuring a quick and easy cleanup afterward.
- Ideal for Any Occasion: Whether it’s a last-minute birthday celebration, a potluck, a holiday gathering, or simply a craving for something sweet, these blondies are a perfect crowd-pleaser.
- Highly Versatile: This base recipe is incredibly adaptable. You can easily tweak it with different Oreo flavors, additional mix-ins, or toppings to suit your personal preferences.
- Guaranteed Fudgy Texture: Our carefully crafted recipe ensures a consistently fudgy and chewy blondie, never dry or cakey.
- Brown Butter Boost: The secret ingredient, brown butter, adds an unparalleled nutty, caramel-like depth that transforms a simple blondie into something truly extraordinary.
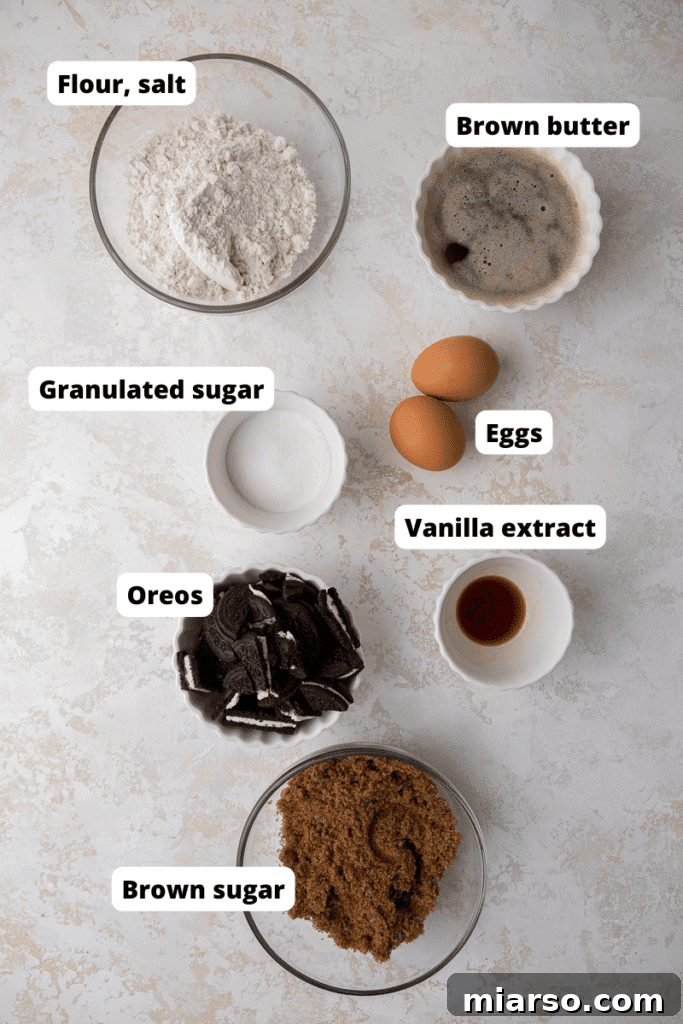
Essential Ingredients for Perfect Oreo Blondies
Gathering your ingredients is the first step towards these sensational blondies. Here’s a detailed look at what you’ll need and why each component is important:
- Butter: You can opt for either salted or unsalted butter for this recipe. The crucial step here is browning the butter, which infuses the blondies with an incredible nutty, caramel-like flavor, adding a layer of depth that simply can’t be achieved otherwise. This brown butter is the heart of our blondie’s unique taste.
- Brown & Granulated Sugar: A precise blend of both brown and granulated sugars is key to the perfect texture. Brown sugar contributes moisture and a rich, molasses flavor, resulting in a wonderfully chewy blondie. Granulated sugar ensures a crisp top and contributes to the overall sweetness and structure, creating that delightful contrast.
- Eggs: Use large, room-temperature eggs. Eggs act as a binding agent, providing structure and richness to the blondies. Bringing them to room temperature allows them to incorporate more smoothly into the batter, preventing curdling and leading to a more uniform, tender crumb.
- Vanilla Extract: A high-quality vanilla extract is a must. It enhances all the other flavors, adding a warm, aromatic note that complements both the brown butter and the Oreos beautifully. Don’t skip this essential flavor enhancer!
- All-Purpose Flour: Standard all-purpose flour works perfectly for these blondies, providing the necessary structure without making them tough. It’s important to measure your flour correctly, preferably by weight, to avoid a dry or dense outcome.
- Salt: A small amount of salt is vital in almost all baked goods. In this recipe, it expertly balances the sweetness, enhancing the complex flavors of the brown butter and Oreos and preventing the blondies from tasting overly saccharine.
- Double Stuffed Oreos: The star of the show! Using Double Stuffed Oreos ensures maximum creaminess and a more pronounced Oreo flavor and texture throughout your blondies. Roughly chop them for delightful chunks in every bite, reserving some for a beautiful topping.
Step-by-Step Guide: How to Make the Best Fudgy Oreo Blondies
Crafting these delicious blondies is a straightforward and rewarding process. Follow these detailed steps to ensure perfectly fudgy and flavorful results:
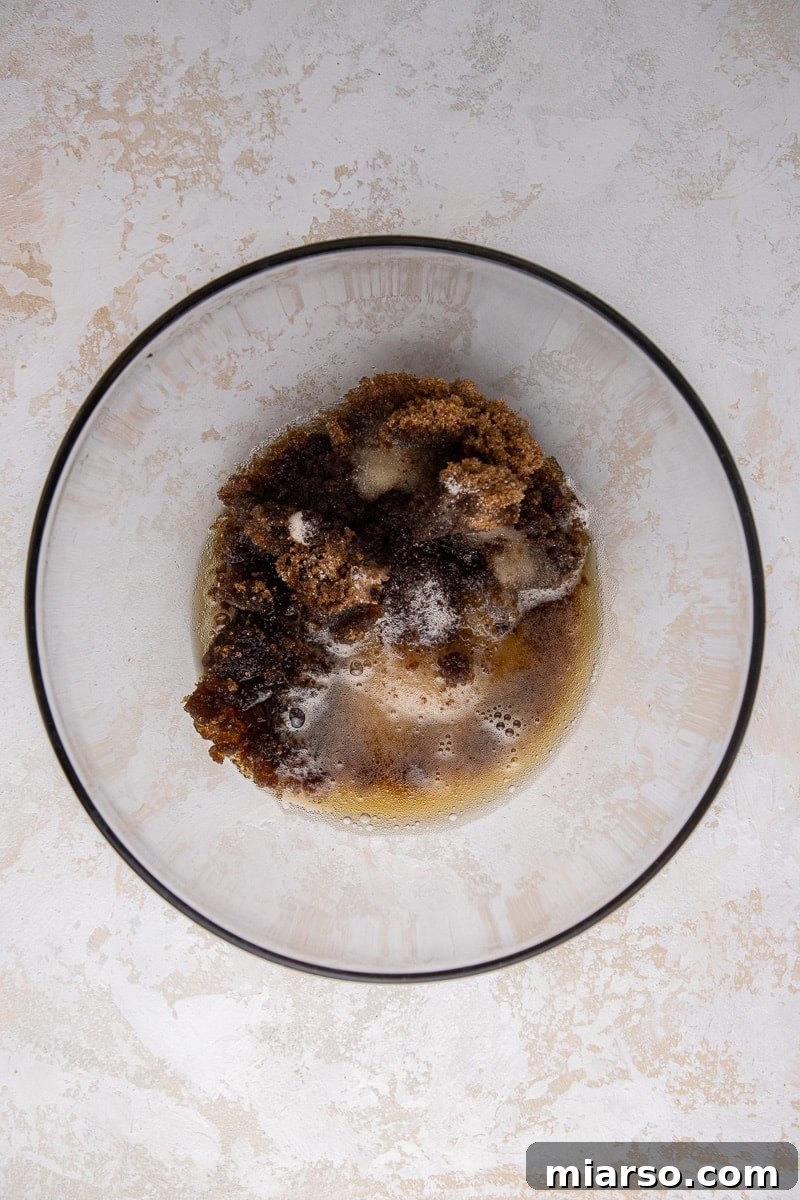
- Brown the Butter: Begin by browning your butter. This critical step adds a deep, nutty, and almost caramel-like flavor that elevates the entire blondie. In a light-colored, heavy-bottomed saucepan over medium heat, melt the butter. Continue to cook, stirring frequently, until the butter turns a beautiful golden-brown color and emits a wonderfully nutty aroma. Small brown bits will form at the bottom – these are where the flavor is! Once browned, immediately remove it from the heat and transfer it to a heat-proof bowl to cool slightly. It doesn’t need to harden, just cool down to room temperature so it doesn’t scramble the eggs.
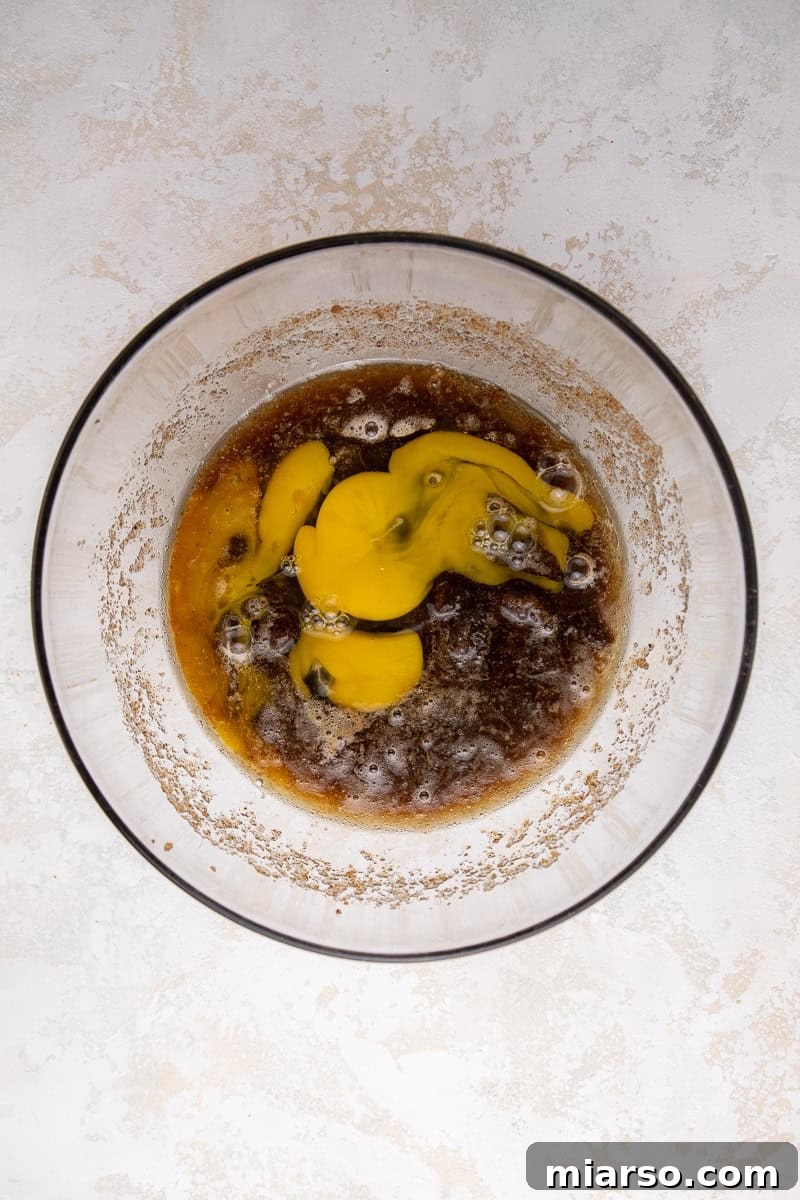
- Combine Wet Ingredients: Once your brown butter has cooled, combine it with both the brown and granulated sugars in a large mixing bowl. Beat these ingredients together until they are well combined and lightened in color, creating a rich, flavorful base for your blondies.
- Incorporate Eggs and Vanilla: Add the room temperature eggs one at a time, beating well after each addition. Stir in the vanilla extract. Continue to whip the mixture until it becomes noticeably lighter in color, thick, and fluffy. This aeration process is key to achieving that desirable crinkly top on your blondies.
- Fold in Dry Ingredients: Gently fold in the all-purpose flour and salt. Mix just until the flour streaks disappear. Be careful not to overmix the batter, as this can lead to tough blondies. Overmixing develops the gluten in the flour too much, taking away from the tender, fudgy texture we’re aiming for.
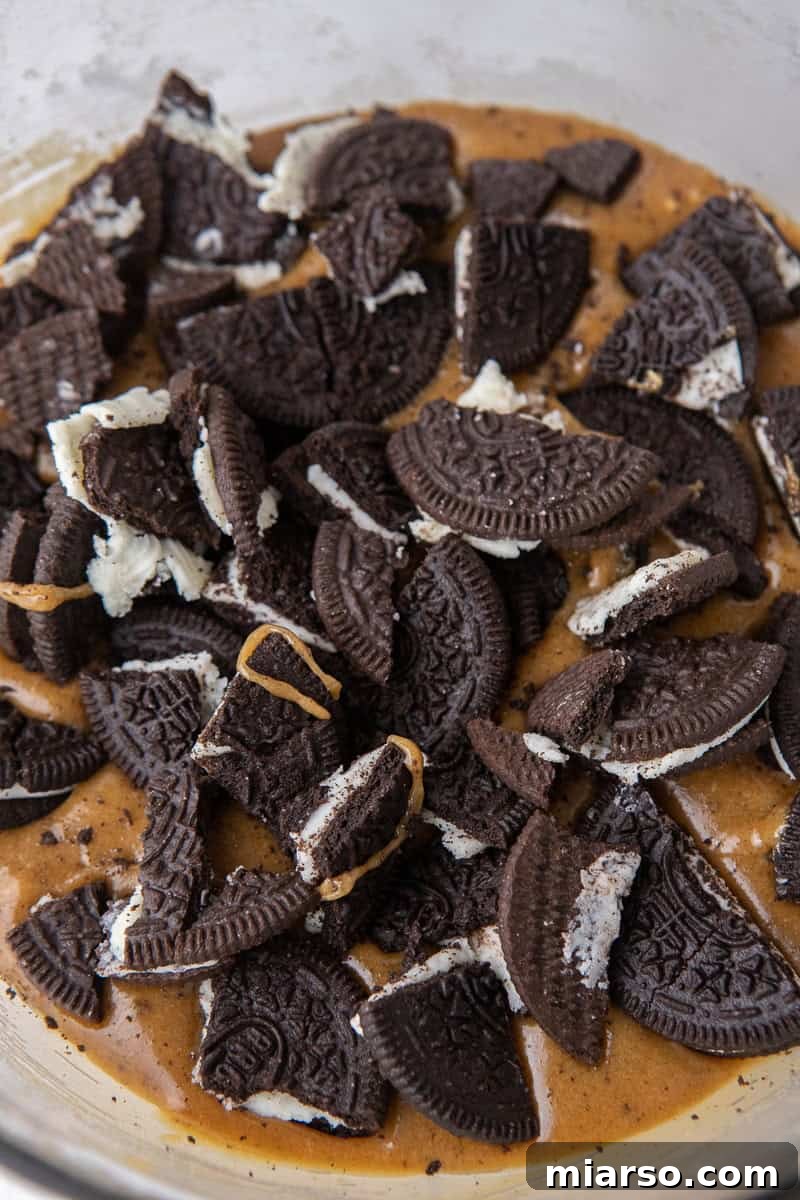
- Add Oreos: Finally, fold in the roughly chopped Double Stuffed Oreos. Distribute them evenly throughout the batter, but again, avoid overmixing. You want generous chunks of Oreo in every bite!
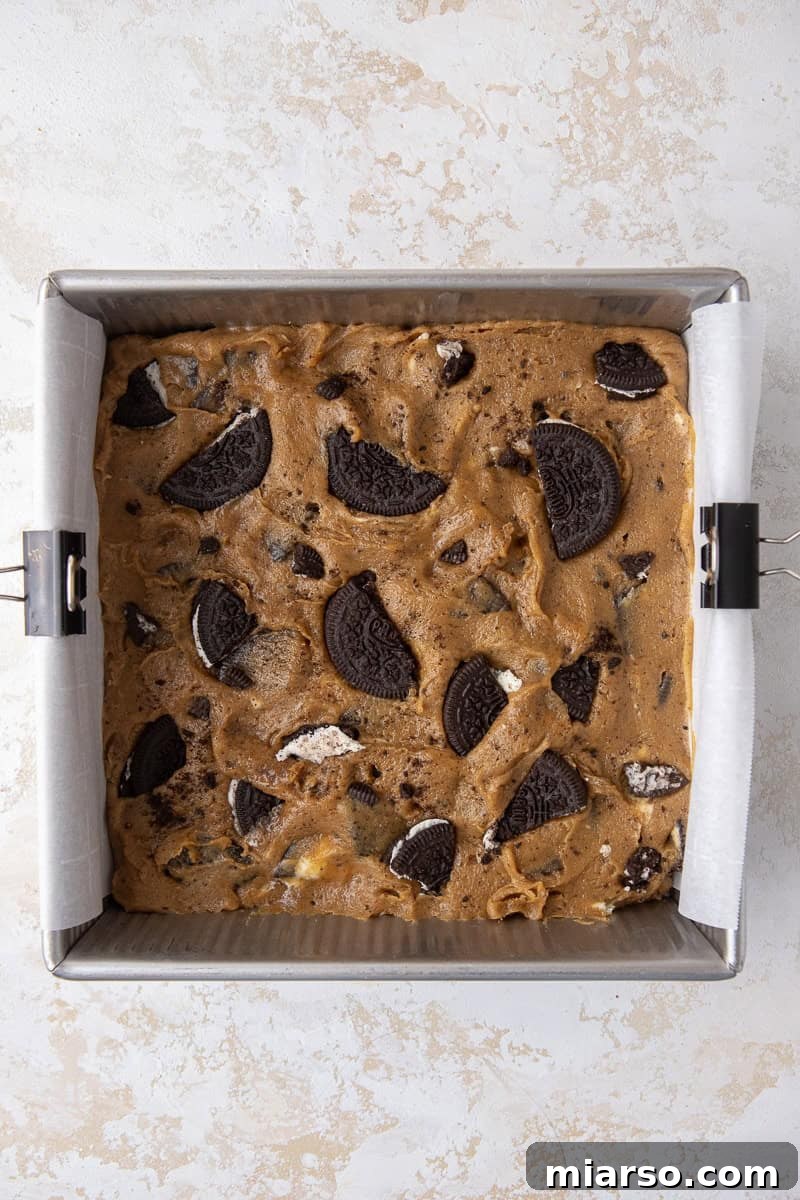
- Prepare and Bake: Pour the blondie mixture into your prepared 8×8-inch baking pan, lined with parchment paper for easy removal. Smooth the top with a spatula. For an extra visual appeal and burst of Oreo flavor, sprinkle a few additional chopped Oreos on top of the batter before baking. Bake in a preheated oven until the edges are set and lightly golden, and the center is still slightly soft (it will continue to set as it cools).
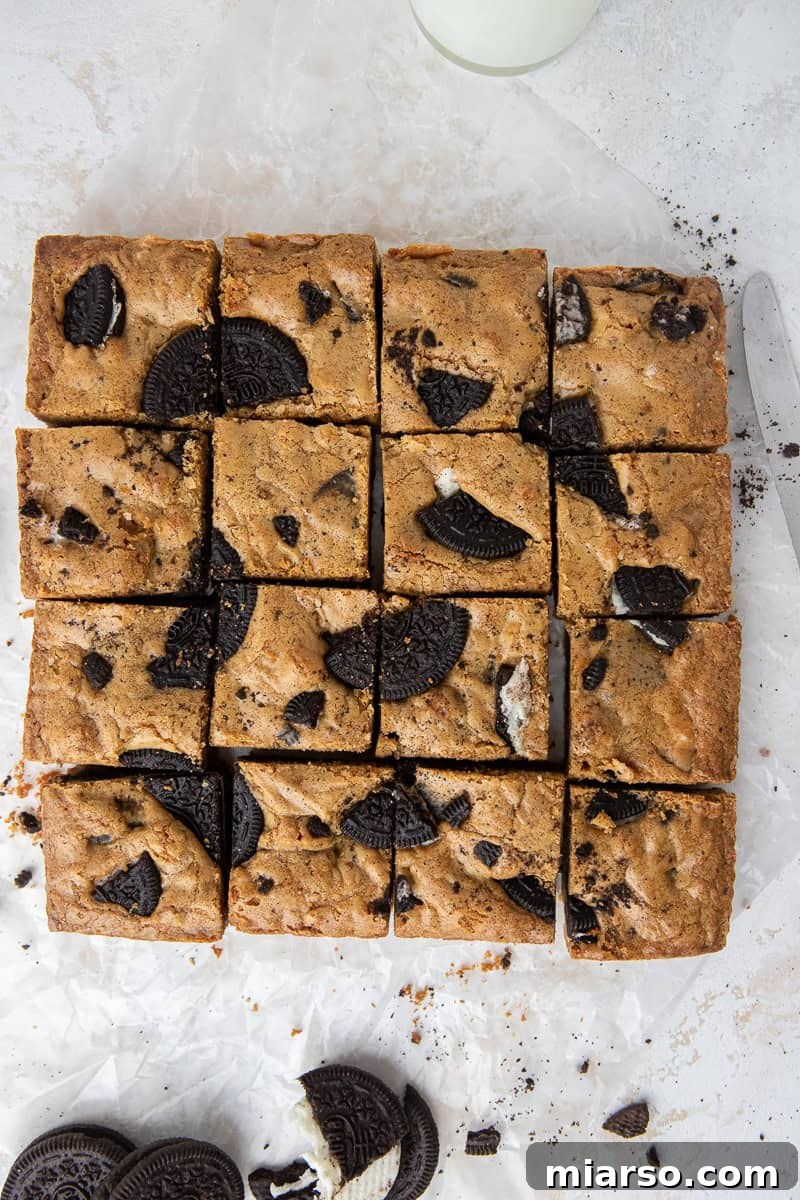
- Cool Completely: This is arguably the most important step for achieving truly fudgy and sliceable blondies. Allow the bars to cool completely in the pan on a wire rack for at least 1-2 hours, or until they reach room temperature. Resist the urge to cut into them while they are still warm; they need this time to set properly and develop their signature fudgy texture. Once fully cooled, lift them out of the pan using the parchment paper, slice into squares, and enjoy!
Frequently Asked Questions (FAQ) About Oreo Blondies
How to Store Oreo Blondies?
To keep your delicious Oreo blondies fresh, store them in an airtight container. At room temperature, they will remain wonderfully moist and fudgy for up to 4 days. If you prefer them chilled, or want to extend their freshness, you can store them in an airtight container in the refrigerator for up to 7 days. Many people, myself included, actually prefer the slightly firmer texture of chilled blondies! When you’re ready to enjoy a chilled blondie, a quick zap in the microwave for a few seconds will bring back that warm, gooey center, making them taste freshly baked.
Expert Tips for Browning Butter Properly
Browning butter is a simple technique that adds incredible depth of flavor, but it requires a little attention to detail:
- Use a Heavy-Bottomed Pan: A light-colored, heavy-bottomed saucepan is your best friend. The heavy bottom distributes heat more evenly, preventing scorching, and the light color allows you to easily monitor the butter’s changing hue, ensuring you don’t over-brown it.
- Stir Continuously: Keep the butter moving by stirring it constantly. This helps the milk solids brown evenly and prevents them from sticking and burning at the bottom of the pan.
- Watch Closely: Be patient in the beginning, as it might seem like nothing is happening for a few minutes. However, once the butter starts to foam and change color, the browning process accelerates very quickly. It can go from perfectly golden to burnt in a matter of seconds, so do not walk away from the stove!
- Beyond the Foam: Initially, the butter will melt, then foam extensively. The true browning magic happens after this thick foam stage, when the milk solids begin to separate and toast at the bottom. You’ll see tiny amber-colored specks forming.
- Cool Down: Once you’ve achieved that beautiful golden-brown color and nutty aroma, immediately remove the pan from the heat. Transfer the browned butter (and all those delicious brown bits) into a separate, cool bowl. This stops the cooking process and prevents it from burning. Allow it to cool down to room temperature before incorporating it into your blondie batter. It doesn’t need to solidify, just cool enough so it won’t cook the eggs.
Can I Freeze Brown Butter Oreo Blondies?
Absolutely! These brown butter Oreo blondies freeze beautifully, making them perfect for meal prep or having a sweet treat on hand whenever a craving strikes. You can freeze them whole in a block, or slice them into individual bars first. Place them in an airtight freezer-safe container or wrap them tightly in plastic wrap and then foil to prevent freezer burn. They will keep well in the freezer for up to one month.
When you’re ready to enjoy them, you have a few options: thaw them in the refrigerator overnight, let them come to room temperature on the counter for a few hours, or, for an instant warm and gooey experience, pop an individual bar into the microwave for a few seconds until heated through. Enjoy them immediately!
Can I Double This Recipe?
Yes, you certainly can! This recipe is easily scalable. If you’re baking for a larger gathering or simply want more delicious blondies, doubling the ingredients will work perfectly. When doubling, you will typically need to use a larger baking pan, such as a 9×13-inch pan. Keep in mind that a larger batch in a bigger pan might require a few additional minutes of baking time. Always keep an eye on your oven and use the visual cues – golden edges and a slightly soft center – to determine doneness.
The Best Oreo Blondies Recipe
The Best Oreo Blondies
25
25
50
16 squares
Equipment
Ingredients
- 3/4 cup unsalted butter
- 3/4 cup light brown sugar, packed
- 1/4 cup granulated sugar
- 2 large eggs, room temperature
- 1 tsp pure vanilla extract
- 1 1/4 cup all-purpose flour
- 1 tsp salt
- 10 Double Stuffed Oreos (roughly chopped, with extra for topping)
Instructions
Part 1: Make the Brown Butter
-
In a small, light-colored heavy-bottomed saucepan, melt the butter over medium heat. Stir continuously to prevent sticking. Continue cooking for 3-5 minutes, or until the butter turns a rich golden-brown color and gives off a fragrant, nutty aroma. Small brown specks will form at the bottom of the pan.
-
Immediately remove the saucepan from the heat to stop the browning process. Transfer the browned butter (including all the delicious brown bits) to a medium heat-proof bowl and allow it to cool down to room temperature. It should not be hot, but also doesn’t need to harden.
Part 2: Prepare and Bake the Blondies
-
Preheat your oven to 350°F (175°C). Line an 8×8-inch baking pan with parchment paper, leaving an overhang on two sides to easily lift the blondies out later.
-
Once the browned butter has reached room temperature, combine it with the granulated sugar and packed brown sugar in a large mixing bowl. Beat on medium speed until the mixture is well combined and has a lighter, fluffier consistency.
-
Add the room temperature eggs, one at a time, beating well after each addition. Stir in the vanilla extract. Continue to whip the mixture for another 1-2 minutes until it becomes light in color and notably fluffy; this will help create a beautiful crinkly top on your blondies.
-
Gently fold in the all-purpose flour and salt using a spatula or wooden spoon. Mix just until the flour has completely disappeared and no dry streaks remain. It’s crucial not to overmix the blondie batter to keep them tender and fudgy. Then, fold in the roughly chopped Oreos until evenly distributed.
-
Spread the blondie mixture evenly into the prepared 8×8-inch baking pan. If desired, sprinkle a few more roughly chopped Oreos (about 2-3 extra cookies) over the top for an enhanced visual appeal and extra crunch. Bake for 24-28 minutes, or until the edges are golden brown and set, but the center still looks slightly soft and fudgy.
-
Once baked, remove the blondies from the oven. This next step is vital for perfectly set, fudgy bars: allow them to cool completely in the pan on a wire rack for at least 1-2 hours, depending on your kitchen’s temperature, until they reach room temperature. This cooling period allows the bars to fully set and achieve their optimal fudgy texture. Resist the urge to cut them warm! Once thoroughly cooled, lift them out using the parchment paper, slice into 16 equal squares, and savor every delicious bite.
Notes
- Up to 4 days at room temperature.
- For up to a week in the refrigerator.
- For up to 1 month in the freezer!
Nutrition Information (Approximate)
Nutrition information is automatically calculated and should only be used as an approximation.
Enjoyed this recipe? Leave a comment below!
Thank you for making it all the way down here to our ultimate guide to Oreo Blondies! We truly appreciate your engagement and hope you’re excited to try this delightful recipe.
If you’ve enjoyed making and tasting these fudgy brown butter Oreo blondies, please don’t hesitate to share your thoughts and experience in the comments section below! Your feedback helps us grow and inspires other home bakers. In the meantime, don’t forget to follow us on Instagram for more delicious recipes and baking inspiration!

Shop Ingredients and Tools for This Recipe
This post may contain affiliate links, meaning that at no additional cost to you, I will earn a small percentage of every qualifying purchase you make through these links. This helps support our work in bringing you more delicious recipes!
Loved These Oreo Blondies? Pin This Recipe for Later!
If you’re as smitten with these incredibly fudgy and flavorful Oreo Blondies as we are, make sure to save this recipe! Pin it to your favorite dessert boards on Pinterest so you can easily find it whenever a craving strikes or you need a fantastic recipe for your next gathering. Happy baking!