
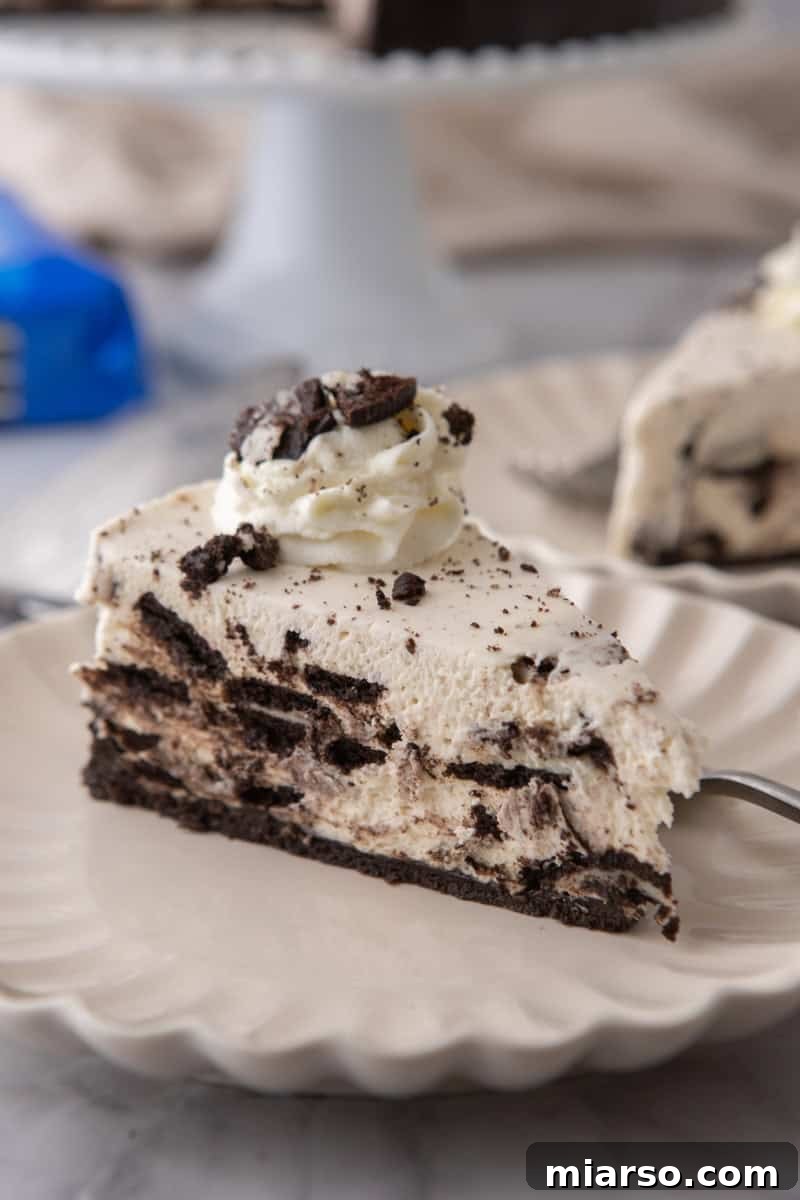
Irresistibly Easy No-Bake Oreo Cheesecake: Your Ultimate Cookies & Cream Dream Dessert
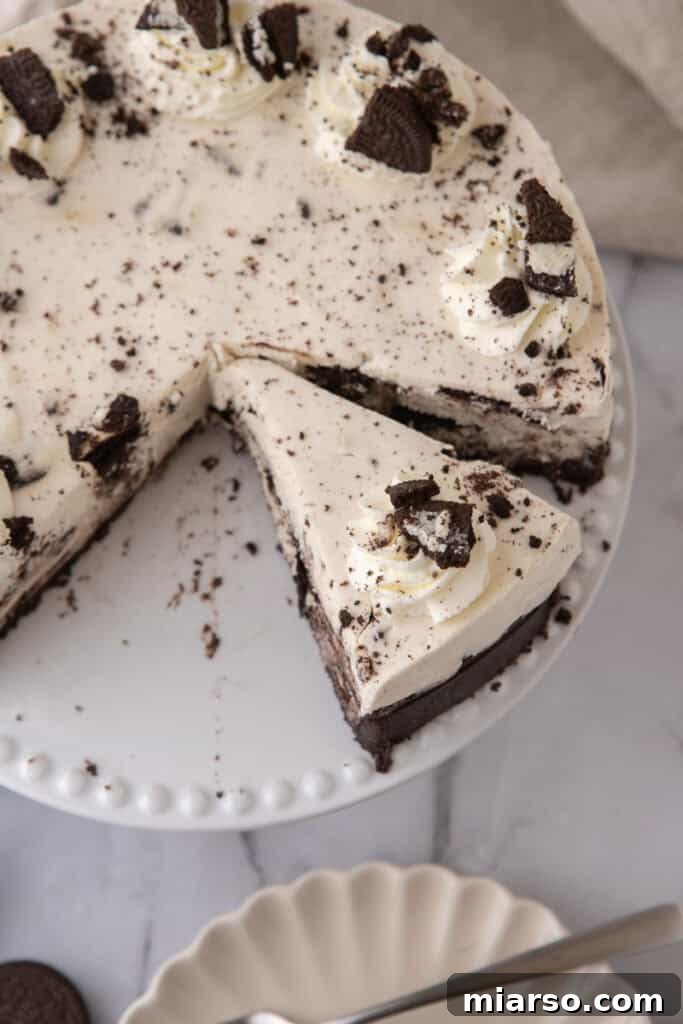
Indulge in a slice of heaven with this incredible No-Bake Oreo Cheesecake recipe! It’s the quintessential cookies-and-cream dessert, delivering an experience that’s both impressive to look at and utterly delicious to devour. Crafted with a rich, crunchy chocolate cookie crust, a luxuriously smooth and creamy cheesecake filling, and elegant swirls of whipped cream on top, this layered masterpiece perfectly captures all those iconic Oreo flavors you love, without ever needing to turn on your oven.
There’s truly nothing quite like a cheesecake that’s wonderfully rich, delightfully creamy, and bursting with cookie flavor. But what if you could achieve all that without the stress of baking? This no-bake wonder is precisely that – a stress-free dessert that brings together everything you adore about a classic Oreo cheesecake. Say goodbye to oven timers, cracked tops, and potentially burnt crusts, and hello to effortless perfection!
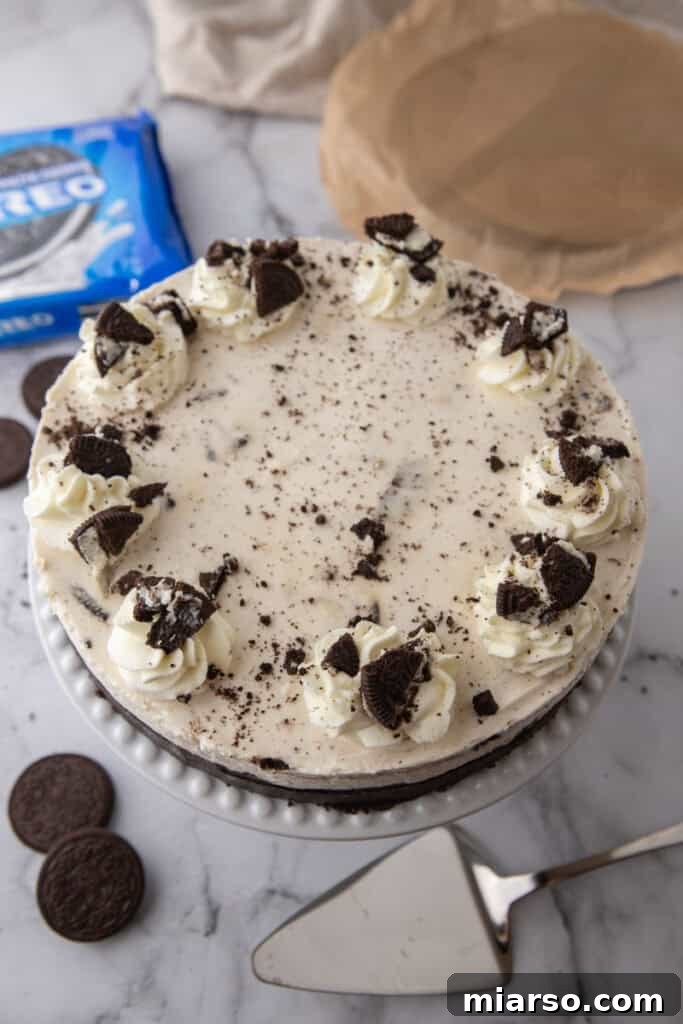
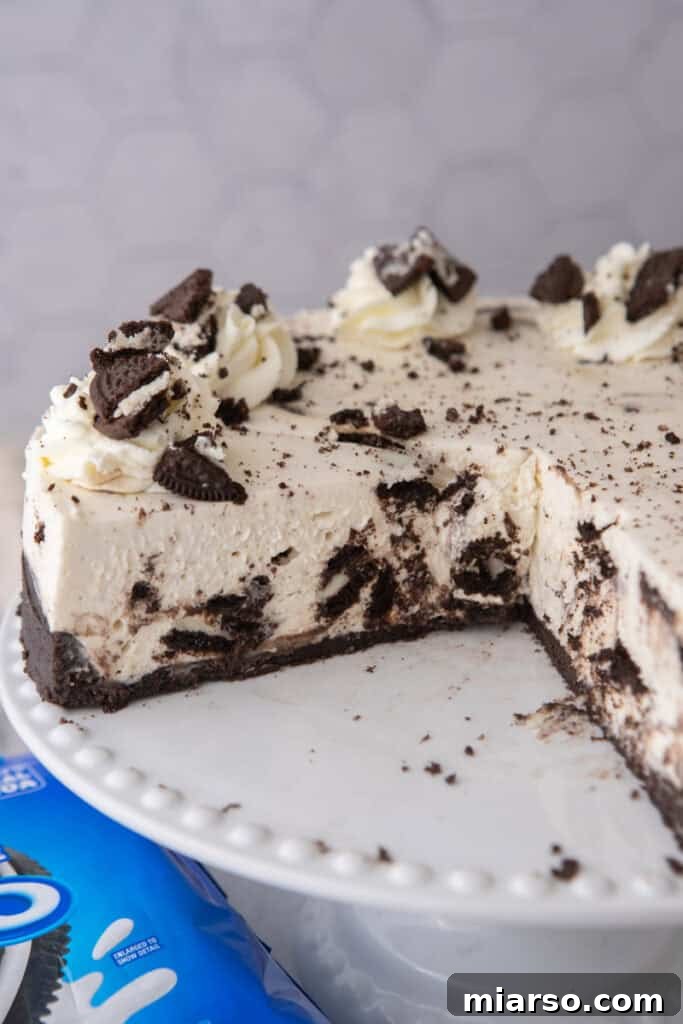
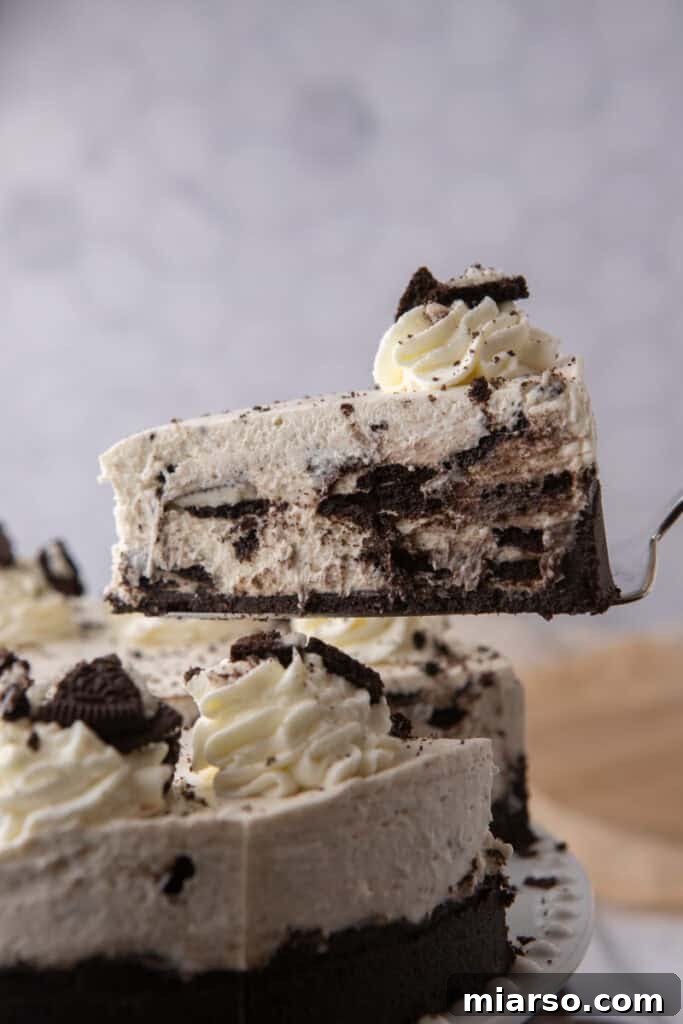
Every single bite of this cheesecake is pure indulgence. It begins with a buttery, deeply flavored Oreo crust, followed by a light and fluffy cream cheese filling generously studded with plenty of chopped Oreo cookies. The combination of textures and flavors makes it an irresistible treat for any palate. This recipe is wonderfully easy for beginners, making it a safe and fun activity for kids in the kitchen, yet it’s sophisticated enough to impress at any party, holiday gathering, or special occasion. And the best part? Since it simply sets in the refrigerator, you can easily prepare it the night before, ensuring you have a show-stopping dessert ready to go exactly when you need it.
For those who love delectable no-bake desserts and crave more sweet inspiration, be sure to explore these other fantastic recipes: Crumbl Chocolate Oreo Cookies Copycat Recipe, these refreshing No Bake Cheesecake Bars with Vanilla Beans, our seasonal Crumbl Chocolate Pumpkin Cheesecake Cookies, or these delightfully simple Easy Oreo Chocolate Chip Cookies.
Essential Ingredients for Your Easy No-Bake Oreo Cheesecake
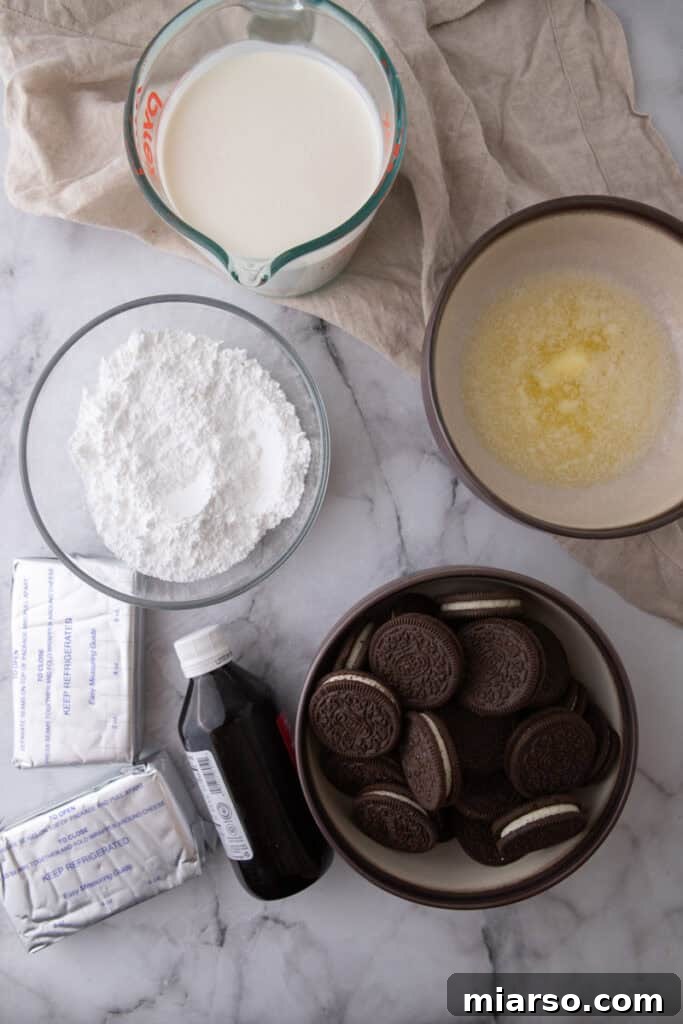
Crafting this heavenly no-bake cheesecake requires a selection of simple yet high-quality ingredients. Each component plays a crucial role in achieving that perfect balance of flavor and texture. Below is a list of what you’ll need; for precise measurements and a detailed recipe card, please scroll further down.
- Oreo Cookies: These iconic chocolate sandwich cookies are the star of our dessert! You’ll use them in two ways: finely crushed to form the sturdy, flavorful base of the crust, and roughly chopped to mix throughout the creamy filling, adding bursts of rich chocolate flavor and a delightful cookie crumb texture. Remember to keep the delicious cream filling inside when you crush them – it adds to the richness and helps bind the crust.
- Unsalted Butter: Melted unsalted butter is vital for binding the crushed Oreo crumbs together. It creates a firm, sliceable crust that holds its shape beautifully once chilled. Using unsalted butter allows you to control the overall saltiness of your dessert.
- Full-fat Cream Cheese: This is the heart of our cheesecake filling. Full-fat cream cheese provides the essential tangy flavor and rich, thick consistency that gives our no-bake cheesecake its classic, luxurious texture. Ensure it’s softened to room temperature for a smooth, lump-free filling.
- Powdered Sugar: Also known as confectioners’ sugar, this ingredient sweetens the filling and contributes significantly to its smooth, stable texture. Unlike granulated sugar, powdered sugar dissolves instantly, preventing any grittiness and ensuring a velvety finish.
- Vanilla Extract: A splash of good quality vanilla extract enhances all the other flavors, adding a warm, aromatic depth that complements the chocolate and cream cheese beautifully.
- Cold Heavy Whipping Cream: This ingredient is key to achieving a light, airy, and mousse-like consistency for your cheesecake filling. When whipped cold, heavy cream incorporates air, lightening the density of the cream cheese mixture and making it incredibly fluffy.
- (Optional) Whipped Cream: Who can resist an extra dollop of fresh whipped cream? It’s the perfect optional topping, adding an additional layer of creamy texture and making for a visually appealing, professional-looking finish. A final touch of elegance and indulgence.
- Extra Oreos(Whole or Crushed): These are primarily for decoration, transforming your cheesecake into a truly luxurious centerpiece. Whether you use whole cookies artfully placed or a sprinkle of coarse crumbs, they unmistakably declare this dessert as an Oreo masterpiece.
Step-by-Step Guide: How to Make This Dreamy No-Bake Oreo Cheesecake
Creating this decadent No-Bake Oreo Cheesecake is a straightforward process, perfect for home bakers of all skill levels. Follow these detailed steps to achieve a perfectly set, deliciously creamy dessert. For the complete, detailed instructions and measurements, always refer to the recipe card at the bottom of this page.
- Prepare the Oreo Crust: Begin by placing your Oreo cookies (yes, the filling too!) into a food processor. Pulse them until they break down into very fine, even crumbs. This ensures a uniform and compact crust.
- Combine with Butter: In a bowl, thoroughly mix the fine Oreo crumbs with the melted unsalted butter. Continue stirring until the mixture is fully blended and resembles moist sand. This “wet sand” consistency is crucial for a crust that holds together.
- Form the Crust Base: Press the crumb mixture firmly and evenly into the bottom of a 9-inch springform pan. Alternatively, you can use an 8×8-inch square dish. If opting for a regular dish instead of a springform, line it first with parchment paper, leaving an overhang on two opposite sides. This “sling” will make it much easier to lift the entire cheesecake out of the pan once set.
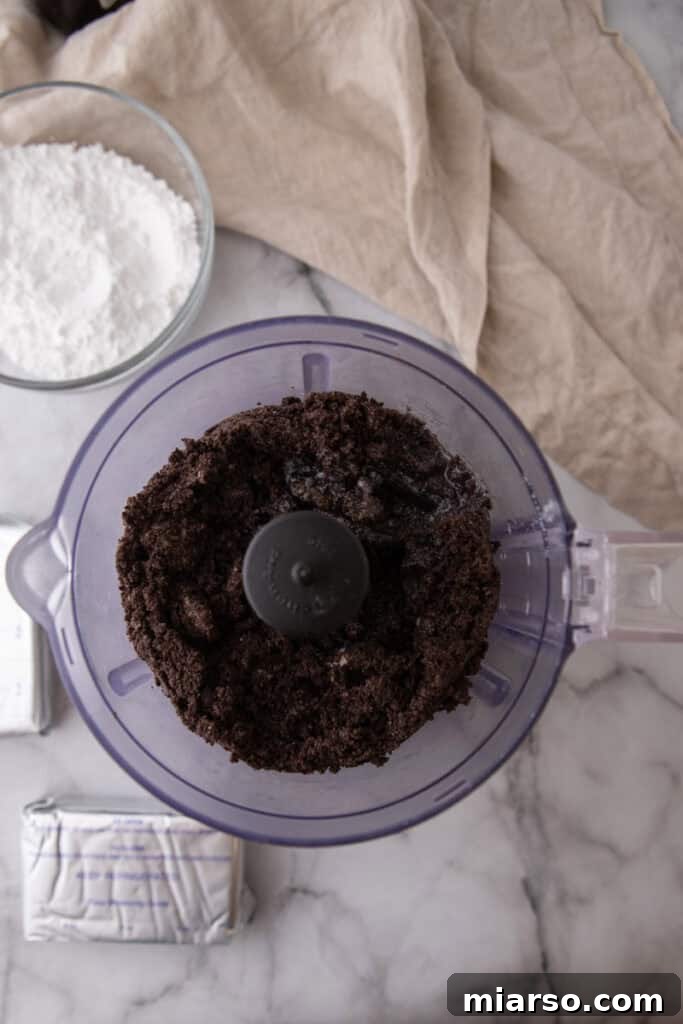
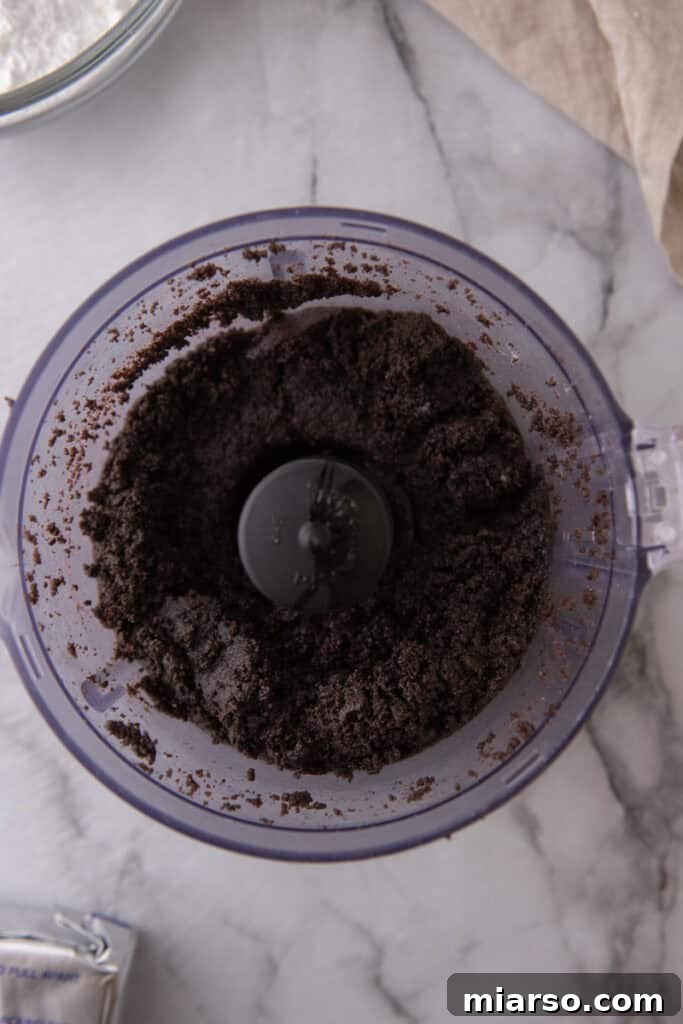
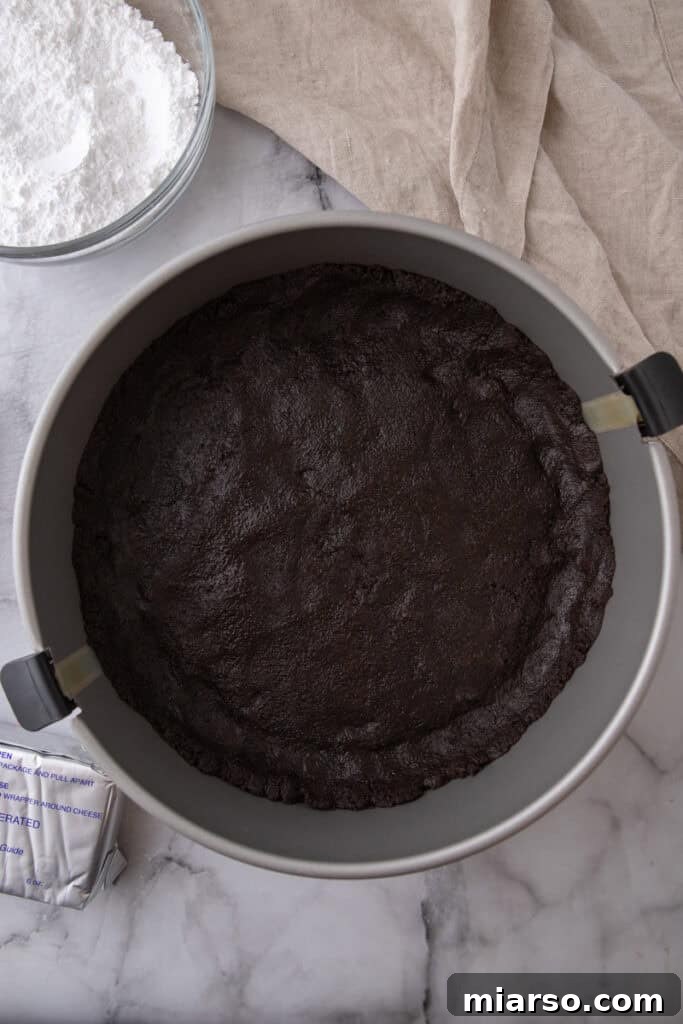
- Chill the Crust: Place the prepared crust in the refrigerator to chill for at least 20 minutes. This allows the butter to solidify, creating a sturdy base while you prepare the creamy filling.
- Whip the Cream Cheese Mixture: In a large mixing bowl, combine the softened full-fat cream cheese, powdered sugar, and vanilla extract. Using an electric mixer, beat these ingredients together on medium speed until the mixture is incredibly smooth, light, fluffy, and completely free of any lumps. Scrape down the sides of the bowl as needed to ensure everything is well combined.
- Whip the Heavy Cream: In a separate, chilled large bowl (a cold bowl helps), whip the very cold heavy cream with an electric mixer on high speed until it forms firm peaks. Be careful not to over-whip it into butter.
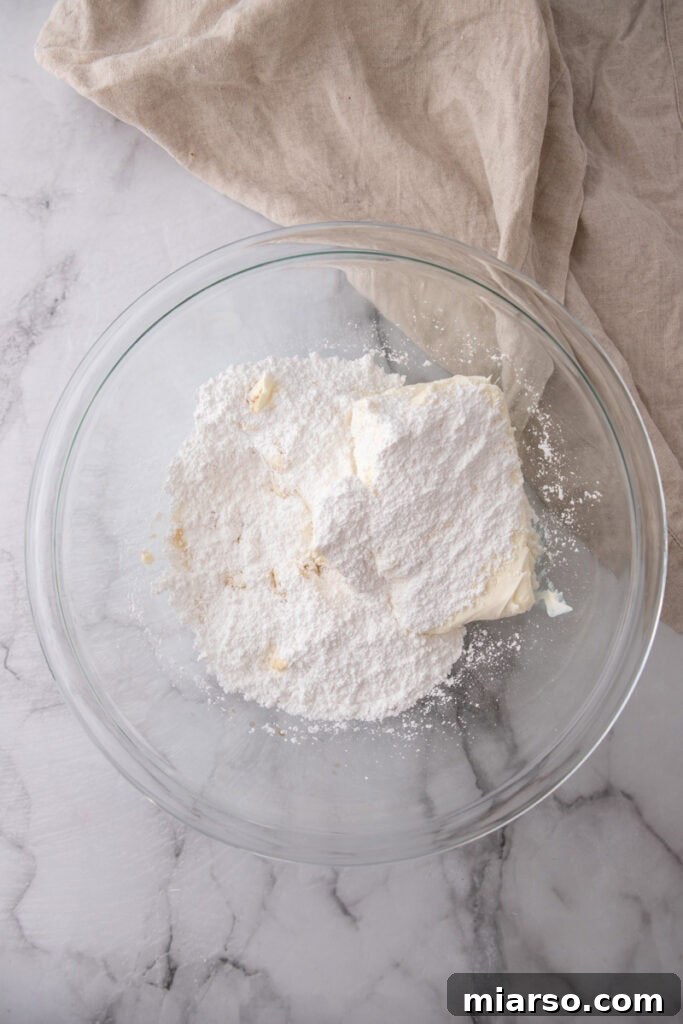
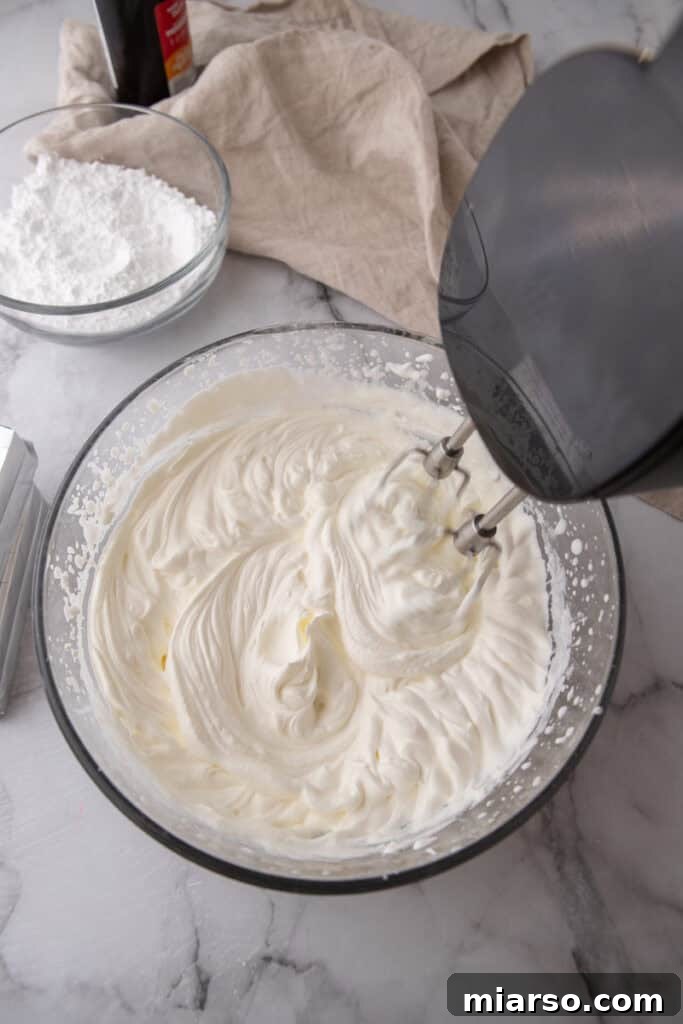
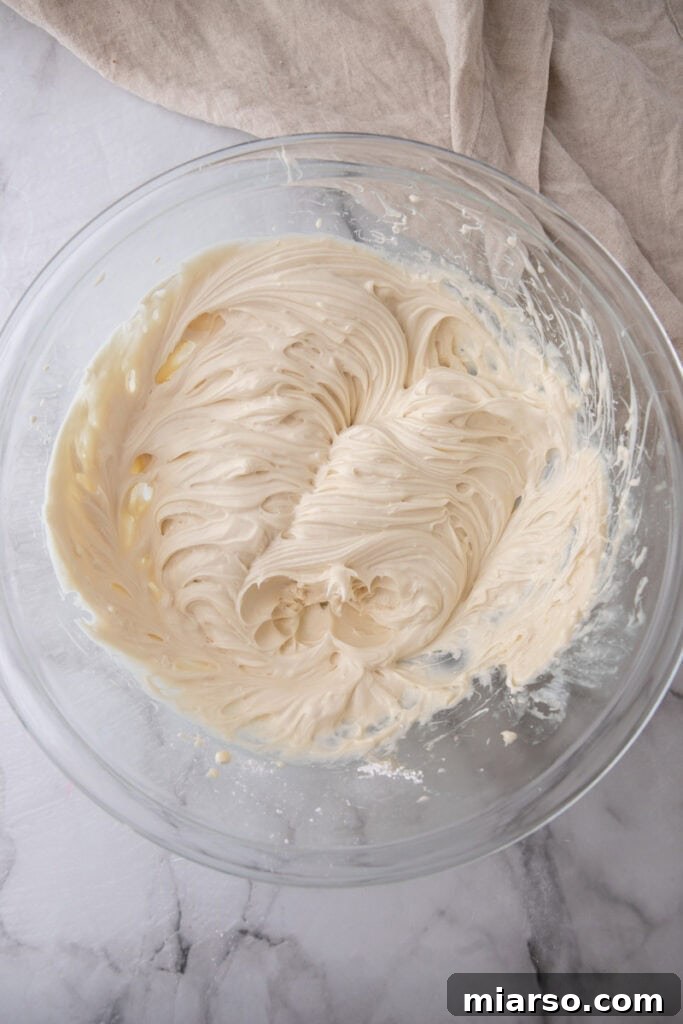
- Fold in Whipped Cream: Very gently and carefully fold the whipped heavy cream into the cream cheese mixture using a spatula. Use a light hand to avoid deflating the whipped cream, which is essential for maintaining the cheesecake’s airy texture.
- Add Chopped Oreos: Take your extra Oreos, crush them slightly, and roughly chop them into chunks. Gently stir these chopped cookies evenly throughout the creamy filling. These pieces will provide delightful texture and bursts of cookie flavor in every bite.
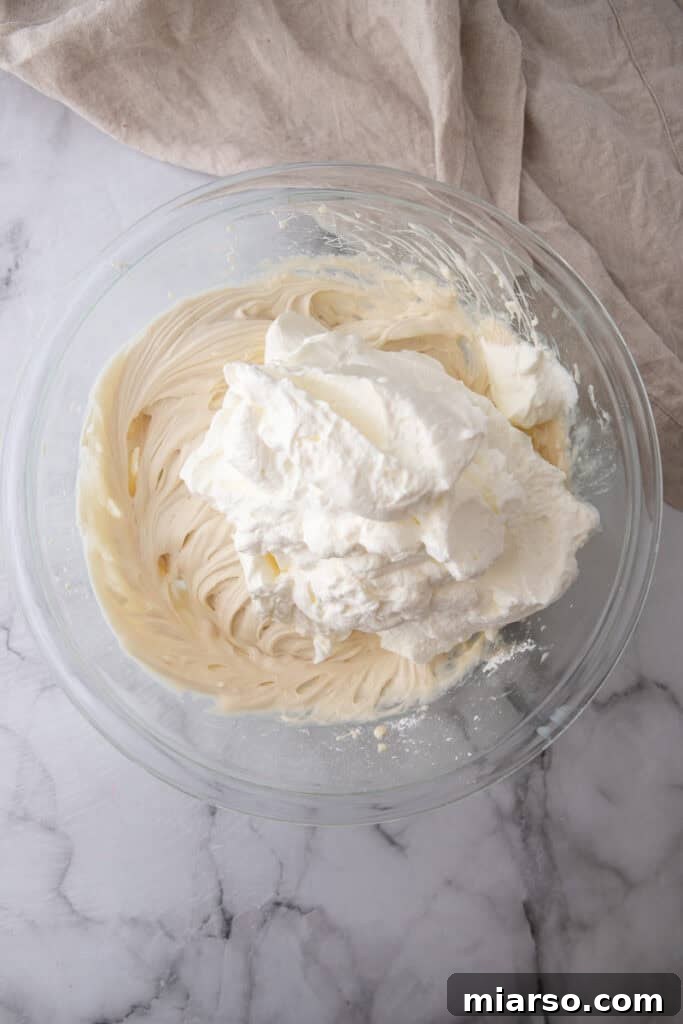
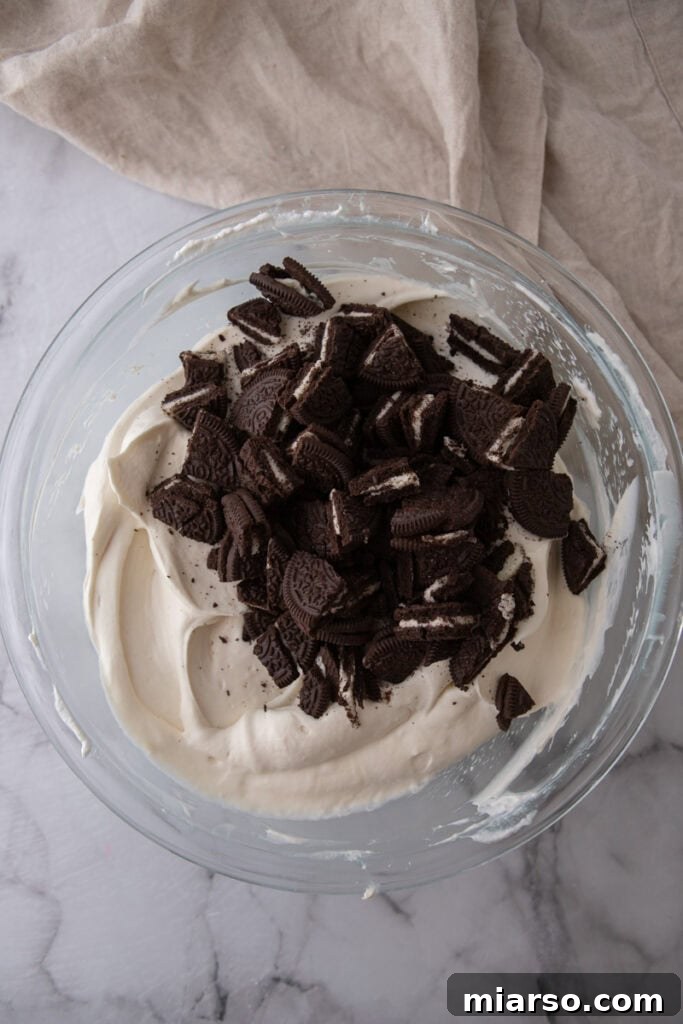
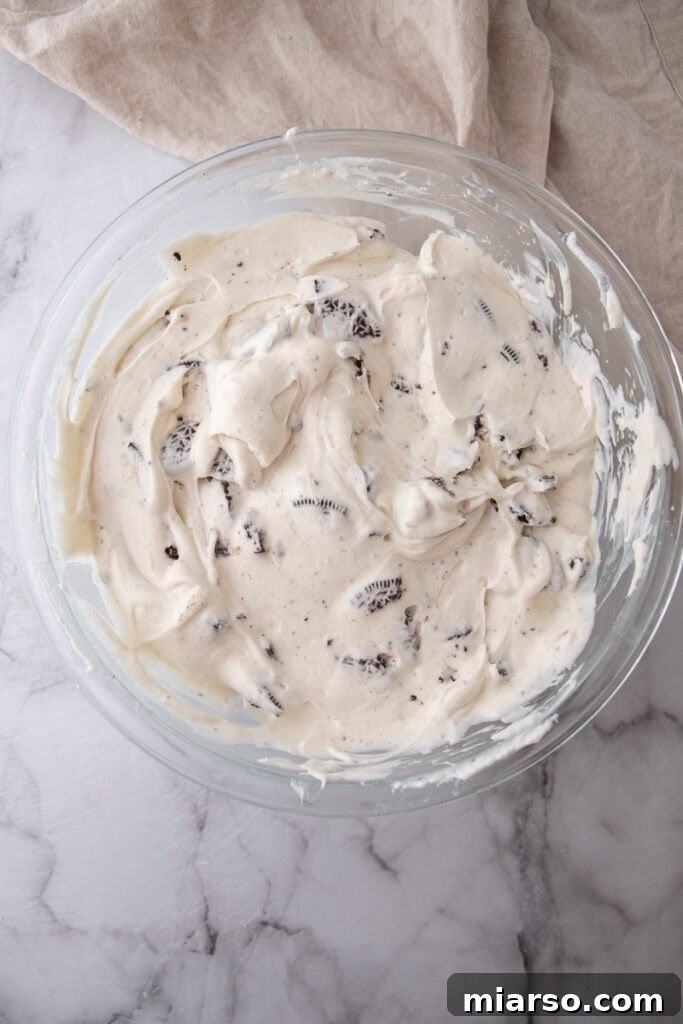
- Assemble the Cheesecake: Spoon the entire creamy filling mixture over the chilled Oreo crust. Use an offset spatula or the back of a spoon to gently spread it out evenly across the top, creating a smooth and appealing surface.
- Chill to Set: Cover the pan tightly with plastic wrap or aluminum foil to prevent any odors from the refrigerator from affecting the cheesecake’s flavor. Refrigerate for a minimum of 6 hours, or ideally, overnight. This extended chilling time is crucial for the cheesecake to fully set, firm up, and for the flavors to meld beautifully.
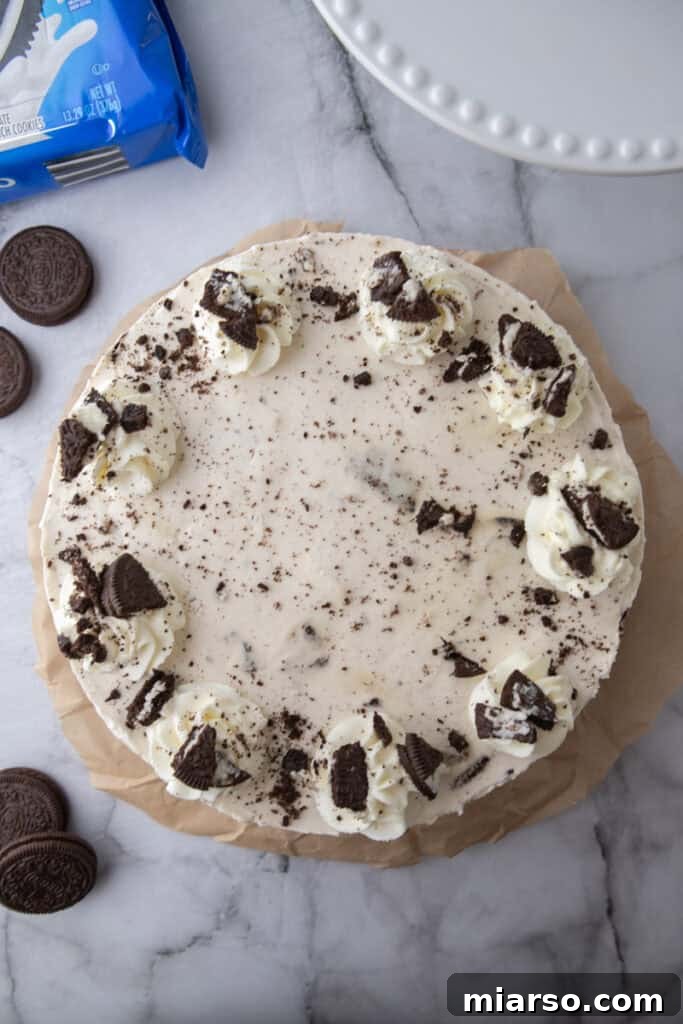
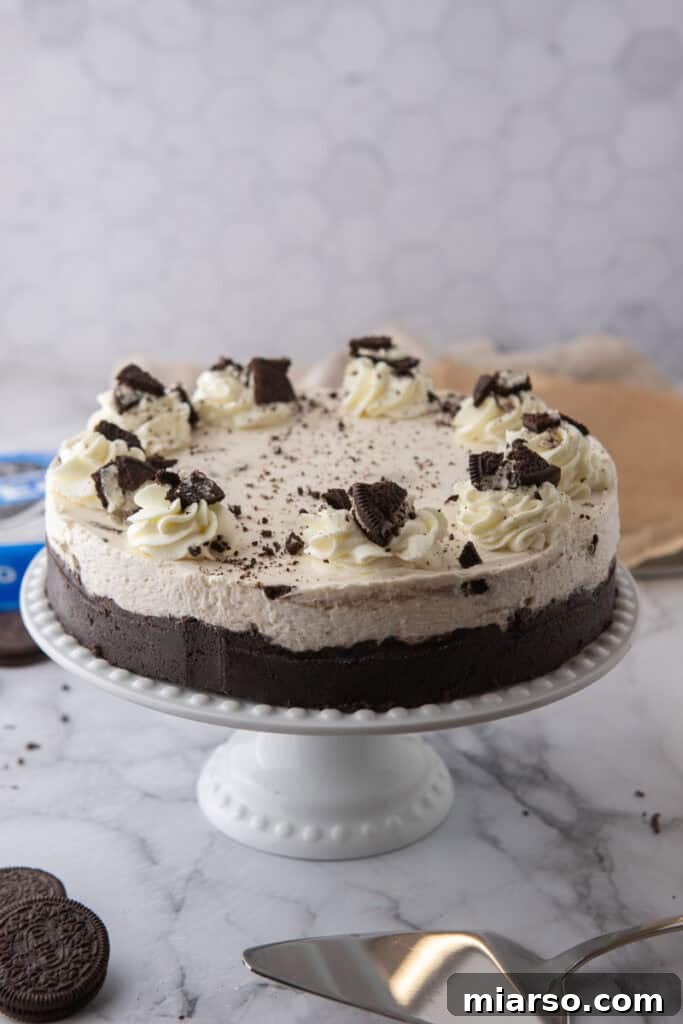
- Decorate (Optional but Recommended): Before serving, add your final decorative touches! Pipe or spoon additional whipped cream artfully around the edges of the cheesecake. This adds elegance and extra creaminess.
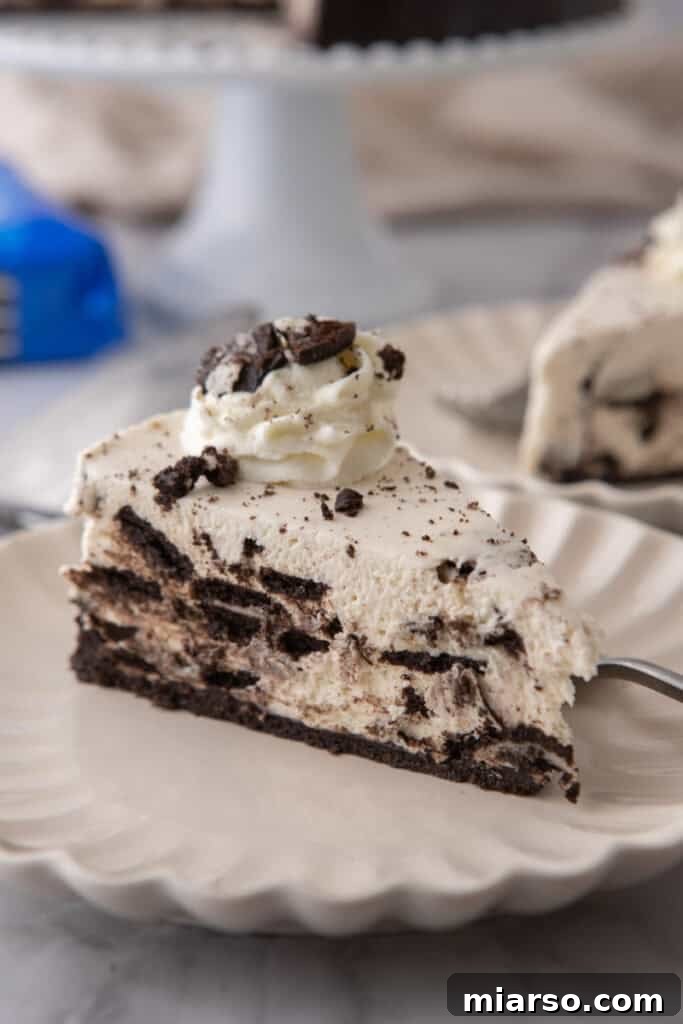
- Final Garnish and Serve: Finish your masterpiece with whole or crushed Oreos placed on top. This not only enhances the visual appeal but also provides an extra layer of texture and unmistakably signals the star flavor. Slice the cheesecake with a sharp knife (running it under hot water and wiping it clean between slices can help achieve neat cuts) and serve it cold for the best experience!
Expert Tips and Tricks for the Perfect No-Bake Oreo Cheesecake
Achieving the ultimate No-Bake Oreo Cheesecake is easy with a few insider tips. Keep these in mind as you prepare your dessert for the best possible results:
- Warm Butter for the Crust: When mixing the melted butter with the crushed Oreos for the crust, ensure the butter is still warm. This helps it spread and mix more evenly with the crumbs, creating a uniform and well-bound crust that won’t crumble apart when sliced.
- Room Temperature Cream Cheese is Key: Always pull your full-fat cream cheese out of the refrigerator at least 30 minutes to an hour before you plan to start mixing the filling. Softened, room-temperature cream cheese beats much more smoothly and incorporates better with the other ingredients, preventing lumps and ensuring a silky, consistent texture in your filling.
- Sift Your Powdered Sugar: To guarantee an incredibly smooth filling free of any powdery clumps, pass your powdered sugar through a fine-mesh sieve before adding it to the cream cheese mixture. For maximum accuracy in baking, consider weighing your powdered sugar with a kitchen scale rather than relying solely on measuring cups, as powdered sugar can compact easily.
- Gentle Folding for an Airy Filling: When incorporating the whipped heavy cream into the cream cheese mixture, do so gently and by hand, using a large spatula. Overmixing at this stage can quickly deflate the delicate air bubbles in the whipped cream, resulting in a denser cheesecake filling. Fold with care until just combined.
- Don’t Rush the Chill: While the cheesecake might seem ready after six hours of chilling, patience is truly a virtue here. Chilling your no-bake cheesecake overnight (12-24 hours) allows ample time for both the crust and the filling to set completely and firm up perfectly. More importantly, this extended chill time deepens the flavors, allowing them to meld and develop for an even more exquisite taste.
Why This No-Bake Oreo Cheesecake Recipe Is a Must-Try
If you’re looking for a dessert that checks all the boxes for flavor, ease, and crowd-pleasing appeal, look no further. Here’s why this No-Bake Oreo Cheesecake needs to be on your short list:
- Perfect for Special Occasions: This cheesecake is a stunning alternative to a traditional birthday cake or any dessert needed for a celebration. It looks elegant and tastes divine. I once brought this to my in-laws for Father’s Day, and the entire family absolutely devoured it, praising its rich flavor and delightful texture.
- Ideal Summer Indulgence: Served wonderfully chilled, this no-bake dessert is a refreshing treat perfect for cooling off during warm summer months. No need to heat up your kitchen when you can whip up this cool confection.
- Beginner-Friendly Baking: This recipe is incredibly forgiving and truly beginner-friendly. Without the complexities of oven baking, it’s a fantastic entry point for aspiring bakers and even fun for children to help create, building confidence in the kitchen.
- Excellent Make-Ahead Option: Given its requirement for an overnight chill in the fridge, this cheesecake is the ultimate make-ahead dessert. It’s perfect for when you’re prepping for a big event or party, allowing you to focus on other tasks knowing your dessert is handled.
- Combines Two Beloved Classics: If cheesecake and Oreos are already among your favorite things, then this recipe is a match made in dessert heaven. It’s a guaranteed hit that brings together the best of both worlds.
- Endless Flavor Customization: While classic Oreos are fantastic, this recipe offers exciting opportunities for customization. Experiment with different Oreo flavors for the crust and mix-ins – imagine Golden Oreos for a vanilla twist, or mint, red velvet, or peanut butter Oreos for unique flavor profiles!
Frequently Asked Questions (FAQ) About No-Bake Oreo Cheesecake
Can I use light cream cheese for this recipe?
I strongly advise against using light or low-fat cream cheese for this no-bake Oreo cheesecake recipe. Full-fat cream cheese is crucial because its higher fat content provides the necessary thick consistency and rich, creamy texture that defines a classic cheesecake. Lowering the fat content will significantly alter the final result, often leading to a thinner, less stable, and less satisfying filling.
Can I substitute Cool Whip for homemade whipped heavy cream?
Yes, you certainly can use Cool Whip if it’s more convenient for you, but be aware that it will result in a slightly different texture and sweetness level. The filling will likely be a bit softer and sweeter than with freshly whipped heavy cream. Our recipe calls for 2 cups of liquid heavy cream, which typically whips up to about 4 cups. Therefore, if you’re substituting, you would need approximately 4 cups of Cool Whip to achieve a similar volume and consistency.
Can I use different Oreo flavors for the crust and filling?
Absolutely! This is one of the most exciting and fun aspects of this recipe. Feel free to unleash your creativity! You could try using Golden Oreos for a vanilla-based crust and filling, or experiment with seasonal or specialty flavors like Mint, Red Velvet, Peanut Butter, or Birthday Cake Oreos to create unique flavor combinations. Each variation will add its own delightful twist to the classic.
Do I really not need to remove the cream filling from the Oreos?
Yes, absolutely! We intentionally keep the cream filling in the Oreos when crushing them for the crust and chopping them for the filling. For the crust, the cream acts as an extra binder, helping to “glue” the crumbs together for a more stable and delicious base. When roughly chopped into the filling, the cream adds to the overall creamy texture and boosts that iconic Oreo flavor throughout the cheesecake. It’s a key part of the recipe’s success!
How do I store leftovers of this no-bake Oreo cheesecake?
Storing your No-Bake Oreo Cheesecake properly will keep it fresh and delicious. If you plan to enjoy it within a week, cover the cheesecake tightly with plastic wrap or place individual slices in an airtight container. It will keep beautifully in the refrigerator for up to 5 days. For longer storage, you can freeze the cheesecake for up to 1 month. To freeze, either wrap the entire cheesecake (or individual slices) tightly in plastic wrap, then an additional layer of aluminum foil. When you’re ready to enjoy it, simply transfer it from the freezer to the refrigerator and let it thaw overnight before serving.
No-Bake Oreo Cheesecake Recipe
Print Recipe
Sign up to receive this recipe and new delicious recipes weekly!
Ingredients
For the crust:
- 24 Oreo cookies filling included
- 5 tbsp unsalted butter melted
For the filling:
- 16 oz 2 blocks cream cheese, softened
- 1 cup powdered sugar
- 1 tsp vanilla extract
- 2 cups cold heavy whipping cream
- 15 Oreo cookies roughly chopped
Optional topping:
- Whipped cream homemade or store-bought.
- Extra Oreos for decorating whole or crushed
Instructions
Make the crust:
-
Crush Oreos in a food processor until fine crumbs form.24 Oreo cookies
-
Mix with melted butter until fully combined.5 tbsp unsalted butter
-
Press the mixture into the bottom of a 9-inch springform pan or 8×8 dish.
-
Place in the fridge to set while you make the filling (at least 20 minutes).
Make the filling:
-
In a large bowl, beat the softened cream cheese with powdered sugar and vanilla until smooth and fluffy.16 oz 2 blocks cream cheese, softened, 1 cup powdered sugar, 1 tsp vanilla extract
-
In a separate bowl, whip the cold heavy cream until stiff peaks form.2 cups cold heavy whipping cream
-
Gently fold the whipped cream into the cream cheese mixture until well combined. Fold in the chopped Oreos.15 Oreo cookies
-
Pour the filling over the chilled crust and smooth out the top.
-
Cover and refrigerate for at least 6 hours, or overnight for best results.
Decorate & serve:
-
Pipe or dollop whipped cream around the edges. Decorate with more Oreos, serve, slice and enjoy!Whipped cream, Extra Oreos for decorating
Notes
• Keeps well covered in the fridge for up to 5 days.
• You can also freeze it for up to 1 month, just thaw in the fridge overnight before serving.
Nutrition
Nutrition information is automatically calculated, so should only be used as an approximation.