
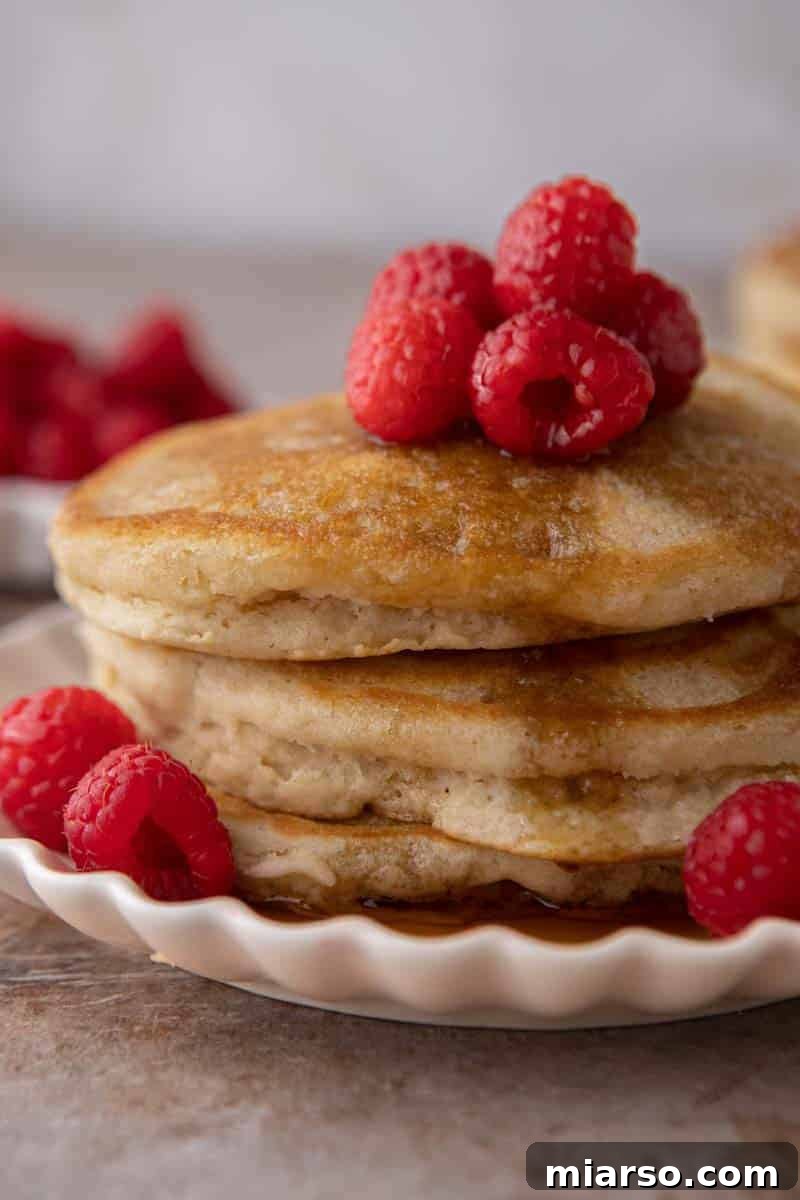
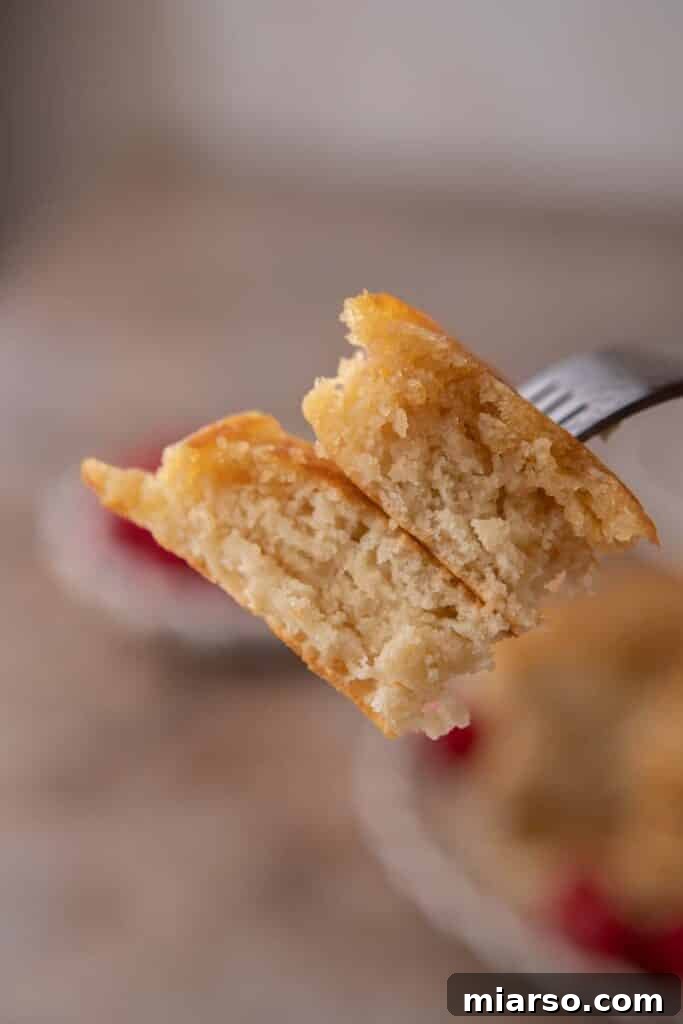
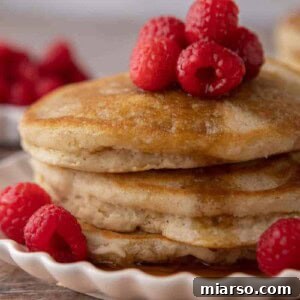
Discover the ultimate solution for those mornings when the fridge seems empty but your craving for fluffy pancakes is strong! This comprehensive guide reveals how to create incredibly delicious, **homemade pancakes without milk** – a recipe so good, you might never go back to traditional versions. Crafted entirely from scratch using basic pantry staples, this simple yet ingenious method ensures a super fluffy texture and perfectly golden edges every single time, whether you've run out of dairy milk or prefer using water or a non-dairy alternative.
If you're a connoisseur of classic breakfast recipes, from pumpkin pancakes and brioche French toast to buttermilk waffles, prepare to be captivated by the simplicity, budget-friendliness, and sheer delight of this recipe. The process is effortlessly easy: simply whisk your ingredients, pour the batter onto a hot griddle, cook until golden, and stack high for a truly satisfying breakfast experience.
The secret to achieving that rich pancake flavor without dairy milk lies in a clever combination of water, melted butter, and a generous splash of vanilla extract. This substitution not only delivers a taste that rivals traditional recipes but often exceeds expectations, resulting in light, **fluffy diner-style pancakes** that can be enjoyed anytime, even when your dairy supply is depleted.
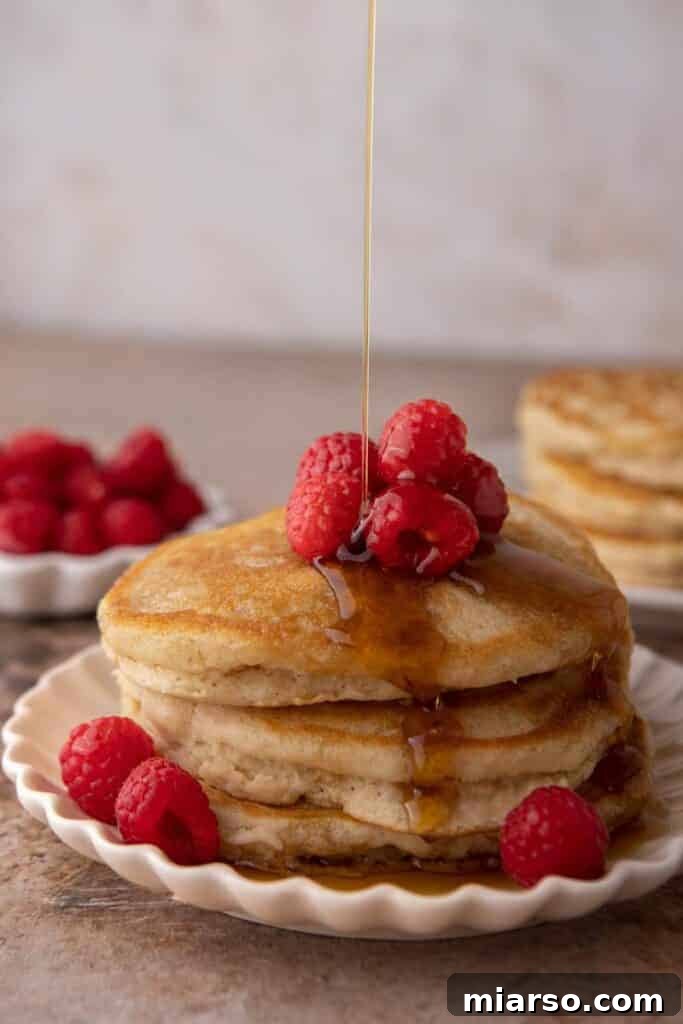
"I followed the recipe to a T. I doubled mine, used warm water, and chose the vegetable oil option because I was out of butter. TMI BUT, I MOANED to these pancakes. They were THE BEST pancakes I have EVER had. And I will never buy store bought mix again."
– Christy
Let's Chit Chat!
This remarkable recipe was born out of a common morning predicament: staring into an empty fridge, wondering, "How is there no milk in this house again?" Faced with the challenge, I embarked on a mission to create a pancake recipe that was not only milk-free but also impeccably fluffy, wonderfully golden, and incredibly tender – every bit as good as, if not better than, its traditional counterpart. After multiple rounds of testing and refinement, I can confidently say you won't miss the milk one bit. This method has since gained viral popularity on social media platforms, celebrated for its unbeatable combination of affordability, convenience, and undeniably delicious results. I encourage you to try it and share your thoughts!
Why You’ll Absolutely Love These No Milk Pancakes
These pancakes aren't just a substitute; they're a revelation. Here's why this recipe deserves a permanent spot in your breakfast rotation:
- Effortlessly Fluffy: Achieve that coveted light and airy texture characteristic of the best pancakes, all without a single drop of dairy milk.
- Pantry Power: Say goodbye to emergency grocery runs. This recipe relies on everyday staples you likely already have, making it incredibly convenient.
- One-Bowl Wonder: Minimal cleanup means more time to enjoy your breakfast. The simple process makes it a perfect activity for kids to help with, too!
- Infinitely Customizable: These pancakes are a blank canvas for your creativity. From chocolate chips and fresh berries to a dash of cinnamon or citrus zest, feel free to experiment and make them your own.
- Versatile Liquid Options: While water is the star here, the recipe also works beautifully with various non-dairy milks like almond milk, oat milk, soy milk, or coconut milk, offering flexibility for different preferences.
- Budget-Friendly: Using water instead of milk can significantly cut down on grocery costs, proving that gourmet taste doesn't have to come with a hefty price tag.
- Quick & Easy: With minimal prep and cooking time, you can have a stack of warm, fluffy pancakes on the table in under 30 minutes, perfect for busy mornings.
Essential Ingredients for These Delicious Dairy-Free Pancakes
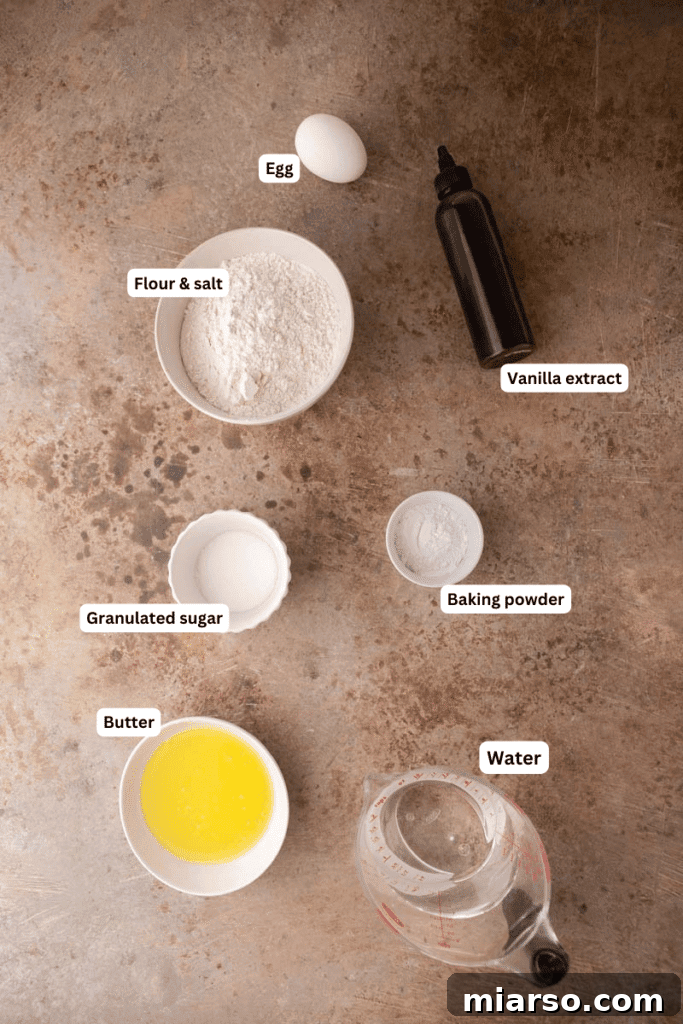
Crafting these dairy-free pancakes is surprisingly simple, relying on a handful of common ingredients that deliver exceptional flavor and texture. Below is a list of what you'll need. For precise measurements, please refer to the detailed recipe card at the end of this article.
- All-Purpose Flour: The foundation of our pancakes. Standard all-purpose flour works perfectly, providing the necessary structure and tenderness. For a gluten-free version, a 1:1 gluten-free flour blend can be used successfully; just ensure your baking powder is also gluten-free.
- Granulated Sugar (or White Sugar): Adds a touch of sweetness to balance the flavors and helps in achieving those beautiful golden-brown edges when cooked.
- Baking Powder: This is the crucial leavening agent responsible for those desirable fluffy pancakes. Opt for an aluminum-free baking powder for the best taste, as some people find aluminum-containing varieties can leave a metallic aftertaste.
- Salt: A pinch of salt is essential to enhance all the other flavors, ensuring the pancakes taste well-rounded and not bland.
- One Whole Egg: Acts as a binder, adding richness, moisture, and helping with the overall structure and lift of the pancakes.
- Water: The unexpected hero of this recipe! Paired with butter and vanilla, water effortlessly replaces milk, resulting in surprisingly tender and flavorful pancakes.
- Butter (Melted) or Oil: Melted butter infuses the pancakes with a rich, classic flavor that milk typically provides. If you're out of butter or prefer a vegan option, vegetable oil, coconut oil, or even a light olive oil can be used. Each oil will impart a slightly different flavor profile, with butter being the top choice for taste.
- Vanilla Extract: A must-have for any pancake recipe, vanilla extract adds warmth and depth, elevating the overall flavor significantly.
- Cooking Spray or Extra Butter/Oil: For greasing your hot griddle or skillet, ensuring your pancakes don't stick and develop a lovely golden crust.
- Maple Syrup: The classic topping for any pancake stack! Choose pure maple syrup for the best experience.
This recipe is incredibly adaptable, even accommodating 1:1 gluten-free flour blends. Just remember to verify that your baking powder is specifically labeled as gluten-free if you are strictly avoiding gluten.
How to Make Fluffy Homemade Pancakes Without Milk: A Step-by-Step Guide
Creating these delightful milk-free pancakes is straightforward and quick, perfect for any breakfast or brunch occasion. Follow these simple steps to achieve perfect, fluffy results every time. For comprehensive, detailed instructions and measurements, please refer to the recipe card below.
- Combine Dry Ingredients: In a medium-sized mixing bowl, whisk together the all-purpose flour, granulated sugar, baking powder, and salt until they are well combined. This ensures even distribution of the leavening agent and flavorings throughout the batter.
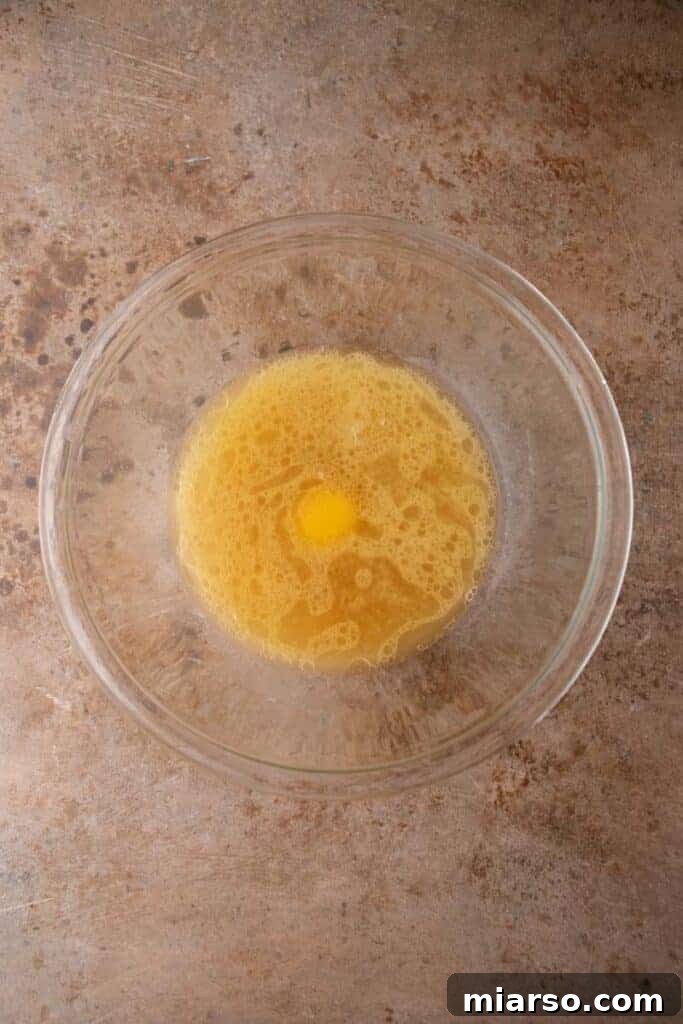
- Mix Wet Ingredients: In a separate, larger bowl, whisk together the water, vanilla extract, and the whole egg until the mixture is smooth and evenly incorporated. Then, gradually whisk in the melted butter or vegetable oil.
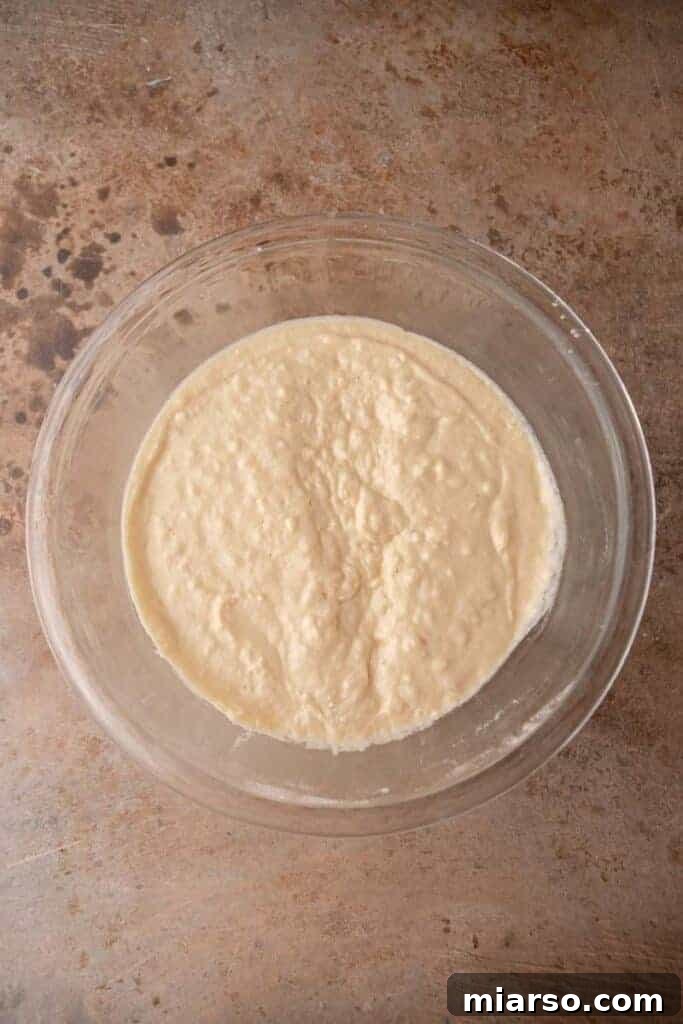
- Combine Wet and Dry: Pour the dry ingredient mixture directly into the bowl with the wet ingredients. Using a whisk or a spatula, gently mix until just combined. It is crucial not to overmix the batter. A few small lumps are perfectly normal and actually desirable for fluffy pancakes; overmixing develops gluten, which can lead to flat, tough pancakes.
- Prepare the Griddle: Heat a nonstick skillet or griddle over medium heat. Once hot, lightly grease it with cooking spray or a small amount of butter or oil. You’ll know the griddle is ready when a drop of water sizzles and evaporates quickly.
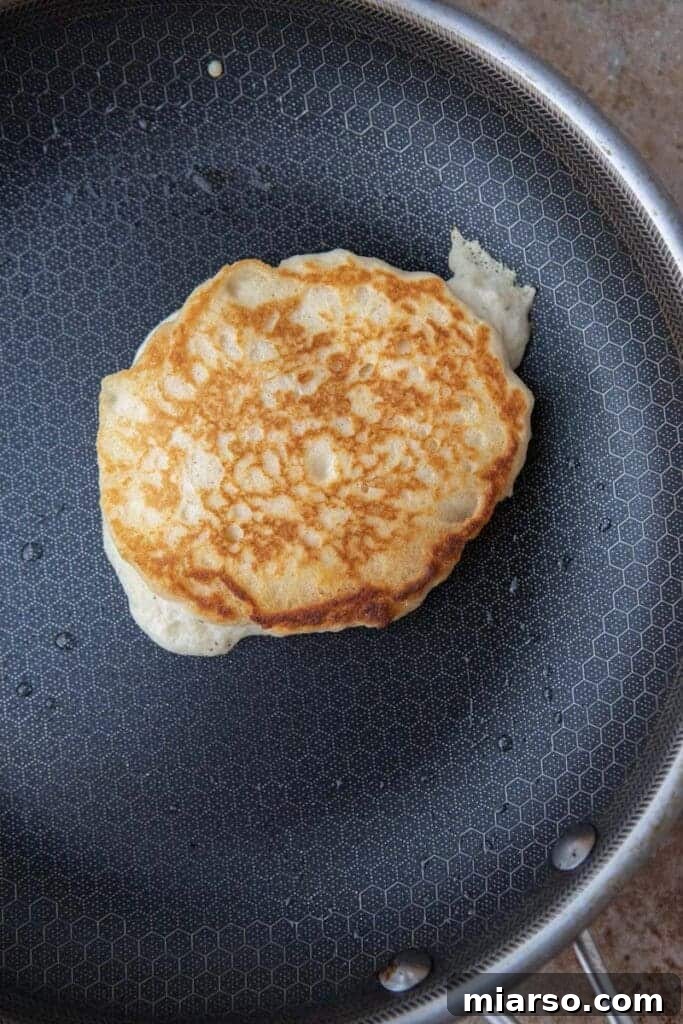
- Portion and Cook: Pour approximately 1/4 cup of pancake batter onto the hot griddle for each pancake. Cook for about 2-3 minutes on the first side, or until you notice small bubbles forming on the surface of the batter and the edges begin to look set.
- Flip and Finish: Carefully lift an edge of a pancake with a spatula to check if the bottom is golden brown. If it is, gently flip the pancake and cook for another 2-3 minutes on the second side, until it's also golden brown and cooked through.
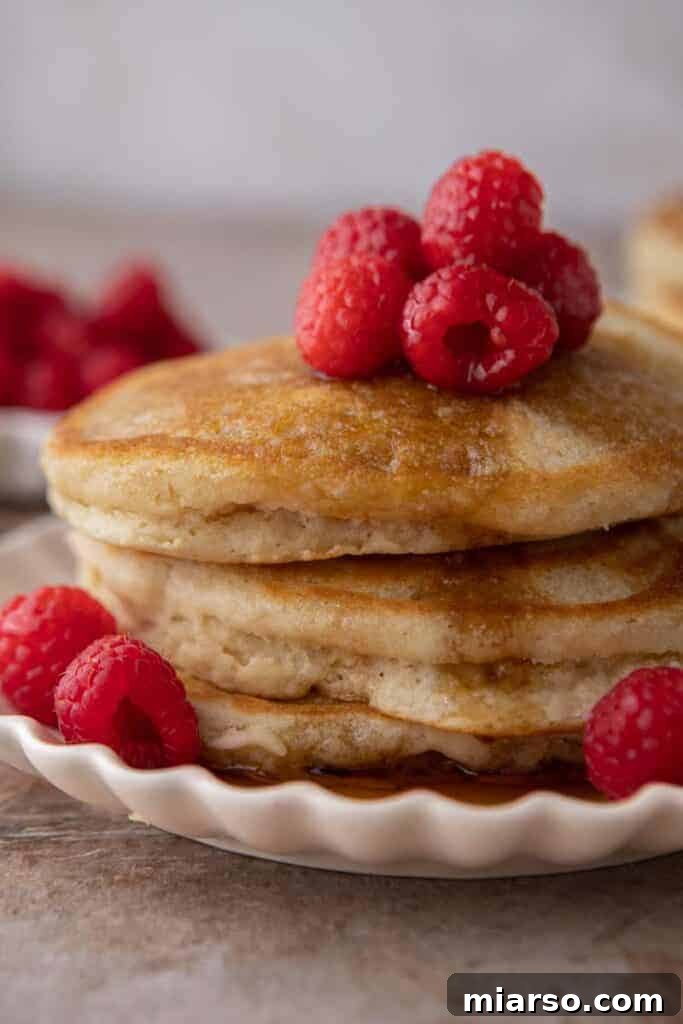
- Serve Immediately: Transfer the cooked pancakes to a plate and serve them warm with your favorite toppings, such as maple syrup, fresh berries, or whipped cream. Repeat the process with the remaining batter, greasing the skillet as needed between batches to prevent sticking.
Pro Tip for Extra Fluffiness: For an exceptionally airy texture, allow your pancake batter to rest for about 5 to 10 minutes after mixing and before cooking. This brief resting period gives the baking powder time to activate fully, resulting in even lighter and fluffier pancakes.
Frequently Asked Questions – FAQ
Absolutely! The clever combination of water with melted butter and vanilla extract ensures these pancakes remain wonderfully soft, incredibly fluffy, and bursting with flavor, rivalling any pancake made with traditional milk. The fat from the butter and the flavor from vanilla compensate perfectly for the absence of dairy.
The difference is minimal, almost imperceptible to most palates. While milk adds a certain richness, the melted butter and vanilla extract in this recipe successfully replicate that depth of flavor. If you desire an extra flavor boost, consider adding a dash of cinnamon, a pinch of nutmeg, or a drop of almond extract to the batter.
Yes, certainly! This recipe is incredibly versatile. Almond milk, oat milk, soy milk, coconut milk, cashew milk, or even rice milk can all be used as a direct 1:1 substitute for water if you prefer to incorporate a non-dairy alternative. The result will still be delicious and fluffy.
The most common culprit for flat pancakes is over-mixing the batter. When you mix too much, you develop the gluten in the flour, which makes the pancakes tough and dense instead of light and airy. The secret to achieving maximum lift and fluffiness is to mix the batter just until the wet and dry ingredients are combined, leaving a few small lumps behind. Let the batter rest for 5-10 minutes before cooking.
For perfectly crispy edges, cook your pancakes in a well-greased nonstick skillet or griddle over medium heat. Using butter or a high-smoke-point oil (like vegetable or canola oil) allows for a slight sizzle as the batter hits the hot surface, creating that delightful crispness. Don't overcrowd the pan, and ensure the heat is consistent.
Absolutely! These pancakes freeze exceptionally well. Once cooked and cooled completely, place them in a single layer on a baking sheet to freeze for about 30 minutes to an hour. This prevents them from sticking together. Then, transfer the frozen pancakes to an airtight freezer-safe bag or container, where they can be stored for up to 3 months.
For a well-rounded and satisfying breakfast, these pancakes pair wonderfully with a variety of sides. Consider serving them with scrambled or fried eggs, crispy turkey bacon, savory breakfast sausage, a vibrant fresh fruit salad, or a refreshing fruit smoothie. For a sweeter touch, whipped cream, yogurt, or various fruit compotes are fantastic additions.
How to Store and Reheat These Delicious No-Milk Pancakes
These homemade no-milk pancakes are perfect for making ahead, ensuring you can enjoy a quick and delicious breakfast even on your busiest mornings. Proper storage and reheating will help maintain their wonderful texture and flavor.
Refrigerator Storage:
To store **leftover pancakes** in the refrigerator, allow them to cool completely to room temperature. Then, arrange them in a single layer within an airtight container. If stacking, place a piece of parchment paper between each pancake to prevent sticking. They will stay fresh and delicious for up to 4 days.
Freezer Storage:
For longer storage, these pancakes freeze beautifully. Once cooked, let them cool entirely. Lay the cooled pancakes in a single layer on a baking sheet. Place the baking sheet in the freezer for about 30 minutes to an hour, or until the pancakes are firm. This flash-freezing step prevents them from sticking together. Once firm, transfer the frozen pancakes to an airtight freezer-safe bag or container. They can be stored in the freezer for up to 3 months, offering a convenient grab-and-go breakfast option.
Reheating Instructions:
- Microwave: For a quick reheat, place 1-2 pancakes on a microwave-safe plate. Heat for 30-60 seconds, or until warmed through. This method is best for speed, but may result in slightly softer pancakes.
- Toaster: For slightly crispier edges, reheat individual pancakes in a toaster or toaster oven on a medium setting for 1-2 cycles, or until heated and lightly crisped. This works especially well for frozen pancakes.
- Oven: To reheat a larger batch, preheat your oven to 300°F (150°C). Arrange pancakes in a single layer on a baking sheet and heat for about 5-10 minutes, or until thoroughly warm. This method helps maintain a soft interior and slightly crisp exterior.
Elevate Your Pancakes: Delicious Flavor Ideas
While these pancakes are fantastic on their own, a few simple additions can transform them into an even more exciting breakfast treat. Experiment with these flavor enhancements to find your favorites!
- Warm Spices: A dash of cinnamon, nutmeg, or allspice in the batter adds a cozy, aromatic touch.
- Extra Vanilla Extract: For a more pronounced classic flavor, don't hesitate to add an extra teaspoon of vanilla.
- Almond Extract: A subtle hint of almond provides a sophisticated and unique taste profile.
- Butter Flavoring: If using oil instead of butter, a drop of butter flavoring can help mimic that rich dairy taste.
- Maple Extract: Reinforce the classic pancake flavor with a touch of maple extract in the batter.
- Citrus Zest: The finely grated zest of lemon, orange, or lime adds a bright, fresh aroma and zing.
- Espresso Powder: A teaspoon of instant espresso powder can deepen the chocolate flavor in chocolate chip pancakes or add a subtle coffee note to plain ones.
Beyond Basic Mix-Ins: Creative Pancake Variations
Take your milk-free pancakes to the next level by incorporating these exciting mix-ins and flavor combinations. The possibilities are truly endless!
- Lemon Zest + Poppy Seeds: A bright, tangy, and visually appealing combination that pairs wonderfully with a drizzle of honey or a lemon glaze.
- Cocoa Powder + Chocolate Chips: Transform your breakfast into a decadent dessert. Add a couple of tablespoons of unsweetened cocoa powder to the dry ingredients and fold in your favorite chocolate chips (dark, milk, or white).
- Mashed Bananas + Cinnamon: For naturally sweet and incredibly moist pancakes, mash one ripe banana into the wet ingredients and add a teaspoon of cinnamon. Delicious with a dollop of nut butter.
- Pumpkin Puree + Pumpkin Spice: A delightful seasonal twist. Stir in 1/4 to 1/2 cup of pumpkin puree and a teaspoon of pumpkin pie spice into the wet ingredients for a cozy fall favorite.
- Crushed Oreos + Vanilla Extract: Indulge in a cookies-and-cream pancake experience! Gently fold crushed Oreo cookies into the batter just before cooking.
- Chopped Apples + Cinnamon: Capture the essence of apple pie. Sauté finely diced apples with a sprinkle of cinnamon until tender, then fold into the batter. Serve with a dollop of whipped cream or a caramel drizzle.
- Blueberries & Lemon: Fresh or frozen blueberries burst with flavor, and a hint of lemon zest brightens the entire pancake.
- Shredded Coconut & Pineapple: For a tropical escape, mix in shredded coconut and finely diced pineapple.
- Nuts & Seeds: Add crunch and nutrition with chopped walnuts, pecans, almonds, or chia seeds.
4.88 from 8 votes
How to Make Homemade Fluffy Pancakes Without Milk
These homemade fluffy pancakes are made with no milk for those days where you don't have milk and don't want to go out and shop. They're incredibly simple, delicious, and use pantry staples!
Print Recipe
Ingredients
- 1 & 1/2 cup all-purpose flour
- 2 tablespoons granulated sugar
- 1 & 1/2 tablespoon baking powder Yes, tablespoons!
- 1/2 teaspoon salt
- 1 egg
- 1 & 1/4 cup water
- 1/3 cup melted butter or vegetable oil
- 2 teaspoon vanilla extract
Instructions
-
In a medium bowl, whisk the flour, sugar, baking powder, and salt.
-
In a large bowl, whisk the water, oil or butter, egg, and vanilla extract together. Pour the dry ingredients over the wet mixture and whisk until combined. Don't overmix trying to get rid of all the lumps or your pancakes will be flat. Some lumps in the batter are okay.
-
Grease a skillet over medium heat. Then start cooking your pancakes, using about 1/3 cup of batter at a time.
-
Cook on one side until you start seeing slight bubbles in the batter. Once that happens, check if the bottom is golden and flip the pancake. Cook for another 2-3 minutes then serve immediately. Repeat with the rest of the pancakes and grease your skillet as needed.
Nutrition
Nutrition information is automatically calculated, so should only be used as an approximation.