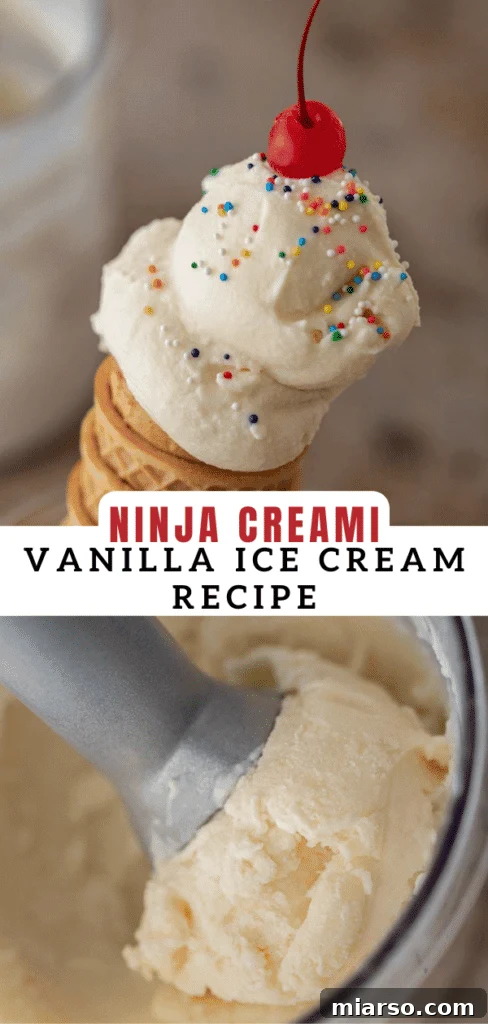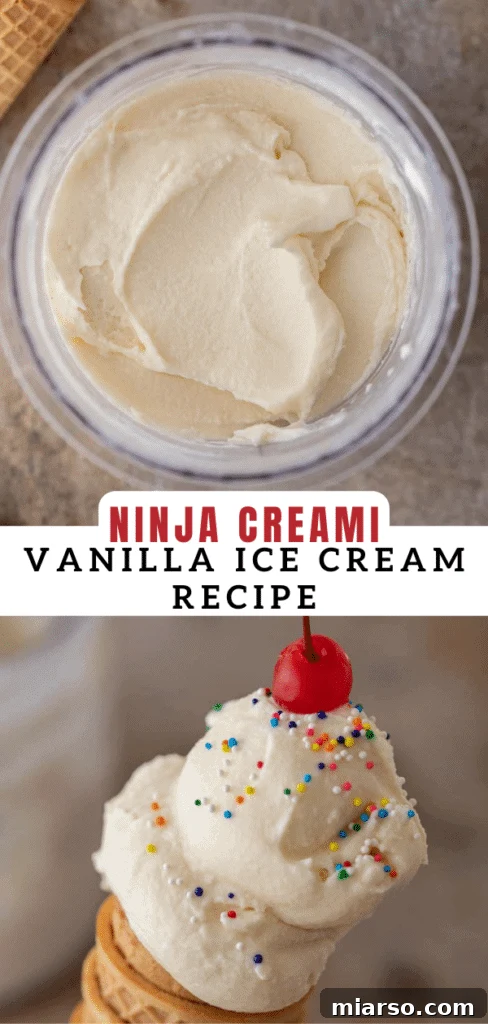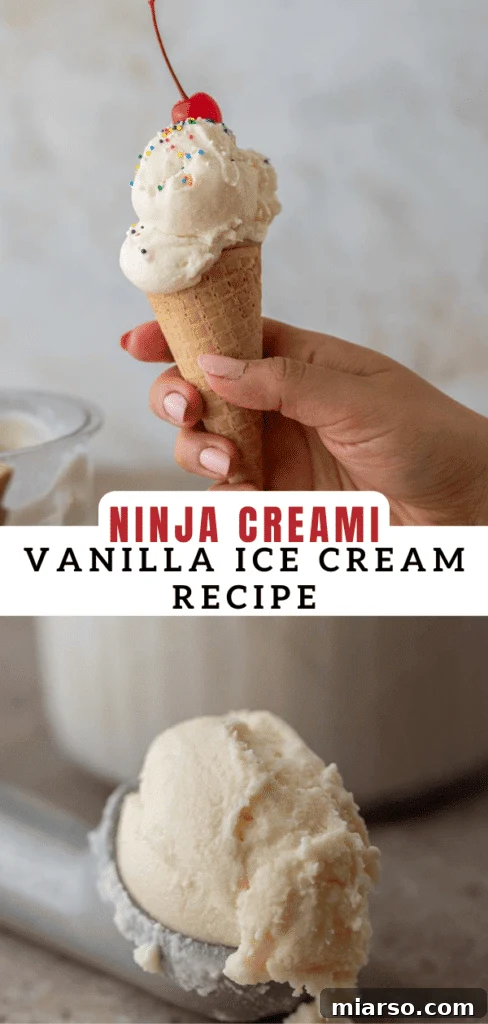
Indulge in the ultimate homemade frozen treat with this incredible **Ninja Creami vanilla ice cream recipe**. Designed to be a foundational delight, it serves as the perfect canvas for a myriad of summer desserts and beyond. Crafted with just a handful of straightforward ingredients you likely already have in your pantry, this recipe requires minimal hands-on effort, letting your Ninja Creami do all the hard work. Prepare to revolutionize your dessert game!
As you explore the world of frozen delights, don’t miss our comprehensive collection of the best Ninja Creami recipes. If you’re a chocolate lover, check out this rich Ninja Creami homemade chocolate ice cream, or dive into this decadent brownie chocolate ice cream recipe for a truly indulgent experience. Your next favorite dessert is just a spin away!

Unleash Sweet Perfection: The Best Ninja Creami Vanilla Ice Cream
The Ninja Creami ice cream maker stands as a true game-changer in the world of homemade desserts. This innovative appliance empowers you to effortlessly craft exquisite frozen treats with an unparalleled creamy texture, making it easier than ever to enjoy gourmet ice cream right from your kitchen. The beauty of the Ninja Creami lies in its ingenious design: simply prepare your desired ice cream base in the dedicated Ninja Creami pint, freeze it, and then let the machine take over. In just a matter of minutes, its powerful blades transform your solid frozen block into the most unbelievably smooth and luxurious ice cream imaginable.
Imagine savoring a scoop of intensely creamy, perfectly sweet vanilla ice cream on a scorching hot day – that’s the experience the Ninja Creami delivers. Unlike traditional ice cream makers that require constant churning or complex chilling processes, this machine offers a hands-off approach that guarantees consistent, delicious results every time. Beyond its convenience, the Ninja Creami is a canvas for culinary creativity. While vanilla is a timeless classic, this base recipe invites you to experiment with an array of flavors and mix-ins, allowing you to personalize your creations and craft unique frozen desserts that your entire family will adore. From the initial pour to the final spin, the process is streamlined, enjoyable, and delivers a superior product that rivals high-end ice cream shops.
Why Crafting Homemade Vanilla Ice Cream in Your Ninja Creami is a Must!
- **Unmatched Customizable Taste:** Creating vanilla ice cream with your Ninja Creami gives you complete mastery over the flavor profile. You can fine-tune the sweetness to your exact preference, intensify the vanilla notes with different extracts or pastes, and even adjust the creaminess. This control ensures a dessert that perfectly suits your taste buds, dietary needs, or even specific cravings. Say goodbye to generic store-bought options and hello to a truly personalized experience.
- **Premium Quality Ingredients at Your Fingertips:** When you make ice cream at home, you have the freedom to select only the finest ingredients. Opt for fresh, high-quality heavy cream, whole milk, and genuine vanilla extract or a luxurious vanilla bean. This commitment to superior components translates directly into a richer, more authentic flavor and a wonderfully smooth texture that simply cannot be replicated by commercial ice creams often laden with artificial additives.
- **Freshness Without Preservatives:** Enjoy the peace of mind that comes with knowing your vanilla ice cream is made fresh, without any artificial flavors, colors, stabilizers, or unwanted preservatives. This makes it a healthier, purer dessert choice for you and your family. Experience the true, vibrant taste of vanilla, unmasked by unnecessary chemicals, offering a wholesome indulgence.
- **An Engaging and Interactive Culinary Experience:** Using your Ninja Creami to whip up homemade ice cream is more than just cooking – it’s an enjoyable activity! Involve your loved ones in the process, from mixing the base to selecting delightful mix-ins. The machine’s user-friendly nature and rapid processing time make it exciting to experiment with different variations, fostering creativity and making kitchen time a fun, shared adventure.
- **A Smartly Cost-Effective Dessert Solution:** While the initial investment in a Ninja Creami might seem significant, making your own vanilla ice cream can be remarkably economical in the long run. Compared to frequently purchasing premium tubs of ice cream from the store, the cost per serving for homemade treats dramatically decreases over time. It’s an investment that pays off with endless delicious, budget-friendly desserts.
- **The Sheer Satisfaction of Homemade Goodness:** There’s an undeniable sense of pride and accomplishment in serving a dessert you’ve made from scratch. Crafting vanilla ice cream in your Ninja Creami allows you to enjoy the satisfaction of producing a delightful treat infused with your personal touch, care, and love. It’s a taste of homemade comfort that goes beyond just the flavor.
Essential Ingredients for the Perfect Vanilla Ice Cream Base
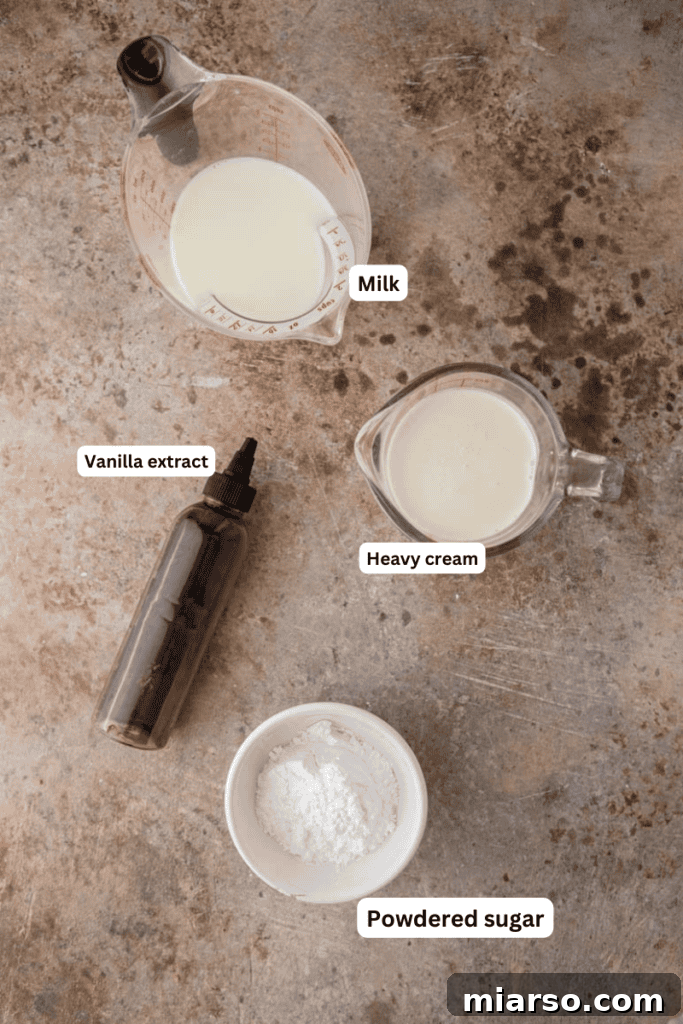
Crafting this classic vanilla ice cream requires only a few high-quality components, ensuring a rich and authentic flavor. Below is a breakdown of the basic ingredients you’ll need. For precise, detailed measurements, please refer to the recipe card further down the page.
- **Heavy Cream:** This is the cornerstone of a luxuriously creamy ice cream. Heavy cream, with its high fat content, provides the smooth, rich texture and decadent mouthfeel that distinguishes premium vanilla ice cream. Don’t skimp on this ingredient for the best results!
- **Milk:** While we used 2% milk for a balanced richness, opting for whole milk will elevate the creaminess to an even higher level, delivering an incredibly indulgent texture. Feel free to use any milk you have on hand, but keep in mind that higher fat content equals a creamier final product. For dairy-free alternatives, see our FAQ section below.
- **Powdered Sugar:** We specifically recommend powdered sugar (also known as confectioners’ sugar) over granulated sugar. Its fine texture dissolves effortlessly into the mixture, preventing any grainy consistency and contributing to the silky-smooth finish of your ice cream.
- **Pure Vanilla Extract:** As the primary flavor in this recipe, the quality of your vanilla extract is paramount. Invest in a high-quality pure vanilla extract to ensure a deep, aromatic, and truly authentic vanilla taste. For an even more sophisticated “vanilla bean ice cream” experience, consider using a whole vanilla bean pod (scraped seeds), a rich vanilla bean paste, or even a premium vanilla bean powder. Any of these options will deliver an exquisite vanilla essence that makes all the difference.
Step-by-Step Guide: Crafting Homemade Vanilla Ice Cream in Your Ninja Creami
Making delicious vanilla ice cream with your Ninja Creami machine is a remarkably simple and rewarding process. Follow these straightforward steps to achieve a perfectly creamy frozen treat. Remember to consult the complete recipe card below for precise measurements and additional details!
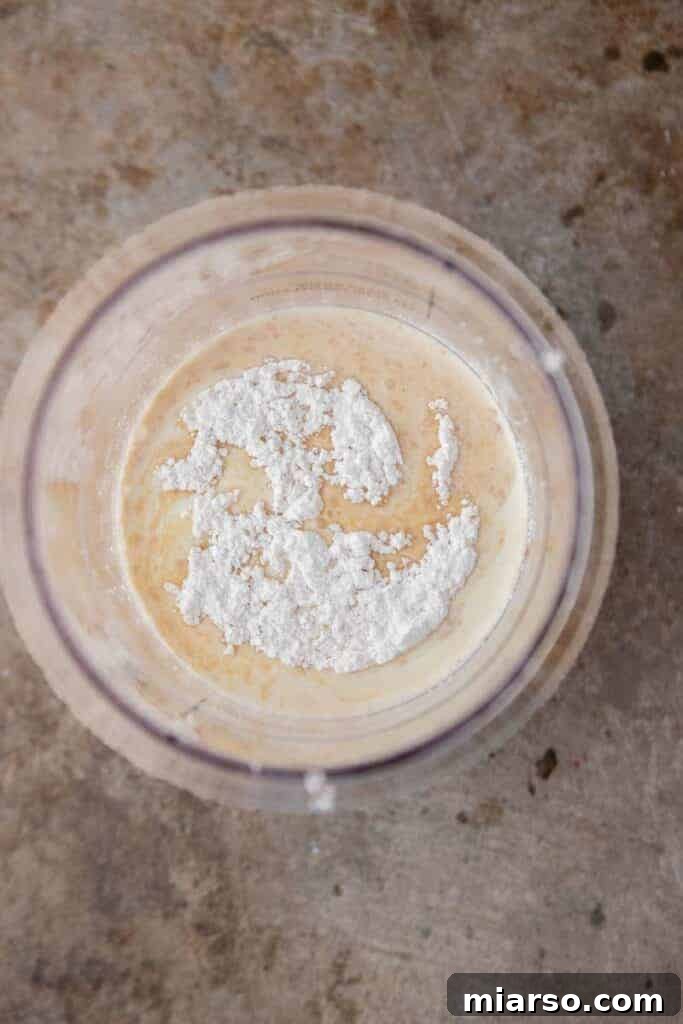
- **Combine Ingredients in Pint:** Begin by pouring the heavy cream, milk, powdered sugar, and pure vanilla extract directly into your Ninja Creami pint container. Ensure all ingredients are added before mixing.
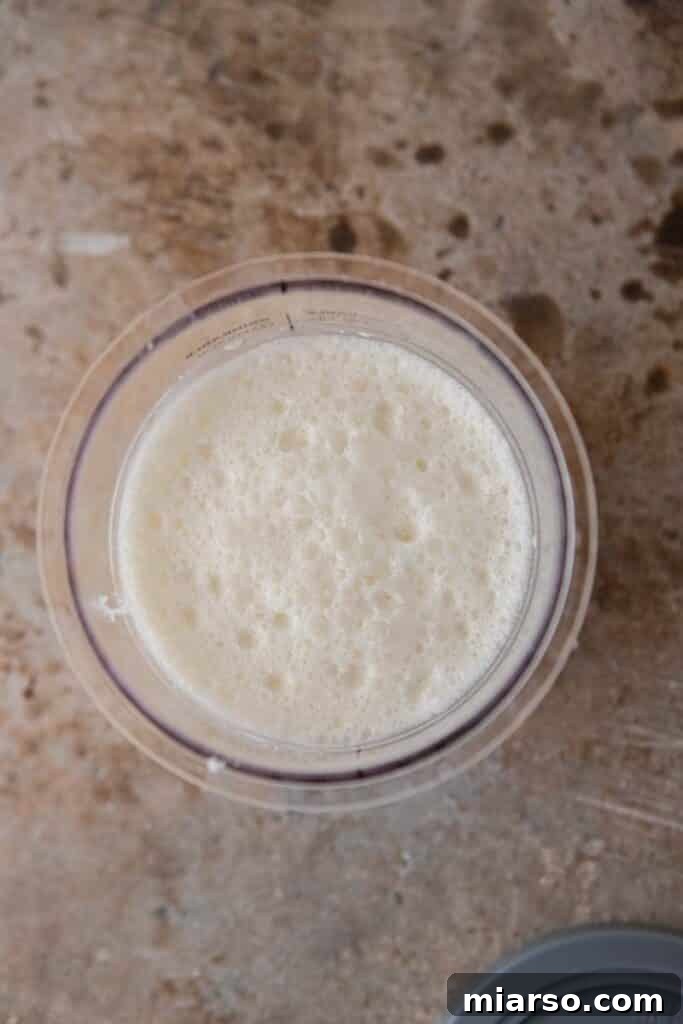
- **Froth Until Smooth:** Using a handheld frother, gently whisk the mixture until all the ingredients are thoroughly combined and the sugar has completely dissolved. This step is crucial for achieving an even flavor distribution and preventing any iciness in your final product.
- **Freeze Solid:** Securely close the pint container with its lid and place it on a flat, level surface in your freezer. Allow the mixture to freeze undisturbed for at least 24 hours. This extended freezing time is essential for the base to become completely solid, which is vital for the Ninja Creami’s unique processing method.
- **Prepare for Processing:** Once your pint is thoroughly frozen, remove it from the freezer. Place the pint container into the larger outer bowl of your Ninja Creami device. Securely attach the outer bowl lid, ensuring it clicks firmly into place, then lock the entire assembly into your Ninja Creami machine.
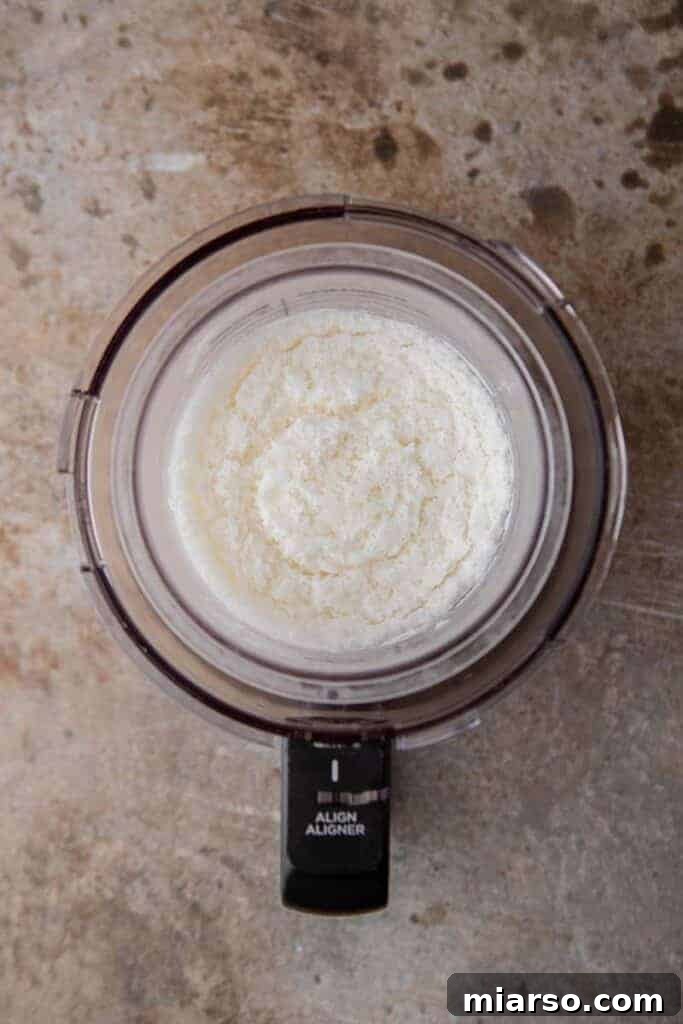
- **Activate Ice Cream Function:** Select the “Ice Cream” function on your Ninja Creami machine. Press the start button and allow the machine to work its magic. The powerful blade will process the frozen block, transforming it into a soft, scoopable texture.
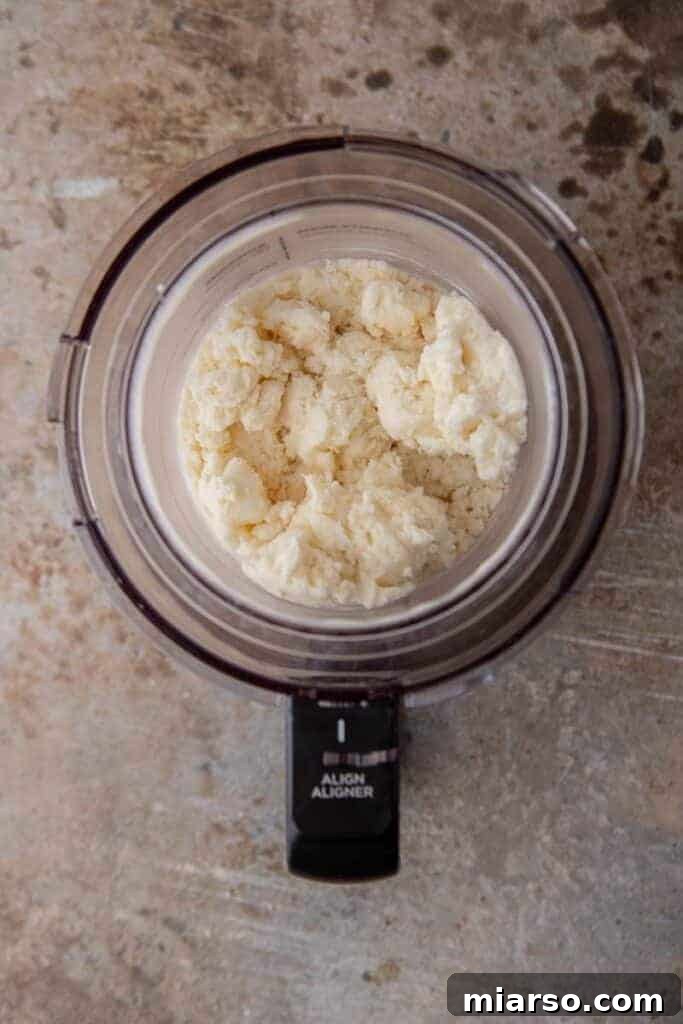
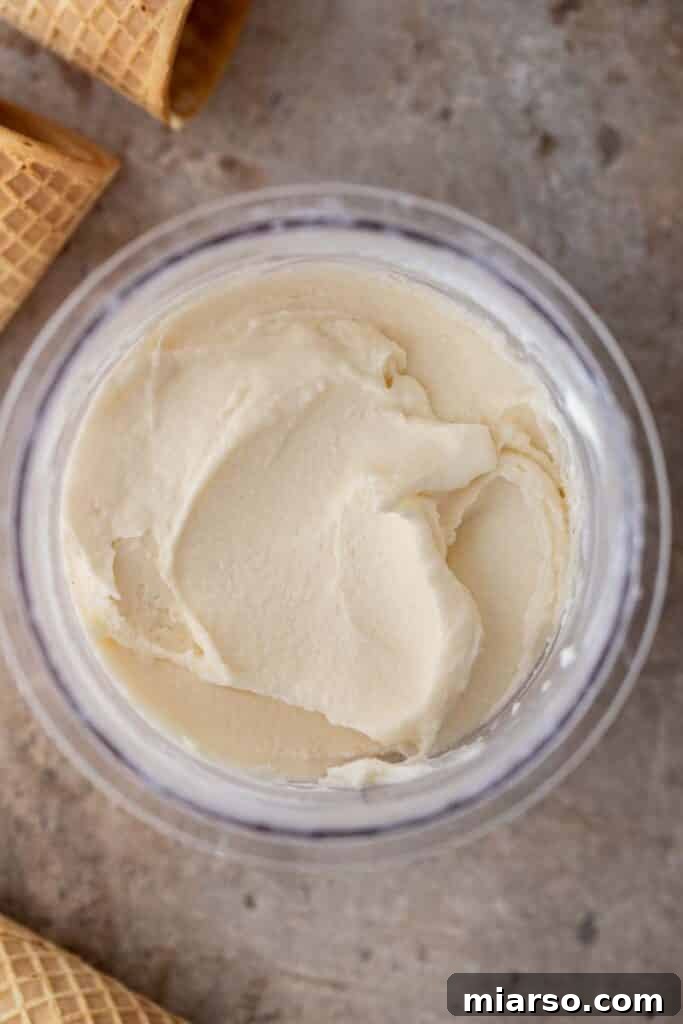
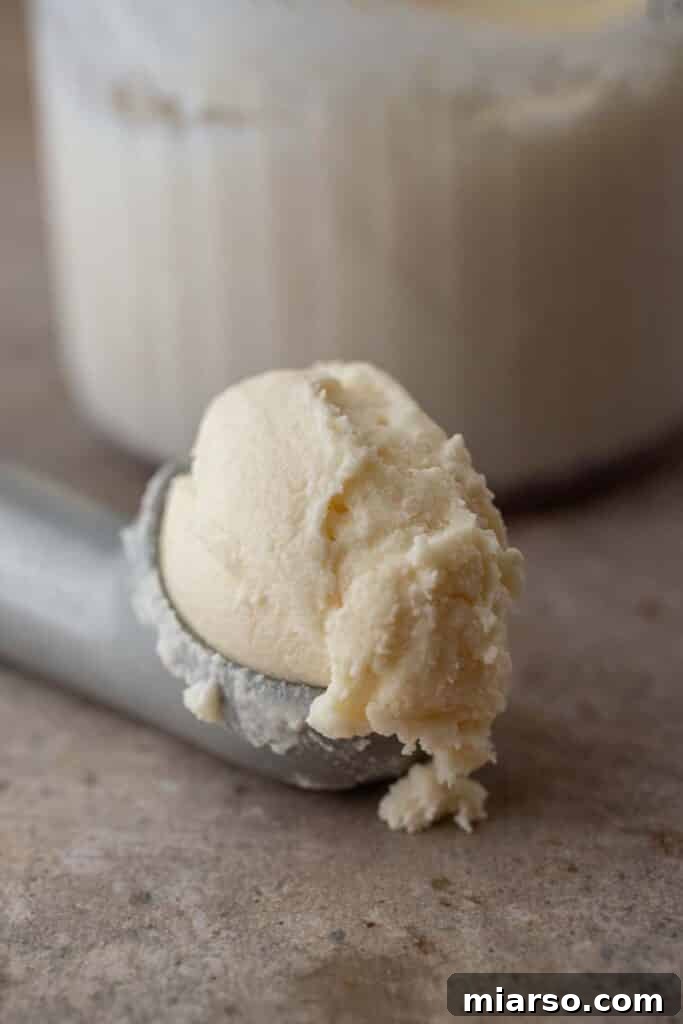
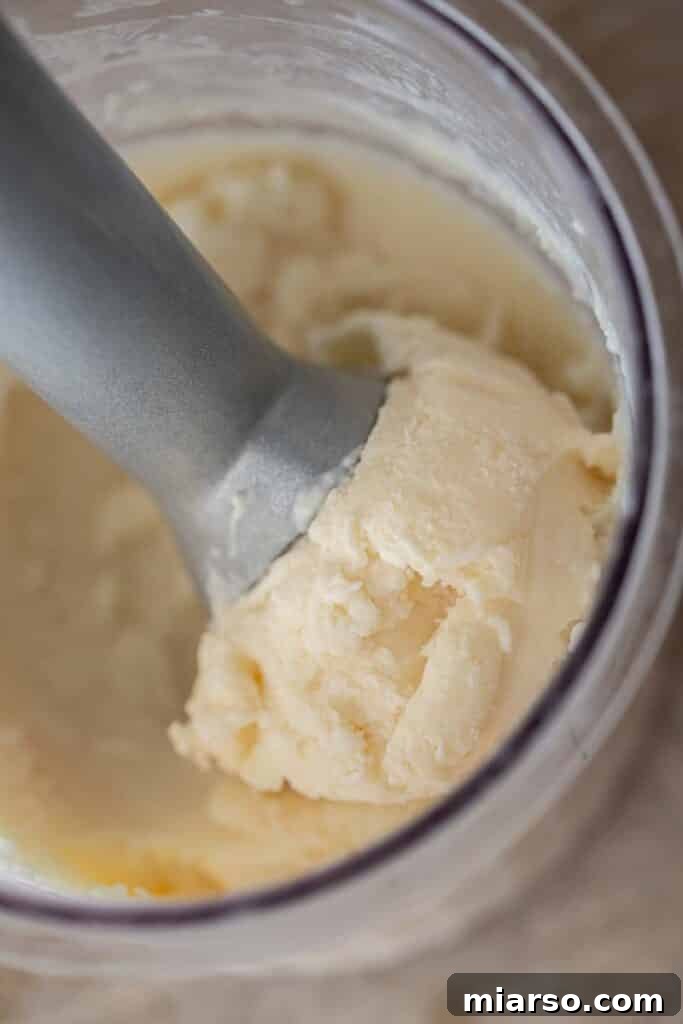
- **Achieve Perfect Consistency (Respin if Necessary):** After the initial spin, your ice cream may appear slightly crumbly or powdery. This is completely normal for Ninja Creami creations. To achieve that signature creamy texture, add 1 tablespoon of additional milk (or your chosen dairy-free alternative) to the pint. Re-insert the pint into the machine and use the “Re-spin” function. Continue to re-spin as needed, adding another tablespoon of liquid if desired, until you reach your preferred smooth and creamy consistency.
Frequently Asked Questions (FAQ)
How to Store Leftover Ninja Creami Vanilla Ice Cream?
One of the fantastic advantages of the Ninja Creami system is its convenience for leftovers. If you have any ice cream remaining, simply secure the lid tightly back on the pint container and return it to the freezer. It can be stored this way for up to one month without significant loss of quality.
However, it’s important to note that unlike traditional churned ice creams that can be scooped directly after being frozen, Ninja Creami ice cream will refreeze into a solid block. To enjoy that perfect, smooth texture again, you will need to re-spin it in your Ninja Creami machine. This quick and simple process, typically requiring only one “Re-spin” cycle, will restore it to its freshly made, indulgent consistency in no time. It’s a minor extra step that ensures optimal enjoyment every time!
Can I use a sugar substitute to make this a keto vanilla ice cream?
Absolutely! This recipe is inherently adaptable for a keto-friendly diet, primarily because it’s based on rich heavy cream. To transform it into a delicious low-carb or keto vanilla ice cream, simply replace the powdered sugar with your preferred sugar substitute. Monk fruit sweetener, erythritol-based sweeteners, or stevia leaf sugar are excellent choices. Ensure the substitute is finely powdered or dissolves well to maintain the smooth texture. The high fat content of the heavy cream naturally aligns with keto principles, making this a perfect guilt-free frozen treat.
What exciting mix-ins can I add to my vanilla ice cream?
This Ninja Creami vanilla ice cream base is wonderfully versatile, offering a delicious foundation for endless creativity. It’s truly a blank canvas for crafting your dream frozen treat. Here are some fantastic mix-in ideas to get you started:
- **Strawberry pieces:** Incorporate fresh or frozen (thawed slightly) strawberry pieces after the first spin for a delightful strawberry and cream ice cream.
- **Mini chocolate chips:** Stir in mini chocolate chips for a classic and utterly delicious chocolate chip vanilla ice cream.
- **Colorful sprinkles:** Add a generous amount of sprinkles for a vibrant and fun funfetti ice cream that’s perfect for celebrations.
- **Caramel and pecans:** For a sophisticated twist, swirl in a rich caramel sauce and chopped toasted pecans to create a luscious butter pecan-inspired delight.
- **Crushed cookies:** Imagine crushed Oreos, shortbread, or graham crackers for a textured treat.
- **Fruit purees:** Swirl in raspberry or mango puree for a fruity vanilla fusion.
- **Nutella or peanut butter swirls:** For an extra layer of decadence and flavor.
- **Chopped candy bars:** Turn your vanilla base into a candy bar masterpiece with chunks of your favorite chocolate bars.
The possibilities are truly endless! Feel free to experiment with whatever ingredients you have on hand or whatever your current cravings dictate. Don’t forget to share your favorite mix-in discoveries in the comments below – we’d love to hear your creative ideas!
What are some delightful toppings to pair with the rich vanilla flavor?
Once you’ve spun your perfect Ninja Creami vanilla ice cream, elevate it further with a variety of delectable toppings. Here are some of our favorites that beautifully complement the classic vanilla flavor:
- **Vibrant sprinkles:** The contrast of colorful sprinkles against the white vanilla ice cream is visually appealing and adds a playful crunch.
- **Rich chocolate fudge sauce:** A warm, gooey chocolate fudge sauce is a timeless pairing that always satisfies.
- **Fresh fruit or berries with whipped cream:** Brighten up your dessert with a medley of fresh berries like strawberries, blueberries, or raspberries, topped with a dollop of fluffy whipped cream for a lighter, refreshing option.
- **Brownie pieces or cookie dough chunks:** For the ultimate indulgence, crumble leftover brownie pieces or add spoonfuls of edible cookie dough for a delightful texture and flavor explosion.
- **Caramel sauce:** Drizzle with a luscious caramel sauce for a sweet and buttery addition.
- **Toasted nuts:** Chopped almonds, walnuts, or pecans add a satisfying crunch and nutty depth.
- **Cherries:** A classic maraschino or fresh cherry on top is the perfect finishing touch.
Can I make my vanilla ice cream dairy-free and vegan-friendly?
Absolutely! Adapting this vanilla ice cream recipe to be dairy-free and vegan is incredibly simple. For the milk component, feel free to use your favorite extra-creamy oat milk, almond milk, or soy milk. If you can find a vanilla-flavored dairy-free milk, it will provide an extra boost of vanilla goodness. For the heavy whipping cream, coconut cream is an excellent substitute. Its rich fat content mimics the texture of dairy cream beautifully, yielding a remarkably creamy and indulgent dairy-free ice cream. Ensure your coconut cream is chilled before mixing for the best consistency. With these simple swaps, everyone can enjoy a delectable homemade vanilla treat!
Can this recipe be made in both the Ninja Original Creami and the Deluxe Creami machine?
Yes, this versatile vanilla ice cream recipe can be successfully made in both the original Ninja Creami machine and the larger Deluxe Creami model. There’s just a slight adjustment needed for ingredient quantities to ensure optimal results and a full pint in the Deluxe version.
For reference, the standard Ninja Creami pint typically holds up to 16 ounces of liquid, while the Ninja Creami Deluxe pint has a larger capacity, accommodating approximately 24 ounces. If you are using the Deluxe appliance, we recommend scaling the ingredient measurements provided in the recipe card below by 1.5 times. This adjustment will ensure your larger container is adequately filled, resulting in a more generous batch of delicious homemade ice cream, perfectly suited for the Deluxe machine’s capacity.
Troubleshooting Common Ninja Creami Issues
Why is my ice cream crumbly after the first spin?
It’s very common and completely normal for your Ninja Creami ice cream to appear crumbly, powdery, or slightly granular after its initial spin cycle. This occurs because the machine is processing a solid block of deeply frozen ingredients. The powerful blade effectively shaves and breaks down this block, but it often needs a little extra help to transform into the silky-smooth consistency we associate with ice cream.
The simple solution is to utilize the “Re-spin” function. After the first processing, observe the texture. If it’s still crumbly, you have two options: either re-spin it a few more times on the “Re-spin” setting until it reaches your desired creaminess, or, for an even smoother and quicker result, add just about 1 tablespoon of milk (or your chosen liquid, such as a dairy-free alternative) to the pint before initiating a re-spin. This small amount of liquid helps to further emulsify the mixture during the second spin, yielding the most incredibly smooth and delightful ice cream texture imaginable! Don’t be discouraged by the initial crumbly appearance; the re-spin is designed to perfect it.

Vanilla Ice Cream Made in a Ninja Creami: The Ultimate Recipe

Ninja Creami Vanilla Ice Cream
Print Recipe
Ingredients
- 3/4 cup heavy cream
- 3/4 cup milk
- 1/3 cup powdered sugar
- 1 tsp vanilla extract
Instructions
-
In your Ninja Creami pint container, combine the heavy cream, milk, powdered sugar, and vanilla extract.3/4 cup heavy cream, 3/4 cup milk, 1/3 cup powdered sugar, 1 tsp vanilla extract
-
Using a handheld frother, mix the ingredients until everything is smoothly combined and the sugar has dissolved.
-
Close the container with a lid and freeze it on a flat surface for 24 hours until completely solid.
-
Once frozen, place the pint container into the outer bowl of the device, attach the outer bowl lid, and lock it securely into your machine.
-
Press the “Ice Cream” function on your machine and allow it to process.
-
If the ice cream appears crumbly, add 1 tablespoon of milk and re-spin as necessary to achieve your desired creamy consistency.
Notes
Nutrition
Nutrition information is automatically calculated, so should only be used as an approximation.
If you enjoyed this Ninja Creami vanilla ice cream recipe, make sure to pin it for later!