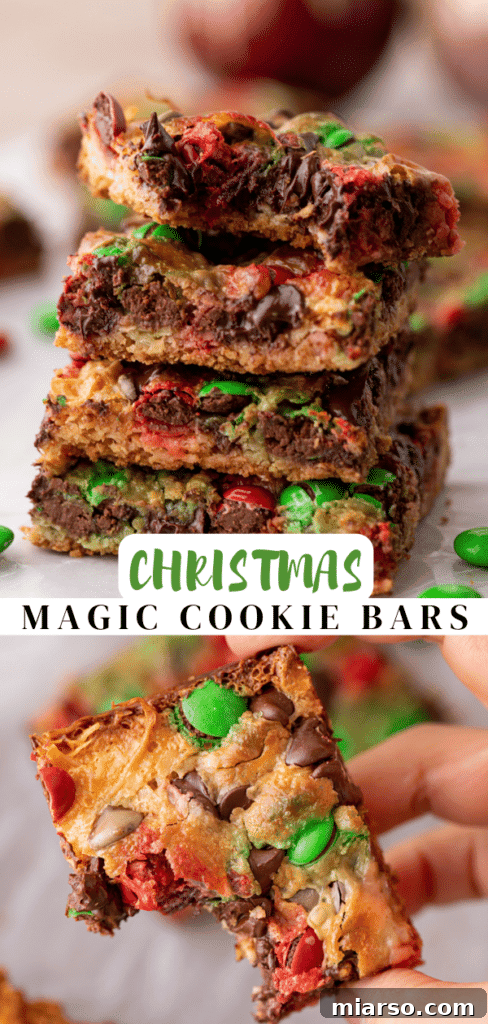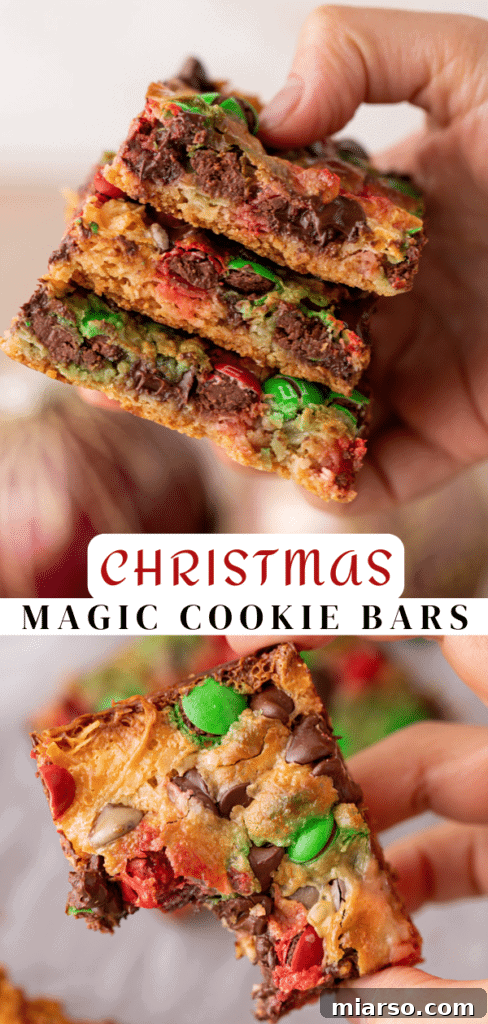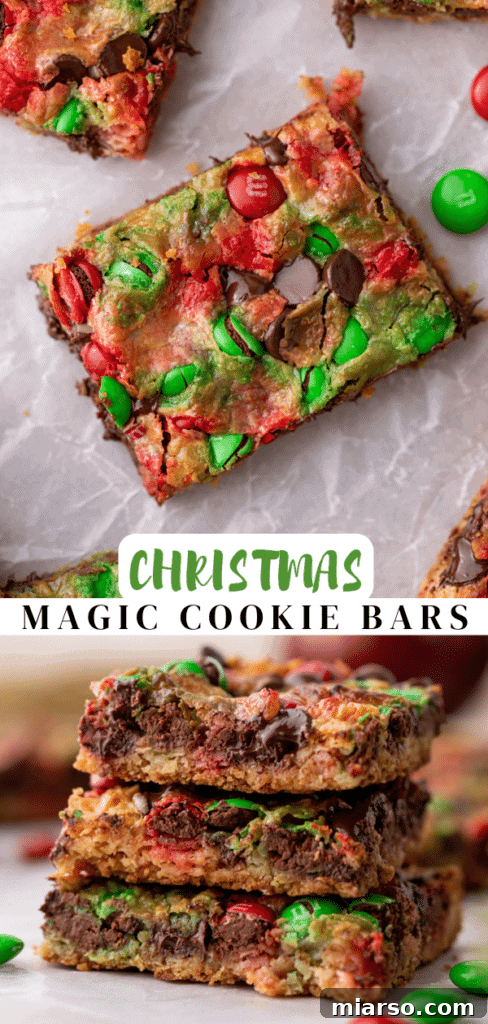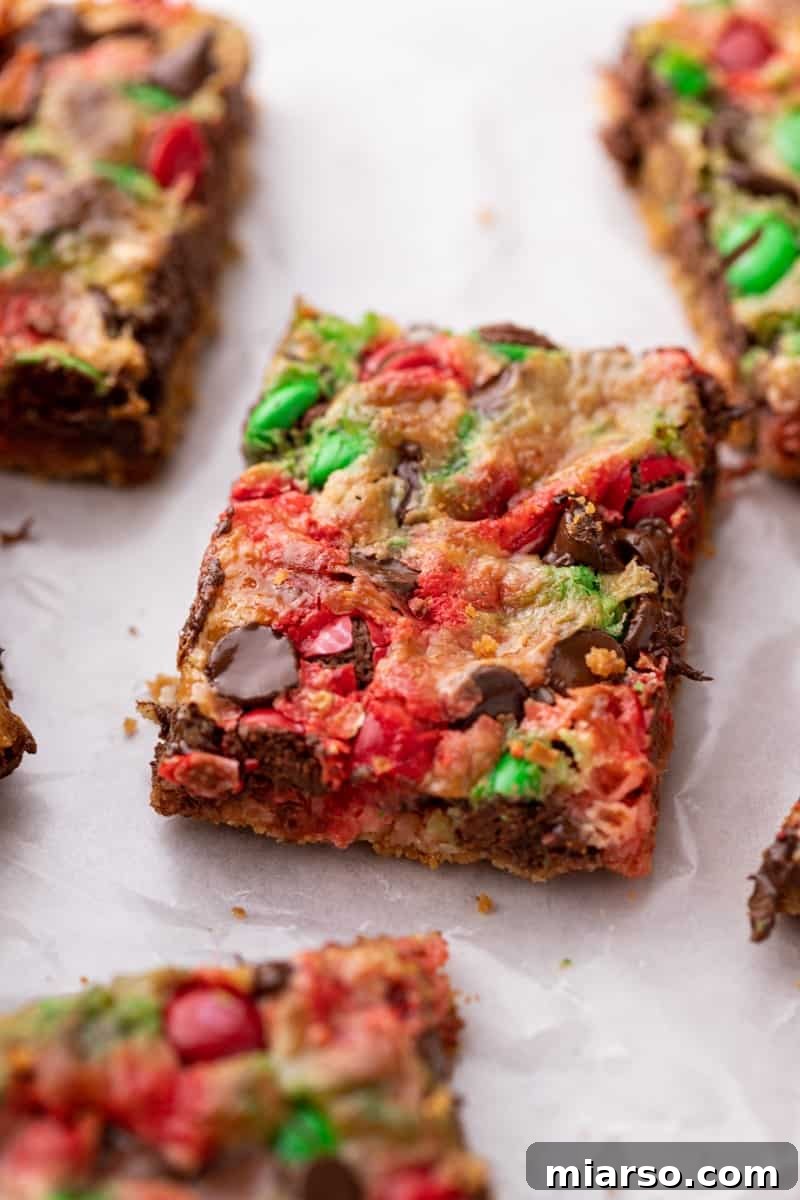
As the festive season twinkles into view, there’s no better way to fill your home with warmth and cheer than with the aroma of freshly baked goods. And when it comes to iconic holiday treats, these Christmas Magic Cookie Bars stand in a league of their own. Overflowing with layers of delightful flavors and textures, this incredibly easy holiday dessert is destined to become a cherished tradition, if it isn’t already a staple in your Christmas baking repertoire.
For those who adore simple, holiday-inspired treats, we’ve curated a few more festive dessert recipes you might love:
- 22 Days of Christmas Cookies
- The Best Christmas Fudge Recipe
- Healthy Christmas Reindeer Peanut Butter Balls with Rice Krispies
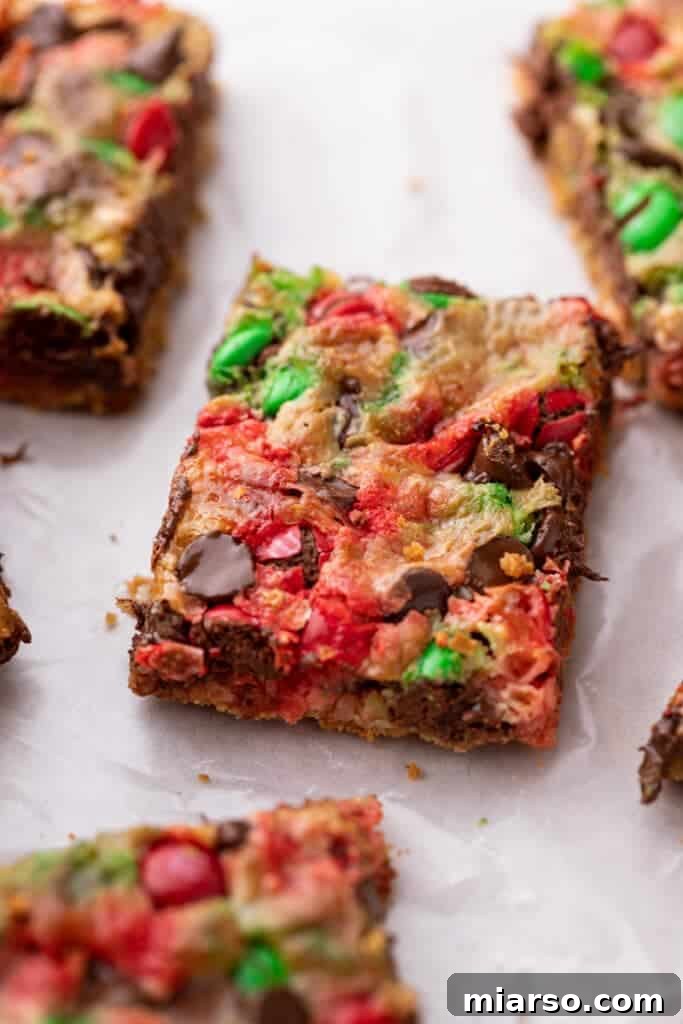
The Enchanting Story of Magic Cookie Bars: A Timeless Holiday Tradition
Often referred to as 7-Layer Magic Cookie Bars, these decadent treats earn their “magic” moniker from the glorious stack of ingredients that magically meld together into one harmonious bite. Their history stretches back decades, gaining widespread popularity after the World Wars, especially thanks to recipes popularized by Eagle Brand sweetened condensed milk. What started as a simple, ingenious recipe designed to use pantry staples quickly became a household favorite, enduring through generations and continuing to bring joy to tables today. This isn’t just a dessert; it’s a piece of culinary history, a testament to simple ingredients coming together to create something truly extraordinary.
While this article presents a base recipe that stays true to the classic dessert’s original charm, we’ll also arm you with a sleigh-full of creative ideas for customizing these Christmas bars. Whether you’re a traditionalist or an adventurous baker, you’ll find plenty of inspiration to tailor these festive treats to your personal taste and holiday theme.
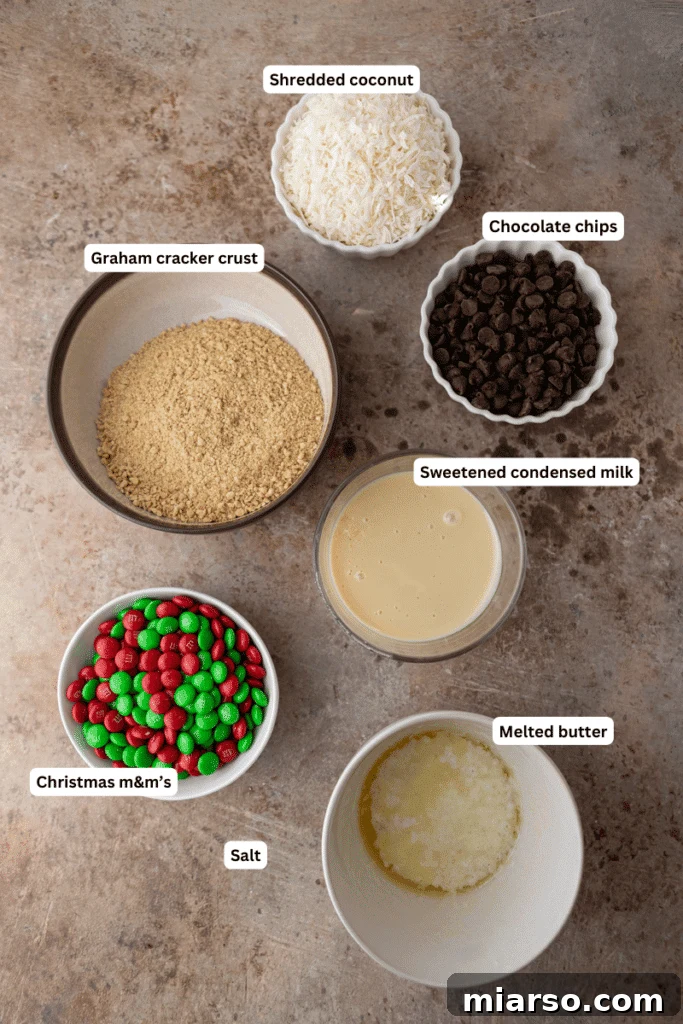
Essential Ingredients for Irresistible Christmas Magic Cookie Bars
Crafting these delectable Christmas Magic Cookie Bars requires a carefully selected list of ingredients, each playing a crucial role in achieving that perfect balance of sweetness, chewiness, and crunch. Below, we break down each component, offering insights and tips for your baking success. For precise measurements, always refer to the detailed recipe card at the bottom of this page.
- Butter: Melted butter is the foundation of our cookie bars, binding with the graham cracker crumbs to form the rich, buttery crust. Using good quality butter will significantly enhance the overall flavor.
- Graham Crackers: Crushed graham cracker crumbs are essential for the classic, sweet, and slightly crunchy base. They provide a sturdy yet tender foundation that complements the softer layers above.
- Salt: A pinch of salt is often the unsung hero in baking. It doesn’t just add flavor; it balances and enhances the sweetness of the other ingredients, ensuring a well-rounded taste profile.
- Coconut Flakes: Coconut flakes are a quintessential component of traditional 7-layer bars, offering a delightful chewiness and subtle tropical flavor. If you’re not a fan, don’t worry—this is an easily customizable layer you can omit or swap out.
- Sweetened Condensed Milk: This is arguably the “magic” ingredient! Sweetened condensed milk not only imparts a rich, creamy sweetness but also acts as a binder, holding all the diverse layers together without the need for traditional cookie dough. It caramelizes beautifully during baking, creating a wonderfully chewy texture.
- Chocolate Chips: A generous scattering of chocolate chips delivers that universally loved chocolatey goodness. While semi-sweet chocolate chips are used in this recipe for a balanced sweetness, feel free to experiment with milk chocolate, dark chocolate, or even white chocolate chips to match your preference.
- Holiday M&M’s: For a burst of festive color and an extra candy crunch, red and green M&M’s are a fantastic addition. They instantly transform these bars into a visually appealing Christmas treat.
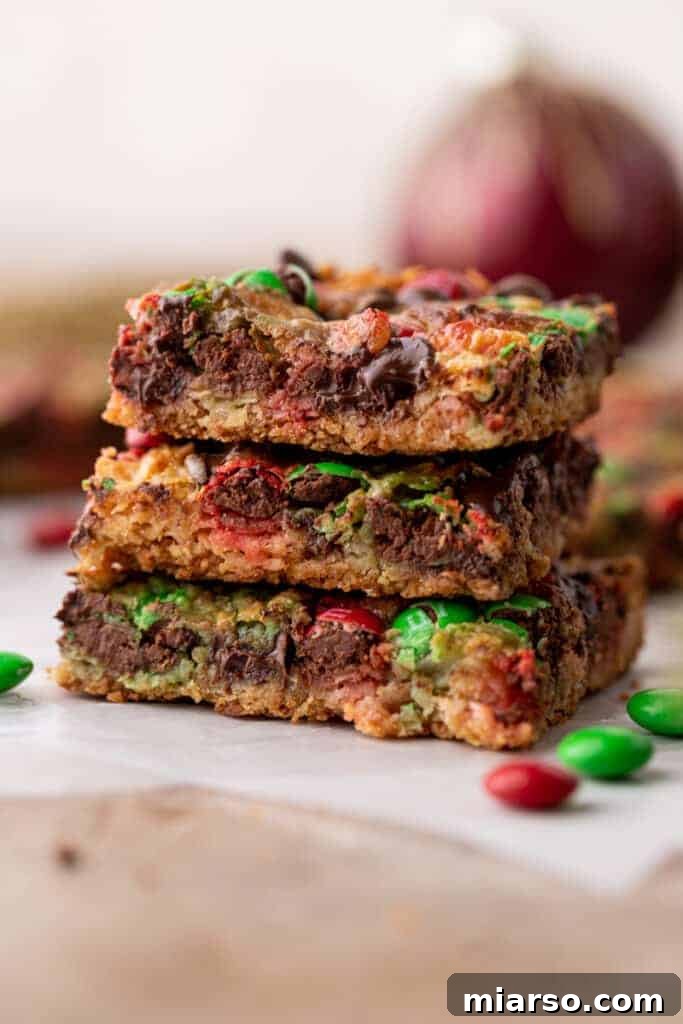
Step-by-Step Guide: How to Bake the Best Christmas Magic Cookie Bars
Creating these festive magic cookie bars is surprisingly straightforward, making them an ideal recipe for bakers of all skill levels, especially during the busy holiday season. Follow these simple steps to achieve golden, gooey perfection. Remember to find the full, detailed instructions and ingredient list in the recipe card at the very end of this article.
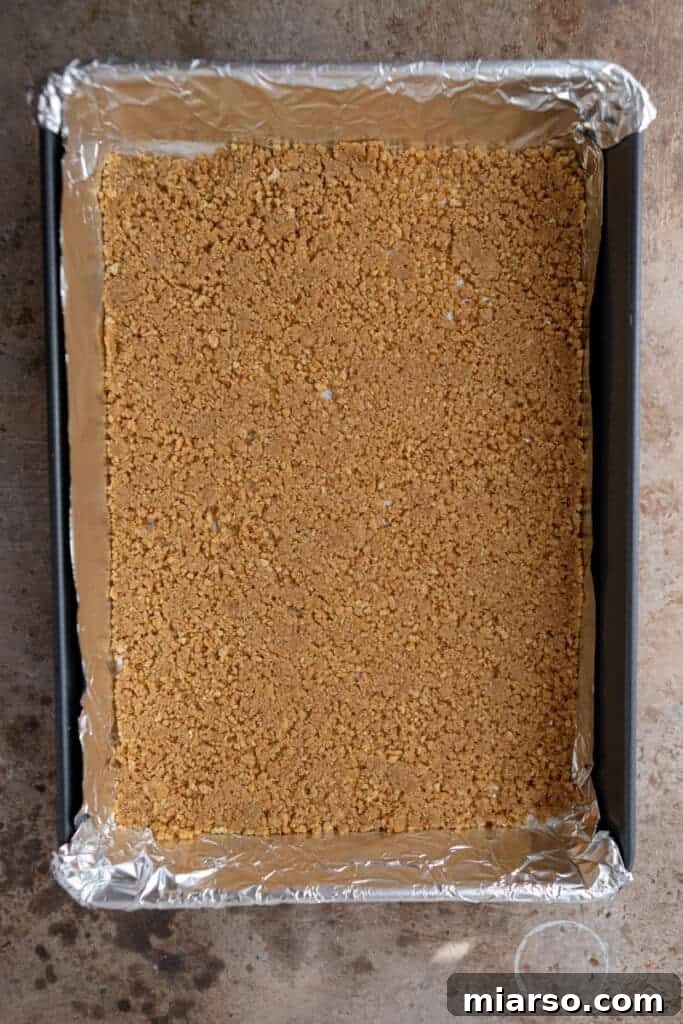
- Prepare Your Pan: First, begin by preheating your oven to 350°F (175°C). This ensures even baking from the moment your bars enter the oven. Next, line a 13×9-inch baking pan with parchment paper or aluminum foil, leaving an overhang on the sides. This thoughtful step will make lifting the cooled bars out of the pan and slicing them incredibly easy, preventing any sticking.
- Craft the Crust: In a medium mixing bowl, combine the finely crushed graham cracker crumbs, melted butter, and a pinch of salt. Mix until the crumbs are thoroughly moistened and resemble wet sand. Transfer this mixture to your prepared baking pan and press it firmly and evenly across the bottom. A flat-bottomed glass or the back of a spoon works perfectly for creating a compact, consistent crust.
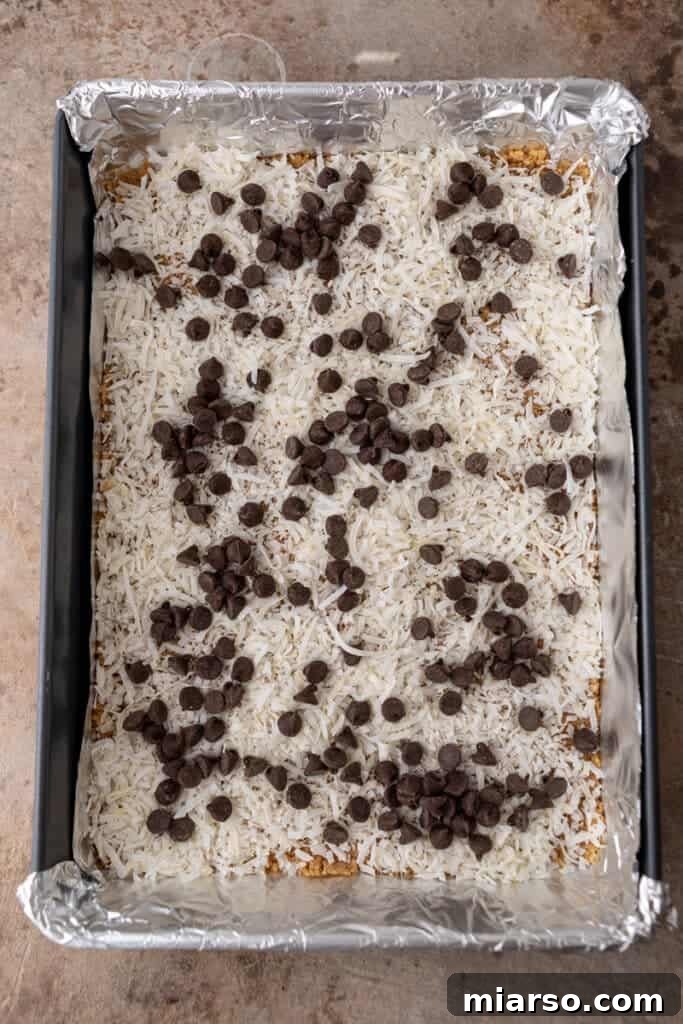
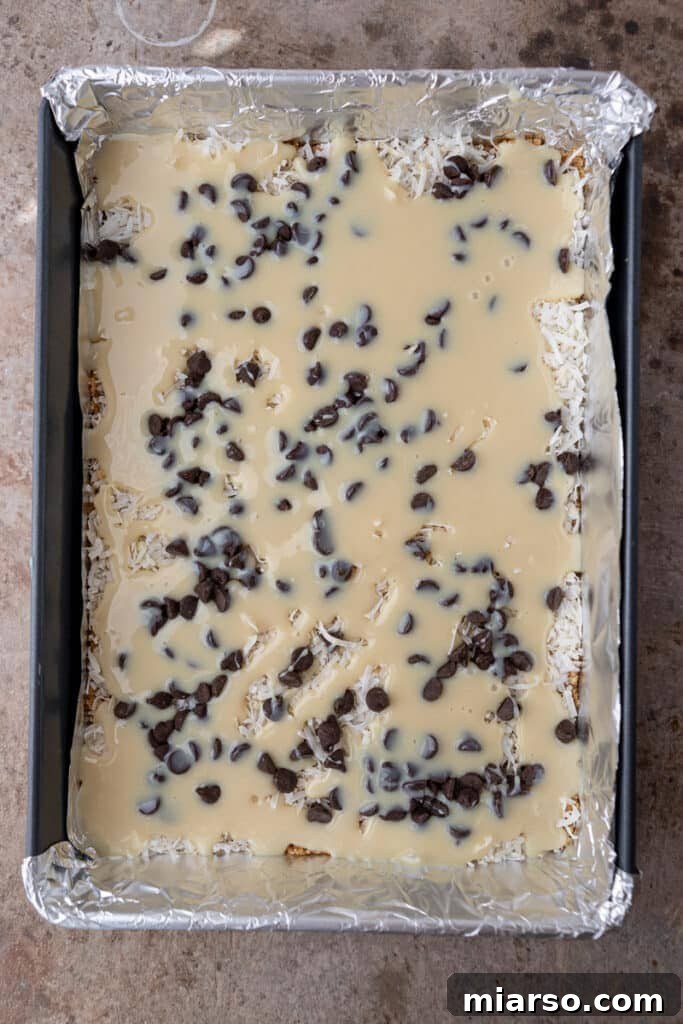
- Layer the Goodies: Now comes the fun part – building your layers! First, sprinkle the coconut flakes evenly over the graham cracker crust. Then, add about half of your chosen chocolate chips, distributing them broadly. Finally, generously drizzle the entire can of sweetened condensed milk over these layers. Ensure the milk covers as much of the surface as possible; it will act as the “glue” for everything.
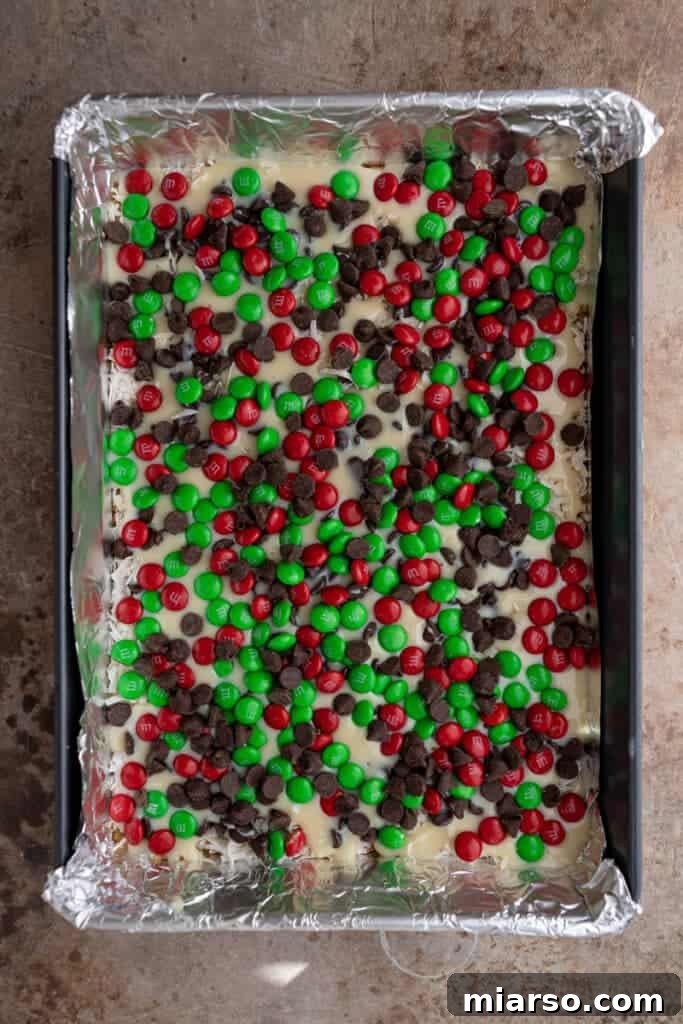
- Add the Festive Toppings: To complete your festive creation, scatter the holiday M&M’s over the condensed milk layer, followed by the remaining chocolate chips. Feel free to press them down ever so slightly to ensure they adhere well, but don’t compact them too much.
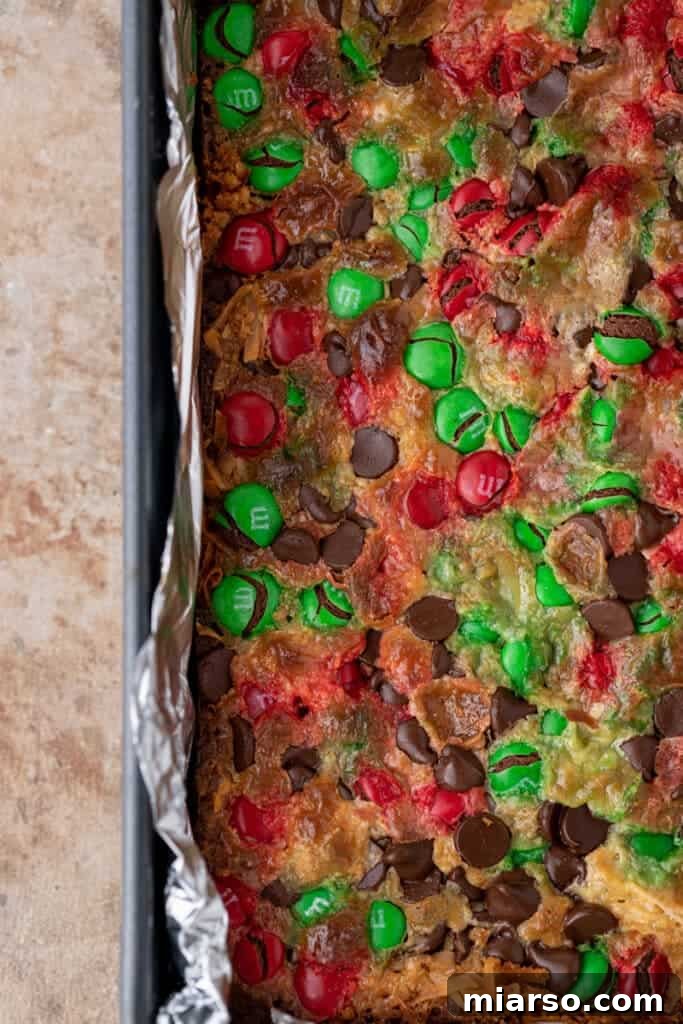
- Bake to Perfection & Cool: Place the pan in your preheated oven and bake for approximately 25 to 30 minutes, or until the edges are golden brown and the center is set and slightly bubbly. The top layer, especially the coconut, should look lightly toasted. Once baked, remove the pan from the oven and, crucially, allow the bars to cool down completely on a wire rack before attempting to slice them. This patience is key to clean, firm bars. For an extra touch of holiday sparkle, consider adding some festive sprinkles just after they come out of the oven, while the topping is still warm and slightly sticky.
Why These Christmas Magic Cookie Bars Are Your Go-To Holiday Dessert
When the holidays roll around, finding a dessert that’s both impressive and stress-free can feel like a Christmas miracle. These Christmas Magic Cookie Bars are exactly that—a magical solution for your festive baking needs. Here’s why they should be at the top of your baking list this season:
- Effortless Preparation: These delightful bars require only a handful of common pantry ingredients, many of which you likely already have on hand. The simple layering process means less fuss and more festive fun, making them perfect for busy holiday schedules.
- Infinitely Customizable: Craving something specific? These bars are incredibly versatile. You can easily switch up the flavors and add-ins to match any preference or occasion, transforming them with different chocolates, nuts, or candies.
- Unique Flavor and Texture Profile: Thanks to the thoughtful combination of individual ingredients—the crunchy graham cracker crust, the chewy coconut, the melted chocolate, and the caramelized sweetened condensed milk—these cookie bars boast a truly unique and irresistible flavor and texture. Every bite is a delightful medley.
- Generous Yield: This single recipe yields a whopping 24 servings, making it perfect for holiday parties, potlucks, or as a thoughtful gift for neighbors and friends. You’ll have plenty to share and perhaps even some left over for yourself!
- Make-Ahead & Freezer-Friendly: Holiday preparations can be hectic. These bars can be made ahead of time and stored, or even frozen, allowing you to get a head start on your baking and enjoy a less stressful festive season.
Frequently Asked Questions About Christmas Magic Cookie Bars
What makes these cookie bars “magic”?
The “magic” in magic cookie bars primarily comes from the sweetened condensed milk. When baked, it caramelizes and acts as a binder, creating a wonderfully chewy texture that holds all the different layers together without requiring traditional cookie dough. Each layer also adds its unique texture and flavor, combining magically into one cohesive and delicious treat.
Can I make Magic Cookie Bars ahead of time?
Absolutely! Magic cookie bars are excellent for making ahead, which is a huge bonus during the busy holiday season. Once cooled completely, they can be stored at room temperature for up to 3 days, or in the refrigerator for up to a week. They even taste better the next day once the flavors have had a chance to meld.
How do I cut the bars neatly?
For clean, precise slices, ensure the bars are completely cooled before cutting. Chilling them in the refrigerator for at least an hour (or even in the freezer for 15-20 minutes) will firm up the layers, making them much easier to cut without crumbling. Use a sharp, non-serrated knife and wipe the blade clean with a damp cloth between cuts for the cleanest results.
Can I freeze Christmas Magic Cookie Bars?
Yes, these bars freeze beautifully! Once fully cooled, wrap individual bars or entire slabs tightly in plastic wrap, then place them in an airtight freezer-safe container or a heavy-duty freezer bag. They can be frozen for up to 1-2 months. Thaw them in the refrigerator or at room temperature before serving.
What if I don’t like coconut?
If coconut isn’t your favorite, you can simply omit it! While it’s a classic 7-layer bar ingredient, the recipe works perfectly fine without it. You can also replace the coconut with an equal amount of additional chocolate chips, nuts, or even crushed pretzels for an extra salty crunch.
Storing Your Christmas Magic Cookie Bars for Freshness
Proper storage is key to keeping your delicious cookie bars fresh and ready to enjoy throughout the holiday season. The process is remarkably simple, ensuring your hard work pays off with lasting flavor.
Once your magic cookie bars have fully cooled to room temperature (this step is crucial to prevent condensation and sogginess), you have a few options for storage. The simplest method is to place them in an airtight container or a reliable zip-top bag. For an extra layer of protection and to prevent individual bars from sticking together, you can wrap each piece in plastic wrap before arranging them in the container. This also makes them perfect for grab-and-go treats or for gifting.
Stored at room temperature in an airtight container, these bars will remain fresh and delicious for 3-4 days. If you need them to last longer, place the sealed container in the refrigerator for up to a week. For extended enjoyment, these bars are freezer-friendly! Follow the same wrapping steps, then store them in the freezer for up to a month. When ready to serve, simply thaw them in the refrigerator or at room temperature for a few hours.
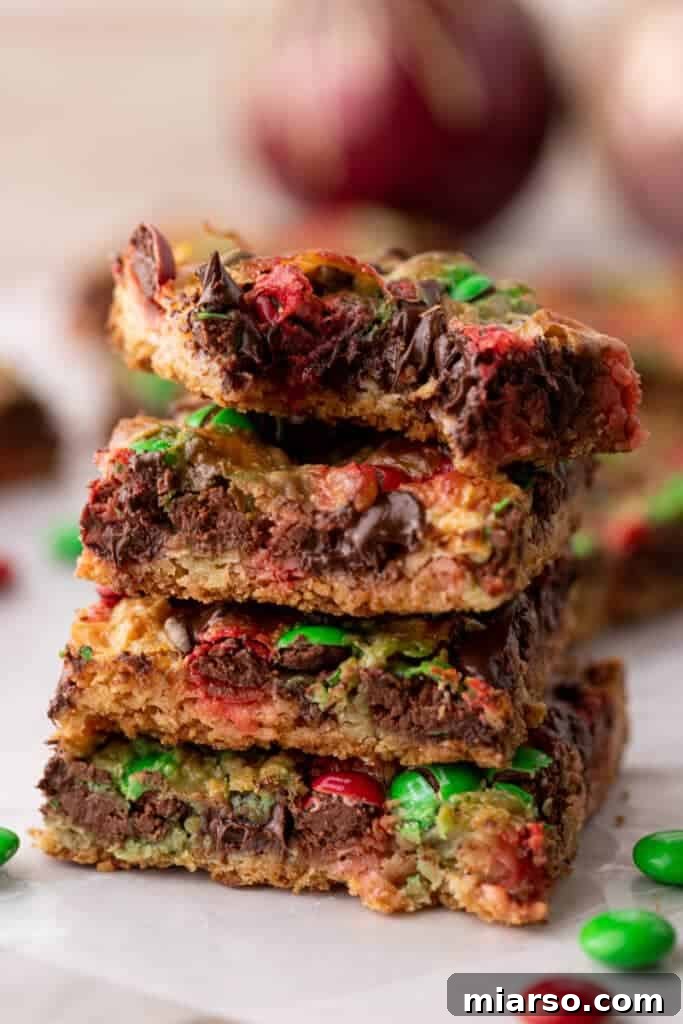
Creative Recipe Variations to Customize Your Magic Cookie Bars
The beauty of magic cookie bars lies in their incredible adaptability. While the classic recipe is undeniably delicious, there are countless ways to customize them to suit your palate or holiday theme. Get creative with these inspiring variations, and let your imagination lead the way!
- Classic Butterscotch Chips: For a truly nostalgic touch, add butterscotch chips. Butterscotch was a traditional flavor in many early magic cookie bar recipes and offers a wonderful, distinctive sweetness that pairs beautifully with the other layers.
- Rich Caramel Drizzle: Elevate the decadence with a layer of gooey caramel. You can either use small caramel bits sprinkled among the layers or, for an extra indulgent treat, drizzle warm caramel sauce over the baked and cooled bars before slicing. Caramel’s rich, buttery notes are a fantastic complement to chocolate and coconut.
- Nutty Additions: Introduce a delightful crunch and earthy flavor with chopped nuts. Peanut butter chips can be melted into the layers or added as whole chips. Alternatively, finely chopped pecans, almonds, or walnuts will provide a satisfying textural contrast and a deeper, roasted flavor that enhances the sweetness of the bars.
- Sweet & Tart Dried Fruits: For a burst of fruity flavor and a lovely chewiness, consider incorporating dried fruits. Raisins, dried cherries, or cranberries are particularly delicious with coconut and chocolate, adding a hint of tartness that cuts through the richness.
- Swap Out the Crust: While graham cracker is classic, don’t limit yourself! An Oreo crust (crushed Oreos mixed with melted butter) creates a rich, chocolatey foundation, or try a shortbread crust for a more buttery, delicate base.
- Different Chocolates & Candies: Instead of just semi-sweet, try a mix of milk, dark, and white chocolate chips for a complex chocolate experience. Beyond M&M’s, consider chopped candy canes for a minty twist, toffee bits for extra crunch, or even miniature marshmallows for a s’mores-inspired treat.
- Spices for Warmth: A dash of cinnamon, nutmeg, or pumpkin pie spice in the graham cracker crust or sprinkled over the layers can infuse your bars with a cozy, seasonal warmth perfect for Christmas.
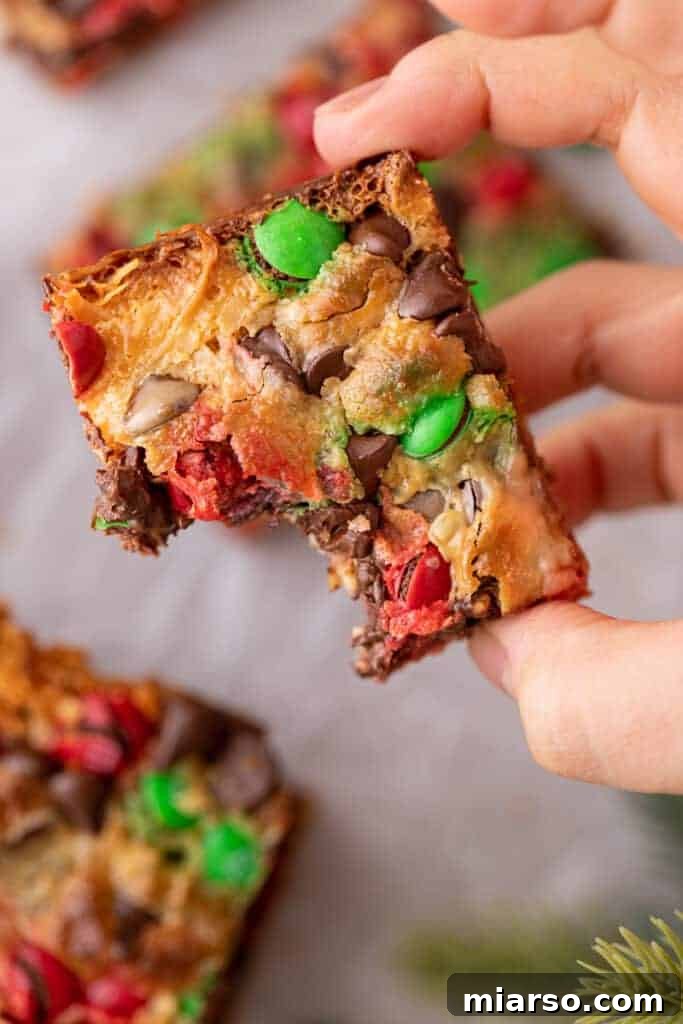
The Best Christmas Magic Cookie Bars Recipe
Christmas Magic Cookie Bars
These delicious magic cookie bars are the perfect large-batch dessert to make for the holiday season, combining ease with irresistible flavor.
5 mins
25 mins
30 mins
24 servings
Print Recipe
Ingredients
- 1/2 cup butter, melted
- 1 & 1/2 cup graham cracker crumbs
- 1/2 tsp salt
- 1 cup coconut flakes
- 14 oz sweetened condensed milk (1 can)
- 1 cup chocolate chips
- 1 cup holiday M&M’s
Instructions
- Preheat the oven to 350°F (175°C) then line a 13×9 inch baking dish with parchment paper or aluminum foil, leaving an overhang for easy removal.
- In a medium bowl, combine the graham cracker crumbs, salt, and melted butter. Press this mixture firmly onto the bottom of the prepared baking dish to form an even layer.
- Sprinkle the coconut flakes evenly over the crust, followed by half of the chocolate chips. Drizzle the entire can of sweetened condensed milk over these layers, ensuring it coats the whole pan.
- Top everything with the holiday M&M’s and the remaining chocolate chips.
- Bake in the oven for 25-30 minutes, or until golden brown and set. Allow the bars to cool down fully at room temperature before slicing into them. For an added holiday theme, sprinkle with holiday sprinkles just after baking if desired.
Nutrition
Carbohydrates: 25g |
Protein: 2g |
Fat: 12g |
Saturated Fat: 8g |
Polyunsaturated Fat: 0.2g |
Monounsaturated Fat: 2g |
Trans Fat: 0.2g |
Cholesterol: 17mg |
Sodium: 142mg |
Potassium: 112mg |
Fiber: 1g |
Sugar: 20g |
Vitamin A: 182IU |
Vitamin C: 1mg |
Calcium: 69mg |
Iron: 0.5mg
Nutrition information is automatically calculated and should be used as an approximation.
Like this recipe? Leave a comment below!
Don’t Forget to Pin It! Save This Christmas Magic Cookie Bars Recipe for Later!
These festive and easy-to-make Christmas Magic Cookie Bars are sure to be a hit at any holiday gathering. With their customizable layers and irresistible taste, they’re a recipe you’ll want to revisit year after year. Make sure to save this recipe so you can easily find it for all your future holiday baking needs!