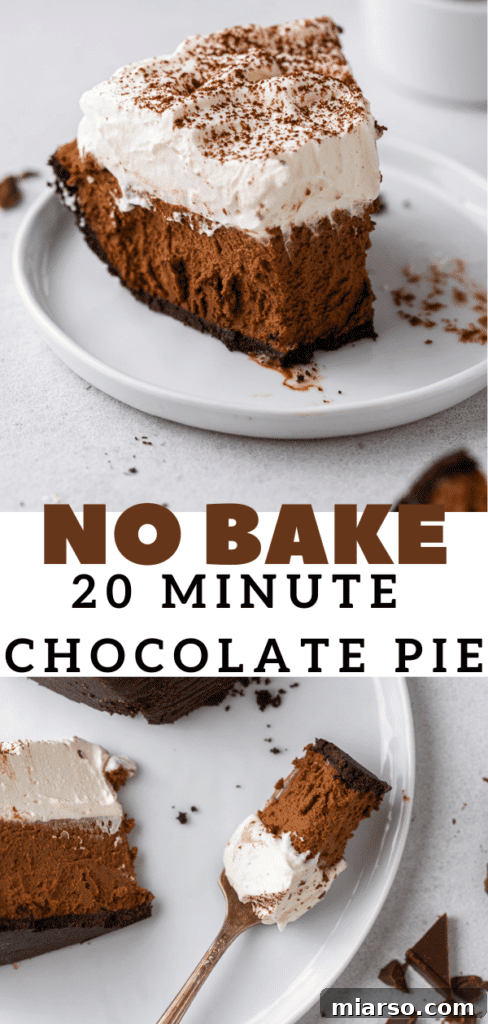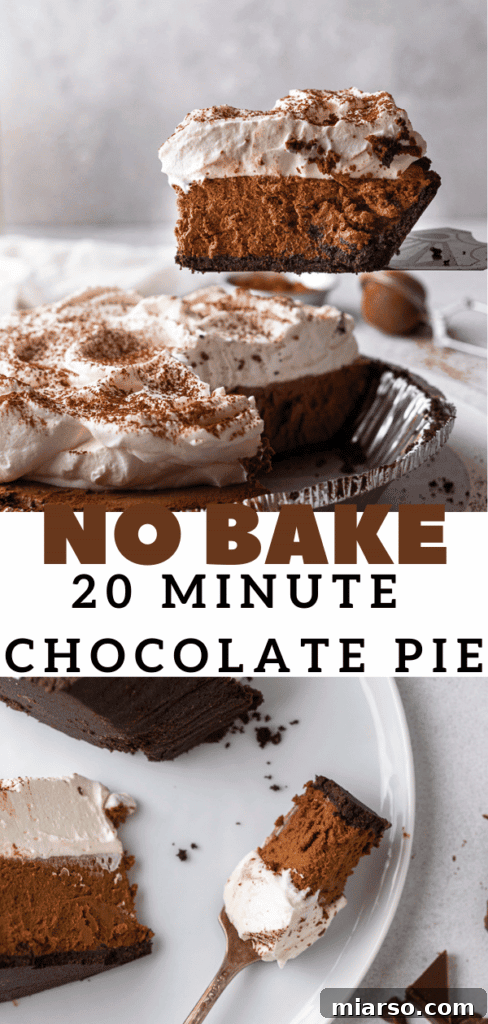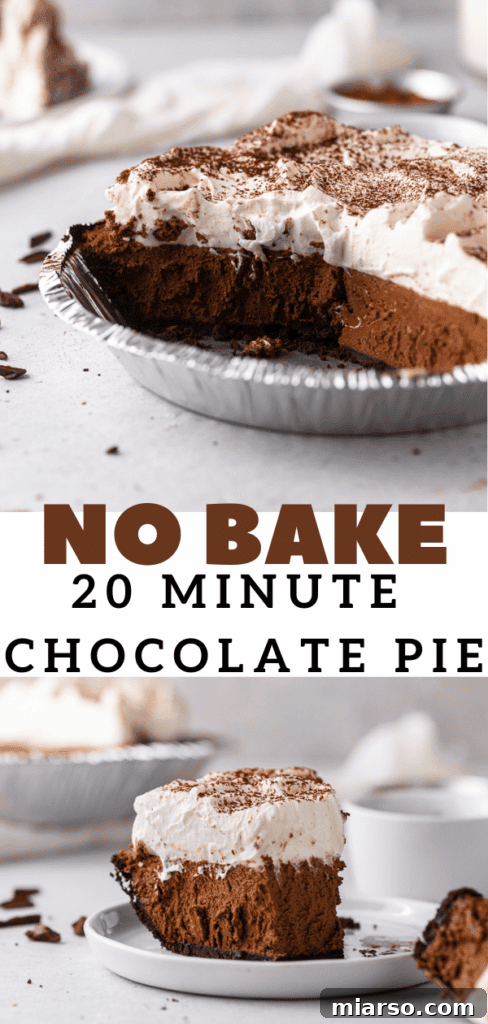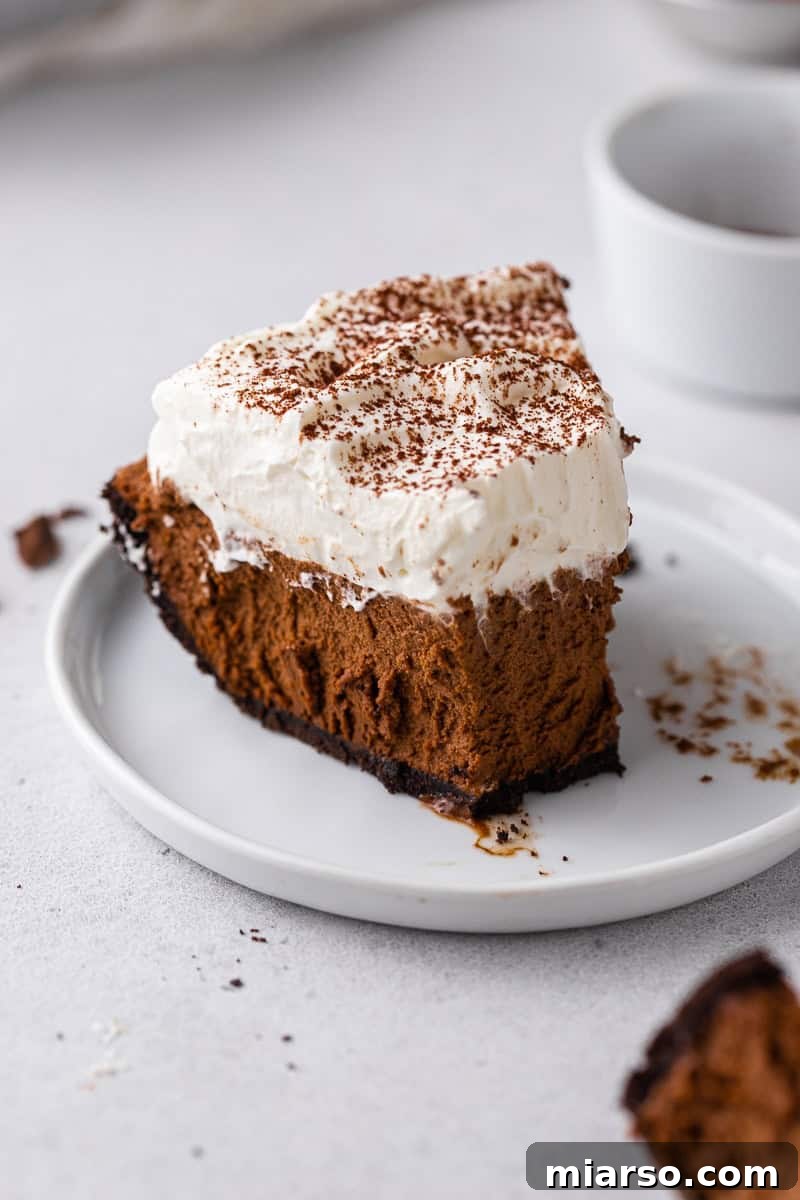
Indulge your senses with this exceptionally easy no-bake chocolate pie, a true masterpiece for every chocolate enthusiast. Crafted with just a handful of simple ingredients, this recipe promises one of the most luxuriously rich and profoundly chocolatey pies you’ll ever experience. Say goodbye to oven worries and hello to pure, unadulterated decadence!
If your heart beats for irresistible chocolate desserts, you’ll also adore these other delights from our collection: our famously creamy chocolate cheesecake mini recipe, the coveted CRUMBL Chocolate Cake Cookies copycat recipe, a quick and wholesome 3-ingredient Healthy Hazelnut Hot Chocolate, and these delightful Peanut Butter Cookie Cups featuring a silky chocolate frosting.
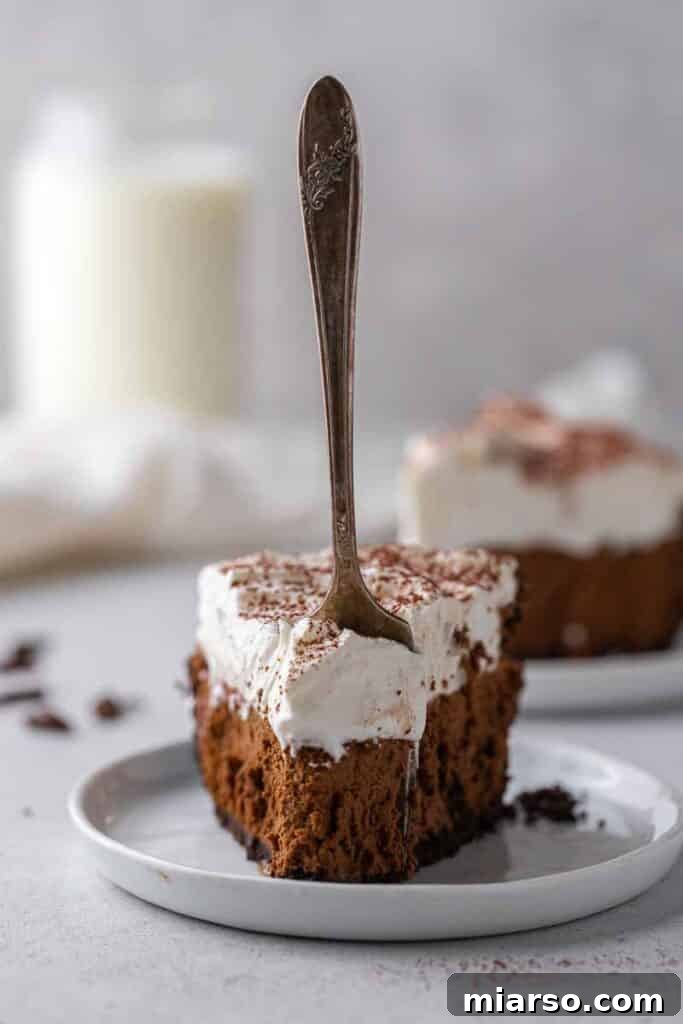
As much as I adore baking cookies, I recognized the need to expand our dessert repertoire beyond just chewy, gooey delights. That’s how this incredible chocolate pie came to be! While it might not be a cookie in itself, it’s delightfully cookie-adjacent thanks to its easy, store-bought Oreo pie crust. This smart shortcut makes preparing this incredibly indulgent dessert as simple as counting to three, allowing you to focus on achieving that perfect, rich chocolatey filling.
Discover the Ultimate No-Bake Chocolate Oreo Pie!
Summertime often brings soaring temperatures, making the thought of turning on the oven less than appealing. Who wants to transform their kitchen into a sweltering furnace just to satisfy a sweet craving? That’s precisely why no-bake desserts become absolute heroes during warmer months! I’m here to offer you a delicious solution that keeps your energy bills low and your spirits high. This decadent no-bake chocolate mousse pie is your answer to enjoying a rich, satisfying dessert without any baking required.
Whether you’re dedicated to a no-oven policy until the crisp days of fall or simply looking for an effortless yet impressive treat, this recipe is for you. It’s the perfect way to cap off a summer meal or to simply treat yourself on a warm evening. If you’re truly embracing the no-bake lifestyle, don’t forget to check out these delightful No-Bake Vanilla Bean Cheesecake Bars – simple in concept, yet mighty in flavor and satisfaction!
Why This No-Bake Chocolate Pie Will Be Your New Favorite
There are countless reasons why this no-bake chocolate pie should be at the top of your dessert list. It combines convenience with an intensely satisfying flavor, making it a go-to for any occasion. Let’s dive into what makes this pie truly special:
- A Chocolate Lover’s Dream: It’s no secret that this pie is primarily made of chocolate, and a lot of it! We prioritize high-quality chocolate to ensure every bite delivers an unparalleled depth of flavor. This isn’t just a chocolate pie; it’s a celebration of chocolate in its most decadent form.
- Perfect for Any Season: While it’s a summer savior, this no-bake pie is truly versatile. My family especially adores it during the holiday season. Imagine a freshly made, silky chocolate pie gracing your Christmas or Thanksgiving table – it’s a refreshing change from traditional baked goods and always a crowd-plepleaser!
- Minimal Ingredients, Maximum Impact: You’ll be surprised at how few ingredients are required to create such an extravagant dessert. Most items are likely already in your pantry or easily found at any grocery store, making spontaneous dessert cravings effortlessly fulfillable.
- Effortless Preparation with a Store-Bought Crust: We embrace simplicity by using a ready-made Oreo crust. This brilliant shortcut saves you significant time and effort, eliminating the need for baking, crushing cookies, or pressing a crust from scratch. It’s all about enjoying the process and the results without unnecessary fuss.
- The Art of Patience: The only “downside” (if you can call it that!) is the required chilling time. This pie needs several hours, or ideally overnight, in the fridge to set perfectly. But trust me, this waiting period is crucial. It allows the flavors to meld, the mousse to firm up into its irresistible texture, and frankly, it builds character – yours, as you eagerly anticipate that first heavenly slice!
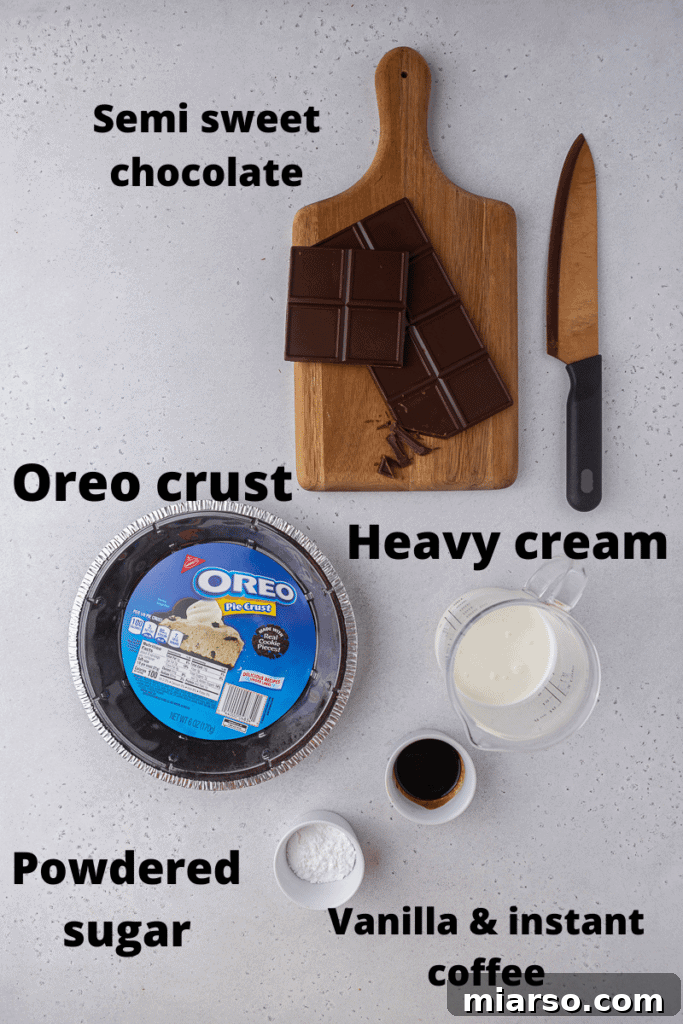
Essential Ingredients for Your Decadent No-Bake Chocolate Cream Pie
Crafting this rich chocolate pie at home requires a few key components. Selecting quality ingredients will elevate your pie from great to absolutely unforgettable. Below is a comprehensive list, but for precise measurements, make sure to refer to the full recipe card further down the page.
- Oreo Pie Crust: To truly simplify your baking experience, this recipe calls for a pre-made 9-inch Oreo pie crust. It’s the perfect crunchy, chocolatey base without any extra fuss, providing a delightful contrast to the smooth filling.
- Semi-Sweet Chocolate: This is the star of your pie, so don’t compromise on quality! Opt for a premium semi-sweet chocolate bar or high-quality chocolate chips. The better the chocolate, the more profound and delicious your pie’s flavor will be.
- Cocoa Powder: A light dusting of cocoa powder at the end adds a touch of sophistication and intensifies the chocolate aroma, signaling the richness within.
- Instant Coffee: Don’t worry, this pie won’t taste like coffee! A small amount of instant coffee is a secret weapon that significantly deepens and enhances the chocolate flavor, making it even more pronounced and complex.
- Vanilla Extract: Just like coffee, vanilla extract plays a crucial supporting role by rounding out the flavors and adding a subtle layer of aromatic depth to the chocolate.
- Heavy Whipping Cream: This ingredient is vital for both the ganache base and the airy whipped cream topping. Ensure it has a high-fat content and, crucially, that it is very cold for optimal whipping results.
- Powdered Sugar: Also known as confectioners’ sugar, this fine sugar is used to sweeten both the rich chocolate filling and the light-as-air whipped cream topping. Remember to sift it before use to prevent any lumps, ensuring a silky-smooth texture.
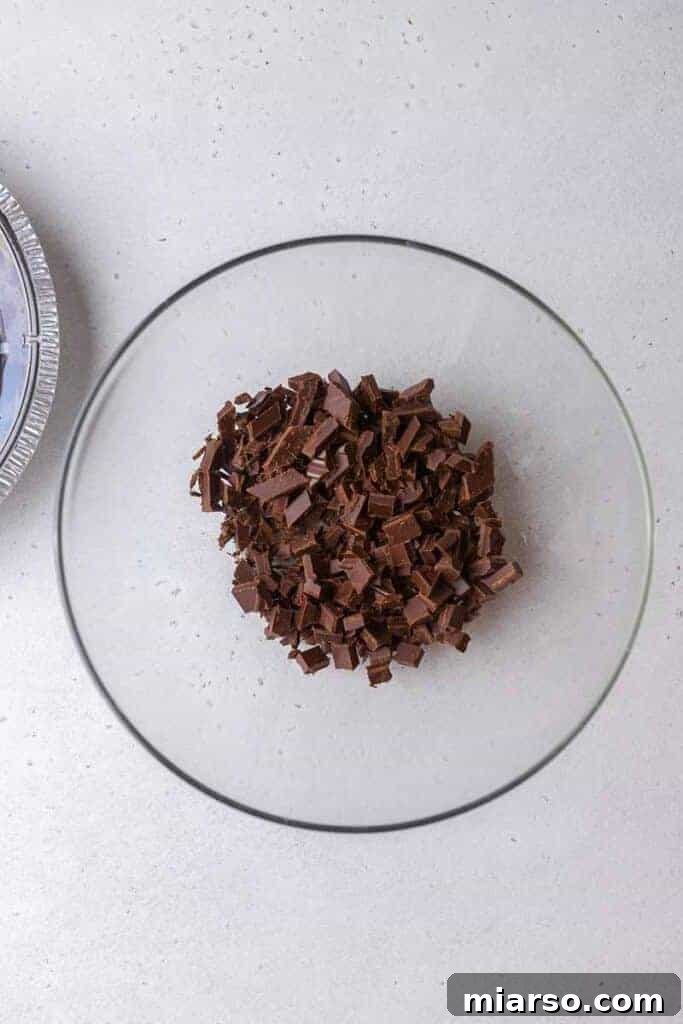
Simple Steps to Craft Your No-Bake Chocolate Pie
Creating this magnificent no-bake chocolate pie is a straightforward and enjoyable process. Follow these detailed steps to achieve a perfectly smooth, rich, and irresistible dessert. For exact measurements and a complete guide, please refer to the recipe card below.
- Prepare the Chocolate: Begin by finely chopping your high-quality semi-sweet chocolate. Place the chopped chocolate into a heat-proof mixing bowl.
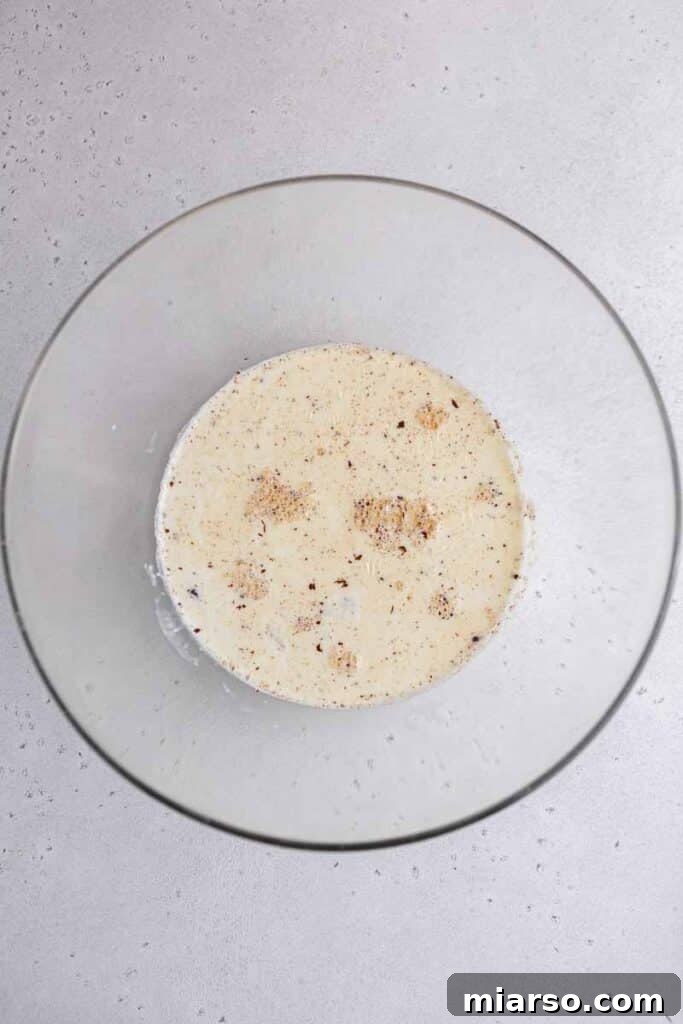
- Heat the Cream: In a separate small saucepan or microwave-safe bowl, gently heat 3/4 cup of heavy cream until it’s steaming hot but not boiling. This ensures it’s warm enough to melt the chocolate effectively.
- Create the Ganache Base: Pour the hot cream directly over the chopped chocolate in the bowl. Let it sit undisturbed for 5 minutes. This allows the heat from the cream to begin melting the chocolate without scorching it.
- Infuse Flavors: While the chocolate is melting, combine the vanilla extract and instant coffee in a small dish. Stir them together until the instant coffee granules are fully dissolved, creating a concentrated flavor booster.
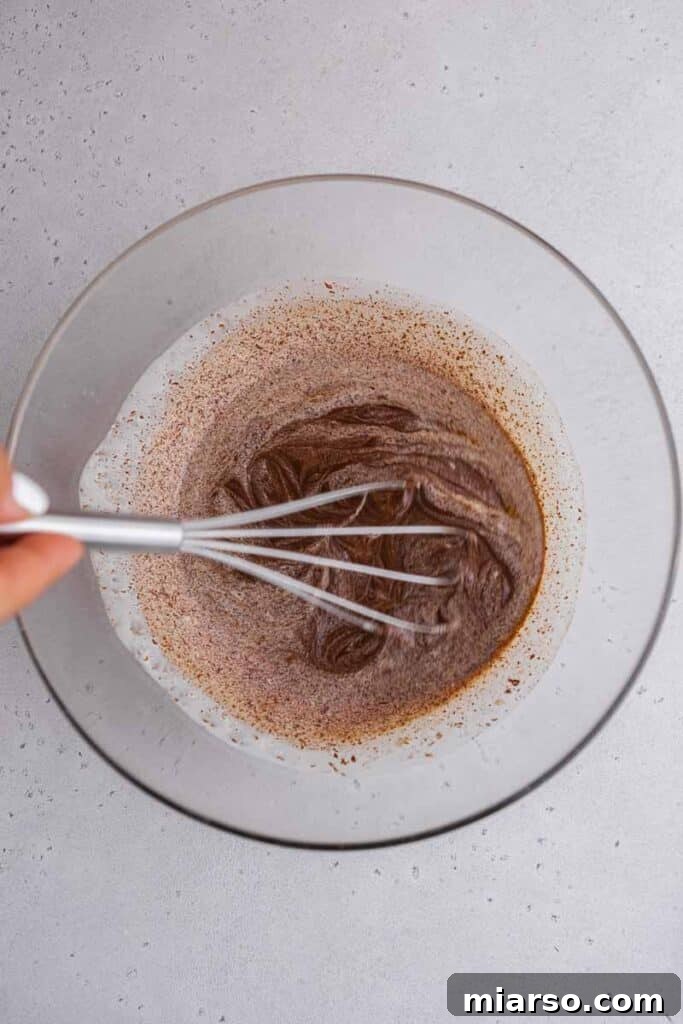
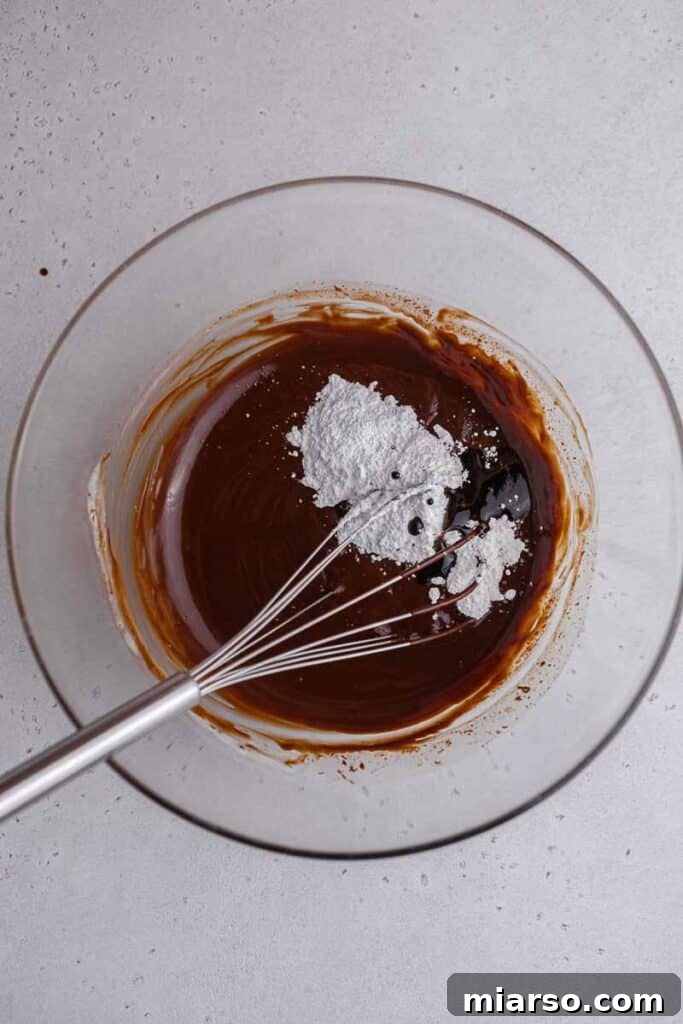
- Whisk and Combine: After 5 minutes, gently whisk the cream and chocolate mixture until it’s completely smooth and glossy, forming a luxurious ganache. Then, add the dissolved instant coffee and vanilla mixture, along with the powdered sugar. Continue to whisk until all ingredients are fully combined and the mixture is uniform.
- Cool the Ganache: This step is crucial! Allow the chocolate ganache to cool down completely to room temperature. This might take 10-15 minutes, or slightly longer. Cooling prevents the ganache from deflating the whipped cream in the next step, ensuring a light and airy mousse filling.
- Whip the Cream for the Filling: In a separate, very cold bowl, whip 1 cup of heavy cream until stiff peaks form. Be careful not to over-whip, as it can quickly turn into butter. The cream should be thick and hold its shape.
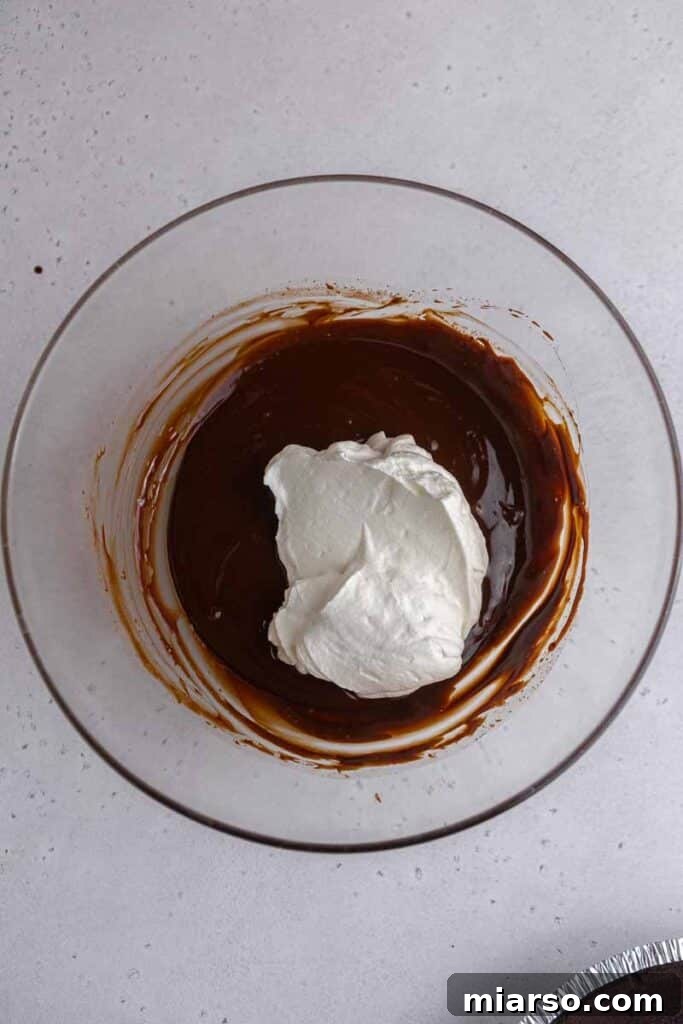
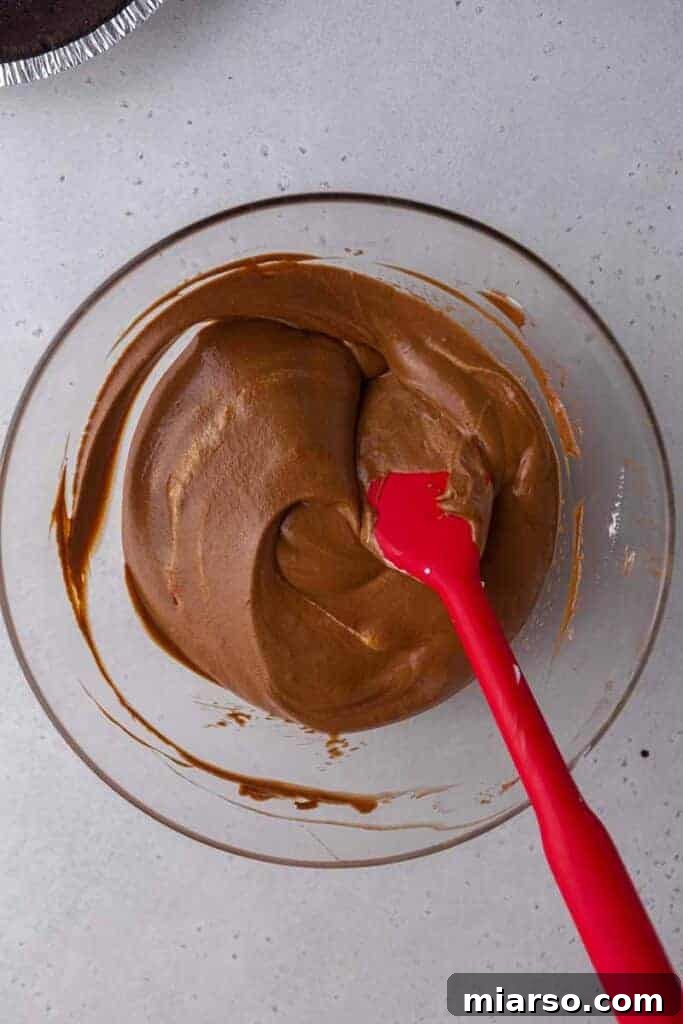
- Fold the Mousse: Gently take half of the whipped cream and fold it into the cooled chocolate ganache mixture using a spatula. Use a light, lifting motion to preserve the airiness of the whipped cream. Once partially combined, add the remaining whipped cream and continue to fold gently until no white streaks of cream are visible. Avoid overmixing to maintain the light mousse texture.
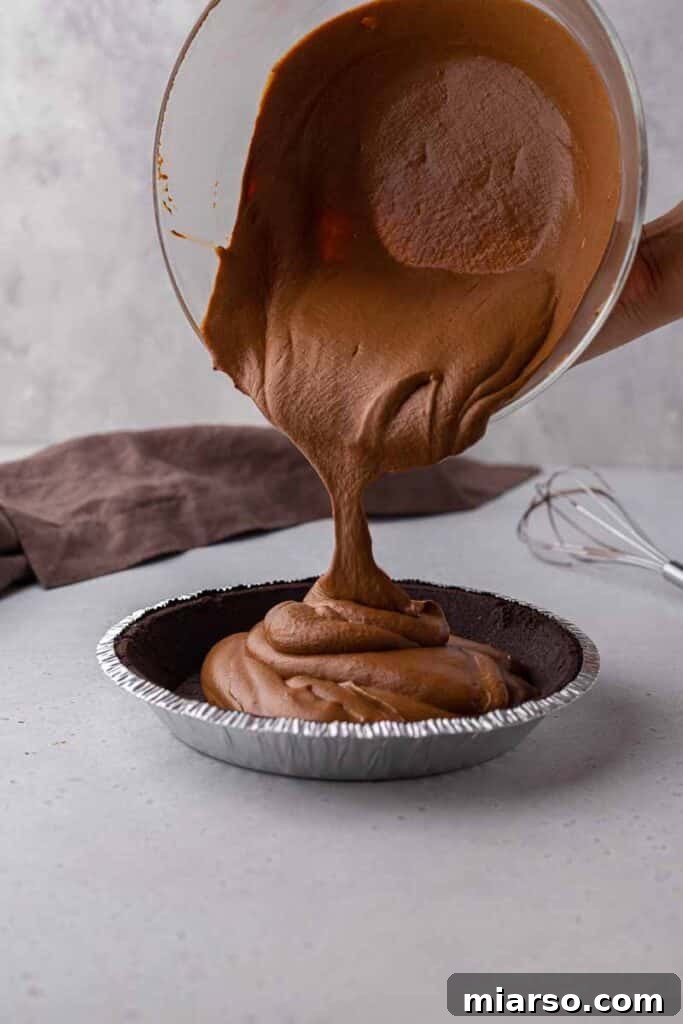
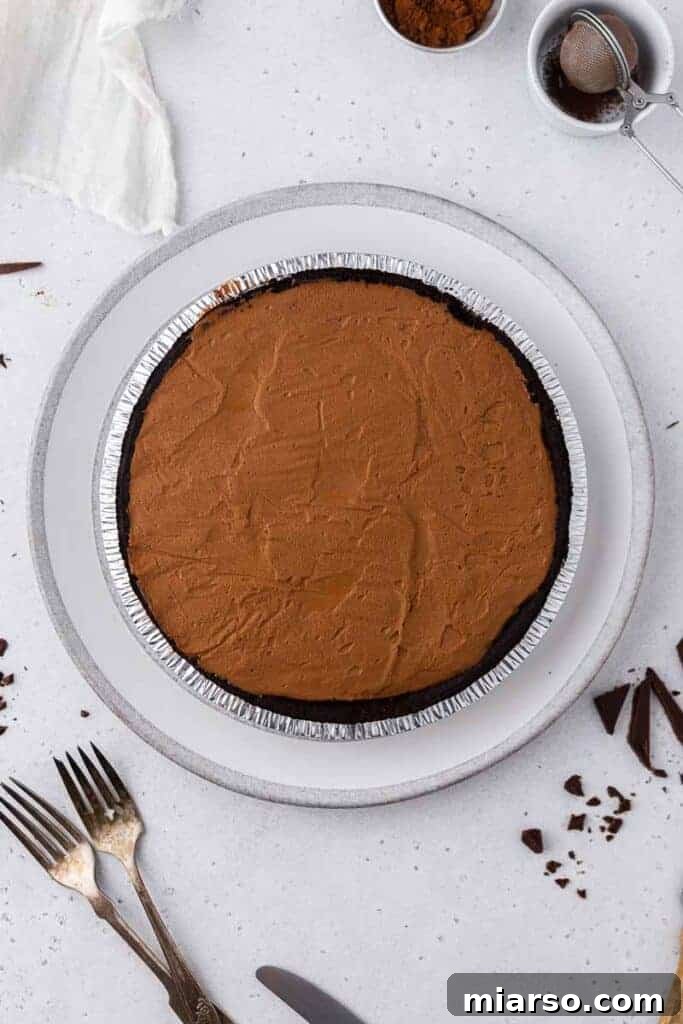
- Assemble and Chill: Carefully pour the finished chocolate mousse mixture into your store-bought Oreo pie crust. Use a spatula to spread it evenly. Loosely cover the pie with plastic wrap and transfer it to the refrigerator. Chill for a minimum of 5 hours, but ideally overnight, to allow the pie to set firmly.
- Prepare Whipped Cream Topping (for serving): When you’re ready to serve your pie, whip the remaining 1 cup of very cold heavy whipping cream with the additional powdered sugar and vanilla extract until medium to stiff peaks form.
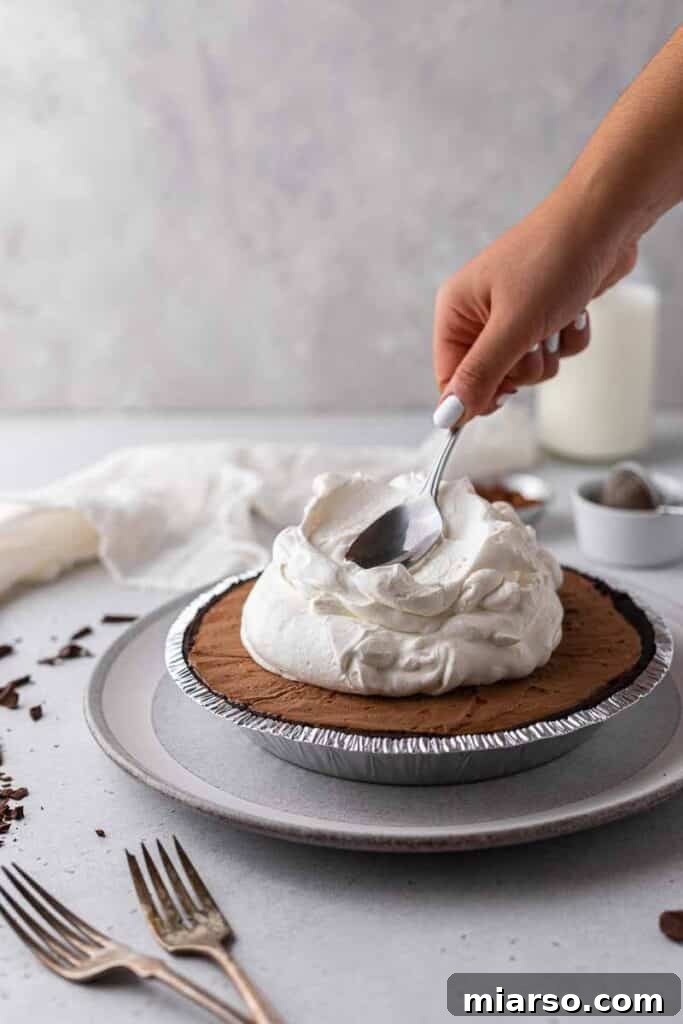
- Garnish and Serve: Dollop generous amounts of the freshly whipped cream in the center of the chilled chocolate pie. Gently spread it outwards with the back of a spoon for an elegant swirl, or pipe it for a more decorative finish. Finally, dust lightly with cocoa powder, slice, and savor every indulgent bite!
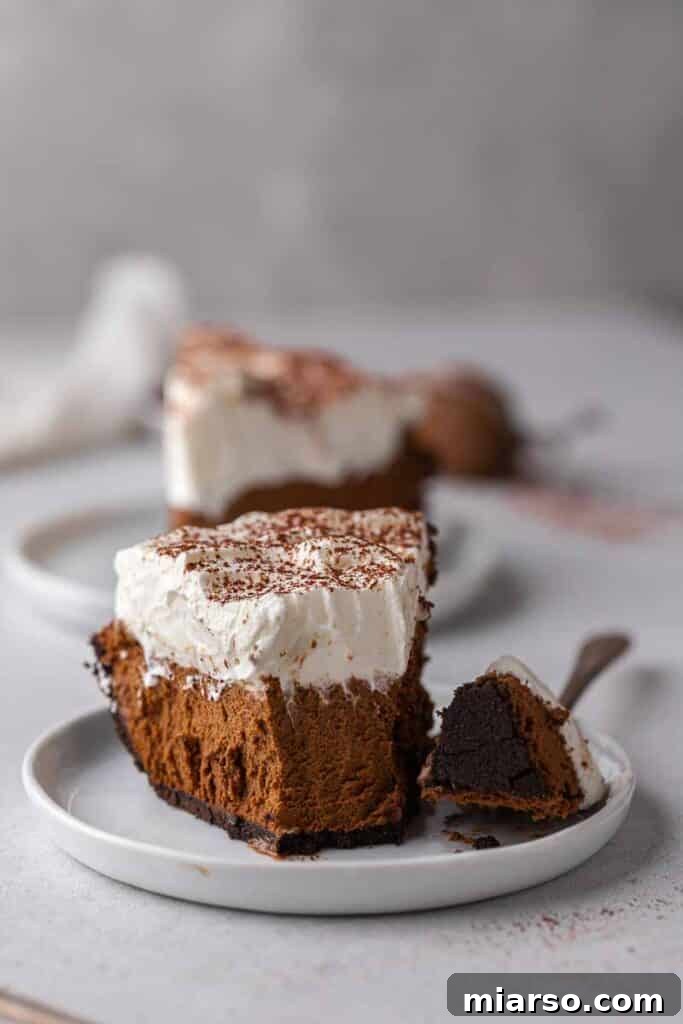
Frequently Asked Questions (FAQ) about No-Bake Chocolate Pie
Here are some common questions and helpful answers to ensure your no-bake chocolate pie experience is as smooth and delightful as the dessert itself.
How to Store No-Bake Chocolate Pie?
Proper storage is key to enjoying your delicious chocolate pie for days. If you have any delightful leftovers, simply cover your pie loosely with plastic wrap. Alternatively, you can carefully transfer slices or the entire pie to a large enough airtight container. Store it in the refrigerator. For best results, I generally prefer storing the pie without the whipped cream topping already applied, as the cream can lose some of its freshness. However, for leftovers, it’s perfectly fine to store it with the topping. It will remain fresh and delicious for 3-4 days in the fridge.
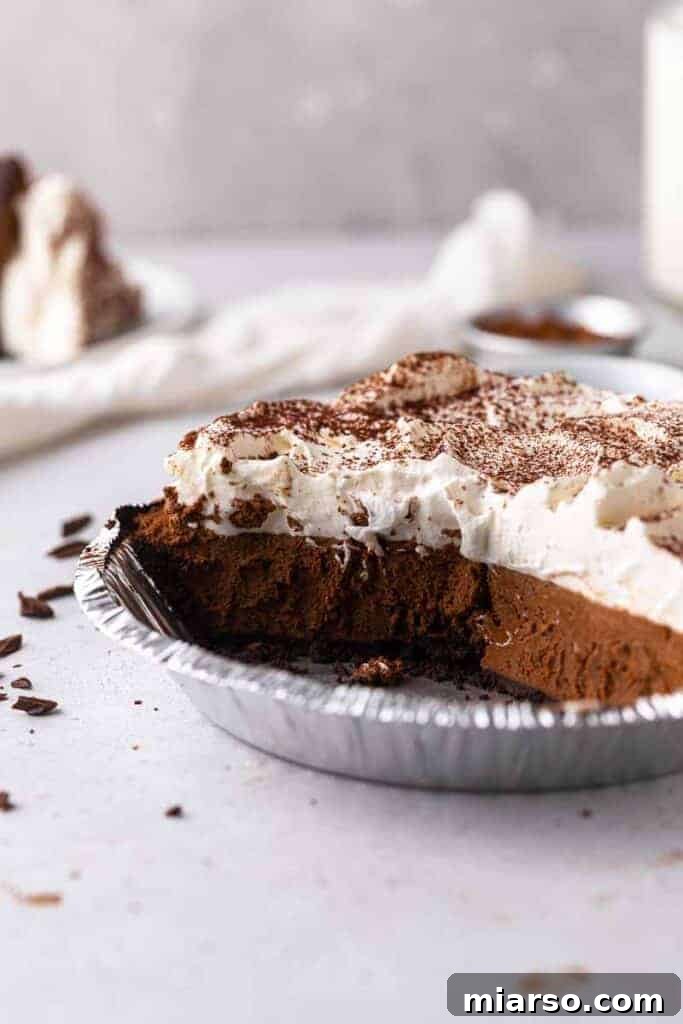
Can I Make This Pie Ahead of Time?
Absolutely! This no-bake chocolate pie is an excellent make-ahead dessert, perfect for entertaining or when you simply want to prepare something in advance. You can prepare the entire pie, following all the recipe directions, up to the point of adding the whipped cream topping. Once the chocolate filling is poured into the crust and chilled until firm, cover it tightly with plastic wrap and keep it in the refrigerator. It will stay fresh and set beautifully for up to one day in advance. When you’re ready to serve, simply prepare the fresh whipped cream topping, add it to the pie, dust with cocoa powder, and enjoy!
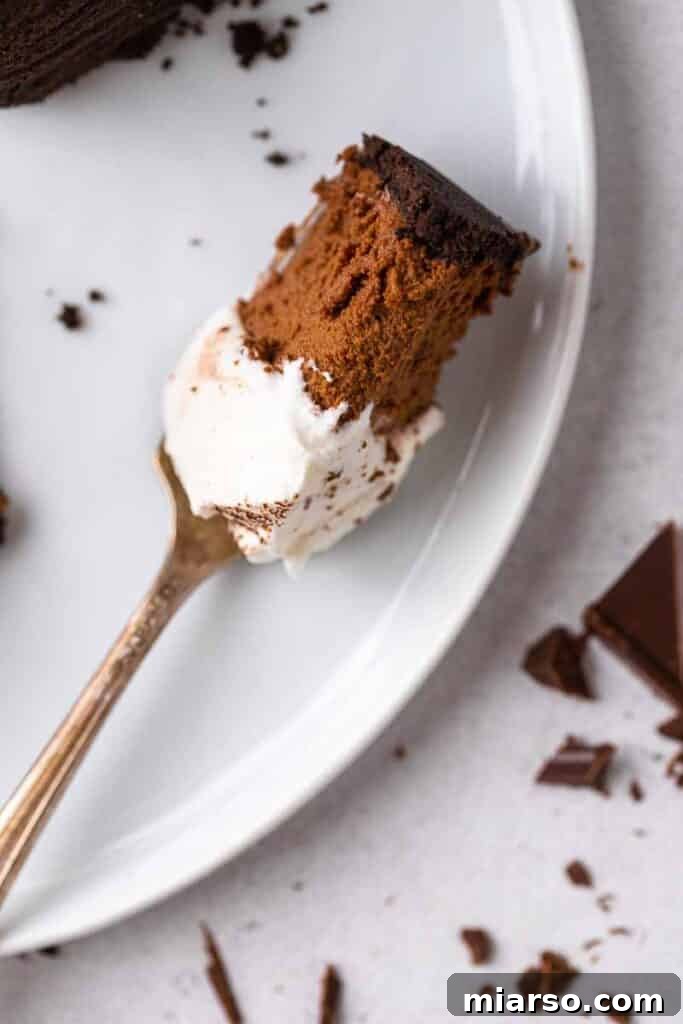
Can I Freeze a No-Bake Chocolate Pie?
Yes, you can absolutely freeze this delicious no-bake chocolate pie! Freezing is a great option for long-term storage or if you want to prepare it well in advance. To freeze, ensure the pie is fully set and chilled, and crucially, do not add the whipped cream topping before freezing. Wrap the pie tightly with several layers of plastic wrap, then cover it again with aluminum foil. This double layer of protection helps prevent freezer burn and keeps your pie fresh. It can be stored this way in the freezer for up to one month.
When you’re ready to enjoy your frozen pie, simply transfer it from the freezer to the refrigerator and let it thaw overnight. Once thawed, you can prepare the fresh whipped cream topping and garnish as desired before slicing and serving. It will taste just as wonderful as when it was freshly made!
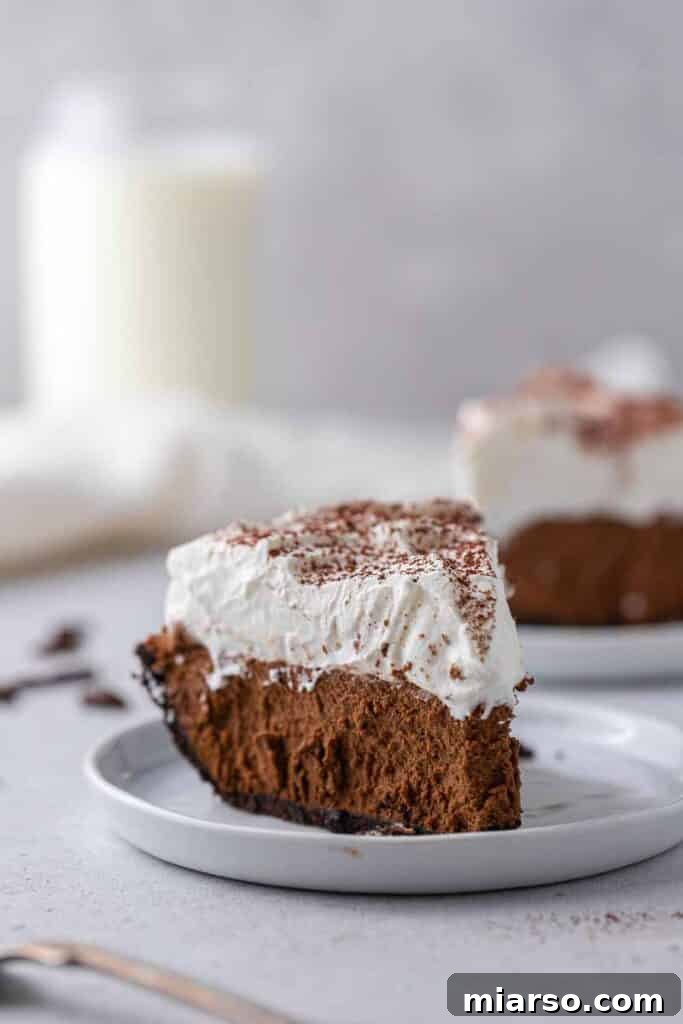
No-Bake Chocolate Pie with Oreo Crust Recipe
If you’ve had the pleasure of making and enjoying this rich no-bake chocolate pie, please consider leaving a 5-star review! Simply click on the 5 stars located directly below the title and description. Your feedback is incredibly valuable and helps us tremendously.
No-Bake Chocolate Pie with Oreo Crust
20
20
8 servings
Print Recipe
Ingredients
- 1 Oreo pie crust
Chocolate Pie Filling
- 6 oz semi-sweet chocolate Good quality
- 3/4 cup heavy cream
- 2 tbsp powdered sugar
- 1 tsp vanilla extract
- 1 tsp instant coffee
- 1 cup heavy cream Very cold
Whipped Cream Topping
- 1 cup heavy whipping cream Very cold
- 3 tbsp powdered sugar
- 1/2 tsp vanilla extract or vanilla bean paste
Instructions
-
Finely chop the semi-sweet chocolate and place it into a heat-proof mixing bowl.
-
Heat 3/4 cup of heavy cream in the microwave or a small saucepan until it is steaming hot. Pour the hot cream over the chopped chocolate and let it sit undisturbed for 5 minutes.
-
In a separate small dish, mix the vanilla extract and instant coffee together until the coffee is fully dissolved.
-
Whisk the cream and chocolate mixture until it is fully melted and smooth, forming a glossy ganache. Stir in the powdered sugar and the dissolved vanilla-coffee mixture until everything is thoroughly combined. Allow the ganache to cool completely to room temperature (about 10-15 minutes).
-
While the ganache cools, in a very cold bowl, whip 1 cup of heavy cream until stiff peaks form. Be careful not to over-whip, or it will become grainy and butter-like.
-
Gently fold half of the whipped cream into the cooled chocolate ganache mixture. Once partially combined, add the remaining whipped cream and fold again until no white streaks of cream are visible. Avoid overmixing to keep the mousse light and airy.
-
Pour the chocolate mousse mixture into the store-bought Oreo pie crust. Loosely cover the pie with plastic wrap and chill it in the refrigerator for at least 5 hours, or preferably overnight, until fully set.
Make the Whipped Cream Topping and Assemble
-
When you are ready to serve your pie, whip the remaining 1 cup of very cold heavy whipping cream with 3 tablespoons of powdered sugar and 1/2 teaspoon of vanilla extract until stiff peaks form. Top the chilled chocolate pie with the freshly whipped cream and dust with cocoa powder just before serving. Slice and enjoy!
Notes
How to store chocolate no bake pie?
If you have pie leftovers that you need to store for the next day, you can loosely cover your pie with plastic wrap or transfer it to a large enough airtight container and store it in the fridge.
I always prefer storing it without the whipped cream on top, but it’s okay if you can’t do that since these are leftovers.
Nutrition
Carbohydrates: 19g |
Protein: 3g |
Fat: 38g |
Saturated Fat: 24g |
Trans Fat: 1g |
Cholesterol: 113mg |
Sodium: 34mg |
Potassium: 188mg |
Fiber: 2g |
Sugar: 13g |
Vitamin A: 1213IU |
Vitamin C: 1mg |
Calcium: 67mg |
Iron: 1mg
Nutrition information is automatically calculated, so should only be used as an approximation.
Thank you for exploring this delicious no-bake chocolate pie recipe!
If you’ve enjoyed making this recipe or have any questions, don’t hesitate to share your thoughts in the comments section below. Your feedback and experiences are always cherished. In the meantime, be sure to follow me on Instagram for more delightful recipes and foodie inspiration!

Shop Ingredients for This Recipe
This post may contain affiliate links, meaning that at no additional cost to you, I will earn a small commission on purchases made through these links. Your support helps keep this blog running!
Loved this No-Bake Chocolate Mousse Pie Recipe? Pin it for Later!