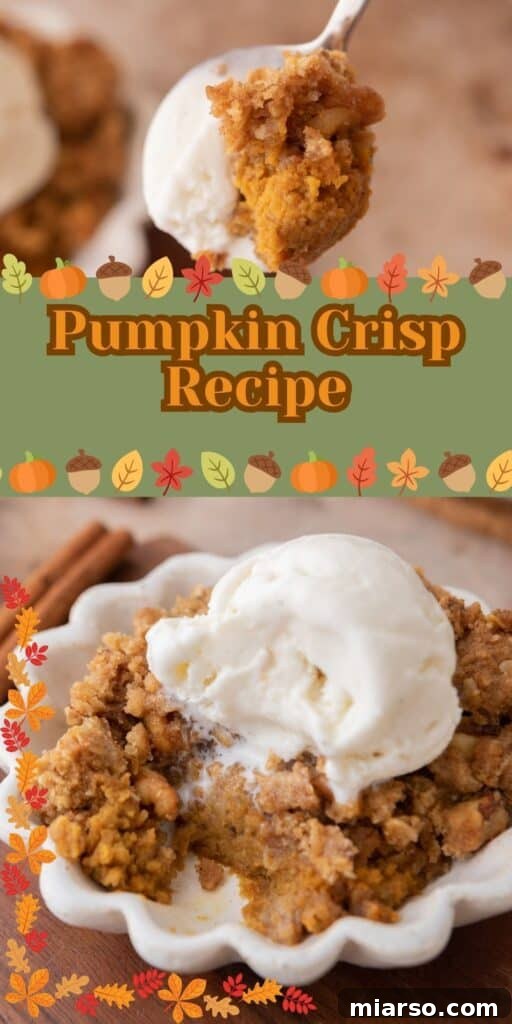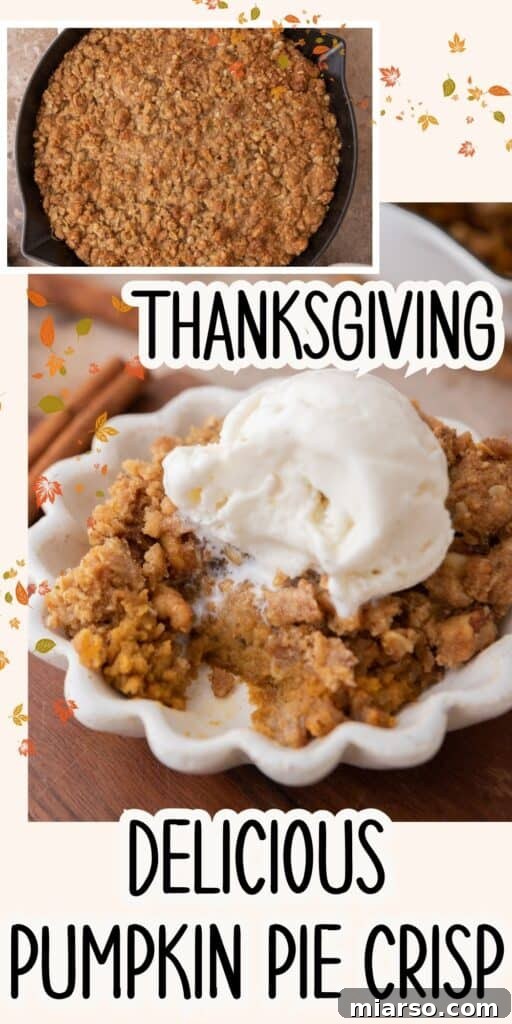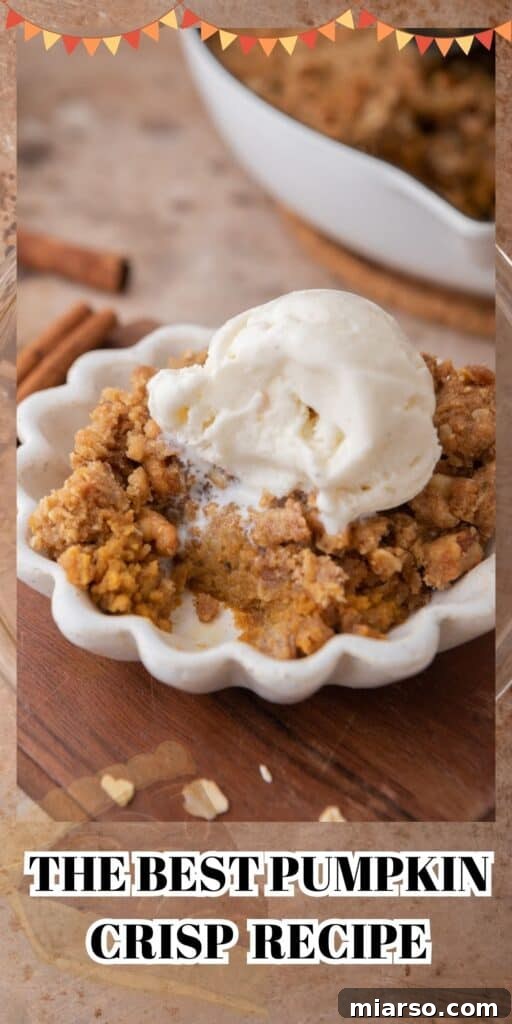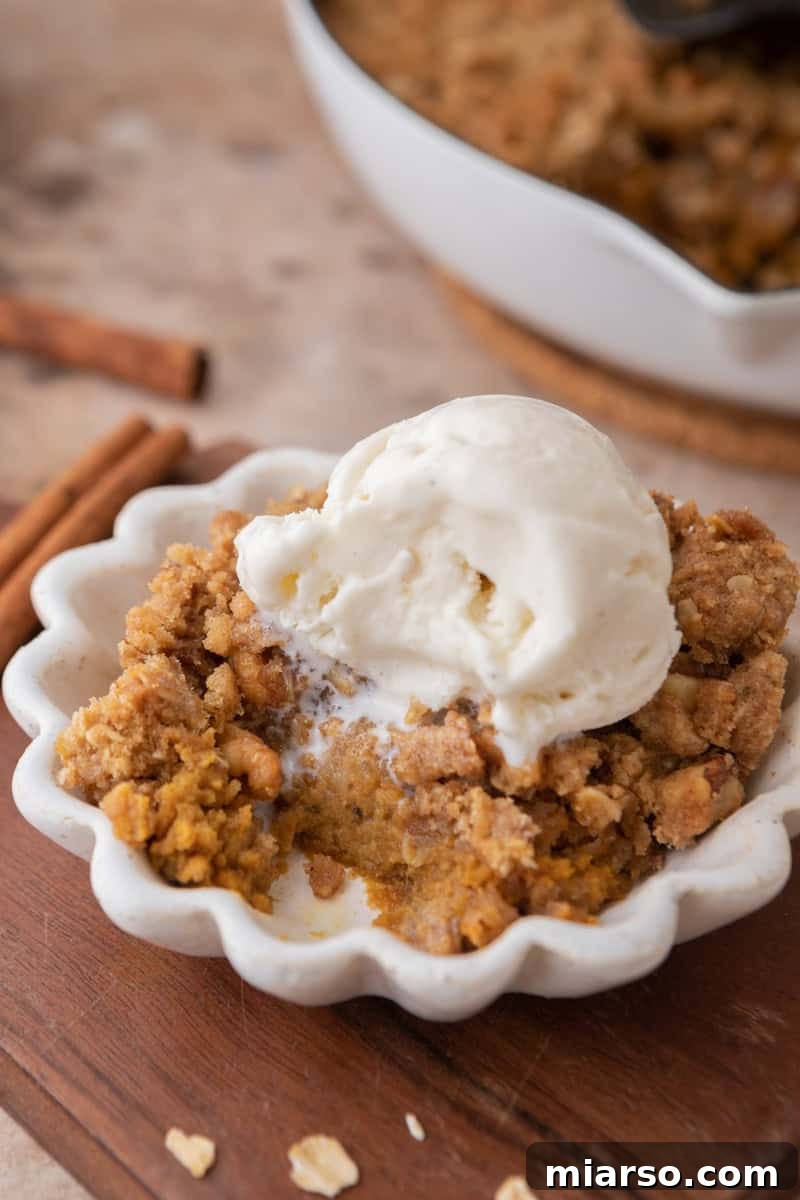
Unlock the irresistible charm of autumn with this ultimate Pumpkin Crisp recipe, a dessert destined to become your fall favorite. Forget complicated baking; this simple yet spectacular treat combines a luscious, creamy pumpkin pie filling with an unbelievably crunchy, oat-infused topping. Every spoonful offers a delightful contrast of textures and a symphony of warm, seasonal spices that truly captures the essence of the harvest season. Whether you’re a devoted pumpkin enthusiast or simply seeking a comforting dessert that feels like a warm embrace, this easy pumpkin crisp will deliver pure bliss. Prepare to be enchanted year after year by its comforting flavors and effortless preparation.
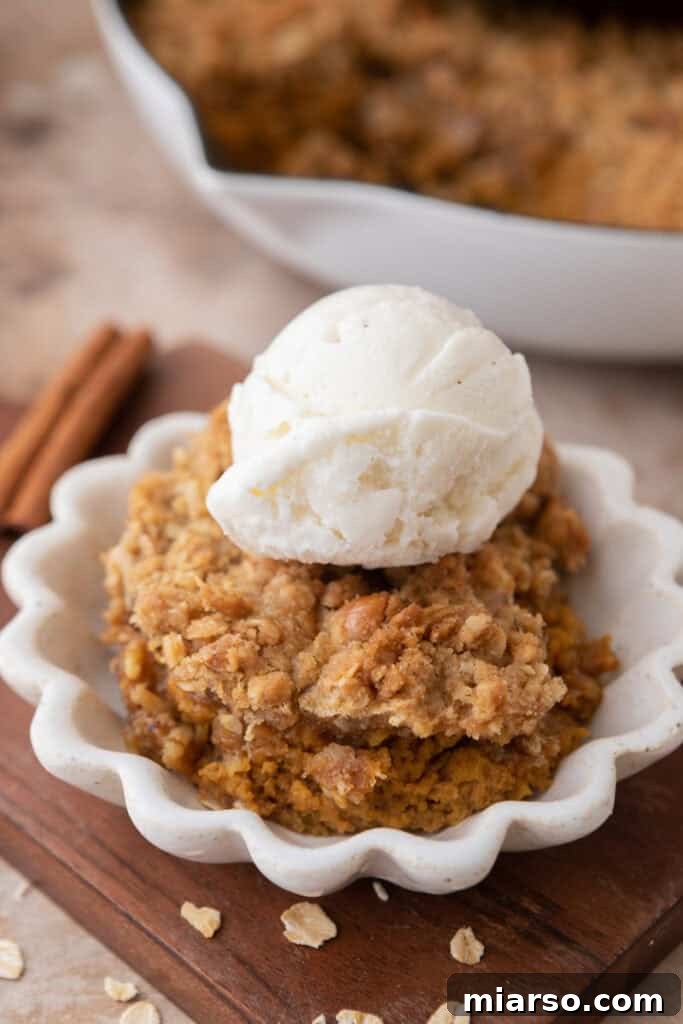
As the leaves begin to turn and a crisp chill fills the air, there’s no better way to celebrate the arrival of fall than with the beloved flavors of pumpkin. This pumpkin crisp isn’t just another dessert; it’s an experience. It’s perfect for everything from a cozy family dinner to a festive holiday gathering, offering all the delightful taste of a traditional pumpkin pie but with an exciting textural twist. The best part? It’s incredibly straightforward to make, utilizing pantry staples you likely already have on hand. Serve it warm straight from the oven, crowned with a generous scoop of velvety vanilla ice cream or a dollop of freshly whipped cream, and you’ve got a dessert that’s truly a hug in a bowl – comforting, sweet, and utterly satisfying.
If your heart beats for all things pumpkin, you’re in the right place! After mastering this crisp, be sure to explore more of our delightful pumpkin creations. We highly recommend these Fluffy and Soft Pumpkin Cinnamon Rolls for a decadent breakfast or brunch, or perhaps this Delicious Creamy Pumpkin Cheesecake for another show-stopping dessert that will impress any crowd.
Key Reasons This Pumpkin Crisp Will Be Your New Favorite Fall Dessert
- Effortless Elegance: This recipe calls for simple, readily available ingredients found at any grocery store, making it incredibly easy to whip up, even for novice bakers.
- A Guaranteed Crowd-Pleaser: With its rich, spiced pumpkin filling and irresistible crunchy topping, this dessert is a surefire hit that will have everyone asking for seconds. It’s designed to impress with minimal fuss.
- The Perfect Holiday Twist: Looking to refresh your Thanksgiving dessert menu? This pumpkin crisp offers a delightful alternative to the classic pumpkin pie, bringing a new texture and exciting dimension to your holiday spread. It provides all the nostalgic flavors without the need for a pie crust.
- Irresistible Texture Contrast: The signature crunchy oat topping sets this crisp apart. It provides a satisfying textural counterpoint to the smooth, creamy pumpkin filling, elevating the entire dessert experience beyond what a simple pie can offer.
- Versatile Serving Options: Enjoy it warm with a melting scoop of vanilla ice cream, a cloud of whipped cream, or even a drizzle of caramel sauce. It’s equally delicious at room temperature, making it a flexible option for any occasion.
Essential Ingredients for Your Perfect Pumpkin Crisp
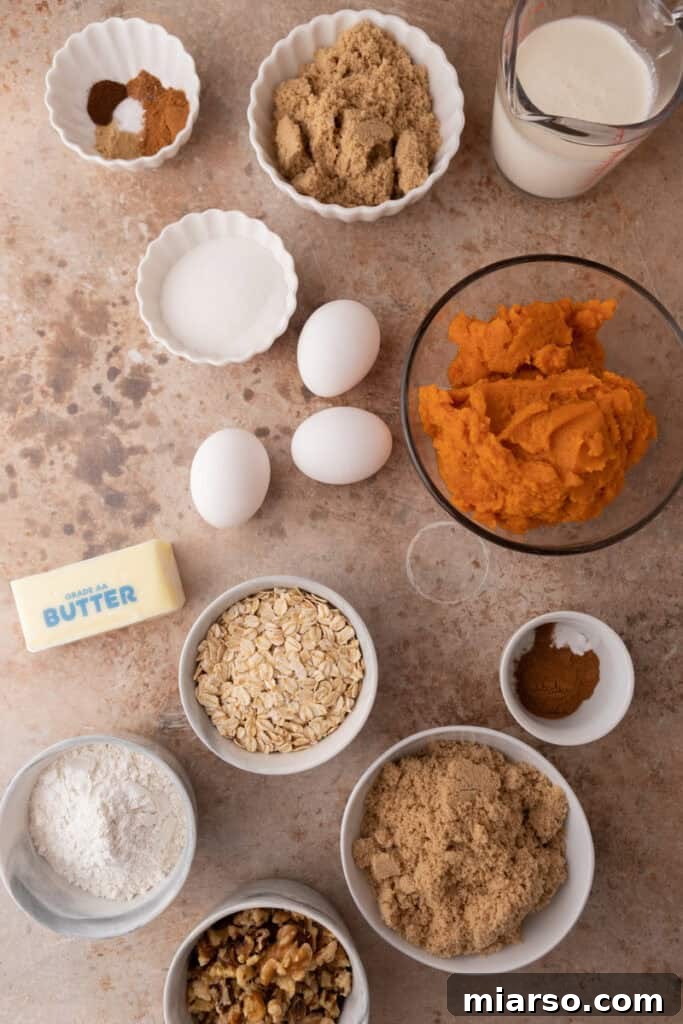
Crafting this incredible pumpkin crisp requires two distinct, yet equally delicious, components: the velvety pumpkin filling and the golden, crumbly crisp topping. We’ve broken down each section below, highlighting the role each ingredient plays in creating this autumn masterpiece. For precise measurements, please refer to the detailed recipe card at the bottom of this article.
For the Rich and Creamy Pumpkin Filling
- Pure Pumpkin Puree: This is the heart of your crisp! Ensure you use pure pumpkin puree, not pumpkin pie filling, which often contains added sugars and spices that would alter the balance of this recipe. It provides the essential earthy flavor and creamy base for our decadent filling.
- Granulated Sugar: Balances the natural sweetness of the pumpkin and complements the warming spices, ensuring a perfectly sweet, but not overly sweet, base.
- Brown Sugar: Adds a deeper, molasses-rich sweetness and contributes to the filling’s moist, tender texture. Its caramel notes are quintessential for fall desserts.
- Ground Cinnamon: The quintessential pumpkin spice, offering a warm, fragrant aroma and flavor that ties all the other spices together.
- Ground Ginger: Provides a slightly spicy, zesty kick that brightens the pumpkin flavor, a hallmark of traditional pumpkin pie spice blends.
- Ground Nutmeg: Delivers a warm, slightly nutty, and aromatic depth that beautifully complements the cinnamon and ginger.
- Ground Cloves: A powerful, aromatic spice that adds a bold, sweet, and subtly peppery note, enhancing the overall complexity of the pumpkin mixture.
- Salt: A crucial ingredient that doesn’t just add salinity, but crucially enhances and balances all the sweet and spicy flavors, making them truly pop.
- Large Eggs: Act as the primary binder for the filling, giving it that smooth, custard-like consistency similar to a classic pumpkin pie. Ensure they are at room temperature for better incorporation.
- Heavy Cream: The secret to an extra rich and velvety texture. Heavy cream makes the pumpkin filling exceptionally smooth, indulgent, and luxurious. Room temperature cream will blend more easily.
For the Irresistible Crunchy Crisp Topping
- Old-Fashioned Oats: These are key for the crisp’s signature texture. They provide a hearty chewiness and toast beautifully in the oven, creating that satisfying crunch against the creamy filling. Avoid instant oats, as they can become mushy.
- All-Purpose Flour: Forms the structural base of the topping, helping to bind the oats and sugar into a perfectly crumbly texture that bakes into a golden-brown, crispy crust.
- Brown Sugar: Infuses the topping with a deep, caramel-like sweetness and helps create that desirable moist yet crumbly consistency.
- Ground Cinnamon: Echoes the spices in the filling, adding another layer of warm, aromatic flavor to the crispy oat topping.
- Salt: Just like in the filling, salt in the topping enhances all the sweet and warm flavors, preventing the topping from tasting flat.
- Chopped Pecans or Walnuts (Optional): For an added layer of texture and nutty flavor, incorporate finely chopped pecans or walnuts into your topping. This is a fantastic optional addition that elevates the crisp even further.
- Unsalted Butter: Using unsalted butter allows you to control the exact amount of salt in your recipe. Crucially, the butter must be cold and cut into small cubes. Cold butter is essential for creating a perfectly crumbly, rather than a dense or greasy, topping. Keep it in the fridge until the very last moment.
Step-by-Step Guide: How to Make This Delicious Pumpkin Crisp
Creating this irresistible fall dessert is simpler than you might think. Follow these easy steps to achieve a perfect creamy pumpkin filling and a delightfully crunchy oat topping. For precise oven temperatures, bake times, and ingredient measurements, refer to the full recipe card below.
- Prepare Your Oven: Begin by preheating your oven to 350°F (175°C). This ensures your crisp bakes evenly from the moment it enters the oven.
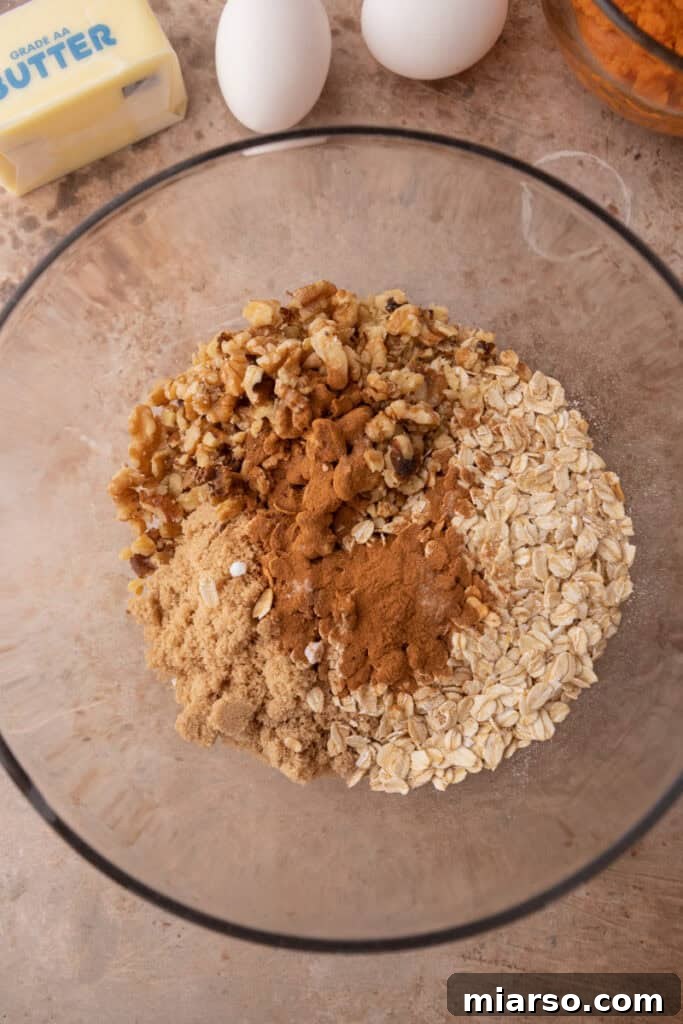
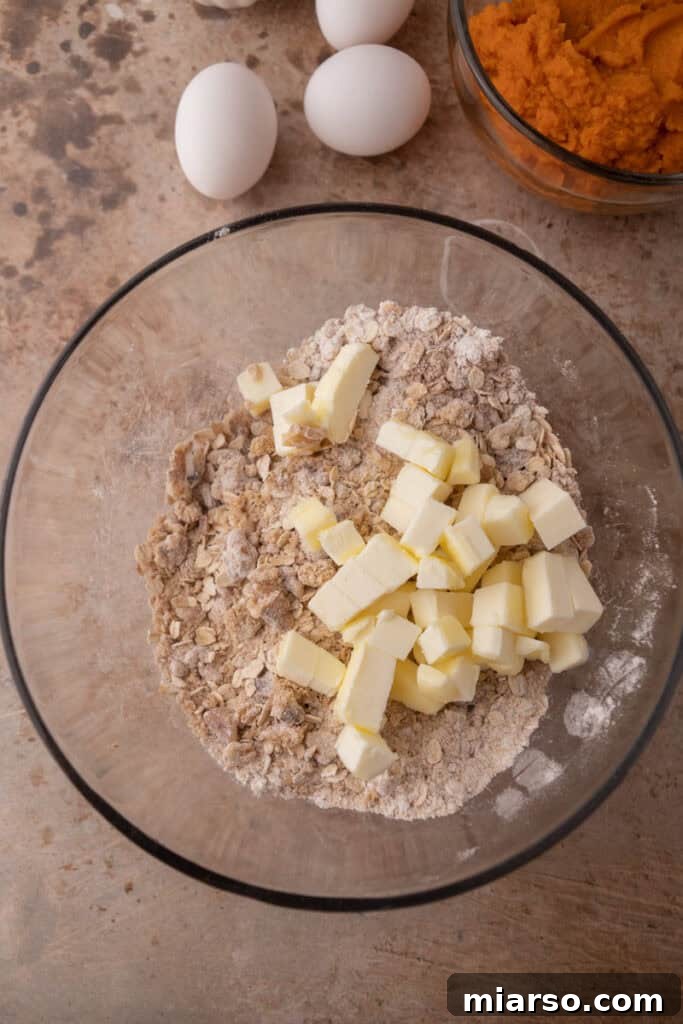
- Craft the Crisp Topping: In a medium-sized mixing bowl, combine the old-fashioned oats, all-purpose flour, brown sugar, ground cinnamon, and salt. If using, stir in the chopped pecans or walnuts.
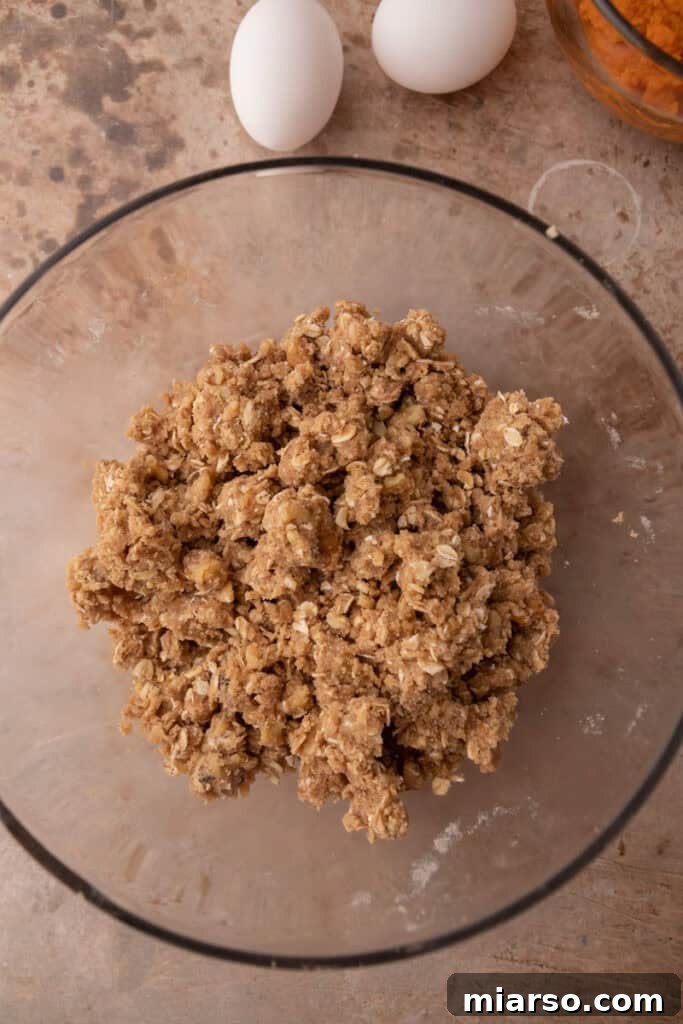
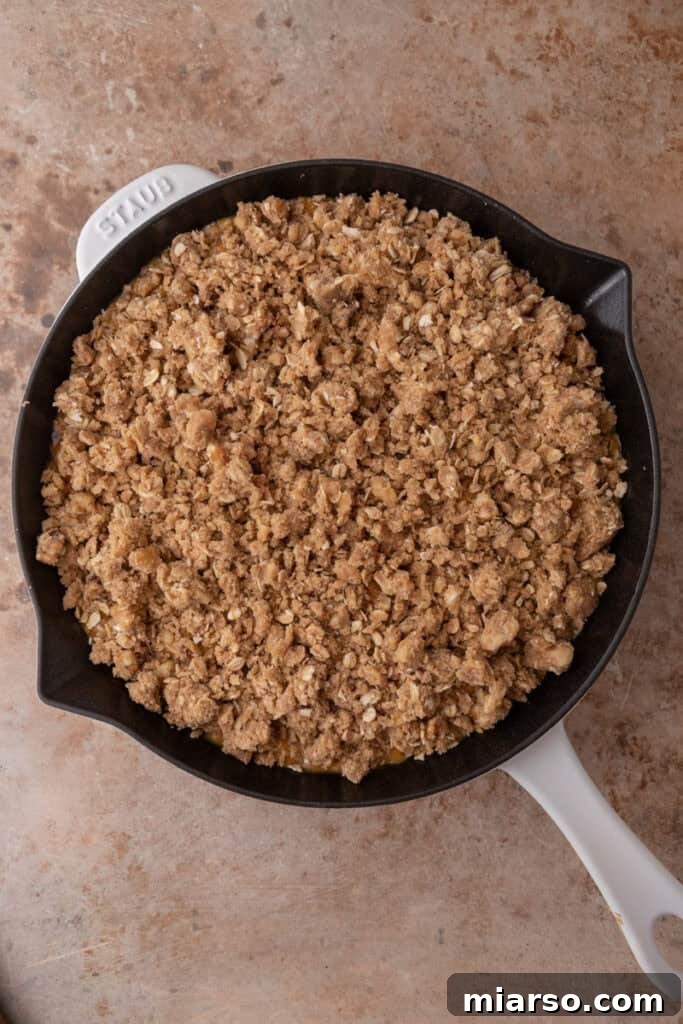
- Incorporate the Butter: Add the cold, cubed unsalted butter to the dry topping mixture. Using your fingertips or a pastry cutter, work the butter into the dry ingredients until the mixture resembles coarse crumbs, similar to wet sand. Be careful not to overmix; some larger pea-sized clumps are desirable. Place this topping mixture in the refrigerator while you prepare the pumpkin filling to keep the butter cold.
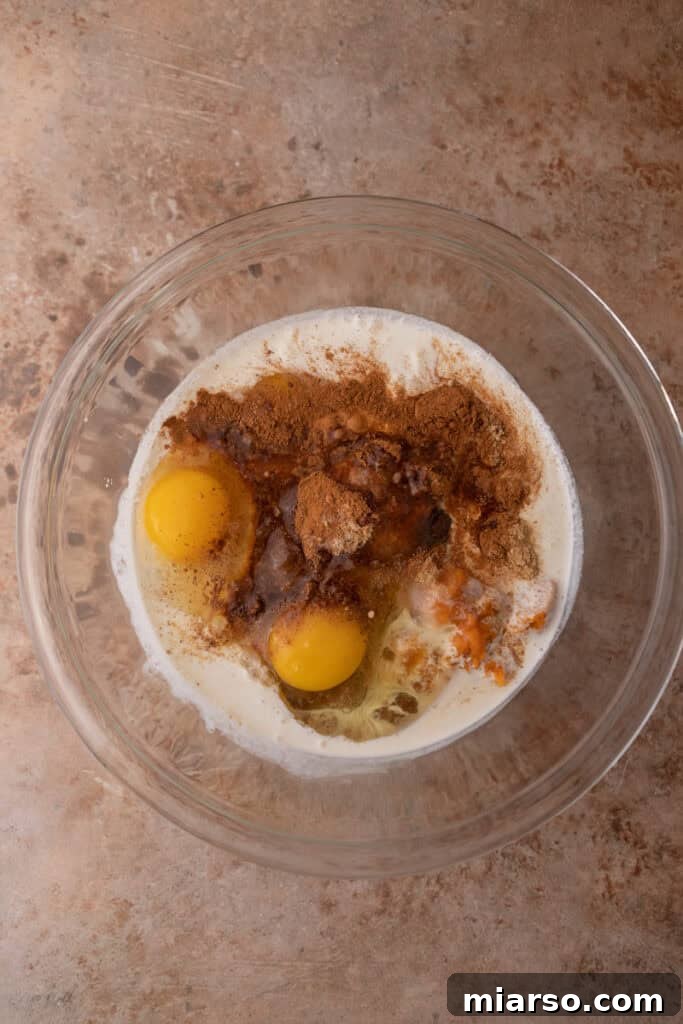
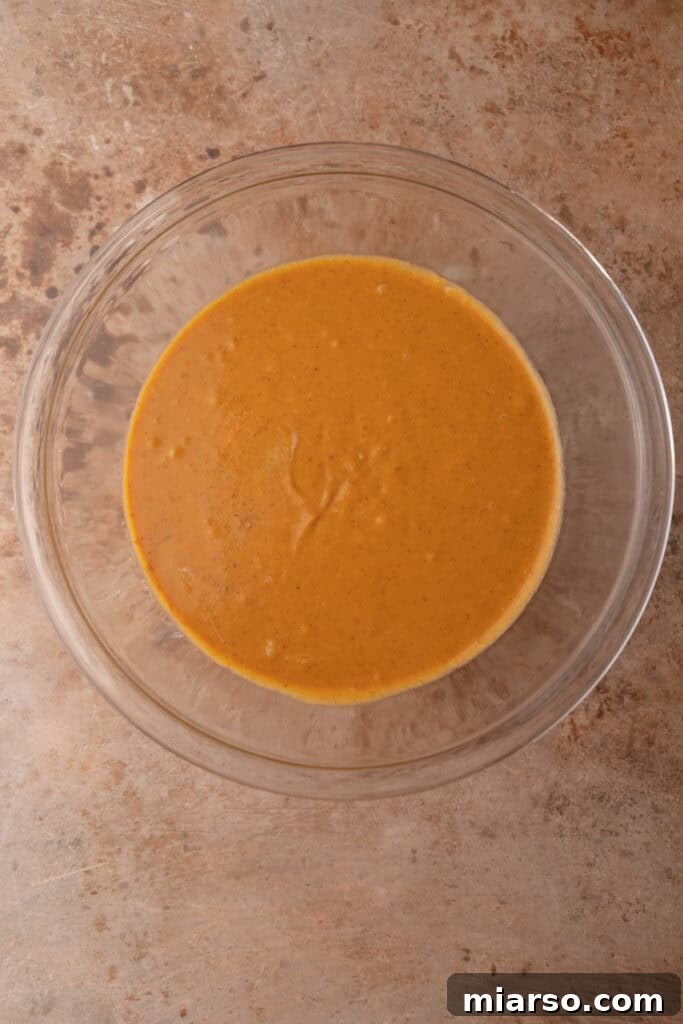
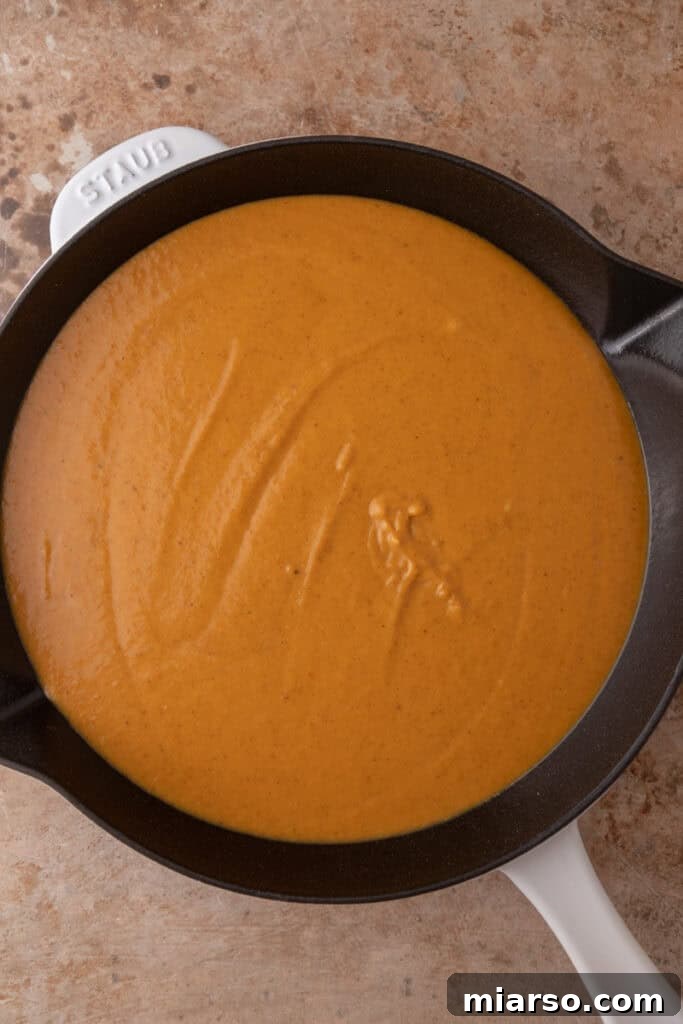
- Mix the Pumpkin Filling: In a large mixing bowl, combine the pure pumpkin puree, granulated sugar, brown sugar, ground cinnamon, ground ginger, ground nutmeg, ground cloves, salt, large eggs, and heavy cream. Whisk everything together until the mixture is completely smooth and all ingredients are well combined.
- Assemble the Crisp: Pour the creamy pumpkin mixture evenly into your 10-inch cast iron skillet (or a 9×9-inch baking dish). Then, retrieve your chilled oat topping from the refrigerator and sprinkle it evenly over the entire surface of the pumpkin filling.
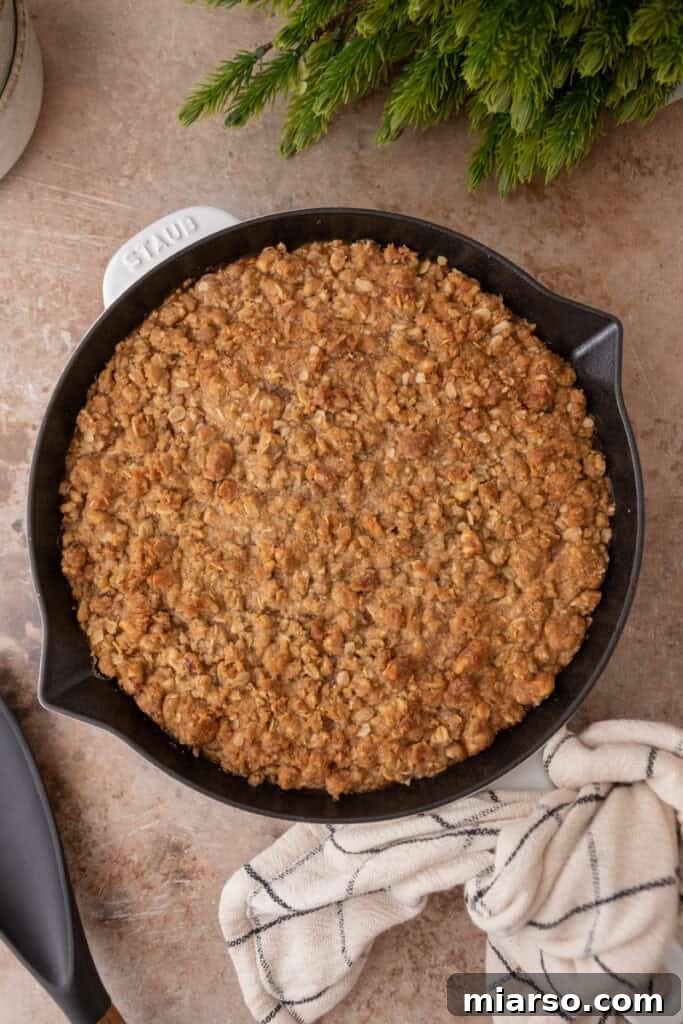
- Bake to Golden Perfection: Place the skillet in your preheated oven and bake for approximately 45 minutes, or until the pumpkin filling is set (a slight wobble in the center is okay, but it shouldn’t be liquid) and the crisp topping is beautifully golden brown and crunchy.
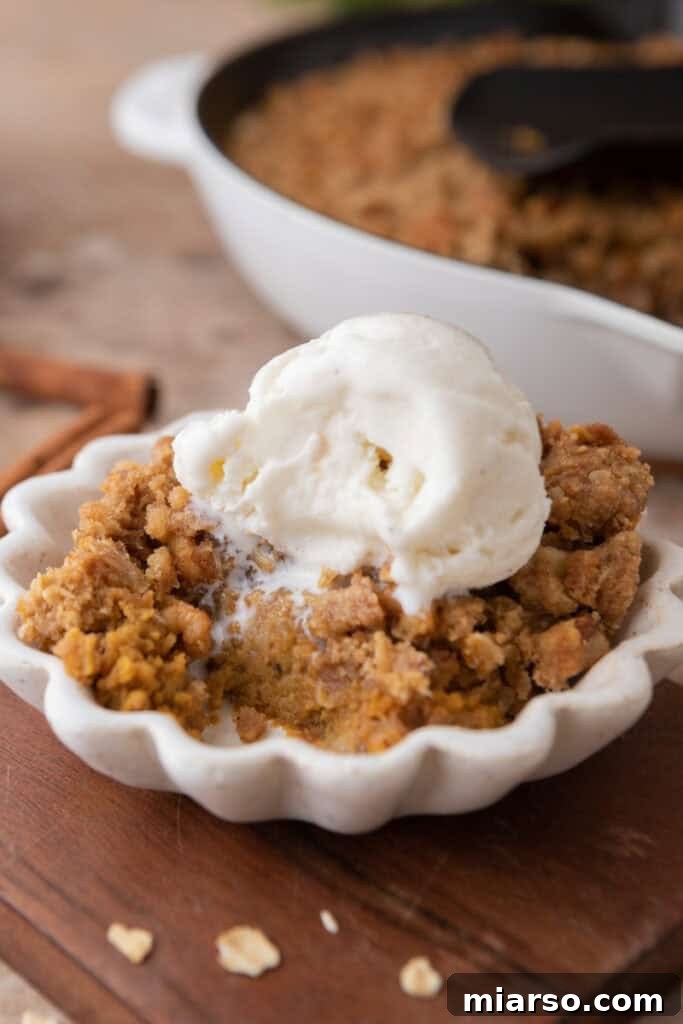
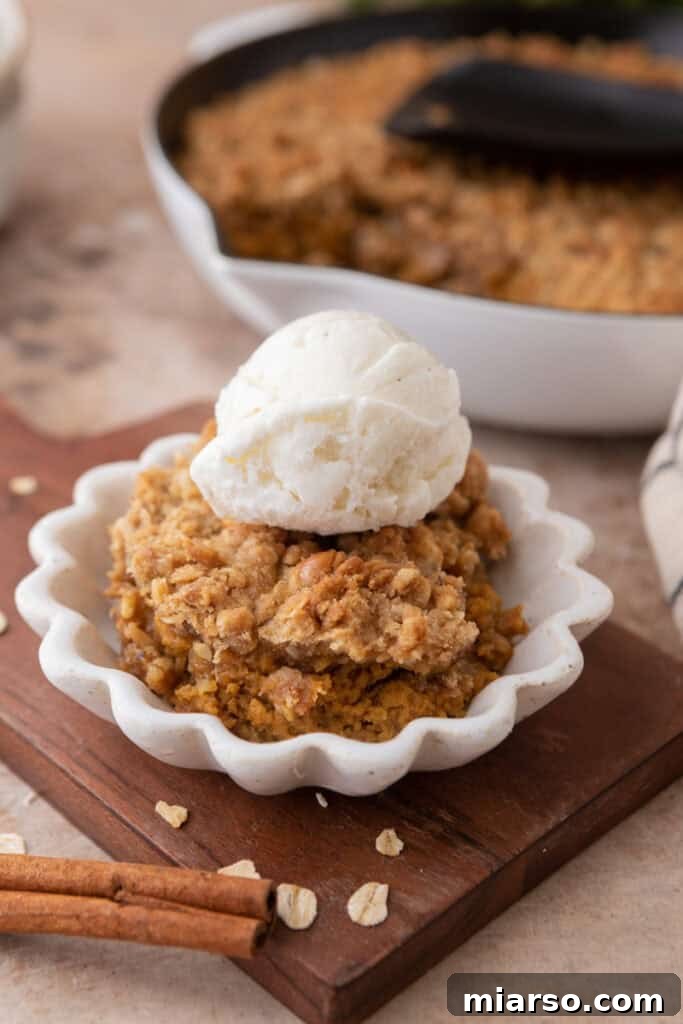
- Cool and Serve: Once baked, carefully remove the pumpkin crisp from the oven. Allow it to cool slightly for about 15-20 minutes before serving. This allows the filling to firm up a bit and prevents it from being too runny. Enjoy warm or at room temperature, ideally with a scoop of vanilla ice cream or a generous dollop of whipped cream on top.
Tips for Achieving the Best Pumpkin Crisp
- Use Pure Pumpkin Puree: As mentioned, always double-check that you’re using 100% pure pumpkin puree, not pumpkin pie filling. Pie filling has added sweeteners and spices that will throw off the flavor balance of this recipe.
- Room Temperature Wet Ingredients for Filling: For the smoothest, most homogenous pumpkin filling, ensure your eggs and heavy cream are at room temperature. This helps them incorporate more effectively with the pumpkin puree and sugars, preventing a lumpy texture.
- Keep Butter COLD for the Topping: This is paramount for a truly crisp and crumbly topping. Cold butter, when cut into small pieces and then worked into the dry ingredients, creates pockets that steam during baking, resulting in a light, flaky, and crispy streusel. If your butter gets too warm, the topping will be dense and greasy.
- Don’t Overmix the Topping: Once the butter is incorporated and the mixture resembles coarse crumbs, stop mixing. Overworking the topping can develop the gluten in the flour too much, leading to a tougher texture.
- How to Tell When It’s Done: The crisp is ready when the edges of the pumpkin filling are set and slightly puffed, and the center has a gentle jiggle (like a perfectly baked custard). The topping should be deeply golden brown and smell wonderfully toasted.
- Allow for Cooling Time: While it’s tempting to dig in immediately, allowing the pumpkin crisp to cool for at least 15-20 minutes after baking is crucial. This helps the filling to set further and makes for cleaner serving. The flavors also meld and deepen slightly as it cools.
Delicious Variations and Customizations for Your Pumpkin Crisp
While this classic pumpkin crisp recipe is perfect as is, it’s also wonderfully adaptable! Feel free to experiment with these ideas to make it uniquely yours:
- Nutty Additions: Beyond pecans and walnuts, consider adding chopped almonds, hazelnuts, or even pepitas (pumpkin seeds) to the crisp topping for different flavor and texture profiles.
- Extra Spice: If you love a bolder spice kick, you can increase the amounts of cinnamon, ginger, nutmeg, or cloves slightly. A pinch of allspice or cardamom could also add an intriguing layer of warmth.
- A Touch of Citrus: A teaspoon of orange zest added to the pumpkin filling can brighten the flavors and add a subtle, refreshing note.
- Gluten-Free Option: Substitute the all-purpose flour in the topping with a 1:1 gluten-free baking flour blend. Ensure your oats are certified gluten-free if catering to strict dietary needs.
- Vegan Adaptation: For a plant-based version, replace the eggs with flax eggs (1 tbsp ground flaxseed + 3 tbsp water per egg) or a commercial egg replacer. Use a plant-based heavy cream (like full-fat coconut milk or a commercial vegan cream alternative) and vegan butter for the topping.
- Individual Servings: Instead of a large skillet, bake the crisp in individual ramekins or small baking dishes for charming single-serving desserts. Adjust baking time accordingly.
- Sweet Crumble Base: For an extra layer of flavor and texture, press a thin layer of shortbread cookie crumbs or gingersnap crumbs into the bottom of the skillet before adding the pumpkin filling.
Serving Suggestions for the Ultimate Pumpkin Crisp Experience
This warm, spiced pumpkin crisp is a dessert that truly shines with the right accompaniments. Here are some of our favorite ways to serve it, turning a simple crisp into an unforgettable indulgence:
- Classic Vanilla Ice Cream: The quintessential pairing! A scoop of cold, creamy vanilla ice cream slowly melting into the warm crisp creates an incredible temperature and texture contrast.
- Fresh Whipped Cream: Light, airy, and delicately sweet, a dollop of homemade whipped cream is a perfect complement. You can even infuse it with a touch of maple syrup or cinnamon for extra flair.
- Caramel Drizzle: A generous swirl of store-bought or homemade caramel sauce over the top adds a rich, buttery sweetness that pairs beautifully with pumpkin and oats.
- Dusting of Powdered Sugar: For a simple yet elegant finish, a light dusting of powdered sugar adds a touch of sweetness and a beautiful presentation.
- Warm Maple Syrup: A drizzle of high-quality maple syrup can enhance the fall flavors and add a natural sweetness.
- Coffee or Tea Pairing: Enjoy a slice of warm pumpkin crisp with a steaming mug of coffee, a pumpkin spice latte, or a fragrant cup of chai tea for a cozy afternoon treat.
- Breakfast Treat: Don’t limit this crisp to dessert! A small serving alongside your morning coffee or as a special brunch item is absolutely divine.
Frequently Asked Questions (FAQ) About Pumpkin Crisp
Can I use fresh pumpkin instead of canned pumpkin puree?
While using fresh pumpkin is certainly possible for many recipes, we generally recommend using canned pure pumpkin puree for this crisp. Canned pumpkin offers a consistent moisture level and texture, which is crucial for achieving the desired creamy filling every time. Fresh pumpkin can vary significantly in water content, potentially leading to a soggy or overly wet crisp. If you do opt for fresh pumpkin, make sure to thoroughly drain and possibly even roast it to reduce excess moisture before incorporating it into the filling.
How do I store leftovers of this pumpkin crisp recipe?
Storing leftover pumpkin crisp is straightforward. Once completely cooled, cover the dish tightly with plastic wrap or transfer the crisp to an airtight container. Store it in the refrigerator, where it will remain fresh and delicious for about 3-4 days. To enjoy it warm again, you can reheat individual servings in the microwave or place the entire dish in a preheated oven at 300°F (150°C) for about 10-15 minutes, or until warmed through.
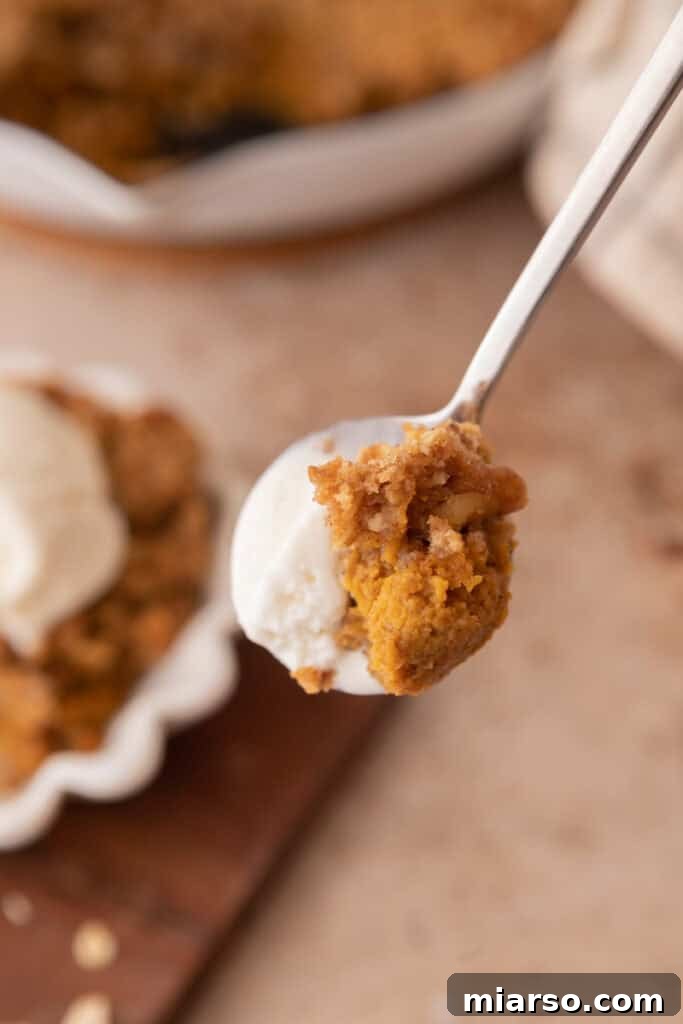
Can I freeze pumpkin crisp?
Yes, you can absolutely freeze pumpkin crisp! To do so, allow the crisp to cool completely after baking. Then, wrap it tightly first in plastic wrap, followed by a layer of aluminum foil. This double layer helps prevent freezer burn. You can store it in the freezer for up to 3 months. To reheat, thaw the frozen crisp overnight in the refrigerator. Once thawed, warm it in a preheated oven at 300°F (150°C) until heated through and the topping has re-crisped slightly. Be aware that while the flavor will still be excellent, the topping might lose a tiny bit of its original crispness compared to freshly baked, but it will still be a delightful treat.
Can I make this pumpkin crisp recipe ahead of time?
This recipe is perfect for making ahead, especially during busy holiday seasons! You have a couple of options:
Option 1 (Partial Prep): You can prepare the pumpkin filling and the crisp topping separately. Store the pumpkin filling covered in the refrigerator for up to 2 days, and keep the topping mixture (with the cold butter) in an airtight container in the fridge for up to 3 days. When ready to bake, simply assemble the crisp by pouring the filling into your dish, sprinkling the topping, and baking as directed.
Option 2 (Fully Baked): You can bake the entire crisp ahead of time. Once baked, let it cool completely, then cover it and refrigerate for up to 3-4 days. When you’re ready to serve, simply reheat it in a 300°F (150°C) oven until warm throughout. This makes it a fantastic stress-free dessert for entertaining!
Do I have to use a cast iron skillet?
Not at all! While a 10-inch cast iron skillet provides excellent heat distribution and a charming rustic presentation, you can easily use other oven-safe bakeware. A 9×9-inch baking dish, an 8×8-inch baking dish (though this might require slightly longer baking time due to thicker layers), or a similar-sized casserole dish will work perfectly. Just ensure your chosen dish is suitable for oven use.
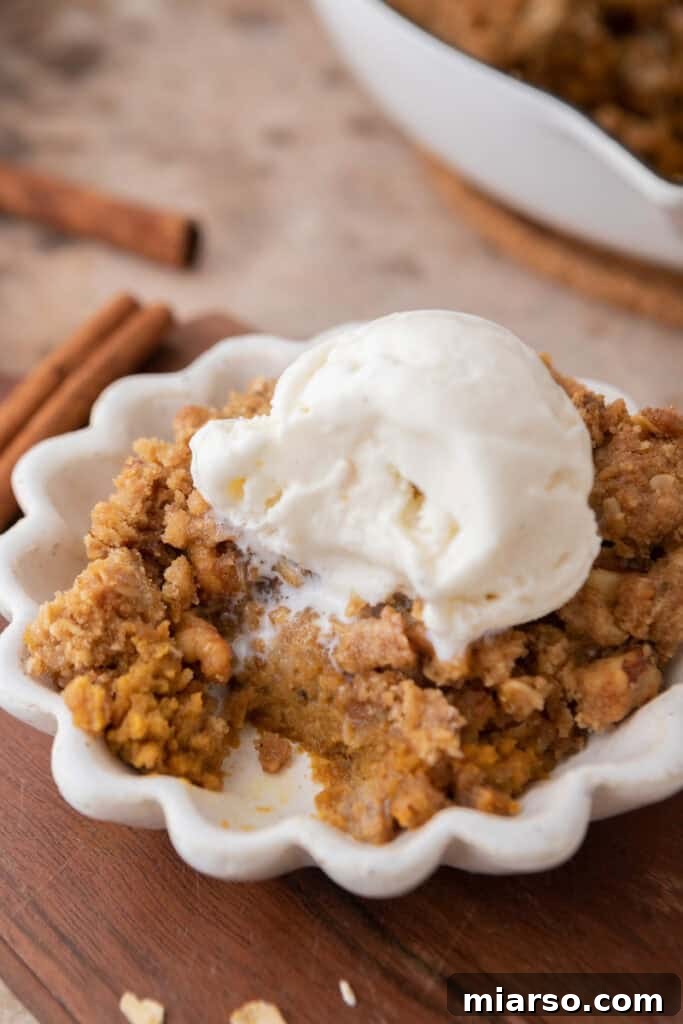
The Best Pumpkin Crisp Recipe
Pumpkin Crisp in a 10-Inch Cast Iron Skillet
This Pumpkin Crisp recipe combines a creamy pumpkin pie filling with an unbelievably crunchy oat topping, guaranteed to become your new favorite fall tradition.
Prep Time: 10 minutes
Cook Time: 45 minutes
Total Time: 55 minutes
Servings: 10 servings
Ingredients
For the Pumpkin Filling:
- 1 can (15 oz) pure pumpkin puree
- 1/4 cup granulated sugar
- 1/2 cup packed brown sugar
- 1 teaspoon ground cinnamon
- 1/2 teaspoon ground ginger
- 1/4 teaspoon ground nutmeg
- 1/4 teaspoon ground cloves
- 1/4 teaspoon salt
- 3 large eggs, at room temperature
- 3/4 cup heavy cream, at room temperature
For the Crisp Topping:
- 1 cup old-fashioned oats
- 2/3 cup all-purpose flour
- 2/3 cup packed brown sugar
- 1 teaspoon ground cinnamon
- 1/4 teaspoon salt
- 2/3 cup chopped pecans or walnuts
- 1/2 cup cold unsalted butter, cubed
Instructions
- Preheat your oven to 350°F (175°C).
- In a separate bowl, mix together oats, flour, brown sugar, cinnamon, and salt. Stir in the chopped nuts (pecans or walnuts).
- Add the cold, cubed butter pieces to the dry topping mixture. Use your fingers or a pastry cutter to blend until the mixture resembles coarse crumbs. Place the bowl in the fridge to keep the butter cold while you prepare the filling.
- In a large mixing bowl, combine pumpkin puree, granulated sugar, brown sugar, cinnamon, ginger, nutmeg, cloves, salt, eggs, and heavy cream. Mix until smooth and well combined.
- Pour the prepared pumpkin filling into a 10-inch cast iron skillet (or a 9×9-inch baking dish). Then, evenly sprinkle the chilled crisp topping over the pumpkin filling.
- Bake in the preheated oven for 45 minutes, or until the filling is set with a slight jiggle in the center and the topping is golden brown and crisp.
- Allow the pumpkin crisp to cool slightly before serving (about 15-20 minutes). Enjoy warm or at room temperature, optionally with a scoop of vanilla ice cream or a dollop of whipped cream.
Nutrition Information (Approximate per serving)
Calories: 406 | Carbohydrates: 48g | Protein: 6g | Fat: 23g | Saturated Fat: 11g | Polyunsaturated Fat: 5g | Monounsaturated Fat: 5g | Trans Fat: 0.4g | Cholesterol: 94mg | Sodium: 223mg | Potassium: 236mg | Fiber: 3g | Sugar: 32g | Vitamin A: 7238IU | Vitamin C: 2mg | Calcium: 72mg | Iron: 2mg
Nutrition information is automatically calculated and should only be used as an approximation.
We hope you thoroughly enjoy this delightful pumpkin crisp! Your feedback is invaluable to us. If you loved this recipe, we would be thrilled if you would leave a comment below to share your experience and any creative twists you added.

If you enjoyed this Pumpkin Crisp recipe, make sure to pin it for later!
Don’t let this incredible recipe get lost! Save it to your favorite Pinterest board so you can easily find it for your next fall gathering or whenever that pumpkin craving strikes. Pin these beautiful images for inspiration!