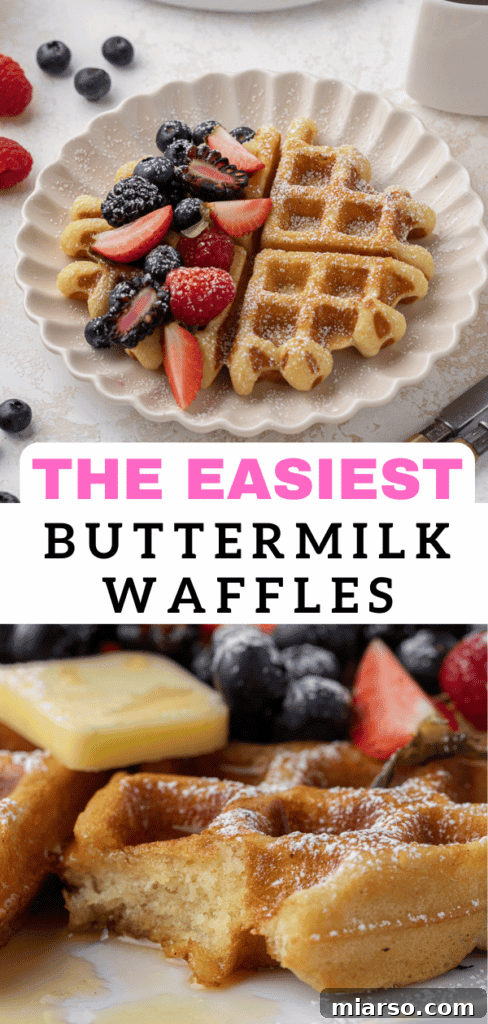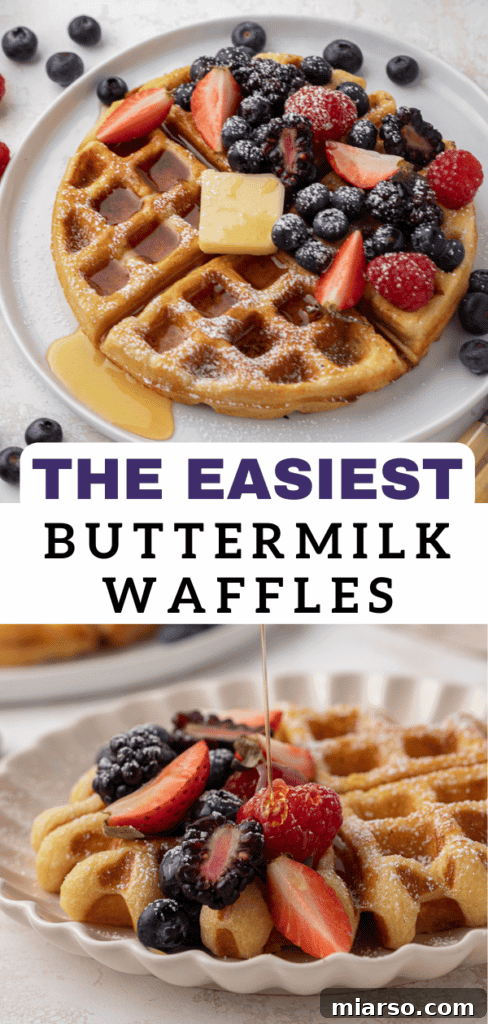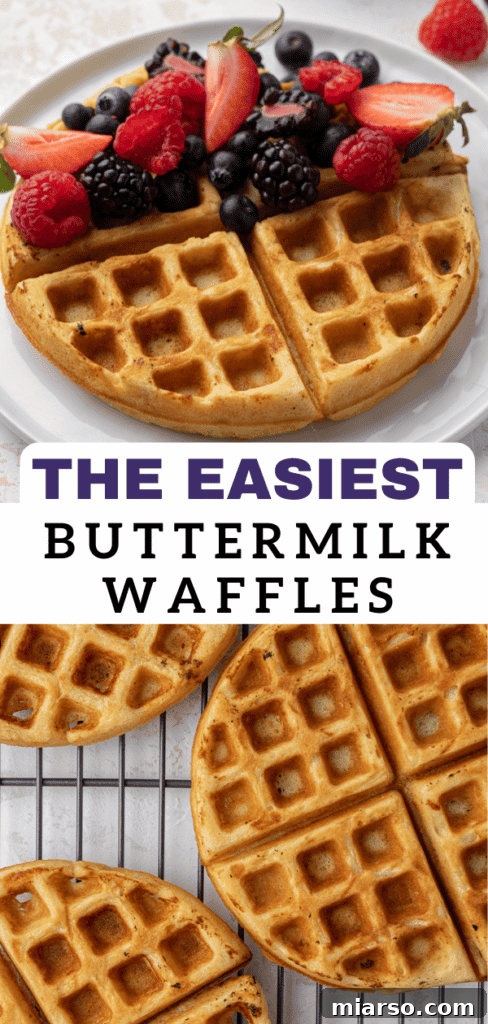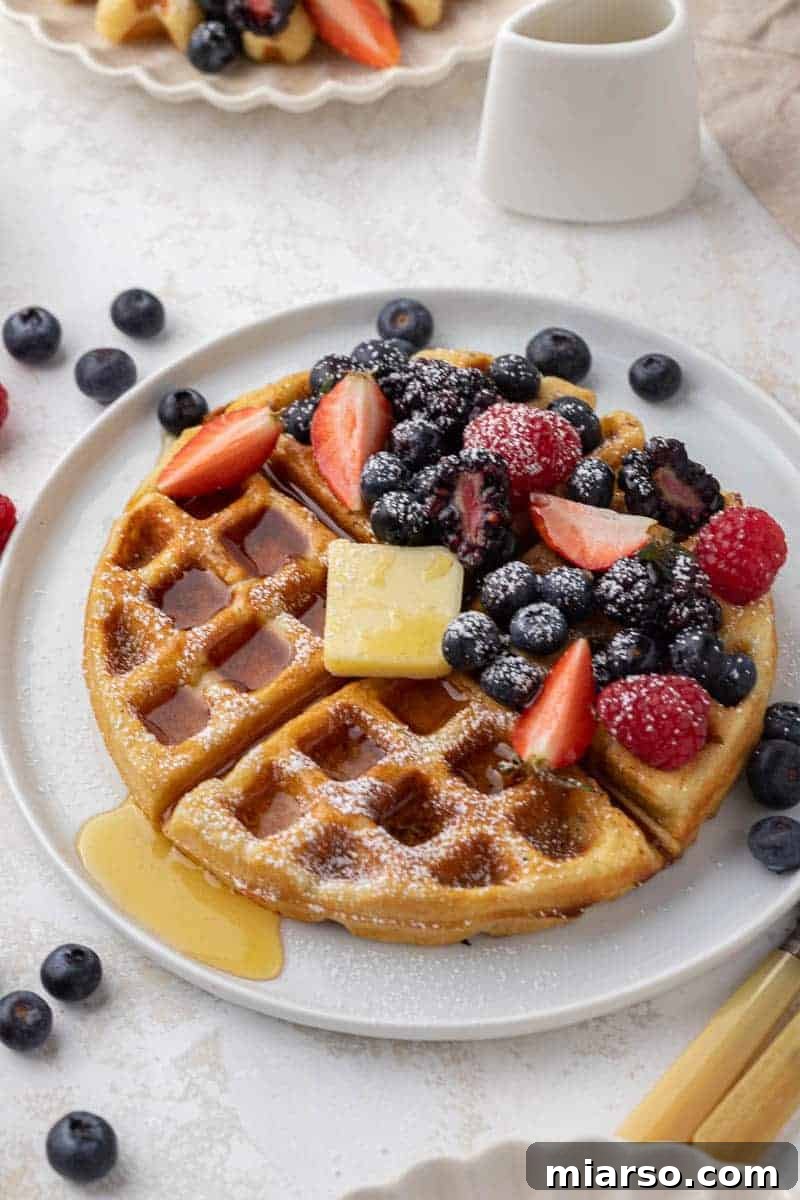
Welcome to the ultimate guide for crafting classic, comforting buttermilk waffles. This recipe isn’t just a meal; it’s an experience, delivering consistently fluffy, thick, and perfectly crispy waffles every single time. Using a handful of common pantry ingredients, you can effortlessly elevate your breakfast routine into something truly special. Prepare to transform your mornings with these golden-brown delights!
For a complete breakfast or brunch spread, these delectable buttermilk waffles pair beautifully with a variety of refreshing beverages. Consider serving them alongside an Immune Boosting Ginger Carrot Orange Smoothie, a creamy Starbucks Vanilla Sweet Cream Cold Brew, a festive Starbucks Irish Cream Cold Brew Coffee, or a vibrant Immune Boosting Orange Mango Smoothie. Each complements the rich flavor and satisfying texture of the waffles perfectly.
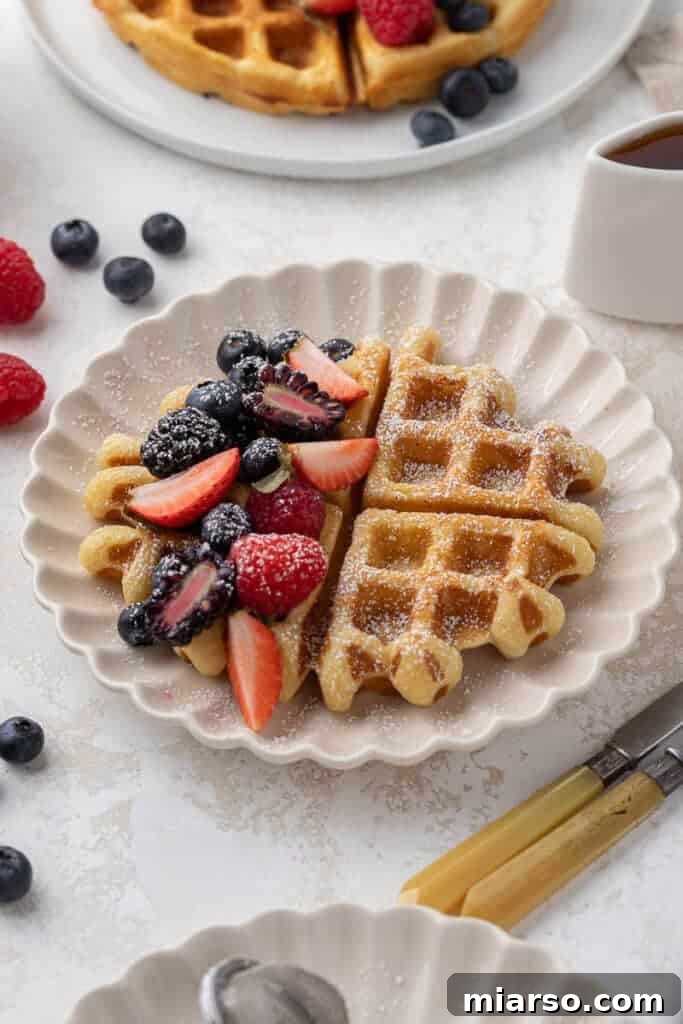
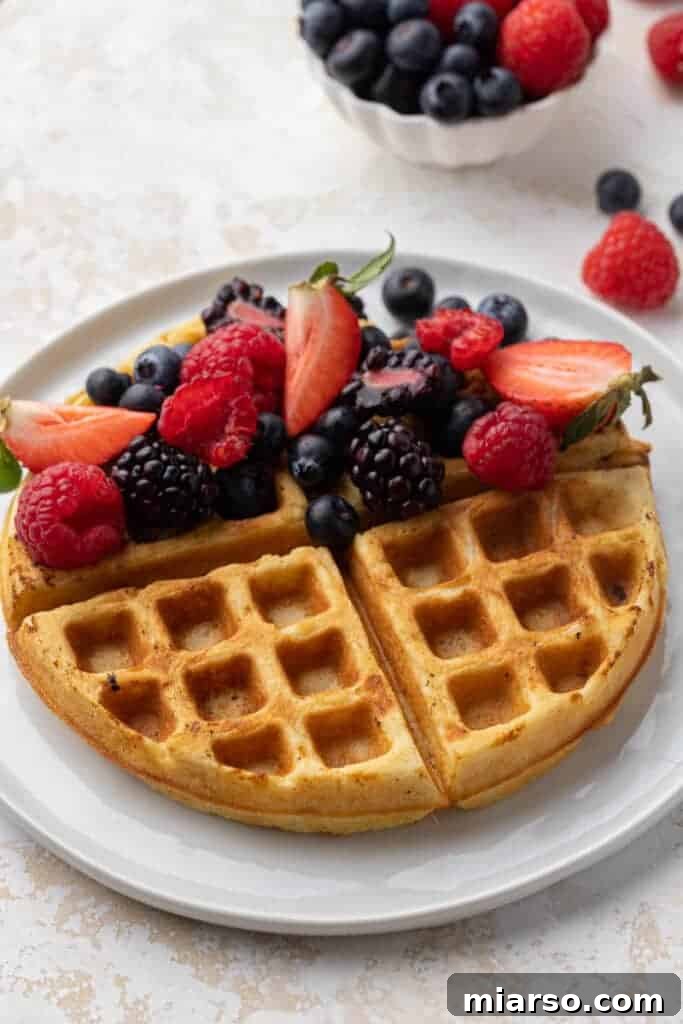
There’s something inherently inviting about buttermilk waffles that makes them my top choice for any breakfast, or frankly, any meal where I crave a touch of comfort. Their light and airy texture, combined with that irresistible crispy exterior, makes them the ideal canvas for a medley of fresh fruits and generous drizzles of warm maple syrup. They are truly a breakfast masterpiece that brings joy to the table.
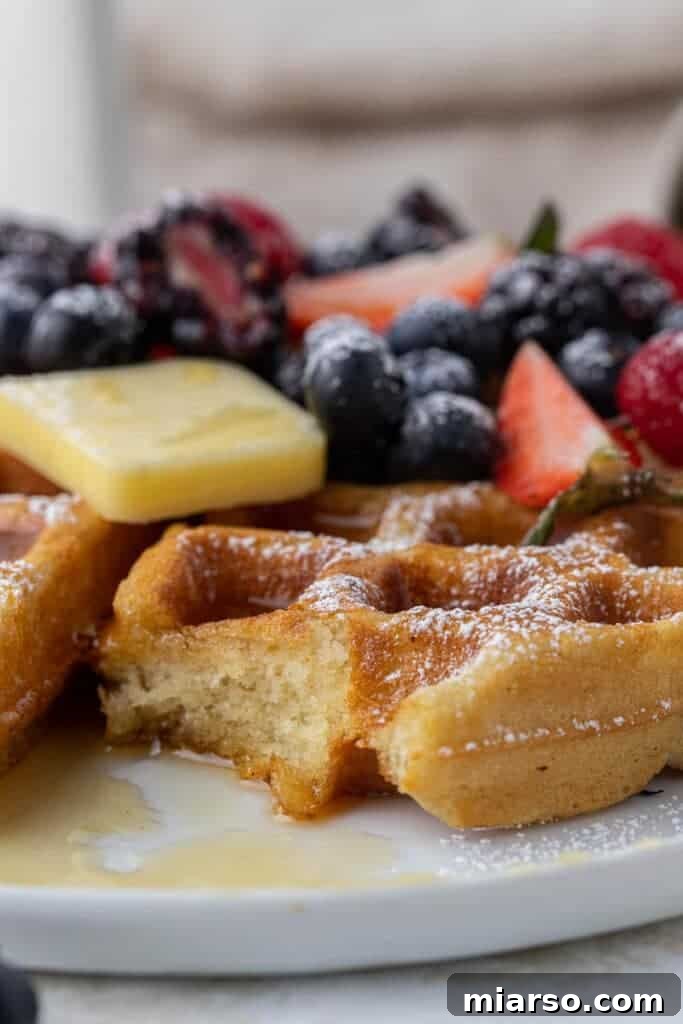
What sets this particular buttermilk waffle recipe apart is a subtle yet powerful secret ingredient: a touch of cornstarch. This addition is key to achieving that coveted balance – waffles that are incredibly moist and tender on the inside, yet wonderfully crisp and golden on the outside. This unique combination elevates them beyond ordinary waffles, promising an unforgettable bite every time.
Discover the Ultimate Buttermilk Waffle Recipe for Unforgettable Mornings!
If your heart usually leans towards pancakes, I invite you to keep an open mind! While I cherish a good stack of fluffy pancakes – like this Perfectly Fluffy Pumpkin Pancake recipe, an Easy Family Style Dutch Baby Pancake recipe, or my 7 secrets to make boxed pancakes better + mistakes to avoid + recipe, and even these Fluffy Almond Flour Pancakes – I genuinely believe these buttermilk waffles have the power to convert even the most dedicated pancake enthusiast. Be prepared for a delightful surprise that will change your breakfast game forever!
Why These Homemade Buttermilk Waffles Will Become Your Go-To Recipe!
These isn’t just another waffle recipe; it’s a game-changer for several compelling reasons:
- Effortless & Quick Breakfast: This recipe is a lifesaver for busy mornings. It comes together quickly with ingredients you likely already have stocked in your pantry, making it an ideal choice for a spontaneous breakfast or brunch.
- Your New Staple Waffle: Every home chef needs a reliable, tried-and-true waffle recipe. I’m confident that once you experience the perfect texture and flavor of these buttermilk waffles, they will become your ultimate go-to, impressing family and guests alike.
- Perfect for Meal Prep & Freezing: Planning ahead has never been easier! These waffles are fantastic for making in advance. Simply cook a larger batch, freeze them, and you’ll have a delicious, homemade breakfast ready to toast whenever a craving strikes or you’re short on time.
- Superior to Boxed Mixes: Say goodbye to bland, uninspired waffle mixes! This recipe delivers a taste and texture far superior to anything from a box, yet it’s surprisingly simple to prepare. You get gourmet quality with homemade ease.
- Crispy Edges, Fluffy Centers: Thanks to a special ingredient, these waffles achieve that desirable contrast: delightfully crispy on the outside, and incredibly soft and airy on the inside. It’s the best of both worlds in every bite.
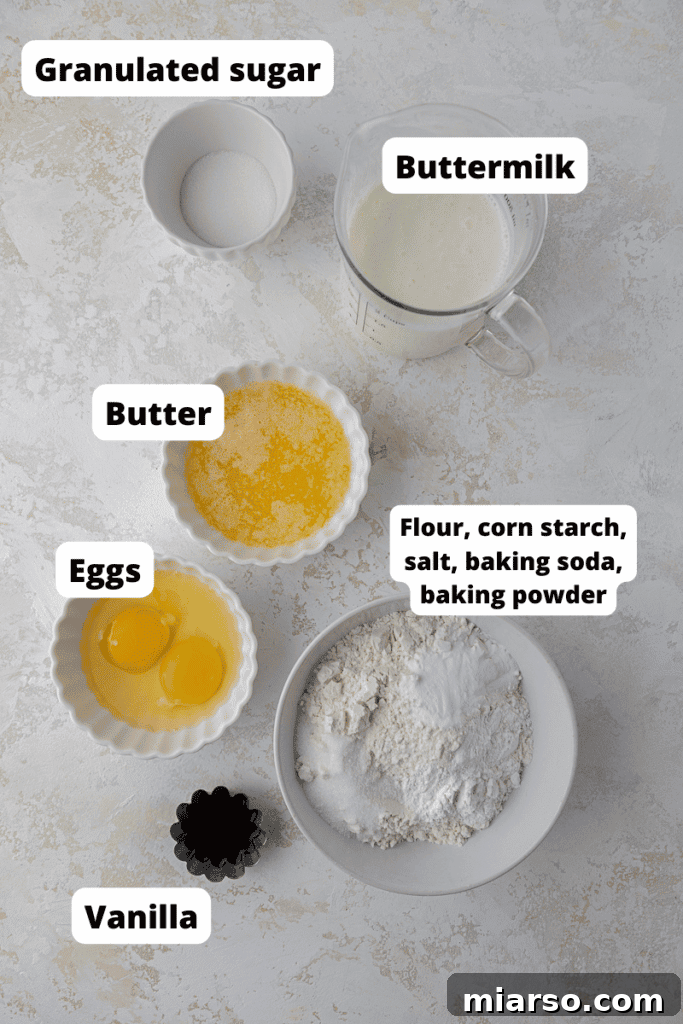
Essential Ingredients for Truly Delicious Buttermilk Waffles
Creating these heavenly buttermilk waffles requires a few simple ingredients, each playing a vital role in achieving their perfect texture and flavor. Below, you’ll find a detailed breakdown, but be sure to scroll down to the dedicated recipe card for precise measurements and full instructions.
- All-Purpose Flour: The foundation of our waffles. Standard all-purpose flour works beautifully, providing the necessary structure without being too dense.
- Cornstarch: This is our secret weapon! A small amount of cornstarch is crucial for achieving that desirable crispy exterior while keeping the interior wonderfully moist and tender. It’s the magic behind the perfect waffle texture.
- Granulated Sugar: A touch of sugar enhances the flavor of the waffles, contributing to their golden-brown hue and a subtle sweetness that balances the tang of buttermilk.
- Baking Powder & Baking Soda: This dynamic duo is responsible for the incredible rise and fluffiness of the waffles. They work together with the buttermilk to create air pockets, resulting in a light and airy texture.
- Buttermilk: The star ingredient! Buttermilk provides a unique tangy flavor and reacts with the baking soda to create exceptionally tender and moist waffles. Its acidity is key to the chemical leavening process.
- Salt: Often overlooked, salt is a crucial flavor enhancer in baking. It balances the sweetness, deepens the other flavors, and prevents the waffles from tasting flat. Trust me, you’ll notice its absence if forgotten!
- Melted Butter: Whether you choose salted or unsalted, melted butter adds richness, moisture, and a lovely golden color to the waffles. It also contributes to their delicate crispness.
- Eggs: Room temperature eggs are essential for optimal emulsification, ensuring all ingredients blend smoothly into a cohesive batter. They add structure, richness, and help bind the waffles together.
- Vanilla Extract: A splash of good quality vanilla extract (like this one) elevates the flavor profile, adding a warm, aromatic note that makes these waffles truly irresistible.
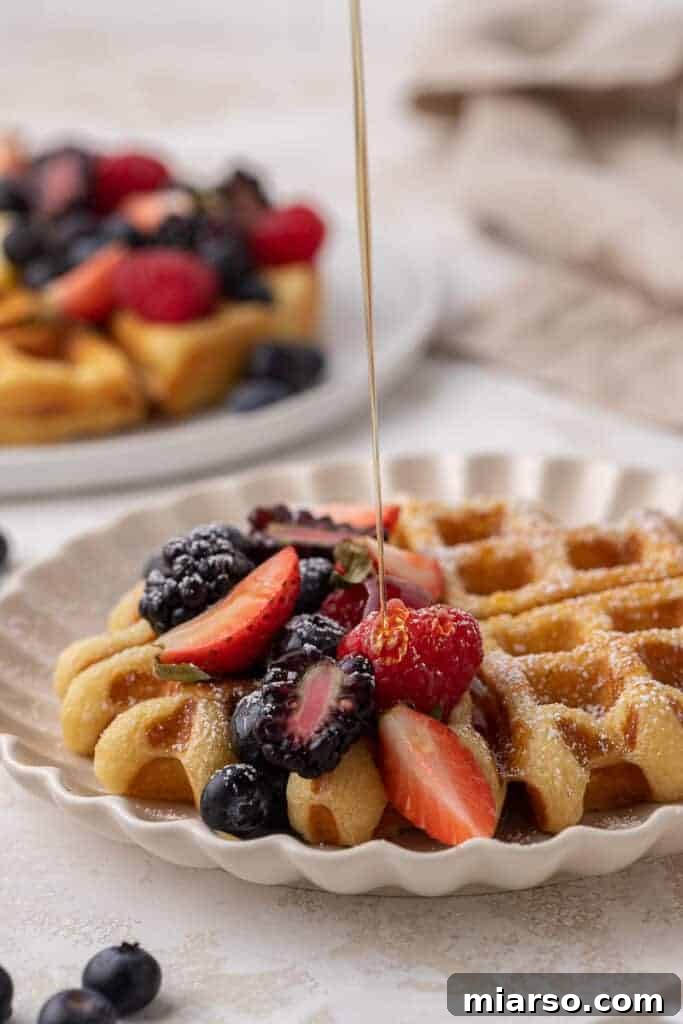
No Buttermilk? No Problem! Easy Homemade Buttermilk Substitute
While store-bought buttermilk is ideal for this recipe, I understand that it’s not always a pantry staple for everyone. Don’t let that stop you from enjoying these amazing waffles! You can easily create a fantastic substitute using ingredients you likely already have on hand.
To make your own buttermilk at home, simply combine 1 and 3/4 cups of regular milk with 1 and 1/2 tablespoons of white vinegar or lemon juice. Give it a gentle stir and let the mixture sit for about 5-10 minutes. You’ll notice it start to curdle slightly, which indicates it’s ready to use. This curdled milk will react with the baking soda in the recipe just like traditional buttermilk, ensuring your waffles are perfectly fluffy and tender.
Step-by-Step Guide: How to Make Irresistible Buttermilk Waffles from Scratch
Crafting these homemade buttermilk waffles is a straightforward process that yields incredible results. Follow these simple steps to create a breakfast sensation. Remember to consult the full recipe card below for detailed ingredient measurements!
- Combine Dry Ingredients: In a large mixing bowl, whisk together the all-purpose flour, cornstarch, granulated sugar, baking powder, baking soda, and salt until they are thoroughly combined. This ensures even distribution of leavening agents and flavor.
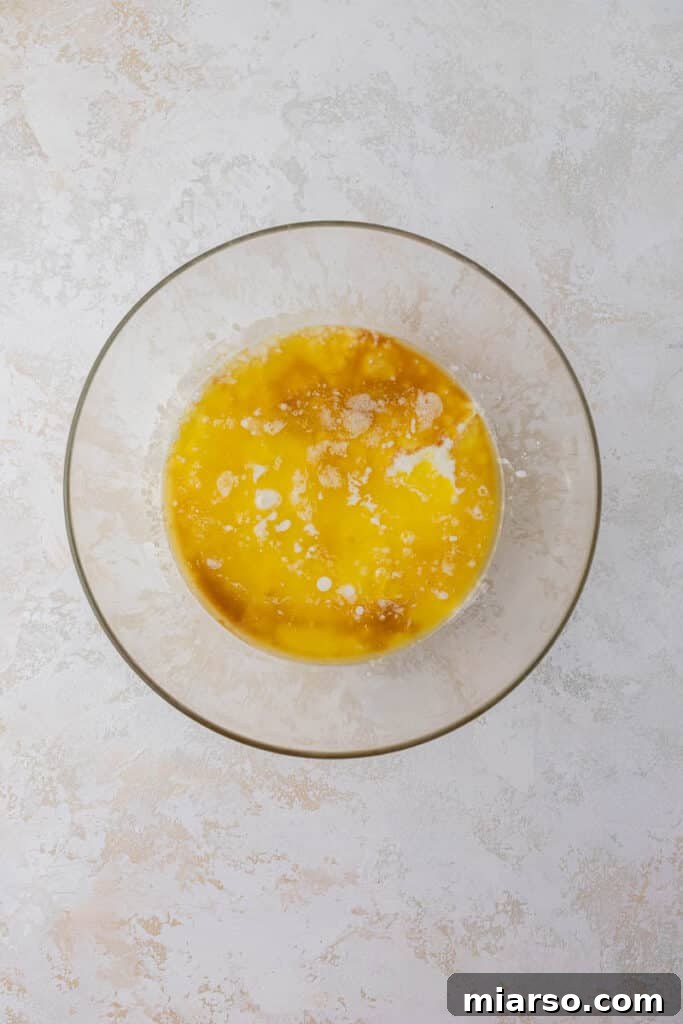
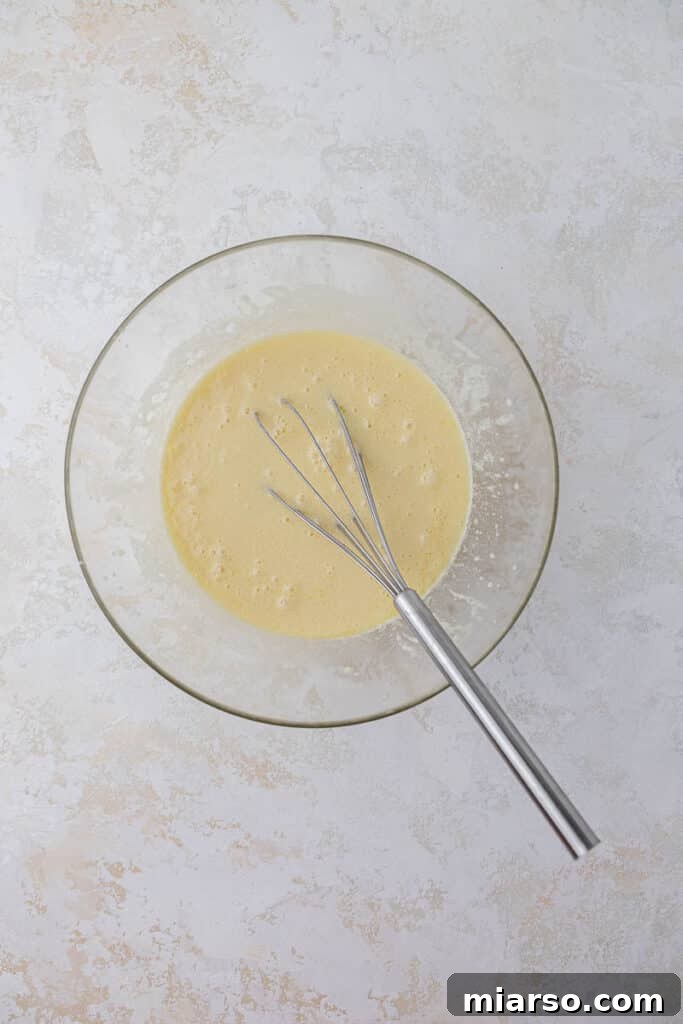
- Prepare Wet Ingredients: In a separate medium bowl, whisk together the buttermilk, melted butter, room temperature eggs, and vanilla extract until smooth and well integrated. Using room temperature eggs helps create a uniform batter.
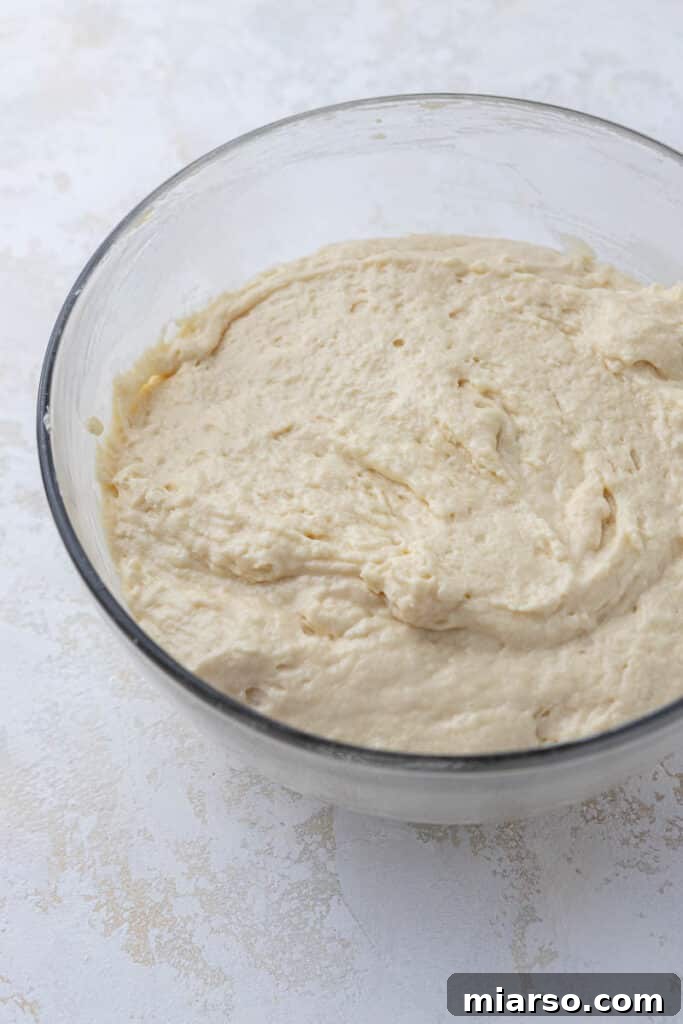
- Combine Wet and Dry: Pour the wet ingredient mixture over the dry ingredients. Gently whisk everything together just until combined. Be careful not to overmix the batter; a few small lumps are perfectly fine and will result in a more tender waffle. Overmixing can lead to tough waffles.
- Rest and Preheat: Allow the batter to rest for 5-10 minutes while you preheat your waffle iron. This resting period allows the gluten to relax and the leavening agents to begin their work, contributing to a lighter texture.
- Prepare Waffle Iron: Lightly spray your preheated waffle iron with non-stick cooking spray, especially if it’s not a non-stick model. This prevents sticking and ensures easy removal.
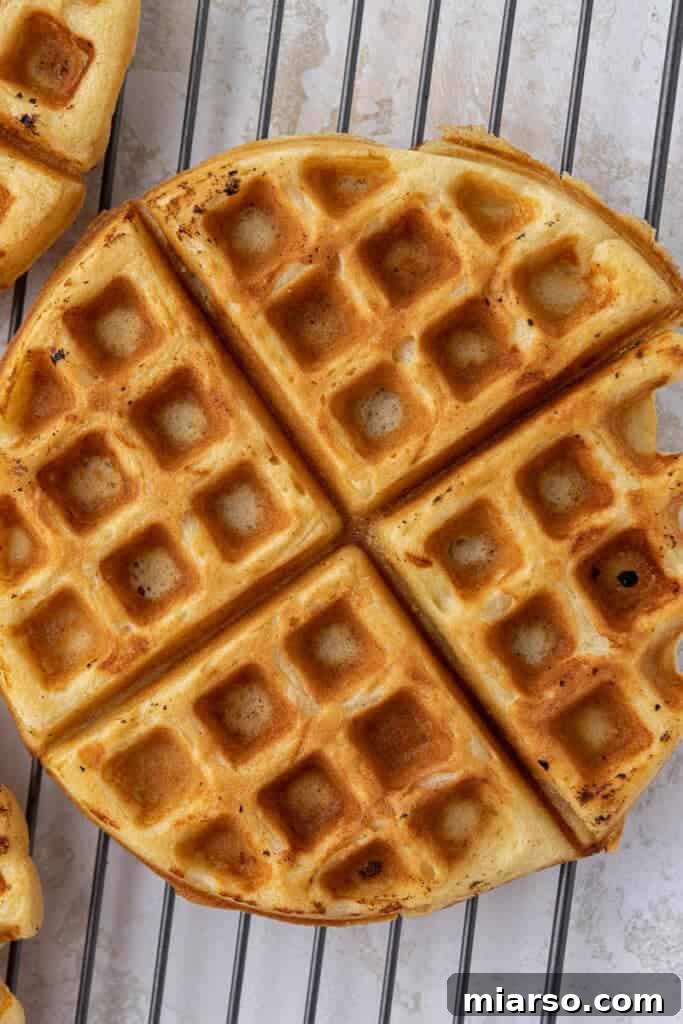
- Cook the Waffles: Pour the appropriate amount of batter onto the hot waffle iron (refer to your manufacturer’s instructions, as capacities vary). Close the lid and cook until golden brown and the steam stops escaping, usually an indication that the waffle is fully cooked and crispy.
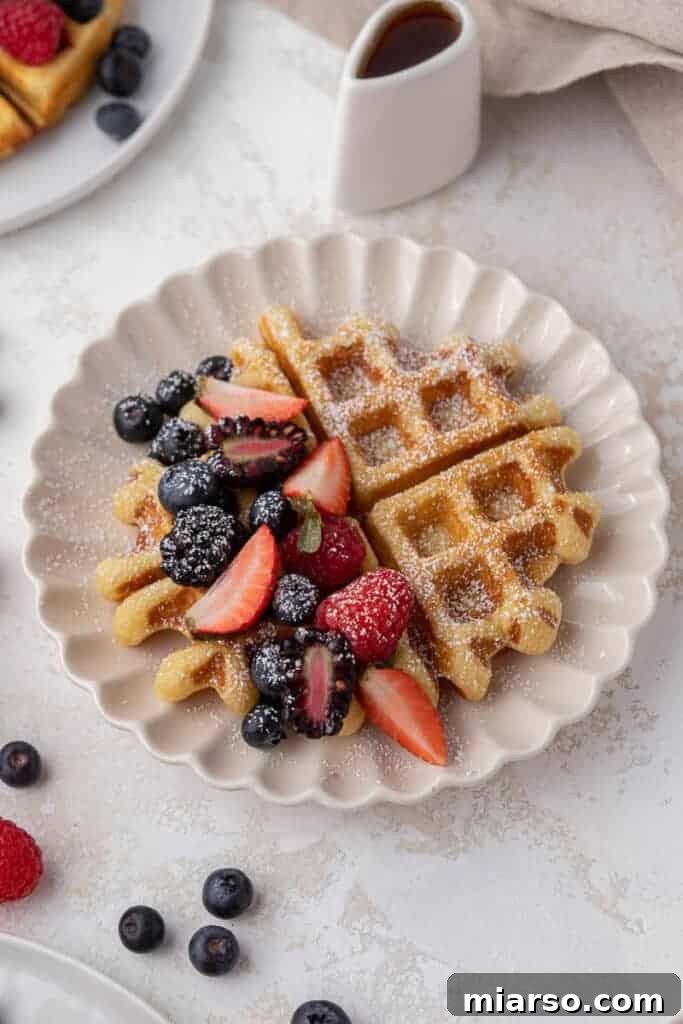
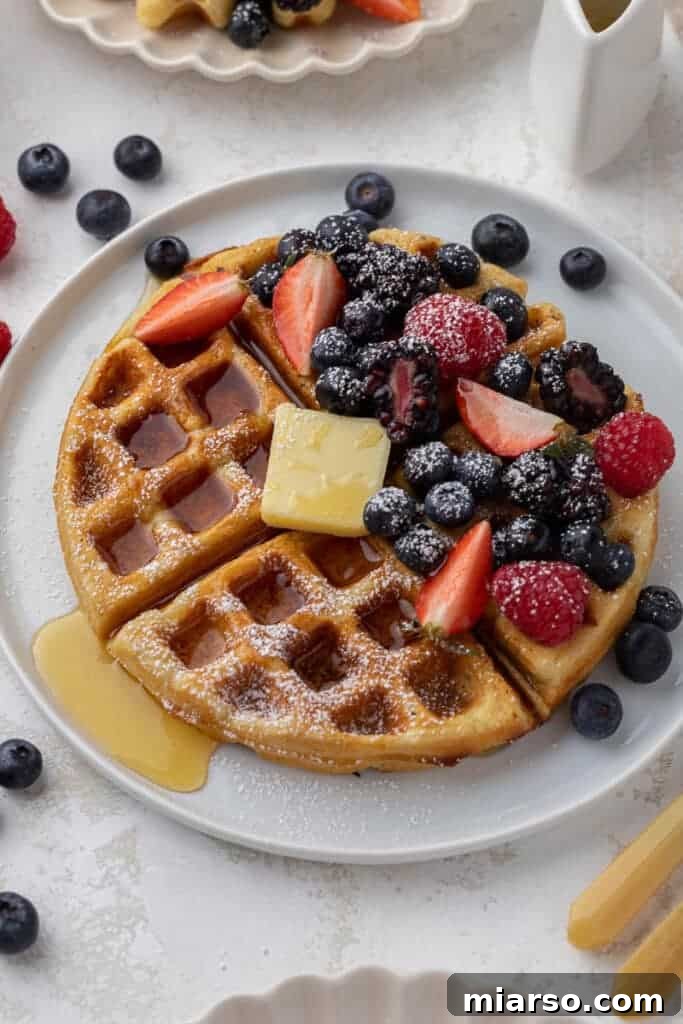
- Serve Immediately: Transfer the freshly cooked waffles to a plate and serve warm with your favorite toppings, such as fresh fruit, whipped cream, and a generous pour of maple syrup. Enjoy!
Irresistible Buttermilk Waffles Topping Ideas to Elevate Your Breakfast
Waffles are truly a blank canvas for creativity, much like pancakes, making breakfast a fun and customizable experience for everyone. Here are some of my all-time favorite topping combinations to inspire your next batch of homemade buttermilk waffles:
- Classic Butter & Maple Syrup: You simply cannot go wrong with the timeless duo of a pat of melting butter and a generous pour of pure maple syrup. It’s a classic for a reason – pure perfection!
- Abundance of Fresh Fruits: We are immense fans of incorporating fresh, seasonal fruits. Berries (strawberries, blueberries, raspberries), sliced bananas, peaches, or even a mixed fruit compote add natural sweetness, vibrant color, and essential nutrients.
- Luxurious Whipped Cream: A dollop (or two!) of freshly whipped cream instantly transforms your waffles into a fancy breakfast treat, reminiscent of a high-end brunch cafe. For an extra touch, infuse it with a hint of vanilla.
- Creamy Nut Butters: For a more substantial and filling breakfast, spread a layer of your favorite nut butter – peanut butter, almond butter, or cashew butter. It adds protein and a delightful nutty flavor.
- Indulgent Nutella: This one is for all the chocolate lovers out there! A swirl of warm Nutella over your waffles makes them taste like a decadent dessert, perfect for a weekend indulgence.
- Tangy Fruit Curds: Add a sophisticated touch with a spoonful of bright and tangy fruit curd. My personal favorite is homemade lemon curd, which provides a lovely contrast to the sweet waffle.
- Sweet Jams & Preserves: Raid your pantry for your favorite fruit jams or preserves. Strawberry, apricot, cherry, or mixed berry jams all make wonderful, quick, and flavorful toppings.
- Decadent Dulce de Leche or Caramel: If you’re looking to truly elevate your breakfast to dessert status, a drizzle of rich dulce de leche or smooth caramel sauce is an absolute must-try.
- Crunchy Toasted Nuts: Add textural contrast and nutty flavor with a sprinkle of toasted nuts. Whether you prefer pecans, walnuts, almonds, or even candied nuts, they provide a delightful crunch.
Of course, my ultimate joy comes from mixing and matching these toppings to create unique combinations that perfectly suit my mood. Don’t be afraid to experiment! If you discover an amazing waffle topping combination, please share it in the comments below – I’d love to hear your creative ideas!
More Delicious Breakfast & Brunch Recipes You’ll Love!
If you’re always on the hunt for more delightful breakfast and brunch ideas, you’ve come to the right place! Explore these other fantastic recipes that are sure to become family favorites:
- Mini Breakfast Zucchini Frittatas: A savory and wholesome option for a balanced morning meal.
- Overnight Strawberries and Cream Oats: Perfect for busy mornings, prepare it the night before for an easy, delicious breakfast.
- Healthy Mango Breakfast Smoothie Bowl: A refreshing and vibrant bowl packed with flavor and nutrients.
- Quick and Easy Air Fryer Baked Oats: A convenient and tasty way to enjoy baked oats with minimal effort.
Frequently Asked Questions (FAQ) about Buttermilk Waffles
Have questions about achieving waffle perfection? Here are some common inquiries and expert answers to help you master your buttermilk waffle game.
How Can I Make My Buttermilk Waffles Extra Crispy?
Achieving that coveted crispy exterior while maintaining a fluffy interior is the hallmark of a great waffle. Here are my top tips for super crispy waffles:
- Preheat Your Waffle Iron Thoroughly: This is perhaps the most crucial step. A hot waffle iron instantly seals the exterior of the batter, creating a crisp crust. Ensure it’s fully preheated to the correct temperature before adding any batter.
- Don’t Overfill the Iron: Using too much batter can prevent the waffles from cooking evenly and becoming crispy. Follow your waffle iron’s instructions for the correct amount.
- Cook Until Steam Stops: Continue cooking your waffles until the steam escaping from the sides of the iron significantly diminishes or stops entirely. This indicates that most of the moisture has evaporated, leaving you with a crispy result.
- Use a Cooling Rack: Once your waffles are cooked, immediately transfer them to a wire cooling rack instead of a flat plate. Placing them on a plate will trap steam underneath, leading to condensation and soggy waffles. A rack allows air to circulate, maintaining crispness.
- Keep Warm in the Oven: If you’re making a large batch, you can keep cooked waffles warm and crispy by placing them on a wire rack set over a baking sheet in an oven preheated to 200°F (95°C). Be mindful not to leave them in for too long, as they can dry out.
- The Cornstarch Secret: As mentioned in the recipe, the addition of cornstarch to the batter is a fantastic trick for enhancing crispiness. It helps create a lighter, more delicate crust.
Why Are My Waffles Sticking to the Waffle Maker?
Waffles sticking to the iron is a frustrating problem, but it usually comes down to one of two main reasons:
1. Insufficient Greasing: Unless your waffle maker specifically states it’s a truly non-stick model that requires no oiling, you absolutely must grease it. A light application of non-stick cooking spray, butter, or oil (applied with a brush) before adding the batter is essential. This creates a barrier that prevents the batter from adhering to the hot plates. Even some “non-stick” waffle irons benefit from a light coat of grease, especially when making your first waffle.
2. Waffle Maker Age/Condition: Over time and with frequent use, the non-stick coating on waffle makers can degrade. If your appliance is older or heavily used, its non-stick properties may have diminished. If regular greasing doesn’t solve the problem, it might be an indication that it’s time to invest in a new waffle maker. However, always try thoroughly greasing first!
Can I Freeze Homemade Buttermilk Waffles for Later?
Absolutely! Freezing buttermilk waffles is one of my favorite meal-prep hacks and a secret to quick, delicious breakfasts on demand. It’s incredibly convenient for busy mornings or when you crave a homemade treat without the immediate effort.
Here’s how to properly freeze them:
- Cook as Instructed: Prepare your waffles according to the recipe, ensuring they are cooked through and crispy.
- Flash Freeze: Once cooked, allow the waffles to cool completely on a wire rack. Then, place them in a single layer on a parchment-lined baking sheet. Flash freeze them for 1-2 hours, or until solid. This prevents them from sticking together when stored.
- Store: Once flash-frozen, transfer the solid waffles to an airtight freezer bag or container. Squeeze out as much air as possible to prevent freezer burn. They can be stored in the freezer for up to 3 months.
To reheat your frozen waffles, you have several quick and easy options:
- Toaster: This is my preferred method for maximum crispness. Pop a frozen waffle directly into your toaster on a medium setting until heated through and crispy.
- Toaster Oven: Similar to a regular toaster, a toaster oven works wonderfully. Place waffles directly on the rack and toast until warm and crisp.
- Conventional Oven: For reheating larger batches, preheat your oven to 300-350°F (150-175°C). Place frozen waffles directly on a baking sheet and bake for about 8-10 minutes, or until heated through and crisp.
Homemade Buttermilk Waffles from Scratch: The Recipe
If you’ve made these delicious homemade buttermilk waffles and enjoyed them, please don’t forget to show your appreciation! Leave a 5-star review by clicking on the stars under the title and description in the recipe card below. Your feedback helps me immensely!
The Easiest Buttermilk Waffles
10 minutes
10 minutes
20 minutes
6 waffles
Print Recipe
Equipment
Ingredients
- 2 cup All-Purpose Flour
- 1 tbsp Cornstarch
- 2 & 1/2 tbsp Granulated Sugar
- 2 tsp Baking Powder
- 1 tsp Baking Soda
- 1 tsp Salt
- 1 & 3/4 cup Buttermilk
- 1/2 cup Butter melted, salted or unsalted
- 2 Eggs at room temperature
- 2 tsp Vanilla Extract
Instructions
-
Combine the flour, cornstarch, sugar, baking powder, baking soda, and salt together in a large bowl.
-
Whisk the melted butter, buttermilk, eggs, and vanilla together in a medium bowl.
-
Pour the wet ingredients over the dry ingredients and whisk just until combined. Do not overmix; a few lumps are fine.
-
Preheat the waffle iron while the batter is resting for a few minutes.
-
Spray the waffle iron with non-stick cooking spray if necessary. Then, pour the batter into the waffle iron and cook according to the manufacturer’s directions or until the steam stops.
-
Serve with fresh fruit and maple syrup!
Nutrition
Nutrition information is automatically calculated, so should only be used as an approximation.
Thank you for exploring this guide to perfect buttermilk waffles!
If you’ve enjoyed this recipe and found it helpful, I’d love to hear from you. Please share your thoughts and experiences in the comments section below! And don’t forget to follow me on Instagram for more delicious recipes and cooking inspiration.

Shop Ingredients & Tools for This Recipe
This post may contain affiliate links, meaning that at no additional cost to you, I will earn a small percentage of every purchase you make. Thank you for supporting my work!
Loved This Homemade Buttermilk Waffles Recipe? Pin It for Later!