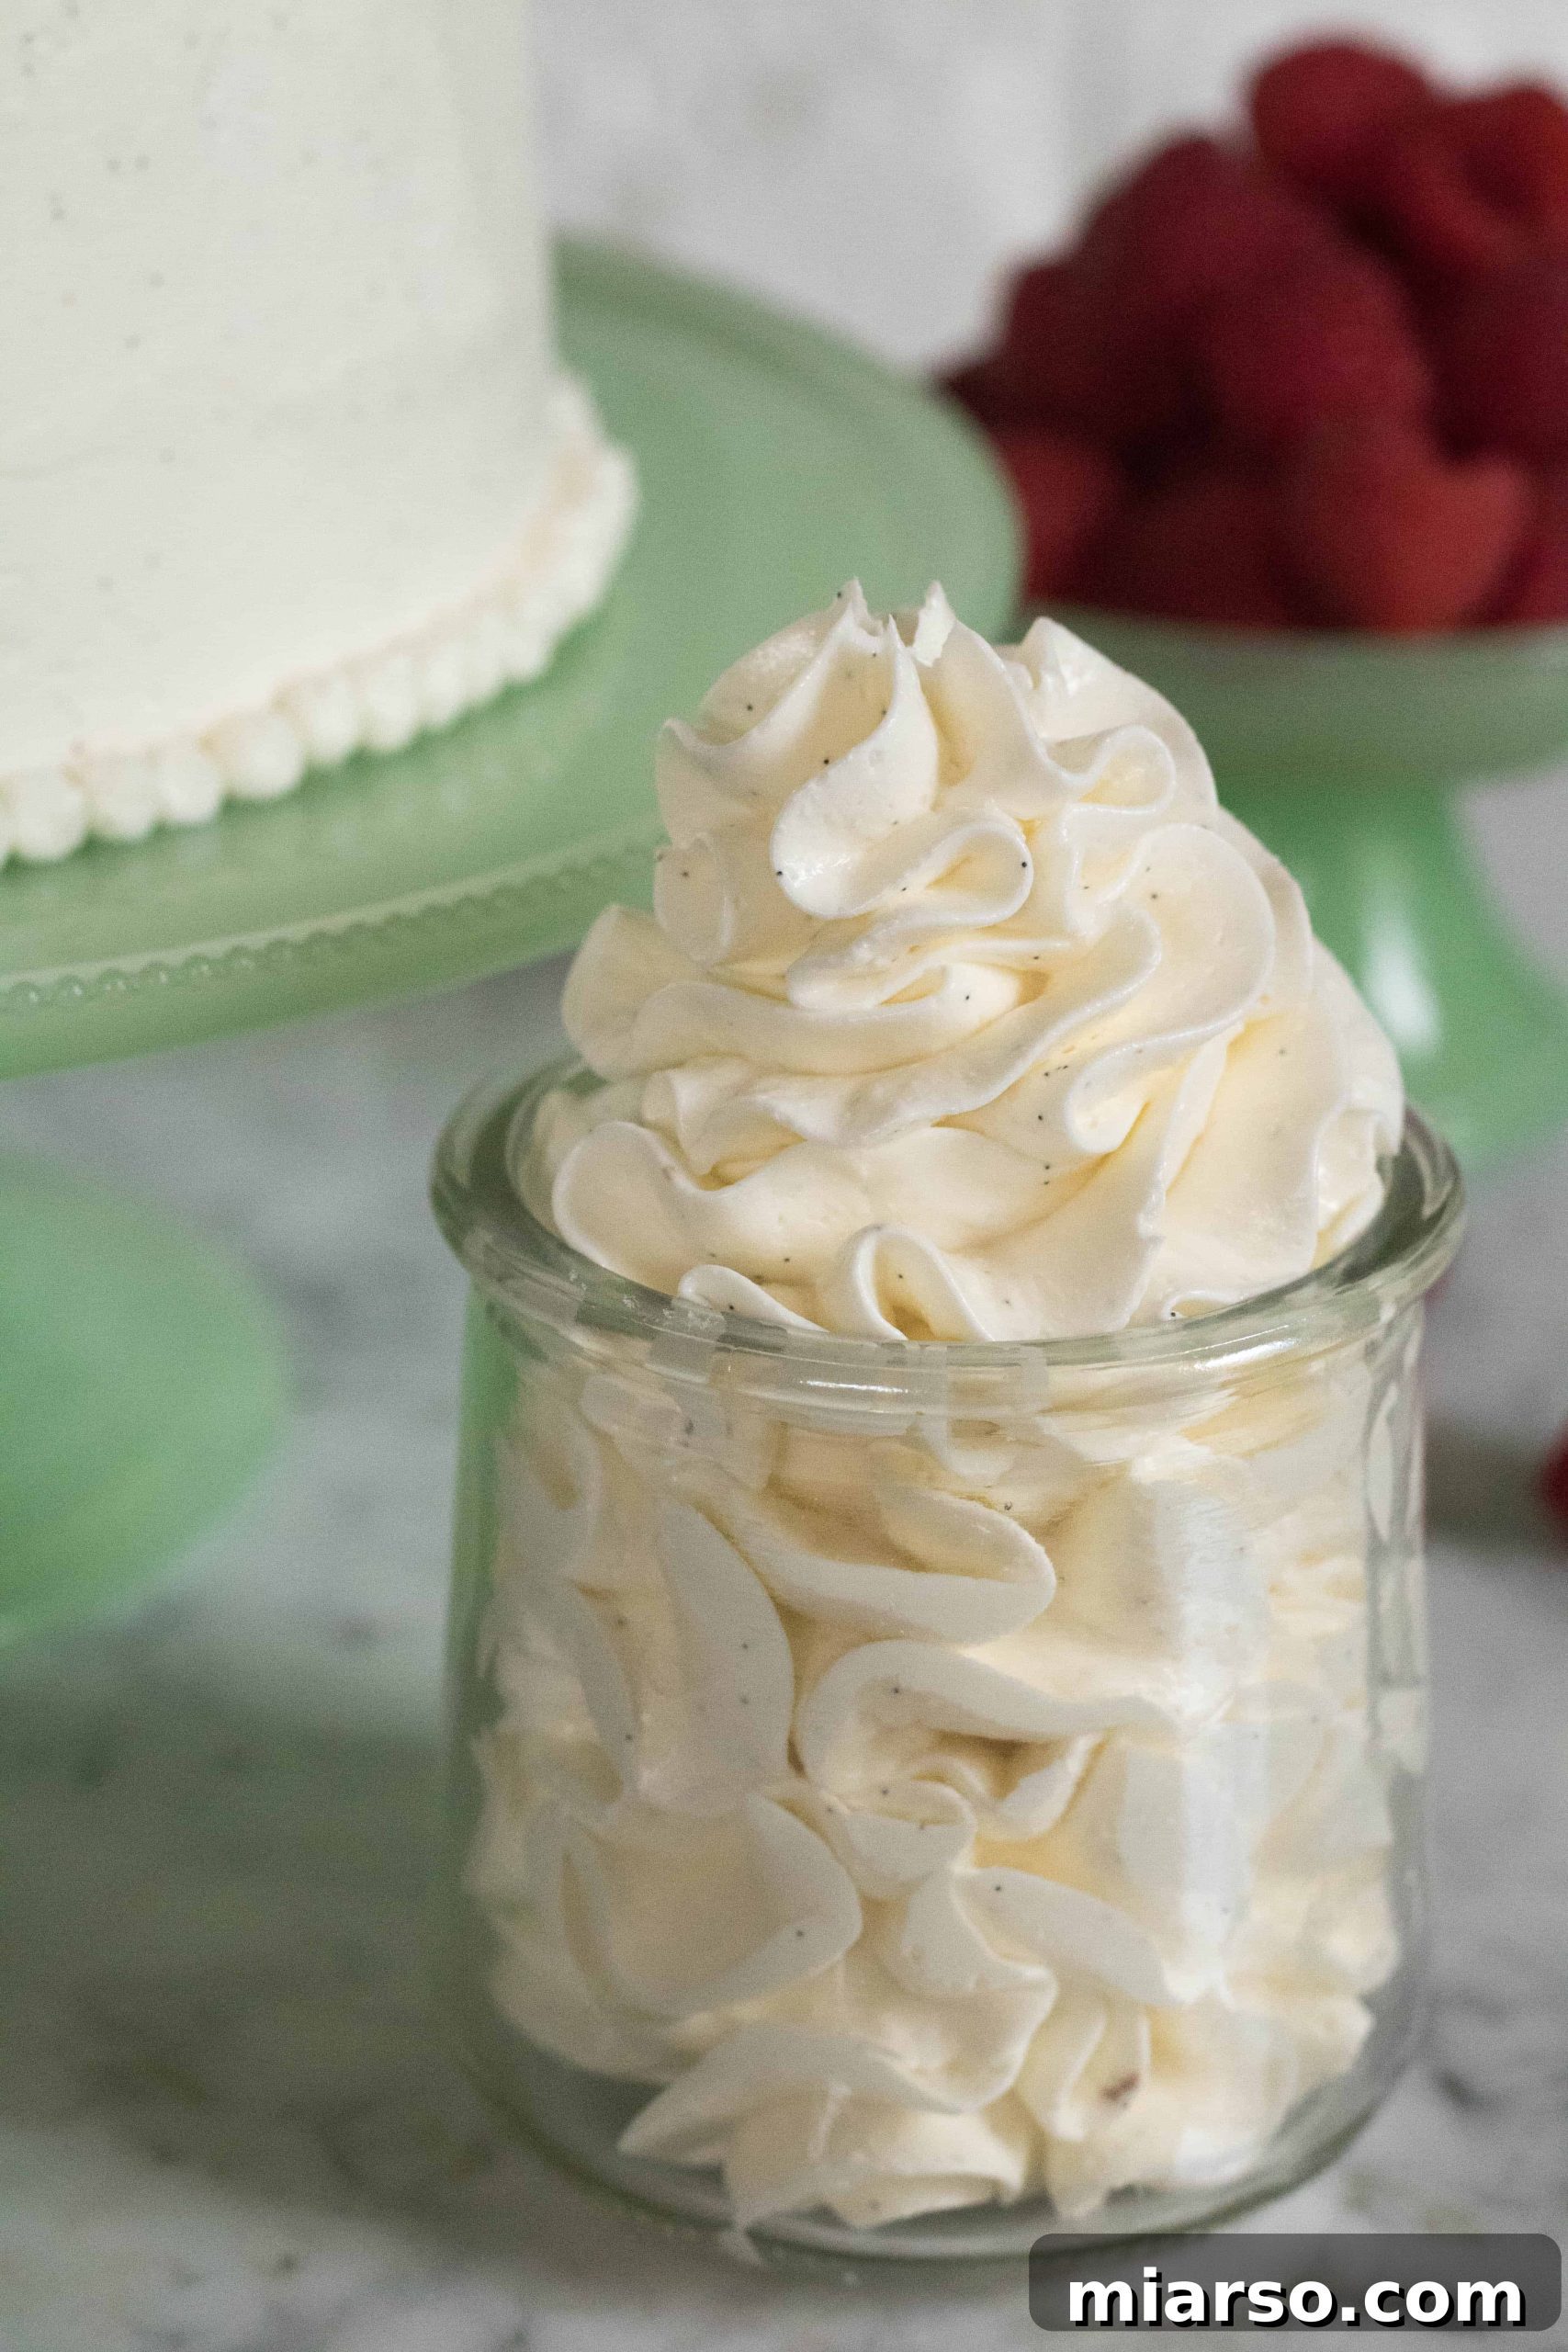
Creating a truly remarkable cake often comes down to the frosting, and for me, the discovery of Vanilla Bean Italian Meringue Buttercream was a culinary revelation. Having spent years relying on American buttercream, the transition to this exquisitely light, silky, and smooth Italian meringue buttercream completely transformed my baking and elevated my cakes to an entirely new level. It’s a game-changer for anyone looking to achieve professional-quality results with a truly gourmet touch.
Mastering Vanilla Bean Italian Meringue Buttercream: The Ultimate Guide
Hello fellow baking enthusiasts!
Today, I am thrilled to share with you a recipe that has become an absolute staple in my kitchen: Vanilla Bean Italian Meringue Buttercream. This isn’t just another frosting recipe; it’s a deep dive into creating a luxurious, stable, and incredibly flavorful buttercream that will impress even the most discerning palates.
As I mentioned, March and April are bustling birthday months in my household. Recently, I set out to create a show-stopping lemon birthday cake for my little sister. My objective was clear: no ordinary American buttercream would suffice. While easy to make, American buttercream often suffers from an overpowering sweetness that can mask other delicate flavors. I sought a frosting that would offer a perfect balance of sweetness, a superior texture, and robust stability. That’s when I turned to the elegance of Italian meringue buttercream.
Why Choose Italian Meringue Buttercream for Your Cakes?
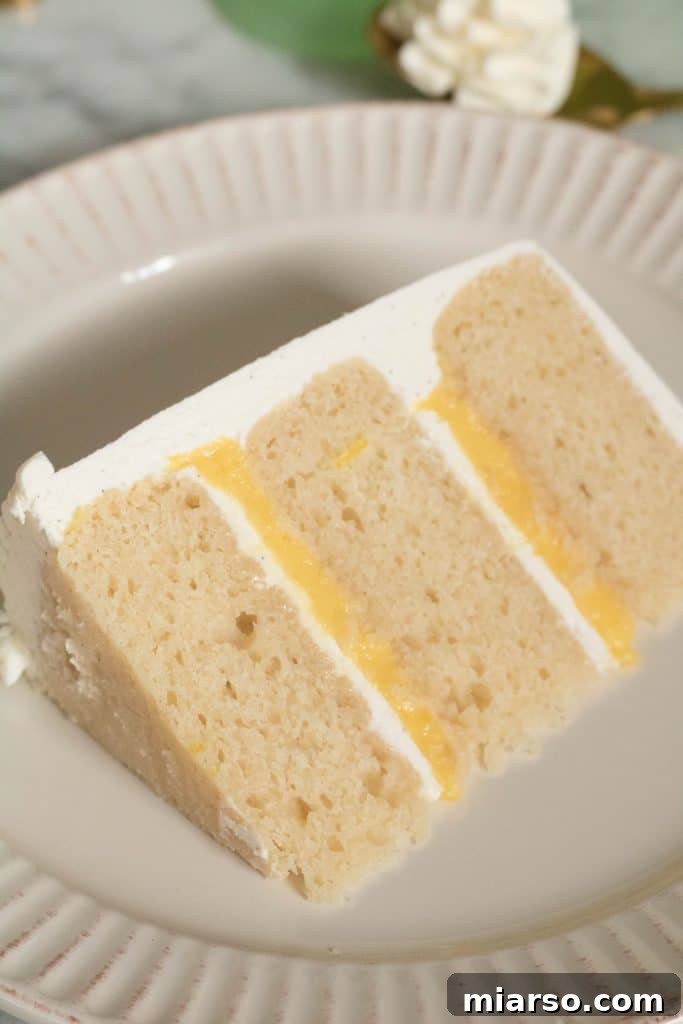
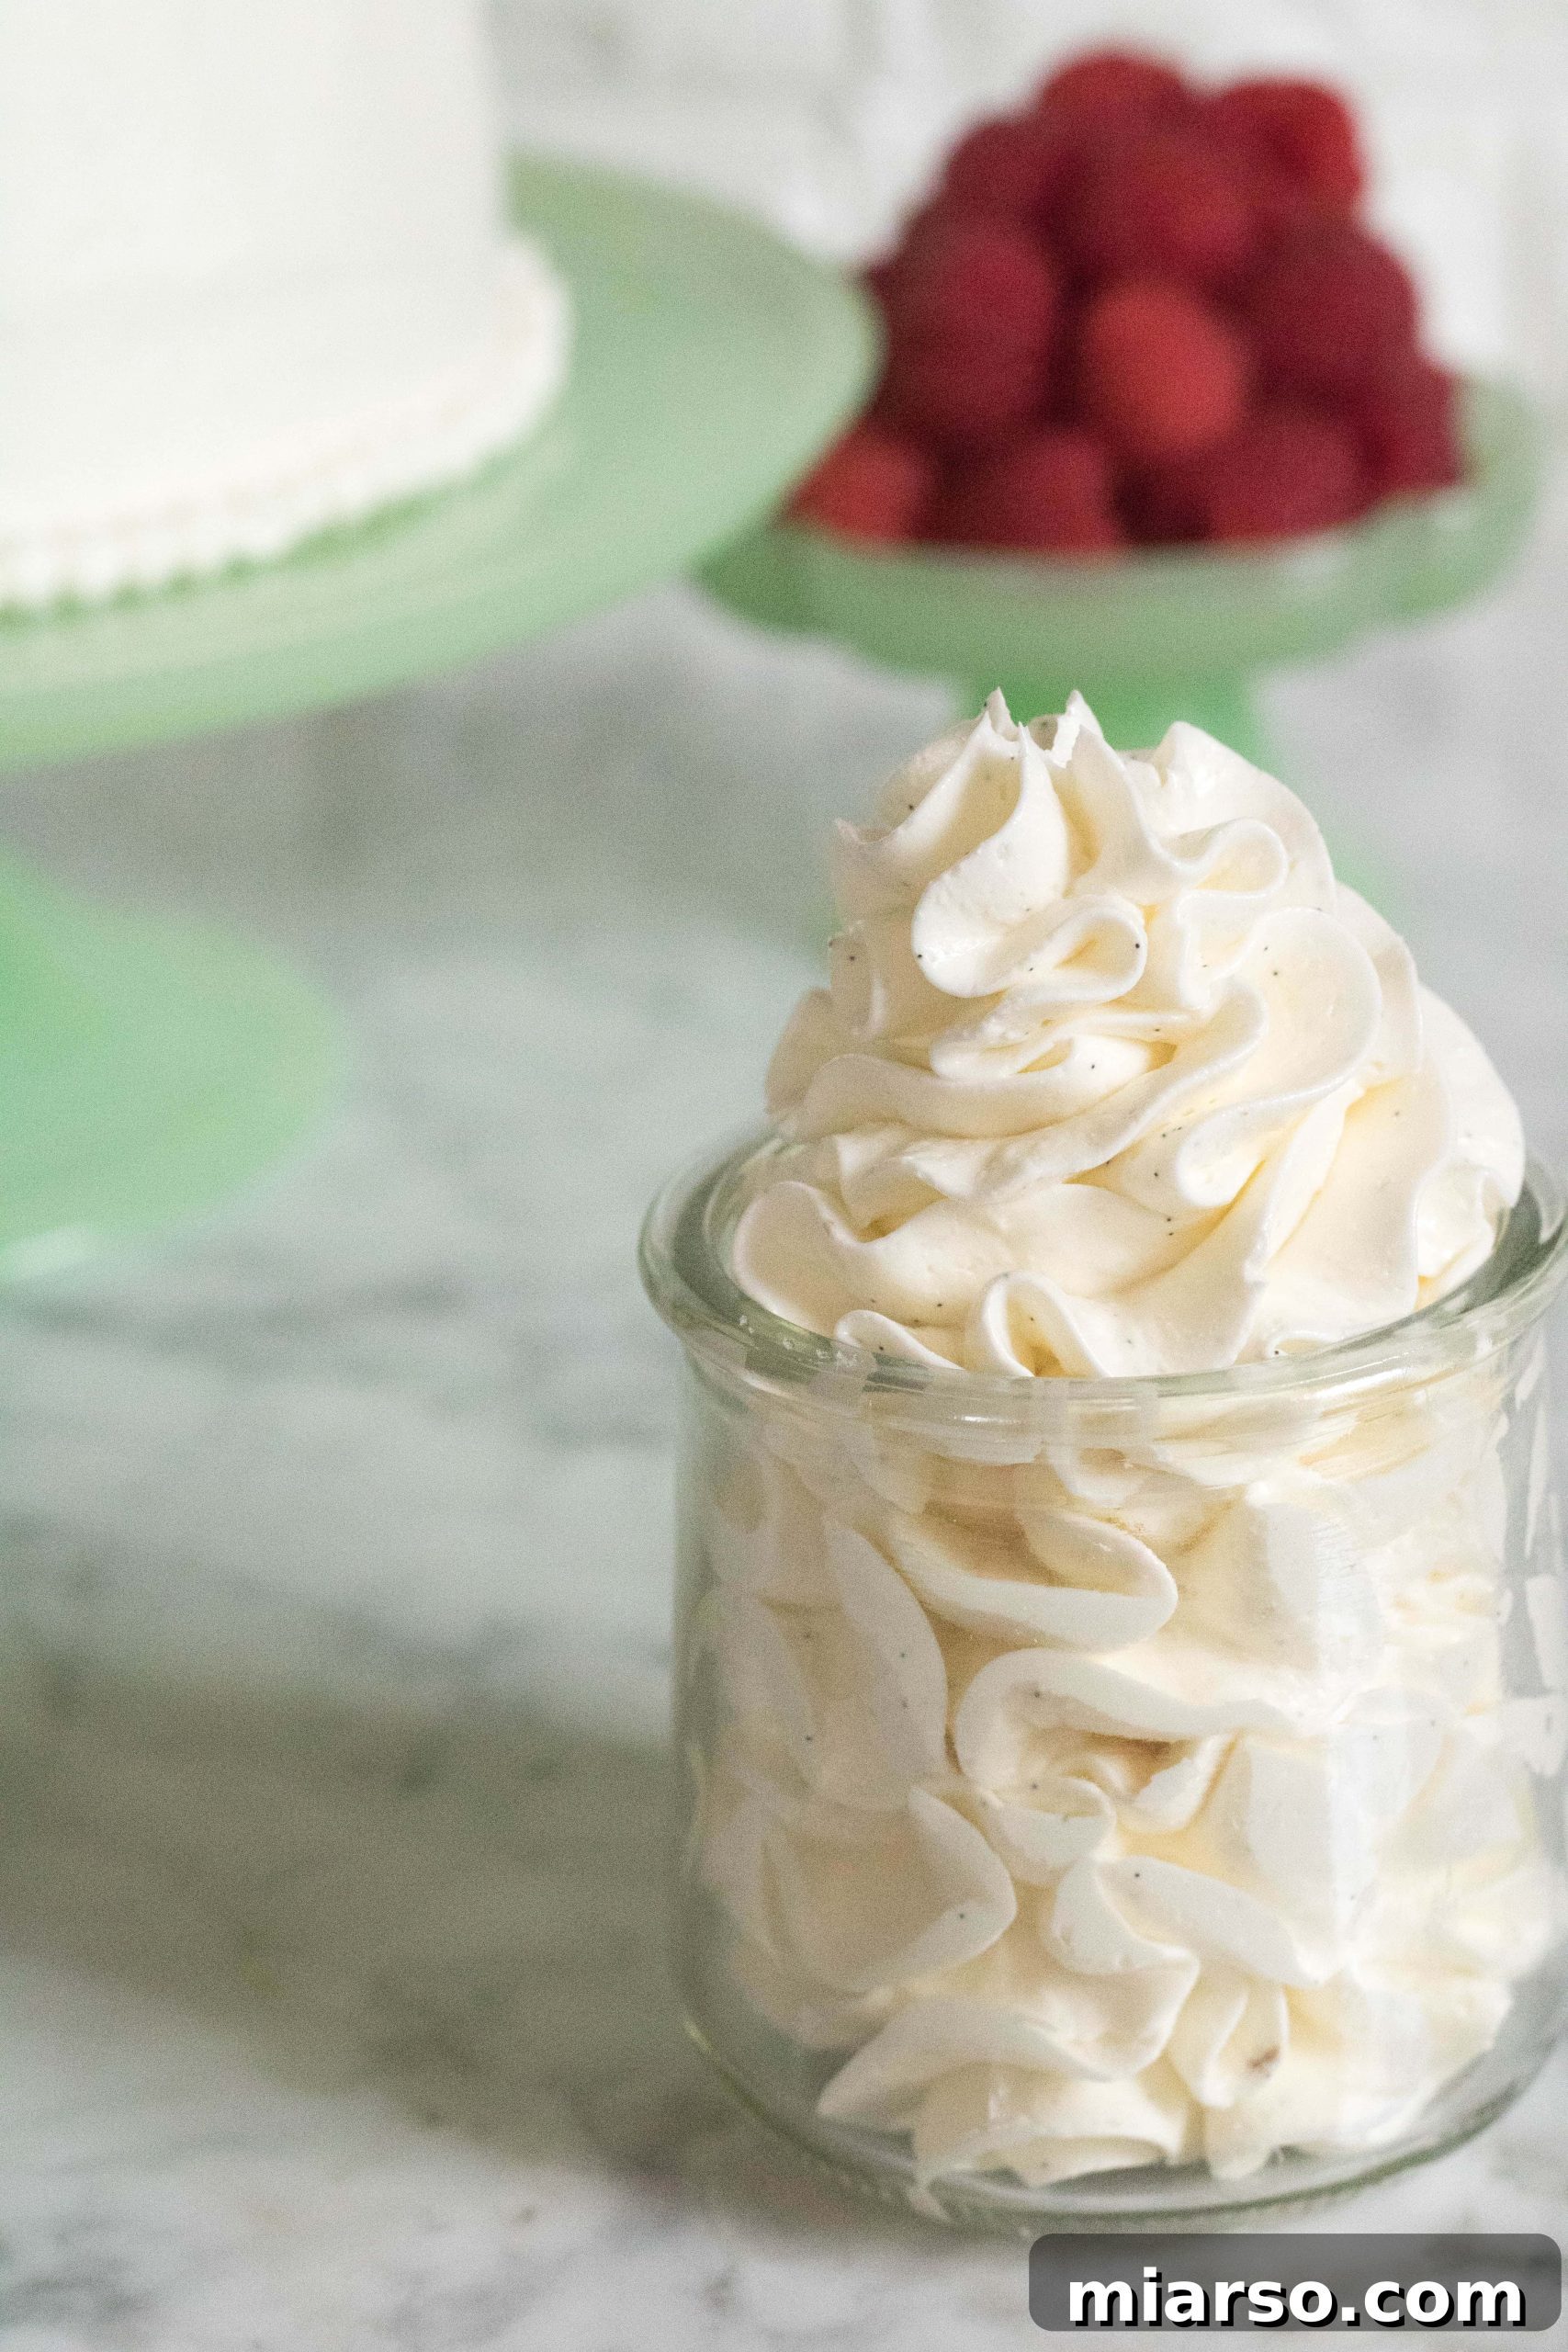
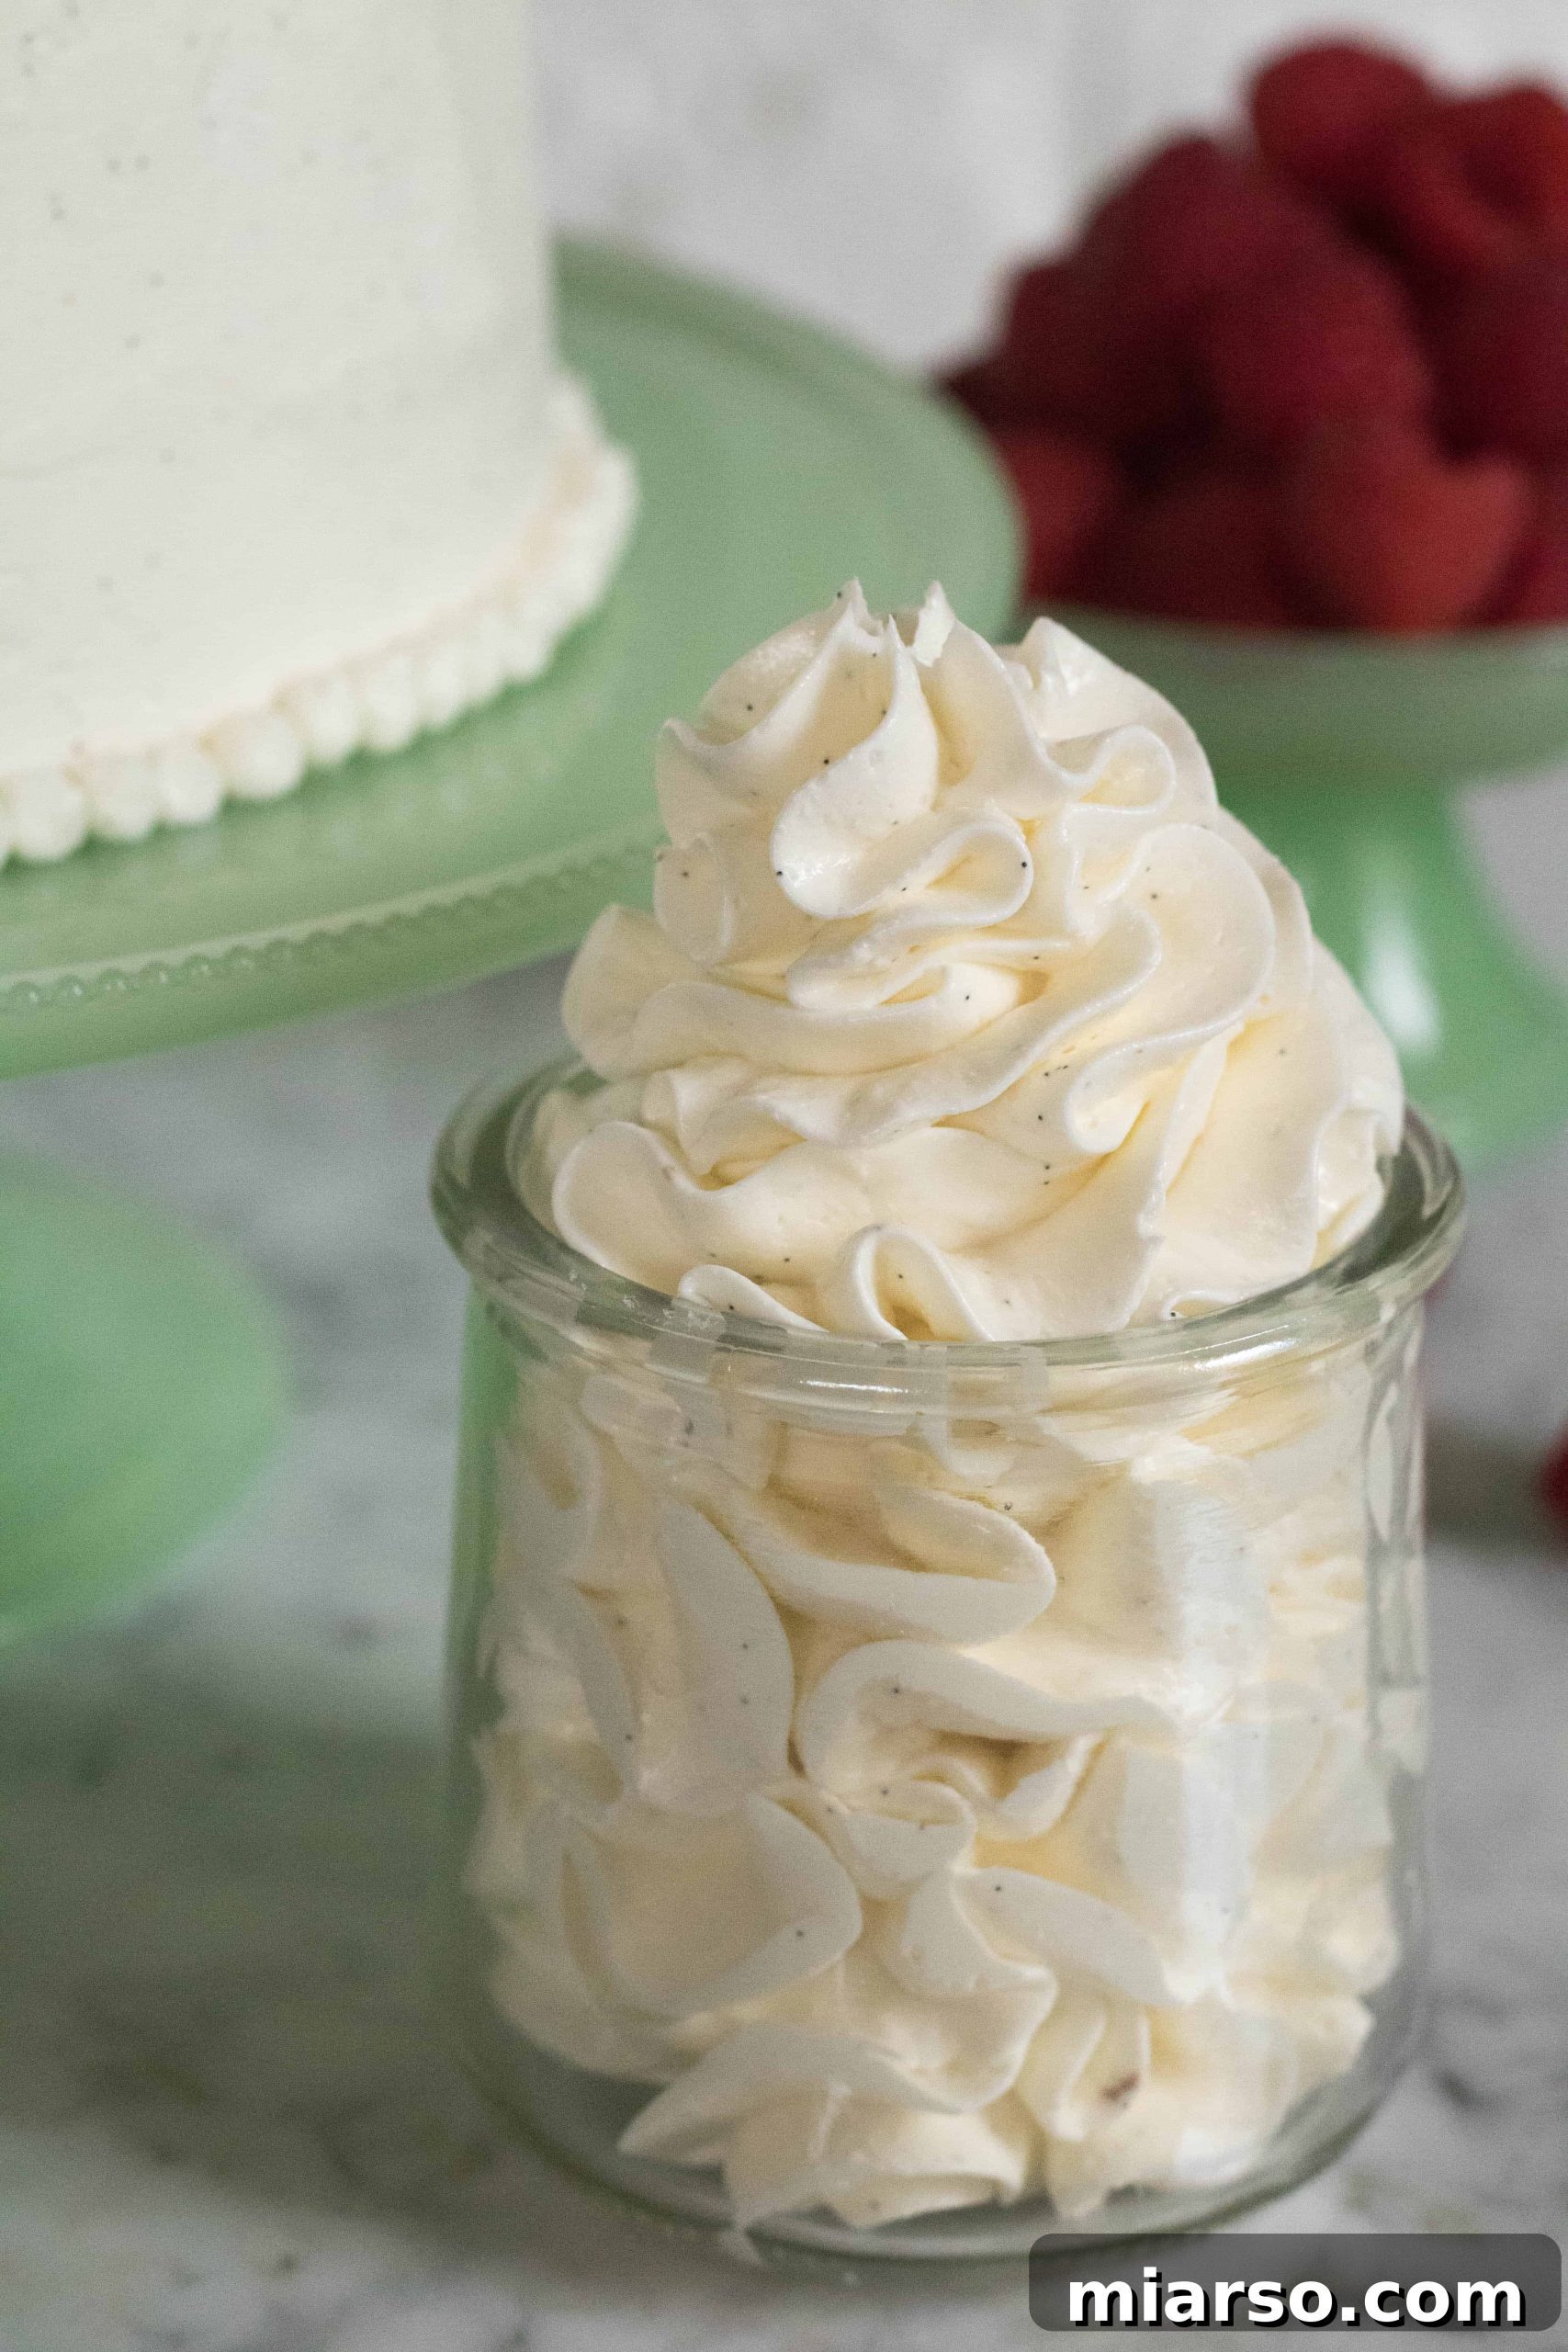
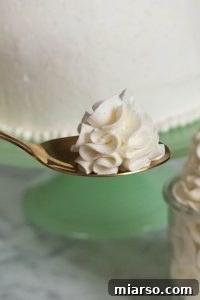
Behold the sheer beauty of this lemon curd vanilla bean layered cake! It’s a 6-inch masterpiece, enveloped in a cloud of this very Vanilla Bean Italian Meringue Buttercream. Notice those delightful little vanilla bean specks dancing within the frosting? They’re not just for show; they infuse a sophisticated depth of flavor that elevates the entire cake experience.
The choice of buttercream is paramount when crafting a layered cake. Using premium ingredients and the right type of frosting are key secrets to achieving an incredible, professional-looking result. Unlike its American counterpart, Italian meringue buttercream is renowned for its light-as-air texture, less pronounced sweetness, and remarkable stability. It holds up beautifully, making it ideal for intricate piping, smooth finishes, and warm environments. It’s also less prone to cracking than other buttercreams, ensuring your confectionery creations remain picture-perfect. We’ll delve into even more tips and tricks for success in my detailed article on layered lemon curd vanilla bean birthday cakes.
My Personal Journey to Italian Meringue Buttercream Perfection
As someone who loves a good culinary adventure, I decided it was time to step out of my comfort zone and tackle Italian meringue buttercream – for the very first time! Initially, the multi-step process felt a bit daunting. However, once I committed and saw it through, I can confidently say I’ll never revert to traditional American buttercream. The results are simply unparalleled.
This particular recipe, which I’ve adapted for the home kitchen, draws inspiration from Yolanda Gampp’s renowned baking website, “How to Cake It.” Yolanda is a sensation on Instagram and YouTube, celebrated for her incredibly creative and often elaborate cake designs. I spent countless hours watching her videos, mesmerized by her ability to transform cakes into giant handbags, basketballs, or soccer balls. Her artistry truly fueled my desire to explore more advanced frosting techniques.
While her recipes are fantastic, they are often geared towards a professional setting. My goal was to create a version that is accessible and achievable for home bakers, without requiring professional-grade equipment or a dedicated pastry kitchen. The first time I attempted her recipe, I encountered a common pitfall. It was a learning experience, to say the least! Read on to discover what went wrong and how I developed a foolproof method to fix it for anyone baking at home.
The Road to Perfection: Overcoming Challenges in Italian Buttercream Frosting
My inaugural attempt at Italian meringue buttercream started promisingly. I meticulously whipped the egg whites, then slowly drizzled in the hot sugar syrup, watching it transform into a beautiful, shiny, glossy meringue. I continued beating for a good 15 minutes, patiently waiting for the mixture to cool. Then, I began incorporating my room temperature butter, cube by cube. And that’s when disaster struck. Everything collapsed into a soupy, greasy mess. All my hard work, my patience, and eight precious egg whites were seemingly ruined!
The culprit? The meringue hadn’t cooled down enough! It was still too warm, melting the butter instantly upon contact and preventing it from emulsifying correctly. This critical error taught me one of the most important lessons in making Italian buttercream: always ensure the meringue is sufficiently cooled before adding the butter. A simple touch to the exterior of your stand mixer bowl will tell you if it has reached the right temperature – it should feel cool, not warm.
Living in a warmer climate meant this cooling process could take an exceptionally long time. Necessity, as they say, is the mother of invention! I developed a clever little trick to speed things up:
- Grab a couple of kitchen towels, soak them in water, then wring out most of the excess liquid.
- Place these damp towels in the freezer for a few minutes until they are almost frozen.
- Once chilled, take them out and wrap them around the base and sides of your stand mixer bowl.
This method significantly accelerates the cooling of your meringue. I diligently repeated this process until my Italian meringue was perfectly chilled, ready for the butter to be incorporated.
While it is possible to salvage a “ruined” buttercream, as I will explain further below, I strongly recommend aiming for perfection on your first attempt. The difference in quality is noticeable. But if you do find yourself with a soupy mess, don’t despair! You can absolutely bring it back from the brink, and I’ll show you how.
Essential Ingredients for this Italian Buttercream Frosting Recipe
Crafting the perfect Italian meringue buttercream begins with understanding the role of each ingredient:
- Granulated White Sugar: This is the primary sweetener for our Italian meringue buttercream. It’s crucial for creating the sugar syrup, which not only sweetens but also stabilizes the egg whites and gives the buttercream its signature silky texture. The sugar must be completely dissolved in water to form a clear syrup, preventing any grainy texture in the final product.
- Egg Whites: The foundation of any meringue-based buttercream. Whipping egg whites introduces air, creating a light, airy base. When the hot sugar syrup is slowly incorporated, it cooks the egg whites, making them safe to consume and forming a stable, glossy meringue that provides the structure for the buttercream.
- Unsalted Butter: The richness and creamy texture of the buttercream come from the butter. It’s vital to use high-quality, unsalted butter at precise room temperature – soft enough to easily indent with your finger, but not melted or greasy. Butter that is too cold won’t emulsify properly, and butter that is too warm will melt the meringue, leading to a soupy consistency.
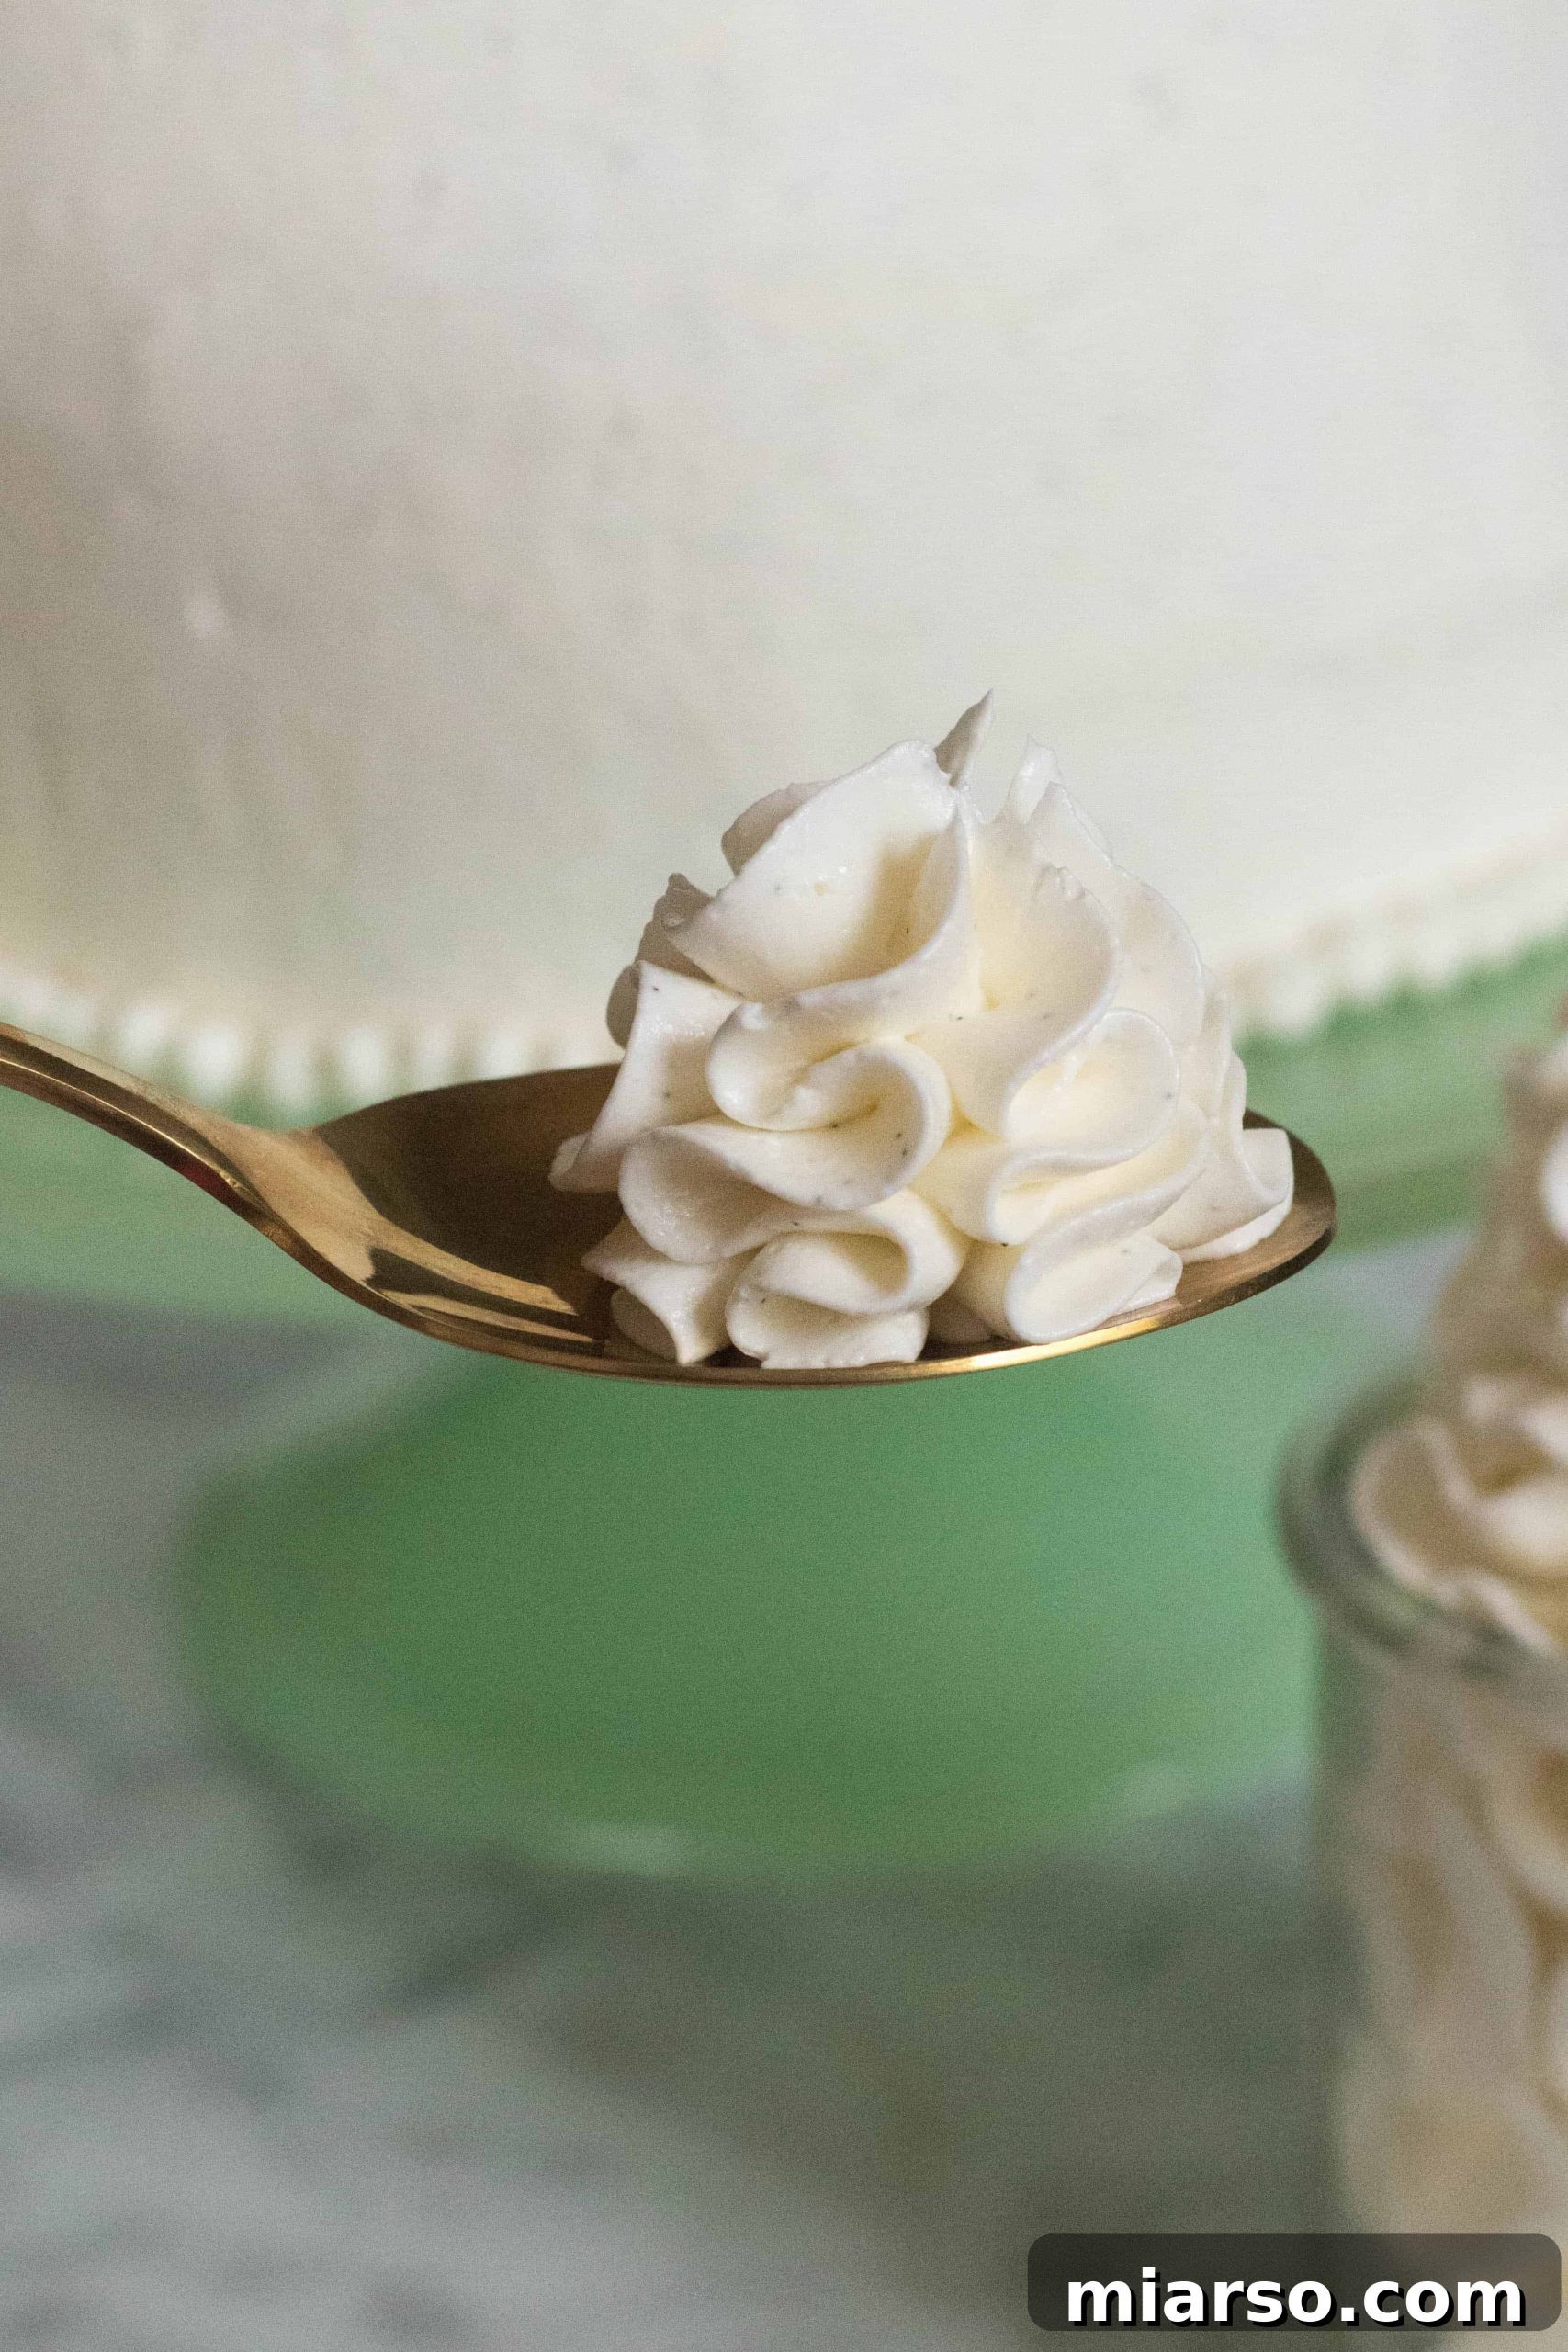
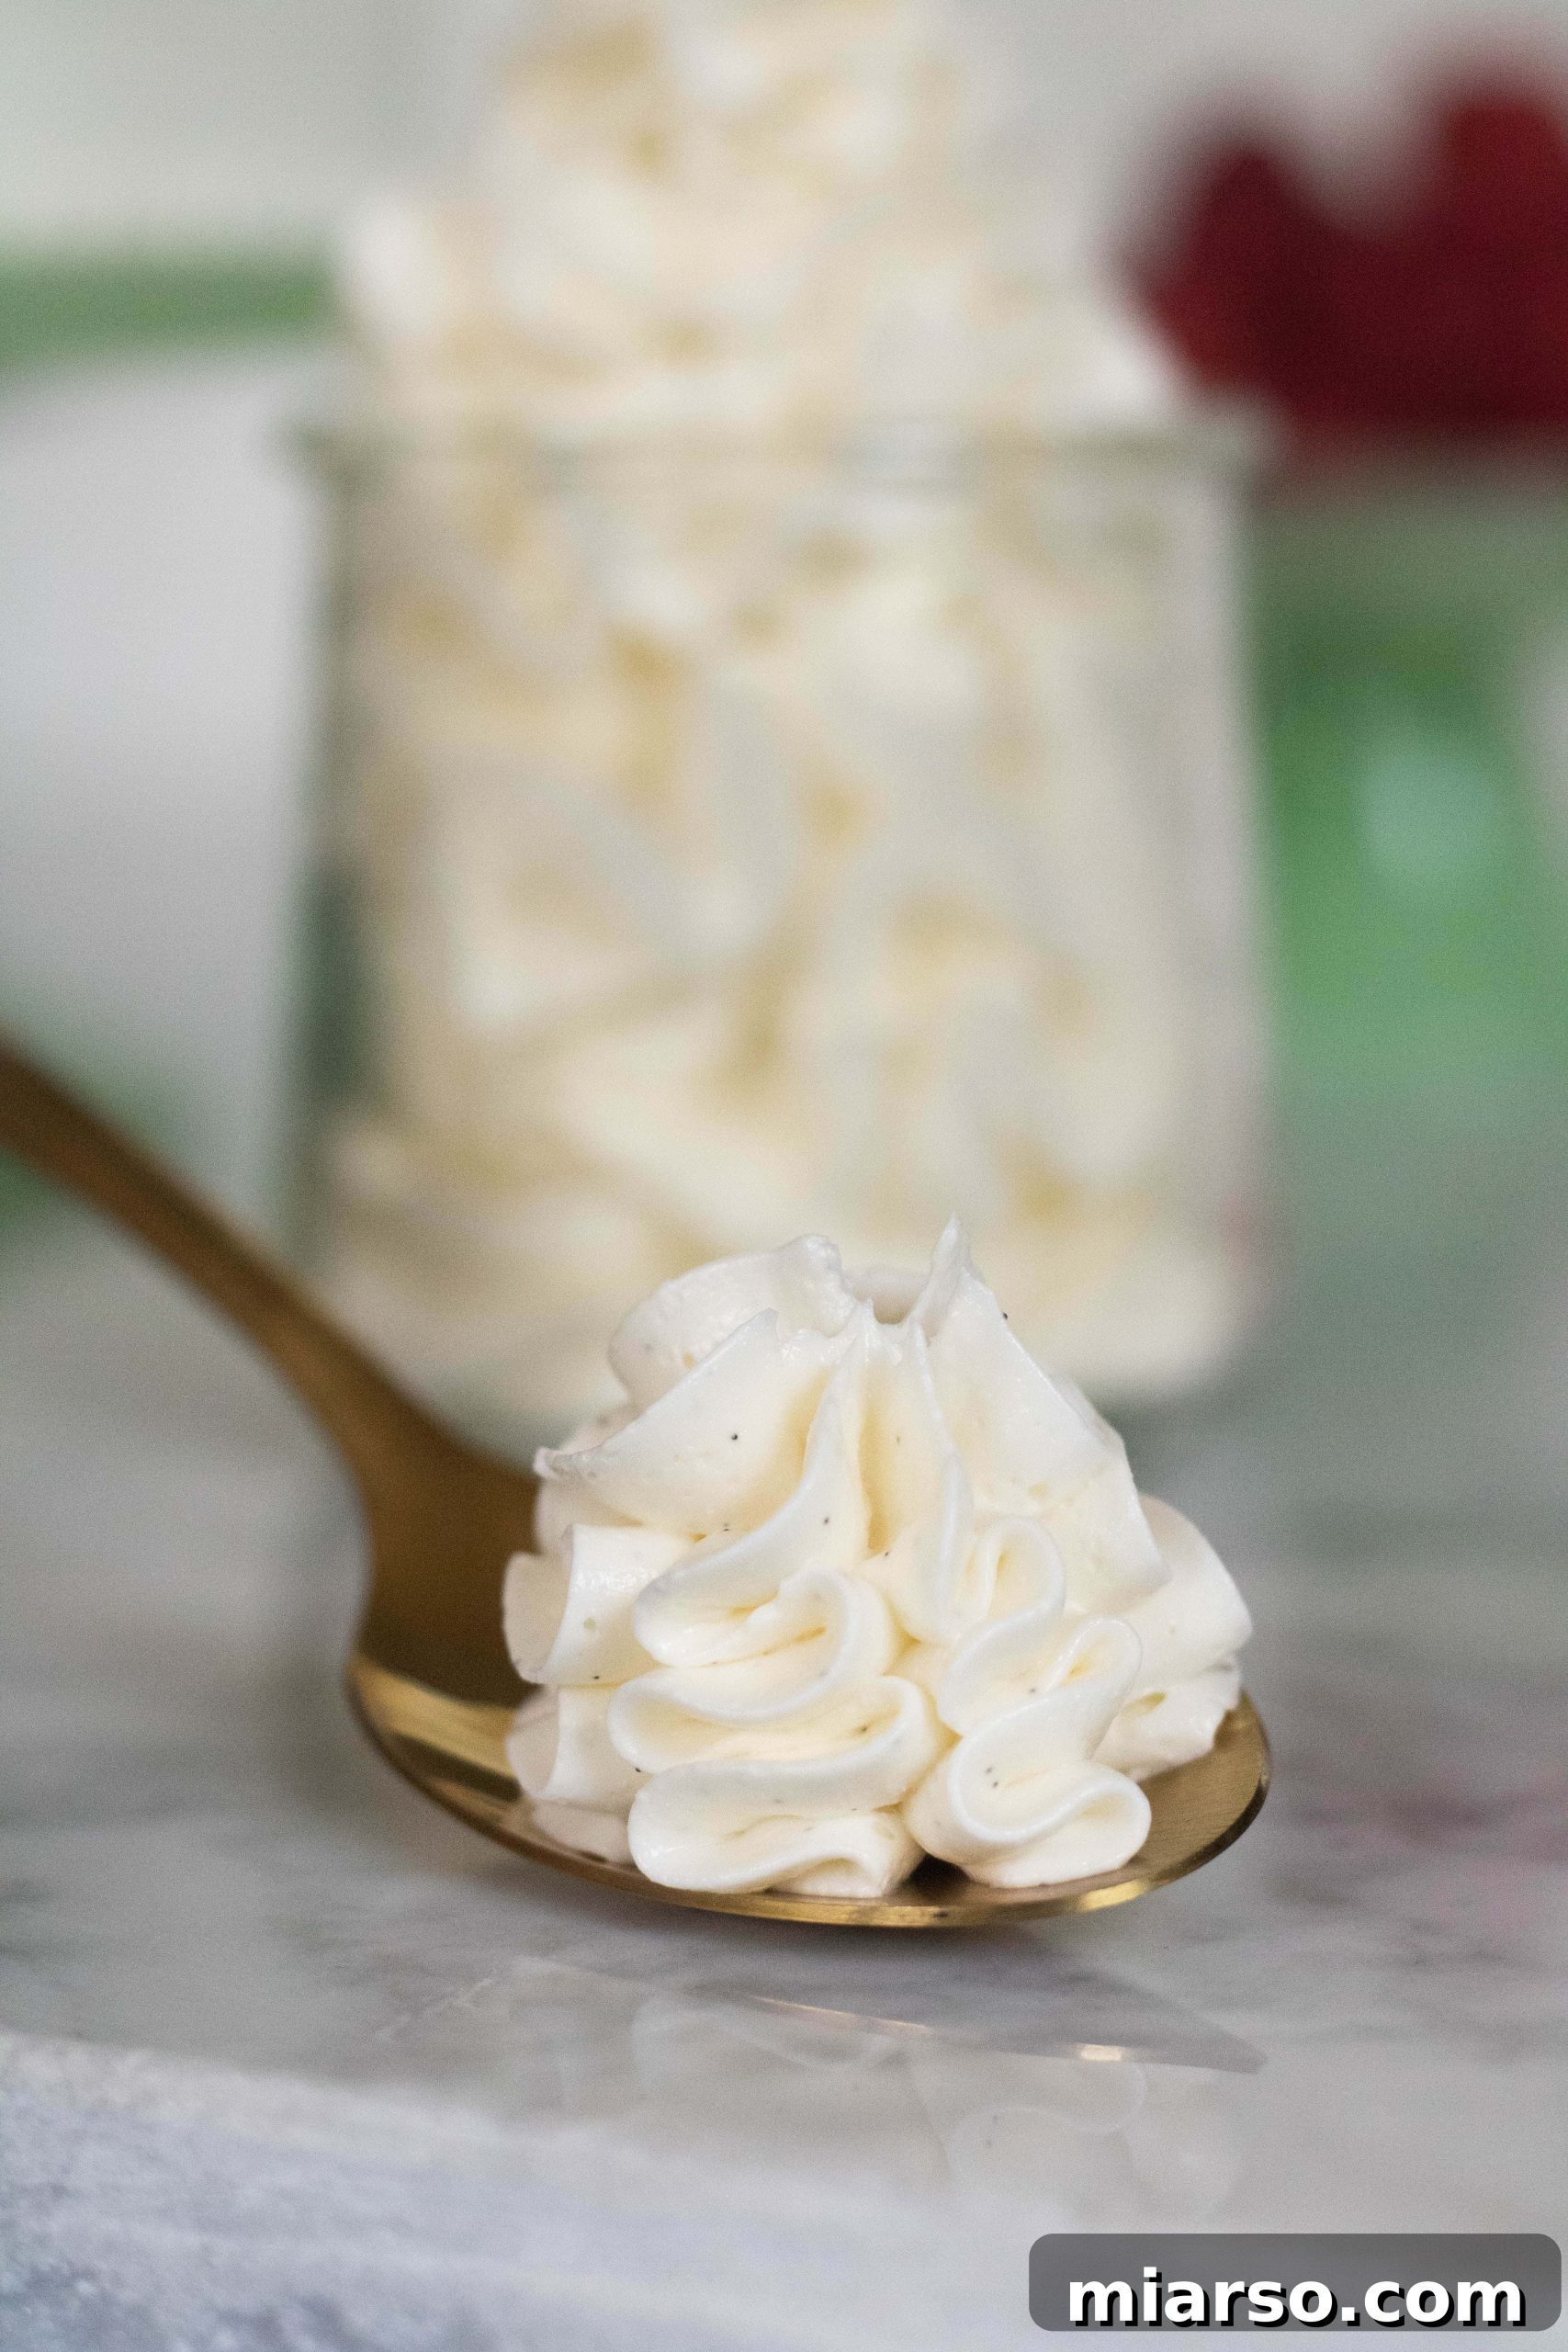
- Whole Vanilla Bean: To truly elevate this delicious Italian buttercream, fresh vanilla bean is a must. Scraping the tiny, fragrant seeds from a whole vanilla bean adds unparalleled depth of flavor and creates those visually stunning black specks against the white frosting, signaling an artisanal creation. While vanilla extract can be used, the impact of a real vanilla bean is in a league of its own.
Tools You’ll Need for Seamless Italian Buttercream Creation
While Italian meringue buttercream might seem intimidating, having the right tools makes the process significantly smoother. Here’s a list of the essential equipment you’ll need, along with a brief explanation of why each is important:
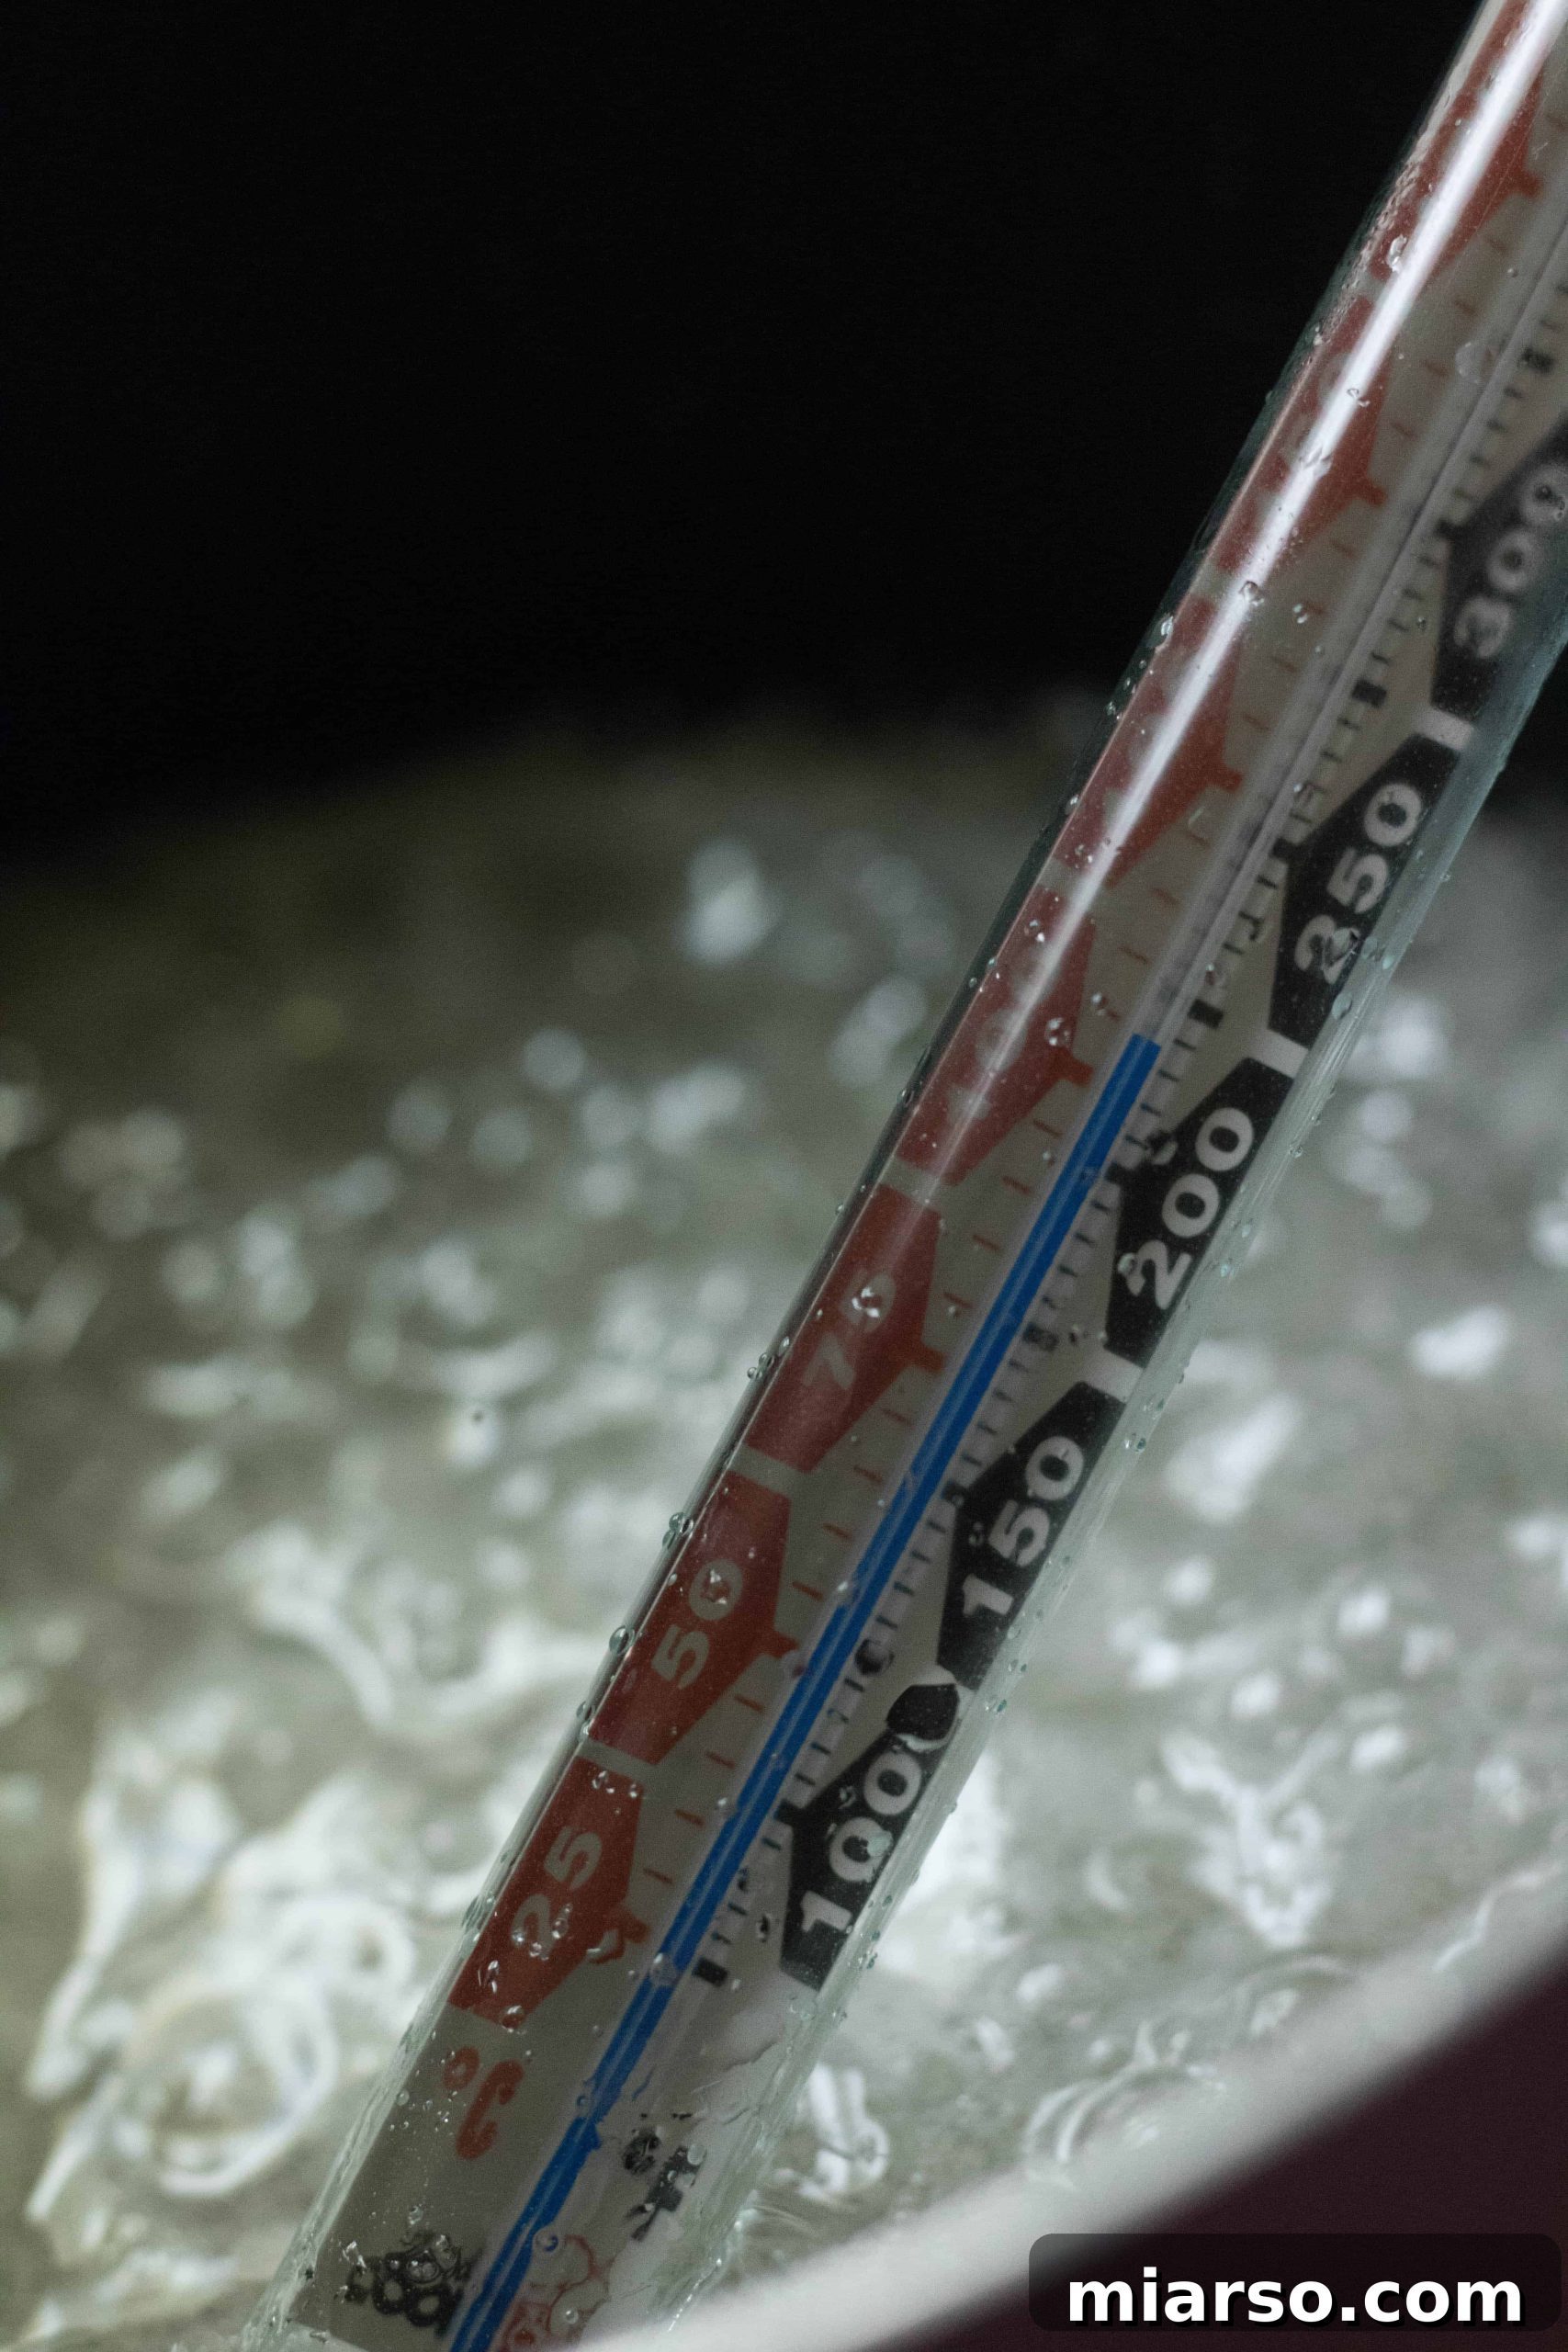
- Candy Thermometer: This is arguably the most critical tool for Italian meringue buttercream. Precision is key when making sugar syrup; the thermometer ensures you reach the exact temperature needed to cook the egg whites safely and create a stable meringue. Whether you use a traditional old-school mercury thermometer or a more modern digital probe thermometer, accuracy here is non-negotiable for success.
- Small Saucepan: A sturdy small saucepan with a heavy bottom is ideal for making the sugar syrup. It allows for even heating and prevents the sugar from scorching.
- Stand Mixer: While a hand mixer can technically work, a stand mixer with a whisk attachment is a true blessing for this recipe. It allows for continuous whipping of the egg whites while you pour in the hot sugar syrup, and then for incorporating the butter, all hands-free. This prolonged and consistent mixing is crucial for achieving the perfect meringue and emulsion.
Can I Make Italian Meringue Buttercream Without a Thermometer?
For beginner pastry enthusiasts, I wholeheartedly recommend using a candy thermometer. It removes the guesswork and drastically increases your chances of success. However, if you find yourself without one and are determined to make this Italian meringue frosting, there is a traditional technique I learned during my pastry internship:
- The Cold Water Test: Prepare a glass of iced water and keep it close to your stovetop where you’re cooking the sugar syrup.
- Once the sugar syrup begins to bubble and thicken, carefully use a clean spoon to drop a small amount of the hot syrup into the iced water. (A cautionary note: at the pastry shop, we’d dip a finger in ice water for about 10 seconds, then quickly touch the syrup, then dip the finger back into the ice water. I strongly advise against this due to the risk of burns. Stick to the spoon method for safety!)
- Observe what happens to the sugar in the cold water. One of three scenarios will occur:
- The sugar dissolves: If the sugar completely dissolves, it means it hasn’t cooked long enough. Continue heating.
- The sugar forms a soft ball that feels like sap: This is the ideal consistency, known as the “soft ball stage.” The sugar should be pliable and form a soft ball when pressed, but not hard. This indicates it’s ready to be slowly streamed into your whipping egg whites.
- The sugar forms into a hard ball: If the sugar becomes hard and brittle, you’ve overcooked it, reaching the “hard ball stage” or beyond. At this point, it’s best to start over, as overcooked sugar will lead to a stiff, grainy meringue.
While this technique is effective with practice, a candy thermometer offers unparalleled accuracy and peace of mind for consistent results.
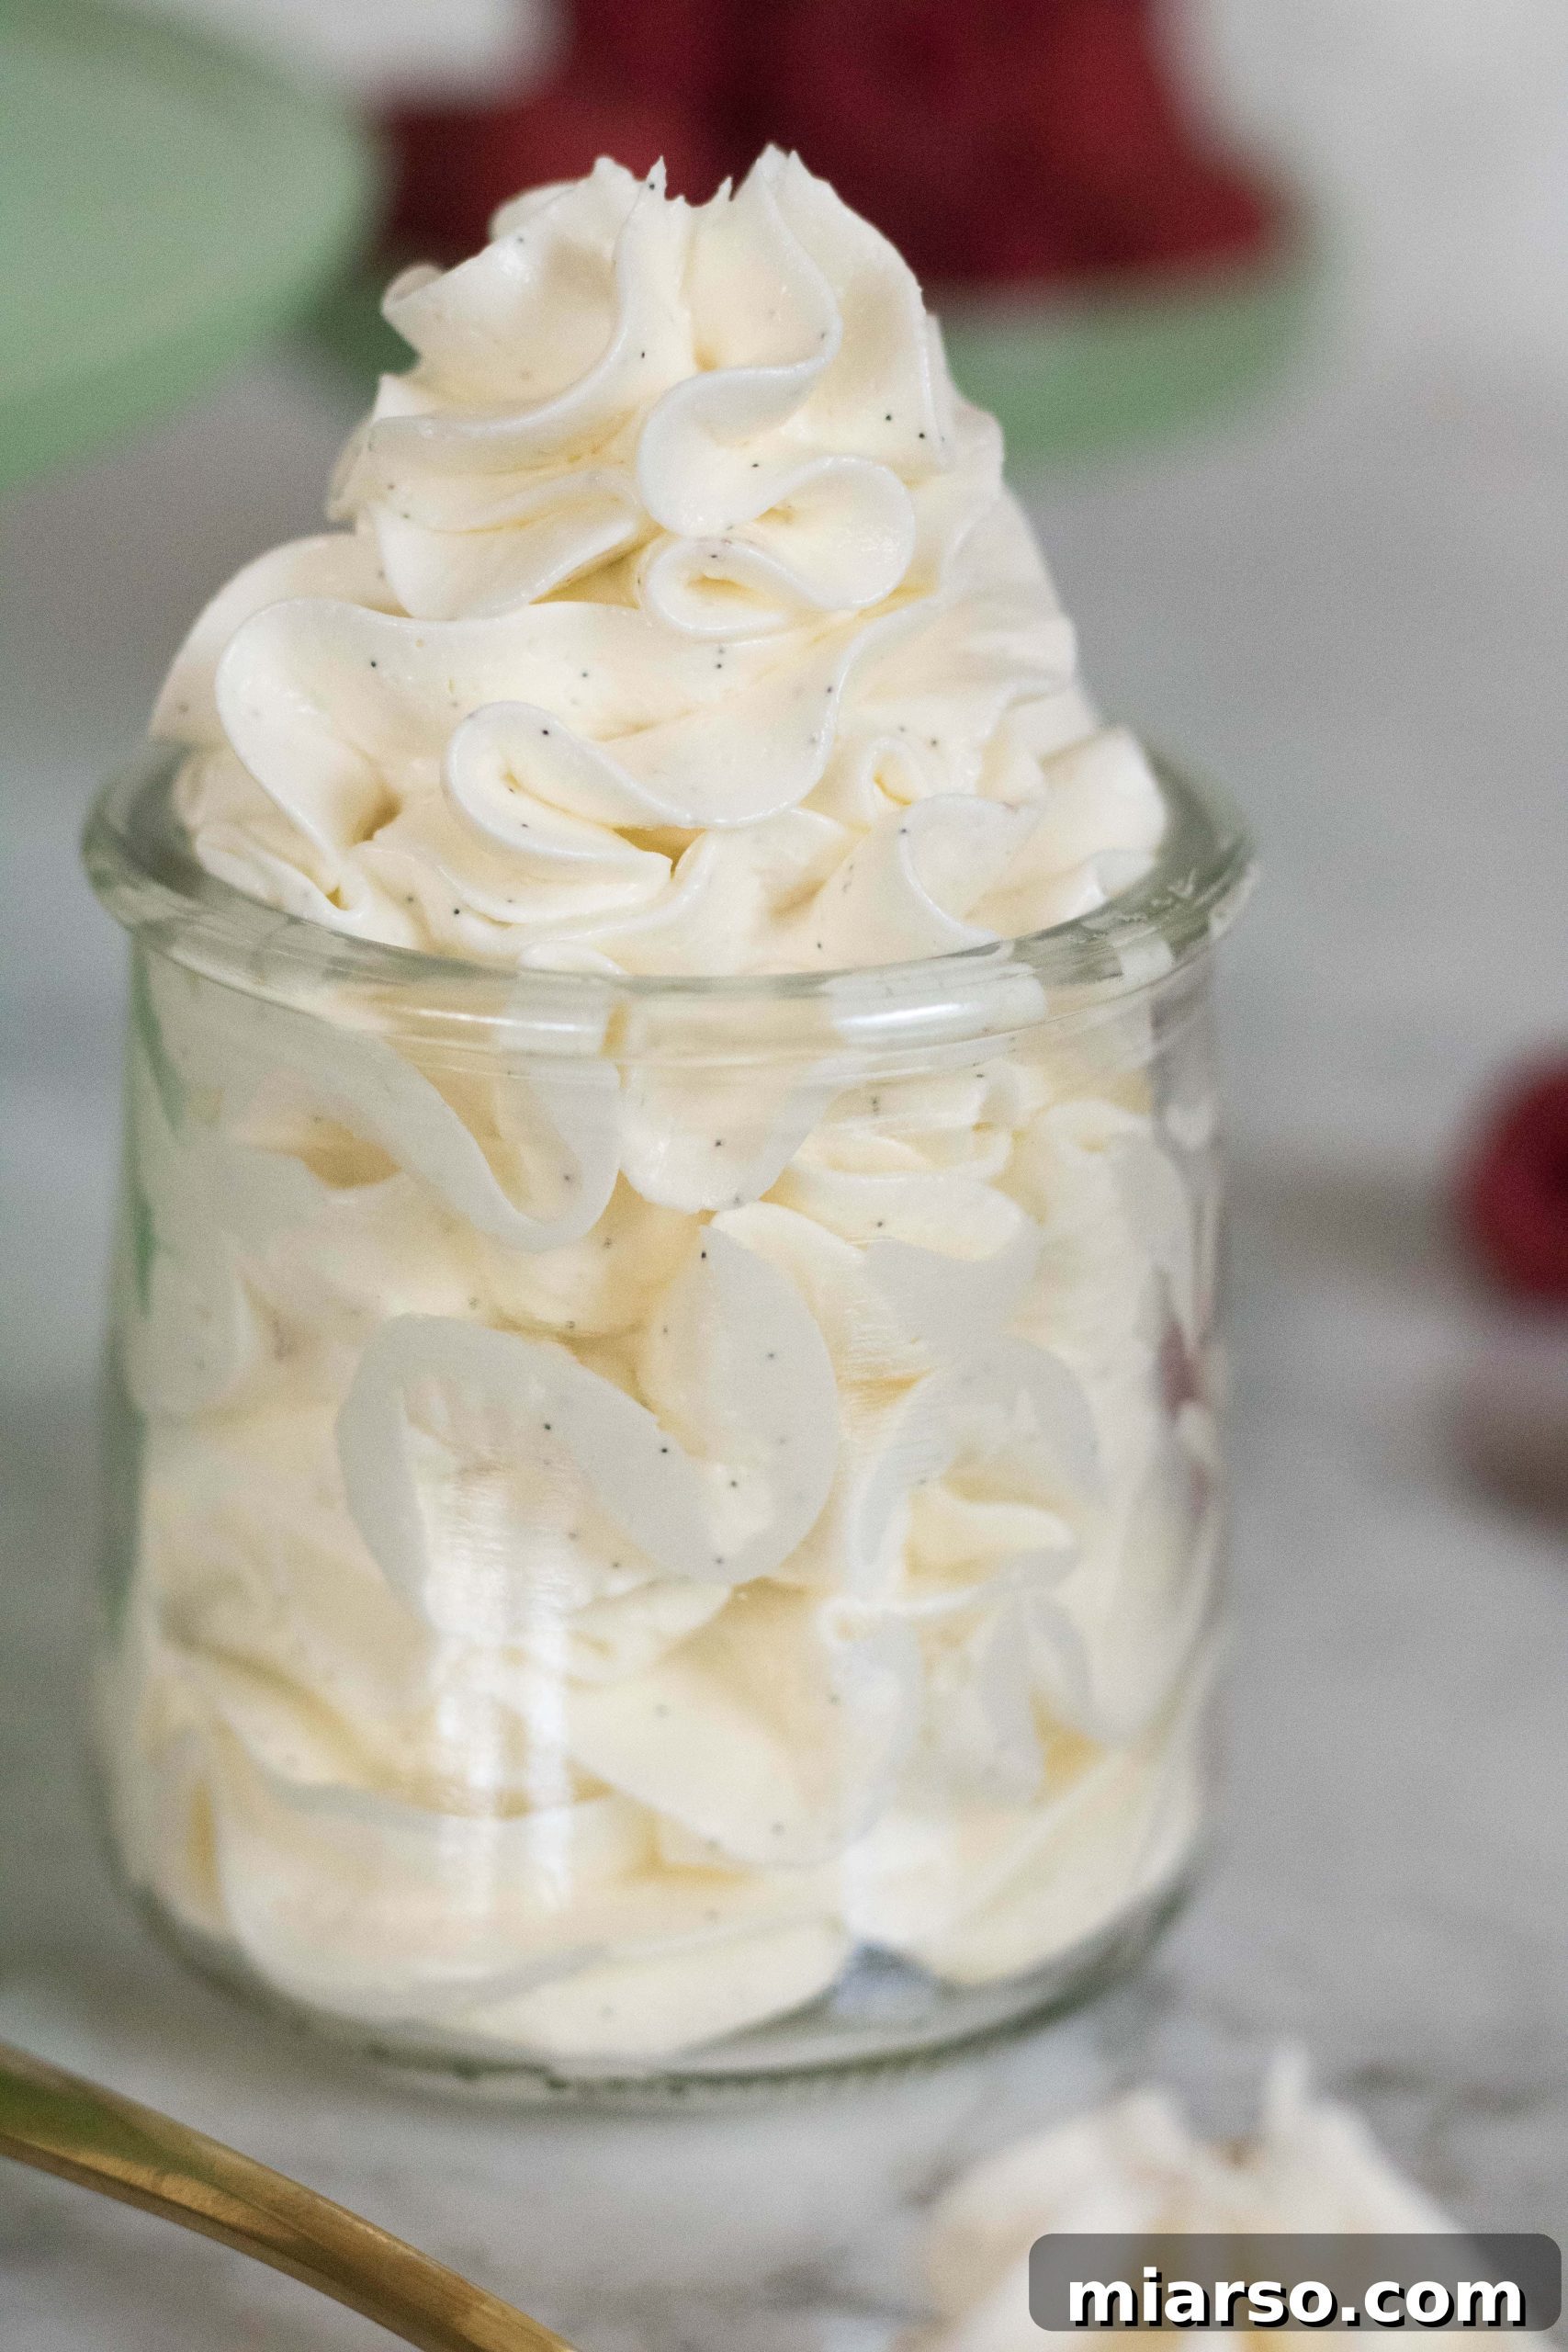
Pro Tips for Making the Best Italian Buttercream Recipe Every Time!
Achieving a perfect Italian meringue buttercream is incredibly rewarding, and these insider tips will help you master it:
- Optimal Room Temperature Ingredients: This cannot be stressed enough. Both your butter and egg whites must be at the correct room temperature. For butter, this means soft enough to indent easily, but not greasy or melted. For egg whites, room temperature allows them to whip to their maximum volume, creating a stable meringue. This consistency is vital for proper emulsification and a smooth, stable buttercream.
- Ensure a Spotlessly Clean Mixing Bowl: Any trace of fat in your mixing bowl or on your whisk attachment will inhibit the egg whites from whipping up properly. Before you begin, thoroughly clean your stand mixer bowl and whisk. You can even wipe them down with a lemon wedge or vinegar-soaked paper towel, then rinse and dry completely, to ensure there’s absolutely no fatty residue. Similarly, be meticulous when separating eggs to ensure no egg yolk (which contains fat) accidentally gets into your egg whites.
- Monitor Your Sugar Syrup Closely: The sugar syrup cooking process, while seemingly slow at first, can accelerate rapidly once it reaches higher temperatures. Keep a vigilant eye on your candy thermometer. Once it hits around 235°F (113°C), be ready to start whipping your egg whites. When it approaches the target of 250°F (121°C), watch it continuously to prevent overcooking, which can lead to a hard, brittle meringue.
- Slow and Steady Butter Incorporation: Patience is a virtue when adding butter to your meringue. With the mixer running on medium-low speed, add the room-temperature butter one small piece at a time. Do not rush this step. Wait until each piece is fully incorporated and the mixture looks creamy before adding the next. This gradual addition allows the emulsion to form correctly, preventing a soupy or curdled consistency.
- Scrape Down the Bowl: Periodically stop your mixer and use a rubber spatula to scrape down the sides and bottom of the bowl. This ensures all ingredients are uniformly incorporated, leading to a smooth, homogeneous buttercream without any unmixed pockets.
- Patience During Cooling: As highlighted in my earlier anecdote, the meringue must be completely cool to the touch before adding the butter. If you’re in a warm kitchen, don’t hesitate to use the damp, frozen towel trick around your mixer bowl to speed up cooling. This step is critical for a successful emulsion.
How to Salvage Ruined Italian Meringue Buttercream
If your Italian meringue is still too warm when you add the butter, you’ll likely end up with a soupy, greasy mess. I’ve been there, and it taught me invaluable troubleshooting skills. Here’s how you can attempt to salvage it:
- Chill the Mixture: Transfer your soupy meringue-butter mixture into a heatproof bowl. Place it in the fridge for 10-15 minutes, or in the freezer for 5-7 minutes, stirring occasionally, until it firms up slightly and feels cool to the touch. The goal is to cool the butter and meringue down enough without solidifying the butter completely.
- Re-Whip with Remaining Butter: Once chilled, return the mixture to your stand mixer. Begin whipping on medium speed. As it starts to come together, slowly add any remaining room-temperature butter (if you hadn’t added it all yet), one piece at a time, allowing each to incorporate fully. Continue whipping on medium-high speed. The mixture might look curdled or separated at first, but with continued whipping (sometimes for 10-20 minutes), it should miraculously come together into a smooth, creamy buttercream.
- The Caveat: While these steps can certainly rescue a failed batch, it’s important to understand a key difference: a salvaged buttercream, in my experience, never quite achieves the same perfection as one made correctly the first time.
When I experimentally salvaged my failed Italian buttercream the next day (purely for educational purposes, of course!), I observed distinct differences compared to the batch I made flawlessly:
- Color Variation: The salvaged buttercream leaned towards a yellowish-white hue, lacking the vibrant, pristine white color of the perfectly made batch.
- Flavor Profile: Despite using the exact same quantities of sugar, the rescued batch tasted noticeably less sweet. It also had a more dominant butter flavor and less of that delicate, balanced meringue taste. The second, perfectly executed Italian meringue buttercream, in contrast, was beautifully light, subtly sweet, and rich with vanilla bean essence.
This highlights why getting the meringue’s temperature right from the start is so crucial for the optimal texture and flavor experience.
IF YOU’VE CRAFTED SOMETHING WONDERFUL FROM LIFESTYLEOFAFOODIE, I’M EAGER TO ADMIRE YOUR CREATIONS AND HEAR ABOUT YOUR EXPERIENCE! PLEASE SHARE YOUR THOUGHTS IN THE COMMENTS BELOW AND CONNECT WITH ME ON INSTAGRAM, PINTEREST, AND FACEBOOK.
If you tried this vanilla Italian meringue buttercream and absolutely loved it, please consider leaving a 5-star review! Your feedback means the world to us and helps other bakers discover this amazing recipe.
Vanilla Bean Italian Meringue Buttercream
Pin Recipe
Ingredients
- 1 ¾ cup white granulated sugar
- 8 large egg whites
- 4 sticks unsalted butter, cut into small sized pieces, at room temperature (very important!)
- A whole vanilla bean
Instructions
-
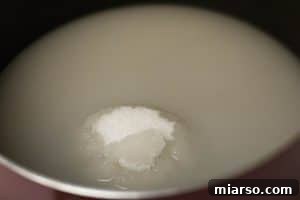
First, combine the granulated sugar and ½ cup of water in a small saucepan. Place the pan over medium heat and bring the sugar mixture to a gentle boil. Stir occasionally until the sugar is fully dissolved and the syrup is clear.

-
While the sugar syrup is heating, place the egg whites into the clean bowl of your stand mixer fitted with a whisk attachment. Do not start whipping yet.
-
Using a candy thermometer, closely monitor the temperature of the sugar syrup. When the syrup reaches 235°F (113°C), immediately begin whipping the egg whites on medium-high speed until they form stiff, glossy peaks. This timing is crucial to ensure both components are ready simultaneously.
-
Once the sugar syrup reaches 250°F (121°C), remove the pan from the heat. With the mixer still running on medium-high speed, carefully and slowly pour the hot syrup in a thin, steady stream into the stiff egg whites. Aim to pour it between the side of the bowl and the whisk attachment, avoiding pouring directly onto the whisk or into the center of the bowl where it might splatter.
-
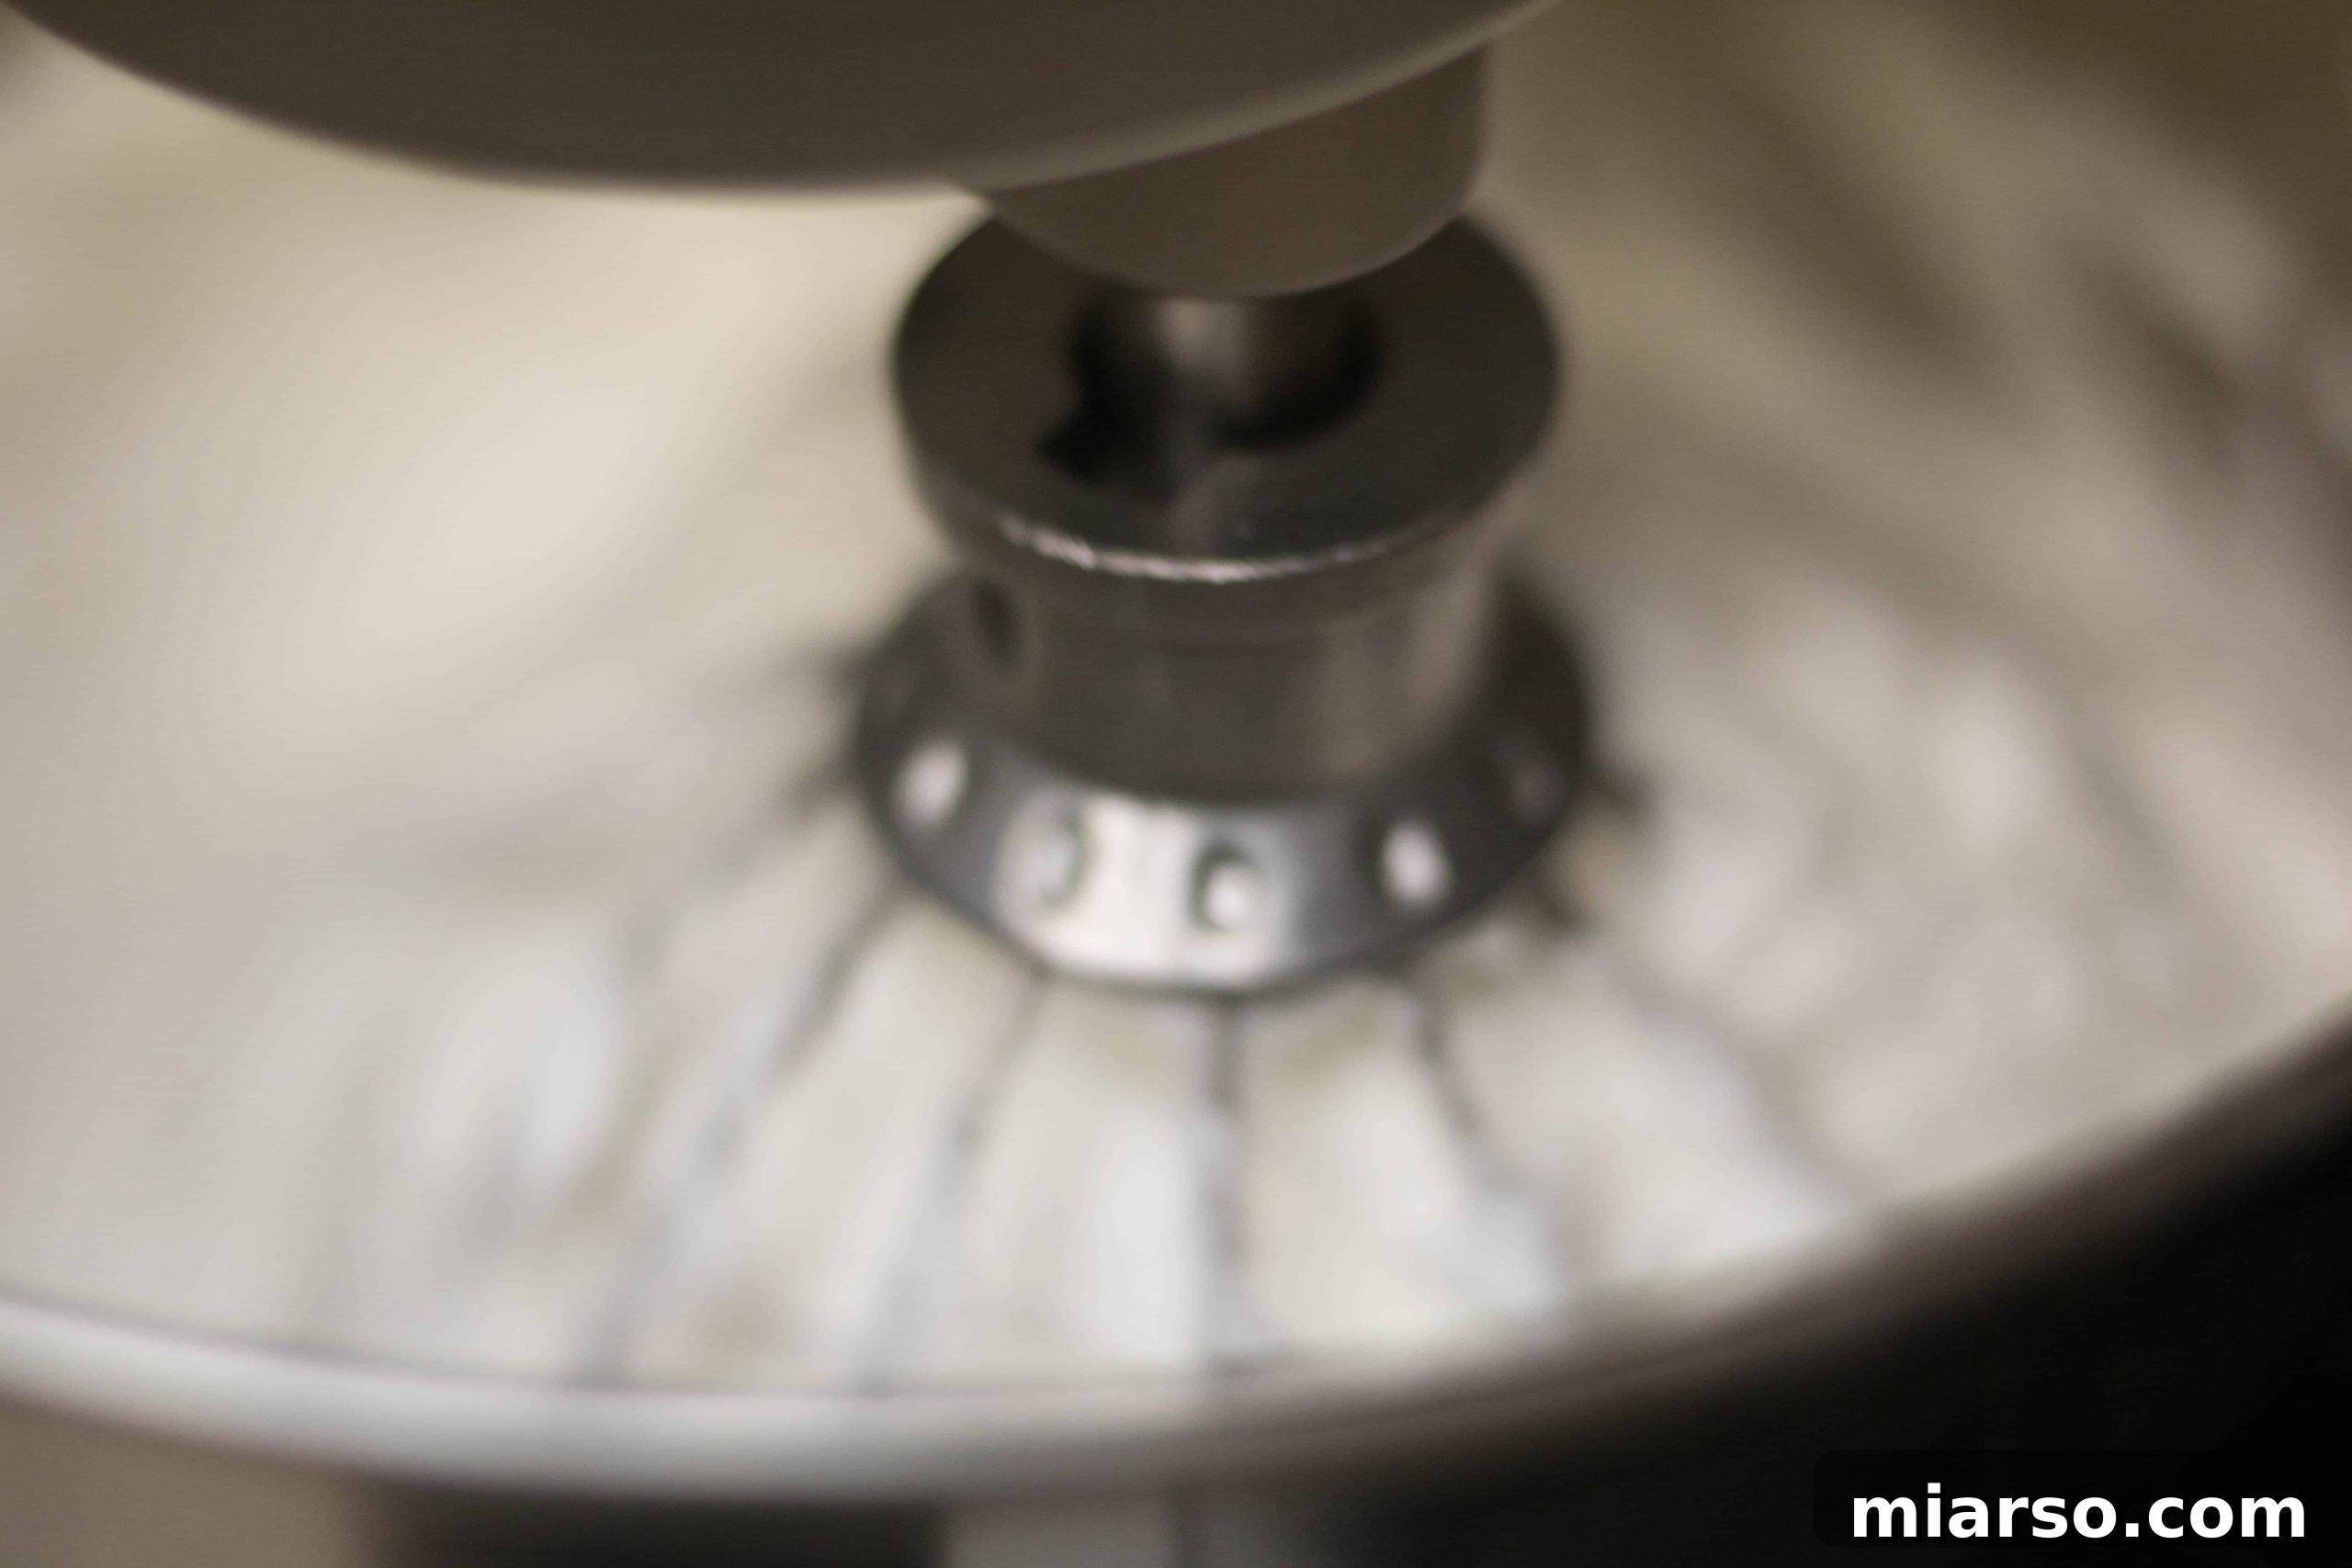
Continue whipping the meringue at high speed. It will become very thick, glossy, and increase in volume. Crucially, the exterior of the stand mixer bowl must cool down completely to the touch. This cooling period can vary significantly (from 15 to 45 minutes or even longer), depending on your kitchen’s ambient temperature. It is absolutely essential that the bowl is no longer warm before proceeding to the next step. If needed, use the damp, frozen towel trick around the bowl to expedite cooling.
-
With the mixer still running on medium-low speed, begin adding the room-temperature unsalted butter, one small piece at a time. Ensure each piece of butter is fully incorporated into the meringue before adding the next. This gradual process is key to creating a stable emulsion. Periodically stop the mixer and scrape down the sides and bottom of the bowl with a spatula to ensure a perfectly homogeneous mixture.
-
After all the butter has been incorporated and the buttercream is smooth and creamy, add the scraped vanilla bean seeds. Continue whipping the mixture for another 3-5 minutes on medium-high speed until it reaches a thick, velvety smooth consistency.

Notes
- For optimal flavor, consider making this buttercream a day ahead to allow the vanilla bean essence to fully infuse.
- Storage Guidelines:
- This Italian Meringue Buttercream can be stored at room temperature for 2-3 days in an airtight container.
- It will keep well in the refrigerator for up to 2 weeks.
- For longer storage, it can be frozen for up to 2 months.
- Reactivating Stored Buttercream: If storing in the fridge or freezer, it’s crucial to bring the buttercream back to room temperature before reuse.
- Take it out several hours before you plan to use it and let it soften naturally.
- Once at room temperature, transfer it to your stand mixer and beat it with the paddle attachment on medium-low speed. Initially, it might appear broken or curdled – this is completely normal!
- Continue beating, and after a few minutes, increase the speed to medium-high. The buttercream will miraculously come together, transforming back into a perfectly smooth and pipeable consistency.
Extra Notes Based on Comments & FAQs
- Butter Temperature Matters Immensely! The ideal butter temperature for this recipe is approximately 65–67°F (18–19°C) – it should be cool to the touch but still pliable when pressed. In warmer climates or kitchens, “room temperature” can often be too warm, leading to a soupy buttercream. If your kitchen is very warm, try chilling your butter briefly before using.
- Completely Cool the Meringue Before Adding Butter. This is the most critical step to prevent a soupy mess. The outside of your mixing bowl must feel cool to the touch – not just slightly warm. If there’s any warmth, continue whipping until it is genuinely cool.
- Troubleshooting Soupy or Curdled Buttercream: If your buttercream breaks and turns soupy or curdled, don’t panic! Continue mixing on medium-high speed for several minutes; it almost always comes back together. If it’s very warm, you can try chilling the mixing bowl (with the buttercream inside) in the fridge for 10–15 minutes, then resume mixing.
- Yield: This recipe generously yields approximately 8–9 cups of luscious frosting, enough for a multi-layered cake or a large batch of cupcakes.
- Halving the Recipe: You can easily halve all ingredient quantities for a smaller batch. Be aware that mixing and cooling times may be slightly shorter.
- Coloring Italian Meringue Buttercream: For vibrant colors, use gel or powder food coloring. Avoid liquid food colorings, as they can add excess moisture and potentially destabilize the buttercream. Add color on low speed at the very end of mixing, or fold it in by hand, until an even hue is achieved.
- Best Egg Whites to Use: Fresh egg whites offer the best stability and volume for meringues. Some liquid pasteurized egg whites can work if they are specifically labeled as “whippable” for meringues. However, powdered pasteurized egg whites generally do not yield the same stable, airy meringue required for this recipe.
- Make-Ahead Storage: As mentioned, you can store this buttercream at room temperature for 2–3 days, in the refrigerator for up to 2 weeks, or freeze it for up to 2 months. Always bring it to room temperature and re-whip thoroughly before using for the best texture.
Nutrition
More Recipes You’ll Surely Love!
- Small Batch Cream Cheese Frosting
- Bakery Style Brownies (No Cocoa Powder Needed!)
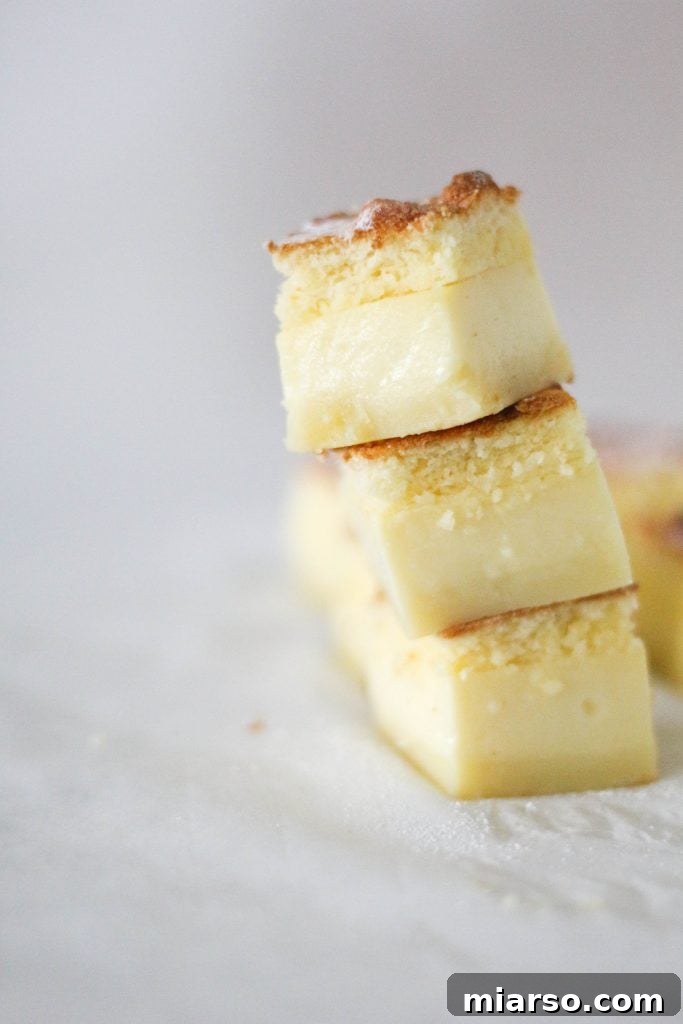
- The Best Vanilla Magic Cake
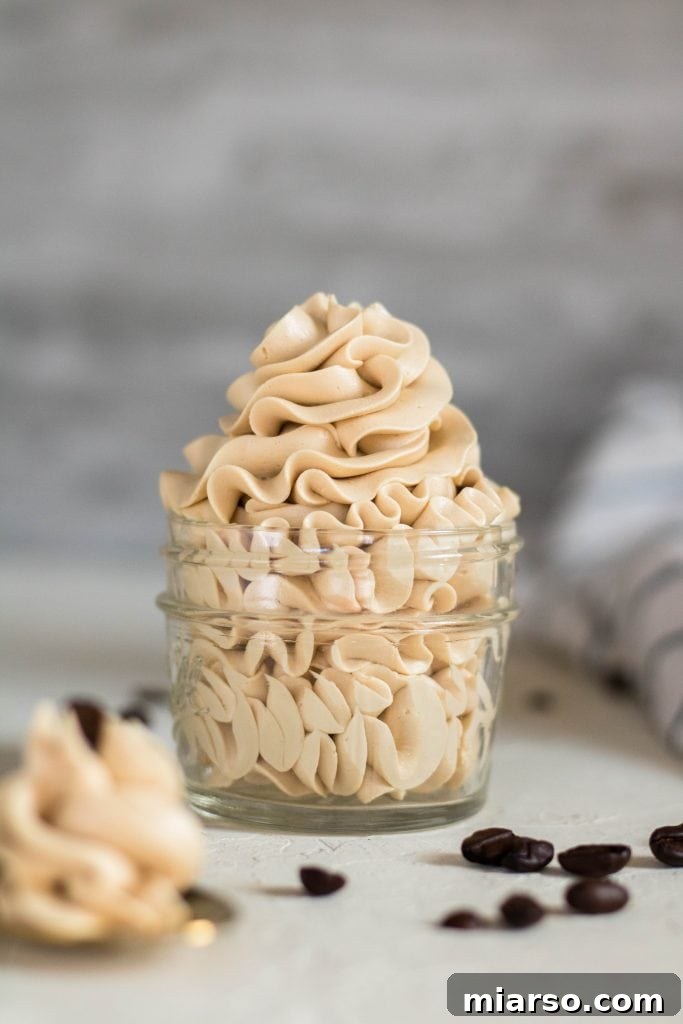
- Small Batch Coffee Frosting (Coffee Buttercream)
- No Sugar Added Healthy Banana Bread
- Sweet Potato Fudge Brownies
- Easiest Cake Truffles! (No More Leftover Cake Waste)