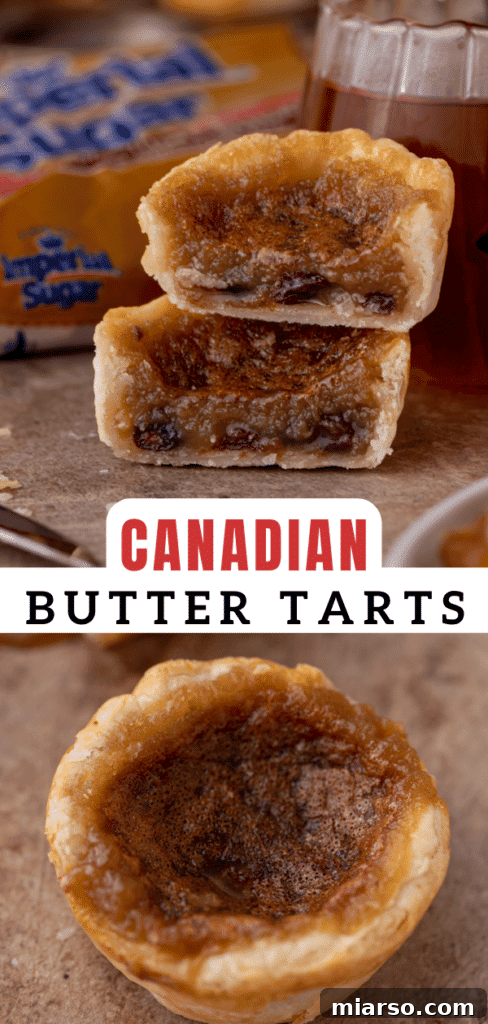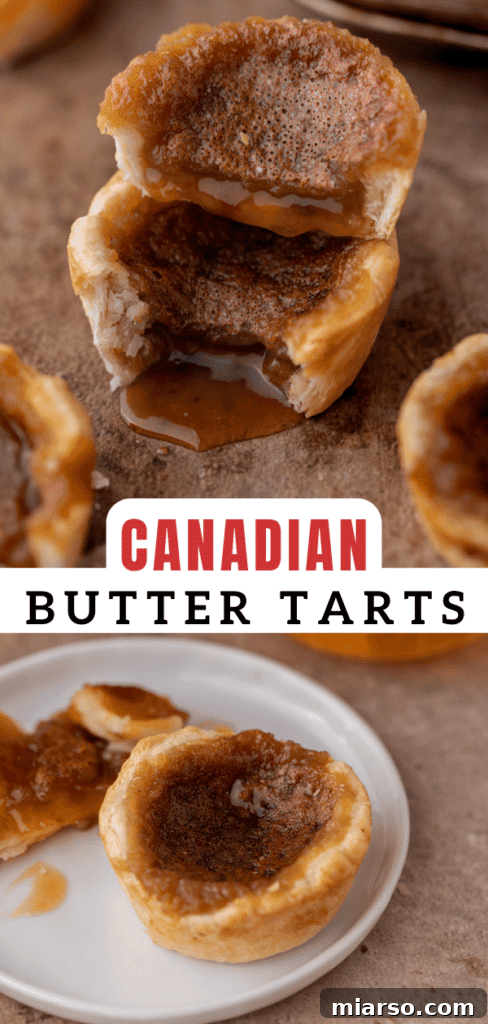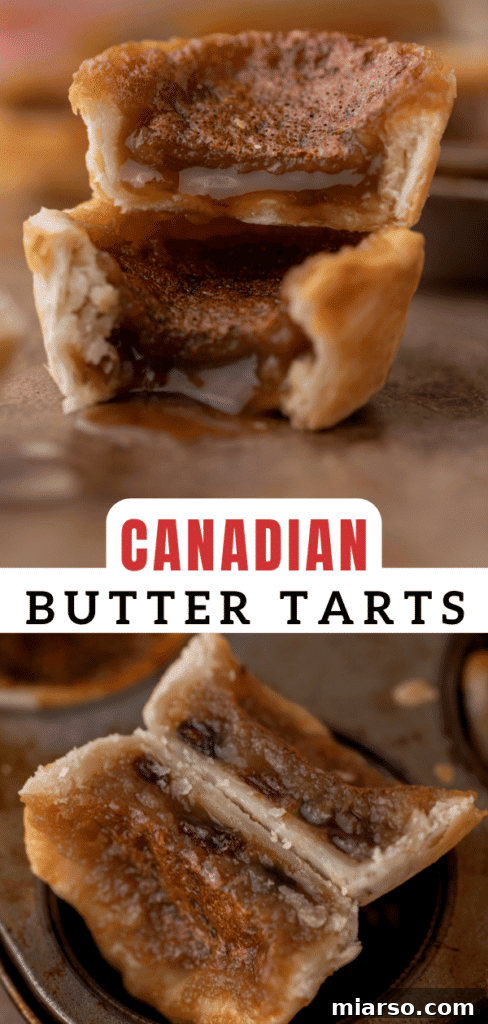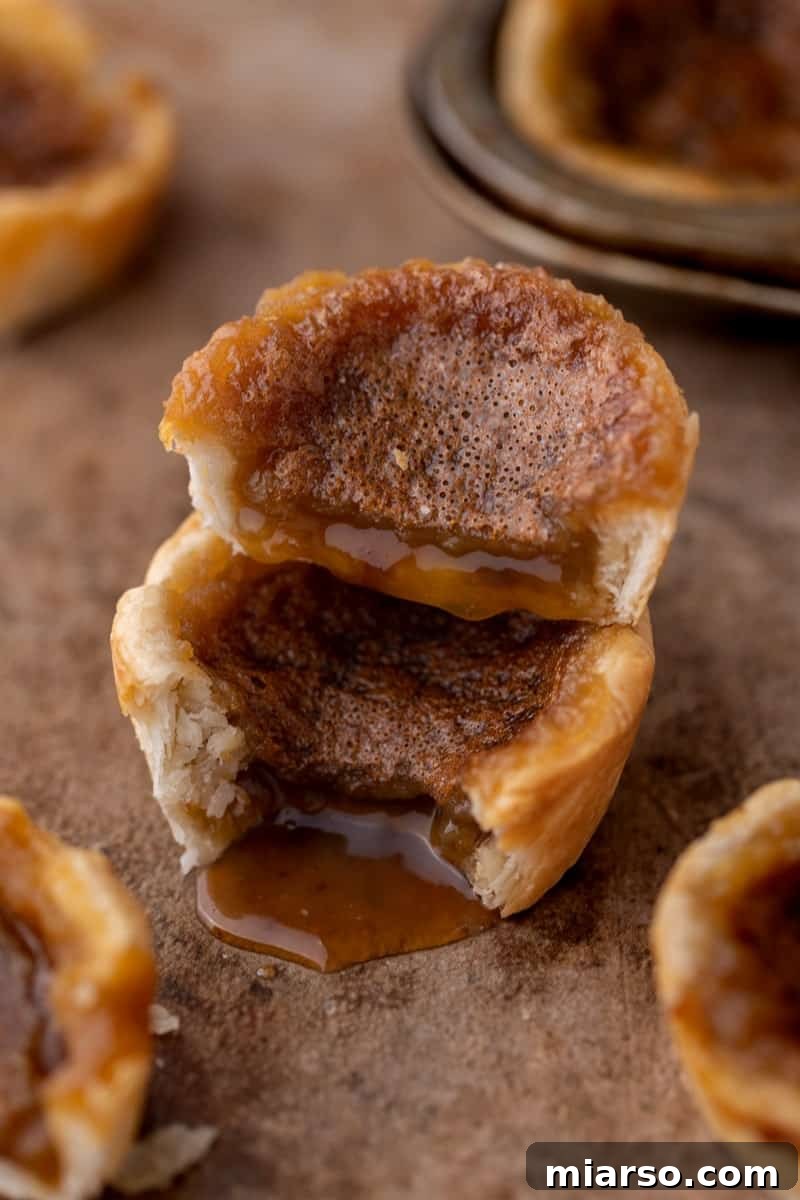
Welcome to the quintessential taste of Canada! These Canadian butter tarts are not just desserts; they are a delightful journey into the heart of traditional Canadian baking. Featuring a luscious, buttery brown sugar custard encased in a flaky pastry shell, these mini treats are incredibly versatile. While classic versions are pure indulgence, you can easily customize them with your favorite mix-ins like plump raisins, crunchy pecan pieces, rich chocolate chips, or any other addition your heart desires. Prepare to fall in love with a dessert that’s both simple to make and irresistibly delicious.
Before diving into this beloved recipe, we invite you to explore more delightful holiday treats. Don’t miss these mini pecan pies, our delectable pecan pie bars recipe, and these unique twice-baked pecan pie sweet potatoes—perfect additions to your Thanksgiving feast or any special occasion.
This post is proudly sponsored by our friends at Imperial Sugar, a brand we trust for exceptional baking results. All thoughts and opinions expressed here are 100% our own. We appreciate your support for the brands that help make Lifestyle of a Foodie possible.
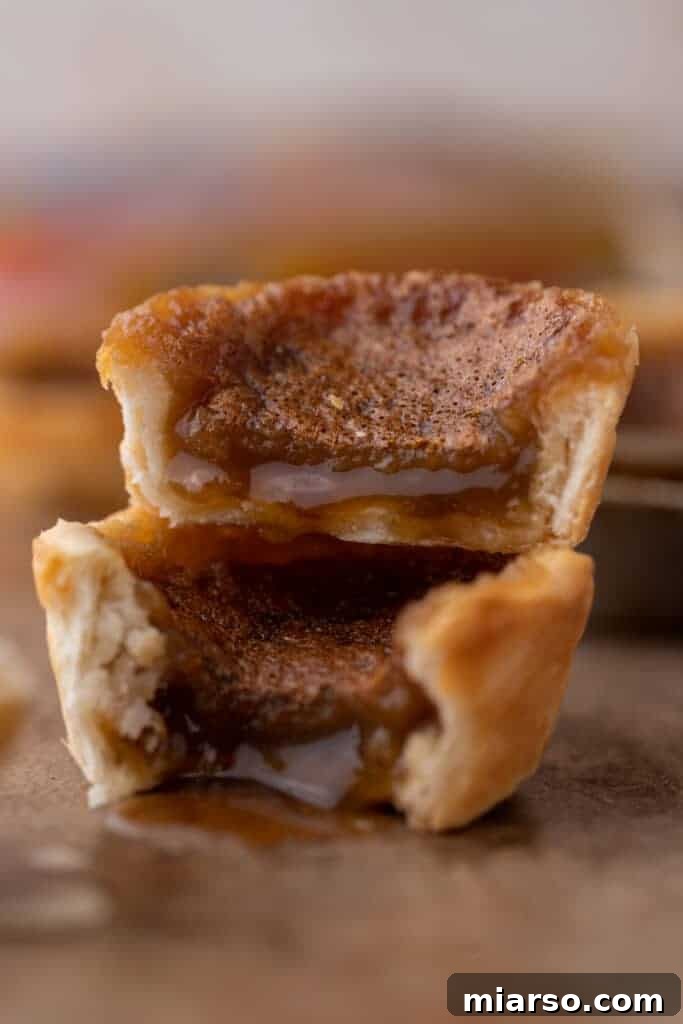
Unlock the Secret to the Best Canadian Butter Tarts Ever!
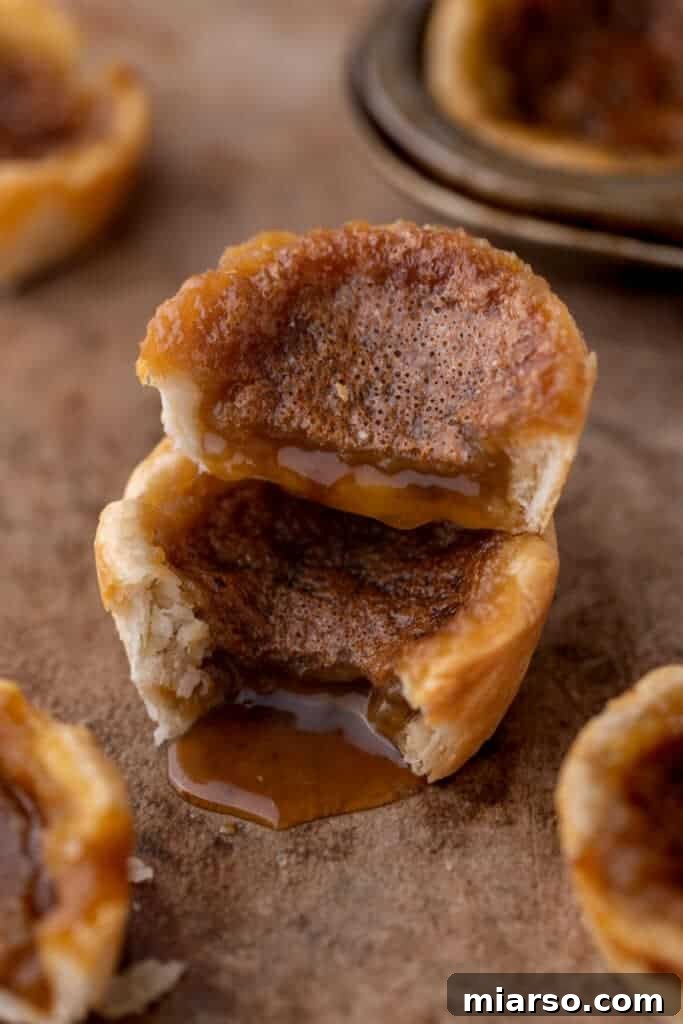
Canadian butter tarts hold a special place in the hearts of many, revered as a true national delicacy. These iconic pastries typically grace tables during Canadian Thanksgiving and Christmas holidays, embodying a tradition rooted in pioneer cooking. At their core, butter tarts are made by pouring a sweet, rich butter filling into delicate tart shells, then baking them until the top achieves a beautiful golden hue and sets, while the center retains a wonderfully semi-solid, gooey texture. This delicate balance of a crisp, flaky crust and a warm, buttery-sweet filling is what makes them utterly irresistible.
The beauty of the butter tart lies in its simplicity and the subtle variations that cater to individual tastes. From plain (our personal favorite, allowing the pure custard flavor to shine) to versions studded with raisins, walnuts, or pecans, each tart offers a unique experience. This recipe aims to deliver the ultimate butter tart experience—flaky, buttery, and perfectly gooey, just as they should be.
Canadian Butter Tarts vs. American Pecan Pie: A Sweet Showdown
At first glance, Canadian butter tarts and American pecan pies might appear similar, both being small, sweet pies with a rich filling. However, they possess distinct characteristics that set them apart, sparking a lively debate among dessert enthusiasts. While both are undeniably delicate, indulgent, and rich treats, their ingredient profiles and overall flavor experiences differ significantly.
**Canadian Butter Tarts** are celebrated for their signature gooey, almost liquid-like custard filling. This filling is a harmonious blend of butter, brown sugar, eggs, often enhanced with maple syrup and a touch of corn syrup. The emphasis is on the smooth, buttery sweetness of the custard. Traditionally, the crust is thin and flaky, providing a delightful contrast to the soft filling. While plain butter tarts are common, mix-ins like raisins or pecan pieces are frequently layered at the bottom, adding texture and flavor without dominating the custard. The result is a lighter, intensely buttery dessert with a melt-in-your-mouth quality.
In contrast, the **Traditional American Pecan Pie** features a much denser, thicker filling. This filling is generously packed with pecans, suspended in a mixture typically made from corn syrup, sugar, and eggs. The pecans are the star, providing a hearty, nutty crunch and a more substantial texture throughout. The filling itself is firmer, creating a dessert that is more robust and deeply caramelized in flavor. Pecan pie offers a distinct richness, often associated with a more pronounced sweetness and a satisfying chewiness from the abundant nuts. Understanding these differences allows appreciation for both delicious, albeit unique, culinary treasures.
Why This Canadian Butter Tart Recipe Belongs in Your Kitchen
If you’re searching for a dessert that’s both impressive and easy to master, look no further. This Canadian butter tart recipe offers compelling reasons to become your new go-to:
- A Festive Holiday Centerpiece: These butter tarts are an exquisite addition to any Thanksgiving, Christmas, or holiday dessert lineup. Their charming individual portions and comforting flavors make them a standout treat that guests will adore and remember.
- Effortless Elegance: Don’t let their gourmet appearance fool you; these tarts are remarkably simple to prepare. With straightforward steps, you’ll yield a batch of deliciously sweet, perfectly gooey, and custardy-filled mini pies that taste like they came from a professional bakery.
- Perfect for Any Gathering: Whether you’re hosting an intimate dinner or a large festive party, these butter tarts are incredibly crowd-friendly. The recipe is easily scalable—simply double or triple the ingredients to accommodate any size crowd, making entertaining a breeze.
- A Kid-Friendly Delight: Who can resist little pies that fit perfectly into small hands? These mini tarts are a hit with children and adults alike. Their individual size makes them fun to eat and ideal for school lunchboxes, picnics, or after-dinner treats, ensuring everyone gets a personalized piece of buttery goodness.
- Irresistible Flavor and Texture: This recipe guarantees a flawless balance of a crisp, flaky crust with a rich, caramel-like brown sugar filling that’s perfectly gooey without being runny. It’s a texture sensation that will have everyone reaching for more.
- Versatile Customization: While perfect on their own, these butter tarts are also a fantastic canvas for creativity. Easily add your favorite mix-ins like raisins, pecans, walnuts, chocolate chips, or shredded coconut to create personalized variations every time you bake.
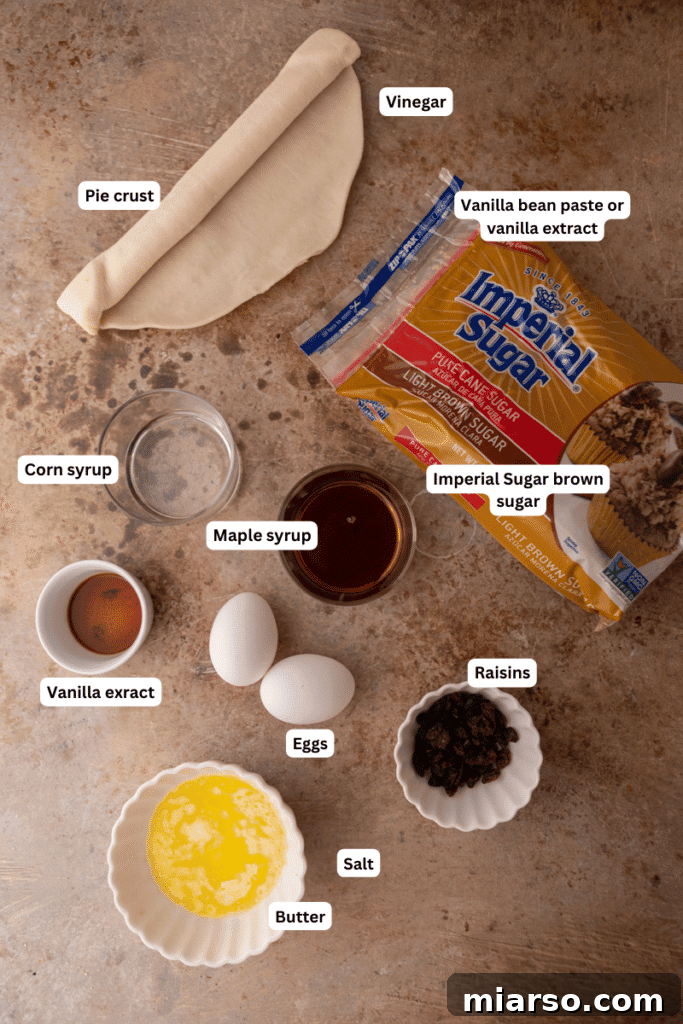
Essential Ingredients for These Irresistible Butter Tarts
Crafting these iconic Canadian butter tarts requires a thoughtful selection of ingredients, each playing a crucial role in achieving the perfect flavor and texture. Below is a comprehensive list of what you’ll need, along with insights into their specific contributions to this delightful recipe. For precise measurements, please refer to the detailed recipe card at the bottom of this post.
- Melted Butter: We opt for melted salted butter in this recipe to elegantly counterbalance the sweetness of the filling. The touch of salt enhances the overall flavor profile, creating a more rounded and sophisticated taste. If you prefer using unsalted butter, simply add an extra pinch or two of salt to the filling mixture to achieve a similar balance. Butter is essential for that rich, characteristic flavor and silky texture.
- Imperial Sugar Brown Sugar: This is a cornerstone ingredient for our butter tart filling. Imperial Sugar brown sugar imparts a deep, molasses-rich caramel flavor that is irreplaceable. Its fine texture ensures it dissolves beautifully into the custard, contributing to that signature gooey consistency and rich color.
- Maple Syrup: To truly elevate these tarts and infuse them with an authentic Canadian essence, a quality maple syrup is indispensable. It adds a unique depth of flavor and a subtle sweetness that complements the brown sugar beautifully, distinguishing these tarts from other similar desserts.
- Corn Syrup: A small amount of corn syrup is crucial for achieving the perfect gooey texture in the filling. It helps prevent crystallization of the sugars, ensuring the custard remains smooth, glossy, and wonderfully pliable rather than grainy or overly firm.
- Vanilla Extract: Pure vanilla extract is a flavor enhancer that brings warmth and complexity to any sweet treat. It harmonizes with the other rich ingredients, adding an aromatic dimension that makes these tarts even more inviting.
- Vinegar (or Lemon Juice): A surprising but essential addition! A small amount of white vinegar or fresh lemon juice acts as a bright counterpoint to the sweetness. It subtly cuts through the richness of the butter and sugars, preventing the tarts from tasting overly cloying and brightening the entire flavor profile.
- Salt: Even with salted butter, an additional pinch of salt in the filling is vital. It’s a flavor amplifier, balancing the intense sweetness and ensuring all the other ingredients shine without being overwhelmed.
- Eggs: Room temperature large eggs are the binding agent for our custard filling. They provide structure, richness, and help the filling set to that ideal semi-solid, slightly jiggly consistency. Ensuring they are at room temperature helps them incorporate smoothly into the mixture.
- All-Purpose Flour: Just a tablespoon of all-purpose flour is used to give the custard filling a little extra body and help it set more consistently. This small amount prevents the filling from becoming too watery, ensuring it holds its shape while remaining delightfully gooey.
- Mix-ins (Optional):
- Raisins: Plump golden raisins add a lovely chewiness and burst of fruity sweetness.
- Chopped Pecans: For those who love a nutty crunch, chopped pecans offer a fantastic textural contrast and earthy flavor.
You can enjoy these butter tarts “plain” (without mix-ins), or sprinkle your chosen additions at the bottom of the pastry shells before pouring in the filling. This is an effortless way to customize and elevate your mini tarts.
- Pie Dough: For convenience and consistent results, you can use high-quality store-bought pie crusts. Alternatively, if you prefer a truly homemade touch, feel free to prepare your own flaky pie dough from scratch, or opt for pre-made flaky pastry shells for a distinct texture.
Why Imperial Sugar is Our Choice for Butter Tarts
When it comes to achieving the perfect Canadian butter tart, the quality of your sugar truly makes a difference. That’s why we consistently turn to Imperial Sugar brown sugar for this recipe. Imperial Sugar’s brown sugar is renowned for its exceptional quality, delivering a rich, deep caramel-like flavor that is absolutely integral to the signature taste of butter tarts. Its fine, moist texture ensures seamless integration into the filling, dissolving effortlessly to create a consistently smooth and wonderfully gooey custard. This superior dissolvability contributes to a filling that sets beautifully, providing that irresistible balance of texture and sweetness that elevates homemade butter tarts from good to extraordinary. Trusting Imperial Sugar means trusting in a legacy of baking excellence, ensuring your tarts are packed with flavor and achieve that perfect, authentic gooey center every time.
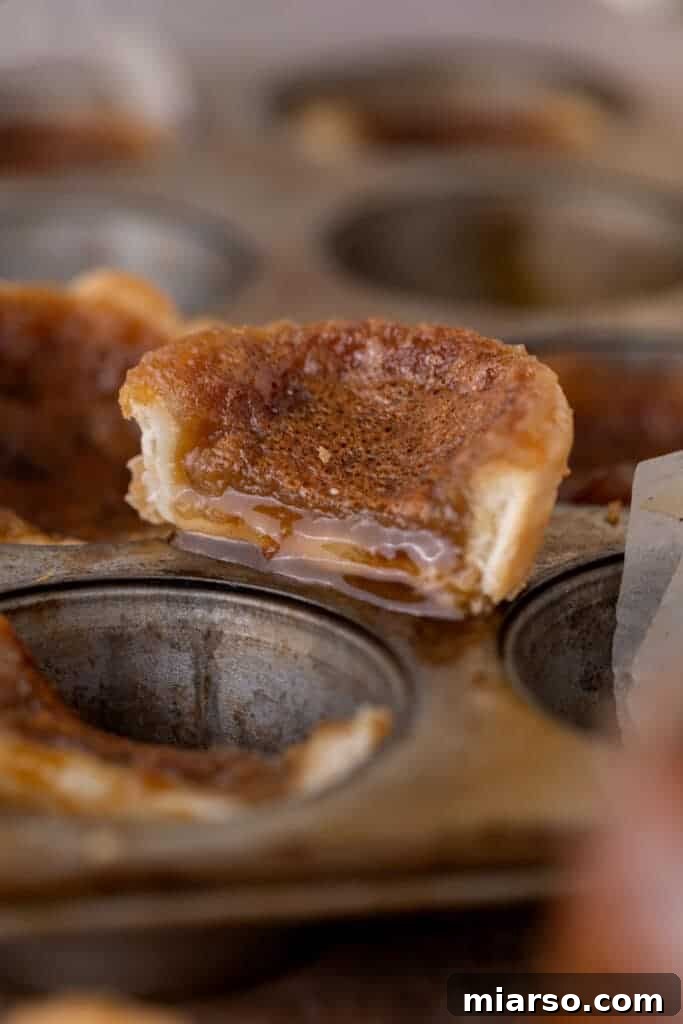
Crafting the Best Canadian Butter Tarts: A Step-by-Step Guide
Creating these delightful Canadian butter tarts is a rewarding experience, and with our easy-to-follow instructions, you’ll achieve perfect results every time. Follow these steps for truly outstanding butter tarts. For the full, detailed instructions and ingredient list, make sure to scroll down to the complete recipe card.
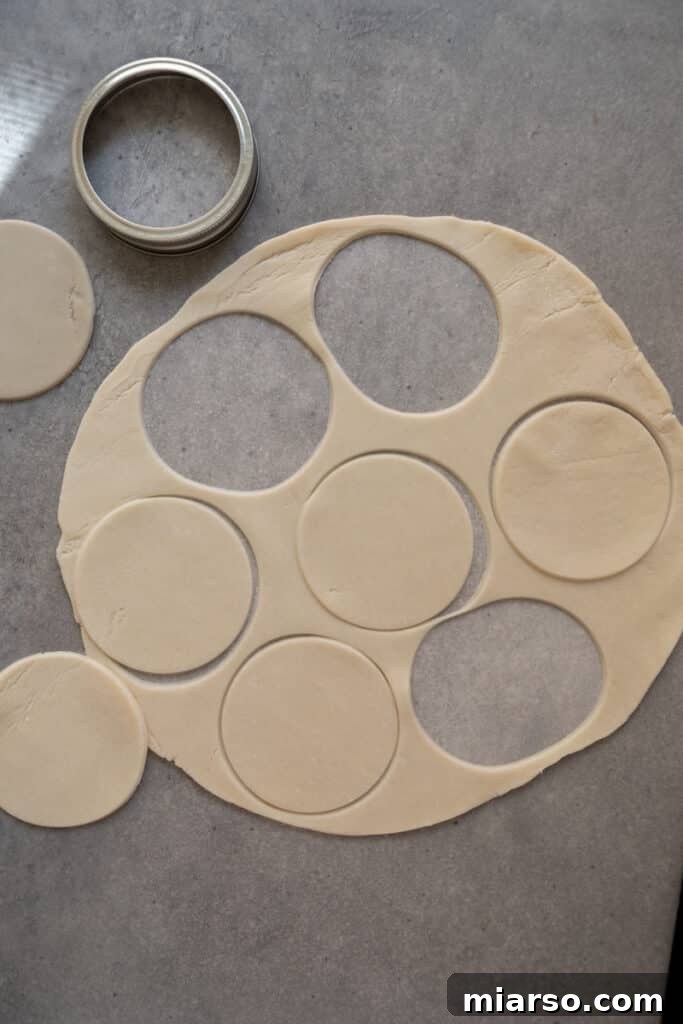
- Prepare the Tart Shells: Begin by unrolling your two sheets of pie dough onto a lightly floured, clean work surface. Using a 4-inch round cookie cutter or a large glass rim slightly larger than your muffin tin cavities, cut out 12 perfectly round circles. Gather any dough scraps, gently re-roll them, and cut out additional circles as needed to reach 12.
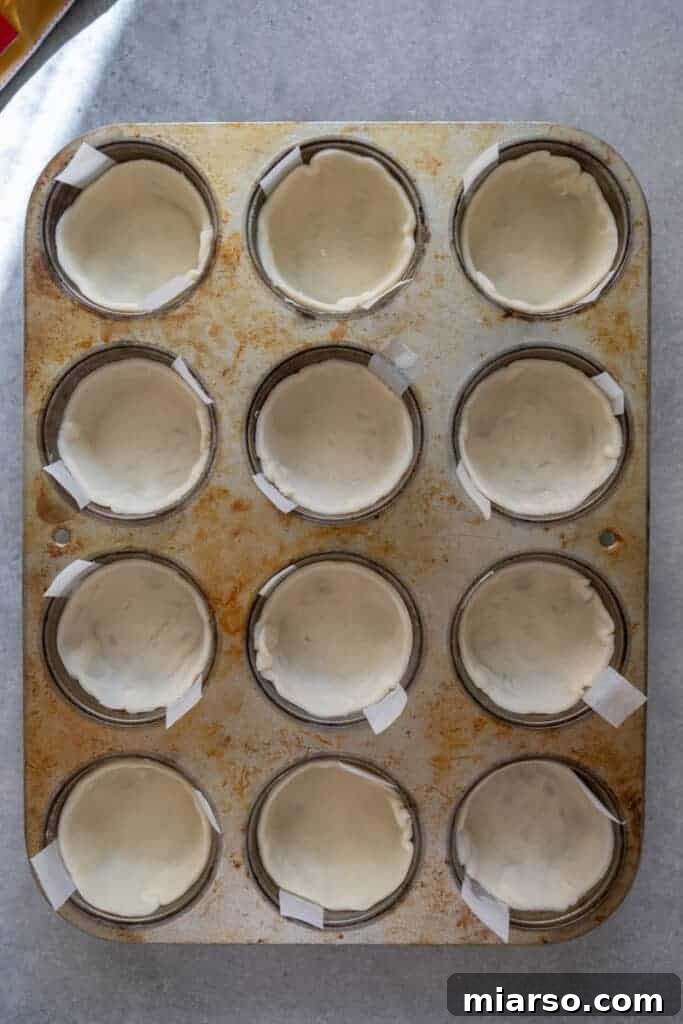
- Prep the Muffin Pan: Lightly spray your standard 12-cup muffin pan with a nonstick cooking spray. For effortless removal of the baked tarts, cut thin strips of parchment paper (about 1 inch wide and long enough to extend above the muffin cups) and place one strip across the center of each muffin cavity, creating little “handles.”
- Form and Chill the Crusts: Carefully press each circular pie dough cutout into the prepared muffin cups. Gently work the dough up the sides of each cup to form neat tart shells, ensuring there are no air bubbles and the dough is evenly distributed. Place the muffin pan in the fridge to chill while you prepare the filling. This helps prevent the crusts from shrinking during baking.
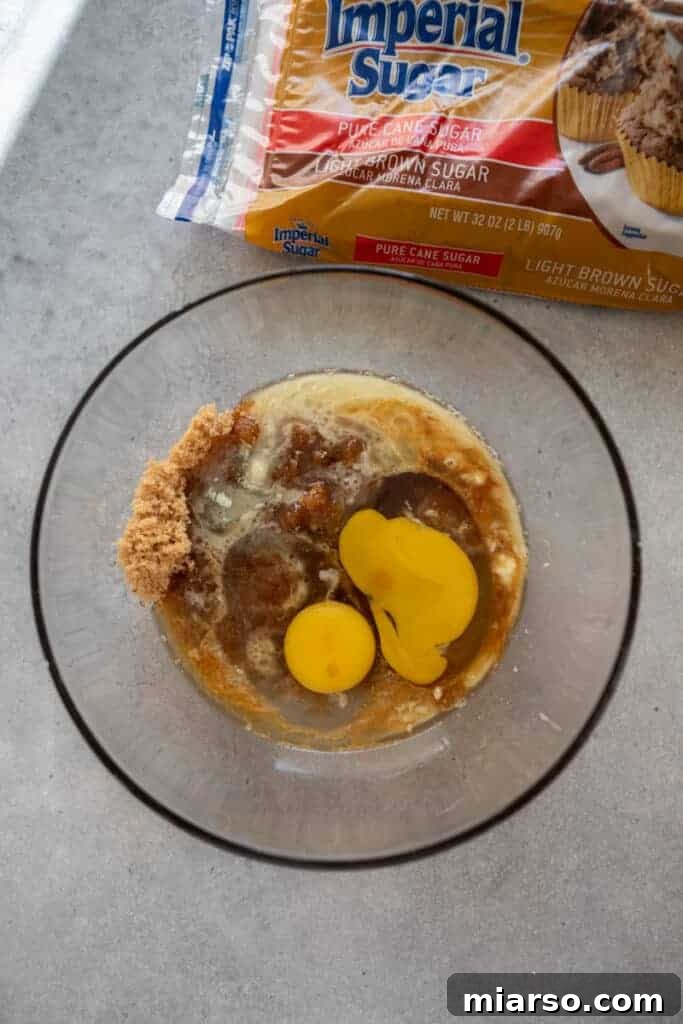
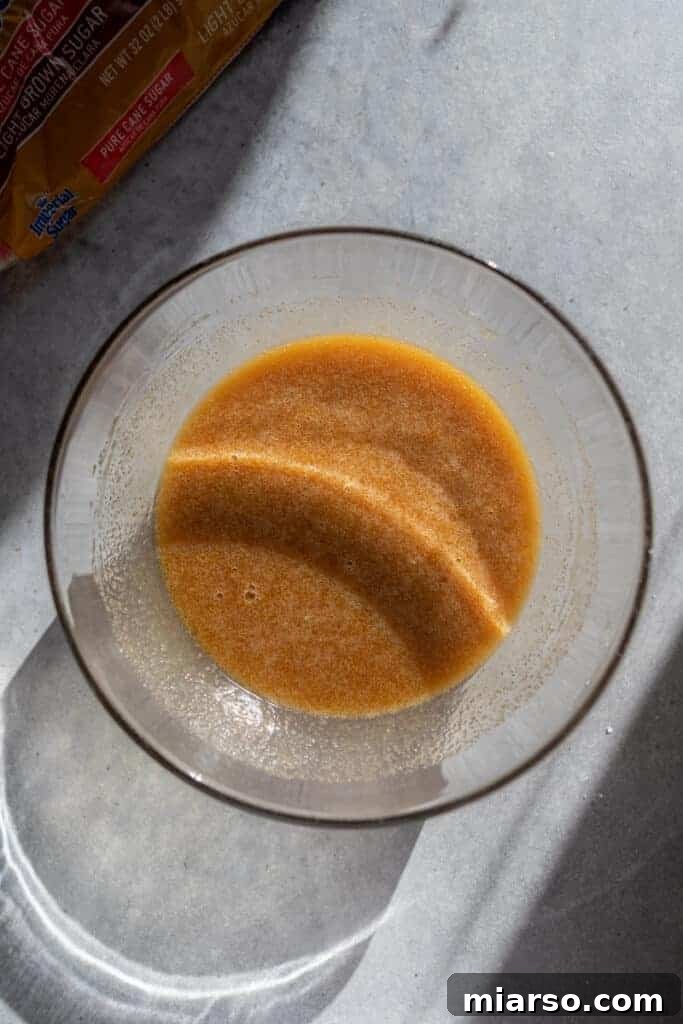
- Whip Up the Gooey Filling: In a large mixing bowl, combine the melted butter, Imperial Sugar brown sugar, maple syrup, corn syrup, vanilla extract, a touch of white vinegar (or lemon juice), salt, eggs, and all-purpose flour. Whisk all these ingredients together until they are thoroughly combined, smooth, and lump-free. The mixture should be glossy and homogenous.
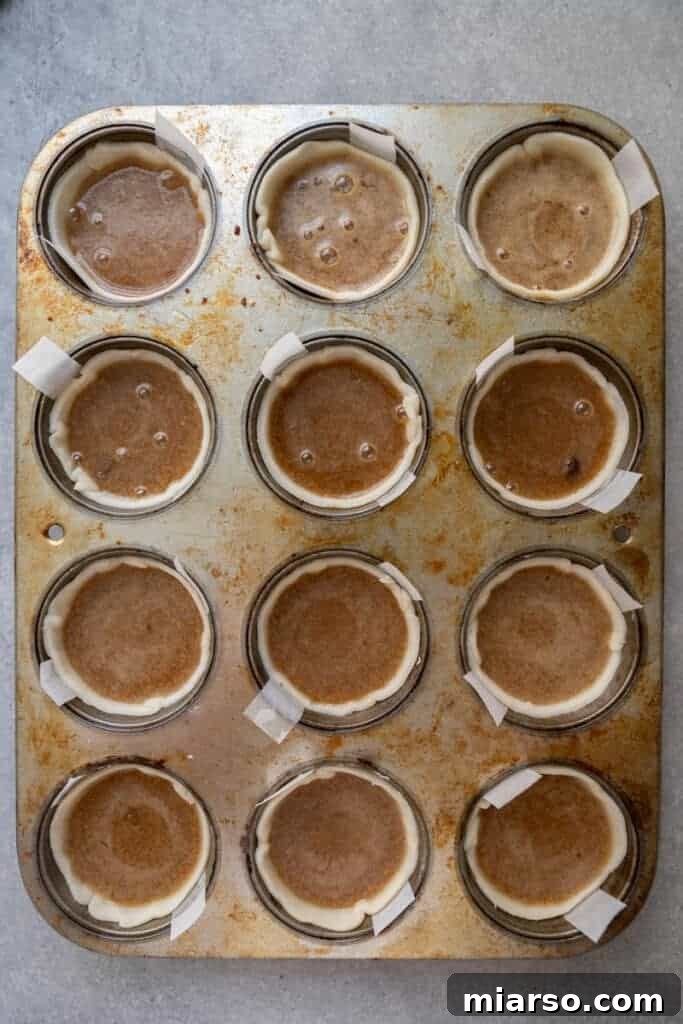
- Add Mix-ins and Fill: Retrieve your chilled muffin pan. If you’re adding raisins or chopped pecans, distribute them evenly at the bottom of each pie crust. Then, carefully pour the prepared butter tart filling into each tart shell. Fill them approximately three-quarters full, being careful not to overfill, as the filling will expand and puff up slightly during baking.
- Bake to Golden Perfection: Place the muffin tin in your preheated oven. Bake for about 13-15 minutes, or until the pastry edges are beautifully golden brown and the filling is set. The tarts should have a slight, delicate wobble or “jiggle” in the very center when you gently shake the pan. This indicates a perfectly gooey interior.
- Cool and Serve: Once baked, remove the tarts from the oven and allow them to cool in the muffin tin for a few minutes. This crucial step allows the filling to settle and firm up slightly, preventing breakage. After a few minutes, use the parchment paper strips to gently lift the mini pies out of the tin. Transfer them to a wire rack to cool completely. Allowing your gooey tarts to cool fully on a wire rack ensures their structural integrity and optimal texture before serving.
Frequently Asked Questions (FAQ) about Canadian Butter Tarts
How to Store Butter Tarts?
To maintain their freshness and delicious texture, butter tarts should be stored in an airtight container. They can be kept at room temperature for up to 2-3 days, especially if your home is cool. For longer storage, refrigerate them for 4-5 days. If you’ve made a large batch or want to enjoy them later, butter tarts freeze beautifully. Wrap individual tarts tightly in plastic wrap, then place them in an airtight freezer-safe container or bag. They can be frozen for up to 2-3 months. Thaw at room temperature or gently reheat.
Should Butter Tarts Be Served Warm or Cold?
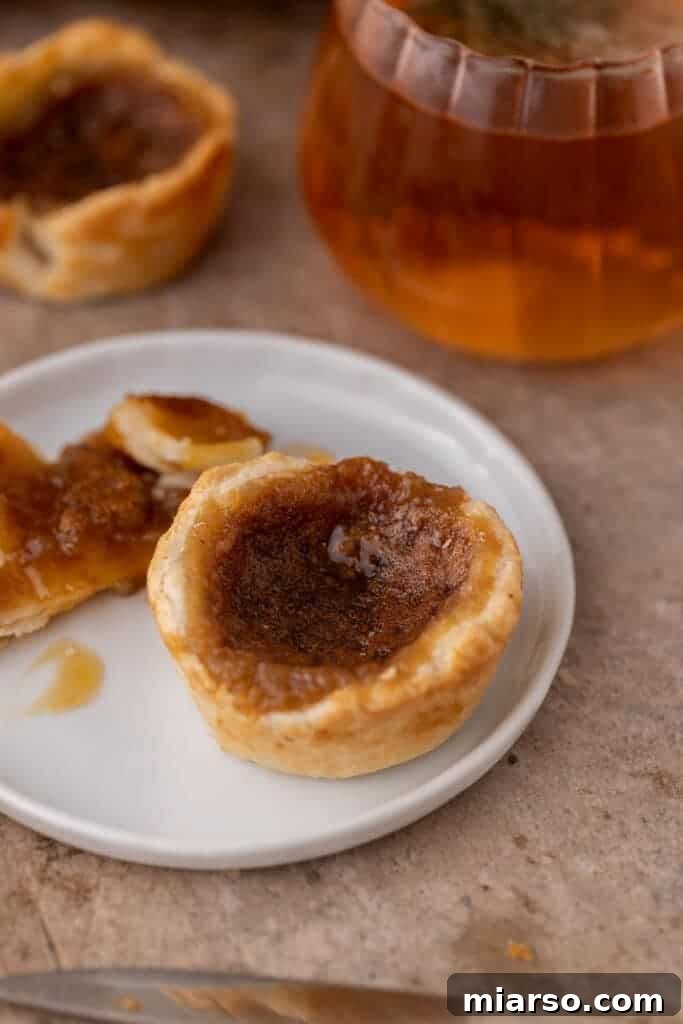
This is truly a matter of personal preference, and both ways offer a unique and delightful experience! We personally enjoy ours chilled, where the filling becomes a bit firmer and offers a denser, chewy bite against the flaky crust. However, many prefer them slightly warm. If you choose to warm them, you can gently heat the tarts in the microwave for 10-20 seconds per tart, or in a preheated oven at 350°F (175°C) for 5-10 minutes. Warming them up brings out the rich, buttery aromas and makes the filling wonderfully gooey and luscious, almost like a molten caramel. Experiment to find your favorite!
Should the Filling of These Butter Tarts Be Firm or Runny?
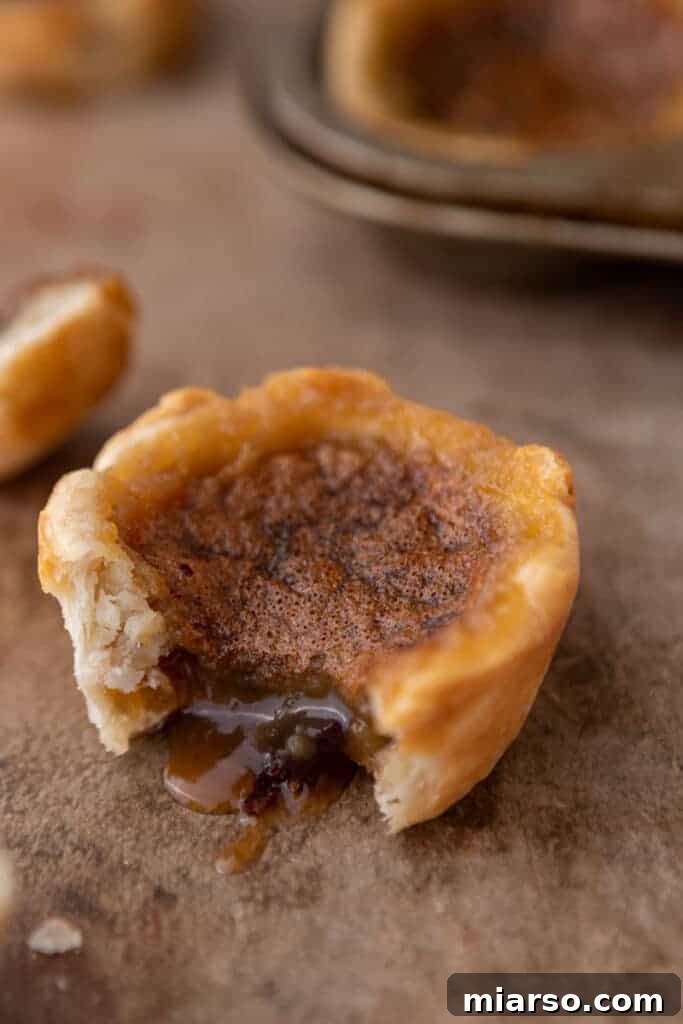
Ah, the great butter tart debate! The ideal consistency of the filling is a hotly contested topic among butter tart aficionados, and ultimately, it comes down to personal taste. This recipe aims for a delightful middle-ground: a filling that is perfectly gooey and soft, but still holds its shape once cooled. It will have a satisfying “jiggle” when warm and become semi-solid when cool.
If you prefer your butter tart filling to be a little more firm and set, you can easily adjust the recipe by adding an extra 1 to 1½ tablespoons of all-purpose flour to the butter tart batter when mixing the ingredients. This will give the filling more structure, resulting in a less runny texture. Conversely, if you desire an even more liquid, truly “runny” center, you can slightly reduce the flour by ½ tablespoon, but be cautious not to make it too liquid that it doesn’t set at all. This recipe’s current flour amount provides a widely loved, perfectly gooey consistency.
Can I Use a Different Type of Pie Crust?
Absolutely! While our recipe suggests store-bought pie crusts for convenience, you can certainly use your favorite homemade recipe for pie dough for an extra touch of artisanal quality. Some bakers also enjoy using puff pastry for an even flakier, lighter shell. Just ensure the crust you choose can hold up to the rich, gooey filling without becoming soggy.
My Butter Tarts Overflowed in the Oven! What Went Wrong?
Overflowing typically happens if the tart shells are overfilled. The filling expands as it bakes, so it’s crucial to fill each shell only about 3/4 full. Another factor could be an oven that’s too hot, causing the filling to boil over quickly before the crust has a chance to set. Ensure your oven temperature is accurate and try slightly under-filling a few tarts next time.
Can I Make These Gluten-Free?
Yes, you can! The easiest way to adapt this recipe to be gluten-free is by using a high-quality, pre-made gluten-free pie crust. Most major grocery stores offer suitable options. Ensure all other ingredients (like flour, if you add extra) are also gluten-free. The filling itself is naturally gluten-friendly once you adjust for the crust.
Old Fashioned Canadian Butter Tarts
★★★★★
Canadian Butter Tarts
15 mins
15 mins
30 mins
12 servings
Print Recipe
Ingredients
- 1 package of premade pie crust dough containing 2 sheets of pie dough
- 1/4 cup butter salted, melted
- 1 cup Imperial Sugar brown sugar packed
- 1 tablespoon all-purpose flour
- 2 large eggs
- 1 teaspoon vanilla extract
- 1 teaspoon white vinegar
- 1/4 cup corn syrup
- 2 tablespoons maple syrup for added flavor
- 1/3 cup raisins or chopped pecans optional
Instructions
-
Preheat your oven to 425°F (220°C). Position an oven rack in the middle of the oven.
-
Unroll the premade pie crust sheets. Using a 4-inch round cookie cutter or a glass slightly larger than your muffin tin openings, cut out 12 circles of dough. You may need to re-roll dough scraps to achieve all 12 circles.1 package of premade pie crust dough
-
Gently press each dough circle into the cups of a greased muffin tin that’s lined with a thin strip of parchment paper for easy removal. Ensure the dough comes up the sides of each cup to form small tart shells. Place the muffin tin in the fridge to chill.
-
In a mixing bowl, whisk together the melted butter, brown sugar, salt, vanilla extract, corn syrup, white vinegar, maple syrup, and eggs until well combined and smooth. Add the all-purpose flour and whisk until no lumps remain.1/4 cup butter, 1 cup Imperial Sugar brown sugar, 1 tablespoon flour, 2 large eggs, 1 teaspoon vanilla extract, 1 teaspoon white vinegar, 1/4 cup corn syrup, 2 tablespoons maple syrup
-
If you’d like to include raisins or chopped pecans, distribute them evenly among the prepared tart shells. Carefully pour the butter tart filling into each tart shell, filling them about 3/4 full. Avoid overfilling, as the custard will expand during baking.1/3 cup raisins or chopped pecans
-
Place the muffin tin in the preheated oven and bake for approximately 13-15 minutes, or until the pastry edges are golden and the filling is set with a slight jiggle in the center when gently shaken.
-
Remove the tarts from the oven and allow them to cool in the muffin tin for a few minutes. Then, use the parchment paper strips to carefully lift the tarts out. If needed, a knife can be used to gently loosen the edges before removal.
-
Let the butter tarts cool completely on a wire rack before serving to allow the filling to fully set.
Nutrition
Carbohydrates: 40g |
Protein: 3g |
Fat: 12g |
Saturated Fat: 5g |
Polyunsaturated Fat: 1g |
Monounsaturated Fat: 5g |
Trans Fat: 0.2g |
Cholesterol: 37mg |
Sodium: 167mg |
Potassium: 72mg |
Fiber: 1g |
Sugar: 25g |
Vitamin A: 158IU |
Calcium: 31mg |
Iron: 1mg
Nutrition information is automatically calculated, so should only be used as an approximation.
Like this? Leave a comment below!
Shop This Recipe’s Essential Tools & Ingredients
Disclosure: This post may contain affiliate links, meaning that at no additional cost to you, I will earn a small percentage of every qualifying purchase you make through these links. We only recommend products we genuinely love and use in our own kitchen!
Loved This Canadian Butter Tarts Recipe? Pin It for Later!
If you’ve savored the delight of these authentic Canadian butter tarts and are eager to share them with friends, family, or simply revisit the recipe, don’t forget to pin this page! Saving this recipe ensures you’ll always have access to the instructions for creating these perfect, gooey, and flaky treats. Pin it to your favorite dessert boards on Pinterest and let others discover the joy of this Canadian classic!