The Ultimate Guide to Making Irresistible Fruity Pebbles Krispie Treats
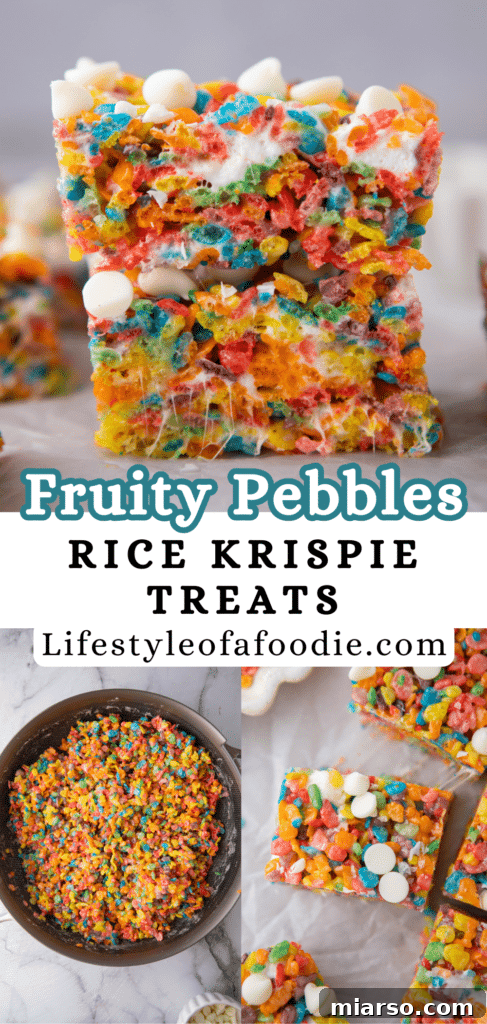
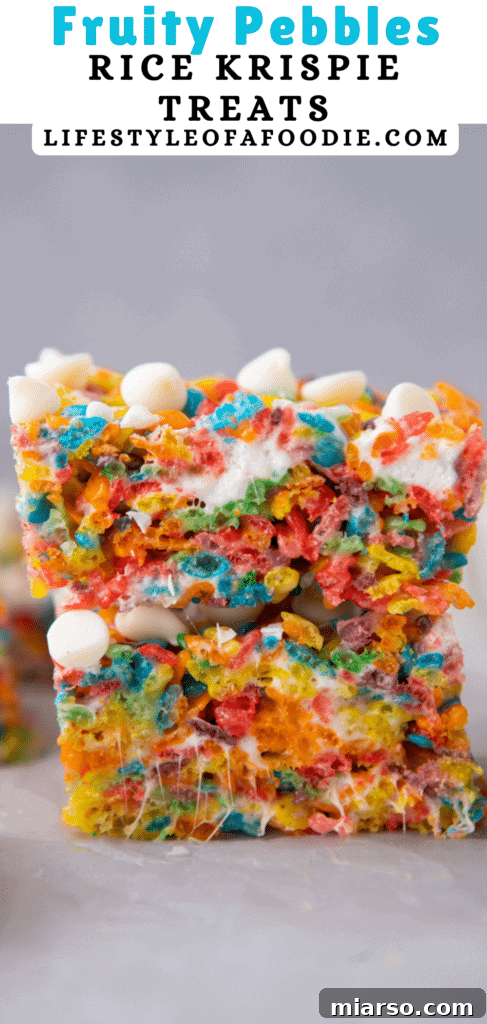
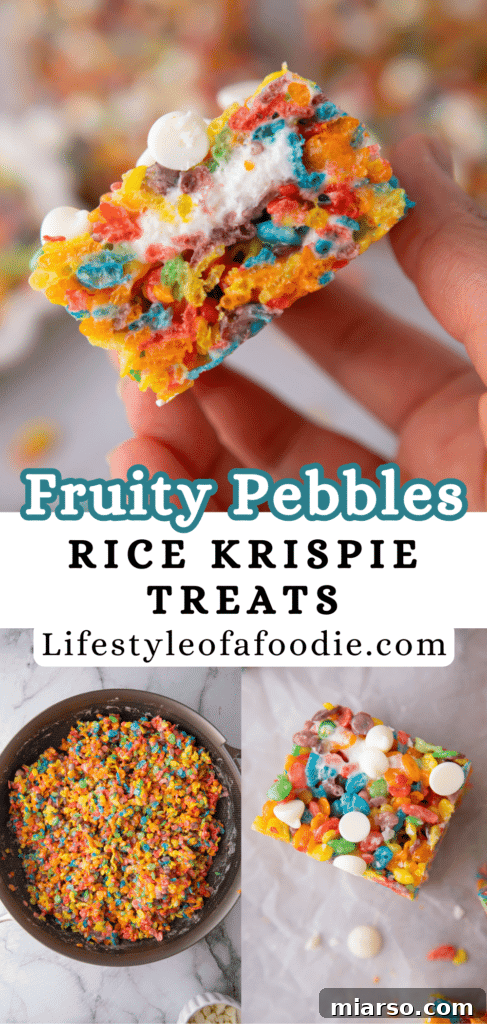
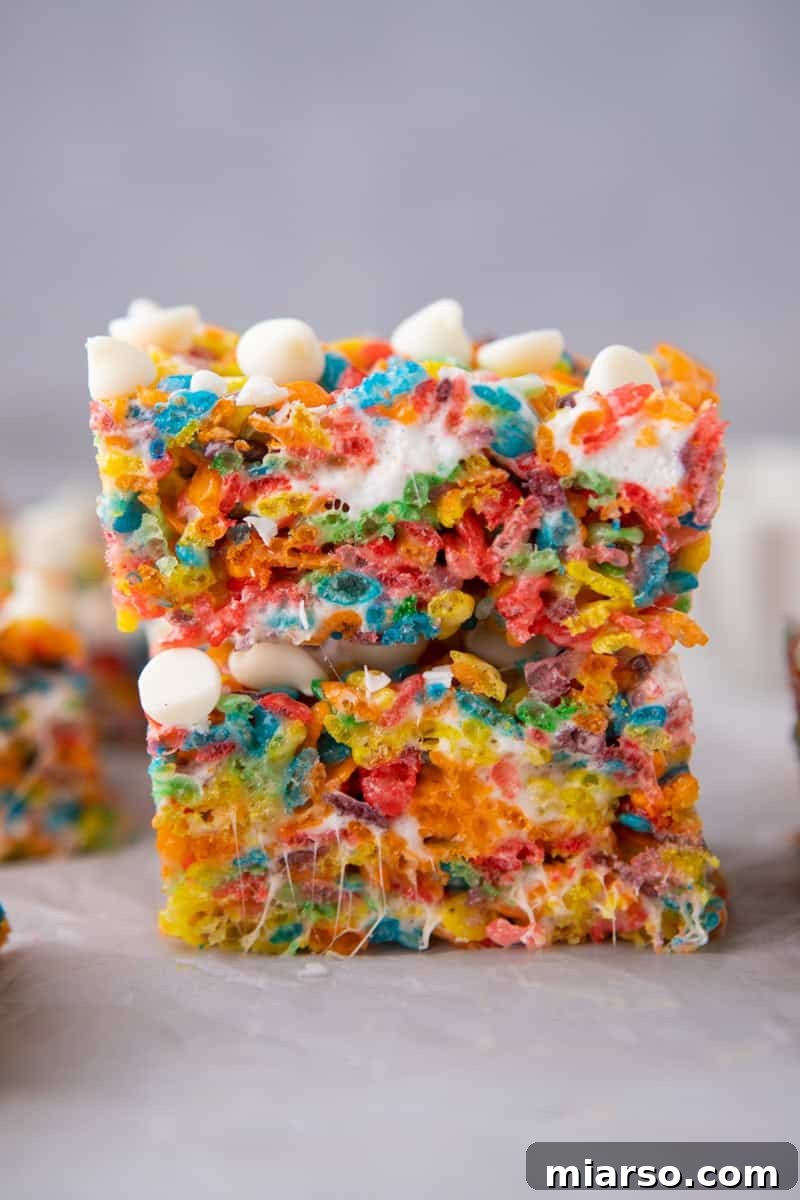
Step back in time with a burst of color and flavor! These Fruity Pebbles Krispie Treats are the ultimate no-bake dessert, guaranteed to evoke cherished childhood memories with every chewy bite. Crafted from the iconic, vibrant Fruity Pebbles cereal, fluffy marshmallows, rich butter, and a delightful hint of white chocolate, this recipe elevates a classic treat to an extraordinary level. Whether you’re looking for a quick and easy dessert, a festive snack, or a unique party favor, these rainbow-hued cereal bars are perfect for any occasion and are sure to be a crowd-pleaser for all ages.
If you’re a fan of our chewy, gooey cereal treats, you’ll love exploring other variations. Don’t miss out on these Ruffles Krispie Treats, our decadent Peanut Butter and Chocolate Rice Krispie Treats, and the fresh, sweet Strawberry Rice Krispie Treat Recipe.
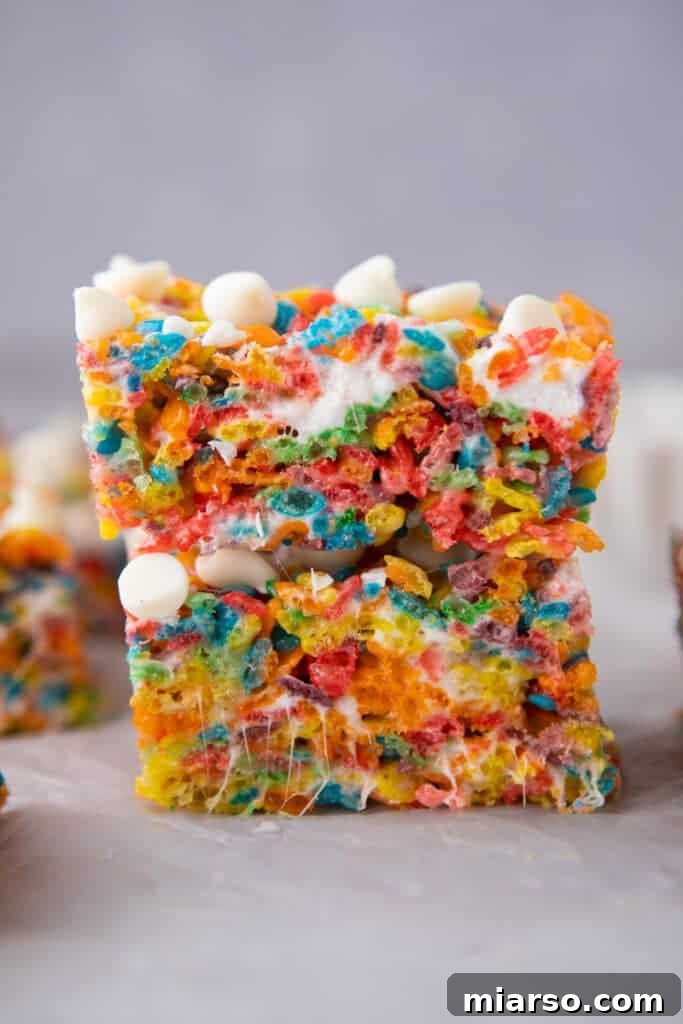
Discover the Magic of Homemade Fruity Pebbles Krispie Treats!
There’s something truly special about Fruity Pebbles cereal. My friend Kyle, for instance, ranks it among his top three cereals, and it’s easy to see why! While I didn’t grow up with this particular breakfast staple, its vibrant colors and sweet, fruity flavor have a universal appeal. When Kyle’s birthday approached a few weeks ago, I knew exactly how to make his dessert table extra special: by crafting the most amazing batch of Fruity Pebbles Rice Krispie Treats. They turned out so incredibly delicious and visually stunning that I simply had to share the recipe with you!
This recipe isn’t just for birthdays; it’s a versatile, year-round delight that’s incredibly simple to prepare. It requires minimal effort, making it ideal for busy weekdays, spontaneous gatherings, or just a fun kitchen project with the kids. Both children and adults will fall in love with the playful crunch and irresistible chewiness of these colorful treats.
Why This Fruity Pebbles Treat Recipe Is a Must-Try
- Explosive Fruity Flavor: Thanks to a generous amount of Fruity Pebbles cereal, these treats are packed with an authentic, full-blown fruity flavor that sets them apart from your average cereal bar. It’s a taste experience that truly celebrates the iconic cereal.
- Effortless & Quick No-Bake Dessert: This is a genuinely easy snack that comes together in mere minutes. No oven required, just a few simple steps, and you’ll have a delightful dessert that’s perfect for feeding a hungry crowd or satisfying a sudden sweet craving.
- Budget-Friendly Ingredients: You only need a handful of readily available, simple ingredients to create these colorful masterpieces. It’s an economical way to make a big batch of treats without breaking the bank.
- Universal Appeal: Who can resist the vibrant allure of rainbow Rice Krispies? These treats are guaranteed to bring smiles to faces of all ages, making them ideal for school parties, family gatherings, or just a fun weekend snack. Their playful appearance makes them an instant hit.
- Smart Use of Marshmallows: This recipe cleverly utilizes an entire bag of marshmallows, ensuring you don’t end up with any annoying leftovers. Every last marshmallow finds its purpose, contributing to the perfect soft and chewy texture.
- Customizable Fun: While delicious on their own, these treats are a fantastic canvas for creativity. Add sprinkles, drizzle with different chocolates, or incorporate other mix-ins to personalize your batch and make them even more unique.
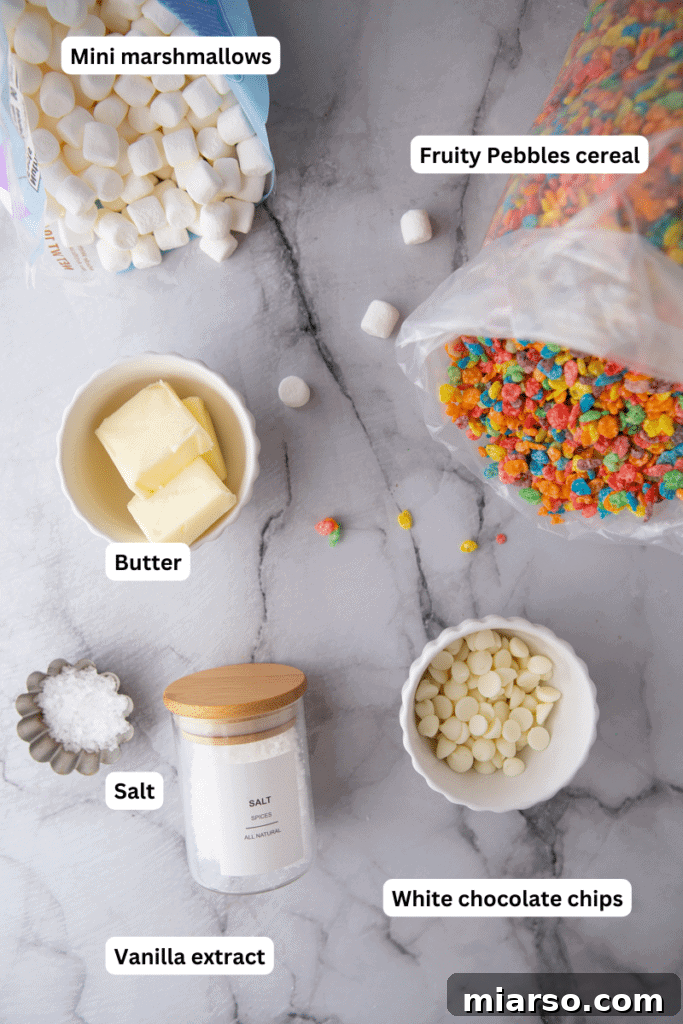
Essential Ingredients for Your Fruity Pebbles Rice Krispies Treats
Creating these delightful Fruity Pebbles bars requires just a few key components. For precise measurements and detailed quantities, remember to check the complete recipe card below. Here’s a breakdown of what you’ll need and why each ingredient is important:
- Butter: Essential for achieving that rich, smooth marshmallow base. You can use either salted or unsalted butter; whichever you have on hand will work perfectly. The butter helps prevent the treats from sticking and adds a lovely flavor depth.
- Mini Marshmallows: The star of the show! Mini marshmallows are highly recommended over larger ones because they melt more evenly and quickly. This helps prevent the mixture from overheating and burning, which can lead to hard, brittle Rice Krispie treats. Using fresh marshmallows is crucial for the best soft and chewy texture.
- Fruity Pebbles Cereal: This colorful cereal is what gives our treats their signature vibrant hues and distinct fruity flavor. It’s the foundation of this nostalgic dessert, making them visually appealing and incredibly delicious. Prepare to be captivated by their bright, playful appearance!
- Vanilla Extract: A touch of vanilla extract enhances the overall flavor profile, adding a warm, sweet aroma that complements the fruity notes of the cereal and the sweetness of the marshmallows. It’s a small addition that makes a big difference.
- Salt: Just a pinch of salt is vital for balancing the sweetness of these no-bake treats. It subtly enhances the other flavors, preventing the dessert from being overwhelmingly sugary and adding a more complex taste experience.
- White Chocolate Chips (Optional): While not strictly necessary, adding white chocolate chips is a fantastic way to introduce an extra layer of texture and sweetness. They melt slightly into the warm mixture, creating delicious pockets of creamy chocolate that are incredibly addictive and elevate the treat to gourmet status.
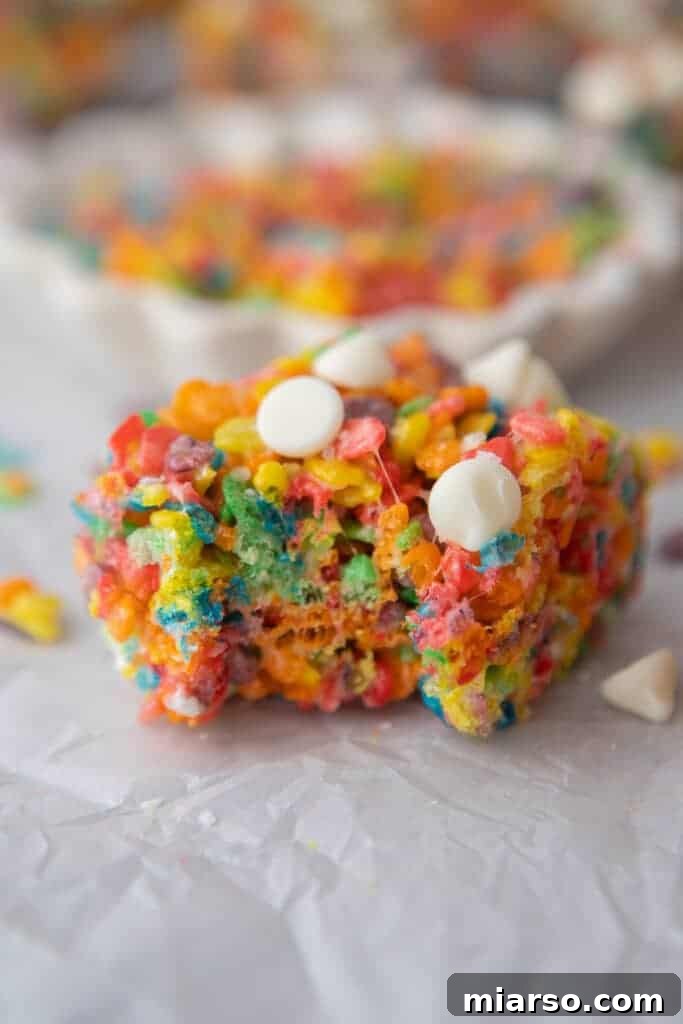
Crafting Your Delicious Fruity Pebbles Rice Crispy Treats: A Step-by-Step Guide
Get ready to whip up these amazing Fruity Pebbles Krispy Treats with ease! This recipe is incredibly straightforward, perfect for even beginner bakers. For full, detailed instructions and ingredient quantities, please refer to the comprehensive recipe card below. Here’s how you can make these colorful delights:
- Prepare Your Pan: Begin by lining an 8×8 inch baking pan with parchment paper. Ensure the parchment paper hangs over the sides to create “handles,” which will make it much easier to lift the cooled treats out of the pan. Lightly coat the parchment paper and the sides of the pan with non-stick cooking spray or a thin layer of butter. This crucial step prevents sticking and ensures a clean release. Set the prepared pan aside.
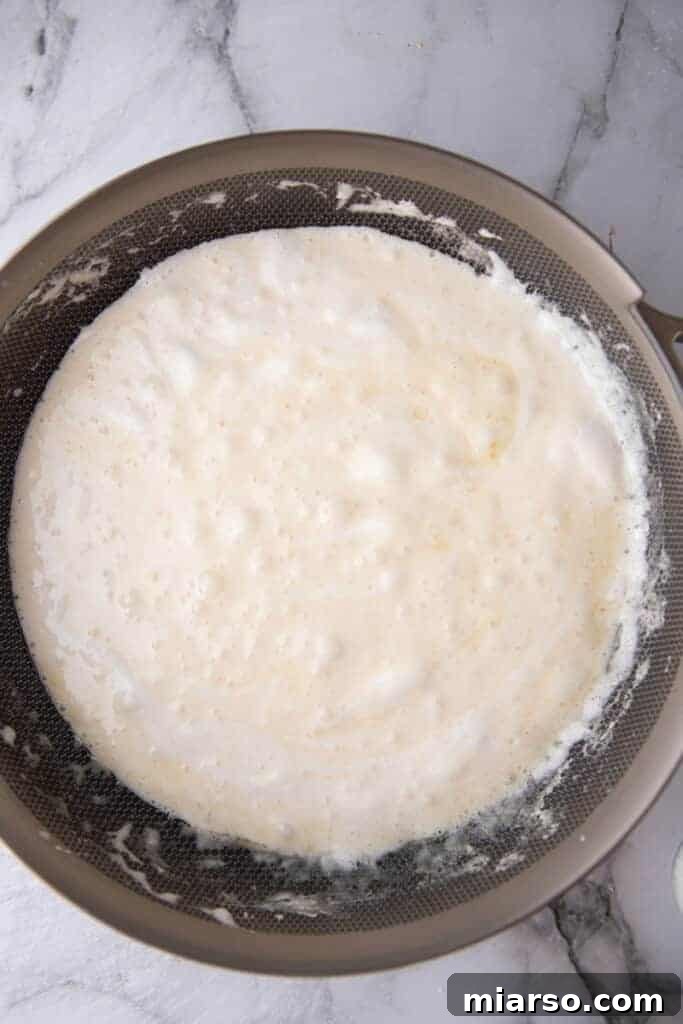
- Melt Butter and Marshmallows: In a large, heavy-bottomed saucepan, melt the butter over medium-low heat. The key here is low heat to prevent the butter from browning too quickly. Once the butter is fully melted and glistening, add the mini marshmallows to the pan. Stir continuously with a spatula or wooden spoon until the marshmallows are completely melted and form a smooth, gooey mixture. Be patient and keep the heat low to avoid scorching the marshmallows, which can make your treats hard.
- Infuse Flavor: Remove the saucepan from the heat immediately after the marshmallows have melted. Quickly stir in the vanilla extract and salt. The residual heat will help these ingredients incorporate fully into the marshmallow mixture, enhancing the flavor without cooking them off.
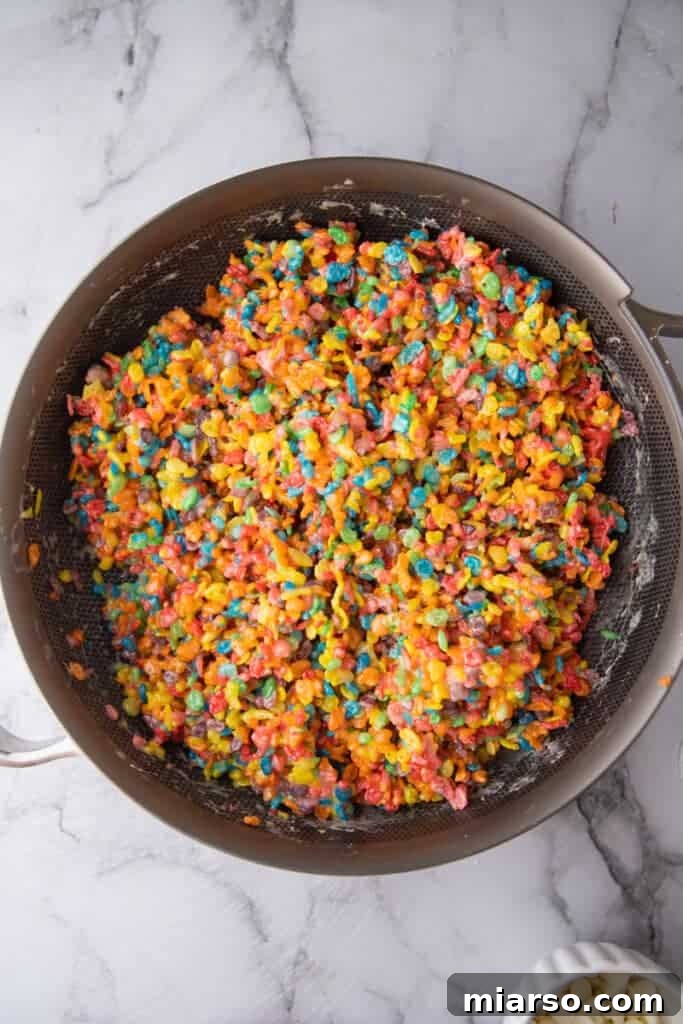
- Combine with Cereal: Add the entire quantity of Fruity Pebbles crispy rice cereal to the warm marshmallow mixture in the pot. Using a sturdy spatula, gently but thoroughly fold the cereal into the marshmallow mixture. Continue stirring until every piece of cereal is evenly coated with the sticky, sweet marshmallow goodness. Work relatively quickly while the mixture is still warm and pliable.
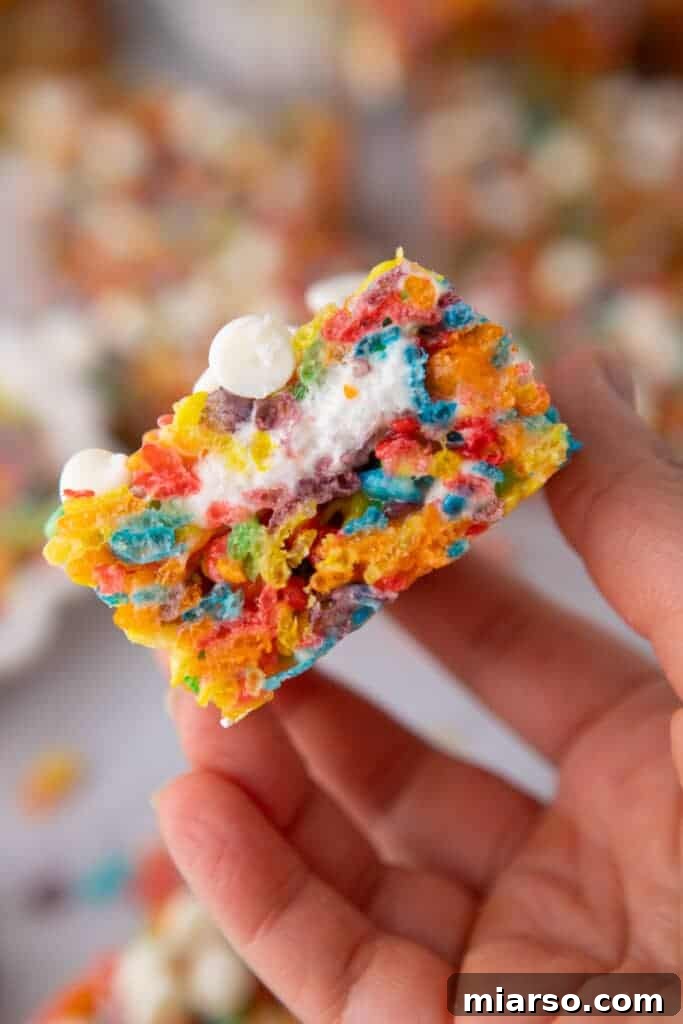
- Achieve the Marbled Effect (Optional but Recommended): For an extra layer of chewiness and a beautiful marbled look, gently fold in the remaining 1/4 cup of mini marshmallows while the mixture is still warm. These marshmallows will partially melt, creating lovely pockets of soft, gooey marshmallow throughout the treats, adding to their irresistible texture.
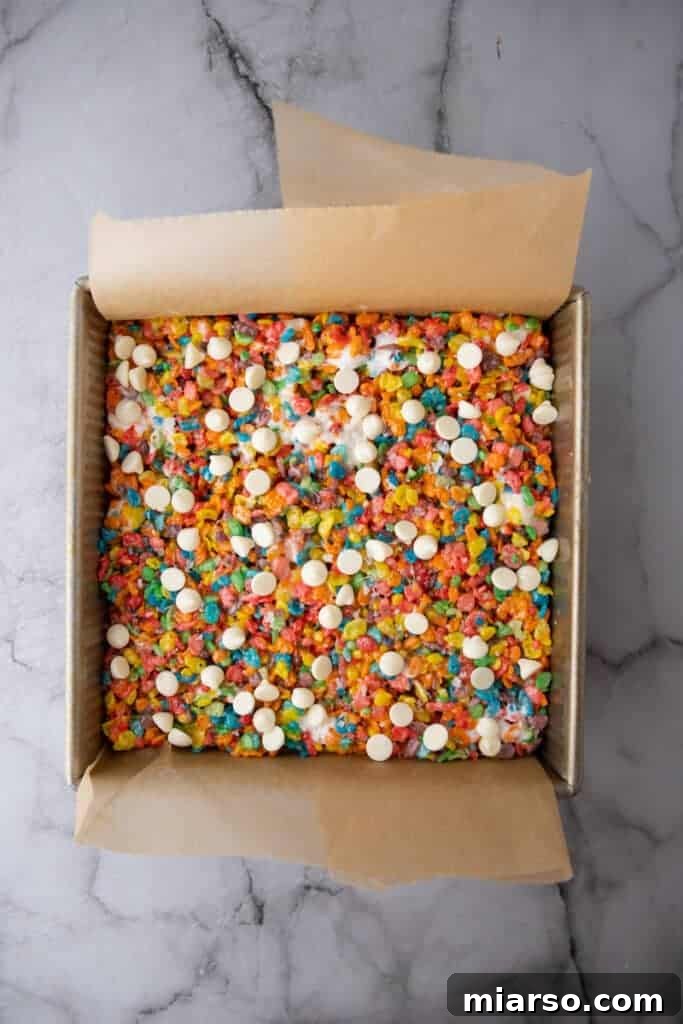
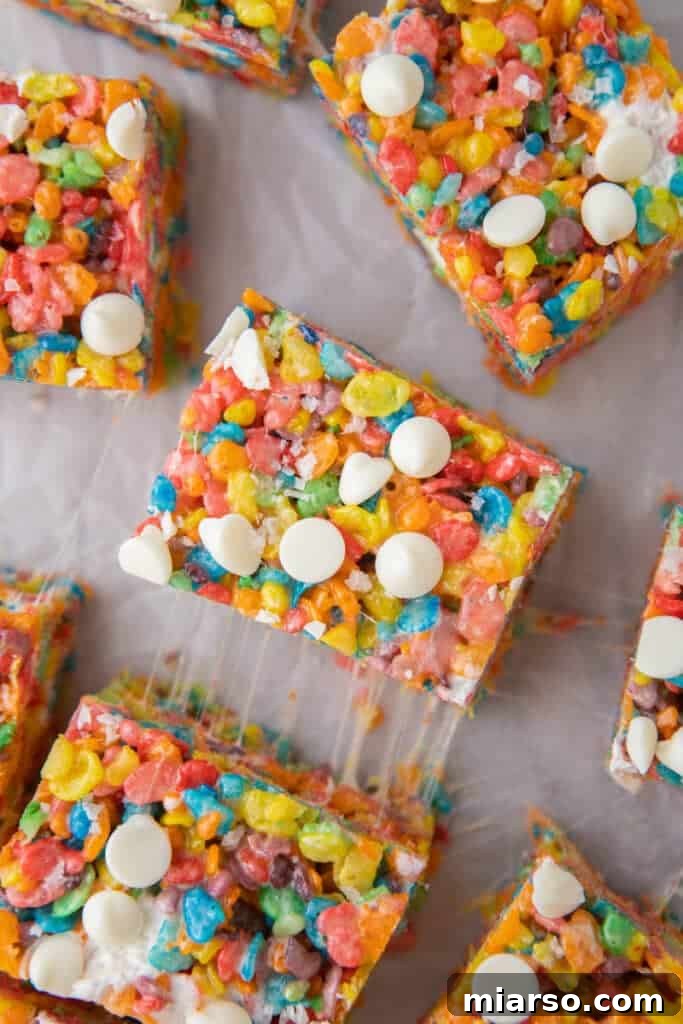
- Press into Pan & Set: Transfer the coated cereal mixture into your prepared 8×8 inch pan. Using a buttered spatula, a piece of wax paper, or even your lightly buttered hands, press the mixture firmly and evenly into the pan. This compaction is important for ensuring the treats hold their shape and have a satisfying density. For an added touch, sprinkle more white chocolate chips and a tiny pinch of sea salt on top before the treats set. Allow the treats to cool completely at room temperature for at least 30 minutes, or until fully set, before slicing them into perfect squares with a sharp, greased knife.
Frequently Asked Questions (FAQ) About Fruity Pebbles Krispie Treats
How do I properly store these Fruity Pebbles Krispie Treats to keep them fresh?
To maintain their optimal soft and chewy texture, store your Fruity Pebbles Krispie Treats in an airtight container at room temperature. They will stay fresh and delicious for up to 3 days. Avoid refrigerating them, as this can make them hard and less enjoyable. If stacking, place parchment paper between layers to prevent sticking.
Can I freeze these colorful cereal bars for later enjoyment?
Absolutely! These cereal bars are excellent for freezing. To freeze, individually wrap each treat tightly in plastic wrap, then place the wrapped treats in a freezer-safe ziplock bag or airtight container. They can be frozen for up to 3 months. When you’re ready to enjoy them, simply let them thaw completely on the counter at room temperature before indulging. This method is perfect for meal prepping desserts or saving some for a rainy day.
Is it possible to prepare this recipe using a microwave instead of the stovetop?
Yes, you certainly can! While the stovetop method provides more control, using a microwave is a convenient alternative. To do so, melt the butter in a large, microwave-safe bowl. Once melted, add the mini marshmallows and stir to coat. Microwave on high in 30-second intervals, stirring well after each, until the marshmallows are fully melted and smooth. Be careful not to overheat. Once melted, proceed with adding the vanilla extract, salt, and cereal as directed in the stovetop instructions.
My homemade Rice Krispies treats turned out hard! What went wrong?
A common culprit for hard Rice Krispie treats is old or stale marshmallows. The secret to perfectly soft and chewy treats lies in using fresh marshmallows. Older marshmallows tend to be drier and don’t melt as smoothly, resulting in a firm, rock-like texture. Always grab a fresh bag of mini marshmallows from the store for the best results. Additionally, ensure you’re melting the butter and marshmallows over low heat; high heat can cook the marshmallows too quickly, making them tough. Avoid over-stirring or pressing the mixture too firmly into the pan, as this can also compress the air out and lead to a denser, harder treat.
Can I easily double this recipe to make a larger batch?
Absolutely! This recipe scales up beautifully, making it incredibly easy to double if you need to feed a larger crowd, prepare for a party, or simply want more treats to enjoy. When doubling the recipe, you’ll need to adjust your baking pan size. Instead of an 8×8 inch pan, simply press the doubled mixture into a 9×13 inch pan. All ingredient quantities should be doubled proportionally. Make sure to use a larger pot for melting the marshmallows to accommodate the increased volume.
Can I use a different cereal instead of Fruity Pebbles?
While Fruity Pebbles gives these treats their distinctive color and flavor, you can certainly experiment with other cereals! Classic Rice Krispies work perfectly for a traditional taste, or you could try other colorful cereals like Trix or Froot Loops for a different fruity twist. Just be aware that the flavor and texture will vary depending on the cereal chosen.
How can I make these Fruity Pebbles Krispie Treats extra gooey?
To achieve an even gooier texture, you can add an extra 1/2 to 1 cup of mini marshmallows along with the cereal. The added marshmallows will melt into the mixture, creating a softer, more pliable, and incredibly gooey treat. You can also slightly reduce the amount of cereal, though this will make them less structured.
Fruity Pebbles Treats Recipe
Fruity Pebbles Rice Krispies Treats
Ingredients
- 5 cups mini marshmallows (one 10 oz bag) divided, keep 1/4 cup aside to mix in later for a marbled effect.
- 1/4 cup mini marshmallows to create a marbling effect
- 5 cups Fruity Pebbles cereal (or chocolate crispy rice cereal, as specified in original ingredient list, for a color twist)
- 1/4 cup unsalted butter
- 1 teaspoon vanilla extract
- 1/4 teaspoon salt
- 2 tablespoons white chocolate chips (plus extra for topping, optional)
Instructions
- Grease an 8×8 inch baking pan with butter or non-stick spray and line with parchment paper, leaving an overhang for easy removal.
- In a large pot, melt the 1/4 cup unsalted butter over medium-low heat. Once fully melted, add 5 cups of mini marshmallows and stir continuously until they are completely smooth and melted.
- Remove the pot from the heat. Stir in the 1 teaspoon of vanilla extract and 1/4 teaspoon of salt until well combined.
- Add the 5 cups of Fruity Pebbles cereal to the marshmallow mixture. Stir gently with a spatula until all the cereal is thoroughly coated.
- While the mixture is still warm, gently fold in the remaining 1/4 cup of mini marshmallows. This will allow them to melt slightly and create a lovely marbled, extra-gooey effect throughout the treats.
- Press the mixture evenly into the prepared baking pan using a buttered spatula or wax paper. Press firmly but gently to compact the mixture without crushing it. If desired, sprinkle the 2 tablespoons of white chocolate chips and a pinch of sea salt on top for added flavor and texture. Allow the treats to cool and set at room temperature for about 30 minutes before slicing into squares.
Nutrition
Nutrition information is automatically calculated and should only be used as an approximation. Individual results may vary.

Loved this Fruity Pebbles Rice Krispie Treats Recipe? Don’t Forget to Pin It for Later!
If these vibrant, chewy, and irresistibly delicious Fruity Pebbles Rice Krispie Treats brought a smile to your face, be sure to save this recipe for future indulgence! Pin it to your favorite dessert boards on Pinterest so you can easily find it whenever a craving for a nostalgic, no-bake treat strikes. Share the joy of these colorful cereal bars with friends and family, and let the sweetness continue!