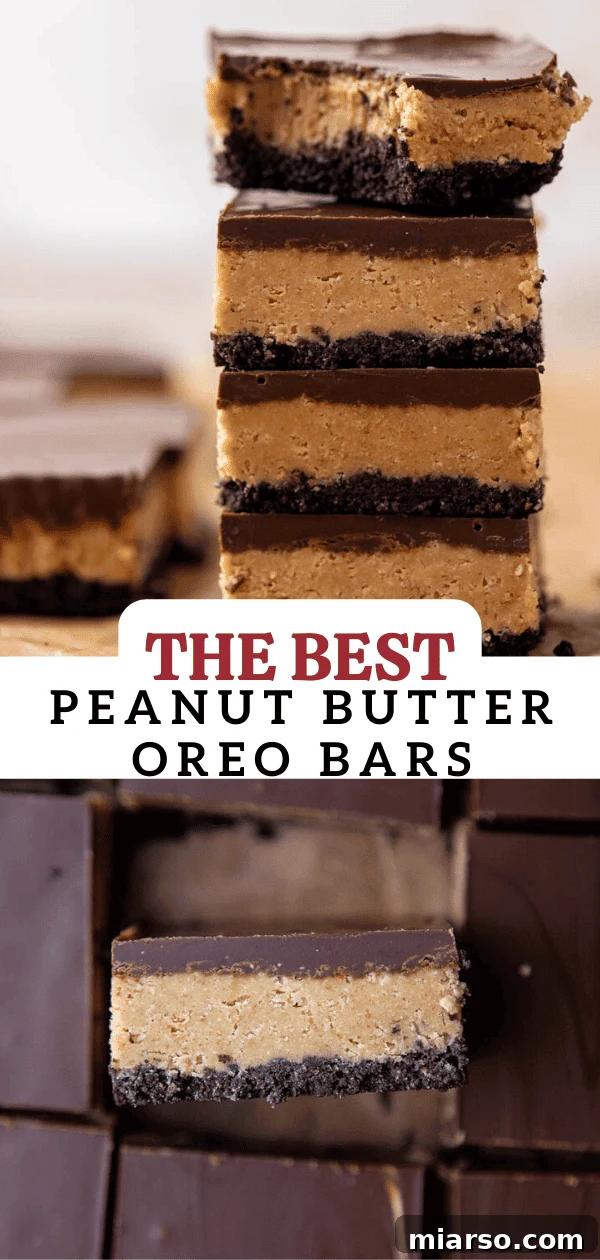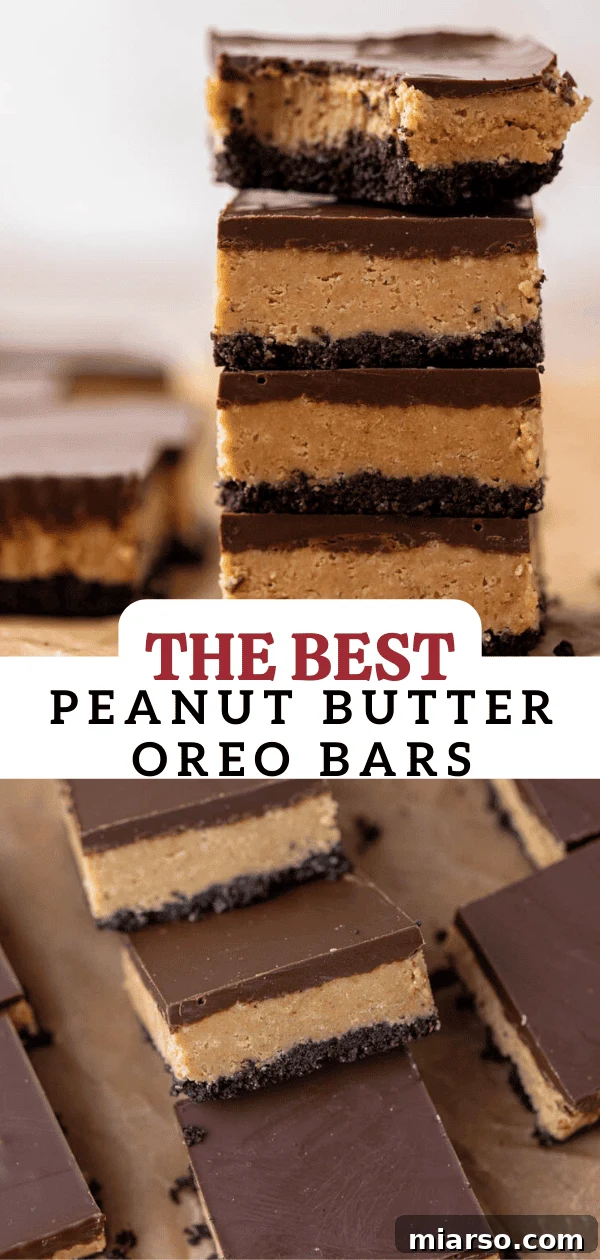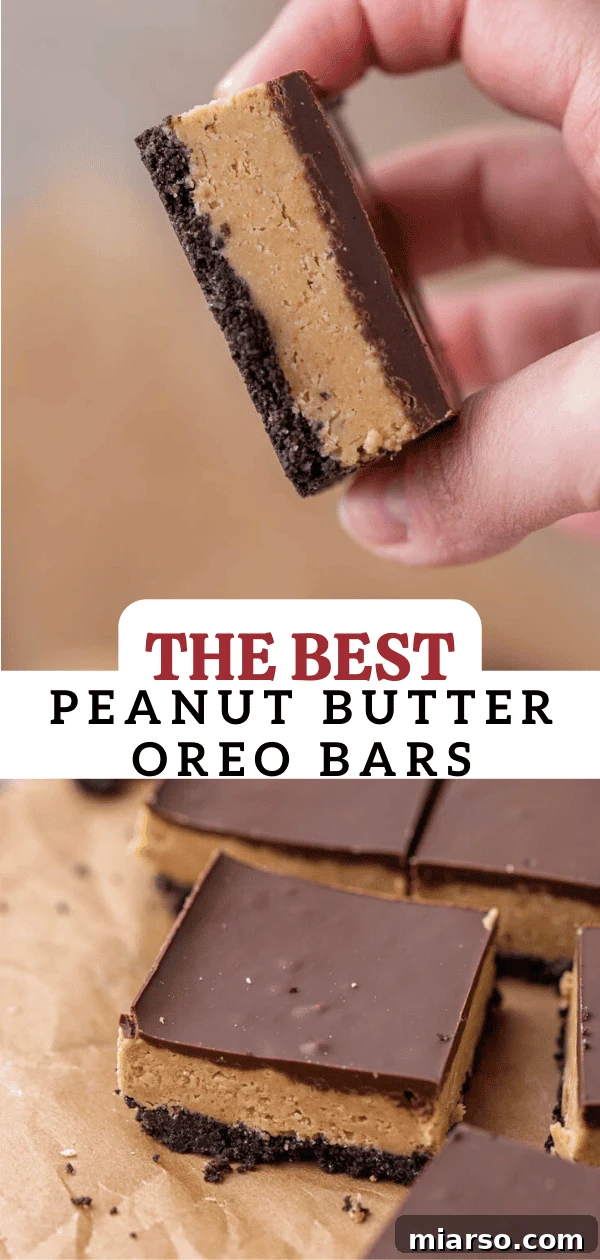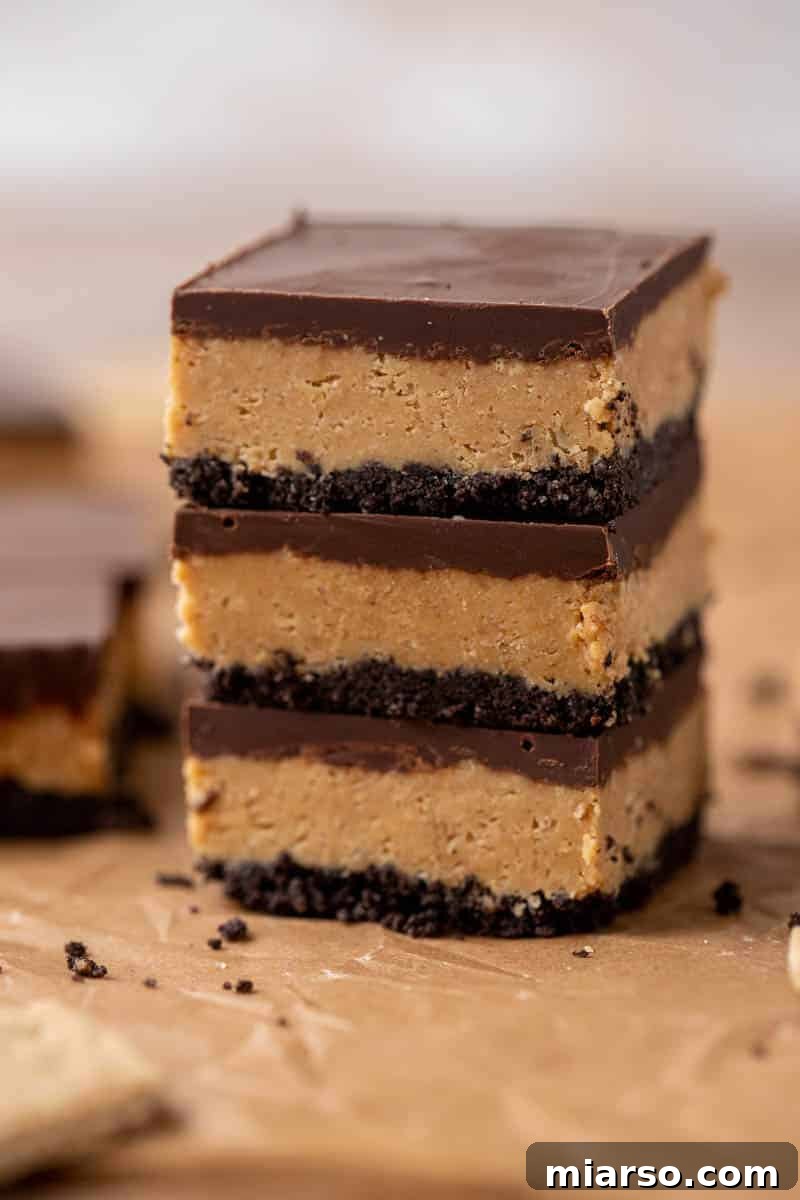
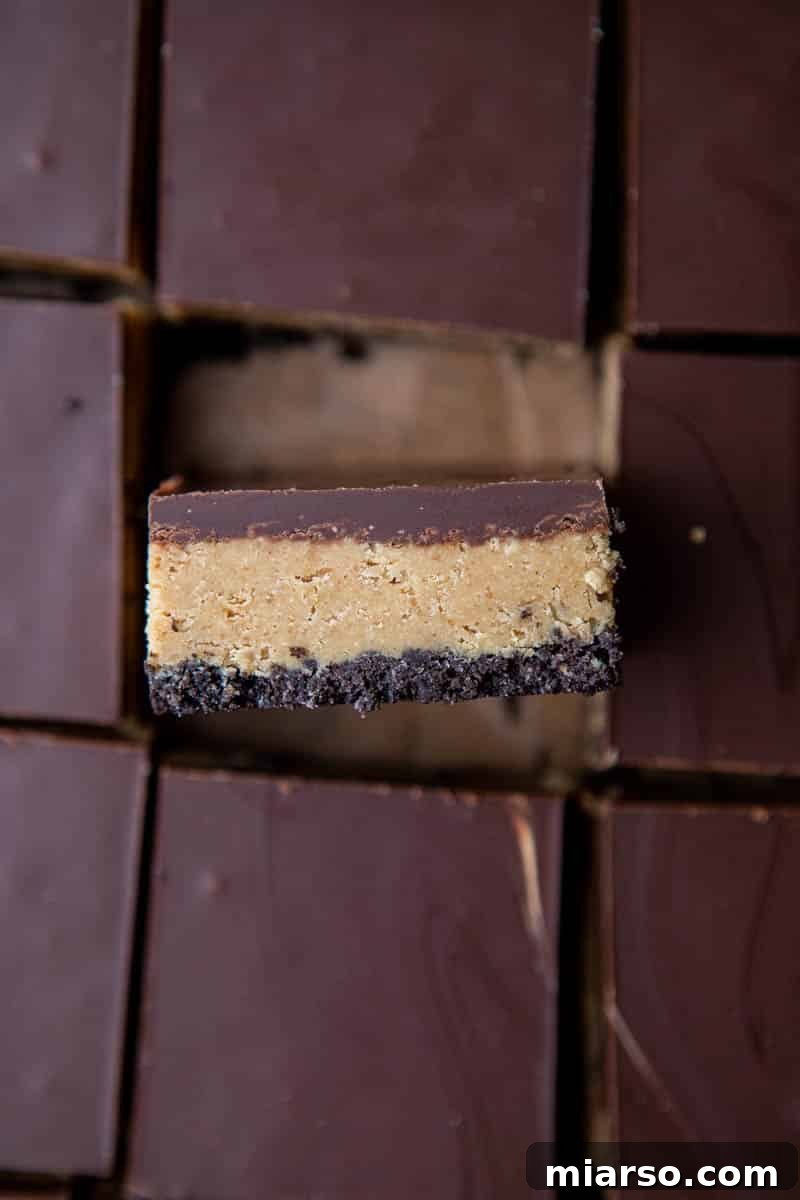
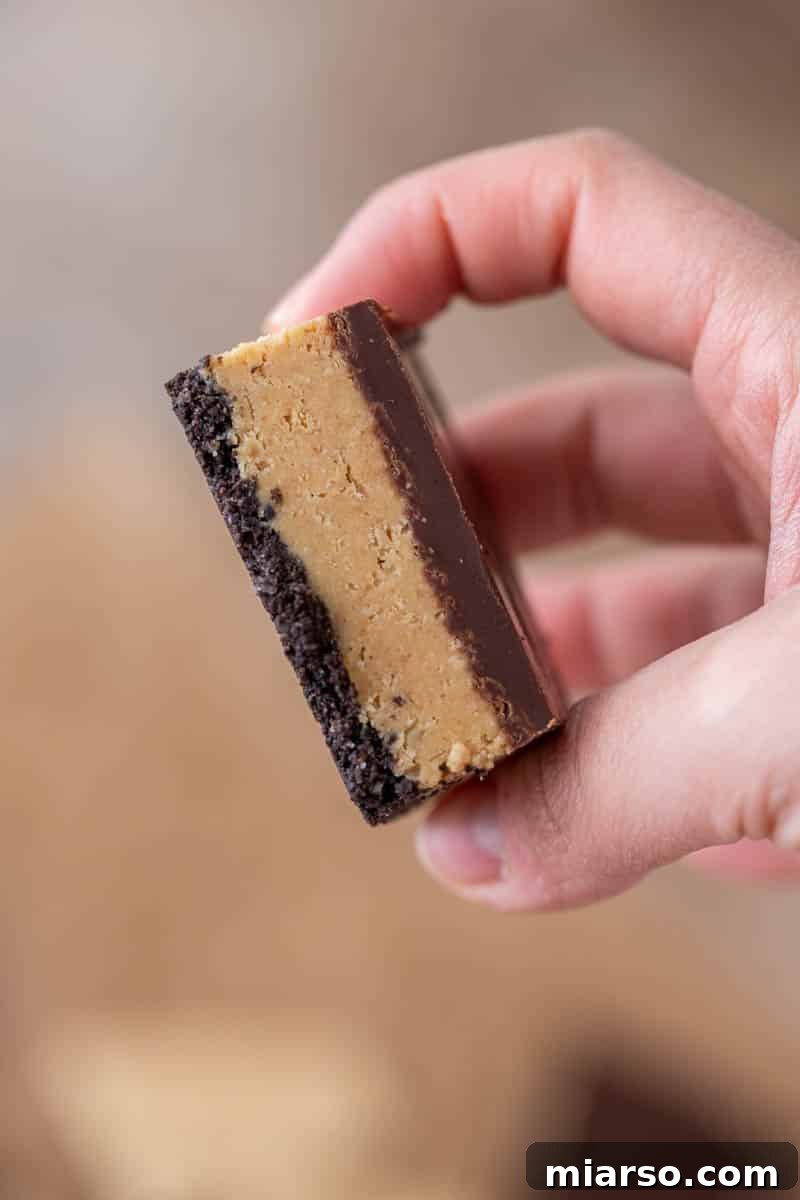
Indulge in the ultimate dessert experience with these decadent **Peanut Butter Oreo Bars**. This no-bake masterpiece is a dream come true for anyone who loves the irresistible combination of creamy peanut butter and crunchy Oreo cookies, all topped with a silky smooth layer of chocolate. Perfect for gatherings, holidays, or simply satisfying a sweet craving, these bars are incredibly easy to make and guaranteed to be a crowd-pleaser. Each slice reveals three distinct layers: a rich, dark Oreo crust, a thick, sweet peanut butter filling, and a luscious chocolate ganache topping. Prepare to impress with this simple yet show-stopping treat that requires no oven time!
If you’re a fan of fuss-free desserts, you might also enjoy these budget-friendly chocolate peanut butter bars, a delightful snowball cookie recipe, festive Christmas M&M’s chocolate chip cookies, and our beloved chilled hot chocolate cookies. Each offers a unique blend of flavors and textures, perfect for any occasion.
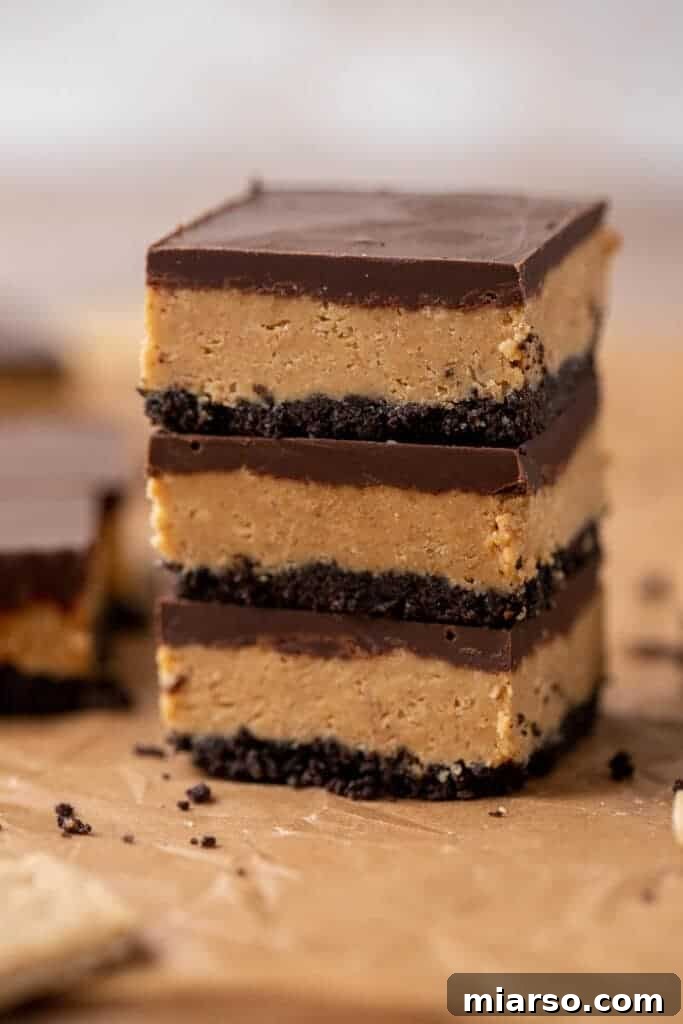
No-bake desserts are a culinary marvel, especially when your schedule is packed with holiday preparations or simply when you’re looking for a quick and satisfying sweet fix. That’s precisely why these **Oreo-Crusted Peanut Butter Bars** are a game-changer. They promise to be a surefire hit with everyone, from your closest family members to all your friends and guests. The beauty of this recipe lies in its simplicity and the delightful textural contrast it offers.
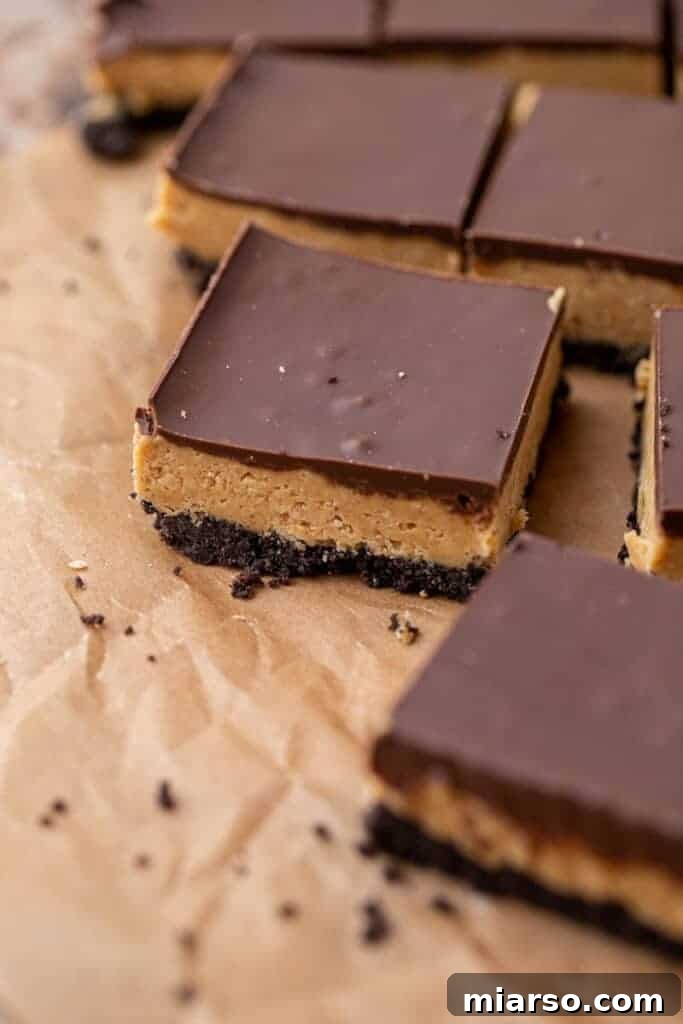
Each bar boasts three perfectly balanced layers. First, a firm and crunchy Oreo crust lays the foundation, providing a delightful textural counterpoint to the creamy layers above. Next, a thick, smooth, and incredibly rich peanut butter layer melts in your mouth, delivering that classic nutty sweetness we all adore. Finally, a fudgy, melted chocolate topping seals the deal, offering a luxurious finish that ties all the flavors together. These layers not only look appealing when sliced but also create a harmonious symphony of taste and texture with every bite.
Discover the Best No-Bake Peanut Butter Oreo Bars Recipe!
What makes this particular **Peanut Butter Oreo Bars recipe** truly exceptional is its adaptability and foolproof nature. Designed initially for an 8×8 inch pan, it yields a generous batch perfect for smaller gatherings or a week of delightful personal indulgence. However, if you’re hosting a larger crowd or simply can’t get enough of these incredible bars, the recipe can be easily doubled to fit a 9×13 inch pan, ensuring there’s plenty to go around. For presentation perfection and clean, sharp edges that make your dessert look professionally made, I highly recommend using high-quality baking pans, such as USA pans. Their precise design helps achieve those crisp corners that elevate the final aesthetic of your bars.
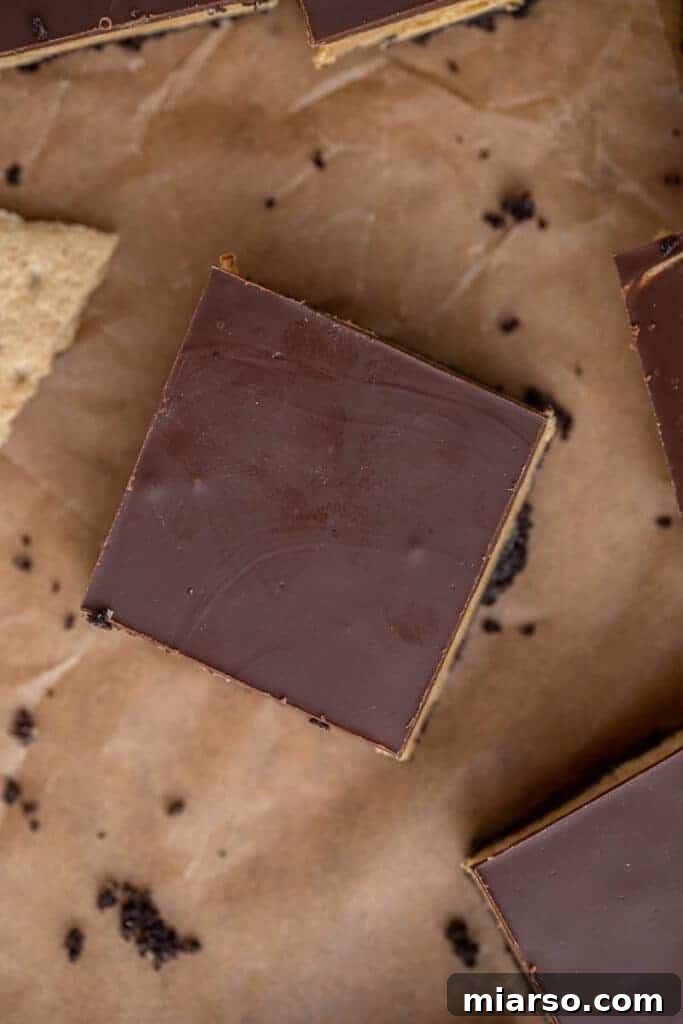
Why These Peanut Butter Oreo Bars Are a Must-Try
There are countless reasons why these **no-bake peanut butter Oreo bars** deserve a spot in your recipe collection. They are not just a dessert; they are a delightful experience waiting to happen. Here’s why you absolutely need to make this recipe:
- **Effortlessly Quick and Easy:** Forget complicated baking techniques. This recipe is designed for simplicity, allowing you to whip up a gourmet-tasting dessert in minimal time. It’s perfect for busy schedules when you need a delicious treat without the fuss.
- **Pantry-Friendly Ingredients:** You likely already have most, if not all, of the ingredients needed for these bars sitting in your kitchen. This makes it a convenient and cost-effective option for a spontaneous sweet creation.
- **The Magic of No-Bake:** Keep your oven free for other culinary endeavors! As a no-bake recipe, these bars are ideal for hot weather or when you’re preparing multiple dishes and need to conserve oven space, especially during holiday baking marathons.
- **A Fun Family Activity:** Get everyone involved! This recipe is fantastic for inviting little helpers into the kitchen. Tasks like crushing Oreos, mixing ingredients, and spreading layers are simple and enjoyable for kids, making it a wonderful bonding experience.
- **Infinitely Customizable and Festive:** These bars are a blank canvas for your creativity. Tailor the decorations to suit any season or holiday. Add colorful sprinkles for birthdays, a drizzle of white chocolate for a sophisticated touch, or a sprinkle of flaky sea salt to enhance the flavors. The possibilities are endless, allowing you to personalize them for any occasion.
Essential Ingredients for Decadent Oreo Peanut Butter Bars
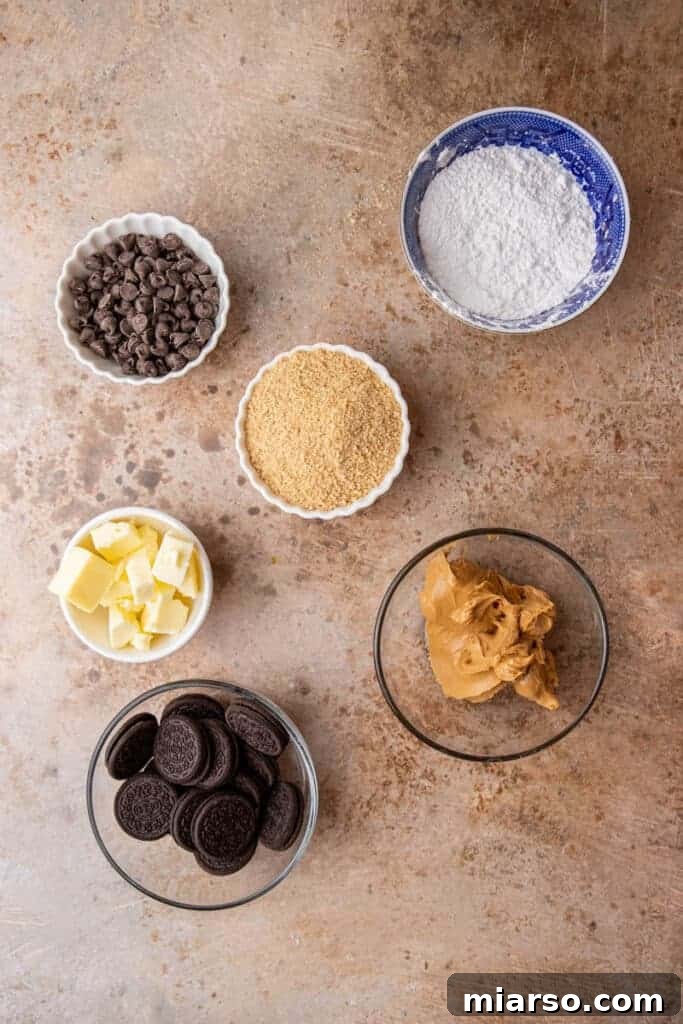
Creating these heavenly no-bake **Oreo Peanut Butter Bars** starts with a selection of high-quality, simple ingredients. Each component plays a crucial role in building the layers of flavor and texture that make this dessert so irresistible. Here’s a closer look at what you’ll need to gather:
- Oreos: The foundation of our crunchy crust! For the best results and a consistent texture, always opt for the regular original Oreos. Avoid using double-stuff versions, as the extra cream filling can alter the crust’s consistency and make it too moist.
- Butter: Salted butter is highly recommended for this recipe as it perfectly balances the sweetness of the other ingredients, adding a subtle depth of flavor. Ensure your butter is softened to room temperature for easier mixing and a smoother crust.
- Creamy Peanut Butter: The star of the middle layer! A smooth, creamy peanut butter, such as Skippy or Jif, works best to achieve that rich, velvety texture. Natural peanut butter can be used, but you might need to adjust the powdered sugar slightly if it’s less sweet or runnier.
- Graham Cracker Crumbs: These add a lovely, subtle flavor and help achieve the perfect texture in the peanut butter layer. You can easily crush your own graham cracker sheets in a food processor, or for ultimate convenience, purchase pre-ground graham cracker crumbs.
- Powdered Sugar: Also known as confectioners’ sugar, this fine sugar is essential for sweetening the peanut butter layer and giving it a smooth, melt-in-your-mouth consistency. Its finely ground texture ensures no grittiness.
- Semi-Sweet Chocolate: The key to a luxurious and fudgy top layer. Using high-quality semi-sweet chocolate chips or a chopped chocolate bar will make a significant difference in the overall taste and melt of your bars.
- Vanilla Extract: A dash of pure vanilla extract enhances all the sweet flavors, adding a warm, aromatic note that elevates the entire dessert.
For precise measurements, remember to consult the detailed recipe card below.
Step-by-Step Guide: Crafting Your No-Bake Oreo Peanut Butter Bars
Making these **no-bake Oreo peanut butter bars** is remarkably straightforward, requiring no special skills or equipment beyond a food processor and a good mixing bowl. Follow these simple steps for a truly irresistible dessert. For detailed measurements and quantities, please refer to the recipe card below.
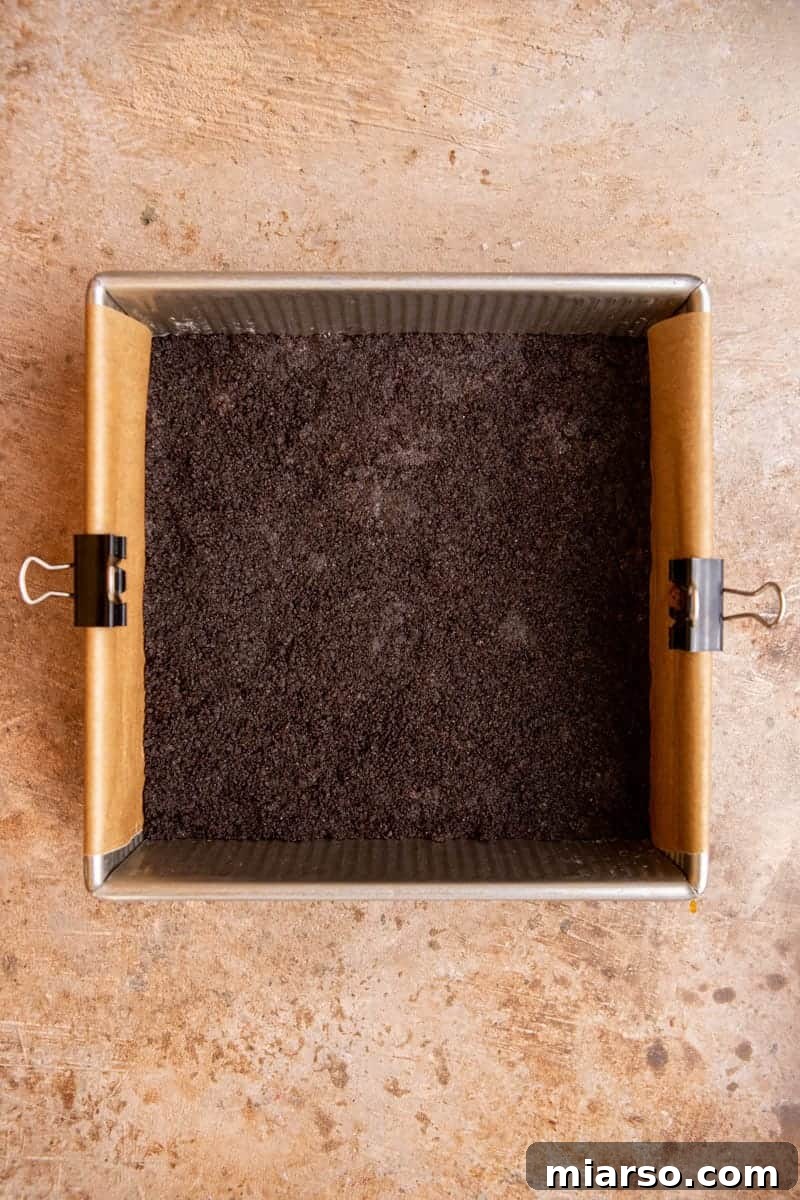
- **Prepare Your Pan:** Begin by lining an 8×8 inch baking pan with parchment paper, leaving an overhang on the sides. This “sling” will make it incredibly easy to lift the finished bars out of the pan for clean slicing. Set your prepared pan aside.
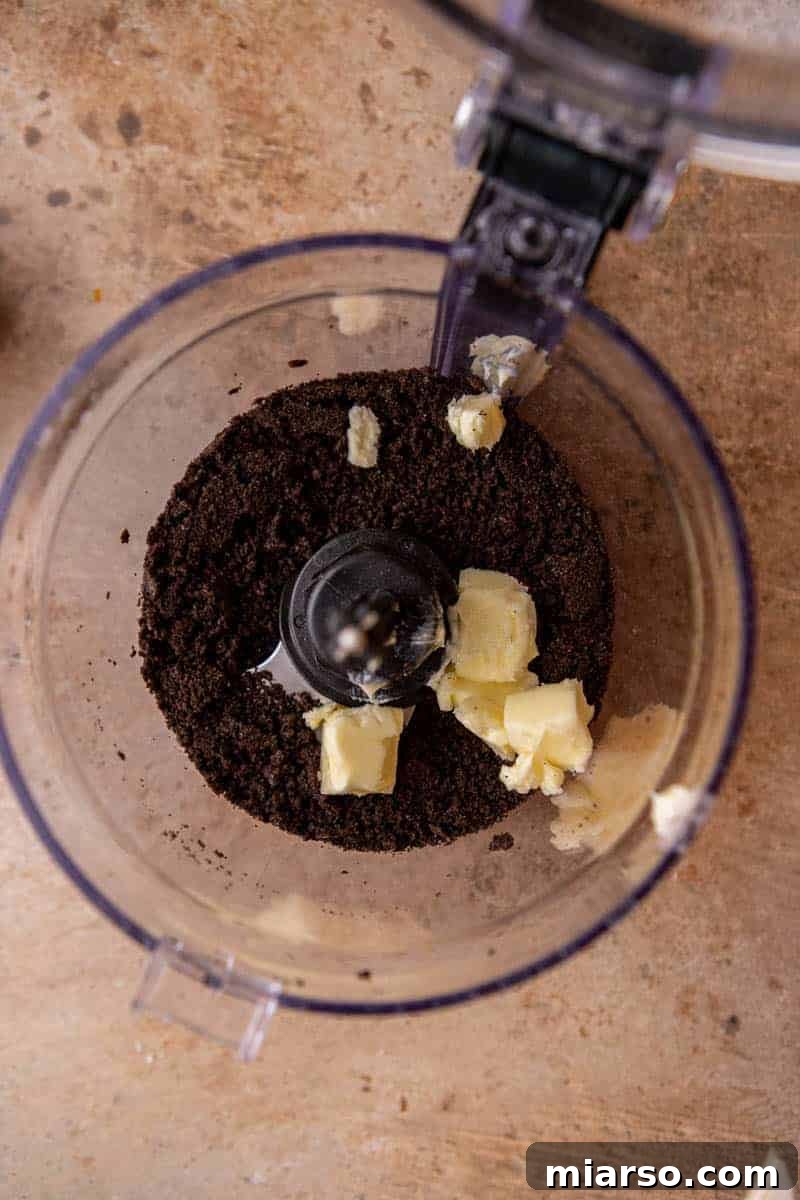
- **Create the Oreo Crust:** In a food processor, add your regular Oreo cookies. Process them until they form very fine crumbs, ensuring no large chunks remain. Add the softened butter to the crumbs and pulse again until the mixture comes together and resembles wet sand. This indicates a well-formed crust that will hold its shape.
- **Press and Chill the Crust:** Evenly press the Oreo mixture into the bottom of your prepared baking pan. Use the back of a spoon or your clean hands to press it down firmly and create a compact, even layer. Place the pan in the freezer for 15-20 minutes. This crucial step helps the crust set quickly and prevents it from crumbling when you add the next layer.
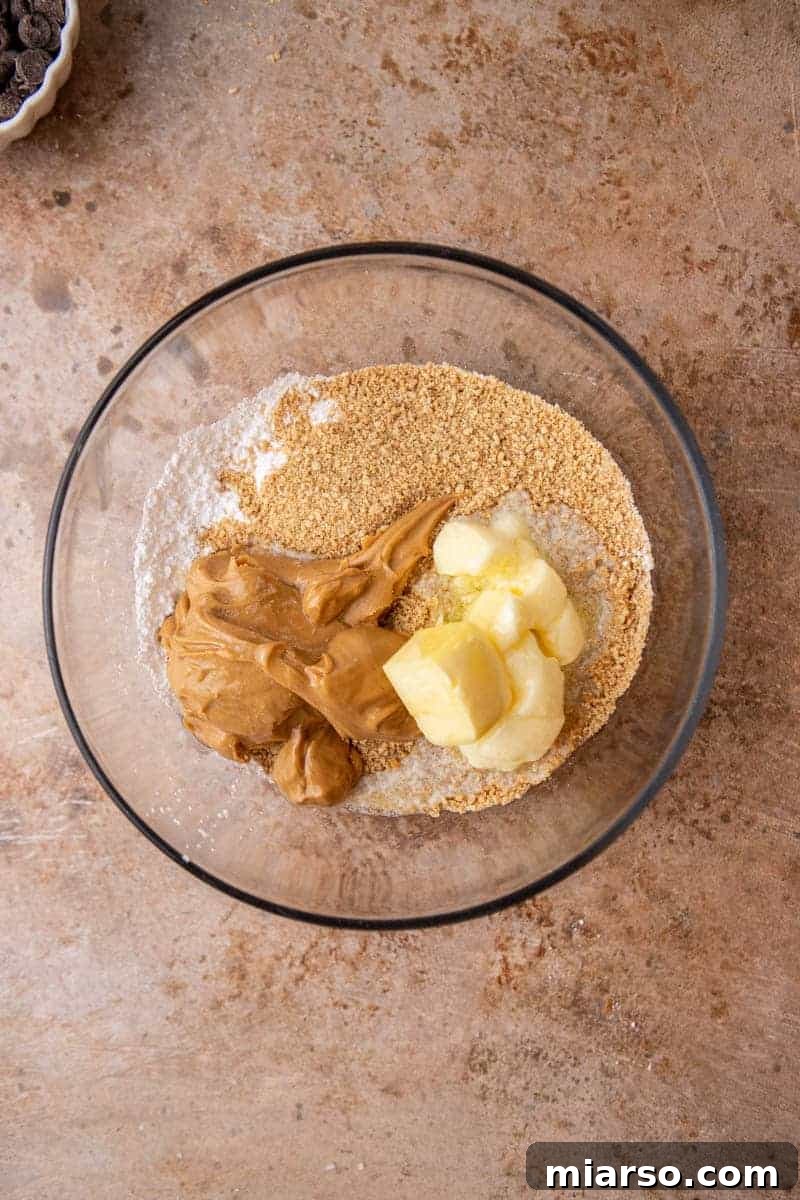
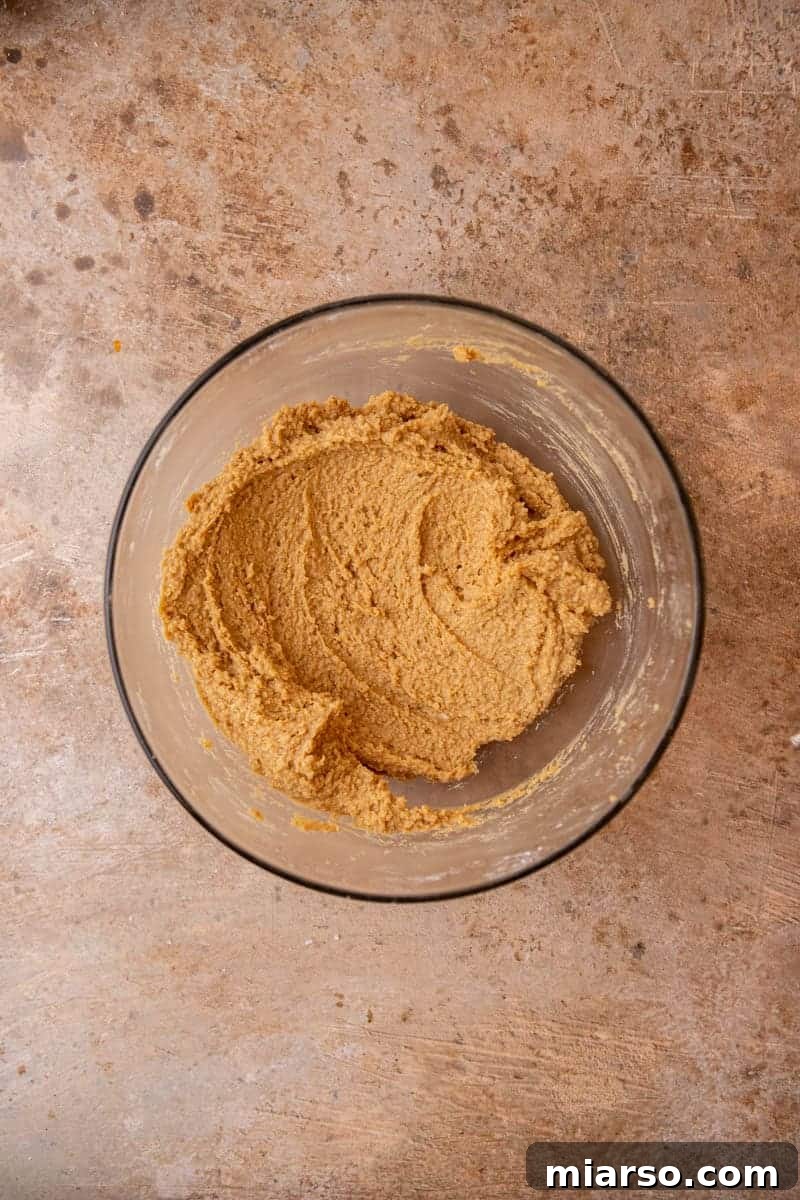
- **Mix the Peanut Butter Layer:** While the crust chills, prepare the indulgent peanut butter filling. In a large mixing bowl, combine the creamy peanut butter, softened butter, graham cracker crumbs, powdered sugar, and vanilla extract. Beat these ingredients together with an electric mixer or vigorously with a sturdy spoon until the mixture is smooth, well combined, and has a thick, slightly crumbly yet cohesive consistency.
- **Layer and Chill Again:** Retrieve the chilled Oreo crust from the freezer. Spoon the peanut butter mixture over the crust and use an offset spatula or the back of a spoon to spread it evenly from edge to edge. Ensure the layer is smooth and consistent. Return the pan to the freezer for another 15-20 minutes to allow the peanut butter layer to firm up.
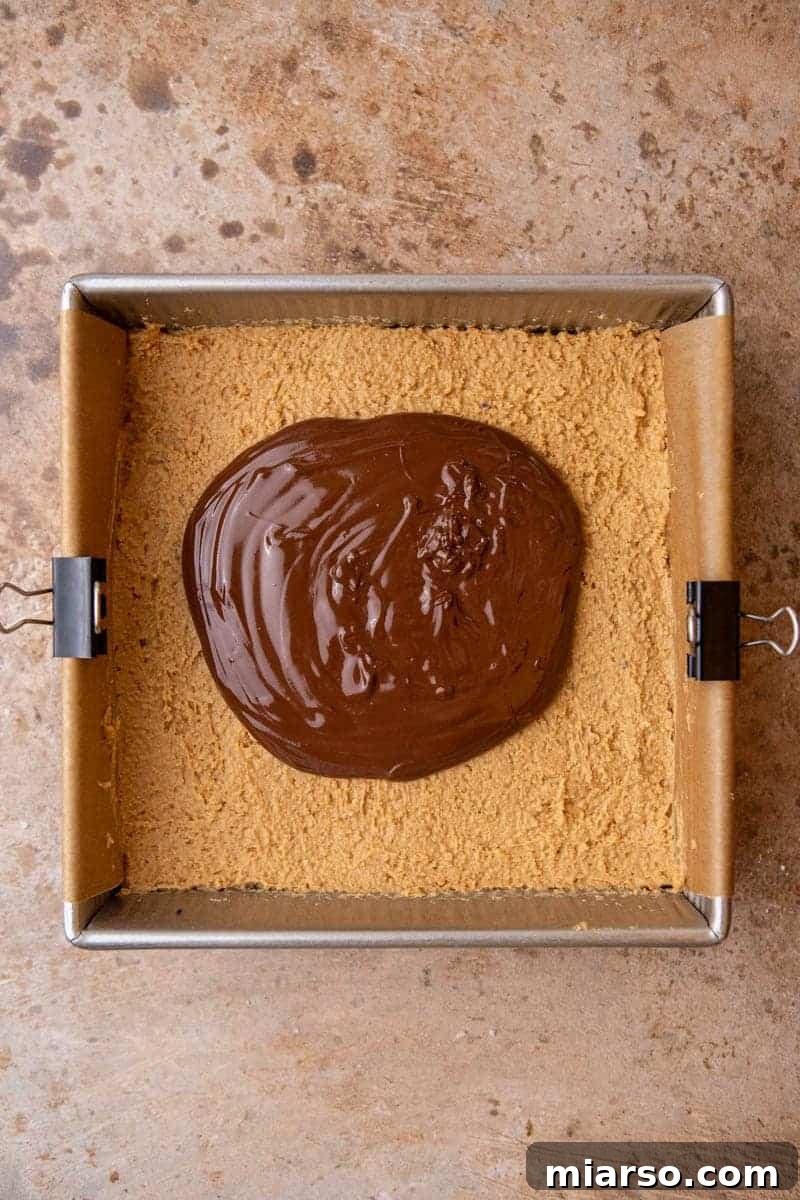
- **Prepare the Chocolate Topping:** In a medium microwave-safe bowl, combine your semi-sweet chocolate chips (or chopped chocolate) and the additional peanut butter. Microwave in 30-second intervals, stirring thoroughly after each interval, until the chocolate is fully melted and smooth. Be careful not to overheat the chocolate, as this can cause it to seize.
- **Top and Set:** Pour the warm, melted chocolate mixture evenly over the chilled peanut butter layer. Gently spread it with a spatula to create a smooth, glossy topping. Place the pan in the refrigerator for 1-2 hours, or until the chocolate layer is completely set and firm to the touch.
- **Slice and Enjoy:** Once fully set, use the parchment paper overhang to lift the entire block of bars out of the pan. Place it on a cutting board. For perfect, clean slices, use a sharp knife that has been warmed under hot water and then wiped dry. Slice into your desired bar sizes and serve immediately. Enjoy your homemade **Peanut Butter Oreo Bars**!
Frequently Asked Questions (FAQ) About Peanut Butter Oreo Bars
How to store these Peanut Butter Oreo Bars?
These **Peanut Butter Oreo Bars** are best stored in an airtight container in the refrigerator. They will maintain their freshness, texture, and delicious flavor for up to 5 days. Keeping them chilled also helps maintain their firm structure, especially during warmer weather.
Can I freeze these bars?
Absolutely! These bars freeze beautifully. To freeze, arrange the sliced bars in a single layer on a baking sheet and freeze until solid. Once frozen, transfer them to an airtight freezer-safe container or a heavy-duty freezer bag, separating layers with parchment paper to prevent sticking. They can be stored in the freezer for up to 3 months. When ready to serve, thaw them overnight in the refrigerator for the best texture.
How to serve these Oreo peanut butter bars?
Due to their creamy layers and chocolate topping, these bars don’t handle heat particularly well and can soften or melt at room temperature, especially on a warm day. For optimal enjoyment and presentation, always keep them in the refrigerator until just before you plan to serve them. If you’re serving a large crowd, consider bringing out smaller batches at a time to ensure they remain perfectly chilled and firm.
Can I use different cookies for the crust?
Yes, while Oreos provide a classic and delicious base, you can experiment with other cookie crumbs! Graham crackers, chocolate chip cookies, or even vanilla wafers could make an interesting alternative crust. Just ensure the ratio of crumbs to butter remains similar to achieve a firm crust.
Can I make these bars vegan?
To make these **Peanut Butter Oreo Bars** vegan, you would need to use vegan Oreos (some varieties are accidentally vegan, check labels), vegan butter substitutes, and vegan chocolate chips. Ensure all ingredients, including graham crackers, are free from animal products. The principle of the recipe remains the same!
How can I make a larger batch?
As mentioned, this recipe is easily doubled to fit a 9×13 inch baking pan. Simply multiply all ingredient quantities by two. The chilling times might need to be slightly extended, especially for the final set, but the process remains identical.
Peanut Butter Oreo Bars Recipe
Peanut Butter Oreo Bars
Print Recipe
Ingredients
Oreo Layer
- 15 Oreos (Original, not Double-Stuff)
- 4 tbsp butter (softened)
Peanut Butter Layer
- 3/4 cup smooth peanut butter
- 1/2 cup butter (salted or unsalted, softened)
- 1 & 1/3 cup graham cracker crumbs
- 1 cup powdered sugar
- 1 tsp vanilla extract
Chocolate Layer
- 5 oz semi-sweet chocolate chips or chopped bar
- 2 tbsp peanut butter
Instructions
Oreo Layer
-
Line an 8×8 inch baking pan with parchment paper, leaving an overhang on all sides, and set aside.
-
In a food processor, process the 15 Oreos until fine crumbs are formed. Add in the 4 tbsp softened butter and pulse again until the mixture is well combined and holds together.
-
Press the Oreo mixture evenly into the bottom of the prepared baking pan. Place in the freezer for 15-20 minutes to set while you prepare the peanut butter layer.
Peanut Butter Layer
-
In a large bowl, combine the 3/4 cup peanut butter, 1/2 cup softened butter, 1 & 1/3 cup graham cracker crumbs, 1 cup powdered sugar, and 1 tsp vanilla extract. Mix with an electric mixer or sturdy spoon until all ingredients are thoroughly combined and the mixture is smooth and creamy.
-
Evenly spread and press the peanut butter mixture on top of the chilled Oreo crust. Return the pan to the freezer for another 15-20 minutes to firm up this layer.
Chocolate Layer
-
In a microwave-safe bowl, combine the 5 oz semi-sweet chocolate and 2 tbsp peanut butter. Melt in 30-second increments, stirring well after each, until fully melted and smooth.
-
Pour the melted chocolate mixture over the chilled peanut butter layer and gently spread it evenly using a spatula. Chill the bars in the refrigerator for 1-2 hours, or until the chocolate layer is completely set.
-
Once fully set, lift the bars from the pan using the parchment paper overhang. Place on a cutting board, warm a sharp knife under hot water, wipe it dry, and slice into squares or rectangles. Enjoy!
Notes
Store in the fridge for up to 5 days or in the freezer for up to 3 months.
Nutrition
Nutrition information is automatically calculated, so should only be used as an approximation.

Shop For This Recipe
This post may contain affiliate links, meaning that at no cost to you, I will get a small percentage of every purchase you make!
Recommended Baking Pan: Achieve perfectly sharp edges with a high-quality 8×8 inch baking pan.
USA Pan 8×8 Inch Square Cake Pan
Food Processor: Essential for crushing Oreos into fine crumbs quickly and efficiently.
Cuisinart 7-Cup Food Processor
Offset Spatula: Great for spreading the peanut butter and chocolate layers smoothly.
Wilton Angled Icing Spatula
Loved This Peanut Butter Oreo Bars Recipe? Pin It for Later!
If you found this recipe for **Peanut Butter Oreo Bars** as delightful to make as it is to eat, don’t forget to save it for future enjoyment! Pin this recipe to your favorite dessert board on Pinterest so you can easily find it whenever a craving strikes or when you need a reliable no-bake treat for your next event. Sharing is caring, and we’d love for you to share the joy of these incredible bars with your friends and family!