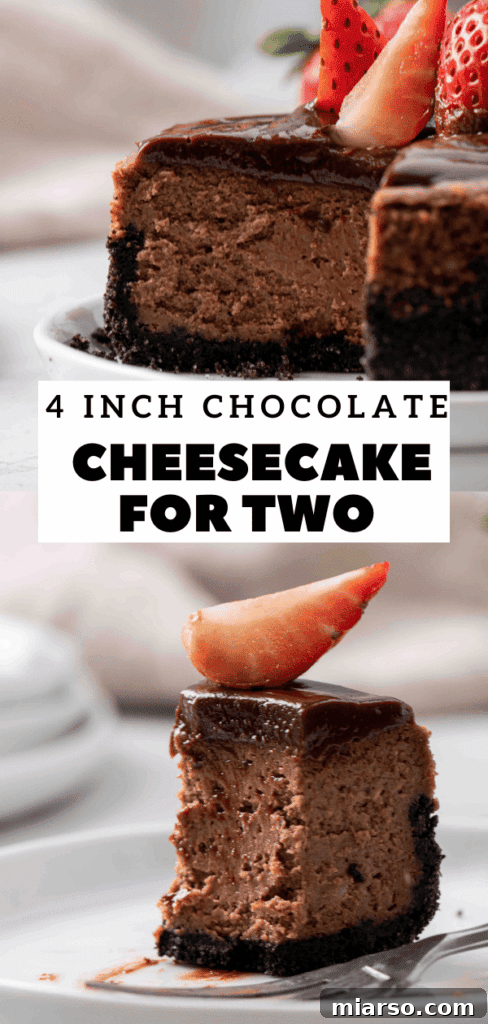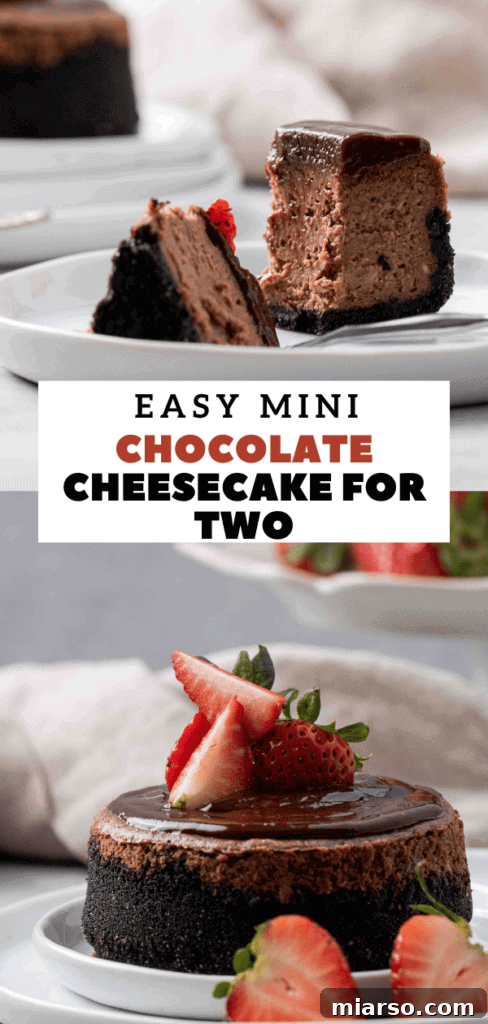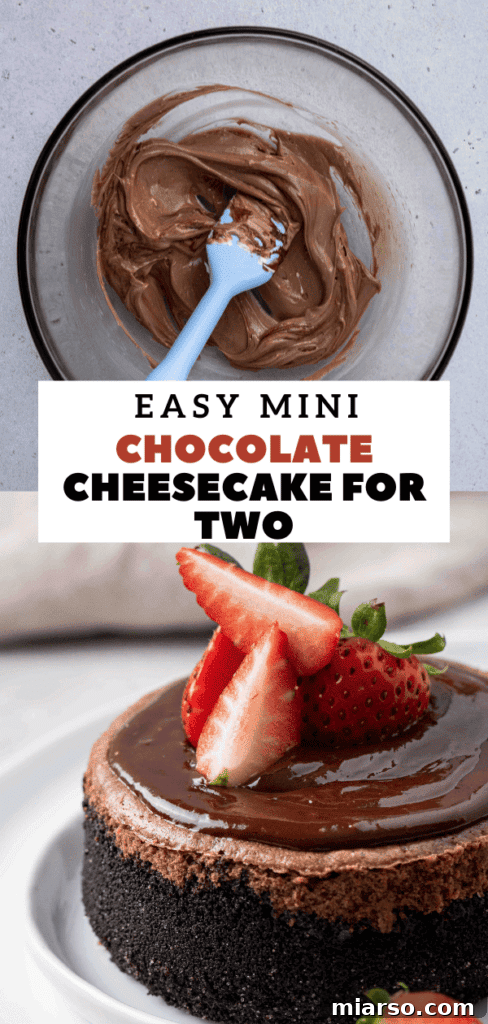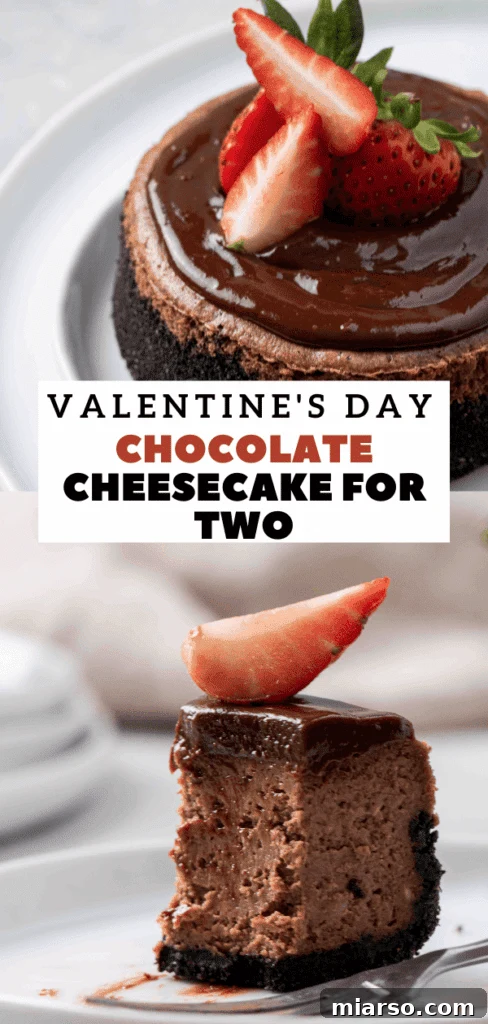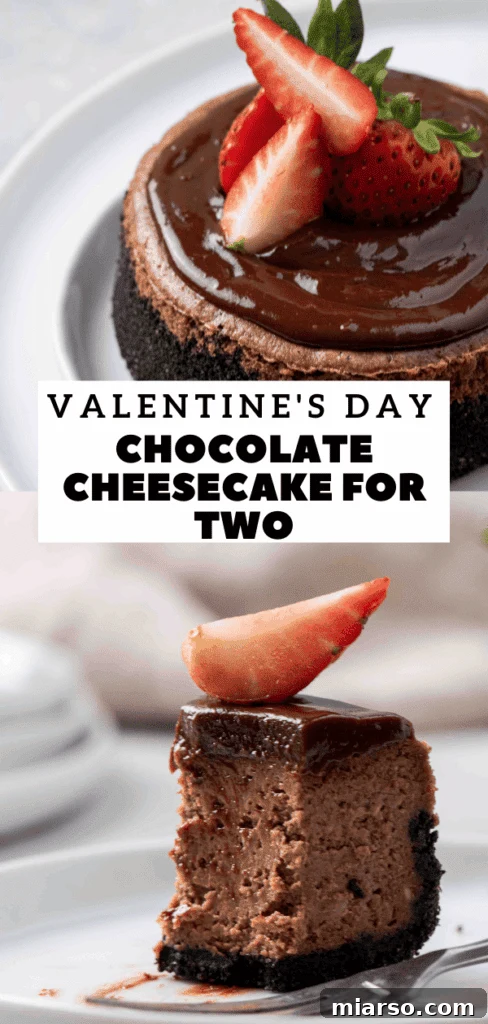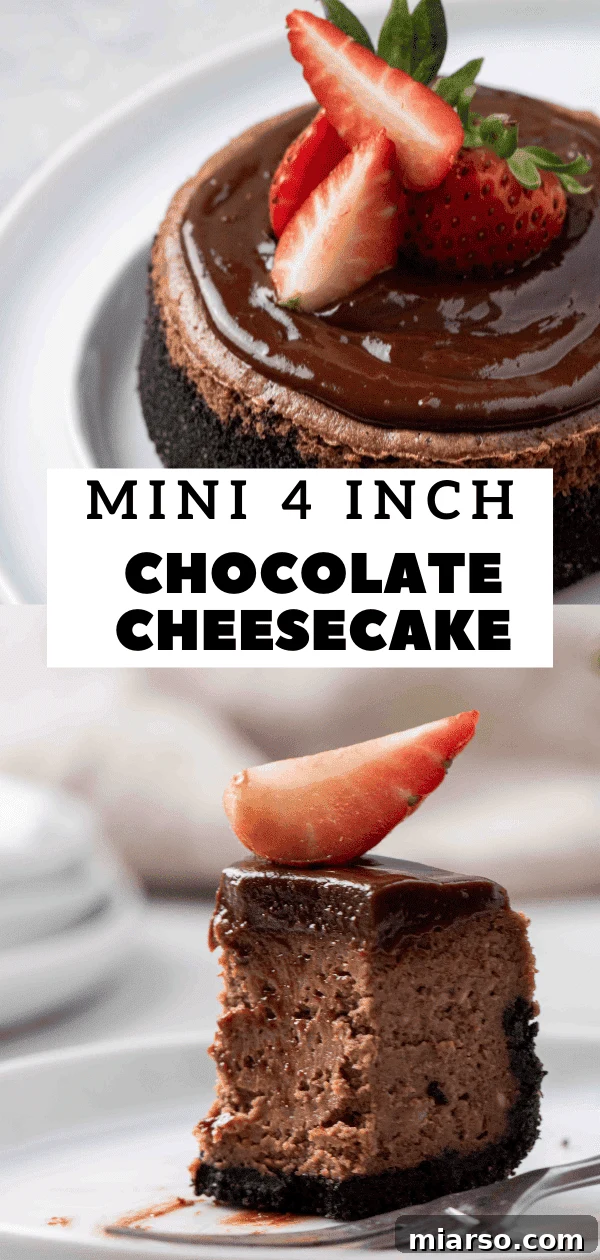
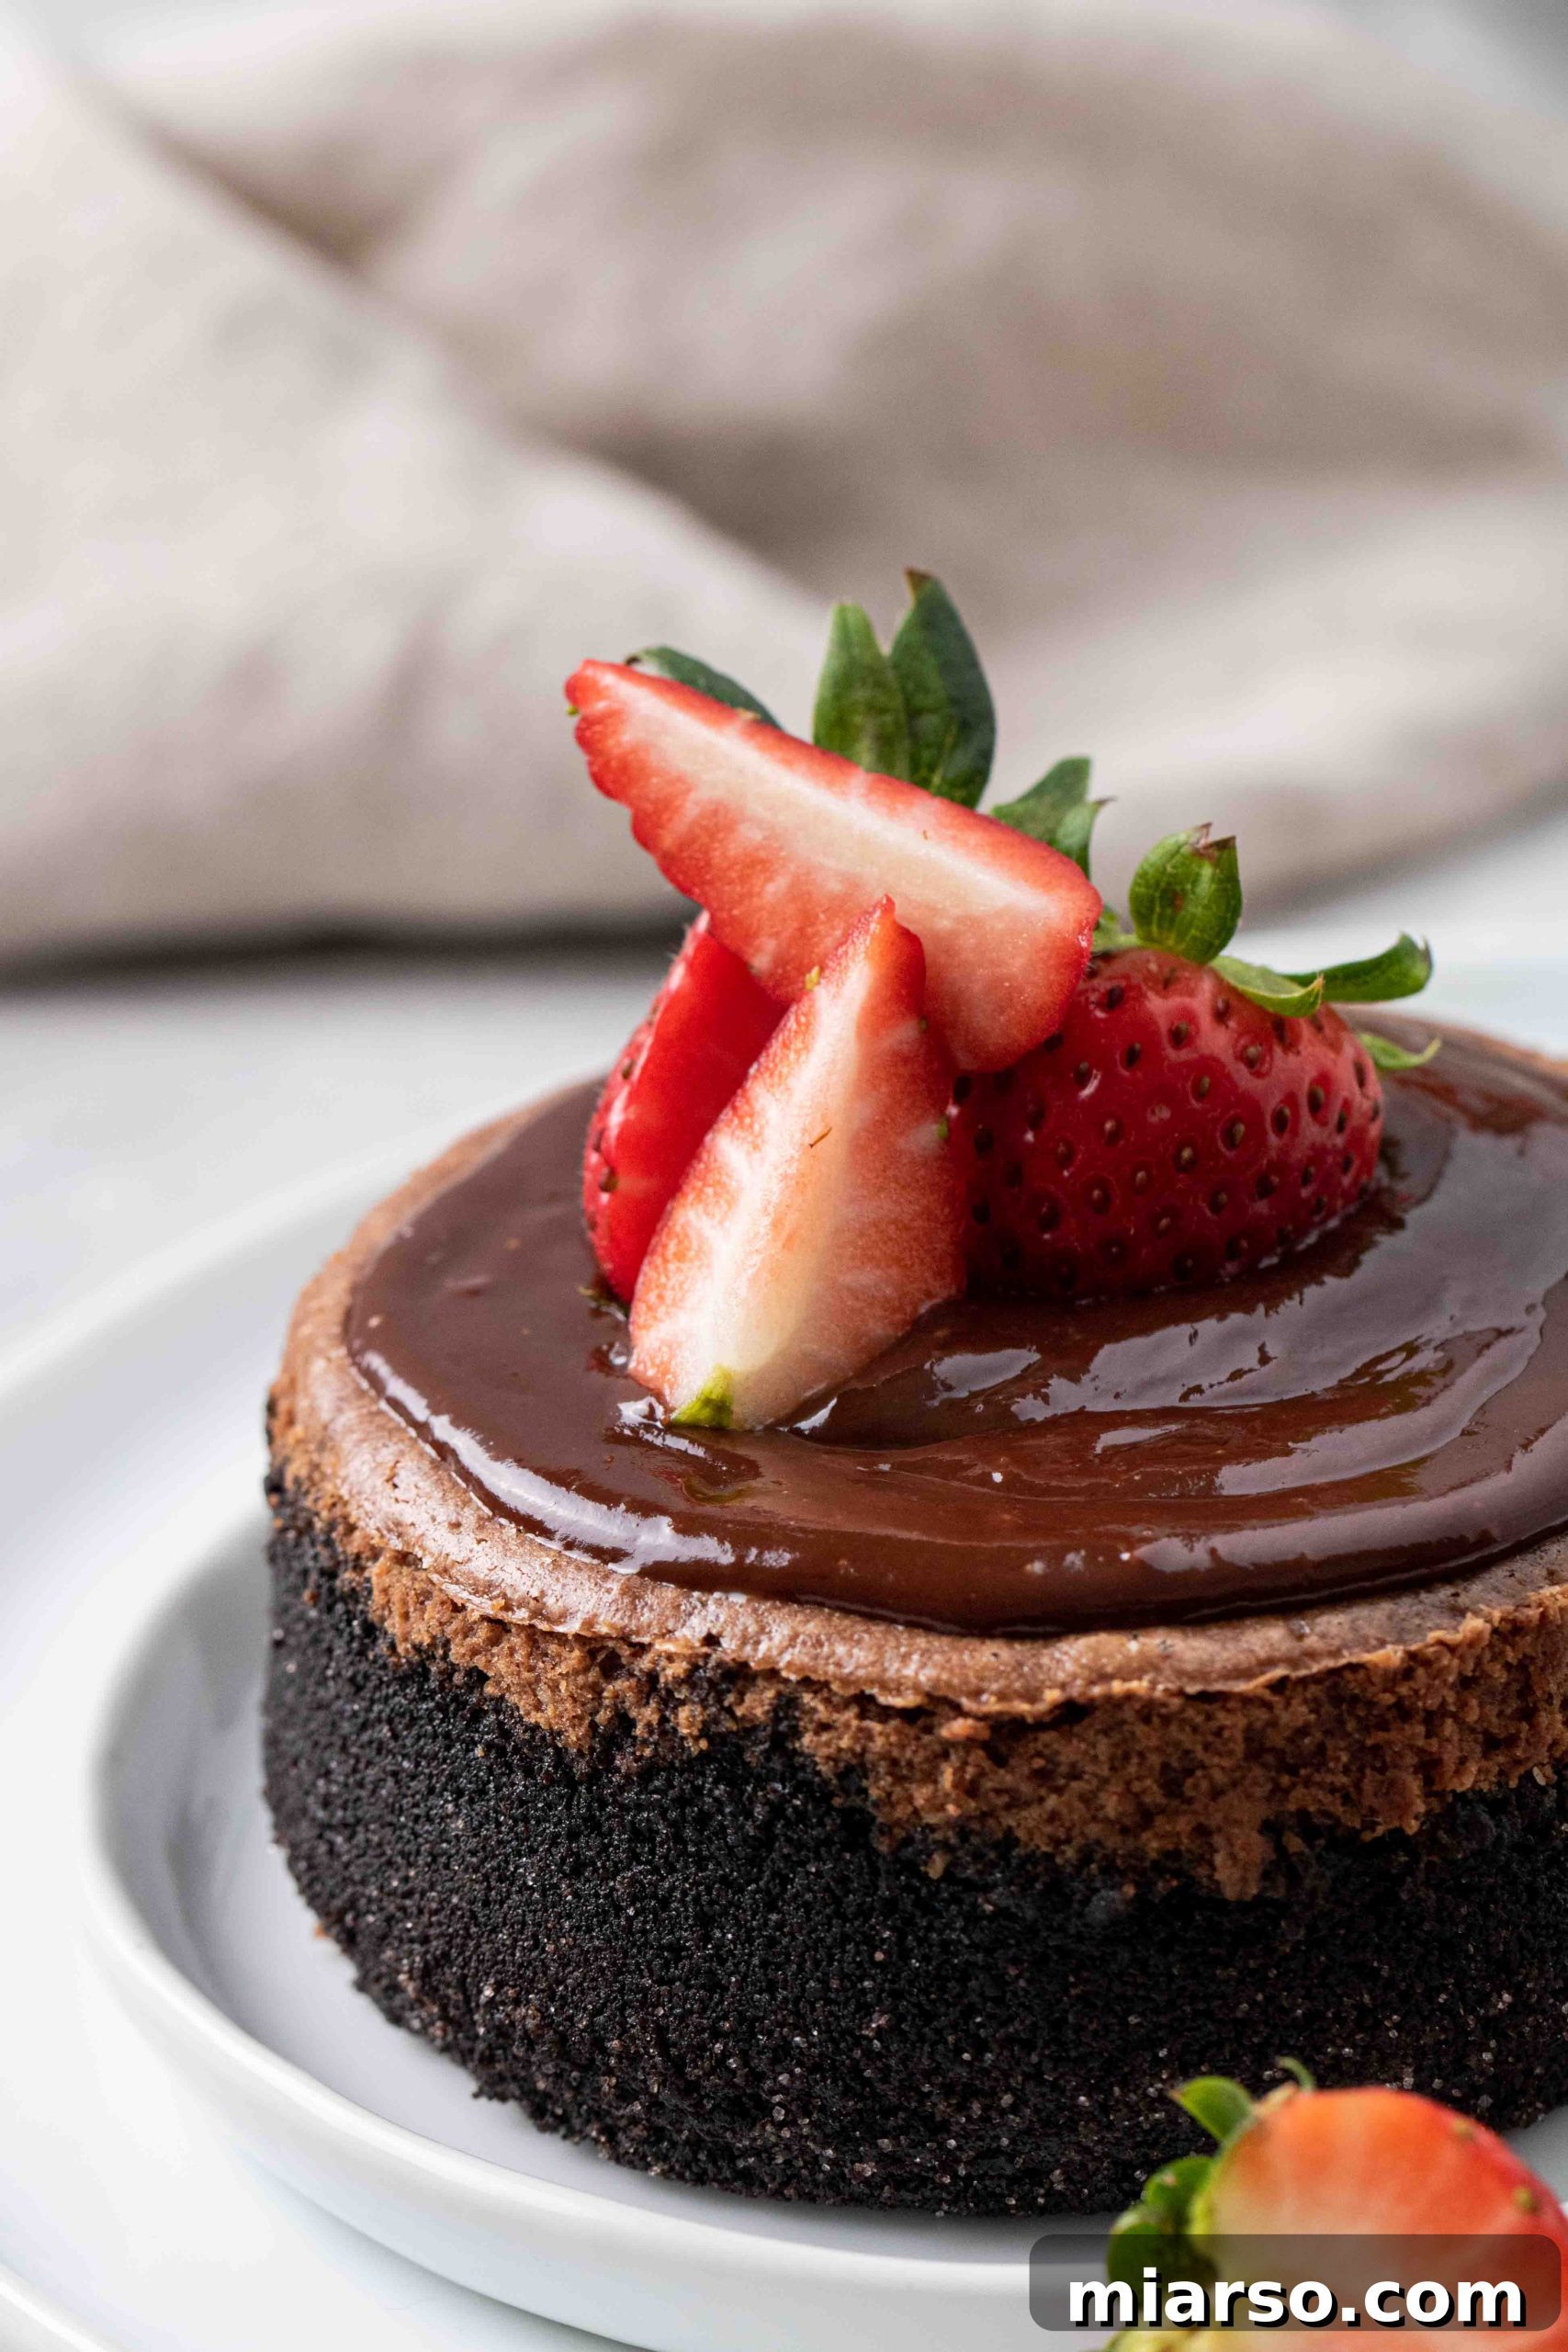
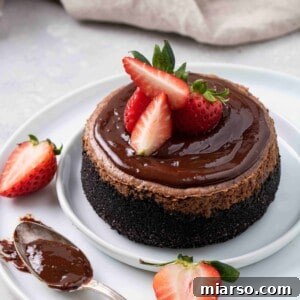
Welcome to the ultimate guide for crafting the most exquisite **Mini Chocolate Cheesecake for Two**! This recipe, designed specifically for a convenient 4-inch springform pan, delivers a perfectly creamy, smooth, and intensely chocolatey dessert. Whether you’re planning a romantic Valentine’s Day dessert, a special date night treat, or simply craving a luxurious small-batch indulgence, this **4-inch chocolate cheesecake** is your answer. It’s not just delicious; it’s also an ideal make-ahead dessert, allowing you to focus on enjoying your special moments without last-minute stress.
Unlock Exclusive Recipes: Join Our Mailing List for a Free Weekly Meal Planner & Recipe Card!
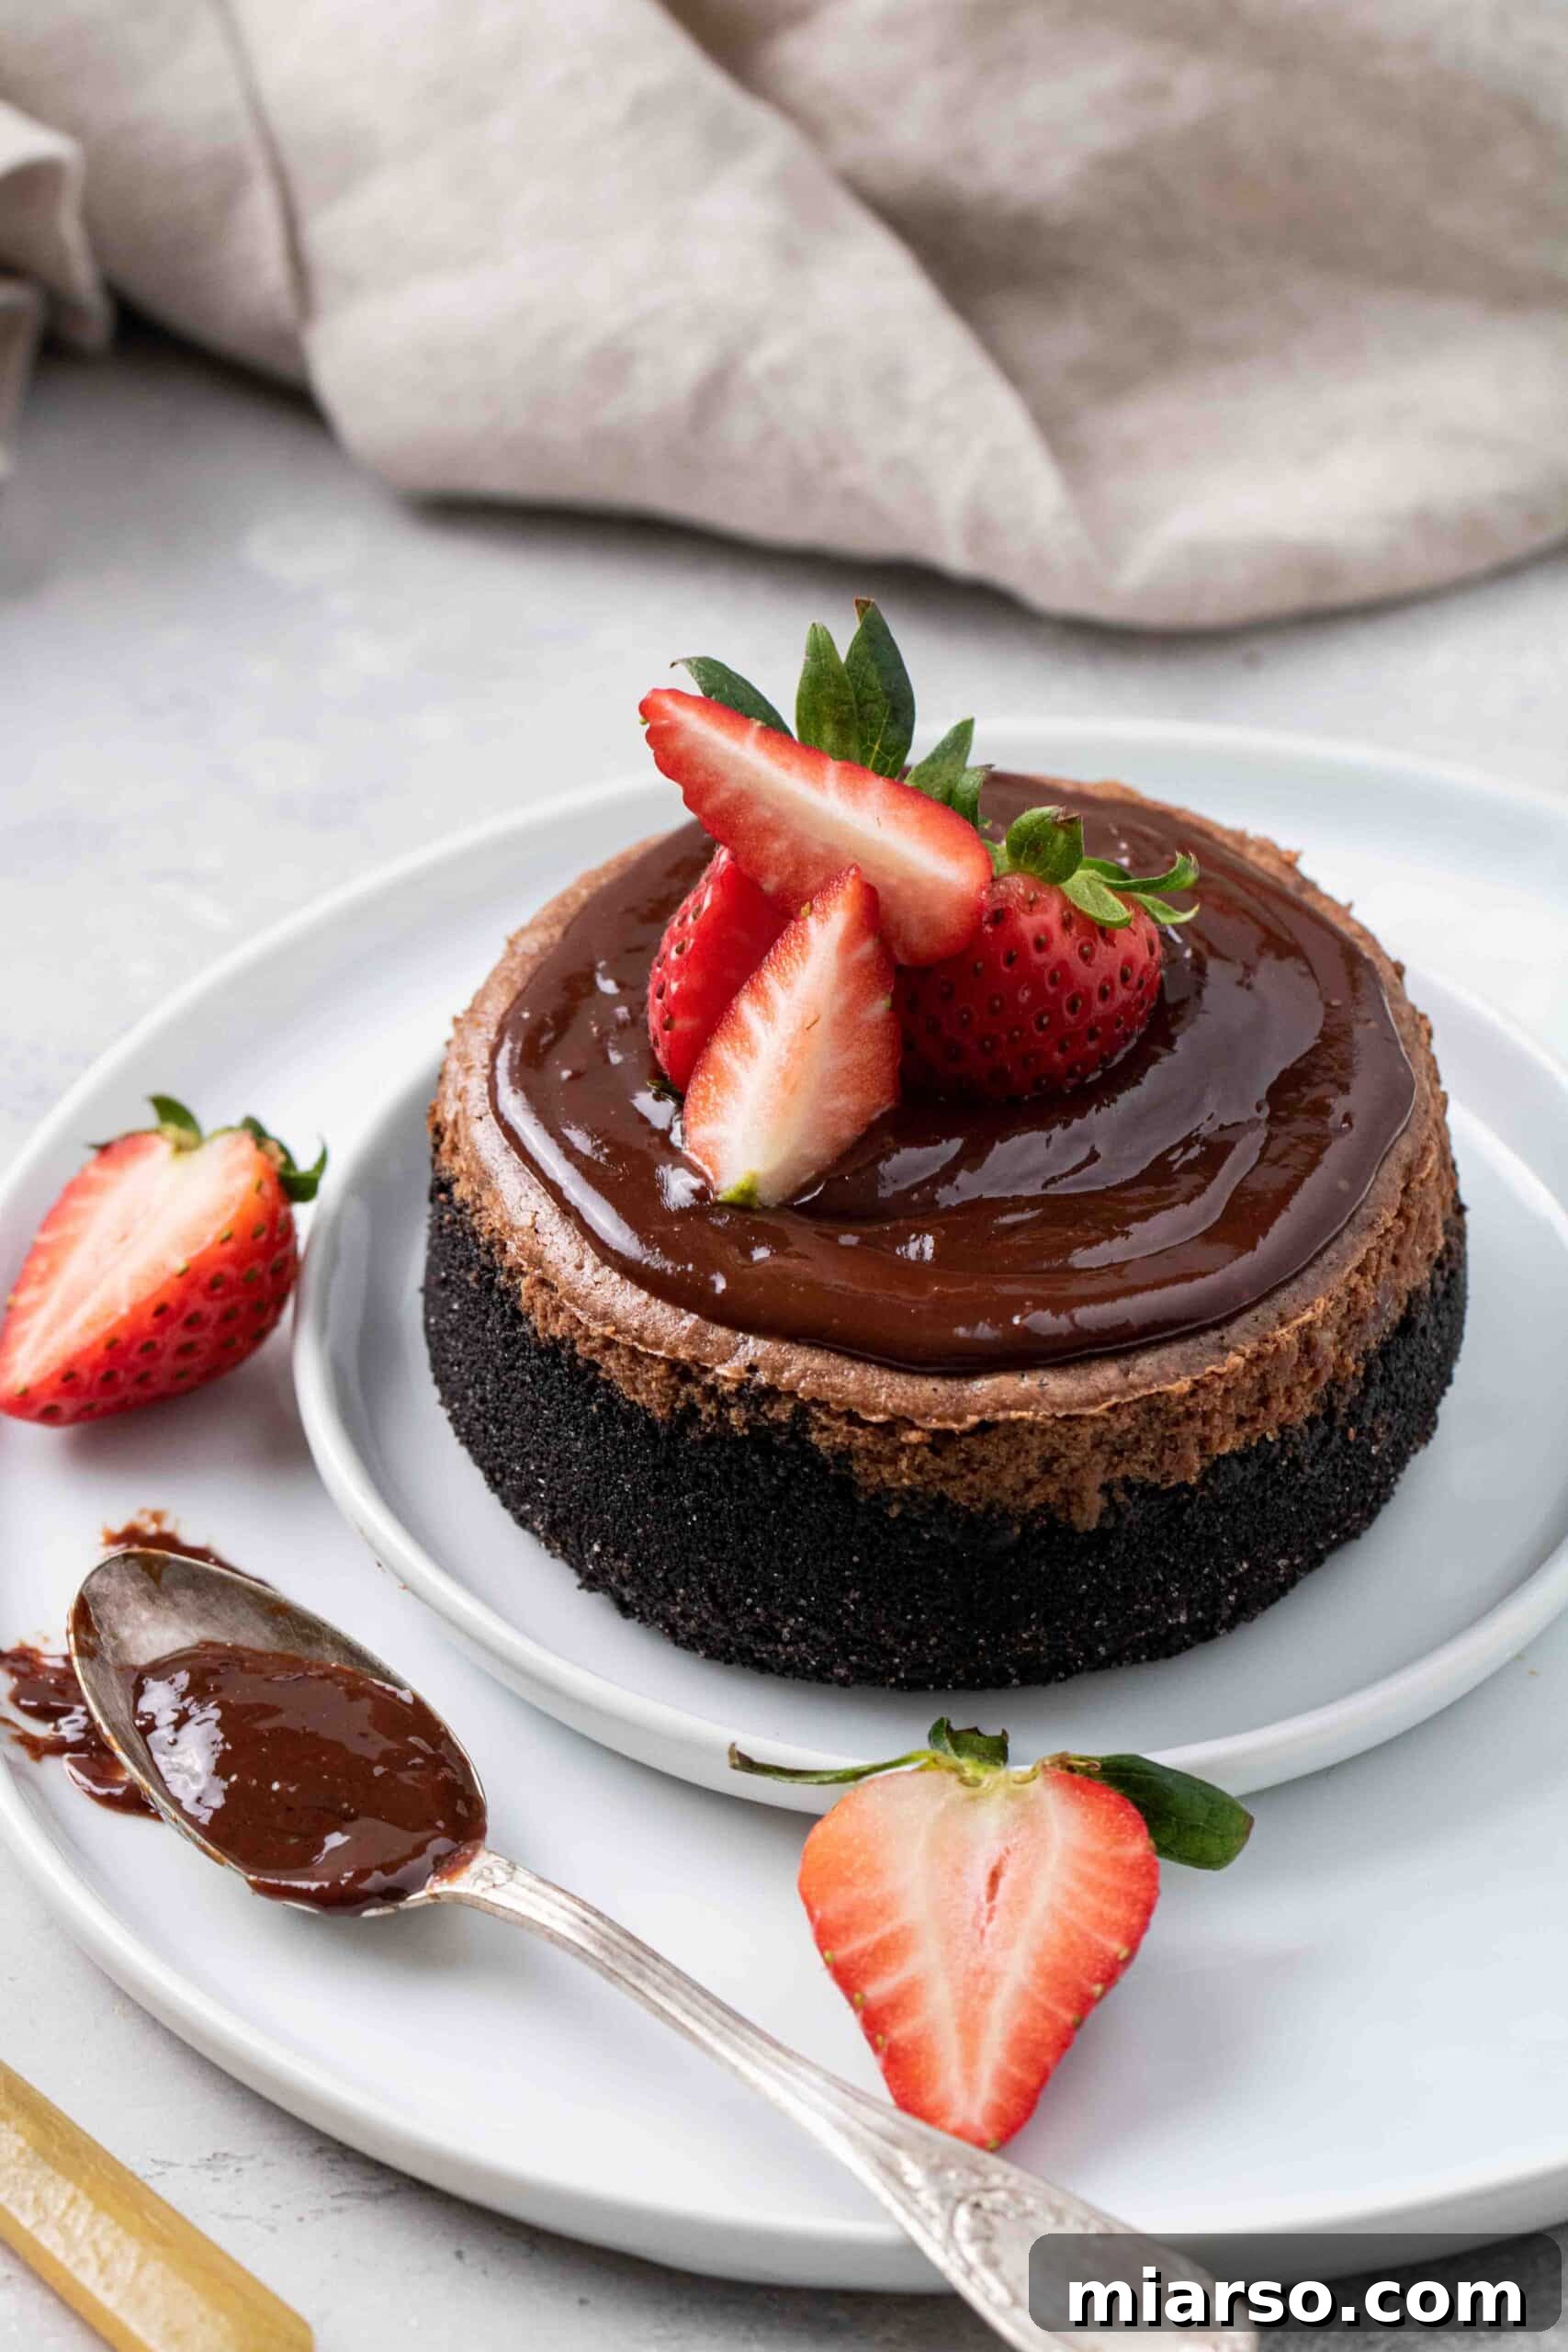
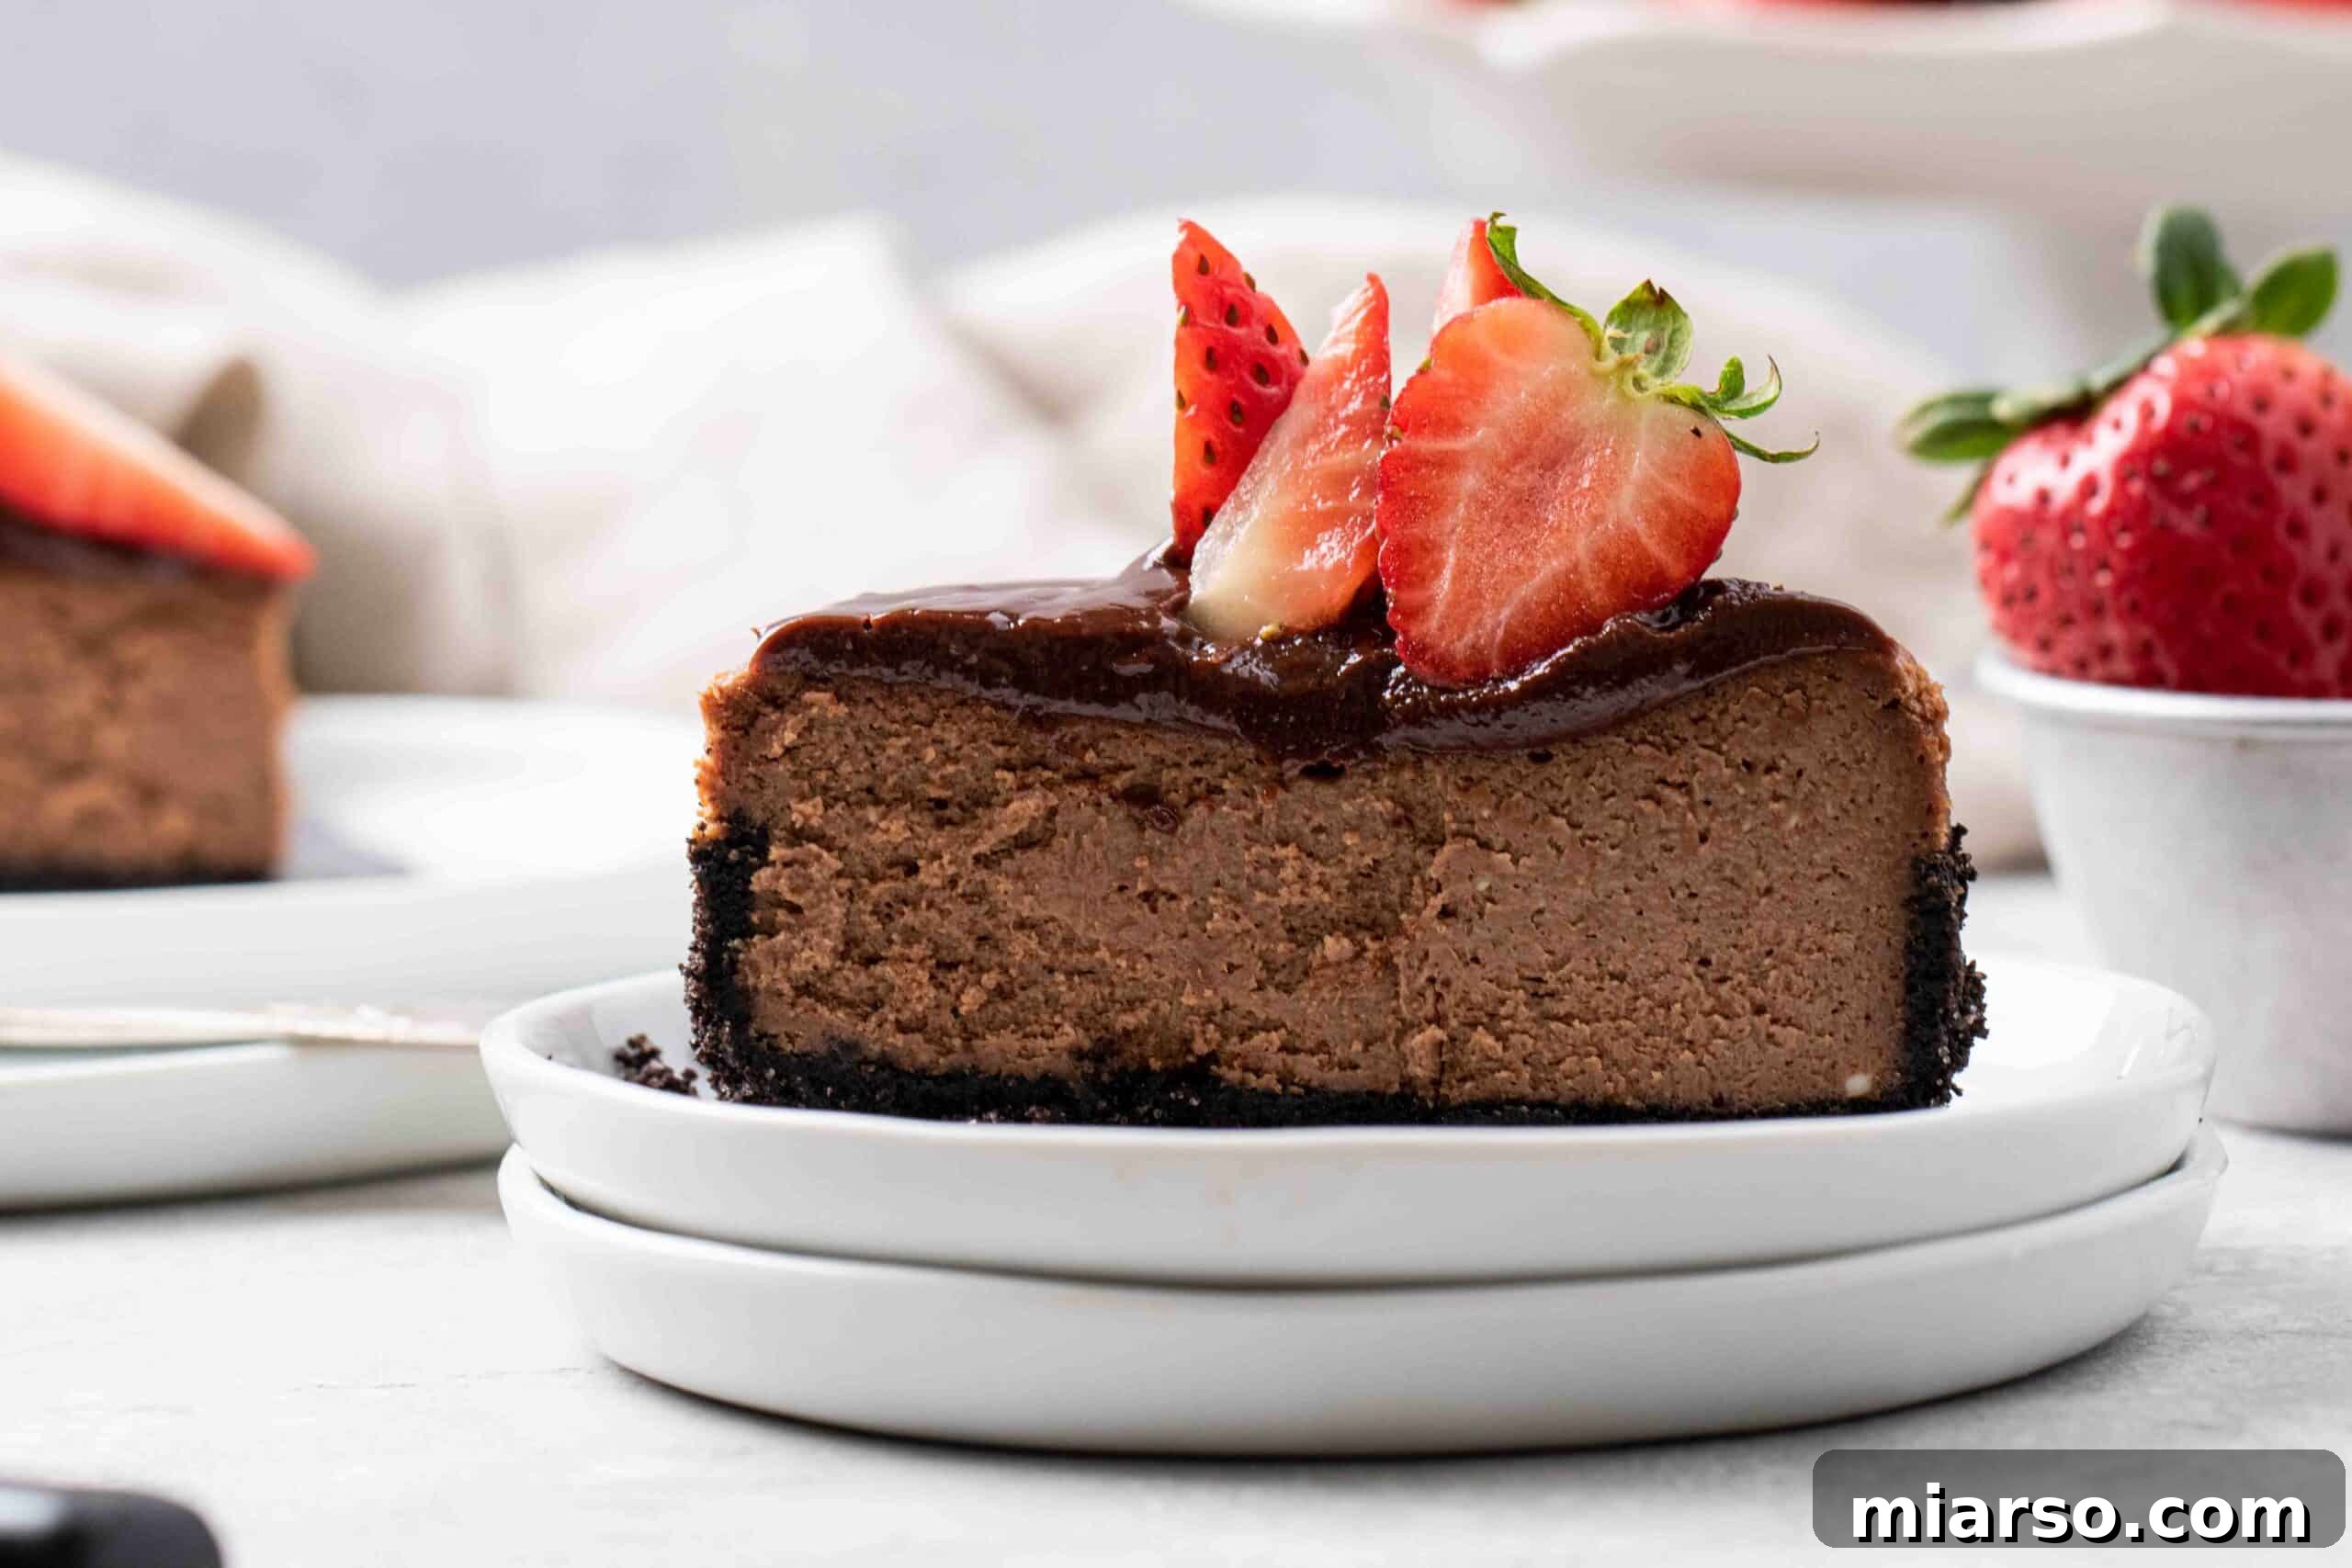
There’s something universally appealing about a rich, decadent chocolate dessert. It speaks to comfort, celebration, and pure indulgence. This year, elevate your special occasions, from intimate dinners to festive gatherings, with a dessert that truly shines. Our **mini chocolate cheesecake** is more than just a recipe; it’s an experience. Imagine a velvety smooth chocolate filling nestled atop a crisp Oreo crust, all crowned with a luscious chocolate ganache. It’s a symphony of textures and flavors that will undoubtedly become a favorite.
Why This is the Best Mini Chocolate Cheesecake Recipe You’ll Ever Try!
Cheesecakes often carry a reputation for being temperamental and challenging to master. Many home bakers shy away, fearing cracks, lumps, or an uneven texture. We’re here to dispel those myths! This **easy chocolate cheesecake recipe** is designed for success, even if you’re a novice baker. Our meticulous instructions and expert tips will guide you to a perfectly smooth, creamy, and gloriously crack-free dessert every single time. And if, by some tiny chance, a hairline crack appears (it happens to the best of us!), remember that a generous layer of glistening chocolate ganache will elegantly conceal any imperfections, transforming them into a beautiful, delicious secret.
We’ve poured our expertise into creating a recipe that not only tastes incredible but is also surprisingly simple to execute. The secret lies in understanding the nuances of temperature, mixing techniques, and patient cooling – all of which we’ll cover in detail. So, prepare to impress yourself and your loved ones with a dessert that looks like it came straight from a gourmet patisserie, but was lovingly made in your own kitchen!
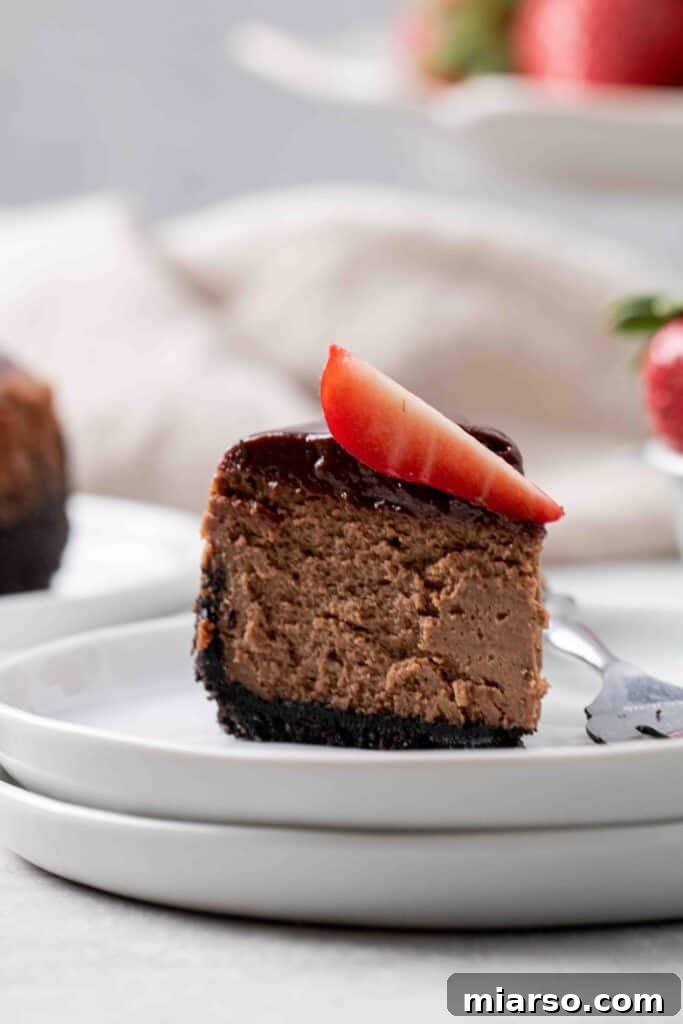
This Mini 4-Inch Chocolate Cheesecake is a Fantastic Make-Ahead Dessert for Any Occasion!
Building on the immense popularity of our 4-inch Small Burnt Basque Cheesecake for Two/One, we knew it was time to create something truly special for all the **chocolate lovers** out there. This recipe takes convenience and flavor to the next level. What makes it extra special? The irresistible **Oreo crust cheesecake** base. The deep cocoa notes and subtle sweetness of crushed Oreo cookies create an unparalleled pairing with the rich chocolate filling, adding a delightful crunch and an extra layer of decadence that truly sets this cheesecake apart. This combination elevates the dessert from simply delicious to absolutely unforgettable, making it a perfect centerpiece for any celebration or a quiet indulgence.
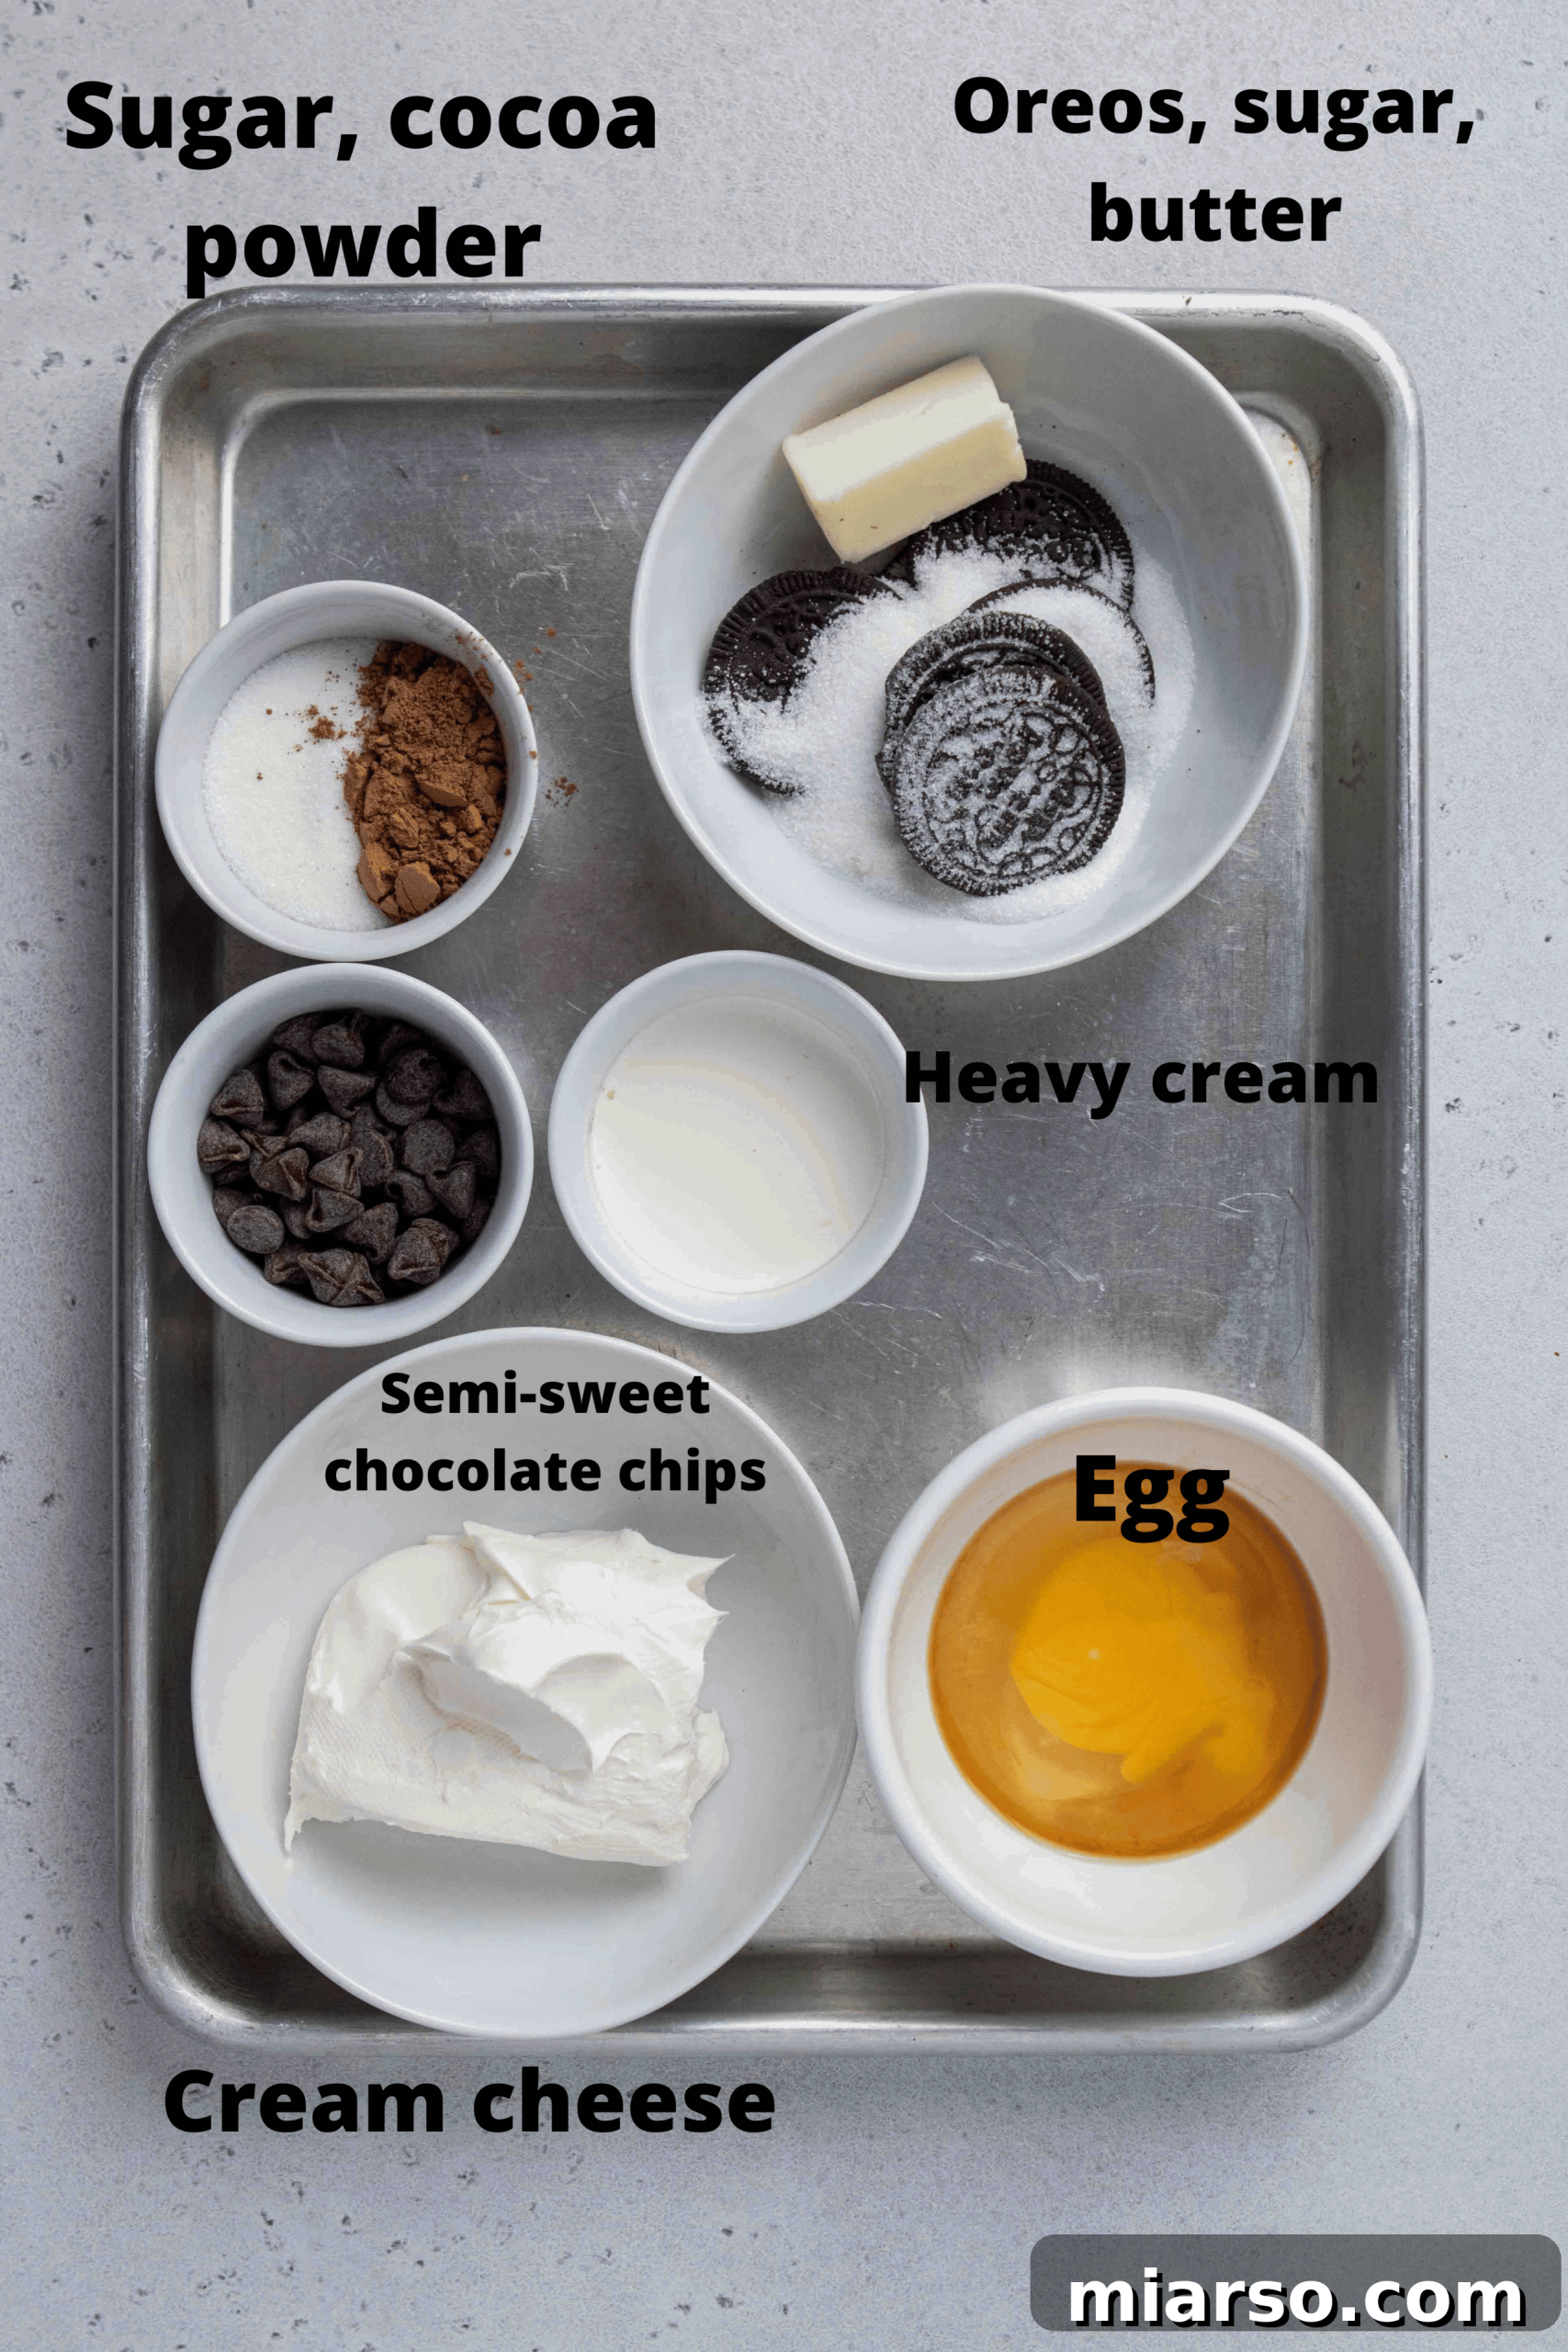
Essential Ingredients for Your Mini Chocolate Cheesecake Masterpiece
Crafting this perfect **4-inch chocolate cheesecake** requires a few key ingredients. While the full detailed list with measurements is in the recipe card below, here’s a breakdown of what you’ll need and why each component is vital for that signature creamy texture and rich flavor:
- Cream Cheese: The foundation of any great cheesecake! For the creamiest, most luxurious texture, always opt for full-fat cream cheese. It’s absolutely crucial that your cream cheese is at room temperature. Cold cream cheese will result in a lumpy batter, no matter how much you mix it.
- Heavy Cream: This ingredient contributes significantly to the incredible smoothness and richness of our **creamy chocolate cheesecake**. Like the cream cheese, ensuring it’s at room temperature will help it blend seamlessly into the batter, preventing curdling and ensuring a homogenous mixture.
- Semi-Sweet Chocolate: The heart of the chocolate flavor! You can use either high-quality baking chocolate bars, finely chopped, or reliable semi-sweet chocolate chips. This recipe is forgiving, so don’t feel the need for overly exotic ingredients here. The key is good quality chocolate that melts smoothly.
- Vanilla Extract: A secret weapon in chocolate desserts! A touch of good quality vanilla extract doesn’t just add its own flavor; it actually enhances and deepens the chocolate notes, making them more vibrant and complex.
- Egg: This provides structure and helps set the cheesecake. A single medium-sized egg is all you need for this **small-batch cheesecake**. Again, room temperature is non-negotiable for a smooth batter.
- Cocoa Powder: To intensify the chocolate experience! While melted chocolate provides the primary flavor, a little unsweetened cocoa powder boosts the richness and deepens the color, ensuring a truly decadent chocolate profile.
- Sugar: Essential for sweetness and structure, sugar plays a role in both the creamy cheesecake filling and the crisp Oreo crust.
- Oreo Cookies: The star of our delightful crust! For the best results, you’ll need to remove the creamy white filling before grinding the cookies into fine crumbs. This ensures a perfectly crumbly, not overly sweet, base that complements the chocolate filling beautifully.
- Butter: Melted butter acts as the binding agent for the Oreo crust, holding it together and providing a rich, satisfying foundation for your cheesecake.
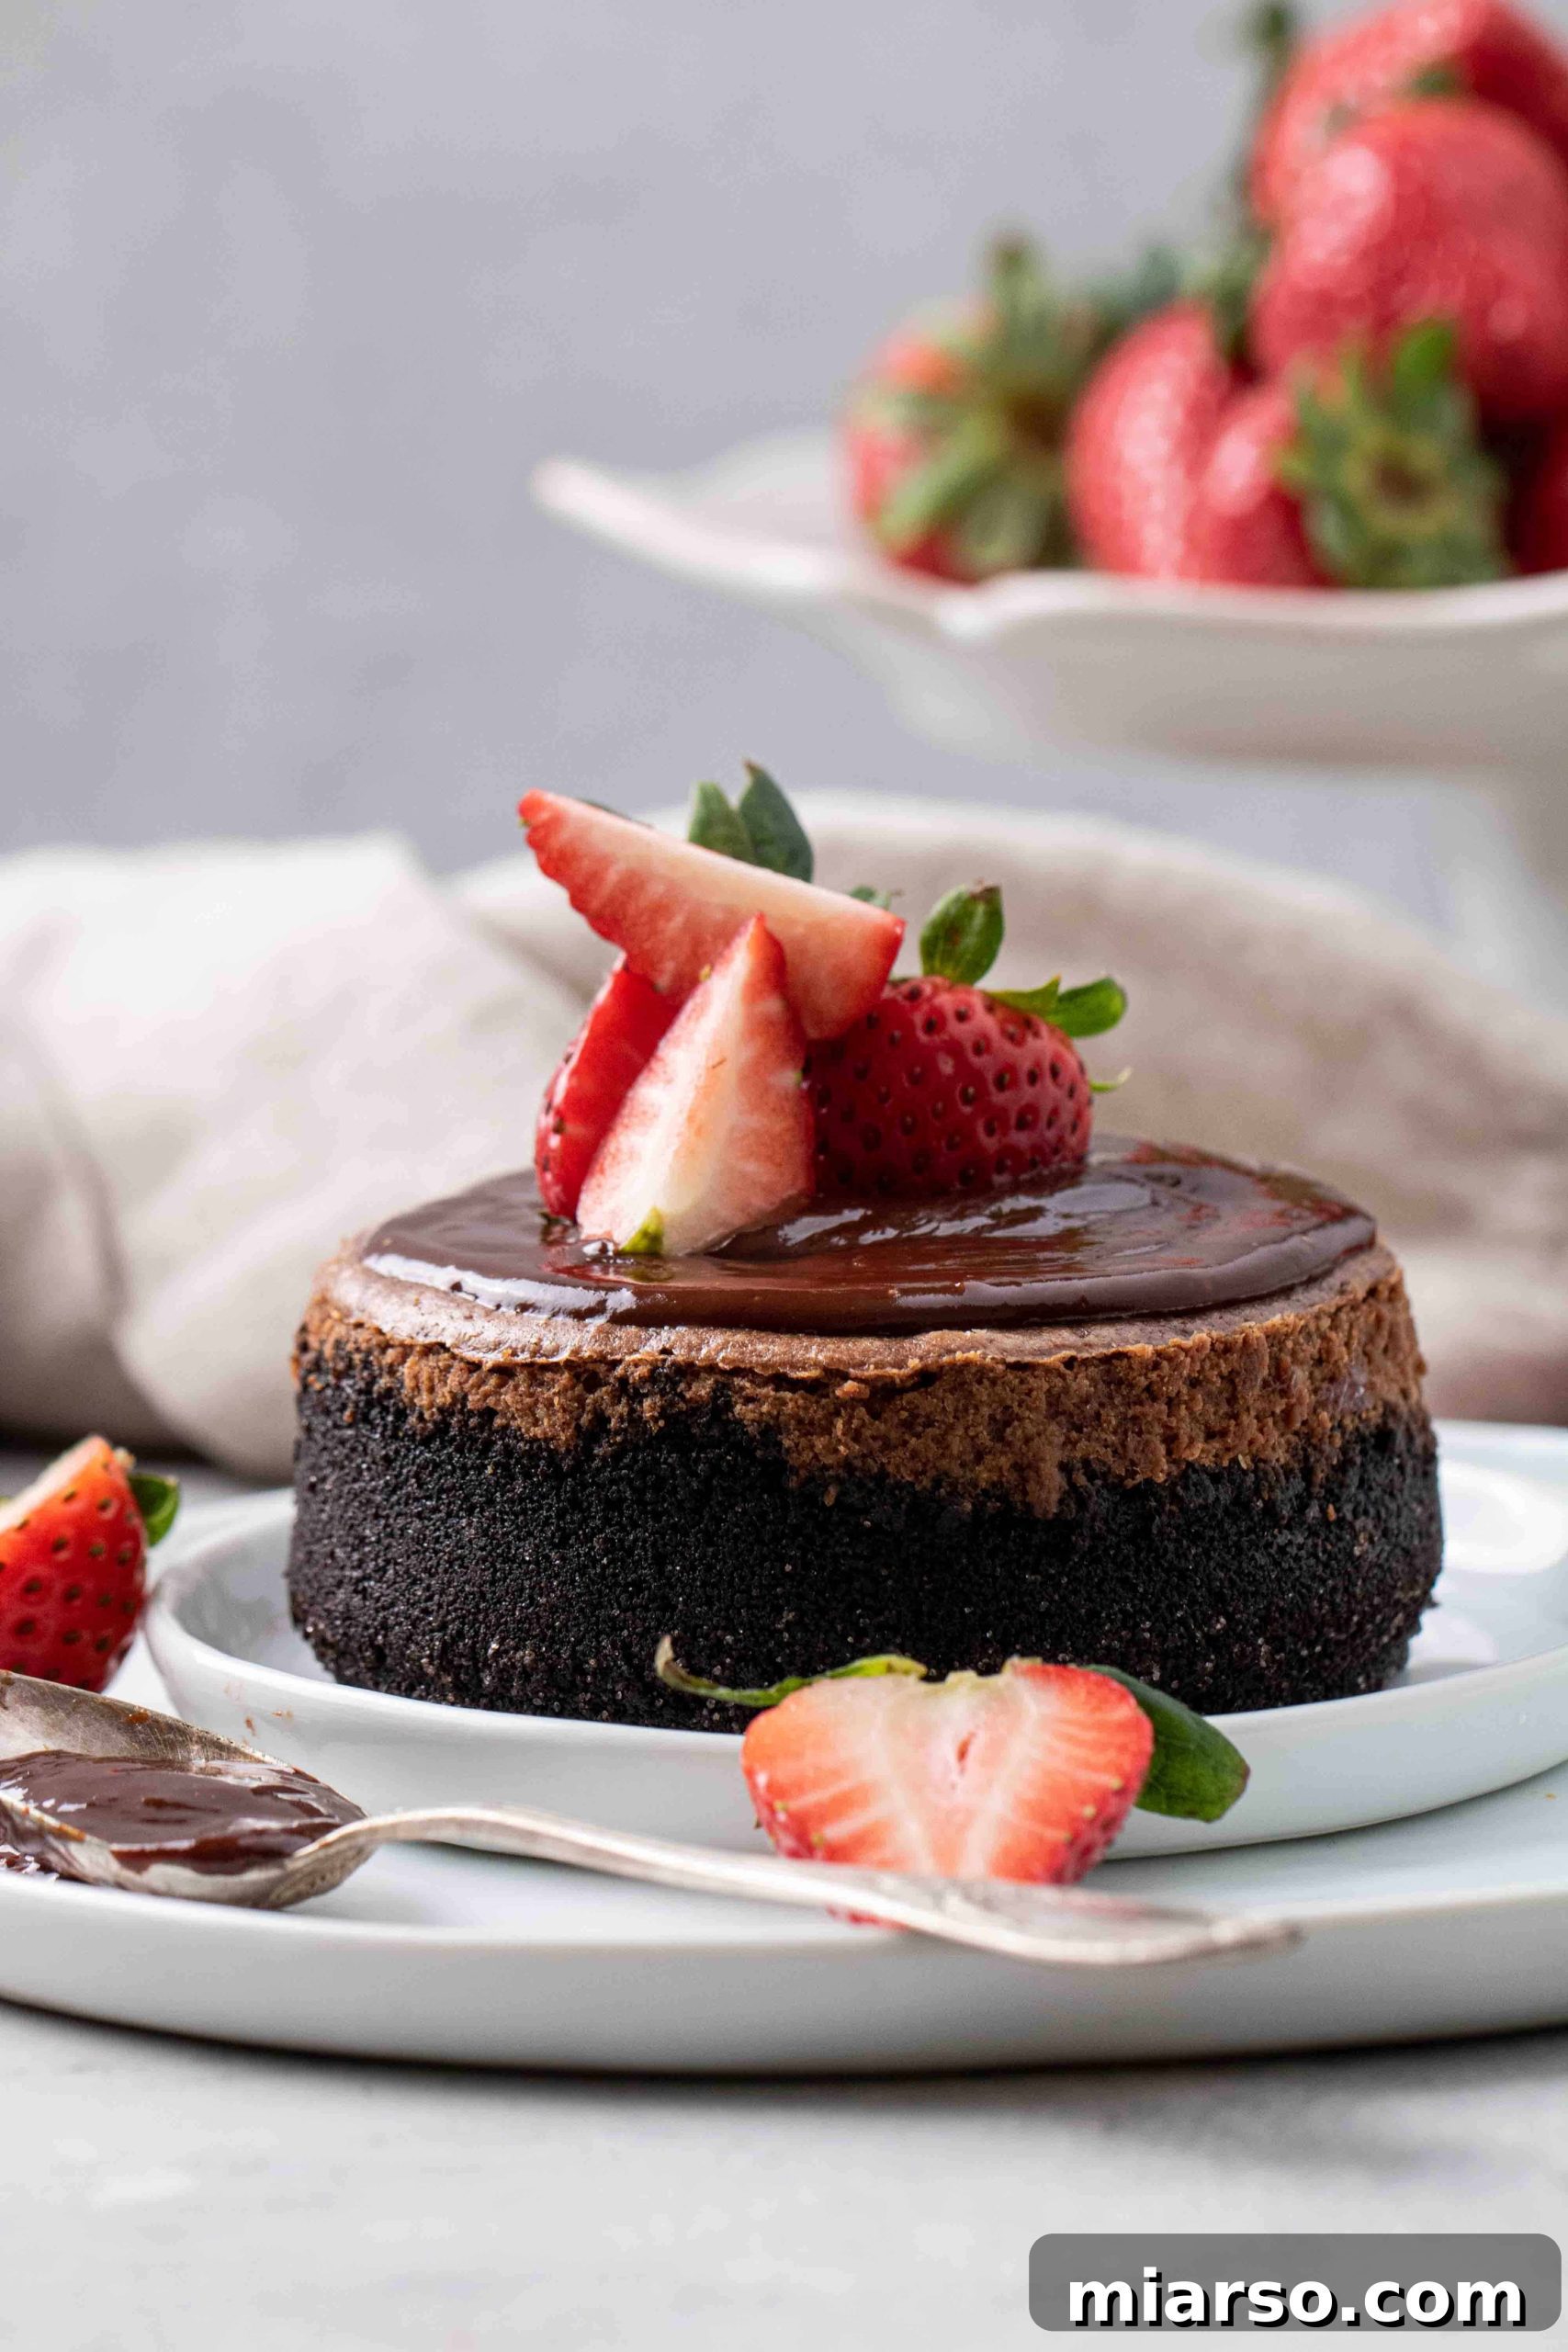
The Golden Rule of Cheesecake: Room Temperature Ingredients are Paramount!
Let us spare you the heartache we’ve experienced in the past: cold ingredients are the archenemy of a smooth cheesecake. This crucial tip cannot be overstated. When your cream cheese, heavy cream, and egg are all at a uniform room temperature, they emulsify beautifully, creating a silky, homogenous batter free of lumps and streaks. Attempting to mix cold ingredients results in a clumpy, uneven batter, which can lead to an undesirable texture in your finished cheesecake and even contribute to cracking during baking. So, plan ahead! Take your ingredients out of the refrigerator at least an hour (or even two) before you begin mixing. This simple step is a game-changer for achieving that flawlessly smooth, **creamy chocolate cheesecake** texture you desire.
Crafting the Perfect Oreo Crust for Your Mini Chocolate Cheesecake
The foundation of this decadent dessert is a crisp, chocolatey **Oreo crust cheesecake**. It’s incredibly simple to make, but pays huge dividends in flavor and texture. For detailed measurements, remember to consult the recipe card.
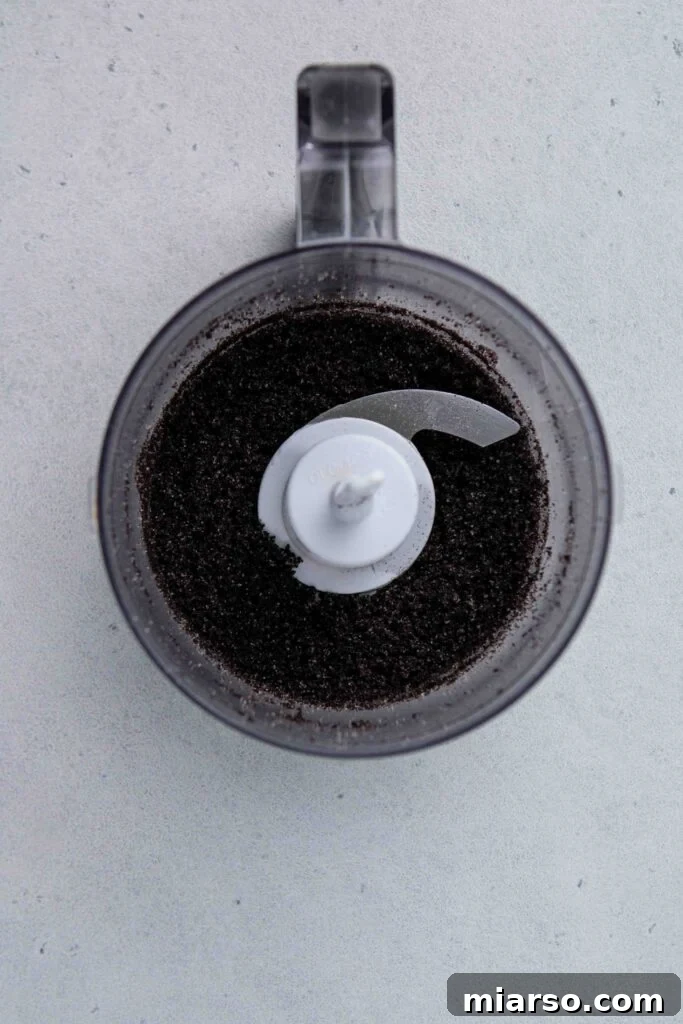
- Prepare the Crumbs: Begin by separating the cookie wafers from the creamy filling of your Oreo cookies. Discard the filling (or enjoy it as a little chef’s treat!). Place the cookie wafers into a food processor and pulse until they form fine, even crumbs. We’re looking for a sand-like consistency.
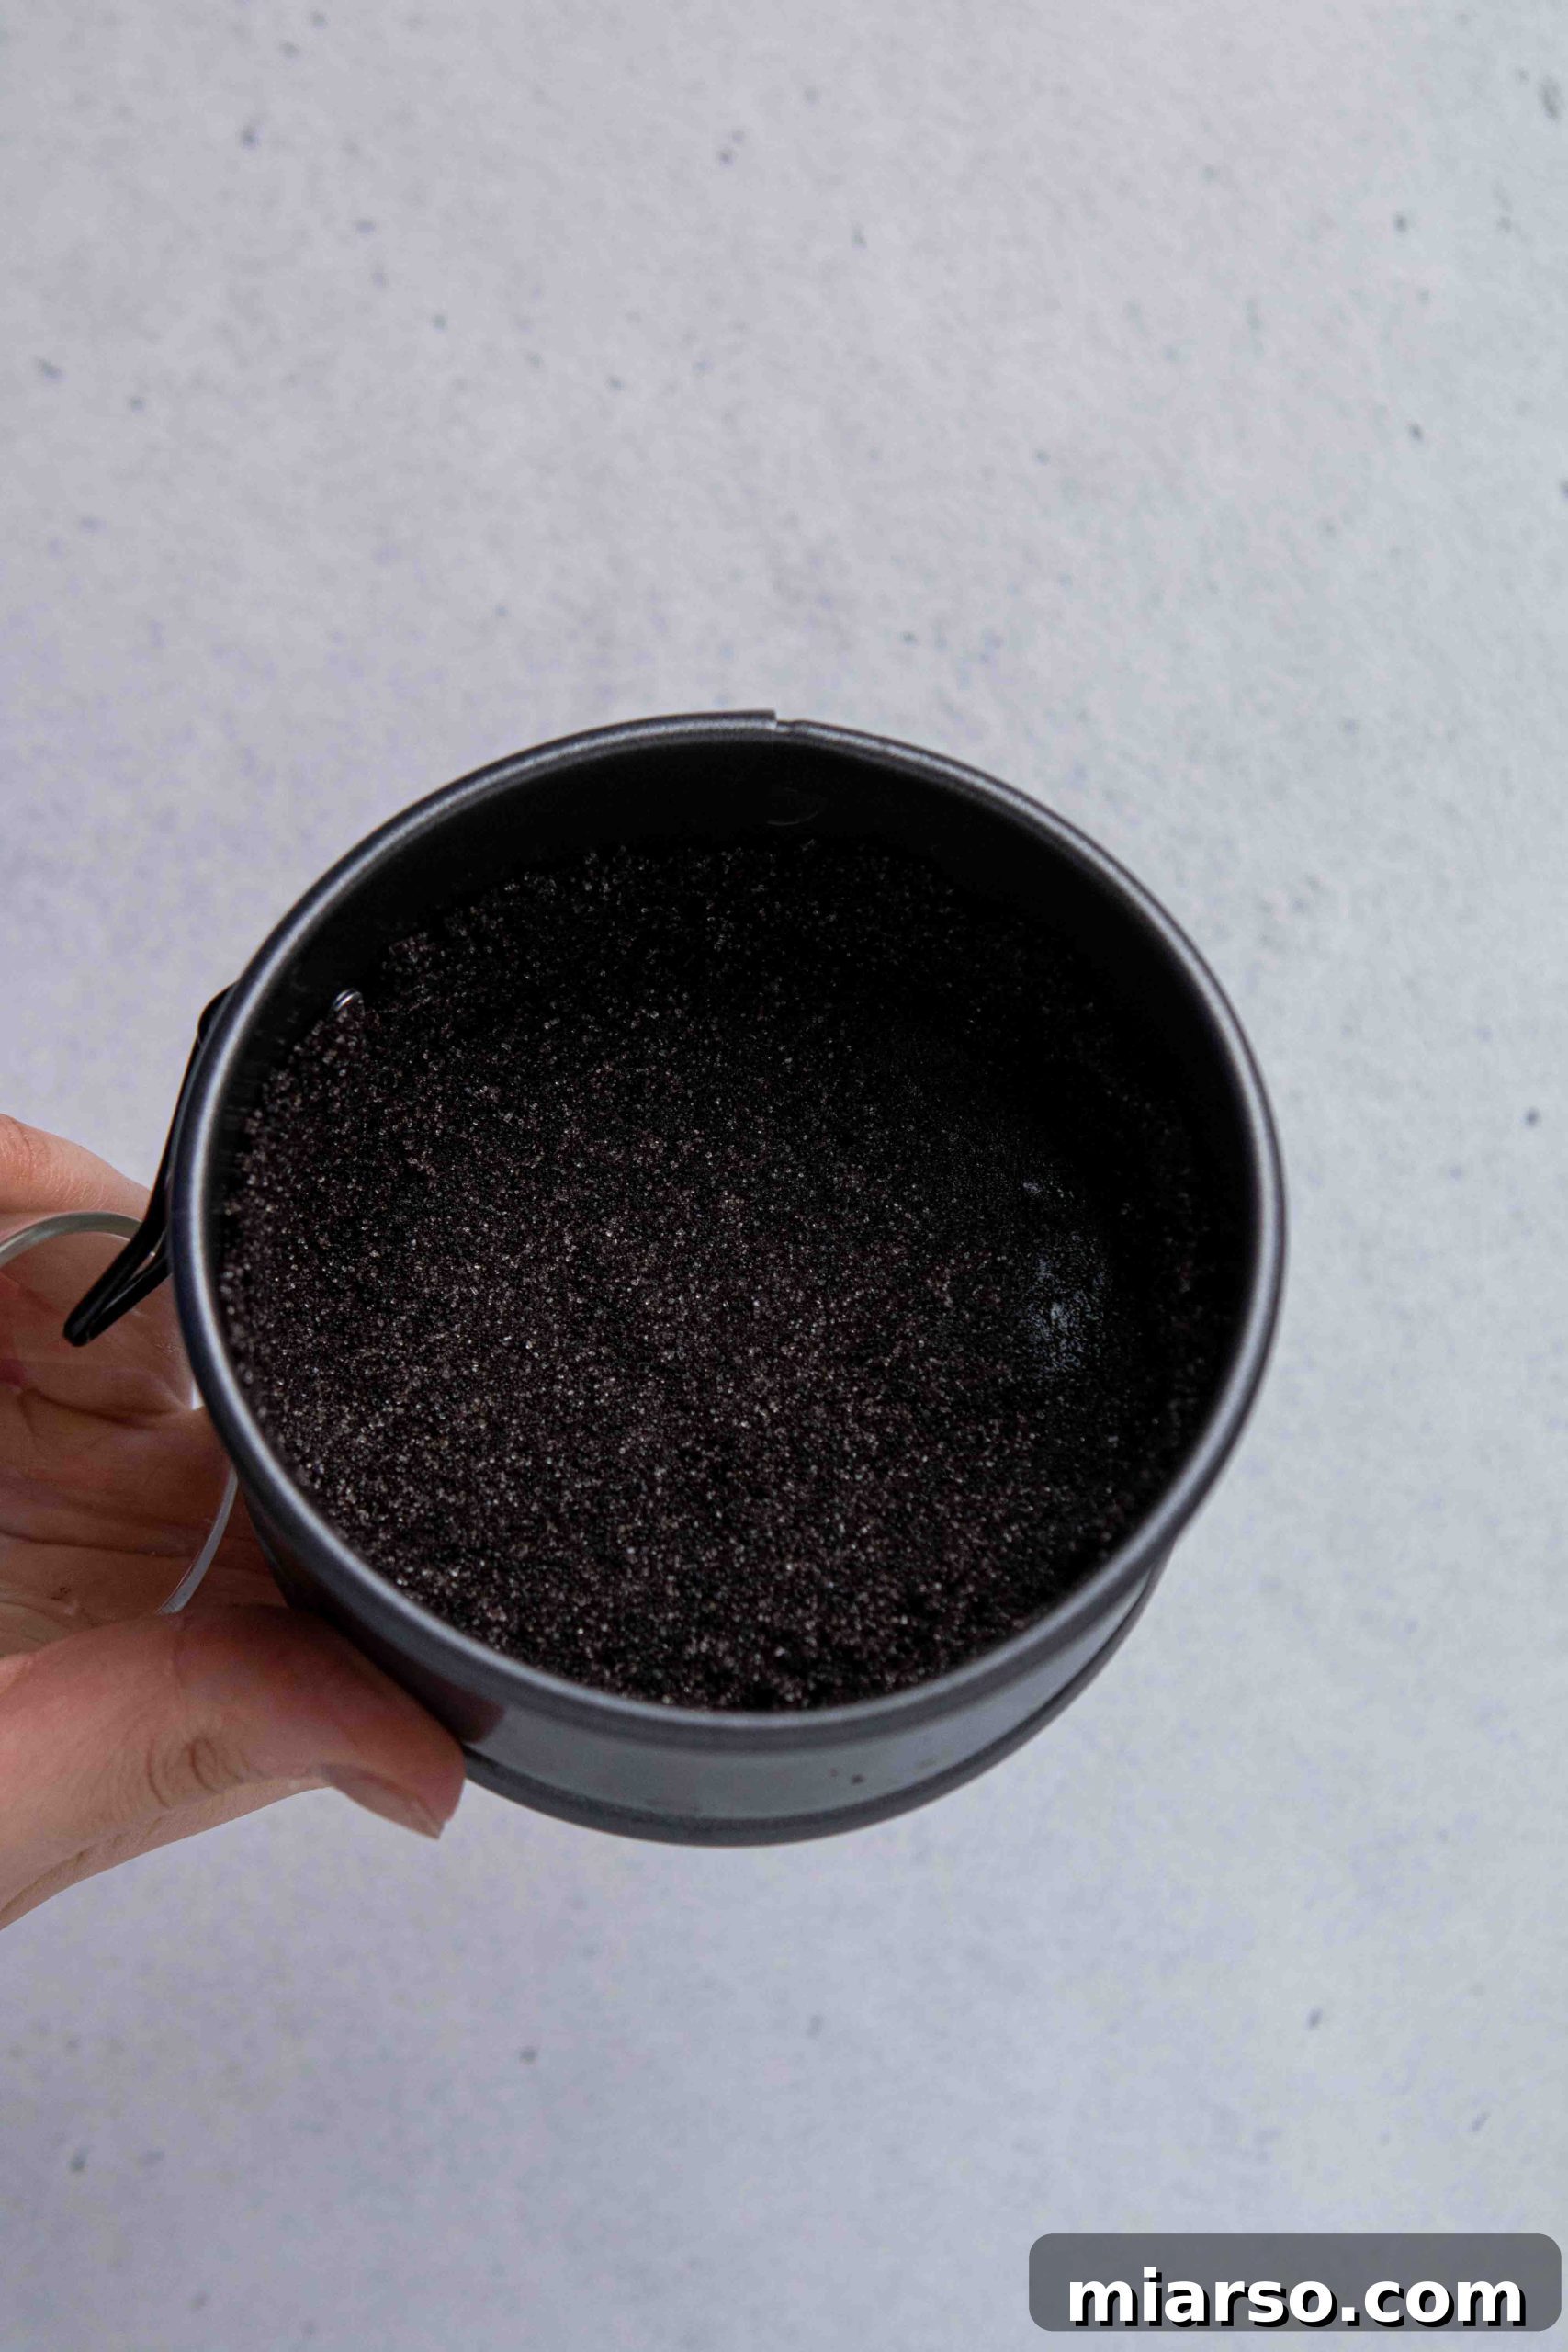
- Combine and Press: Transfer the Oreo crumbs to a bowl, then stir in the granulated sugar. Pour in the melted butter and mix thoroughly until all the crumbs are moistened and resemble wet sand. The butter is crucial here, as it acts as the binder.
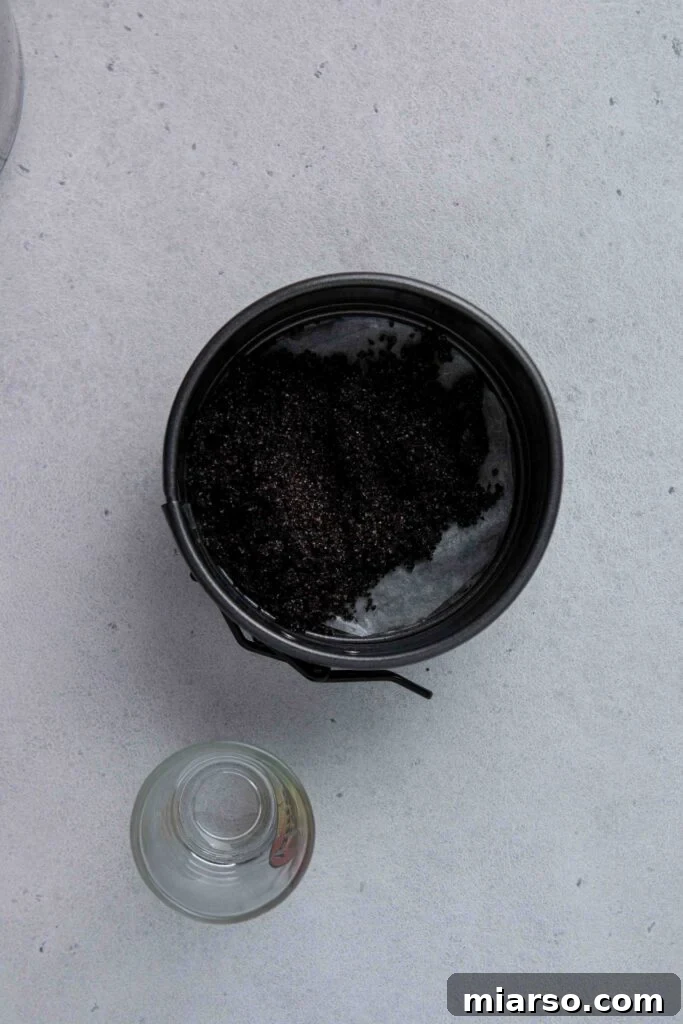
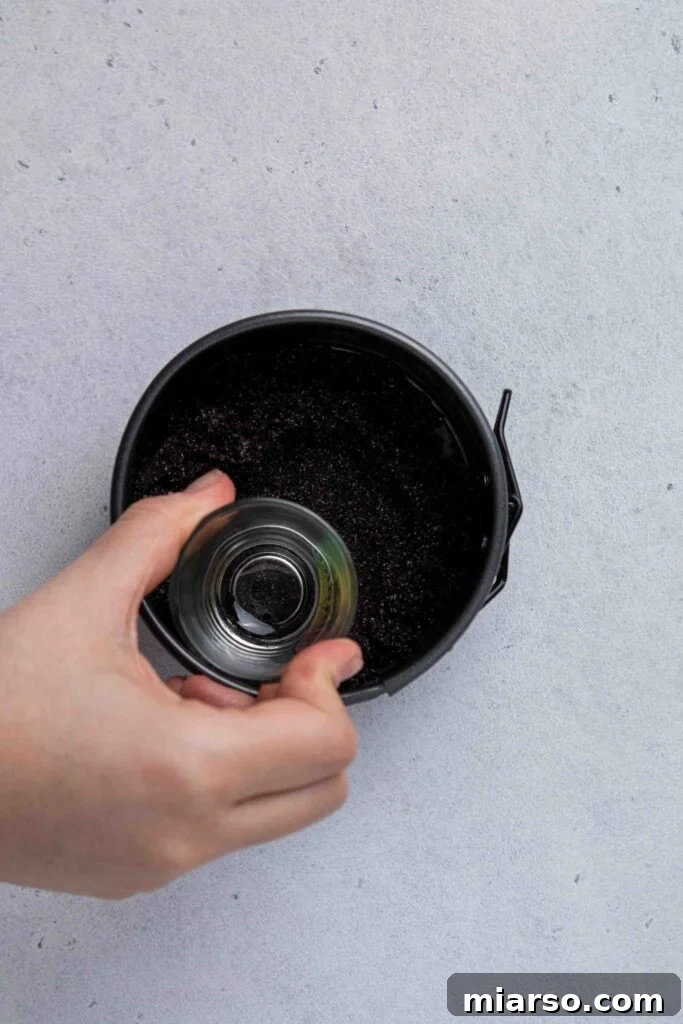
- Form the Crust: Line the bottom of your 4-inch springform pan with parchment paper. This simple step makes releasing your cheesecake a breeze later on. Pour the Oreo mixture into the prepared pan and press it firmly and evenly across the bottom. A flat-bottomed object like a shot glass or the back of a spoon works perfectly for this. Ensure it’s well-packed to prevent crumbling.
- Pre-Bake: Bake the crust in a preheated 325°F (160°C) oven for just 10 minutes. This short bake time helps to set the crust, making it sturdy and perfectly crisp. Once baked, remove it from the oven and allow it to cool completely while you prepare the filling.
Simple Steps to Making Your Decadent Chocolate Cheesecake Filling
With your perfect Oreo crust cooling, it’s time to prepare the star of the show: the rich, velvety **creamy chocolate cheesecake** filling. Follow these steps carefully, and always refer to the recipe card for precise measurements and timings.
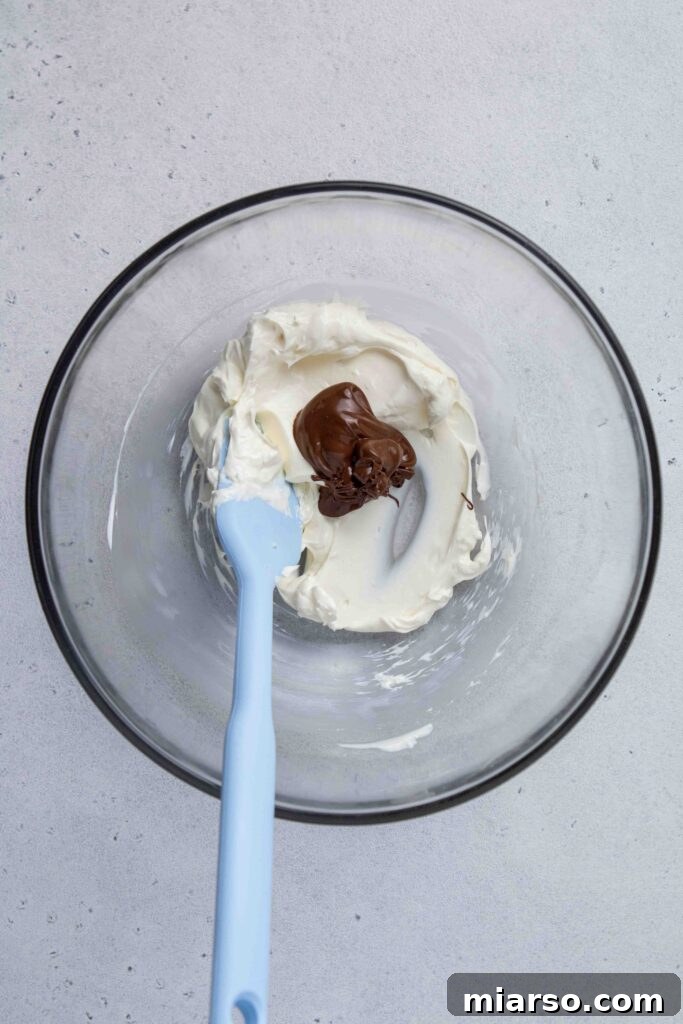
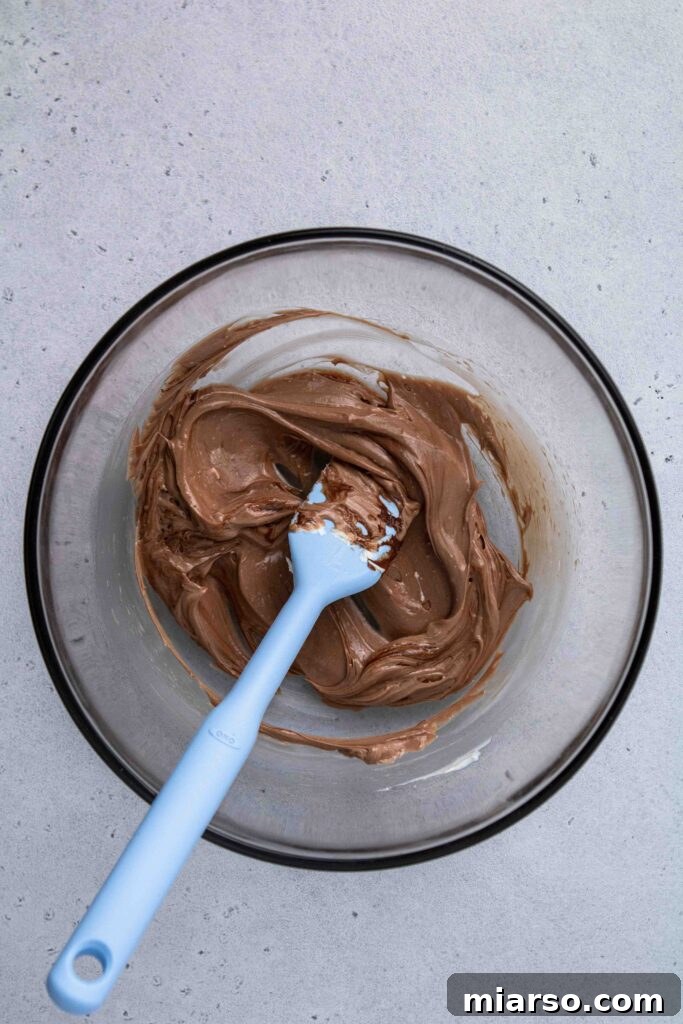
- Combine Wet Ingredients: In a medium-sized mixing bowl, combine the room temperature cream cheese, heavy cream, sugar, cocoa powder, and vanilla extract. Use an electric mixer on low speed, or a whisk, to blend these ingredients until they are just combined and smooth. Avoid over-mixing at this stage.
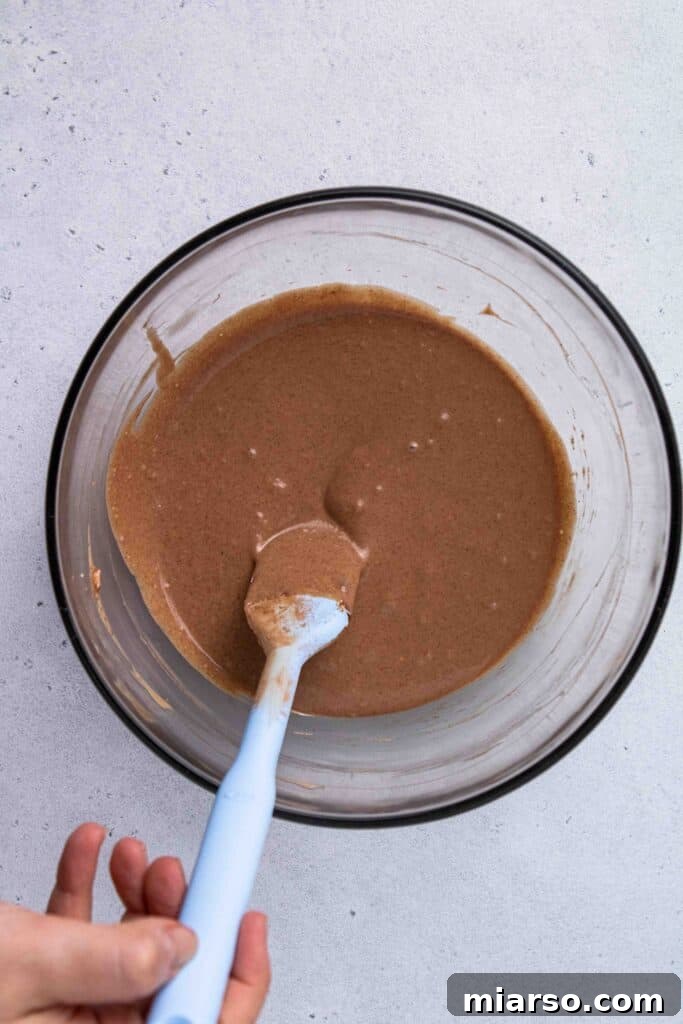
- Incorporate the Egg: Gently add the room temperature egg to the mixture. Beat on very low speed, or fold by hand, just until the egg is fully incorporated. The key here is *not to over-beat* the egg, as excessive air can lead to cracks in your finished cheesecake.
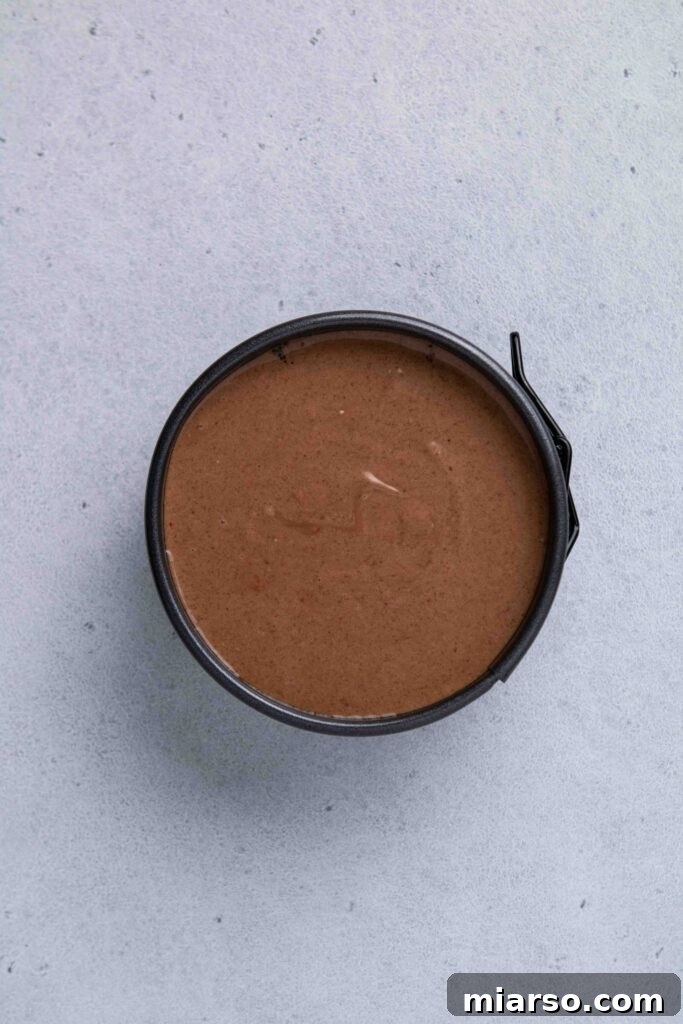
- Bake to Perfection: Carefully pour the smooth cheesecake batter over the cooled Oreo crust in your springform pan. Place the pan into your preheated oven (which you should have lowered to 300°F/150°C after pre-baking the crust). Bake for approximately 30 minutes. You’ll know it’s done when the edges appear set, but the center still has a slight jiggle. This slight jiggle is normal and desirable, as the cheesecake will continue to set as it cools.
- The Crucial Cooling Process: This is arguably the most important step for achieving a **crack-free cheesecake**. Once baking is complete, turn off your oven but leave the cheesecake inside. Prop the oven door open slightly with a wooden spoon or a heat-proof utensil. Let the cheesecake cool gradually in the warm, turned-off oven for 30 minutes. This slow cooling prevents drastic temperature changes that can cause cracks.
- Room Temperature Transition: After the oven cooling period, remove the cheesecake from the oven. Run a thin, sharp knife gently around the edges of the cheesecake (while it’s still in the springform pan) to loosen it. This prevents the cheesecake from sticking to the pan as it shrinks slightly during cooling, another common cause of cracks. Allow it to cool completely at room temperature for another 30-60 minutes.
- Chill to Set: Once cooled to room temperature, transfer the cheesecake to the refrigerator. Chill for at least 4 hours, though ideally overnight. This extended chilling period is essential for the cheesecake to fully set, firm up, and develop its optimal creamy texture and flavor.
- Garnish and Serve: After chilling, top your chilled **mini chocolate cheesecake** with the luscious chocolate ganache (instructions below!). Let the ganache set for about 15 minutes at room temperature, then adorn with fresh strawberries or your preferred toppings, and prepare to be delighted!
Mastering the Art of Chocolate Ganache for Your Cheesecake
Creating a beautiful, glossy chocolate ganache is one of the most rewarding steps in this entire process. It transforms your already delicious **mini chocolate cheesecake** into a truly show-stopping dessert, adding an extra layer of chocolatey goodness and a sophisticated finish. This simple technique yields incredible results:
- Combine Ingredients: Once your cheesecake has thoroughly chilled in the refrigerator for several hours (or ideally, overnight), gather your chocolate chips and heavy cream. Place both ingredients into a microwave-safe bowl.
- Microwave and Stir: Heat the mixture in 30-second intervals in the microwave. After each interval, remove the bowl and stir vigorously with a spoon or whisk. This is crucial for even melting and to prevent the chocolate from seizing or burning. Continue this process until the mixture is completely melted and smooth, with a uniform, glossy appearance. It might not look fully melted until you start stirring, so don’t be tempted to overheat it.
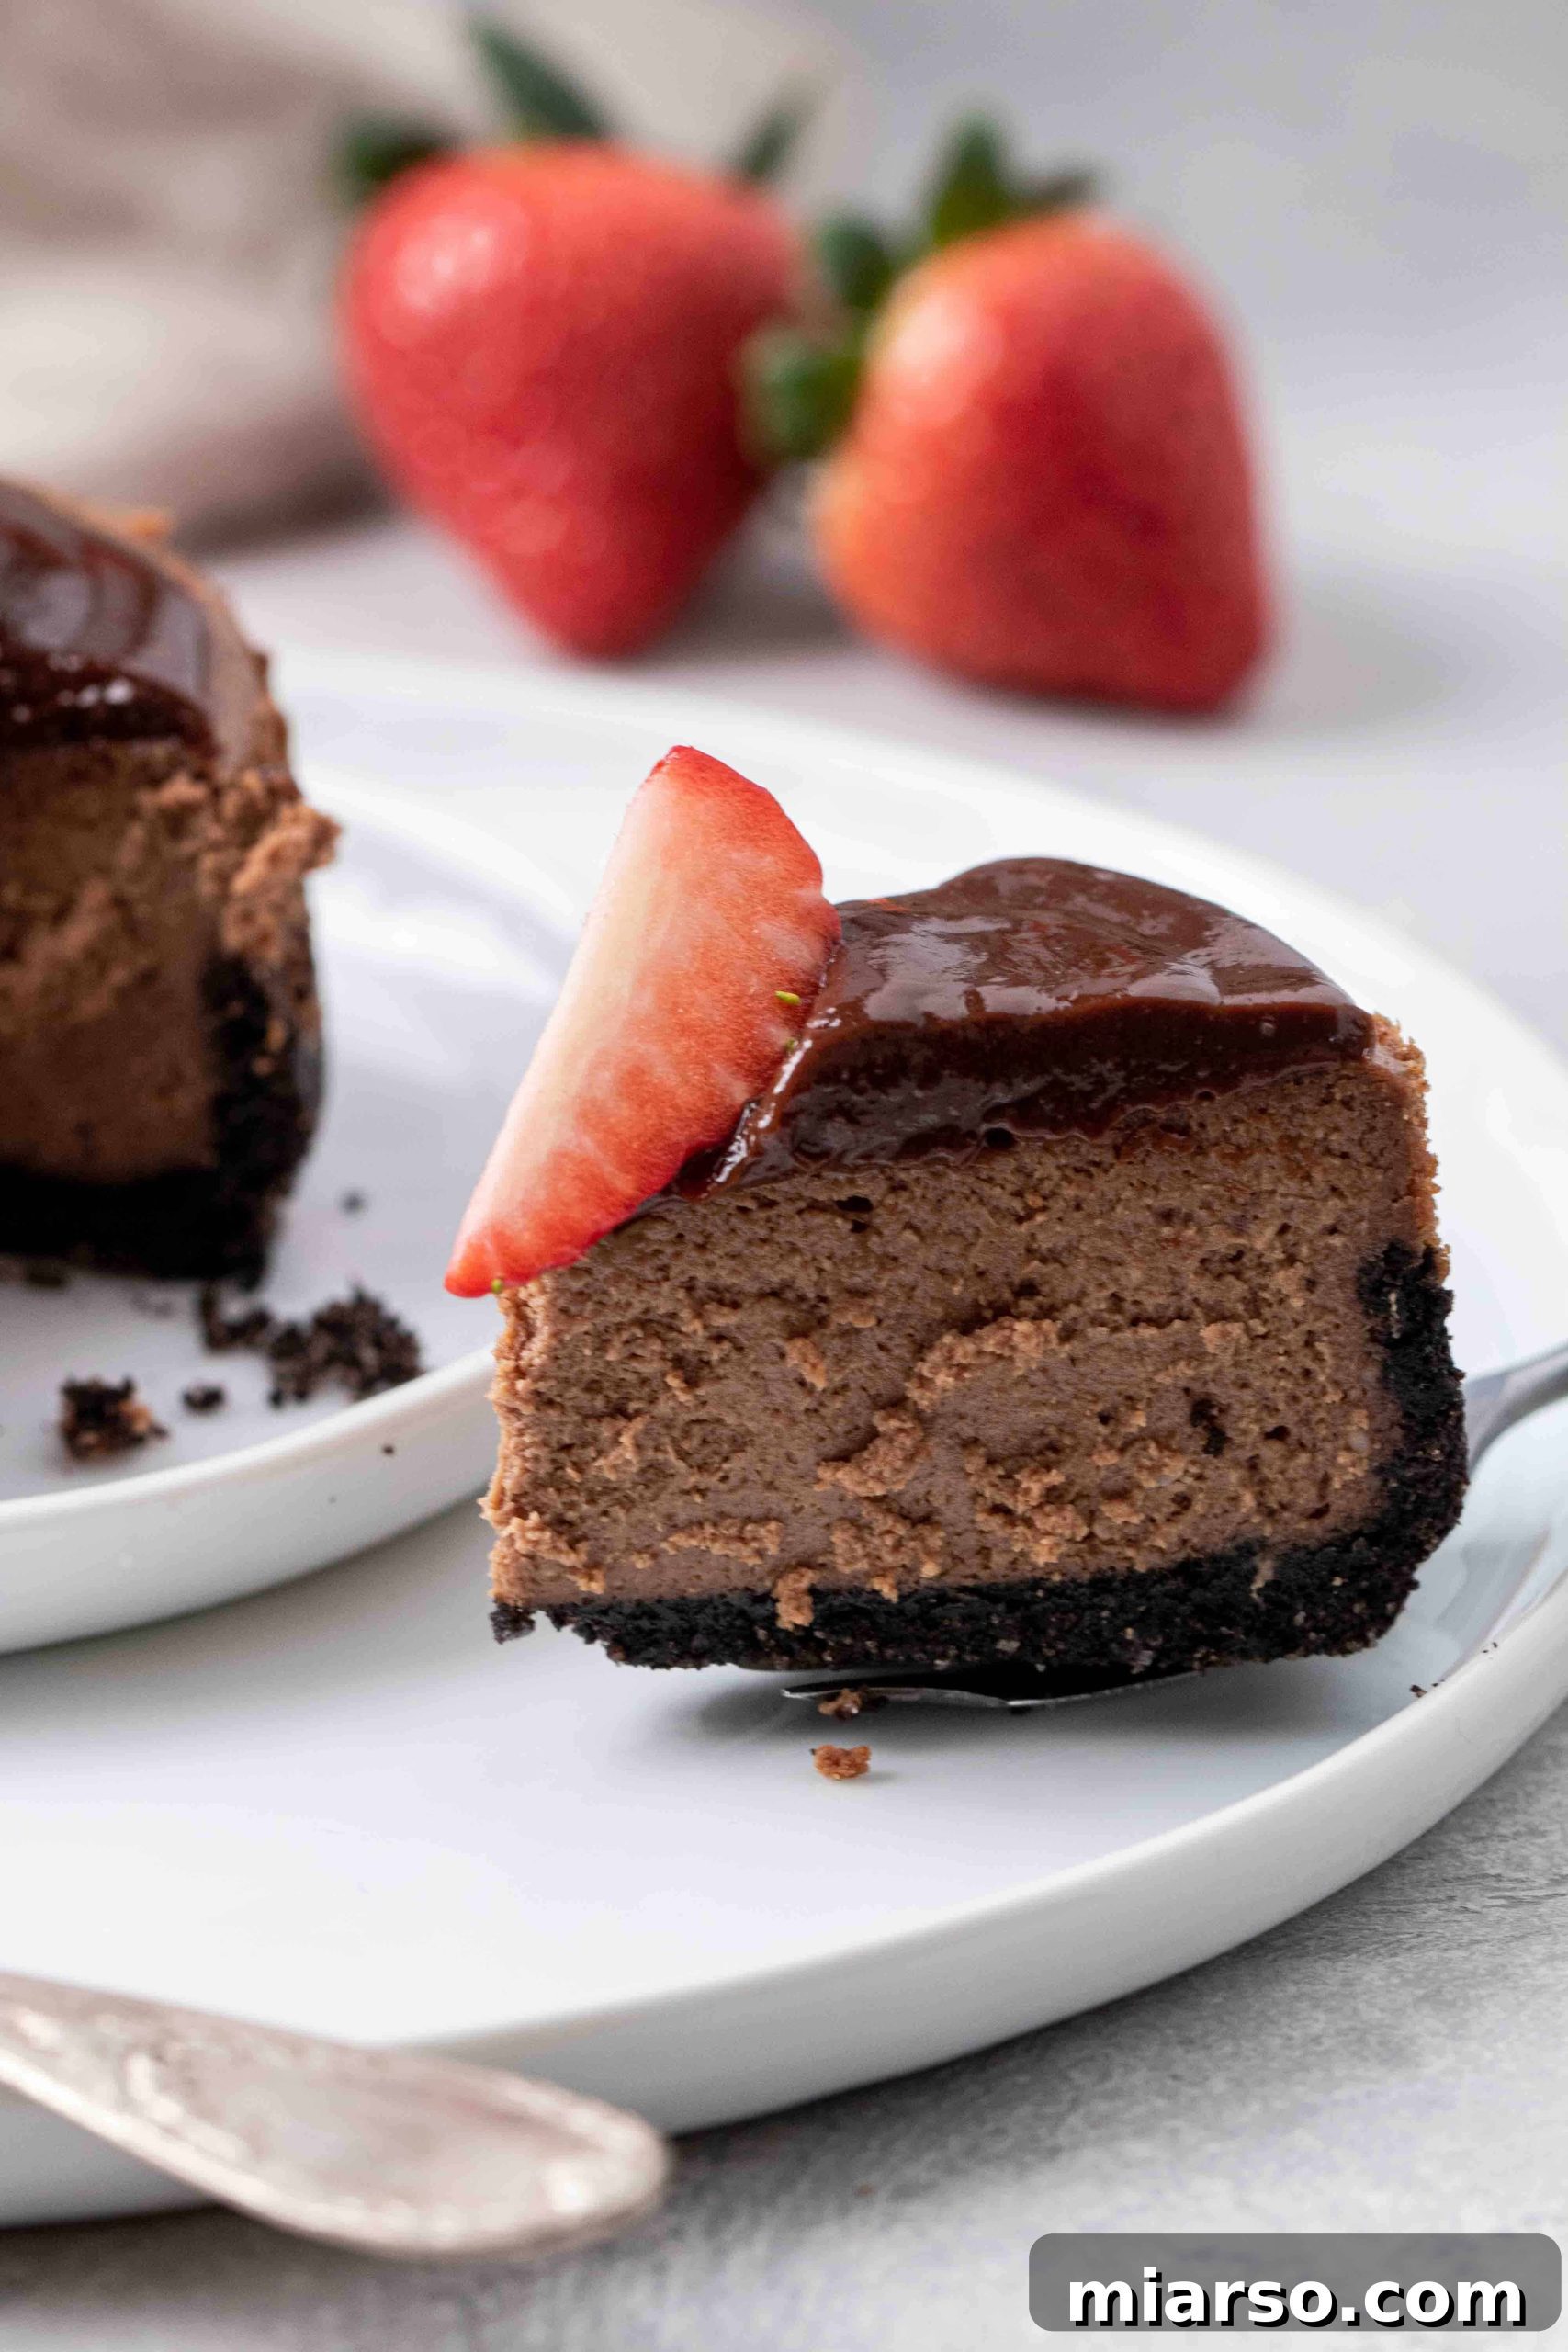
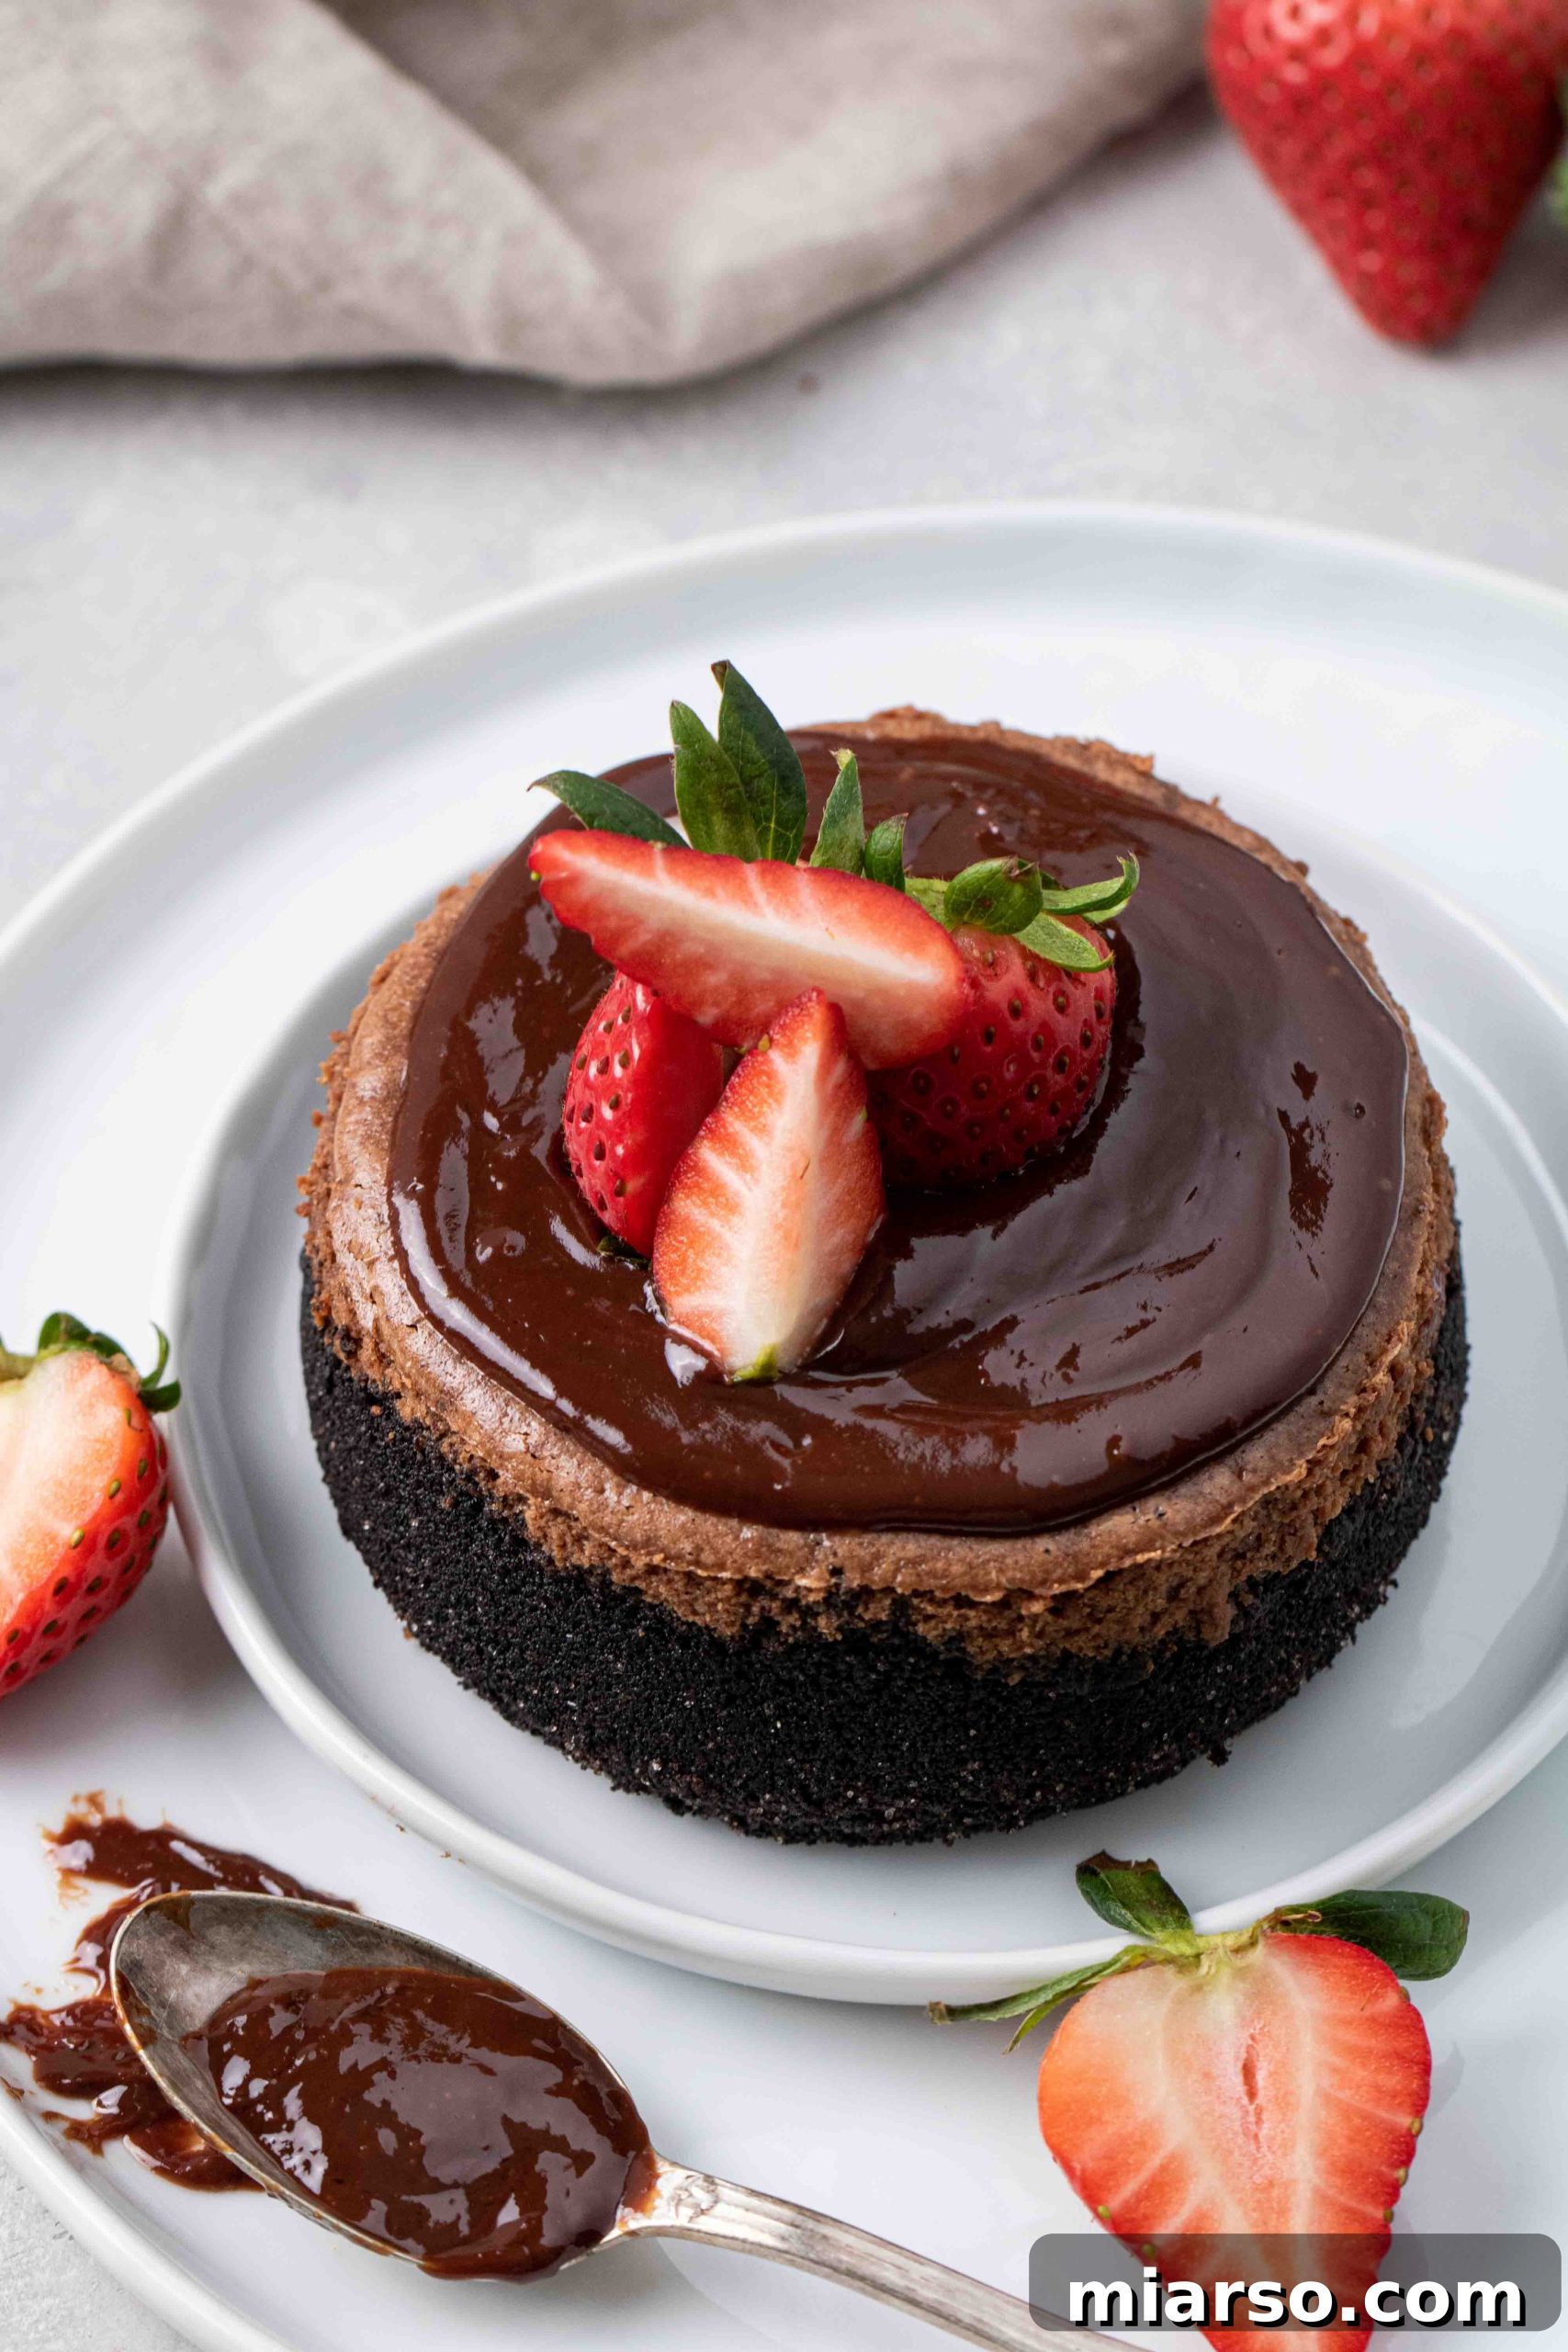
- Pour and Set: Once your ganache is perfectly smooth and glistening, carefully pour it over the top of your chilled **4-inch chocolate cheesecake**. You can spread it gently with the back of a spoon if needed, allowing it to naturally cascade down the sides. Let the ganache sit at room temperature for about 15-20 minutes to set slightly before serving. This allows it to firm up just enough to create a distinct, luscious layer.
How Long Do I Really Need to Chill This Chocolate Cheesecake?
The chilling phase is not merely an optional step; it’s absolutely vital for the structural integrity, optimal texture, and overall flavor development of your cheesecake. Patience is key here, and it will be rewarded!
After baking, your cheesecake undergoes a multi-stage cooling process: first, in the turned-off oven with the door ajar, then at room temperature. Once it has reached room temperature, the real chilling begins. Transfer your **mini chocolate cheesecake** to the refrigerator for a minimum of 4 hours. However, for truly superior results – a cheesecake that is perfectly set, dense, and slices beautifully – we strongly recommend chilling it overnight. This extended period allows the flavors to meld, the texture to firm up, and ensures every slice is a decadent dream. Trust us, it’s worth the wait (even if your self-control is tested by this beauty!).
Essential Tips for a Glorious, Crack-Free Mini Chocolate Cheesecake!
Achieving a smooth, pristine surface on your cheesecake is a badge of honor for any baker. While the ganache offers a wonderful disguise, mastering these techniques will help you achieve a truly **crack-free cheesecake** every time:
- Do Not Over-Beat the Egg: This is a cardinal rule for cheesecakes. Eggs provide structure, but over-beating them incorporates too much air into the batter. This air puffs up significantly during baking, then collapses rapidly during cooling, leading to unsightly cracks. Beat the egg just until it is barely combined with the other ingredients, and stop.
- Maintain a Consistent Oven Temperature: Resist the urge to peek! Opening the oven door frequently or prematurely during baking causes a sudden drop in temperature. This shock can disrupt the delicate setting process of the cheesecake, making it sink in the middle and crack. Keep the door closed throughout the entire baking time.
- Embrace Slow, Gradual Cooling: Rapid temperature changes are the primary culprit behind cheesecake cracks. Our three-step cooling process is designed to prevent this:
- In the Oven: After baking, turn off the oven and prop the door open with a wooden spoon. Let the cheesecake cool in this environment for about 30 minutes. This slowly acclimates it to a cooler temperature.
- At Room Temperature: Remove the cheesecake from the oven and run a thin knife around the perimeter to loosen it from the pan. Then, let it cool completely at room temperature for another 30-60 minutes.
- In the Refrigerator: Finally, transfer the fully cooled cheesecake to the fridge for at least 4 hours, or ideally overnight, to set completely.
Following these steps ensures a gentle temperature transition, significantly reducing the risk of cracks and resulting in a beautifully smooth top.
Explore More Delightful Cheesecake Creations!
- The Best 4-inch Small Burnt Basque Cheesecake for Two/One
- Delightful Mini Cheesecake Recipe for One/Two
- The Best No-Bake Vanilla Bean Cheesecake Bars
How Do I Know When My Cheesecake Is Perfectly Baked?
Knowing exactly when your cheesecake is done can be tricky, as it continues to set as it cools. For this **small-batch chocolate cheesecake**, you’re looking for specific cues:
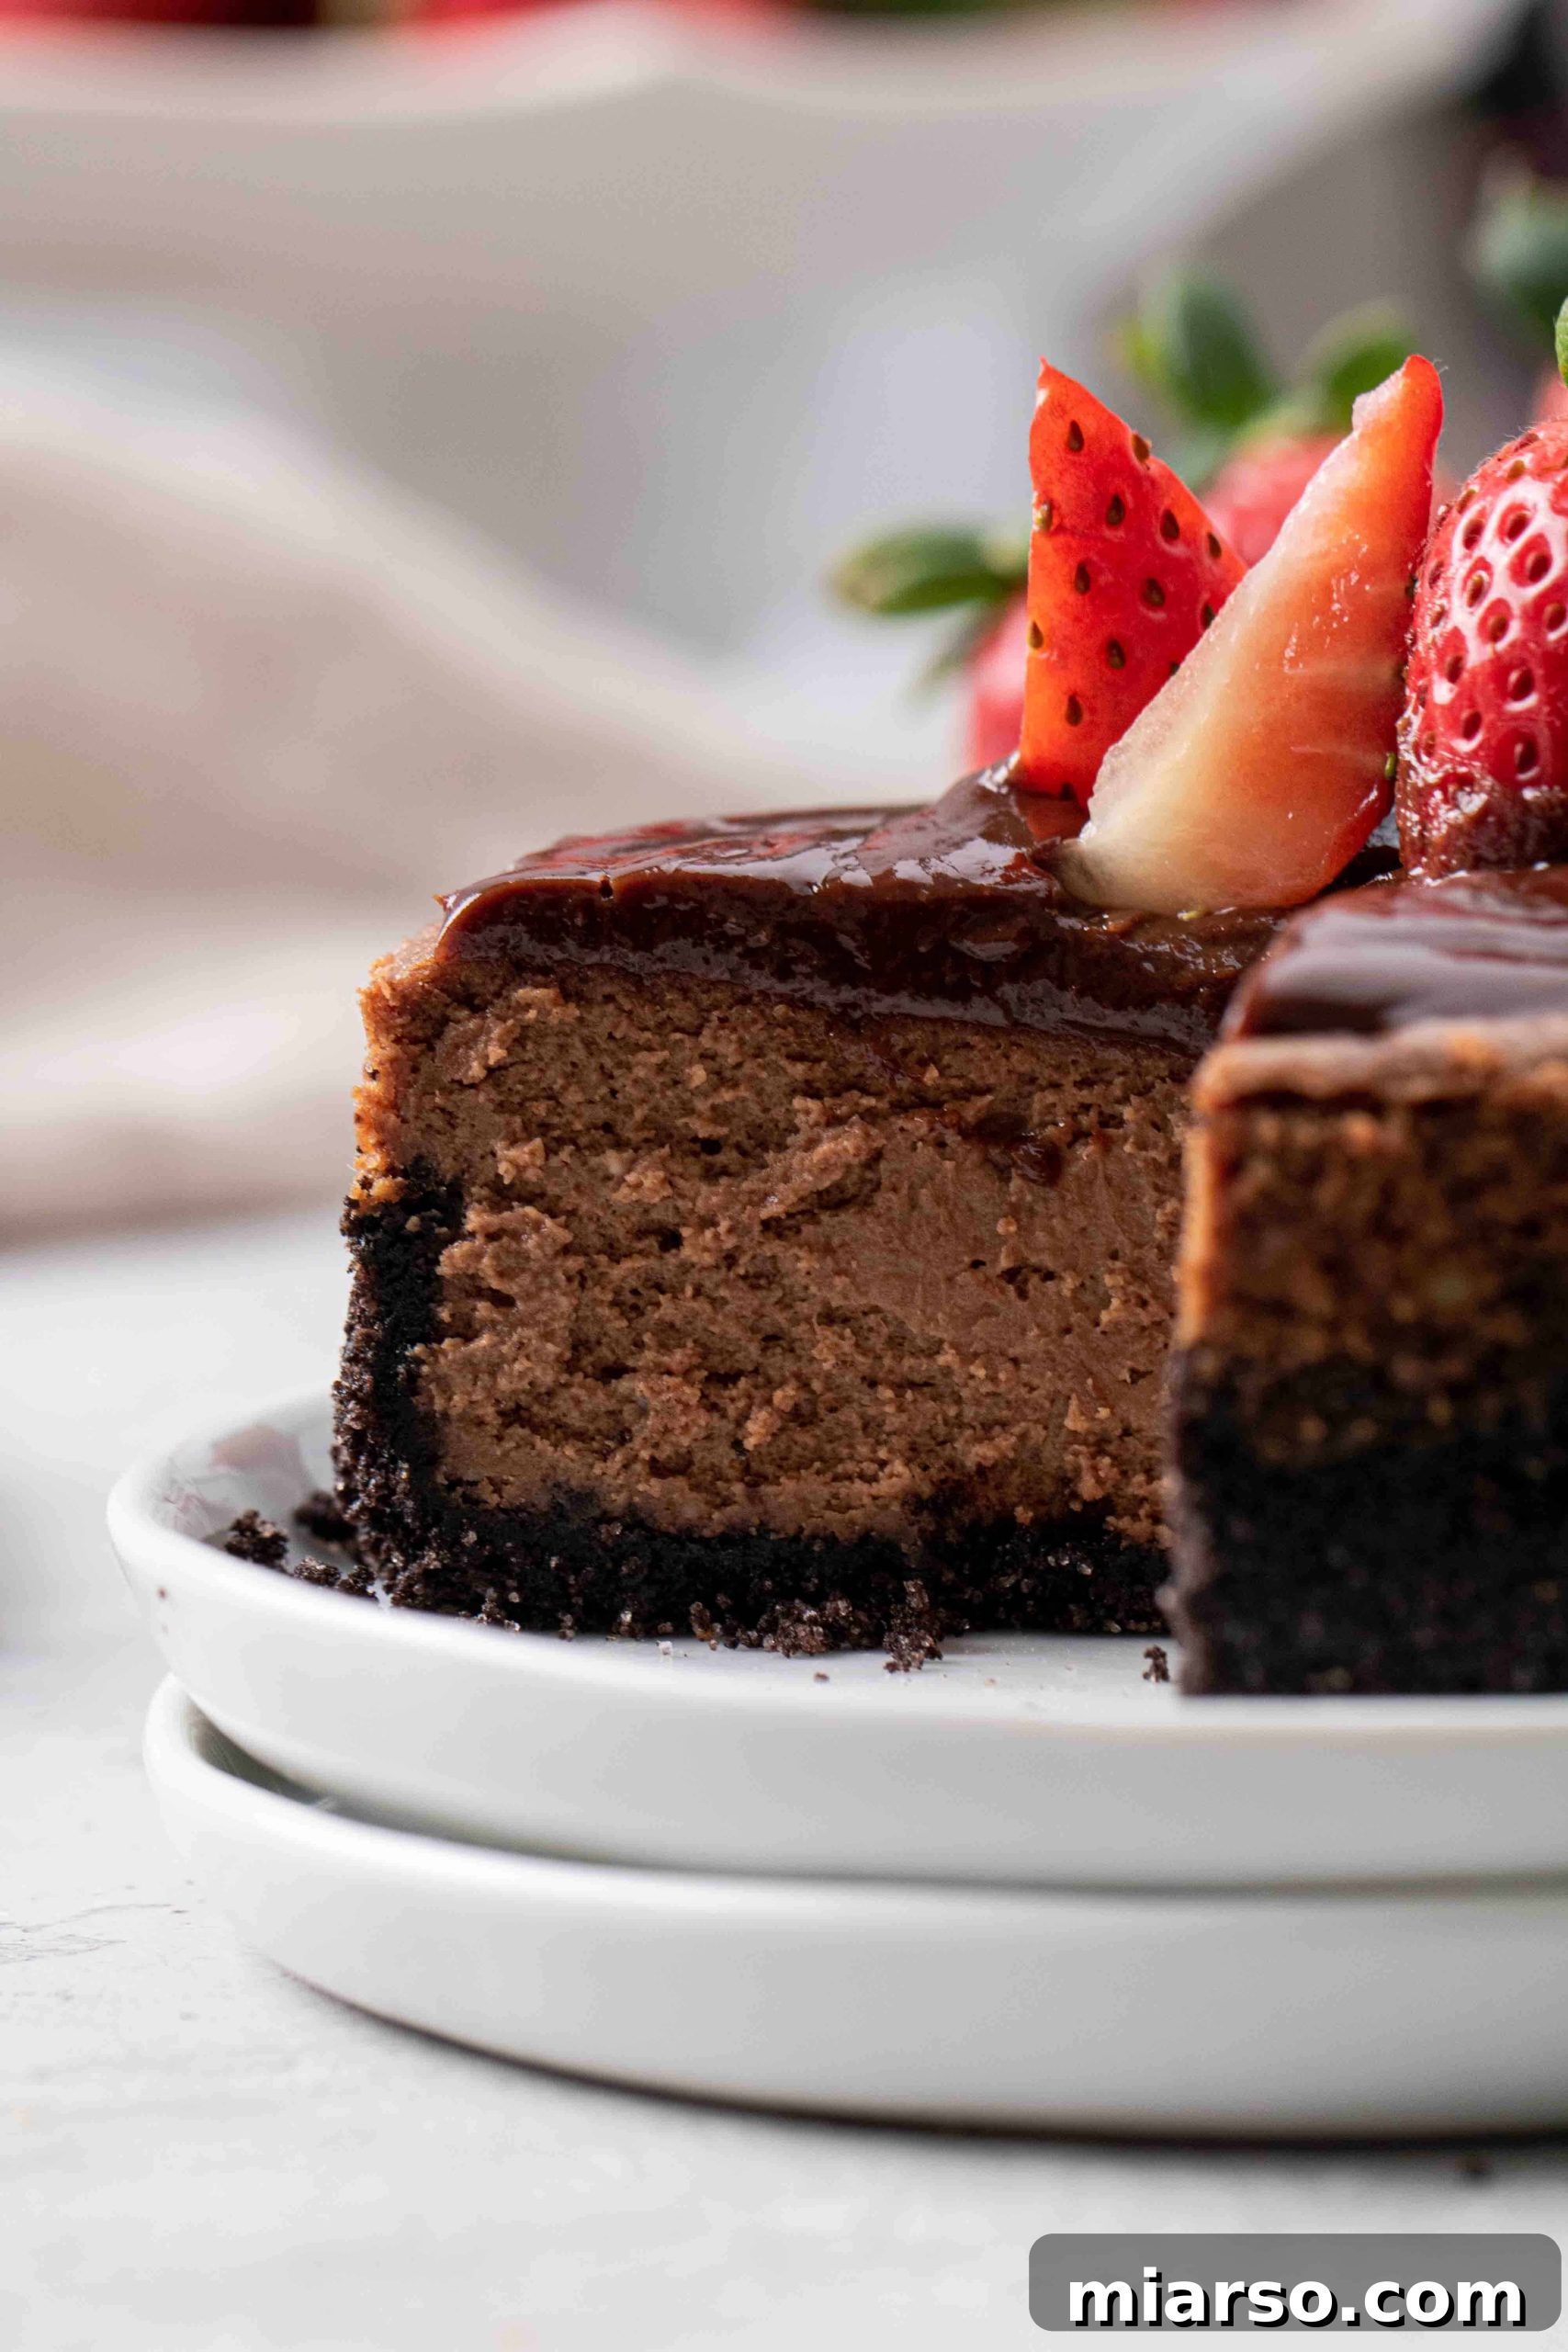
The edges of the cheesecake should appear set and slightly firm. When you gently nudge the springform pan, the center of the cheesecake should still have a slight, delicate wobble or jiggle, much like gelatin. It shouldn’t be liquid, but it shouldn’t be completely firm either. This gentle jiggle indicates that the proteins are set but not overcooked. The cheesecake will likely puff up a bit during baking, but will settle as it cools. Don’t worry about the center being raw; the residual heat will continue to cook it to perfection during the slow cooling process, resulting in that signature creamy texture.
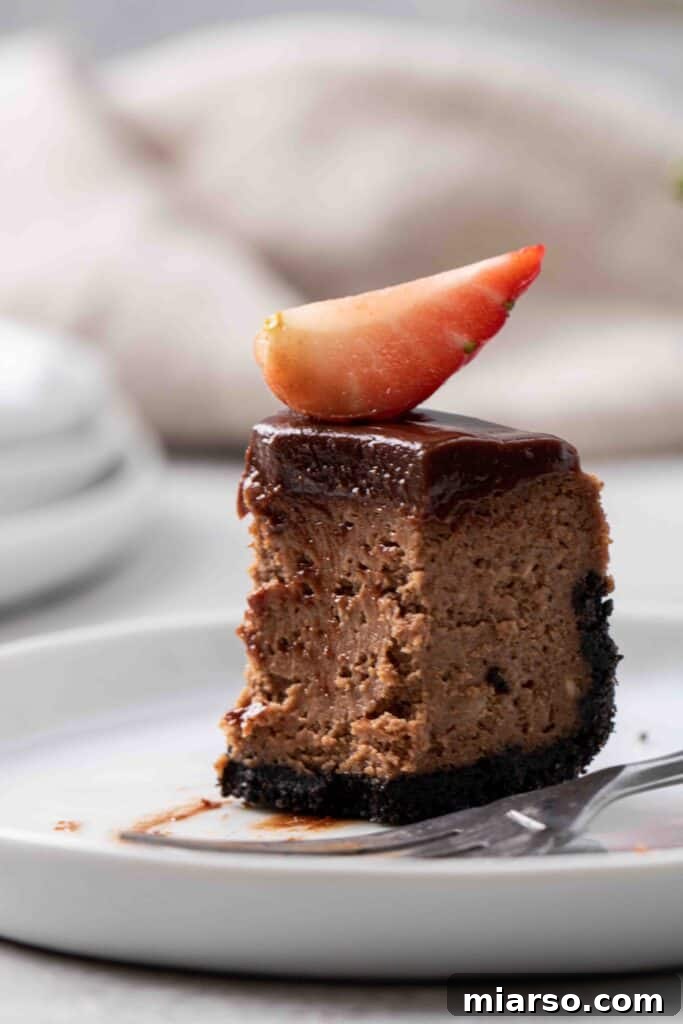
This **mini chocolate cheesecake** is nothing short of heavenly. It boasts an incredibly creamy, rich, and intensely chocolatey flavor profile. The luxurious texture of the filling is perfectly complemented by the crunchy **Oreo crust cheesecake** base. Topped with a silky chocolate ganache, it offers a delightful play on different textures – a smooth, melt-in-your-mouth filling, a crisp crust, and a soft, yielding topping. Each bite is a pure indulgence, delivering a deep, satisfying chocolate experience.
Storing Your Chocolate Cheesecake Mini Dessert for Two
One of the great advantages of baking a **4-inch chocolate cheesecake** is how convenient it is to store compared to larger, more cumbersome cheesecakes. Proper storage ensures your delightful dessert stays fresh and delicious for as long as possible.
Once your cheesecake has fully chilled and is firm, carefully remove it from the springform pan. The best way to store it is in an airtight glass container. This provides an excellent barrier, preventing the cheesecake from absorbing any unwanted odors from other items in your refrigerator. It also helps maintain its moisture content, keeping it fresh and creamy.
You can store this **chocolate cheesecake for two** in the refrigerator for up to a week. However, for the absolute best taste and texture, particularly the crispness of the Oreo crust, we recommend enjoying it within 2-3 days. After that, the crust may soften slightly, though the cheesecake itself will still be wonderfully delicious.
Freezing Your Chocolate Cheesecake for Two: A Smart Make-Ahead Option
Want to enjoy this delectable **mini chocolate cheesecake** at a later date? Freezing is an excellent option for extending its shelf life without sacrificing flavor or texture. This makes it an ideal **make-ahead dessert** for future cravings or unexpected guests.
To freeze your cheesecake effectively:
- Ensure it’s Fully Chilled: Before freezing, make sure your **4-inch chocolate cheesecake** has been thoroughly chilled in the refrigerator for at least 4 hours, or ideally overnight. It needs to be completely firm to prevent damage during wrapping.
- Wrap Meticulously: Carefully wrap the chilled cheesecake first in several layers of plastic wrap, ensuring it’s completely sealed to prevent freezer burn. Then, add a layer of aluminum foil over the plastic wrap for an extra layer of protection. This double-wrapping technique is key to maintaining quality.
- Freeze: Place the wrapped cheesecake in the freezer. It can be stored for up to 2 months.
- Airtight Container Option: Alternatively, if you plan to enjoy the cheesecake sooner (within a month), you can place the plastic-wrapped cheesecake directly into an airtight freezer-safe container. This offers good protection and is convenient for shorter freezer stays.
- Thawing: When you’re ready to enjoy, transfer the frozen cheesecake to the refrigerator and allow it to thaw slowly overnight. Once thawed, you can top it with fresh ganache and your favorite garnishes.
Unleash Your Creativity: What to Top Your Mini Chocolate Cheesecake With?
One of the most enjoyable aspects of making cheesecake is the endless possibilities for customization, especially when it comes to toppings! While our recipe includes a classic chocolate ganache, don’t hesitate to experiment and make your **mini chocolate cheesecake** uniquely yours. Here are some fantastic topping ideas to inspire you:
- Classic Chocolate Ganache: The velvety, glossy topping included in this recipe. Simple, elegant, and intensely chocolatey.
- Delicate Chocolate Shavings: Use a vegetable peeler or grater on a block of good quality chocolate to create beautiful curls and shards for a sophisticated finish.
- Piped Chocolate Whipped Cream: Light, airy, and adds another layer of chocolate flavor and creamy texture.
- Piped Peanut Butter Whipped Cream: The classic combination of chocolate and peanut butter is irresistible.
- Artistic Peanut Butter Drizzles: Melted peanut butter can be drizzled decoratively over the ganache for a striking visual and flavor contrast.
- Sweet Cherry Pie Filling: The tartness of cherries beautifully cuts through the richness of the chocolate.
- Crunchy Candied Nuts: Pecans, walnuts, or almonds, caramelized to perfection, add a wonderful textural element.
- Fresh Strawberries or Any Berries: Bright, fresh berries (raspberries, blueberries, blackberries) offer a burst of color and a tart counterpoint.
- Luscious Caramel Sauce: A swirl of homemade or store-bought caramel adds a buttery, sweet complexity.
These are just a starting point! Feel free to mix and match, or invent your own unique combinations. The beauty of this **chocolate cheesecake for two** is its versatility. Let us know in the comments below what your favorite cheesecake toppings are – we love hearing your creative ideas!
Can You Make This Chocolate Cheesecake Ahead of Time? Absolutely!
Life can get wonderfully busy, and having a stunning dessert ready to go is a true gift. The excellent news is that cheesecakes, especially this **mini chocolate cheesecake**, are among the best desserts for making ahead of time. Their need for significant chilling actually works in your favor!
You can confidently prepare your cheesecake up to 2 days before you plan to serve it. We often recommend making it in the late afternoon or early evening. This gives it ample time to go through the crucial oven and room temperature cooling stages before you pop it into the refrigerator. Leaving it to chill overnight ensures it’s perfectly set, firm, and boasts the ideal creamy texture and flavor for the next day’s enjoyment. This strategy frees up your time on the day of your event, allowing you to relax and enjoy the moment, knowing a delicious, perfectly prepared dessert awaits.
Mini Chocolate Cheesecake for Two
If you’ve enjoyed baking and savoring this incredible **mini chocolate cheesecake for two**, we would be absolutely thrilled if you could show your appreciation by giving it a 5-star rating! Simply click on the 5 stars located right under the recipe description. Your feedback helps us share more delicious recipes with passionate bakers like you!
4-inch Chocolate Cheesecake Mini Recipe
Print Recipe
Equipment
Ingredients
- 4 oz Cream cheese At room temperature
- 2 tbsp Heavy cream At room temperature
- 2 tbsp Sugar
- 2 tsp Cocoa powder
- 1 medium Egg at room temperature
- 1/4 tsp vanilla
For the Oreo crust
- 4 oreos with the creamy center removed
- 1 tbsp butter melted
- 1/2 tbsp granulated sugar
Chocolate ganache
- 1 oz semi sweet chocolate chips
- 1 oz heavy cream
- Strawberries for topping Optional
Instructions
-
First, start by preheating the oven to 325F then line the bottom of your 4-inch mini cheesecake pan with parchment paper and set aside.
-
In a food processor add in the 4 Oreo cookies (minus the creamy filling) and the sugar then pulse until crumbly, add in the melted butter and pulse until the mixture looks wet. Add the Oreo cookie mixture to the prepared springform pan and pack using a shot glass.
-
Bake the crust in the preheated oven for 10 minutes, then lower the oven temperature to 300F. Pull the crust out and let it cool completely.
Make the cheesecake filling
-
In a large bowl mix the cream cheese, heavy cream, sugar, cocoa powder, and vanilla until combined. Add in the egg and beat just until combined. Don’t over mix!
-
Pour the cheesecake mixture into the crust and bake for 30 minutes. The cheesecake will be slightly jiggly in the center but set around the edges.
-
Once the cheesecake is done baking, turn off the oven, and prop open the oven door with a wooden skewer. Let the cheesecake cool in the oven for 30 minutes.
-
Pull the cheesecake out of the oven and gently run a sharp knife around the edges then let it cool at room temperature for 30 minutes to an hour then transfer to the fridge for at least 4 hours.
Make the chocolate ganache
-
In a microwave safe bowl add in the chocolate chips and heavy cream then microwave in 30 second increments, making sure to stir after each 30 second increment. Once the chocolate heavy cream mixture is fully melted, pour over your chilled cheesecake and let it set for 15-20 minutes, decorate with strawberries and enjoy!
Notes
Nutrition
Nutrition information is automatically calculated, so should only be used as an approximation.
Thank you so much for joining us on this delicious journey to create the perfect **mini chocolate cheesecake**! We hope you enjoyed every step of crafting this delightful dessert. Your feedback is invaluable, so please don’t hesitate to leave a comment below and let us know how your cheesecake turned out. In the meantime, for more inspiring recipes and baking adventures, don’t forget to follow us on Instagram.

Shop Essential Tools & Ingredients for This Recipe
This post may contain affiliate links, meaning that at no additional cost to you, I will earn a small commission if you make a purchase through these links. We only recommend products we genuinely love and use in our own kitchen!