
Hello, fellow food enthusiasts and home bakers! As the festive season twinkles on the horizon, bringing with it the joyous anticipation of gatherings and delightful meals, I’m thrilled to share a secret weapon for your holiday dessert table. But before we dive into the culinary magic, let’s take a moment to embrace a powerful mindset:

This quote resonates deeply with me, not just in life’s grand ambitions, but even in our everyday pursuits, like creating a memorable holiday meal. How often do we get caught up in the “what-ifs” when baking, fearing a dish won’t turn out perfectly, rather than trusting the process and believing in our ability to create something wonderful? This philosophy extends to my blog, where I sometimes fret over visitor numbers or article quality. Yet, I’ve learned that once the effort is put in, all we can do is trust that our desires are within reach. It’s about working towards your goals with conviction, knowing that success is part of the journey. And that belief extends beautifully into the kitchen, especially when we’re looking for smart shortcuts to culinary excellence.
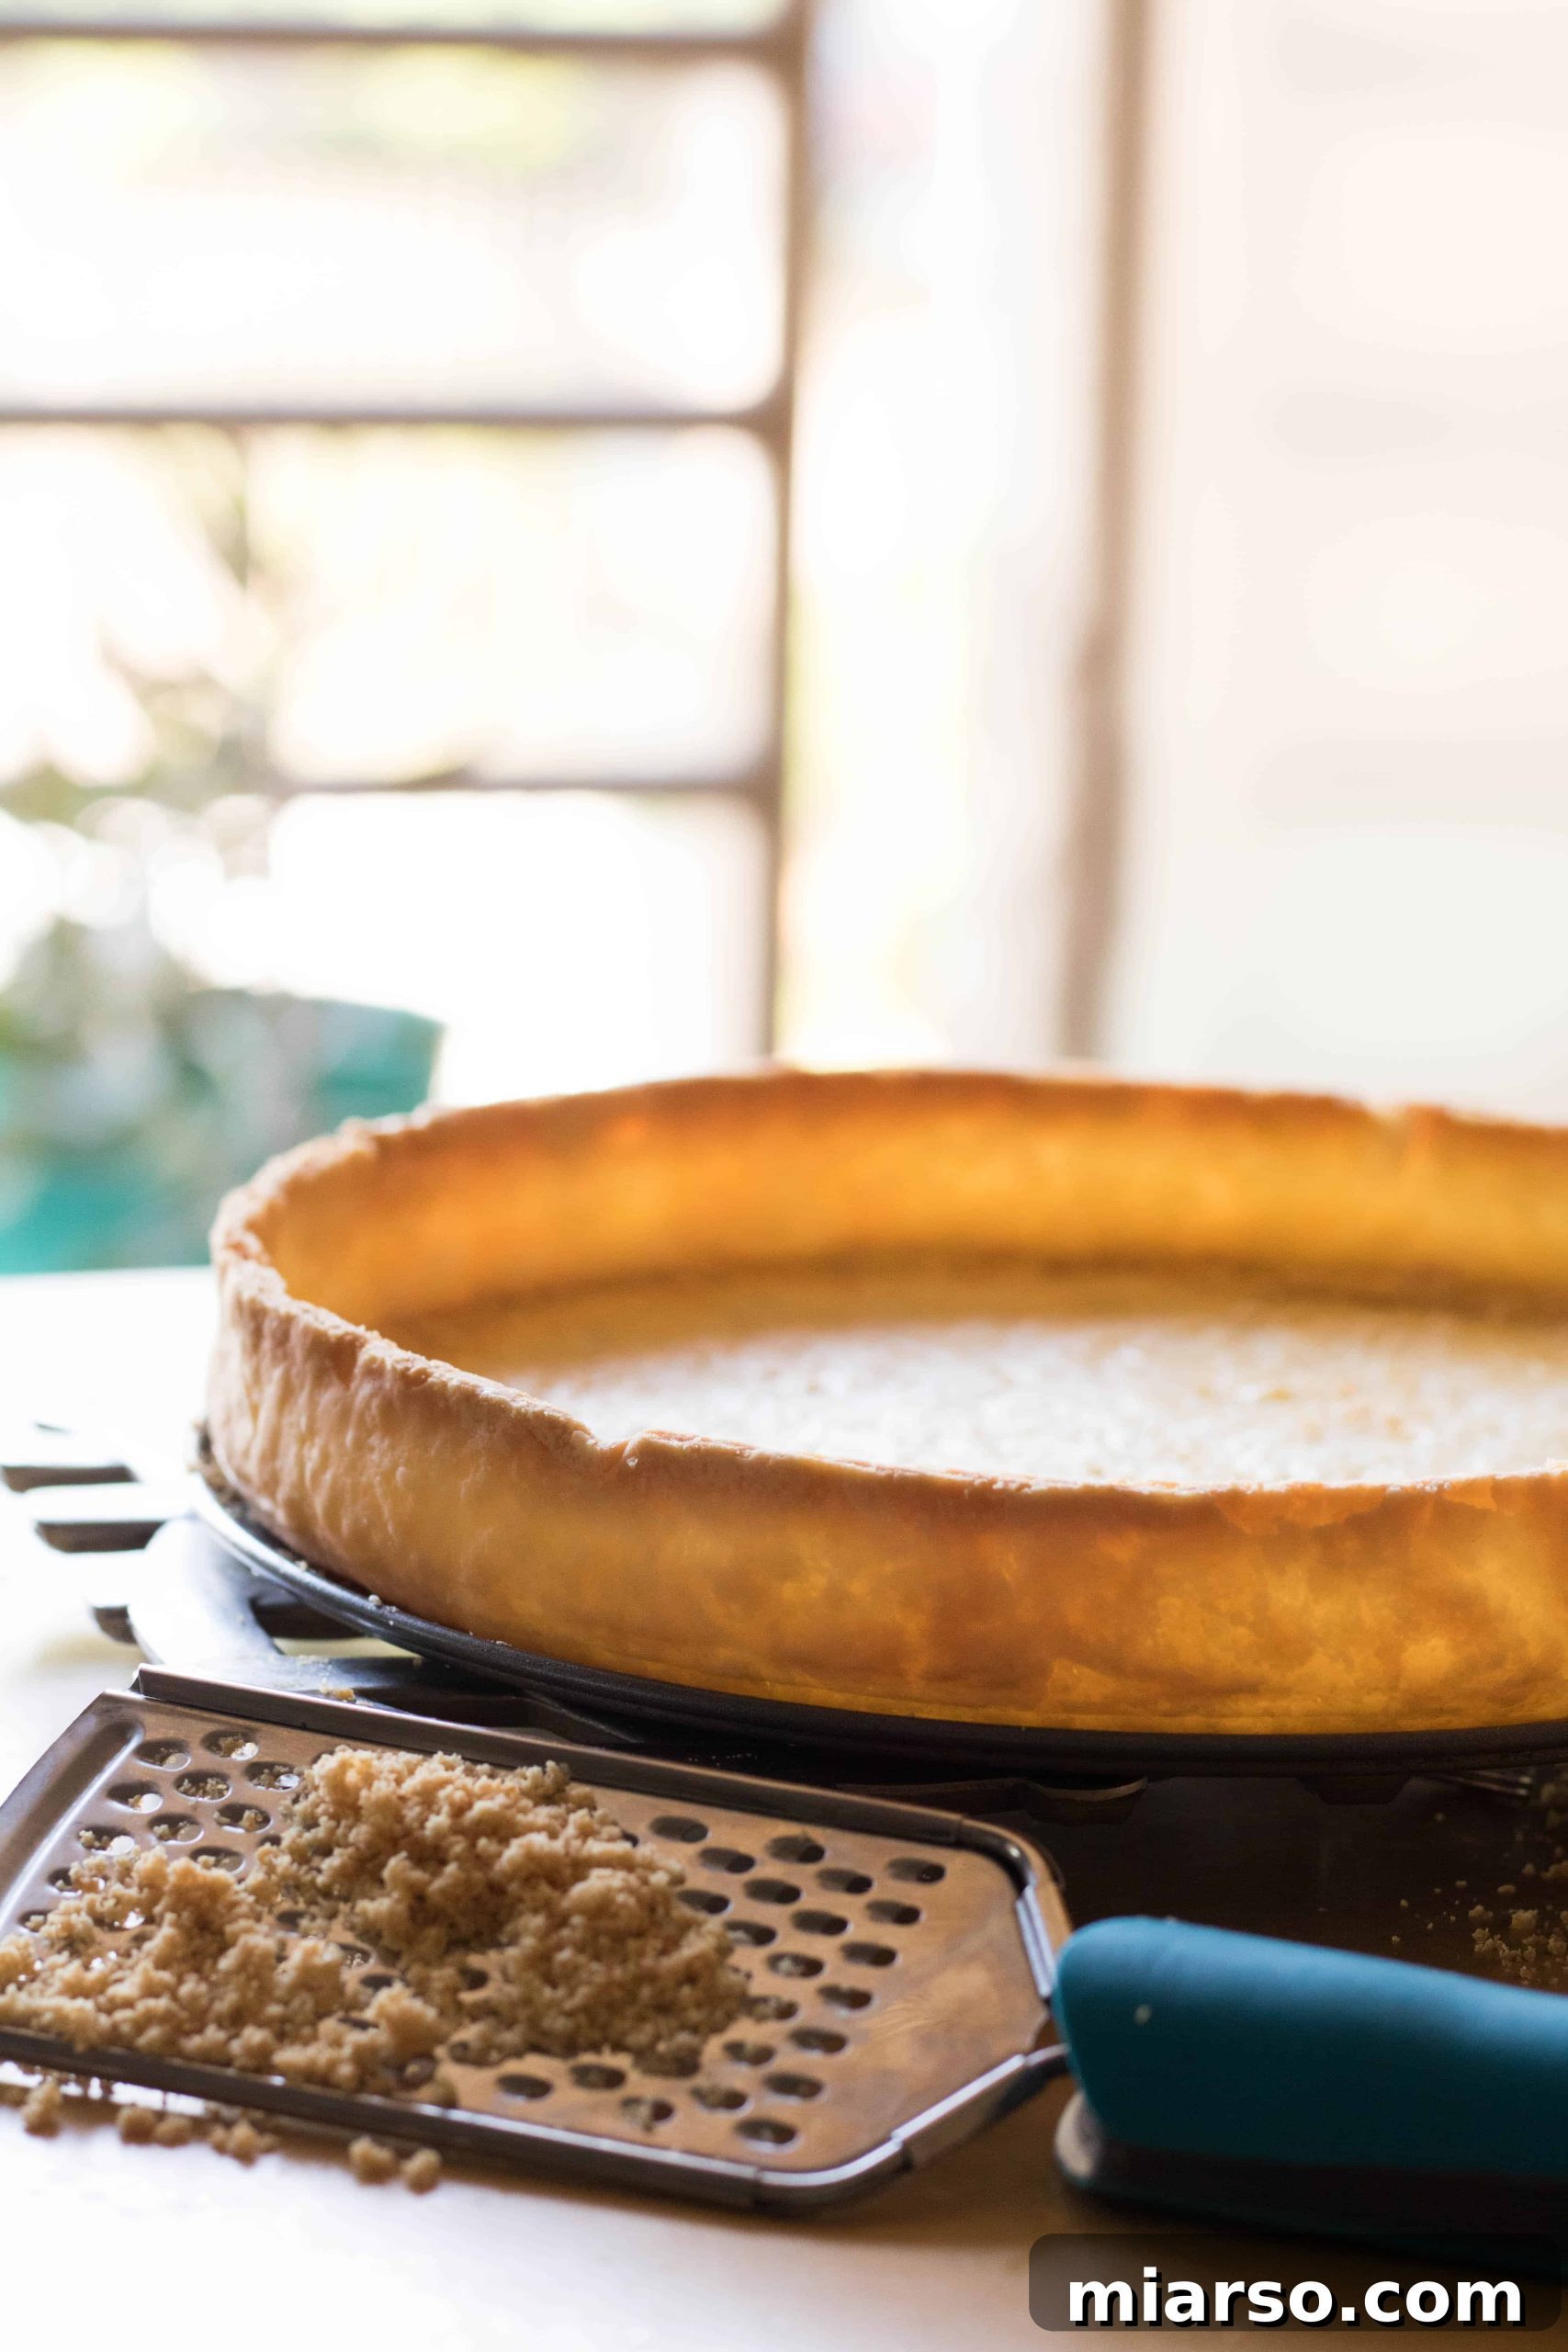
Speaking of culinary excellence, let’s talk about pie crusts. The holiday season often calls for stunning pies and tarts, and the foundation of any great one is, undoubtedly, its crust. Now, honestly… can you guess that the dazzling crust featured in today’s recipe isn’t homemade? Doesn’t it look absolutely incredible?
This past weekend, when I presented my sweet potato tart at a Friendsgiving gathering, my friends were utterly captivated by its beautiful presentation. They all assumed I had spent hours meticulously crafting the perfect dough. Little did they know, I had a few clever tricks up my sleeve! In this comprehensive guide, I’m excited to unveil four indispensable secrets that will transform your humble store-bought pie crust into a masterpiece that looks, and tastes, even better than many homemade versions.
This article may contain some affiliate links. This means, at no additional cost to you, I will earn a commission if you click through these links and make a purchase, helping support content like this.
Elevate Your Holiday Baking: The Magic of Store-Bought Pie Crust
The holidays are a time for joy, connection, and delicious food, but they can also be incredibly busy. While the idea of a completely scratch-made pie crust is appealing, the reality of limited time often leads us to seek simpler solutions. This is where store-bought pie crusts truly shine. They offer unparalleled convenience, consistent results, and a fantastic foundation for a wide array of fillings. But the secret isn’t just in buying it; it’s in how you treat it. With a few simple yet powerful techniques, you can elevate a pre-made crust from basic to brilliant, allowing you to save time without sacrificing that coveted homemade look and feel. Impressing your guests this Thanksgiving or Christmas has never been easier!
The Four Transformative Secrets for a Stunning Store-Bought Crust
So, what exactly are these game-changing techniques that make an easy store-bought dough appear handcrafted and taste utterly amazing? Get ready to unlock the full potential of your holiday baking with these expert tips:
-
Secret 1: Embrace the Elegance of a Tart Shell Shape
Instead of sticking to the traditional round pie dish, opt for a tart pan. The distinctive fluted edges and shallower depth of a tart pan instantly lend an air of sophistication and fanciness to your desserts. This simple change in presentation can make everyone believe your pies and tarts are incredibly intricate and chef-prepared. Tart pans often come with a removable bottom, making serving and presentation even more effortless and professional.
For my sweet potato tart, I used a standard 9-inch tart pan with a fluted edge. This style is widely available and provides a beautiful finish.
If you’re looking for a specific recommendation to achieve this elegant look, consider a 9-inch fluted tart pan with a removable bottom. Alternatively, for an even easier and consistently professional finish, a cheesecake mold with a springform design (which I use in the recipe below for simplicity and excellent results) can also create a beautiful, clean-edged tart that looks far from store-bought. -
Secret 2: Master the Art of Pre-Baking (Blind Baking)
Pre-baking, also known as blind baking, is a non-negotiable step for certain pies and tarts, especially those with wet fillings like custards, quiches, or fruit pies that don’t require extended baking. This crucial technique involves partially baking your pie or tart shell before adding the filling. Why is it so important? Blind baking helps to prevent a soggy bottom, a common lament among bakers. It ensures your crust is perfectly crisp and cooked through, providing a sturdy and delicious base that won’t absorb moisture from your filling during the final bake. This step is key to achieving that desirable flaky texture throughout your entire dessert.
-
Secret 3: The Indispensable Role of Pie Weights
When you pre-bake a crust, the dough tends to puff up and shrink, losing its carefully pressed shape. This is where pie weights come into play. By lining your crust with parchment paper or foil and filling it with pie weights (or suitable alternatives), you apply even pressure across the dough. This weighted support prevents the crust from rising excessively or bubbling in the middle, ensuring it maintains its flat, even surface and defined edges. It’s a simple tool, but it makes a world of difference in the structural integrity and aesthetic appeal of your baked shell.
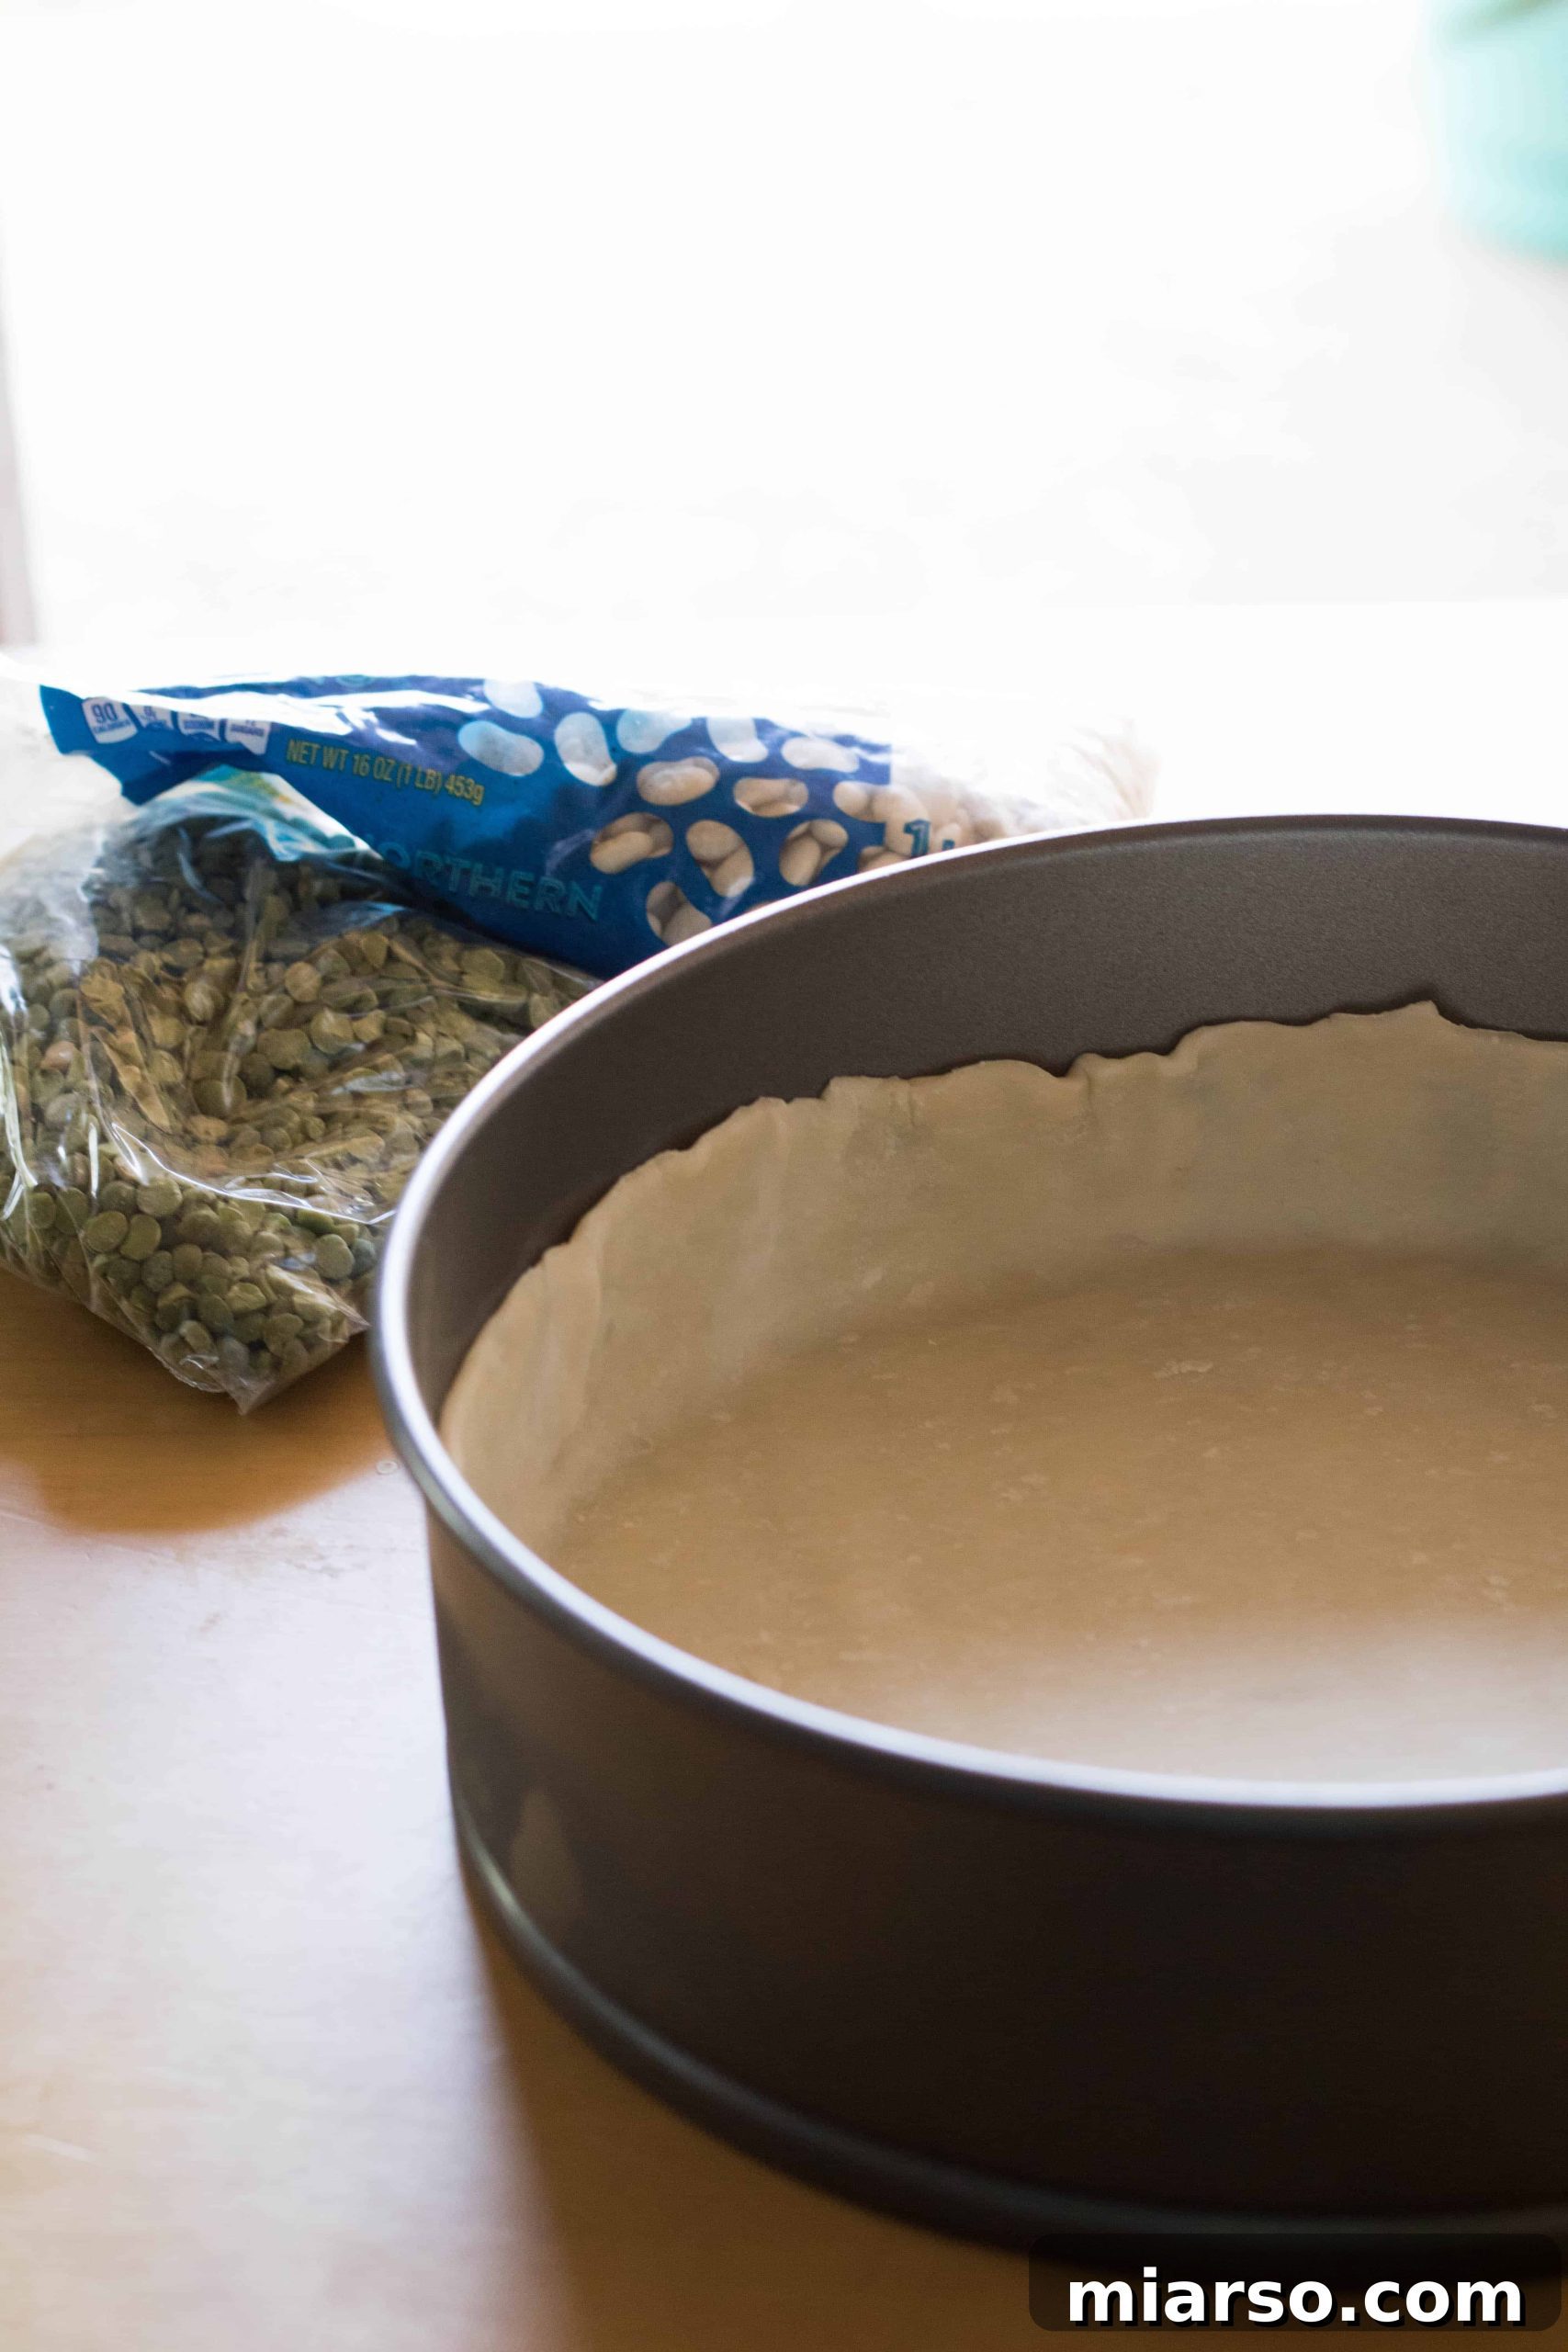
Don’t have dedicated pie weights? No problem! You can easily substitute them with dry beans, uncooked rice, lentils, or even granulated sugar. Just remember to reserve these for future blind baking use once they’ve been baked. If you’re ready to invest in reusable ceramic pie weights for consistent results, you can click here to explore some options.
-
Secret 4: The Protective Egg Wash Seal
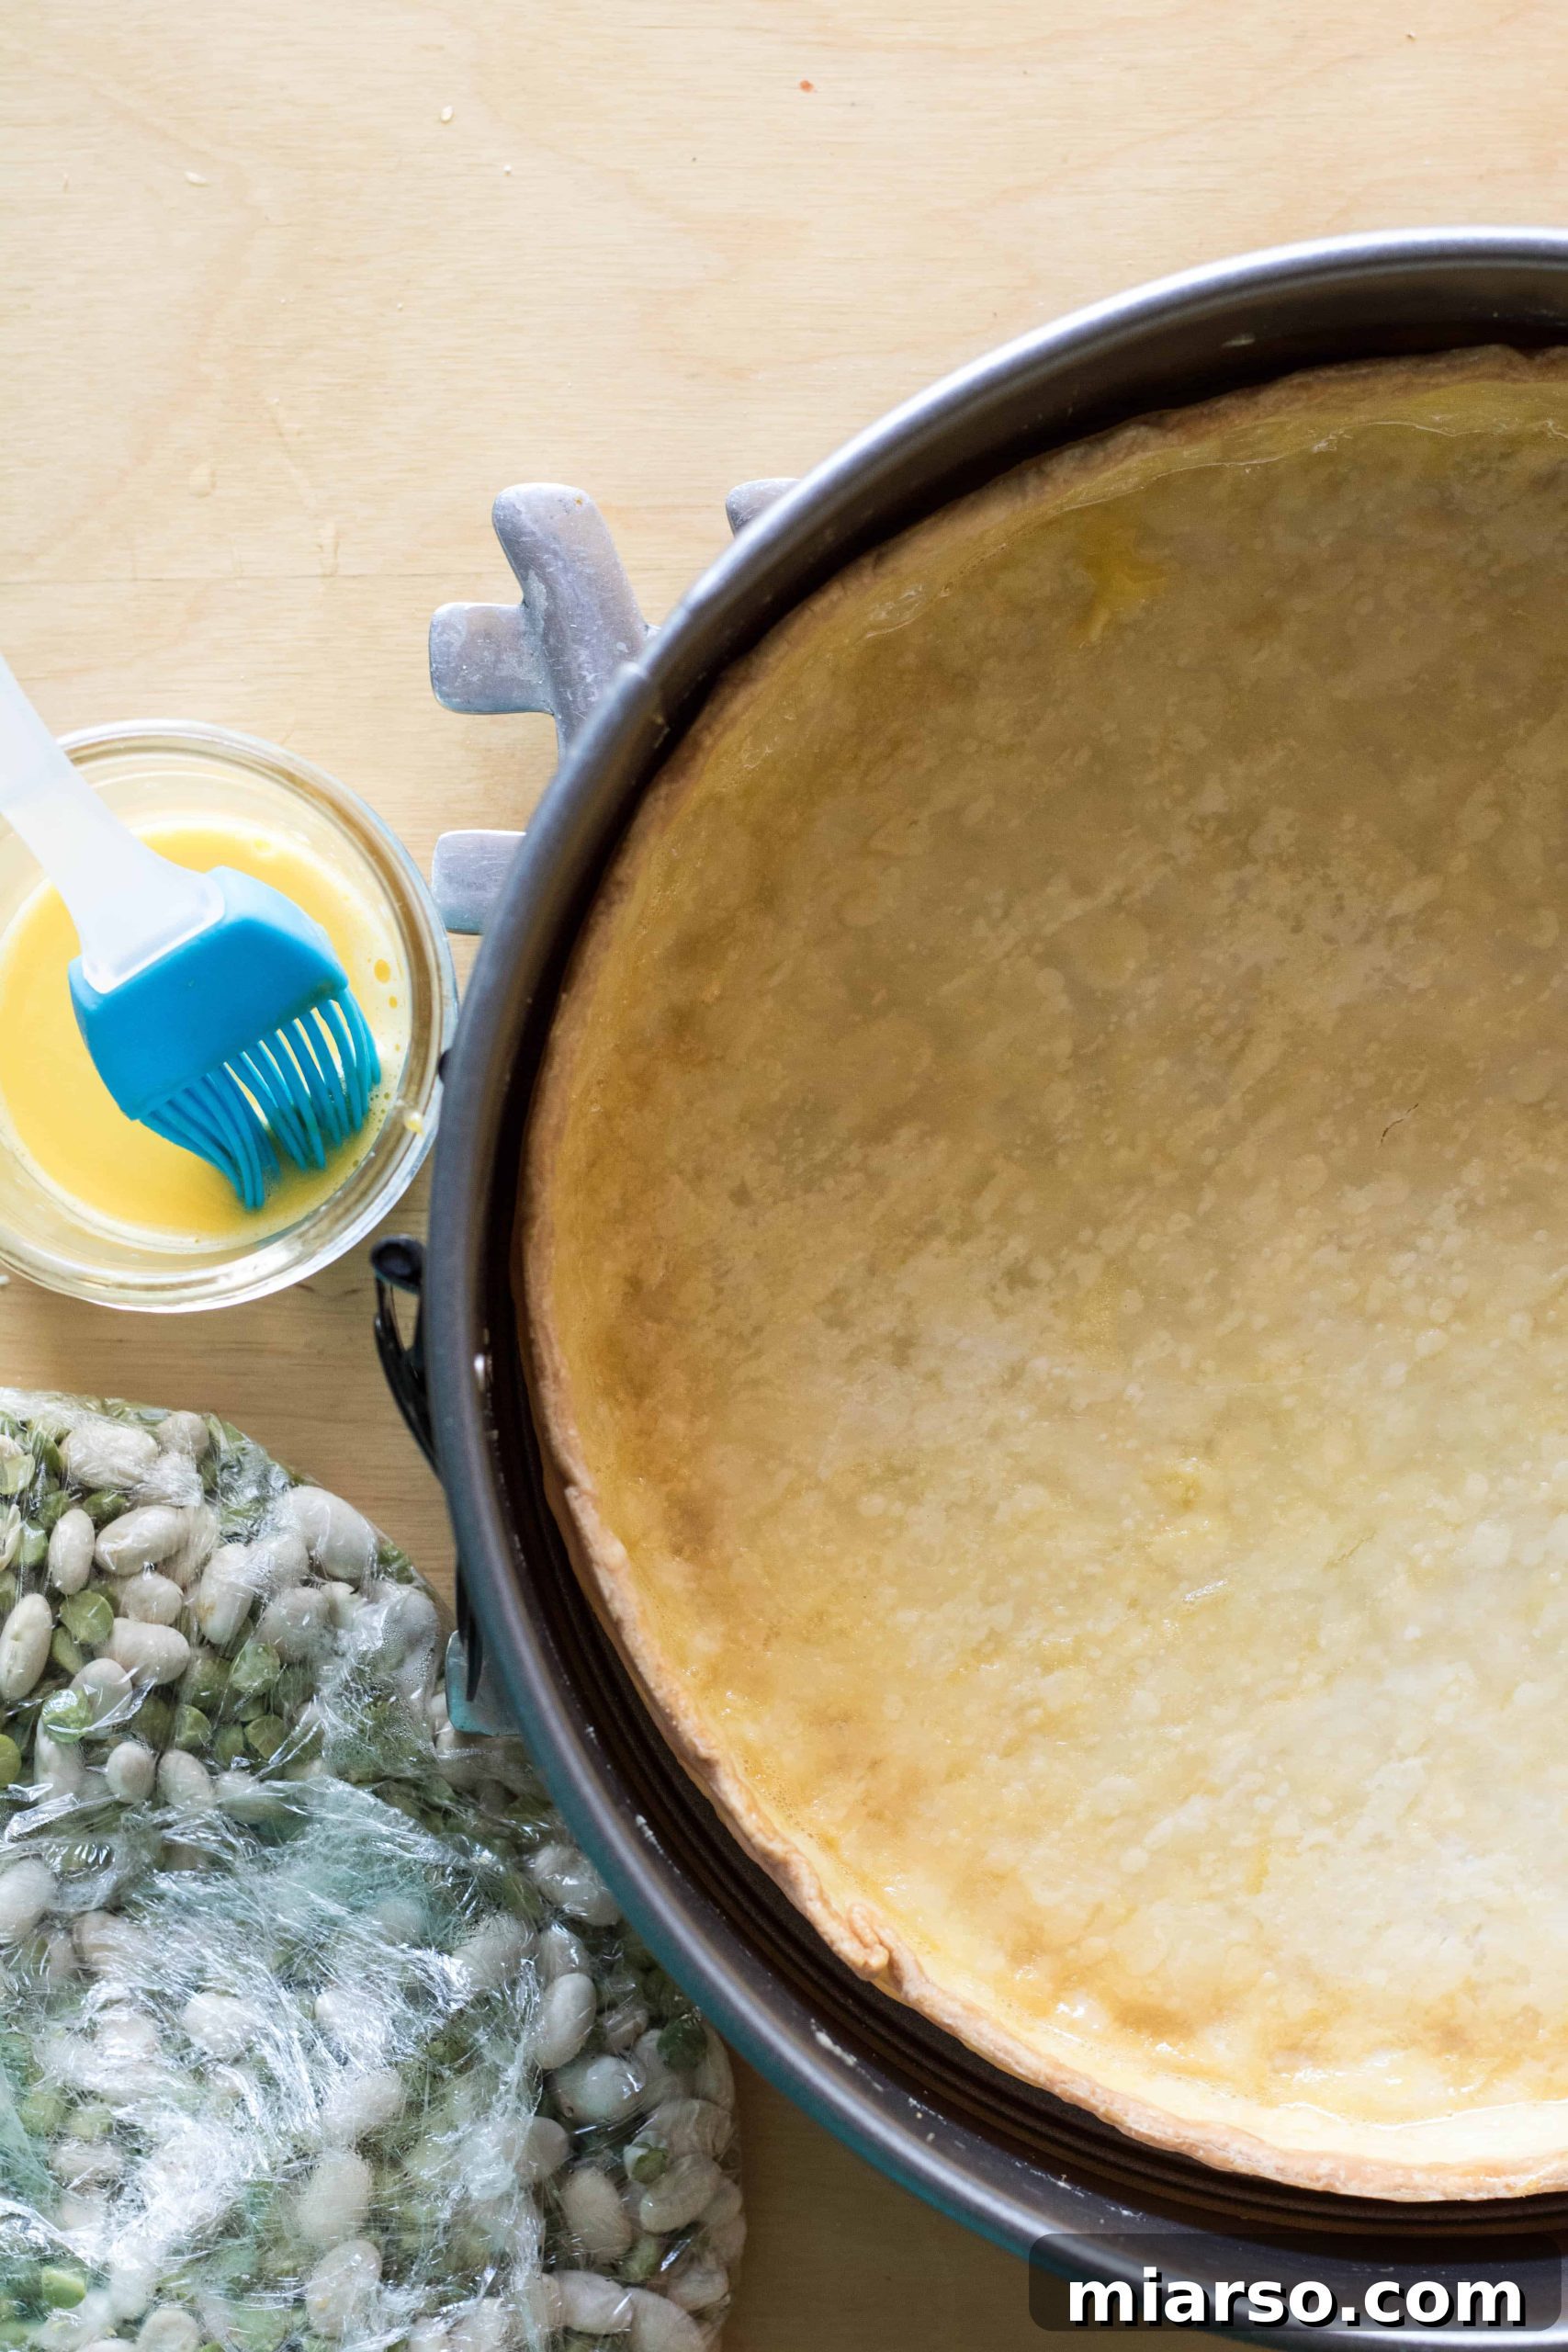
This trick is often overlooked but provides a double benefit. As soon as your pre-baked pie or tart shell emerges from the oven, brush the inside surface immediately with an egg wash (typically egg white or a whole egg whisked with a little water). When applied to a hot crust, the egg proteins coagulate almost instantly, forming a thin, invisible, protective layer. This layer acts as a barrier, reinforcing the crust’s structure and, more importantly, preventing any moisture from your filling from seeping into the crust and making it soggy. It’s the ultimate safeguard against a wet bottom, ensuring your beautiful tart stays crisp and perfect from the first slice to the last.
And there you have it – four awesome, yet incredibly simple, tips that will elevate your store-bought pie crusts to a level where they genuinely look and perform better than many homemade versions. Now, let’s move on to the practical application with a detailed, step-by-step recipe for preparing this easy pie shell, ready for your favorite holiday fillings!
Mastering the Art of a Flawless Store-Bought Pie Crust
This recipe provides a solid foundation for any sweet or savory tart or pie, ensuring a crisp, golden base every time. Follow these steps to prepare a store-bought crust that will impress even the most discerning palate.
Yield: One 9-inch tart shell
Prep Time: 15 minutes (plus 30 minutes chilling)
Total Time: 45 minutes
Ingredients and Essential Utensils:
- 1 package (typically 2 shells) store-bought refrigerated pie crust (e.g., Pillsbury)
- 1 large egg white (for the protective wash)
- 9-inch cheesecake mold or fluted tart pan with a removable bottom
- Pie weights, dry beans, uncooked rice, or granulated sugar
- Saran wrap (heat-resistant) or parchment paper
- Fine grater (for neat edges)
- Pastry brush
Detailed Directions:
- Preheat Your Oven: Begin by preheating your oven to a precise 375 degrees Fahrenheit (190 degrees Celsius). An accurately preheated oven is crucial for even baking and a perfectly golden crust.
- Form the Crust: Carefully unroll one of the store-bought pie crusts. Gently press the dough into your chosen 9-inch cheesecake mold or tart pan. Take care not to stretch the dough, as this can lead to shrinkage during baking. Ensure the dough is evenly distributed across the bottom and up the sides of the pan, firmly pressing it into any fluted edges for a defined shape.
- Chill for Firmness: Once the crust is formed in the pan, place it in the refrigerator to chill for at least 30 minutes. This chilling period is vital as it helps the butter in the dough firm up, preventing the crust from shrinking excessively when it hits the heat of the oven and ensuring it holds its shape beautifully.
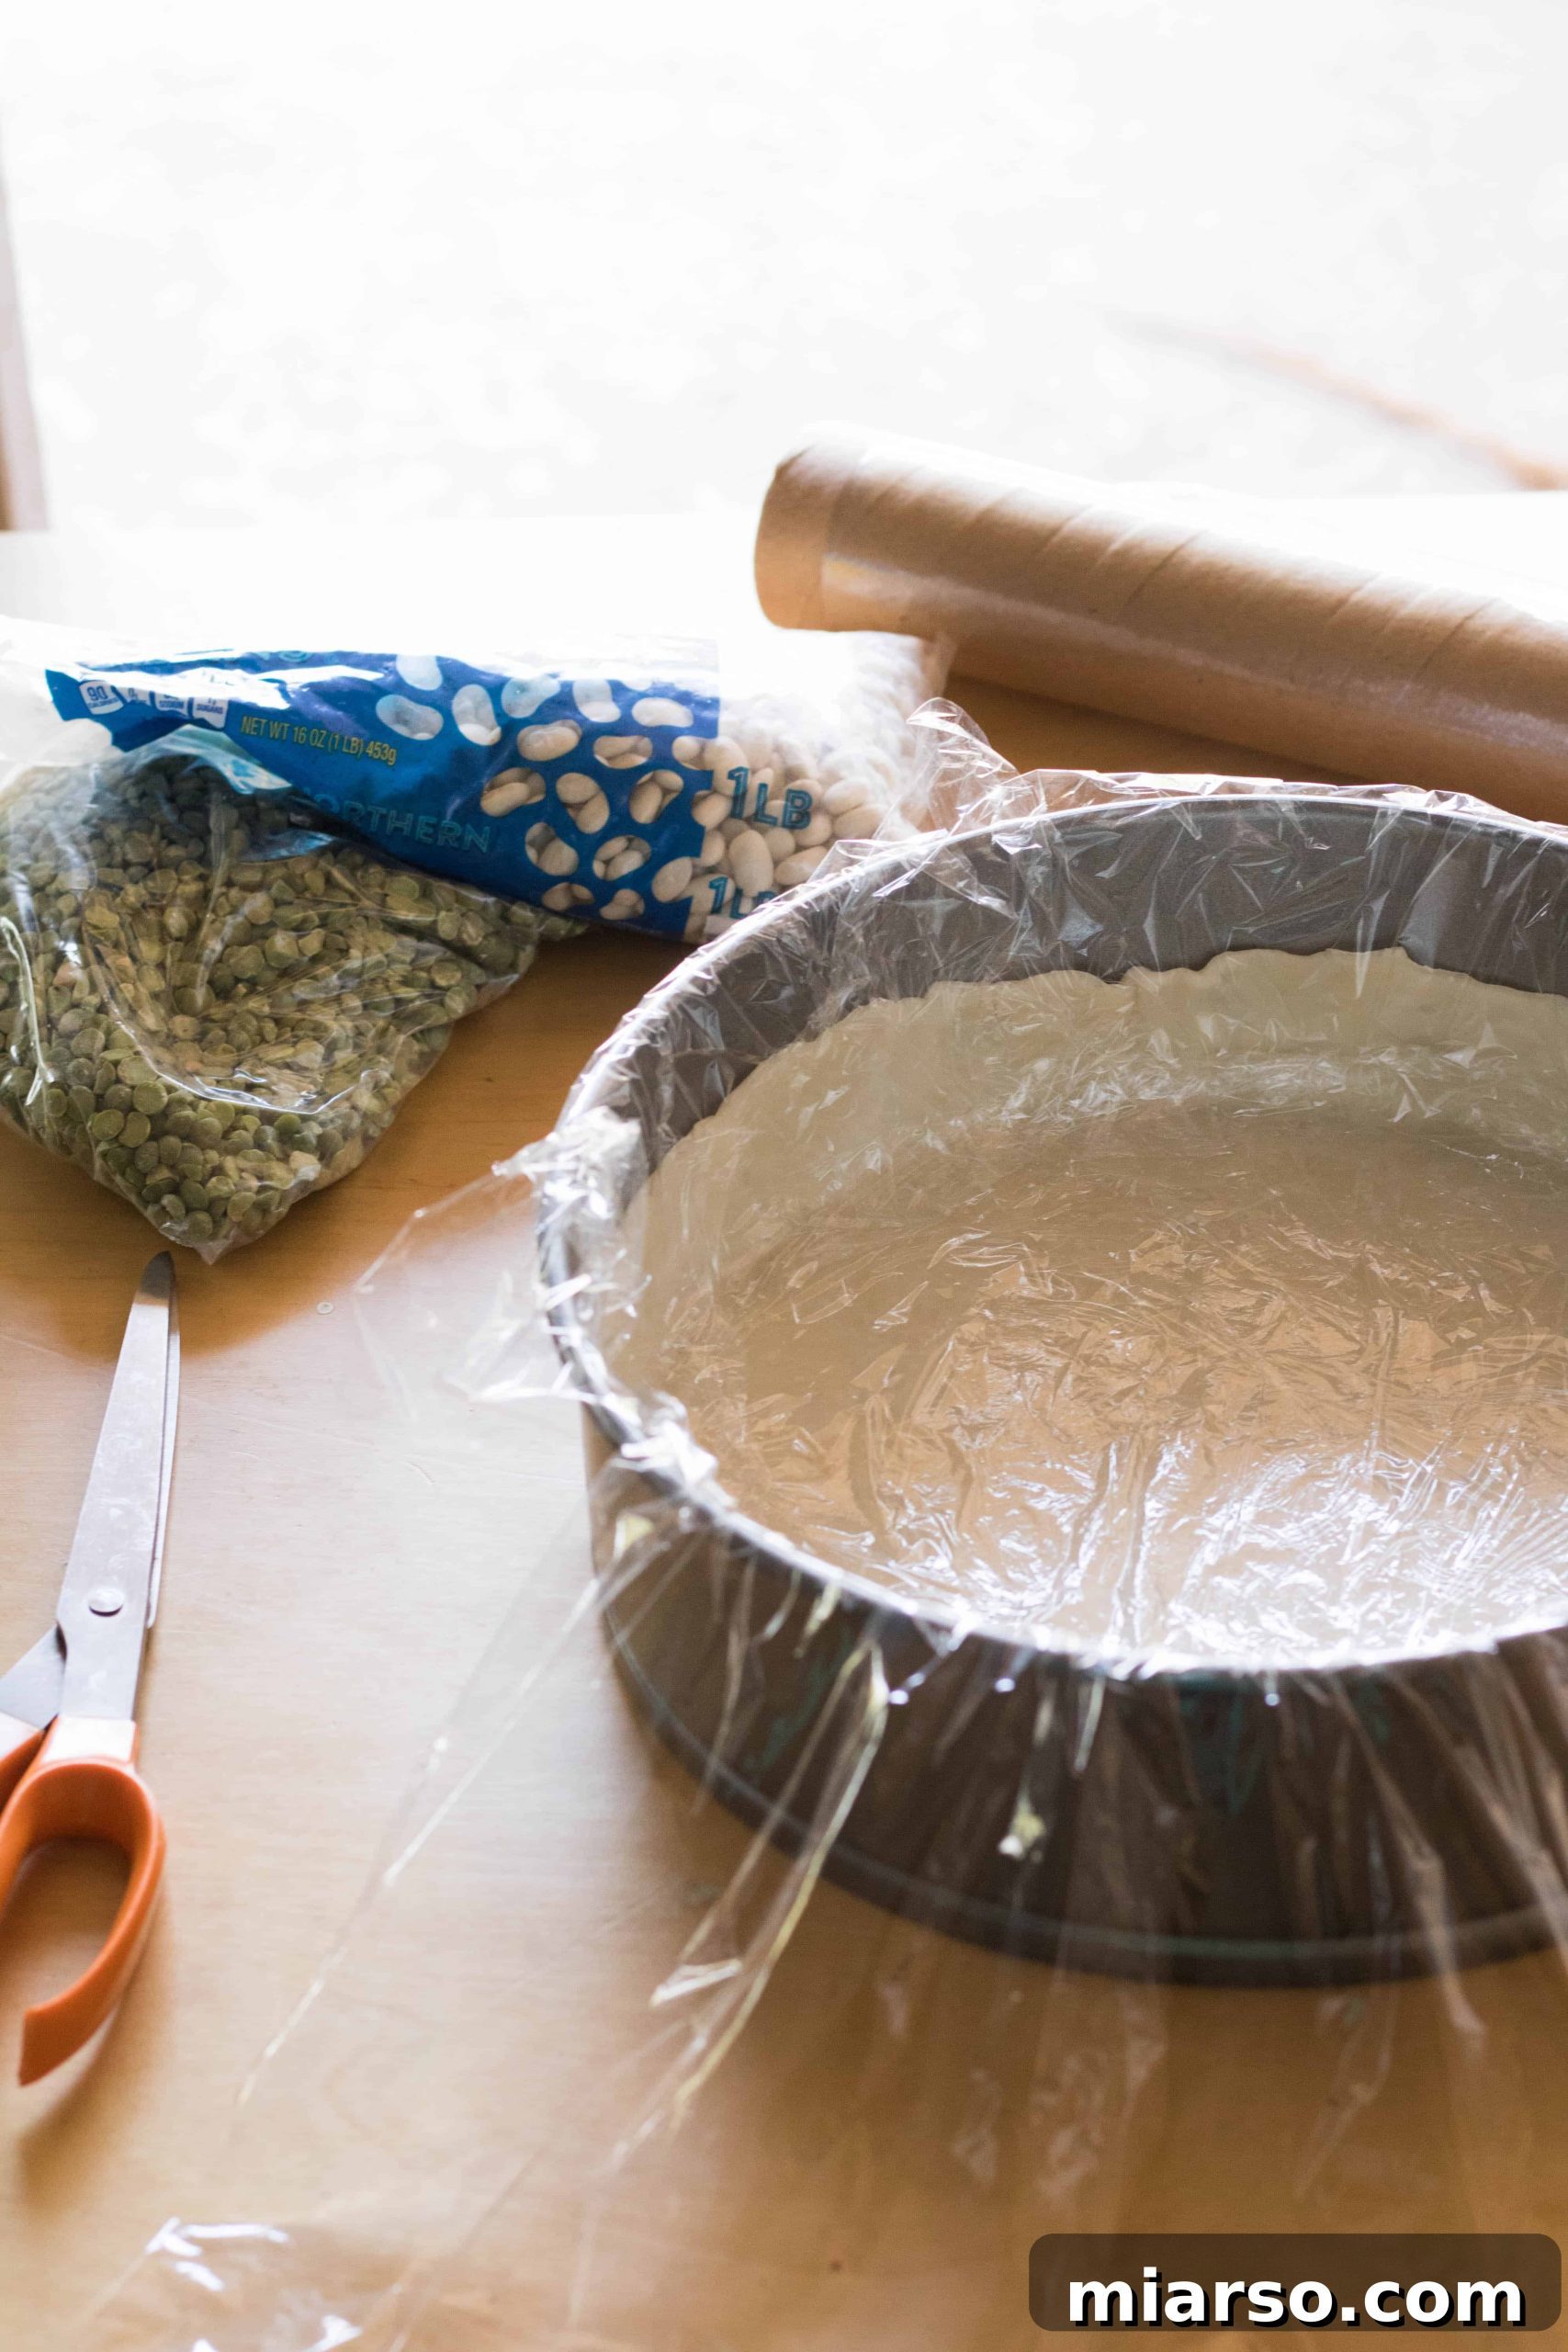
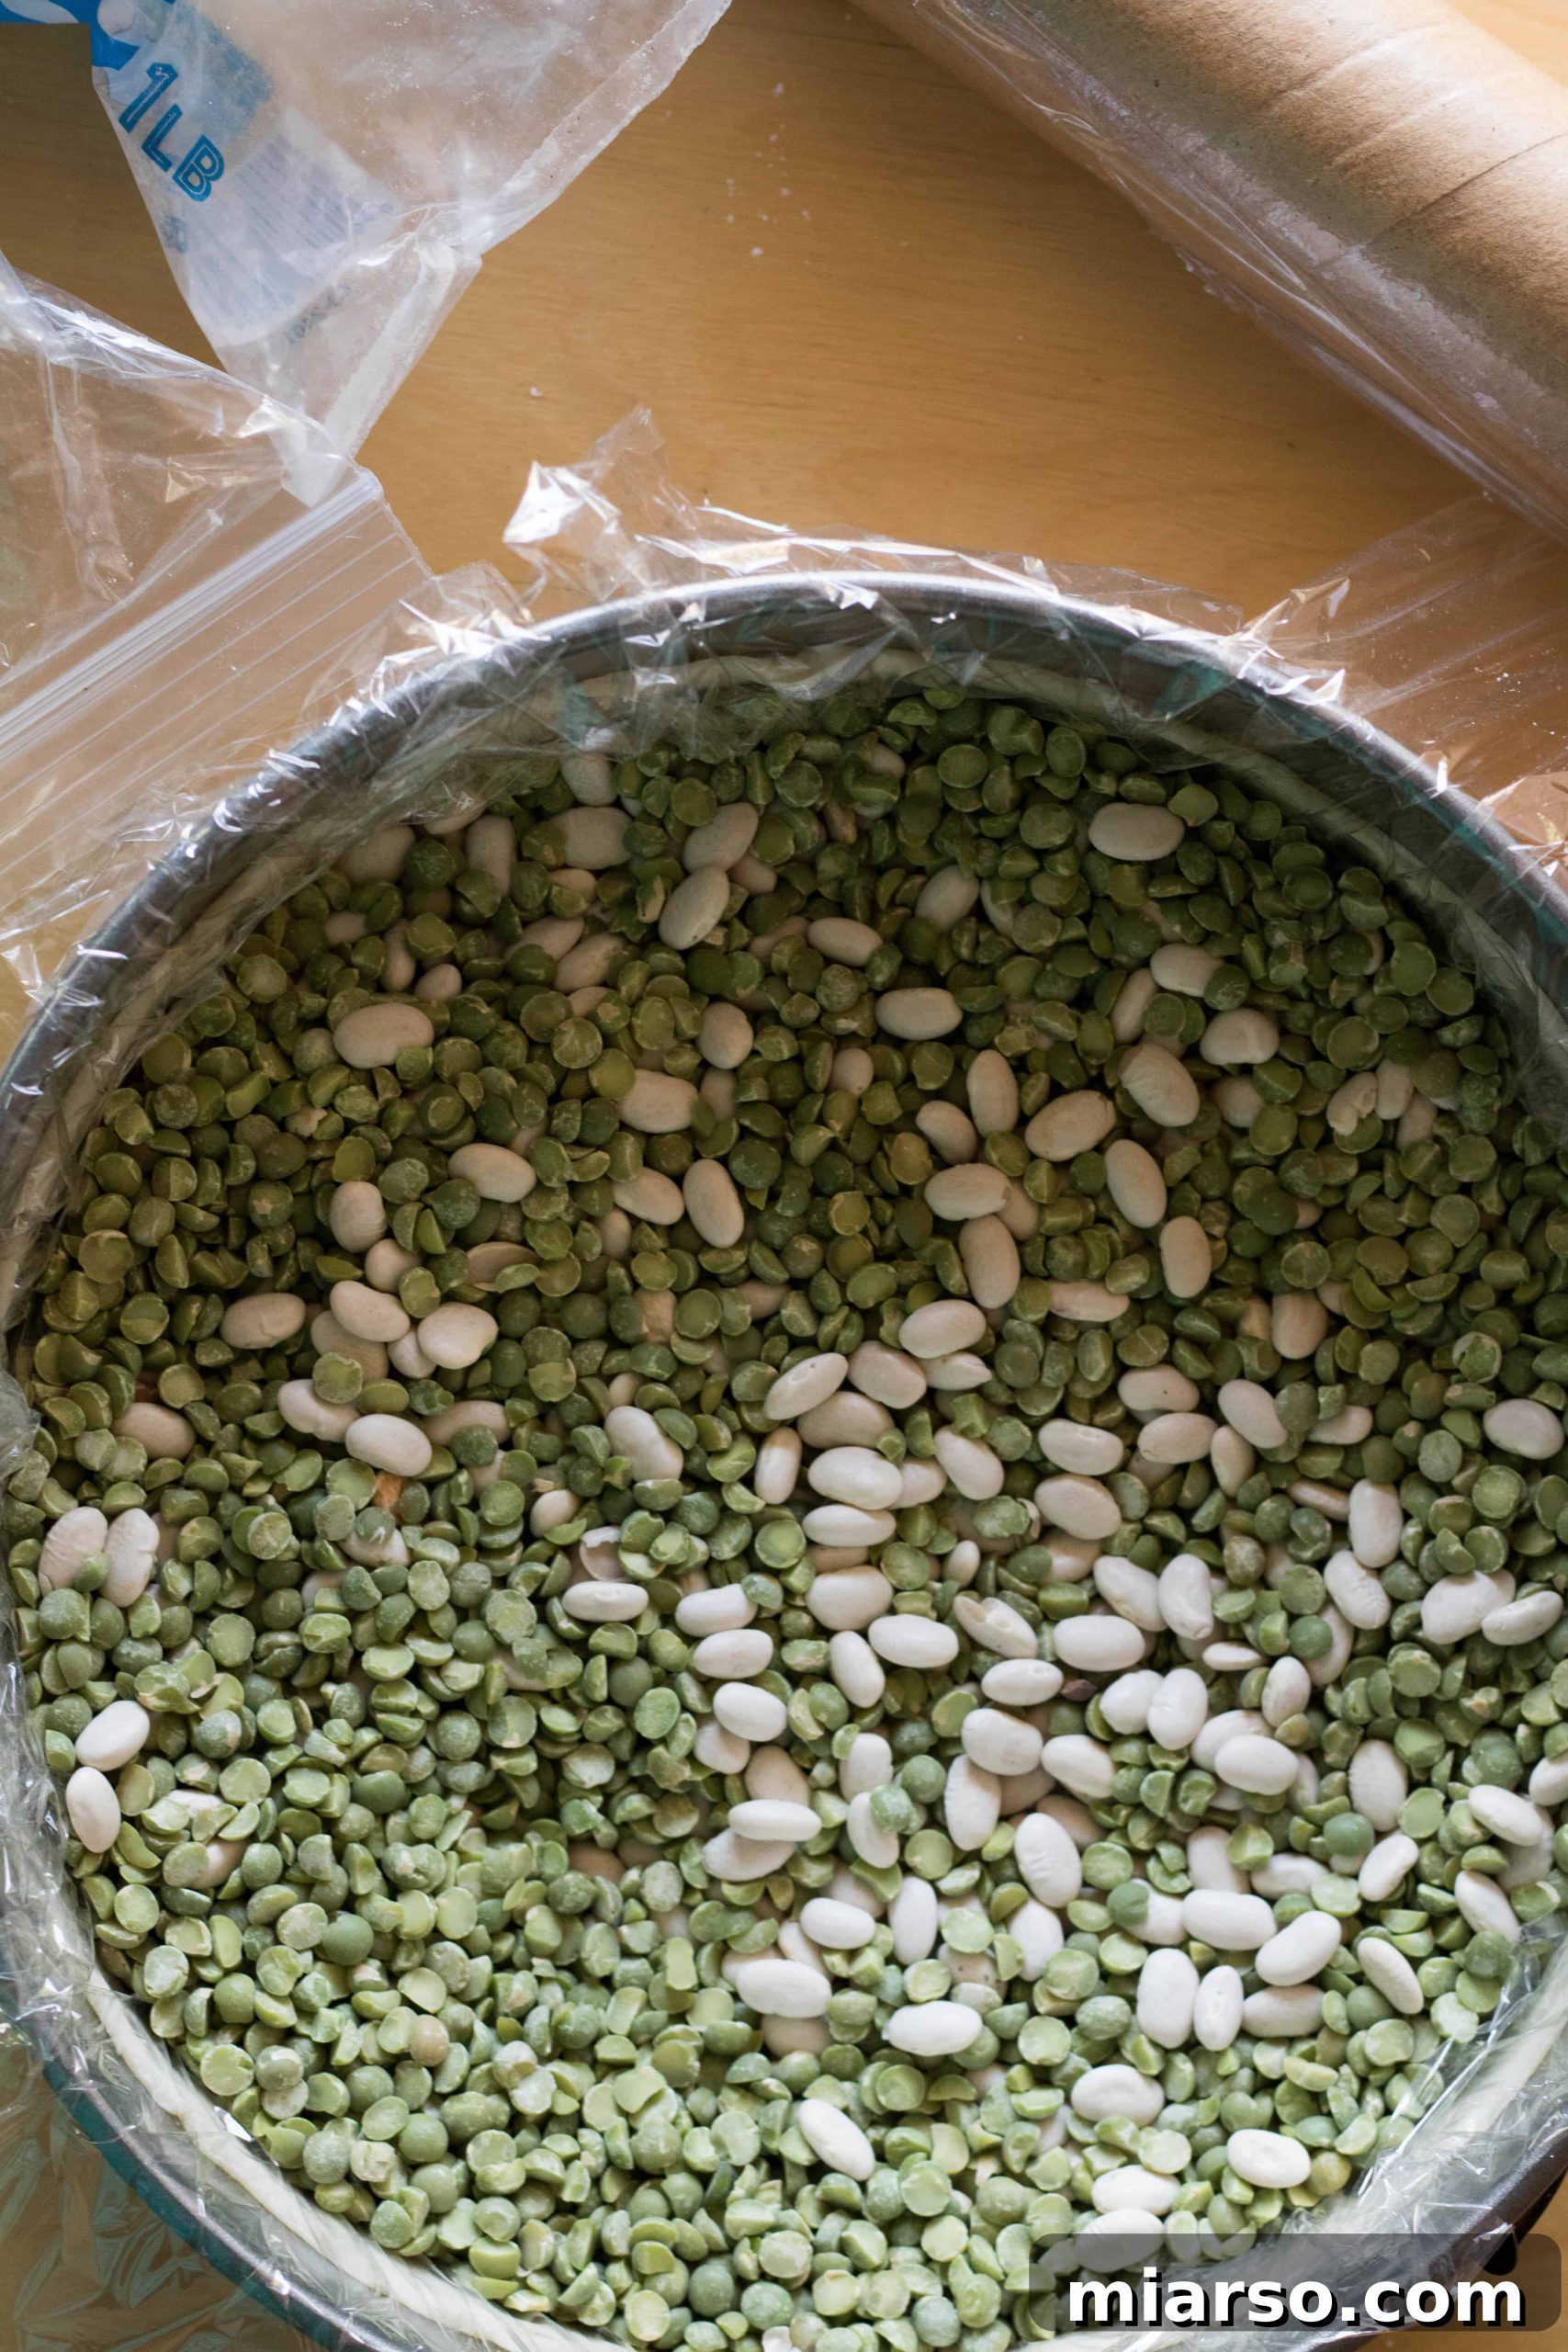
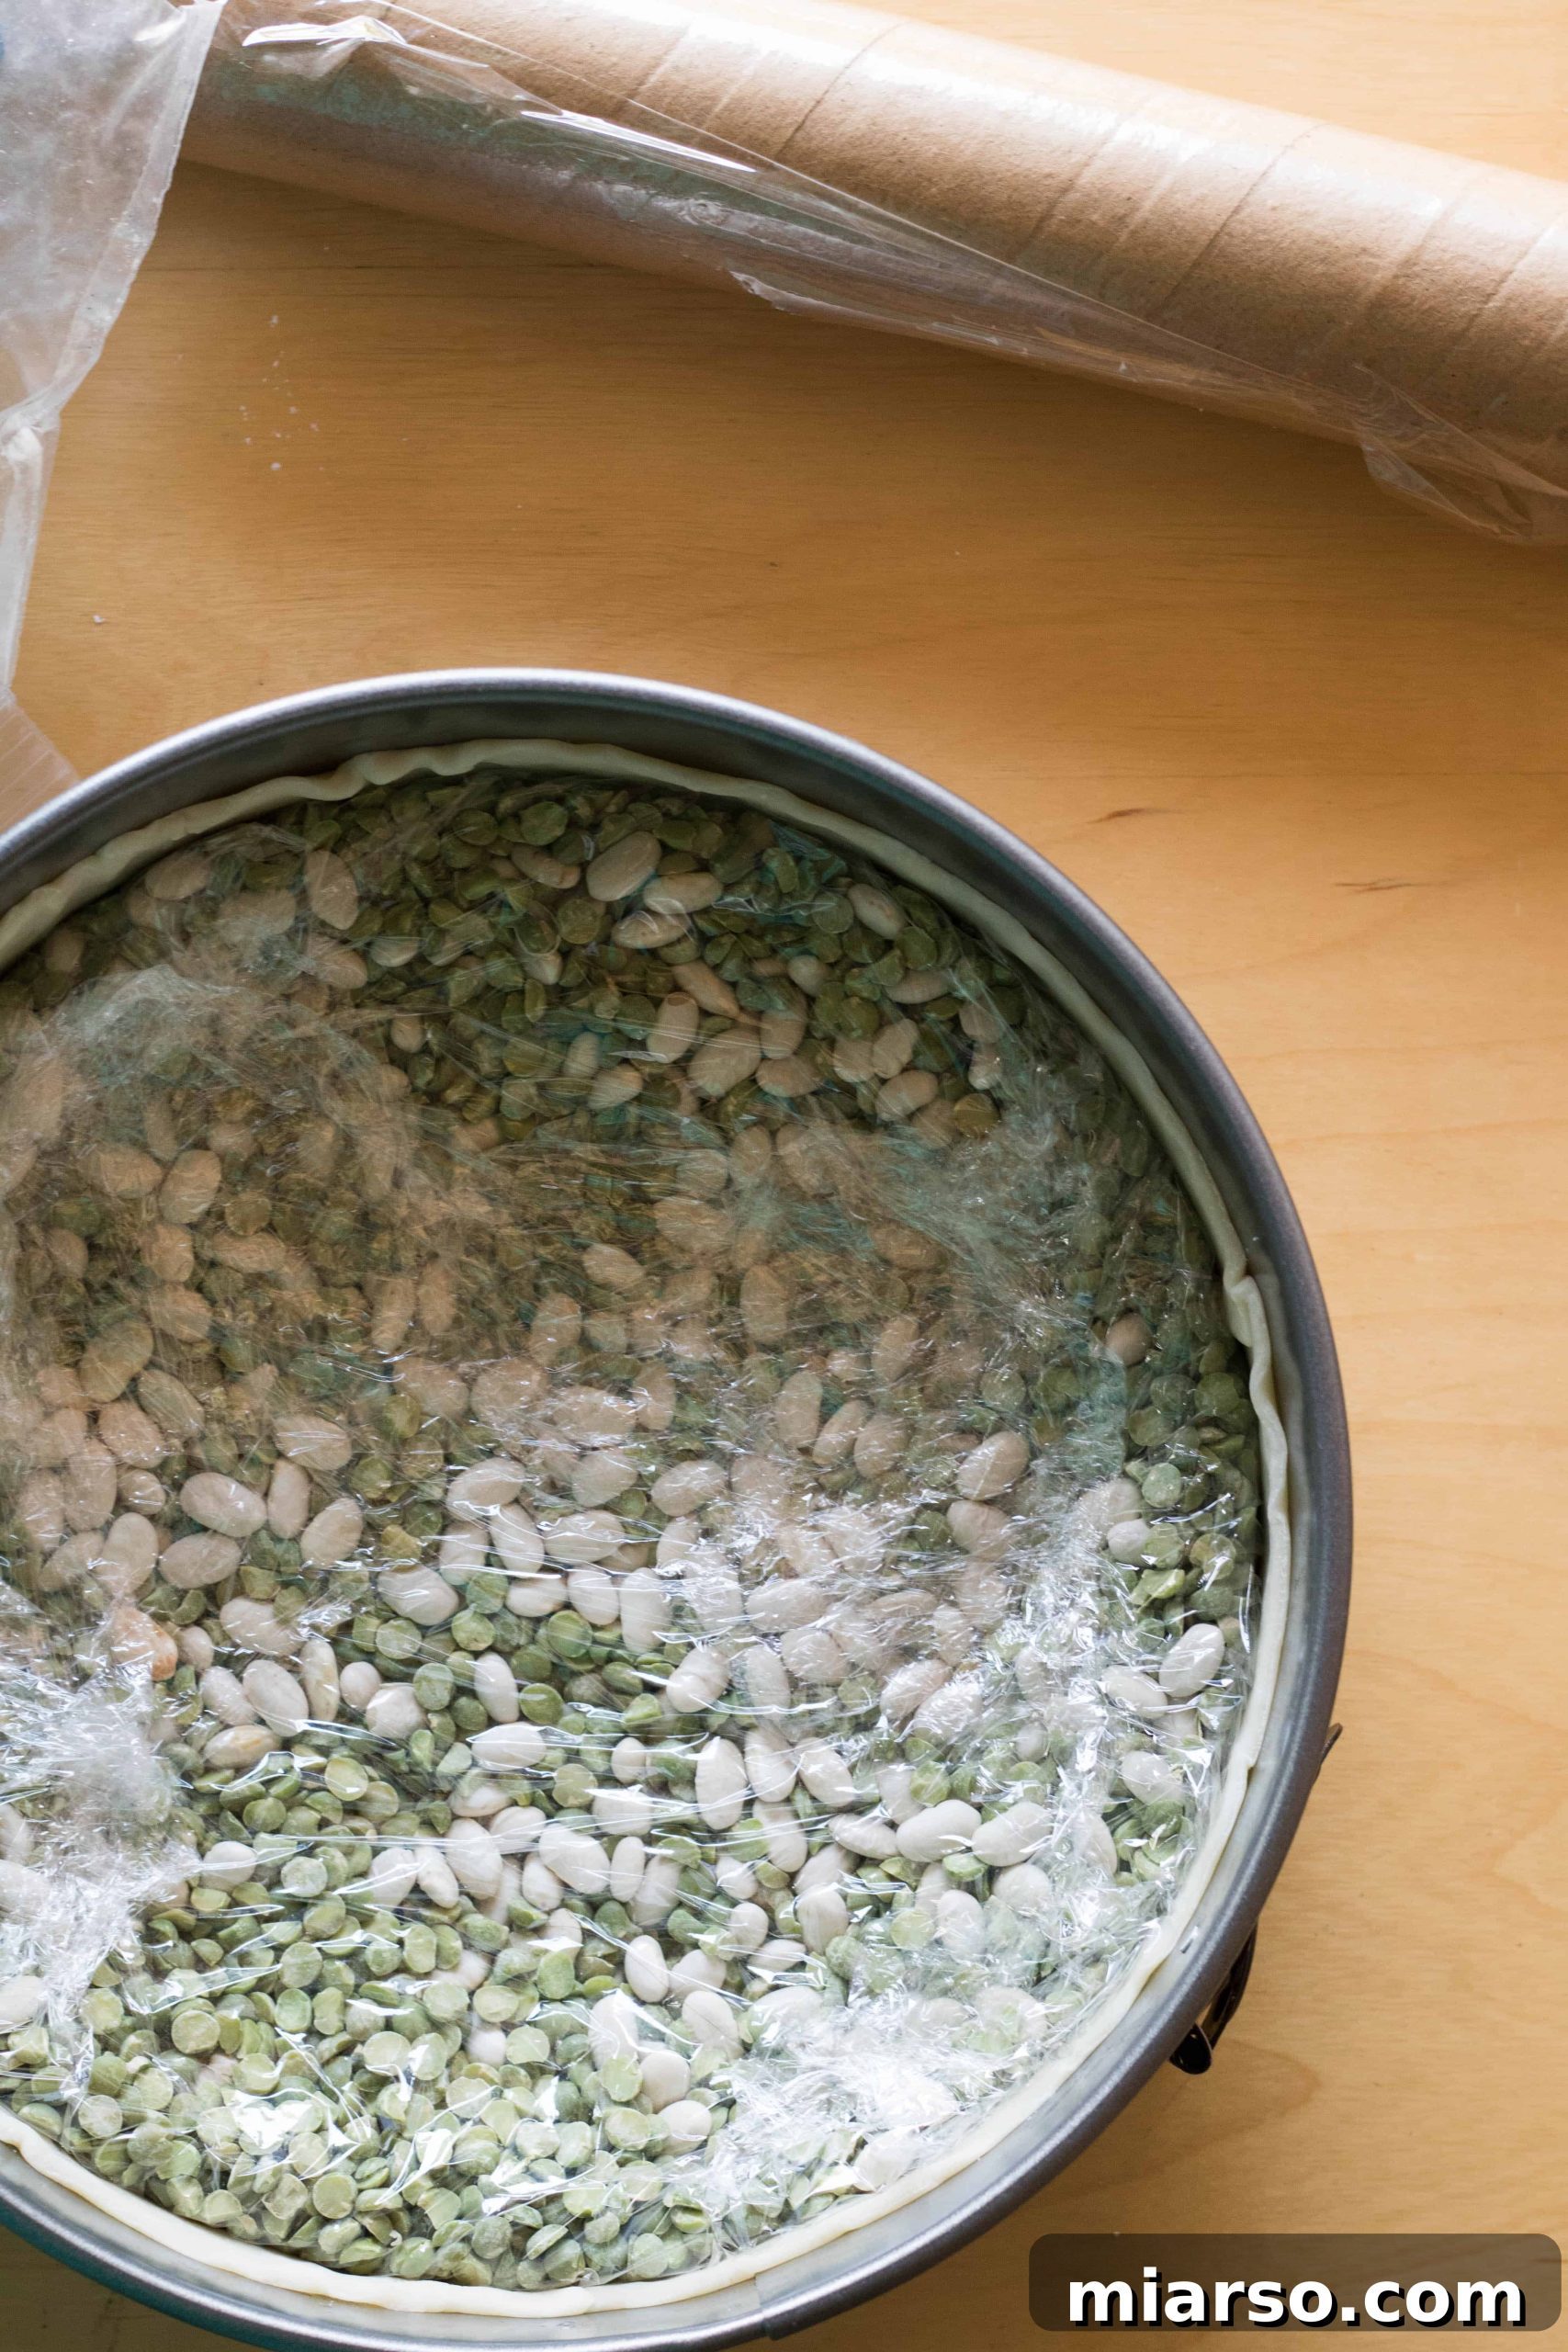
 Prepare for Blind Baking: Now it’s time to blind bake the shell – a crucial step to avoid a soggy bottom! Take a sheet of Saran wrap (if it’s heat-resistant and oven-safe, otherwise use parchment paper) and gently press it onto the surface of the chilled crust, allowing it to conform to the pan’s shape. Then, fill this lined crust generously with pie weights, dry beans, or your chosen alternative, making sure to distribute them evenly into all the cracks and crevices of the tart shell. This ensures the dough remains flat and prevents it from bubbling up in the middle during baking. Fold or gather the edges of the plastic wrap/parchment over the beans to create a secure parcel before placing it in the oven.
- Tip: If you’re using parchment paper, you can crumple it first and then smooth it out into the crust before adding the weights; this helps it conform better.
- Tip: If you’re using parchment paper, you can crumple it first and then smooth it out into the crust before adding the weights; this helps it conform better.
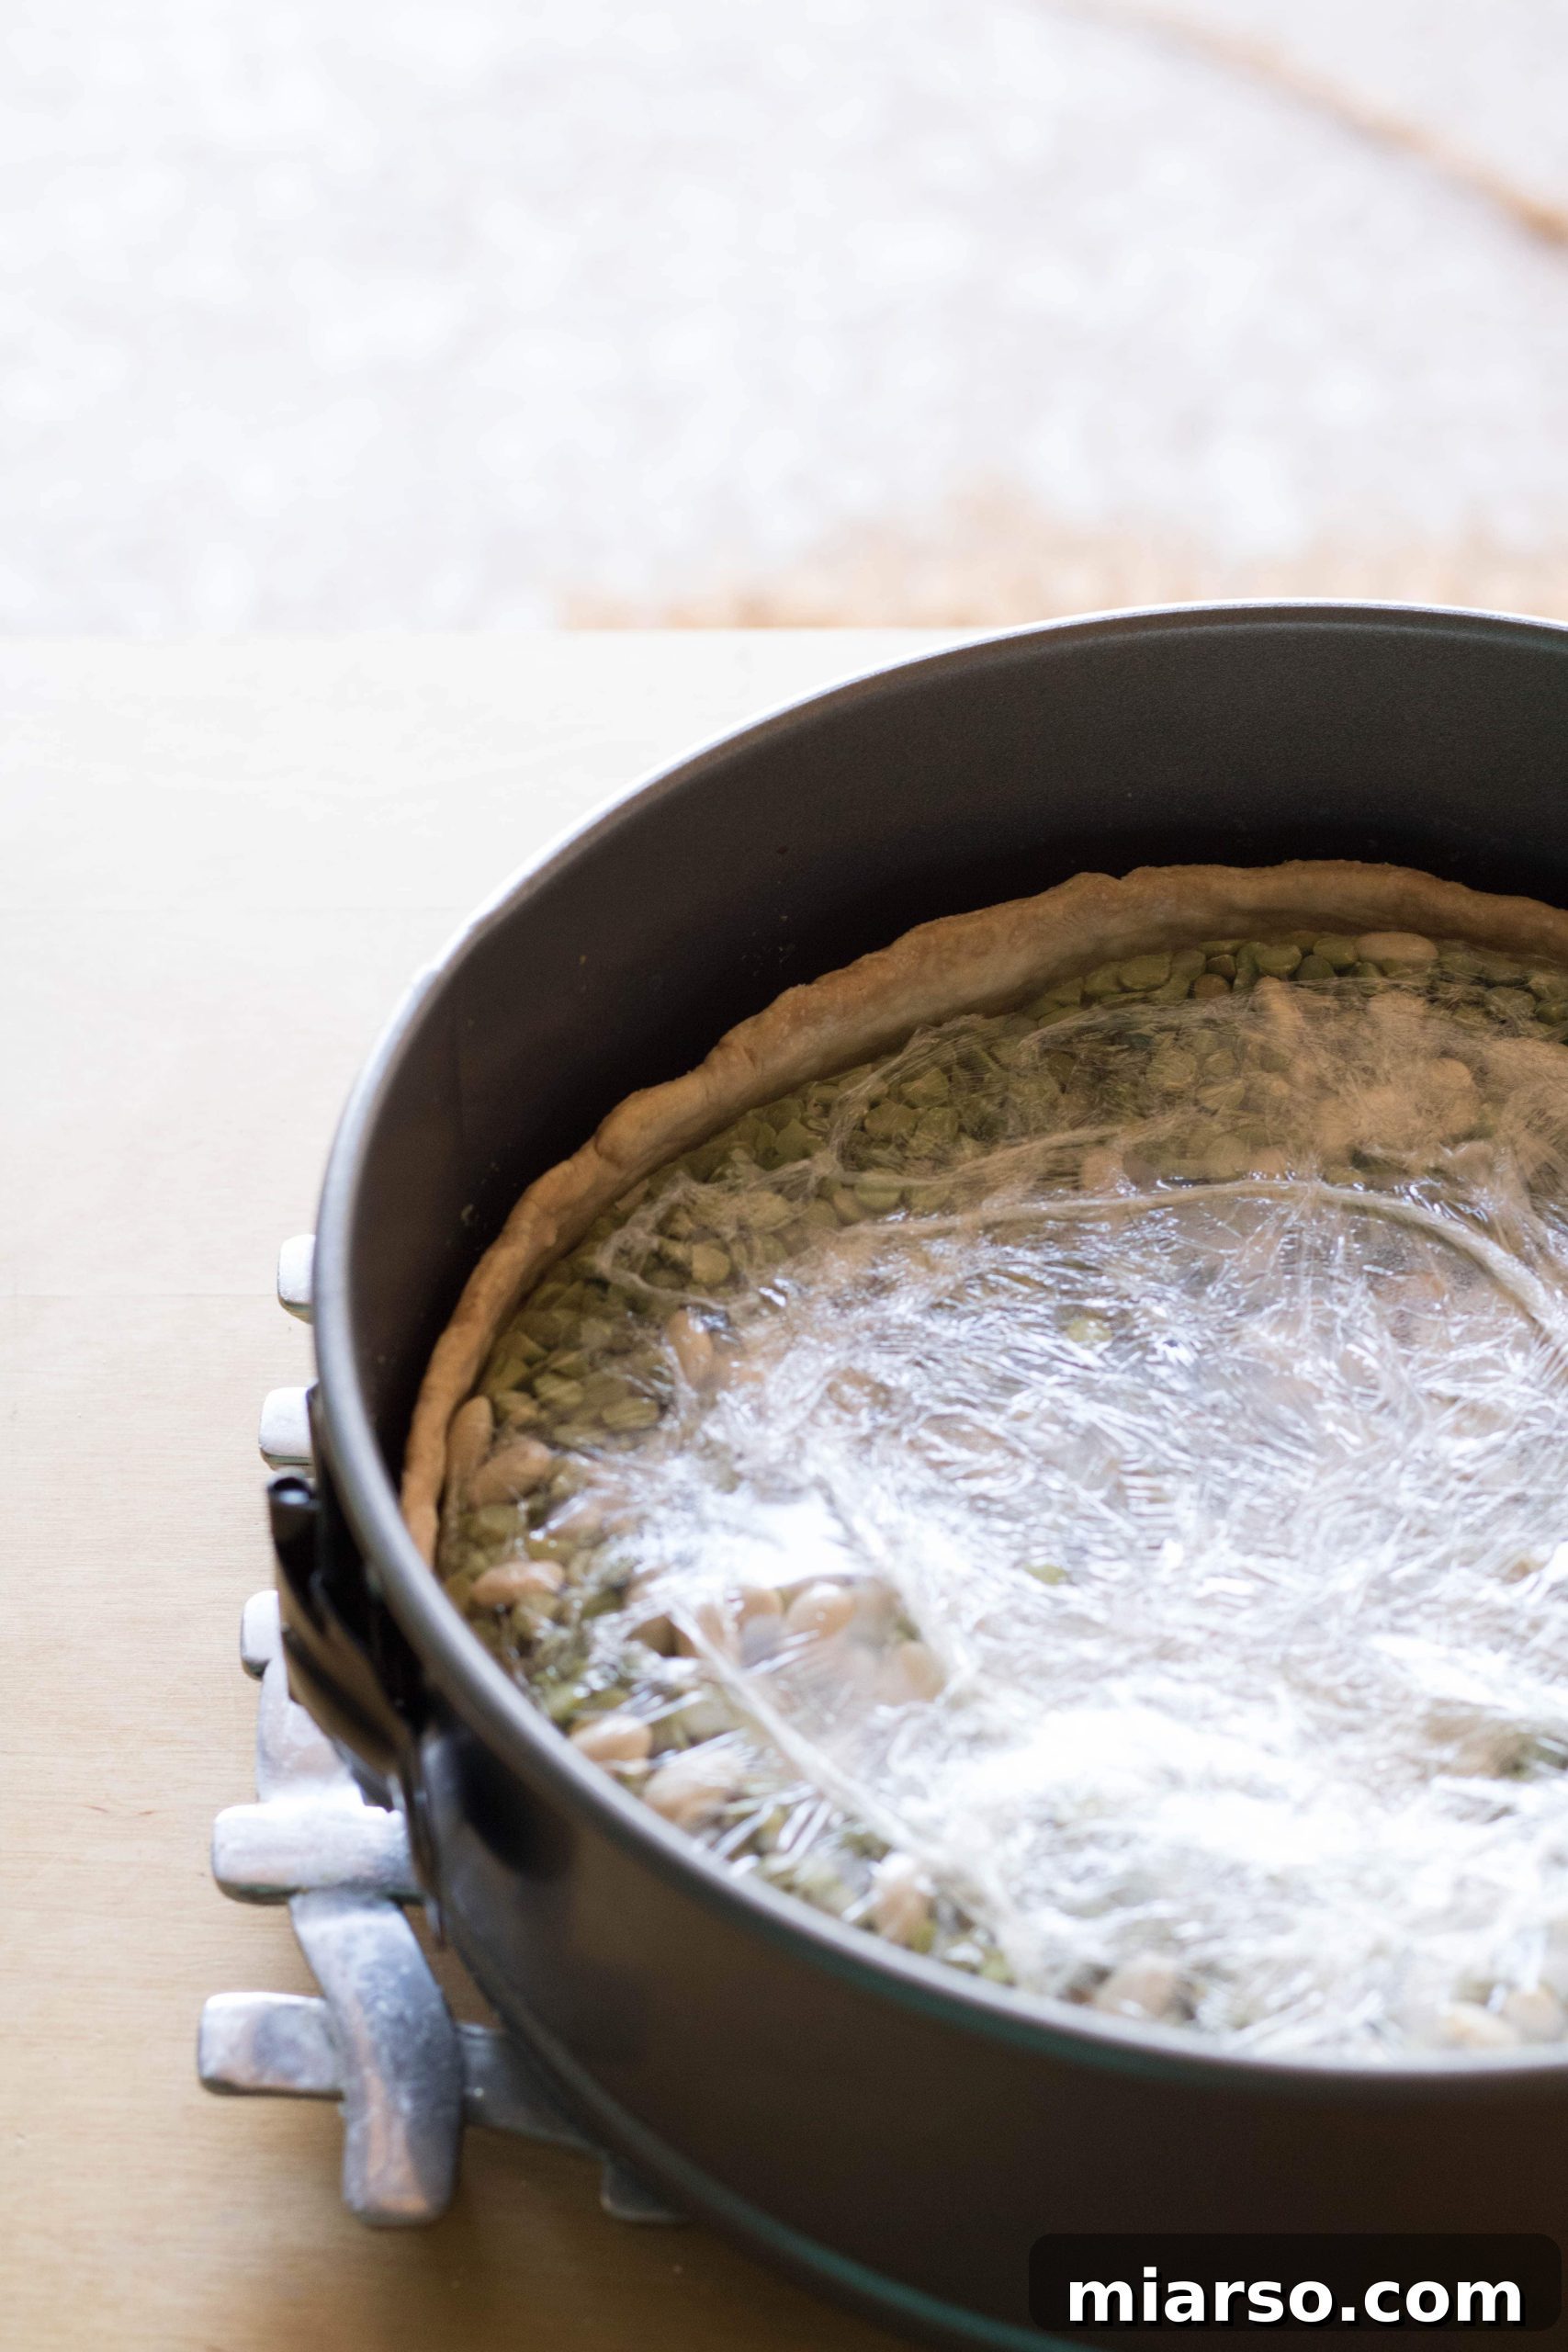
- Blind Bake the Crust: Bake the prepared crust in the preheated oven at 375 degrees Fahrenheit for approximately 30 minutes. The edges should appear lightly golden, indicating it’s par-baked. Carefully remove the weights and the plastic wrap/parchment paper, then return the crust to the oven for an additional 5-10 minutes, or until the bottom is lightly golden brown. This second bake ensures the bottom is fully cooked and crisp.
- The Egg Wash Trick: Immediately after removing the hot crust from the oven, brush the entire inside surface generously with the whisked egg white. This crucial step creates a thin, protective layer that will seal the crust and prevent any future filling leakage, making the shell resistant to sogginess. The heat of the crust will instantly set the egg white.
- The Egg Wash Trick: Immediately after removing the hot crust from the oven, brush the entire inside surface generously with the whisked egg white. This crucial step creates a thin, protective layer that will seal the crust and prevent any future filling leakage, making the shell resistant to sogginess. The heat of the crust will instantly set the egg white.
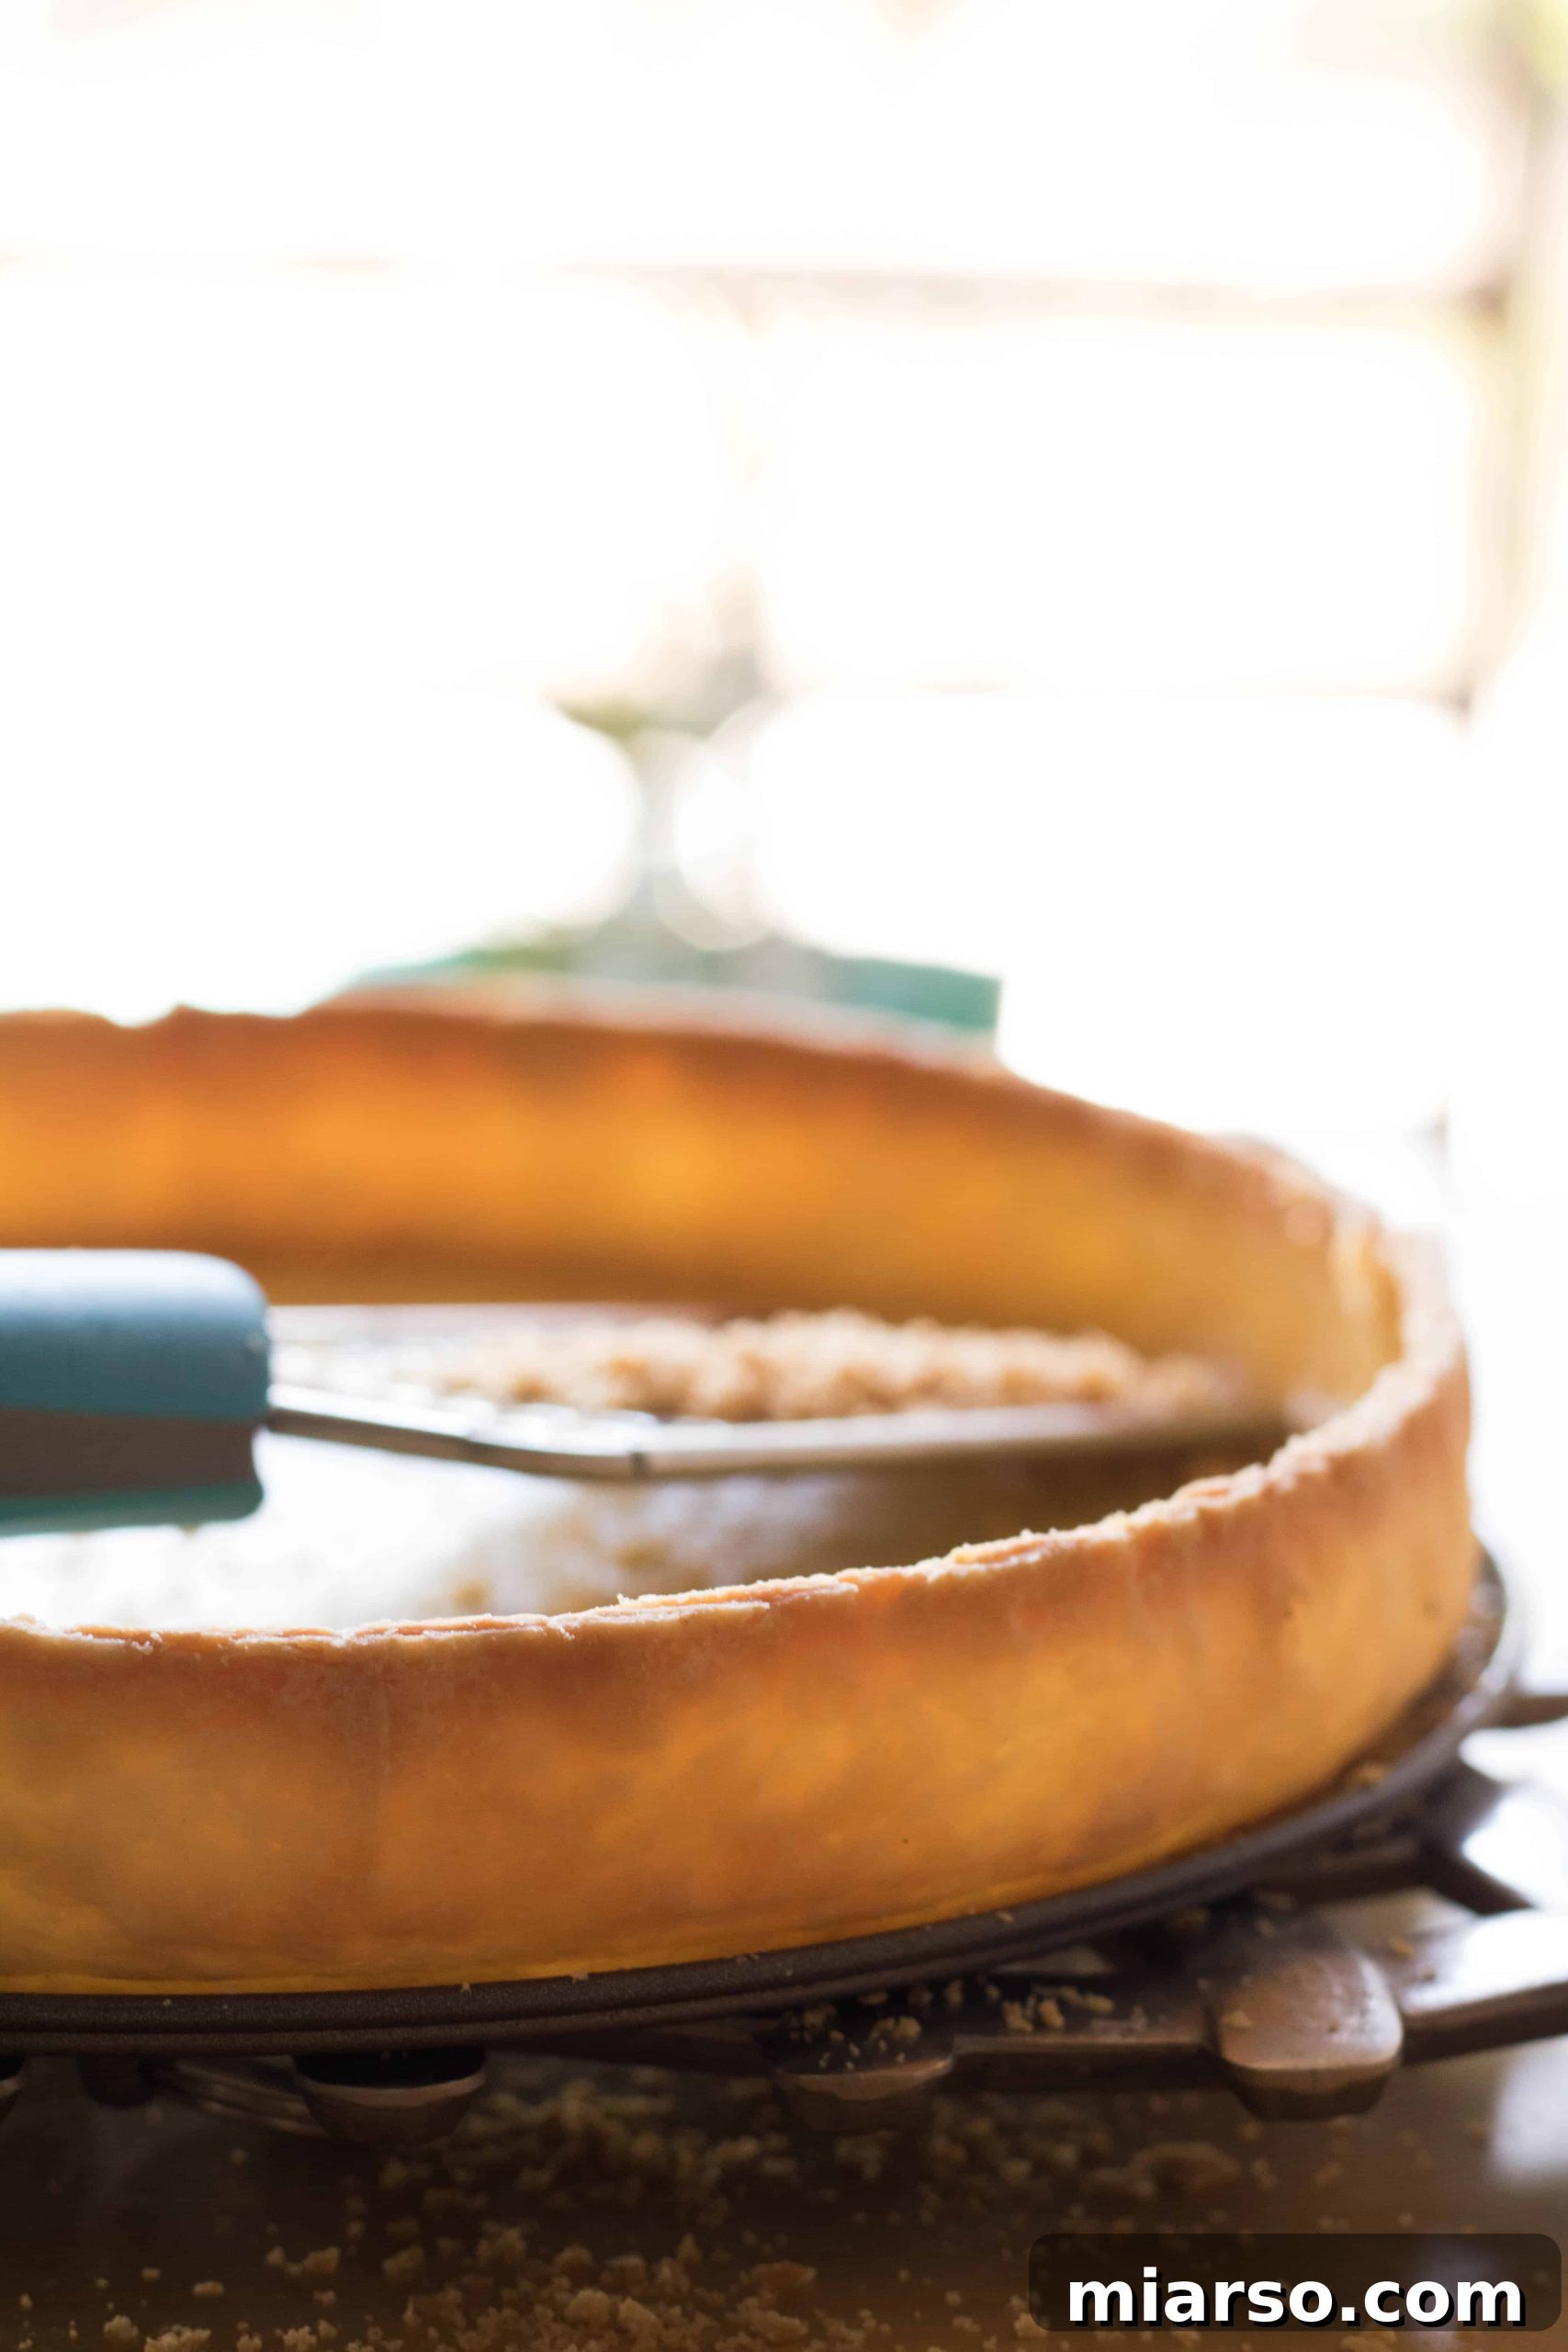
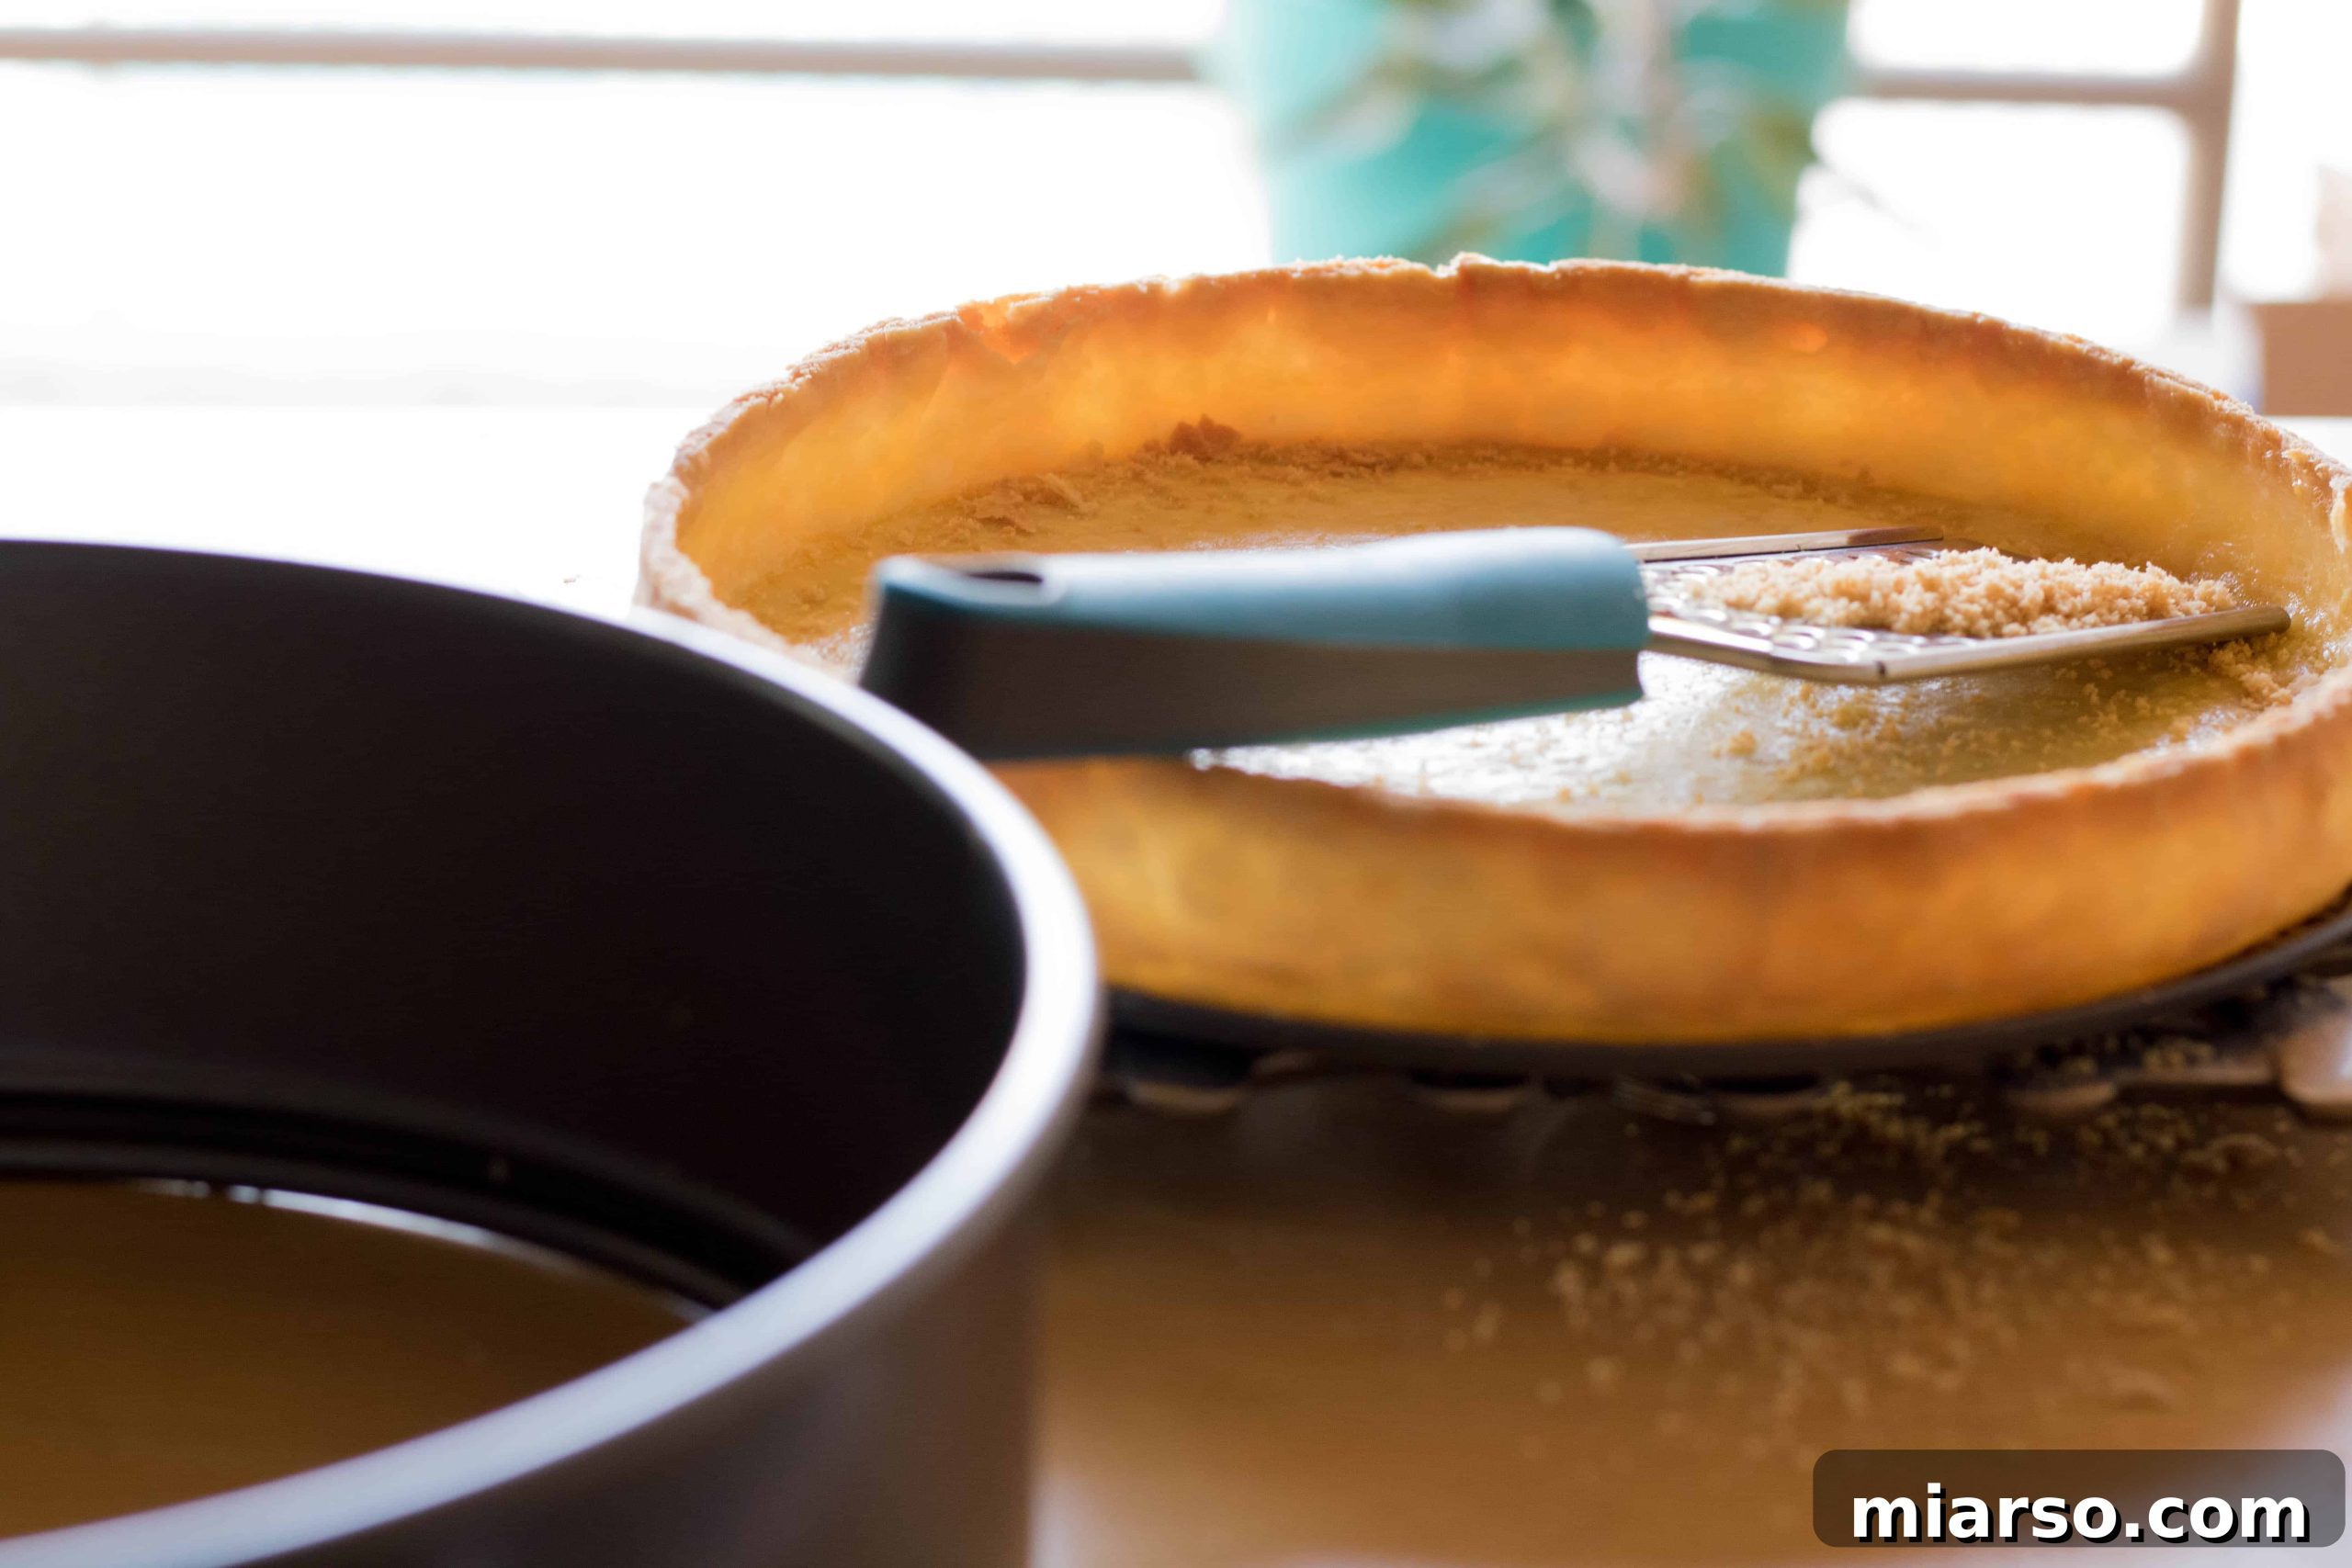
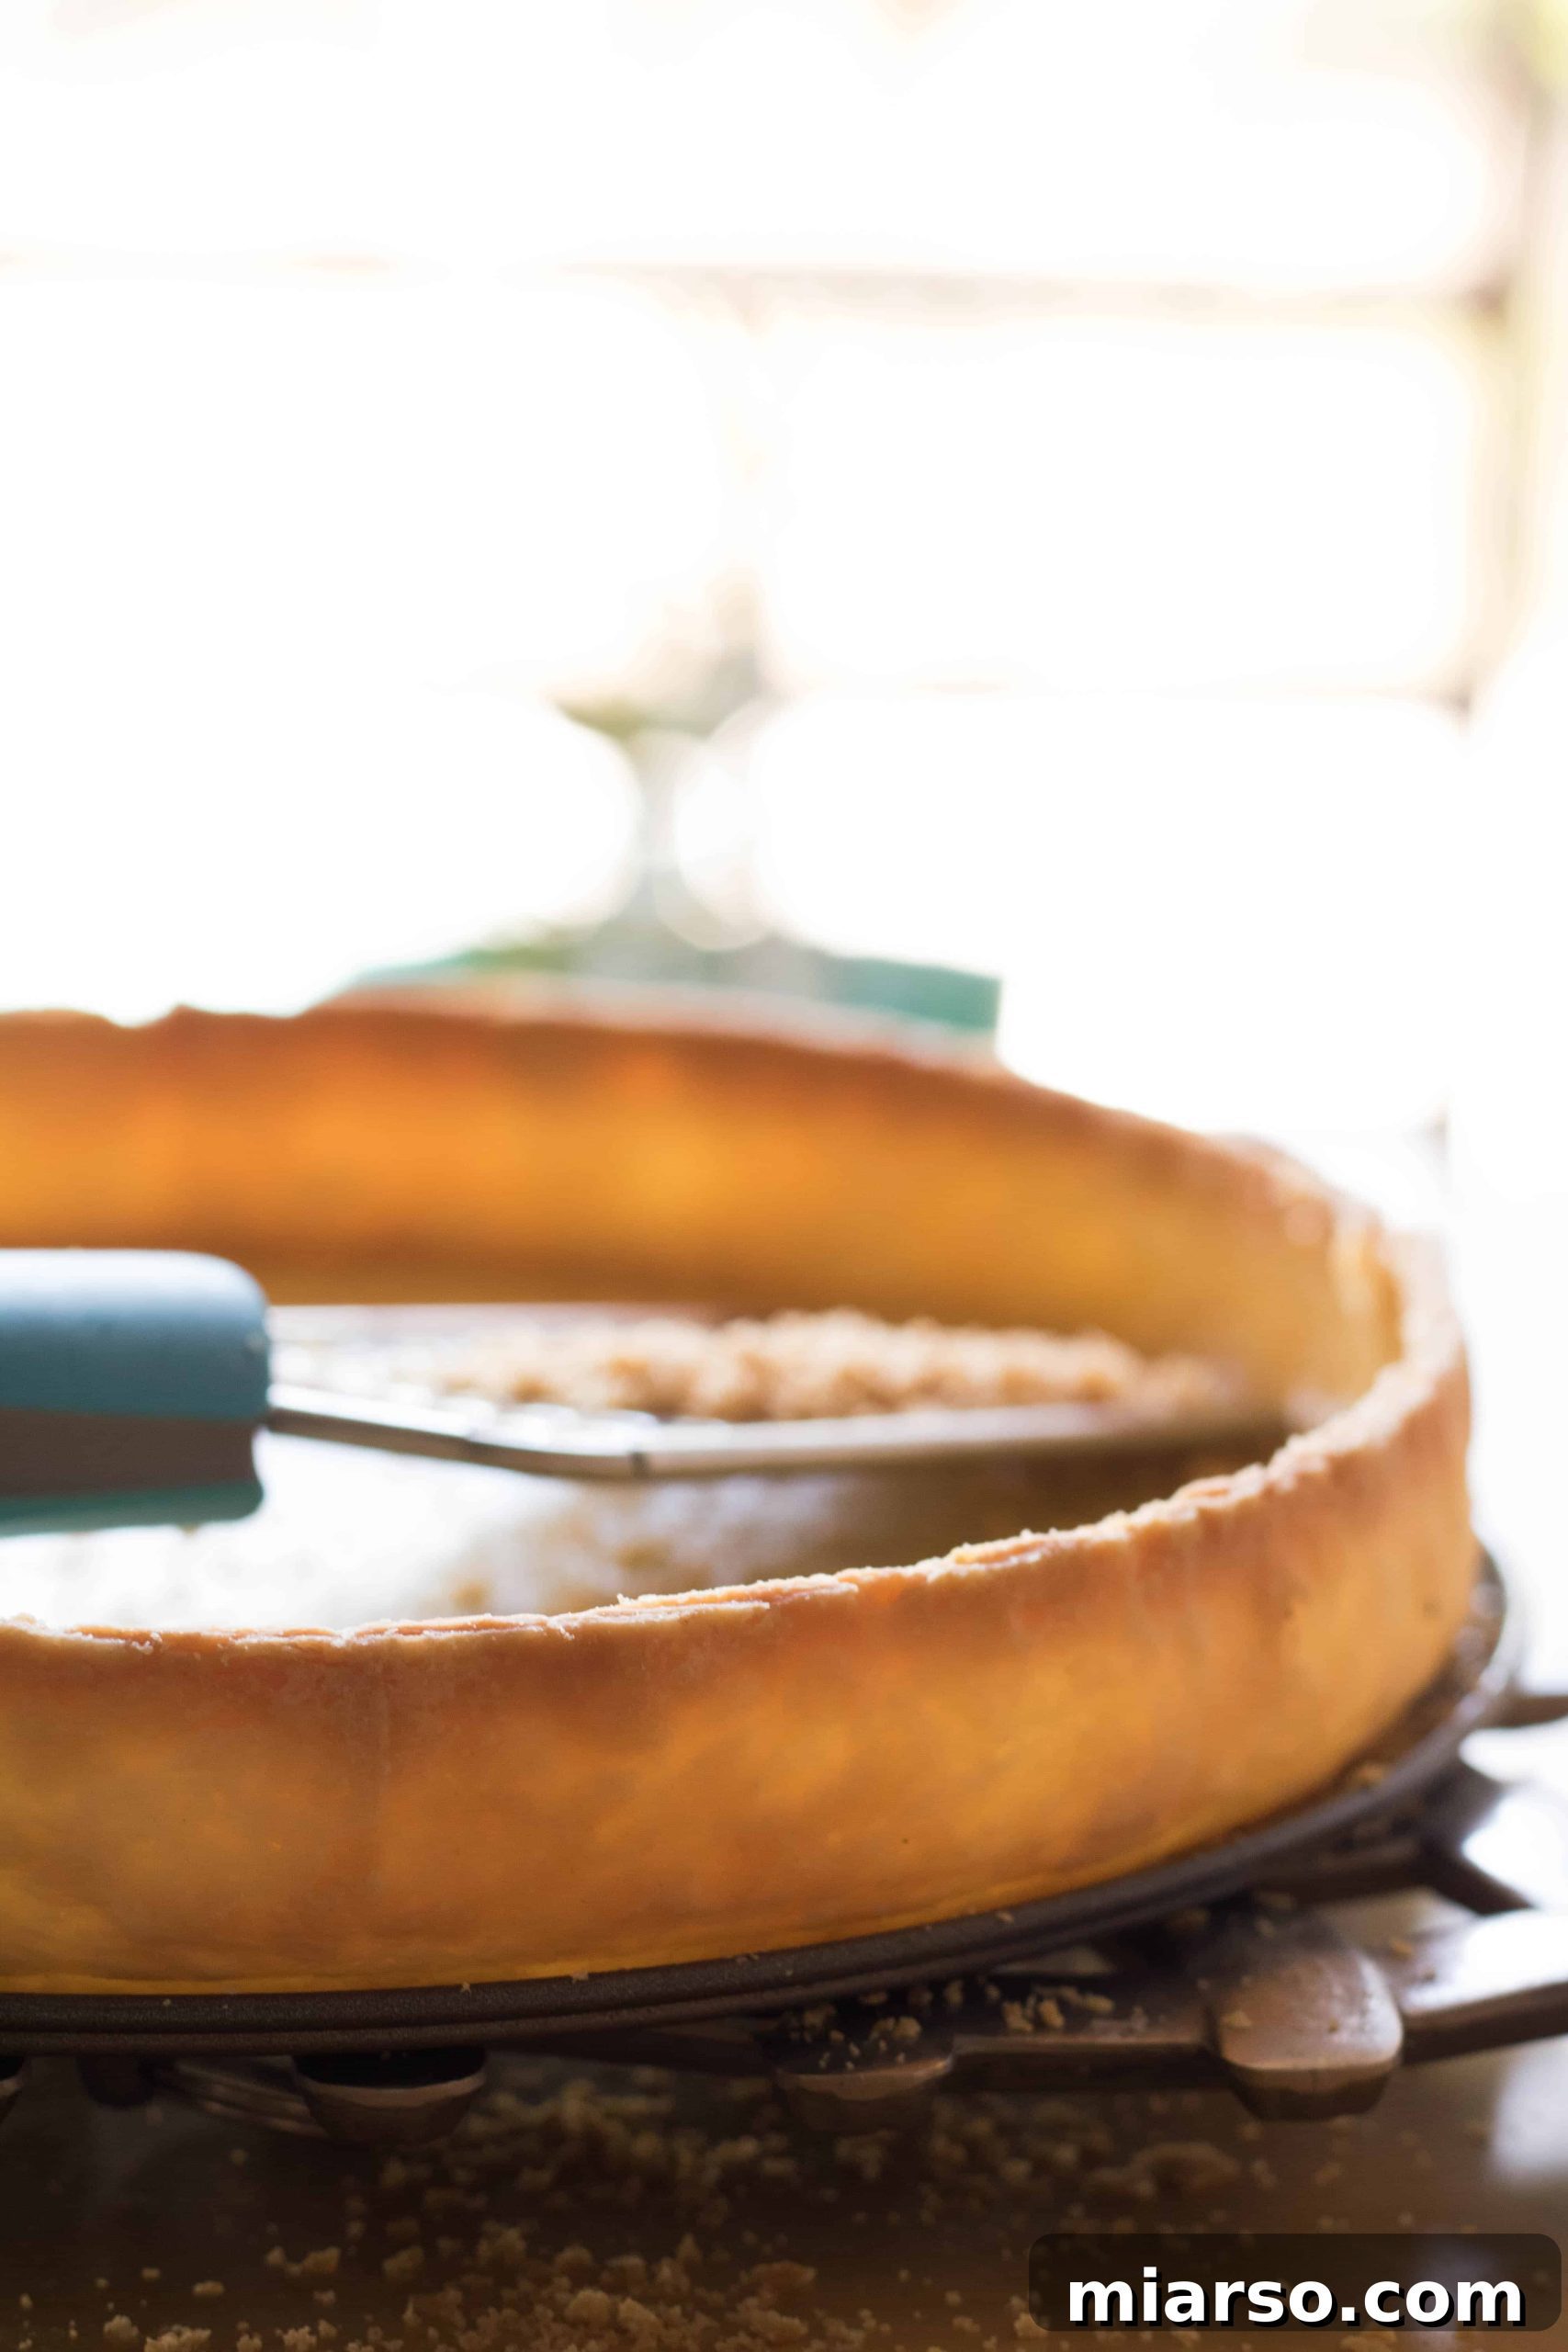
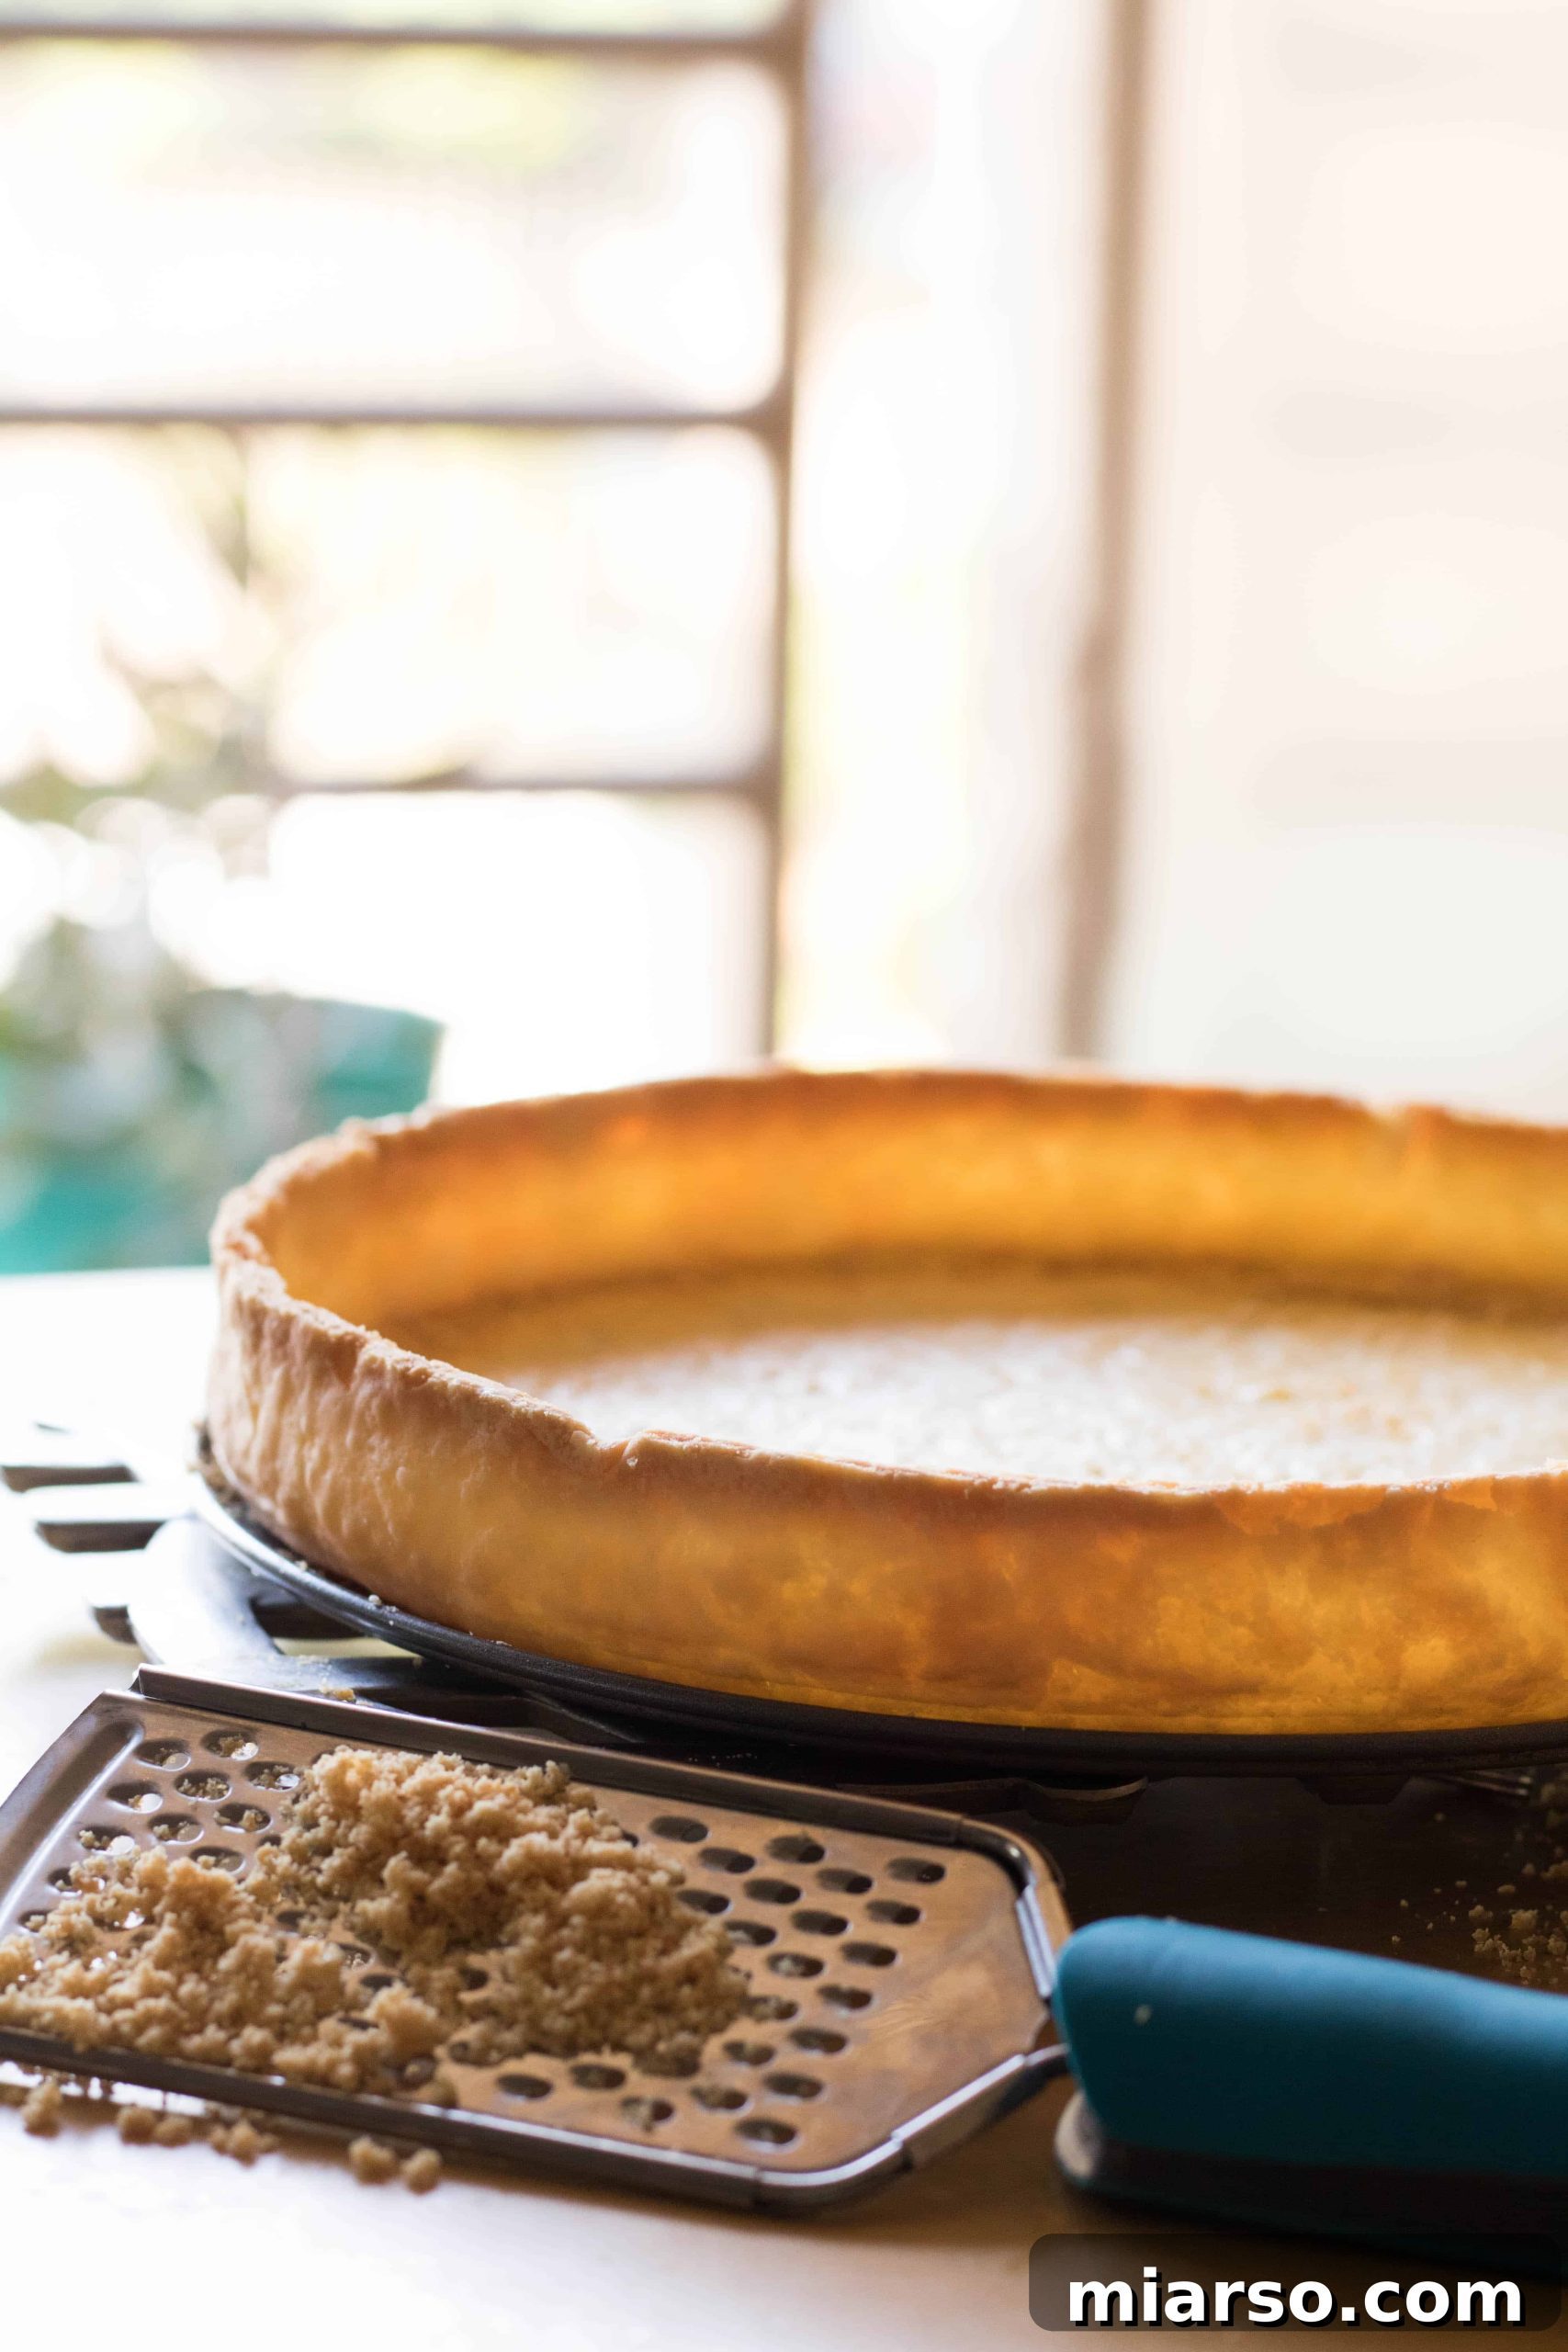
- Cool and Perfect the Edges: Set the baked and egg-washed crust aside to cool completely on a wire rack. As it cools, the crust will firm up. Once fully cooled, take your fine grater and gently “grate” along the top edges of the crust. This technique helps to even out any slight imperfections, creating a perfectly uniform and professional-looking rim. This allows you to achieve beautifully even sides and a polished finish.
- Ready for Your Filling: With your perfectly prepared, golden, and sealed tart shell, you are now ready to add your favorite pie or tart filling! And TADA! There you have it – a store-bought pie dough that will literally surprise and delight everyone this Thanksgiving or any holiday season. Prepare for compliments and requests for your “secret recipe”!
 Prepare for Blind Baking: Now it’s time to blind bake the shell – a crucial step to avoid a soggy bottom! Take a sheet of Saran wrap (if it’s heat-resistant and oven-safe, otherwise use parchment paper) and gently press it onto the surface of the chilled crust, allowing it to conform to the pan’s shape. Then, fill this lined crust generously with pie weights, dry beans, or your chosen alternative, making sure to distribute them evenly into all the cracks and crevices of the tart shell. This ensures the dough remains flat and prevents it from bubbling up in the middle during baking. Fold or gather the edges of the plastic wrap/parchment over the beans to create a secure parcel before placing it in the oven.
Tips for Success and Troubleshooting Common Issues:
- Preventing Shrinkage: The most common issue with pie crusts is shrinkage. Avoid stretching the dough when pressing it into the pan, and always ensure a good chilling period (at least 30 minutes, or even an hour if time permits) before baking. The colder the dough, the better it holds its shape.
- Even Browning: If your crust starts to brown too quickly around the edges while the center is still pale, you can gently tent the edges with aluminum foil. This protects them from direct heat while allowing the rest of the crust to catch up.
- Make Ahead: This pre-baked crust is excellent for making ahead! Once completely cooled and trimmed, you can store it wrapped tightly in plastic wrap at room temperature for up to 2 days, or in the freezer for up to 2 weeks. Simply let it come to room temperature before filling.
- Filling Compatibility: This method is ideal for custard-based fillings (like pumpkin, sweet potato, or lemon meringue), fruit fillings that are baked briefly, or no-bake fillings that require a fully cooked shell.
Your Holiday Baking Just Got Easier (and More Impressive!)
There you have it – the complete guide to transforming a simple store-bought pie crust into a holiday masterpiece. By implementing these four easy yet effective secrets – choosing an elegant tart shape, embracing the power of blind baking, utilizing pie weights, and sealing with an egg wash – you’ll create a crust that is not only visually stunning but also perfectly crisp and sturdy, providing an exceptional base for any filling. This approach saves you valuable time during the busy holiday season, allowing you to focus on creating cherished memories with loved ones, all while presenting a dessert that looks like it came straight from a gourmet bakery. So, gather your ingredients, trust in the process, and get ready to impress everyone at your next holiday gathering with a pie or tart that truly shines!