
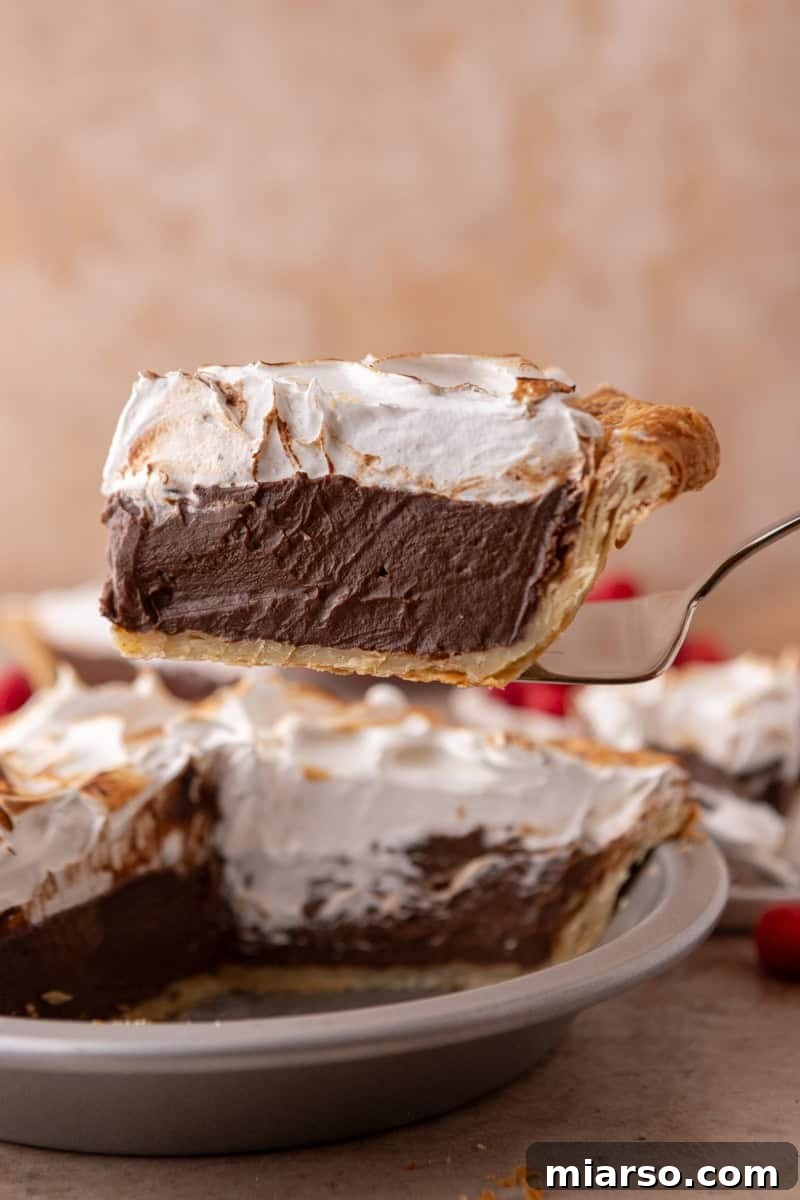
If you’re searching for a dessert that marries rich flavor with an ethereal texture, then mastering the art of making a chocolate meringue pie is an absolute must. This show-stopping sweet features a luxuriously smooth chocolate custard filling, crowned with a towering, homemade fluffy meringue, all nestled within a perfectly buttery, flaky crust. Prepare to become the most requested baker at every gathering!
While the classic lemon meringue pie rightly holds its fame, there’s an undeniable magic in swapping the tangy lemon curd for a deep, decadent chocolate custard. This often-overlooked variation deserves far more recognition for its incredible sensory experience. Imagine a mousse-like filling that offers intense chocolate satisfaction, perfectly complemented by a marshmallow-soft, airy meringue topping. Each bite is a delightful journey through soft, airy clouds that simply melt in your mouth, leaving a lingering sweetness that’s truly unforgettable.
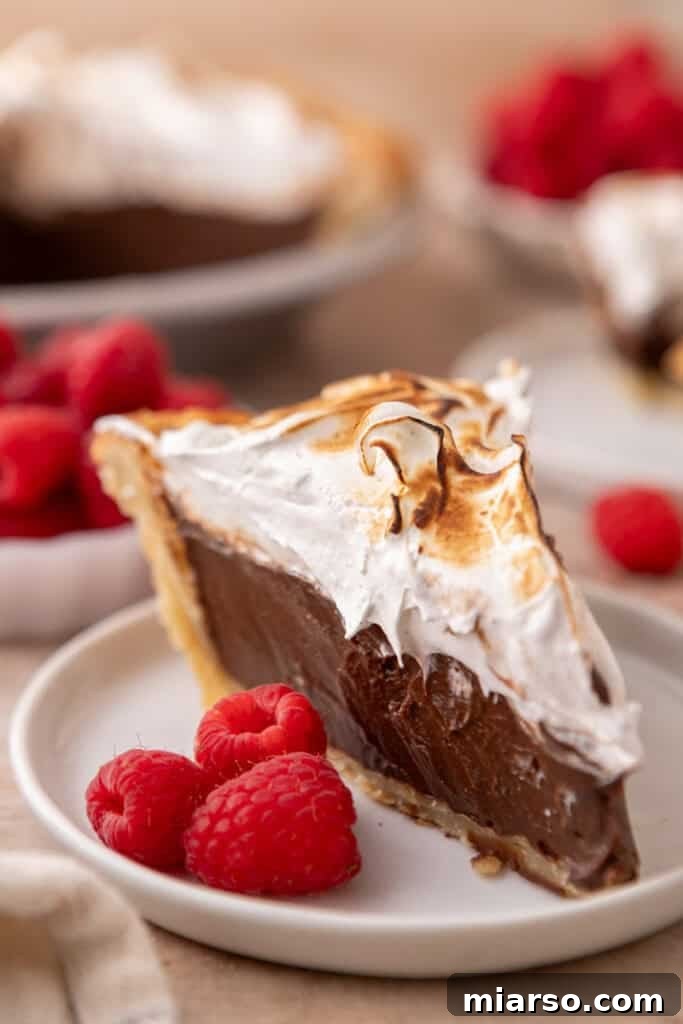
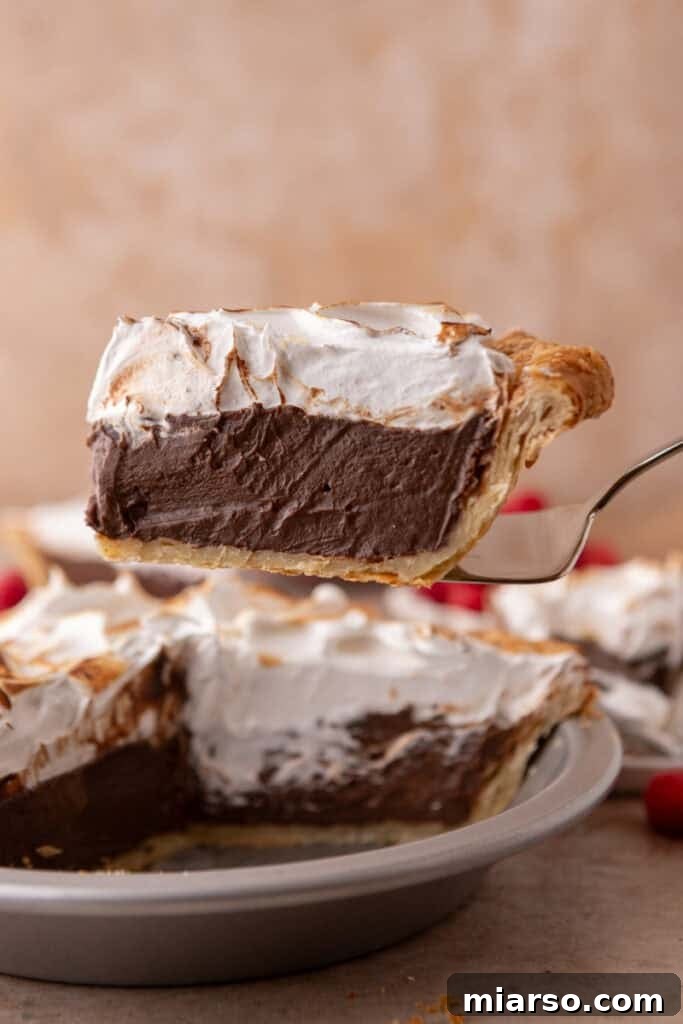
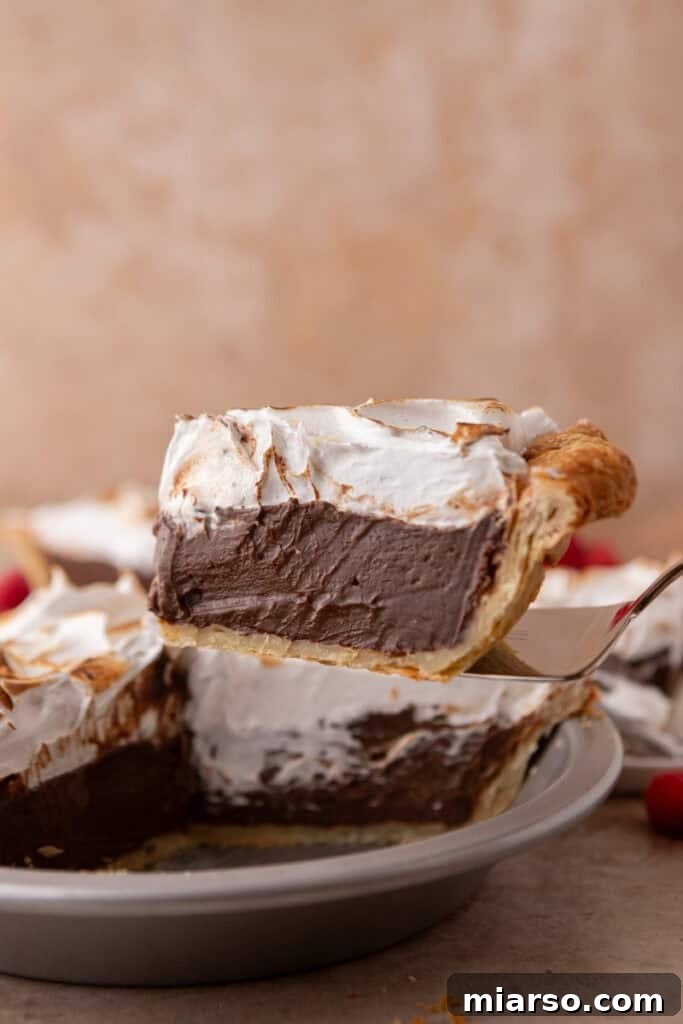
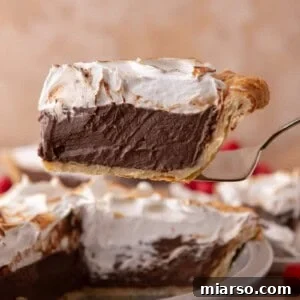
Beyond its unparalleled texture, the flavor combination and visual appeal of this chocolate meringue pie elevate it to a dessert masterpiece. The rich, bittersweet notes of the chocolate pie filling are exquisitely balanced by the sweet, vanilla-infused airiness of the meringue. It’s a pairing designed to please even the most discerning palate. Visually, this pie is nothing short of impressive. Once sliced, the distinct layers and magnificent height of the meringue create a presentation elegant enough for the fanciest holiday tables, yet comforting enough for a cherished family meal. It’s a dessert that not only tastes incredible but also makes a statement.
For those who adore meringue-based desserts and wish to expand their baking repertoire, explore these other delightful recipes: Meringue Cookies, Small Batch Cream Cheese Frosting, Small Batch Chocolate Swiss Meringue Buttercream, Small Batch Swiss Meringue Buttercream, or this exquisite Vanilla Bean Italian Meringue Buttercream.
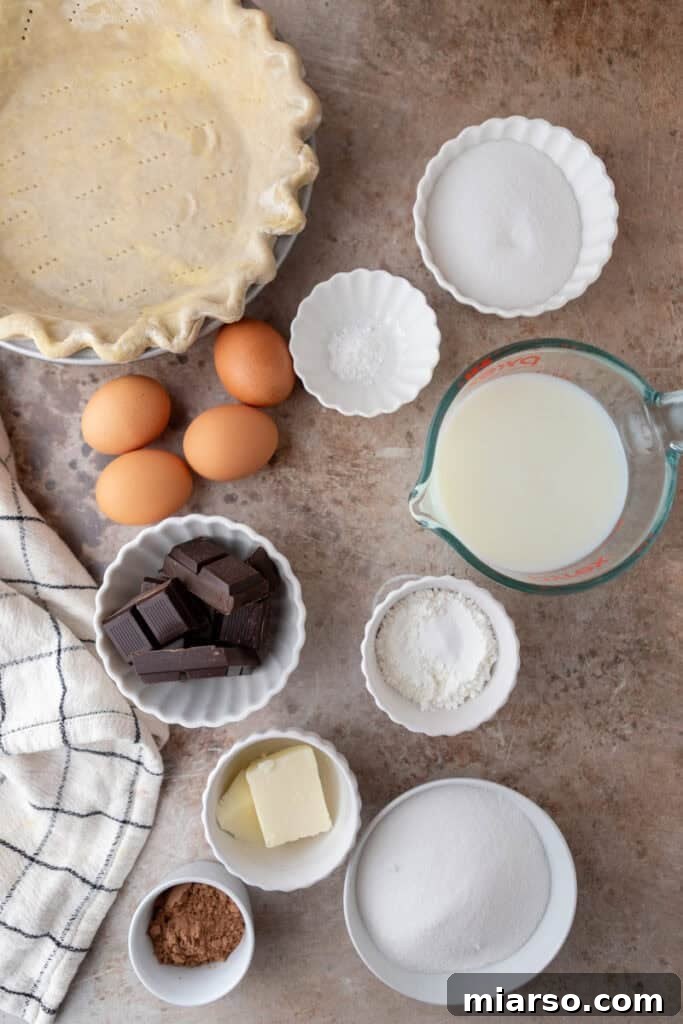
Essential Ingredients for Your Decadent Chocolate Meringue Pie
Crafting this homemade chocolate cream pie requires a selection of fresh, quality ingredients that contribute to its rich flavor and perfect texture. Below, you’ll find a comprehensive list of what you’ll need. For precise measurements, please refer to the detailed recipe card conveniently located at the bottom of this page.
For the Silky Chocolate Custard Filling
- Granulated Sugar: Not just for sweetness, sugar also contributes to the smooth texture of the custard, ensuring it’s never grainy.
- Cornstarch: This is your key thickening agent, responsible for giving the custard its classic, velvety consistency, reminiscent of an old-fashioned chocolate cream pie.
- Cocoa Powder: Essential for infusing a deep, intense chocolate flavor and providing a rich, inviting color. Opt for a good quality unsweetened cocoa for best results.
- Salt: A small but mighty ingredient that enhances all the other flavors, balancing the sweetness and bringing out the depth of the chocolate.
- Whole Milk: Forms the luscious liquid base for the custard, contributing to its creamy richness. For an even more decadent pie, you could experiment with a combination of whole milk and heavy cream.
- Egg Yolks: These are crucial for both richness and thickening. They provide the custard with its signature golden hue and smooth, custardy mouthfeel. Make sure to reserve the whites for your meringue!
- Semisweet Chocolate: The star of the show! When melted, it transforms the custard into a truly decadent, intensely chocolatey experience. Choose high-quality chocolate chips or a chopped bar for superior flavor.
- Unsalted Butter: Adds an extra layer of richness and a silky smoothness to the finished custard, ensuring a luxurious mouthfeel.
- Vanilla Extract: Aromatic vanilla enhances and rounds out the chocolate flavor, adding a touch of classic dessert warmth.
For the Fluffy Meringue Topping
- Egg Whites: The foundation of your light and airy topping. Beaten to stiff peaks, they create the iconic cloud-like texture of meringue. Room temperature egg whites whip up best.
- Cream of Tartar: A vital stabilizer that helps the egg whites achieve maximum volume and maintain their structure, preventing them from collapsing.
- Granulated Sugar: Sweetens the meringue and helps create its desirable crisp yet tender texture. Ensure it’s fully dissolved for a stable, glossy meringue.
- Vanilla Extract: Adds a delicate hint of vanilla flavor to the meringue, perfectly complementing the rich chocolate custard below without overpowering it.
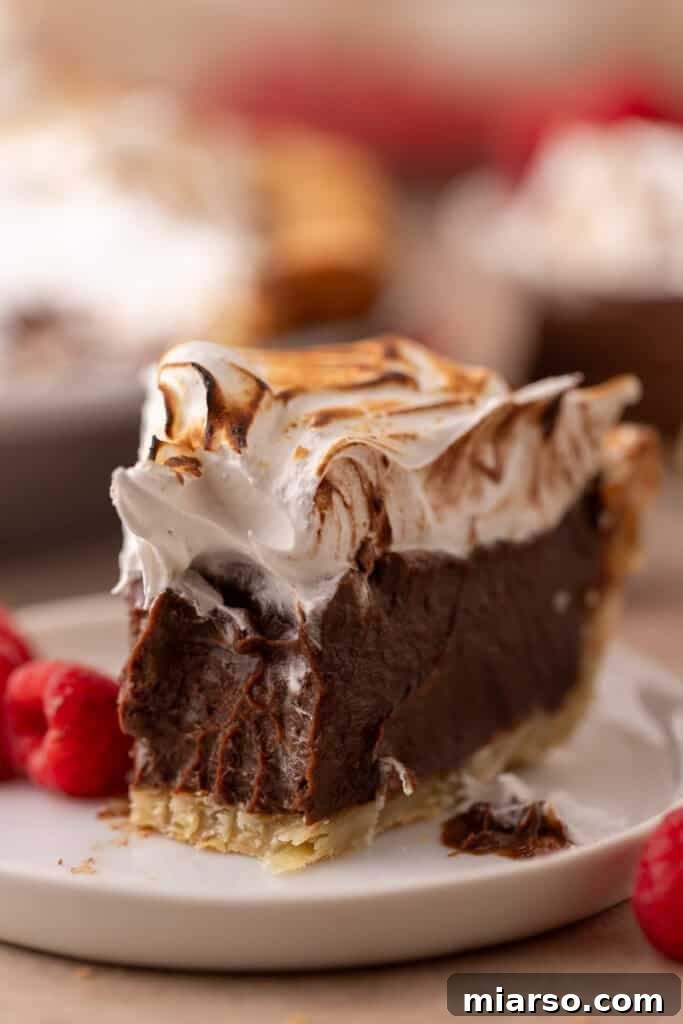
Crafting Your Homemade Chocolate Meringue Pie: A Step-by-Step Guide
Embark on the delightful journey of creating this exquisite chocolate pie from scratch. This comprehensive guide will walk you through each stage, ensuring a smooth and successful baking experience. For precise oven temperatures, detailed baking times, and a full ingredient list, be sure to consult the complete recipe card found at the end of this post!
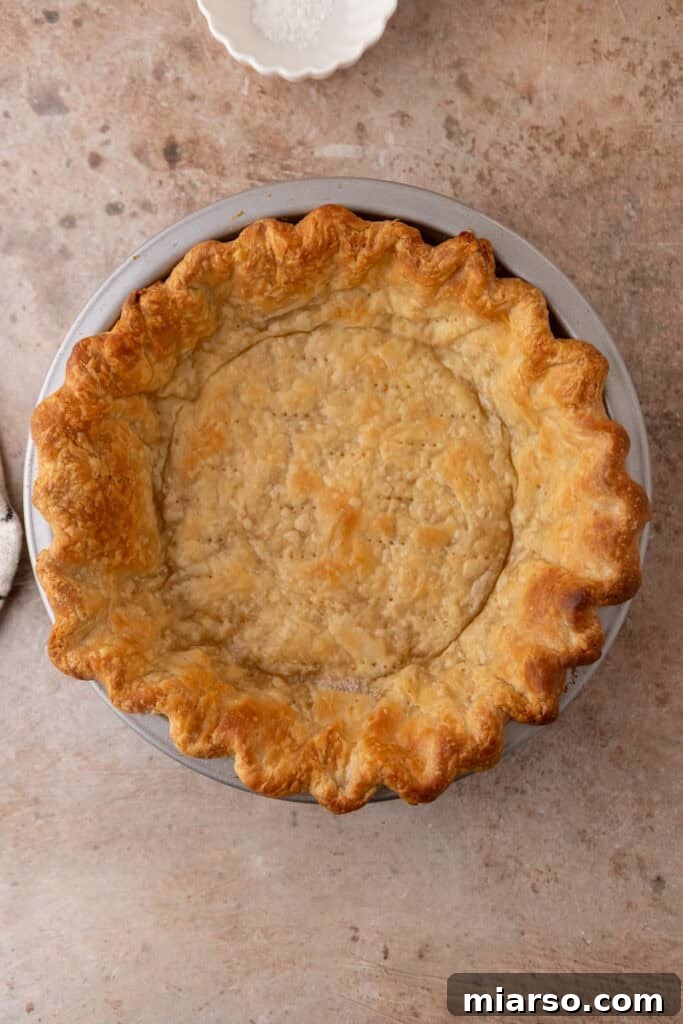
Recipe Note: It is crucial to pre-bake your pie crust before adding the filling. Since this chocolate pie recipe sets in the refrigerator and doesn’t undergo further heating, a fully baked crust is essential to prevent a soggy bottom. Remember to use pie weights or dried beans during the blind baking process to keep the crust from puffing up and ensure it maintains its perfect shape.
Preparing the Silky Chocolate Custard Filling
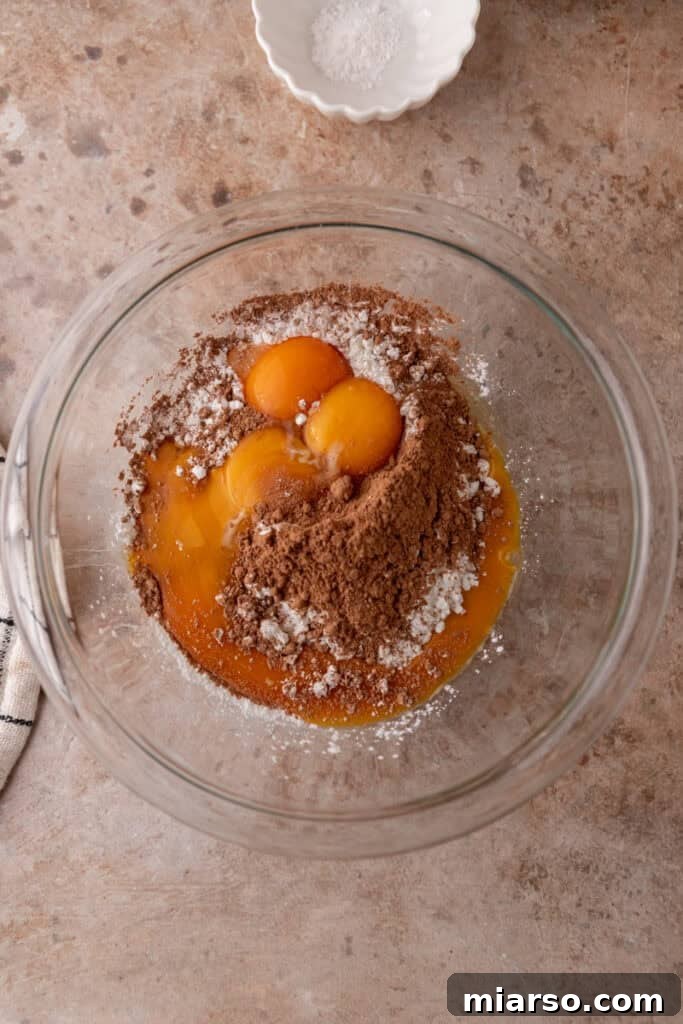
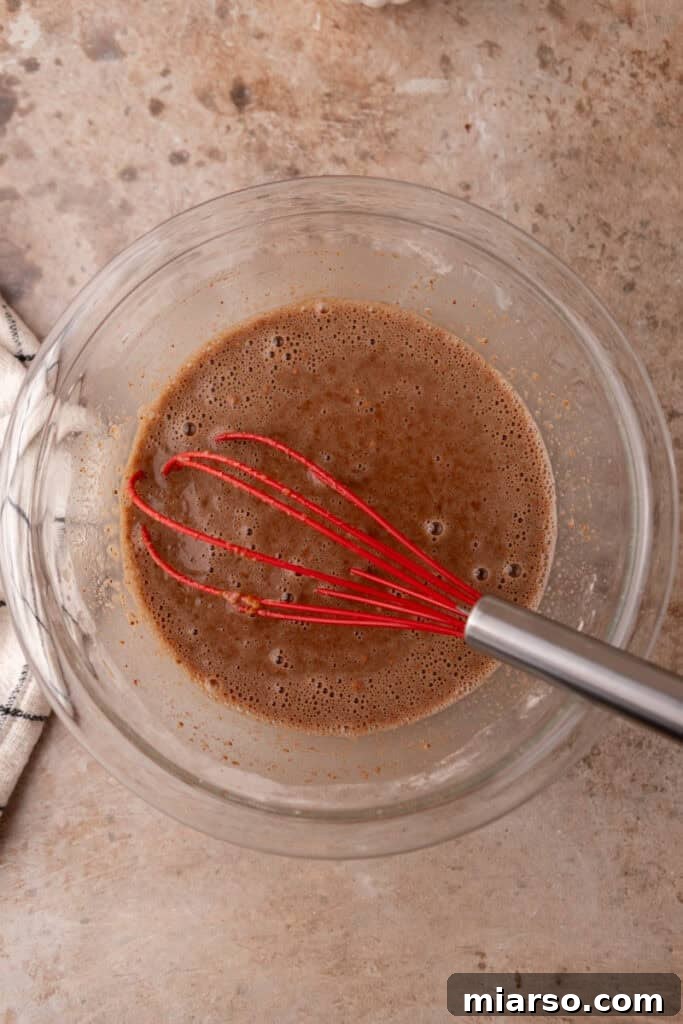
- In a spacious, heatproof bowl (preferably glass or stainless steel), combine the granulated sugar, cornstarch, cocoa powder, salt, a portion of the whole milk (as specified in the recipe card), and the egg yolks. Whisk these ingredients vigorously until the mixture is completely smooth, free of lumps, and resembles a thick, uniform batter. Set this prepared mixture aside for a moment.
- Next, pour the remaining whole milk into a medium saucepan. Place the saucepan over medium heat and gently warm the milk. Watch closely until it just begins to steam around the edges – you’re looking for subtle wisps of vapor, not a rolling boil.
- Now comes the critical step of tempering the eggs. This process gradually raises the temperature of the egg mixture, preventing the yolks from scrambling when introduced to the hot milk. Slowly, in a thin stream, drizzle a small amount (about half a cup) of the warm milk into the egg yolk mixture while whisking continuously and rapidly. This ensures the eggs are gently heated. Continue gradually adding the rest of the warm milk to the egg mixture, whisking without interruption until fully combined and smooth.
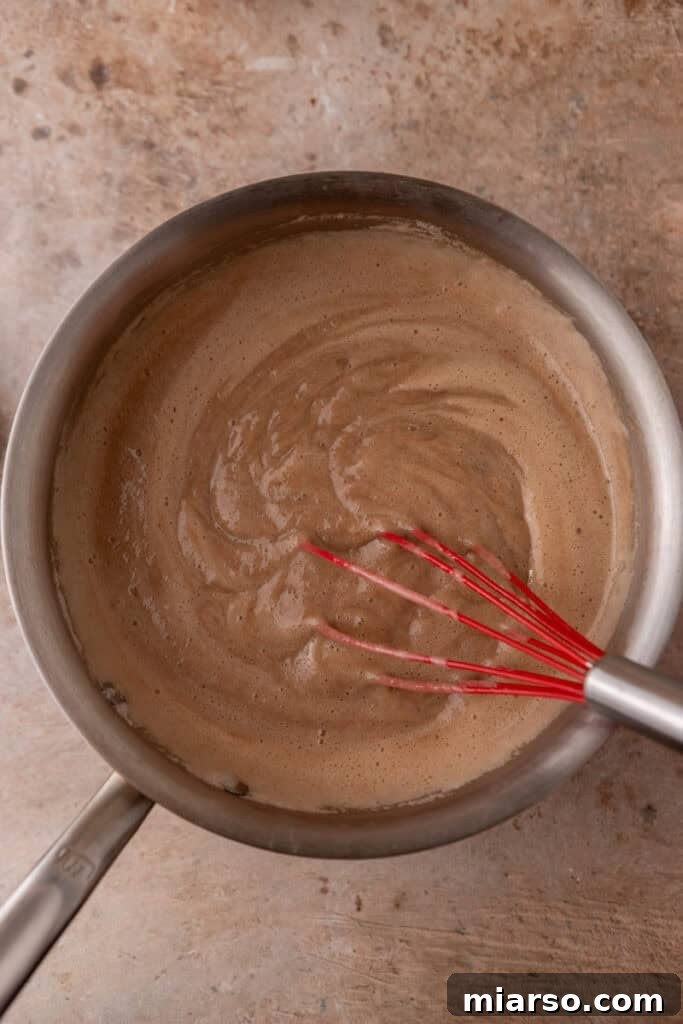
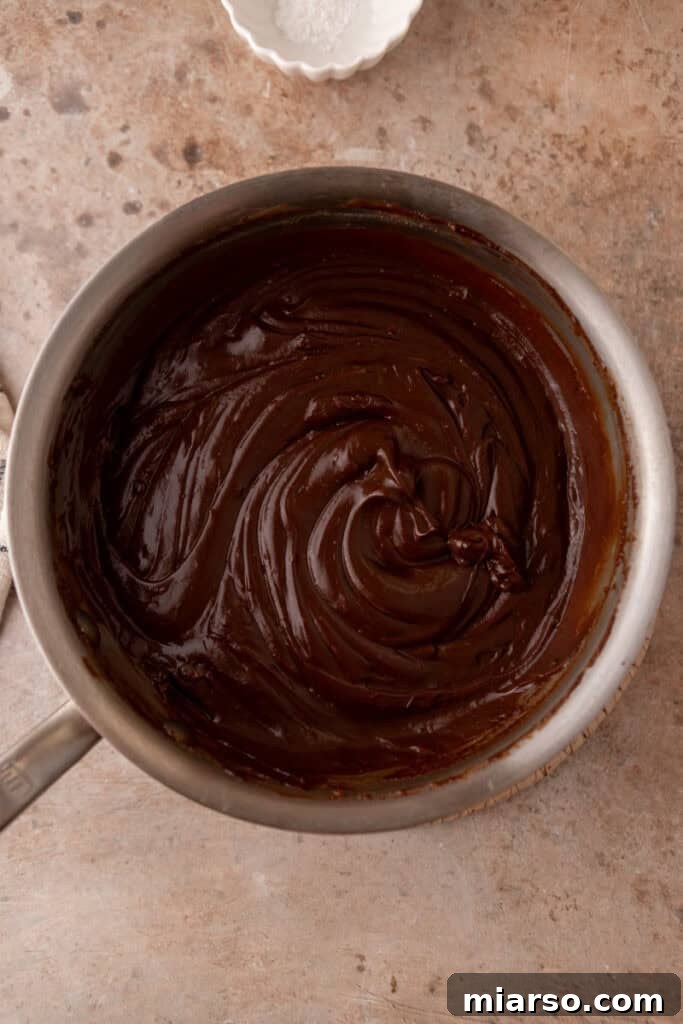
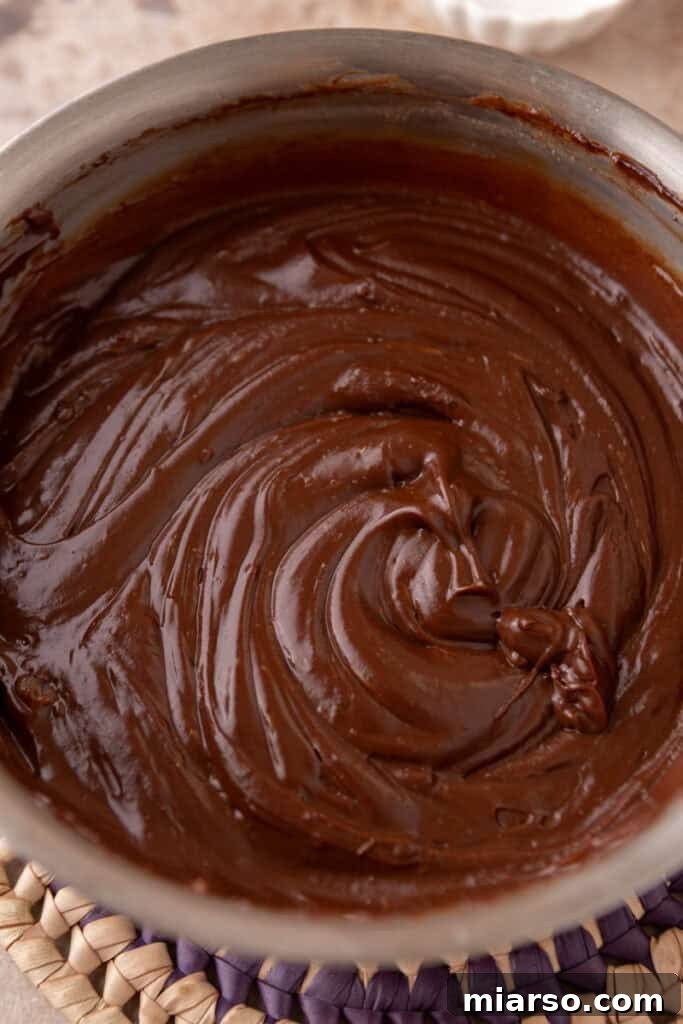
- Pour the entire combined mixture back into the same saucepan. Return it to medium heat and cook, whisking constantly with a rubber spatula or whisk. Continue cooking until the custard visibly thickens and begins to bubble gently. The custard is perfectly cooked when it forms thick ribbons as it drips off the whisk and leaves clear trails on the bottom of the pan when you pause stirring. This usually takes about 2-4 minutes once it begins to thicken.
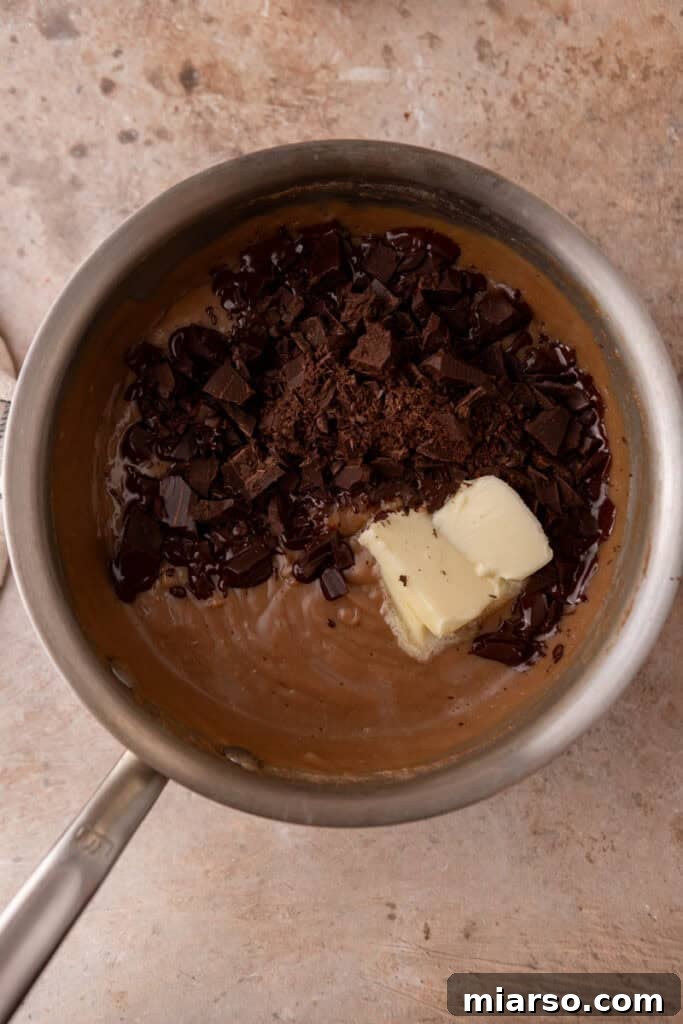
- Immediately remove the saucepan from the heat. Stir in the chopped semisweet chocolate, unsalted butter, and vanilla extract. Continue whisking gently until the chocolate and butter are completely melted and fully incorporated, resulting in a perfectly silky, glossy, and intensely chocolatey filling.
- For the ultimate smooth and luxurious custard, pour the warm filling through a fine-mesh strainer into a clean bowl. This step catches any tiny bits of cooked egg or undissolved cornstarch, ensuring a flawless texture.
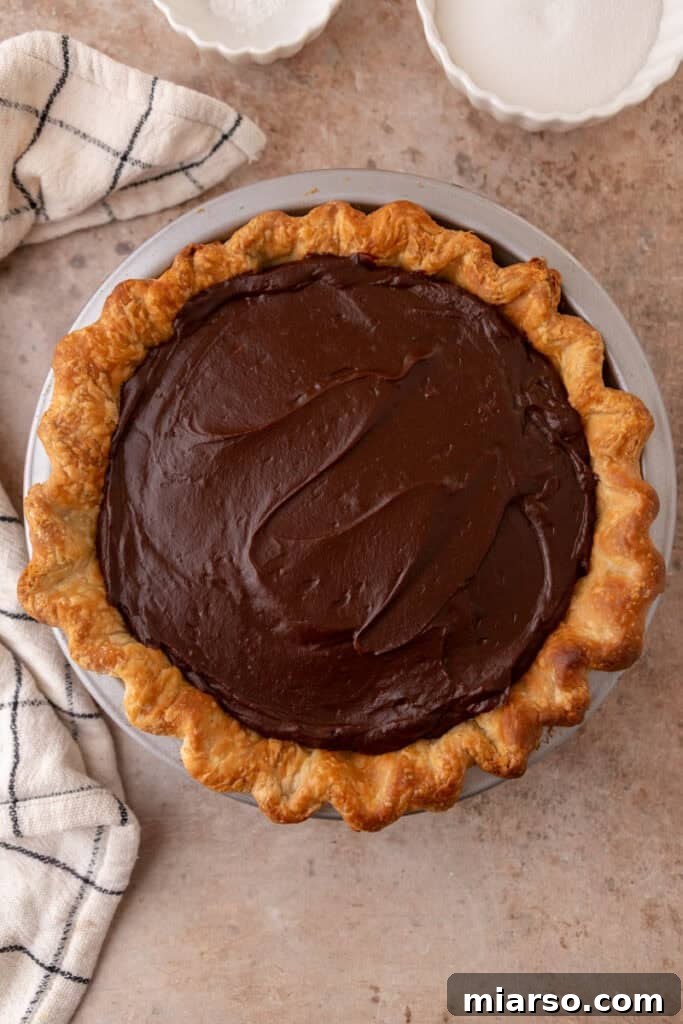
- Carefully pour the warm, strained chocolate filling into your cooled, pre-baked pie shell. A 9-inch pie plate is ideal for this recipe; I personally recommend using my homemade pie crust recipe for the best results! Once the filling is in the crust, immediately cover the surface of the custard with plastic wrap, pressing it directly onto the filling to prevent a “skin” from forming as it cools. Refrigerate the pie for a minimum of 4 hours, or ideally overnight, to allow the custard to set completely and achieve its perfect firm yet creamy texture.
Creating the Perfect Cloud-Like Meringue Topping
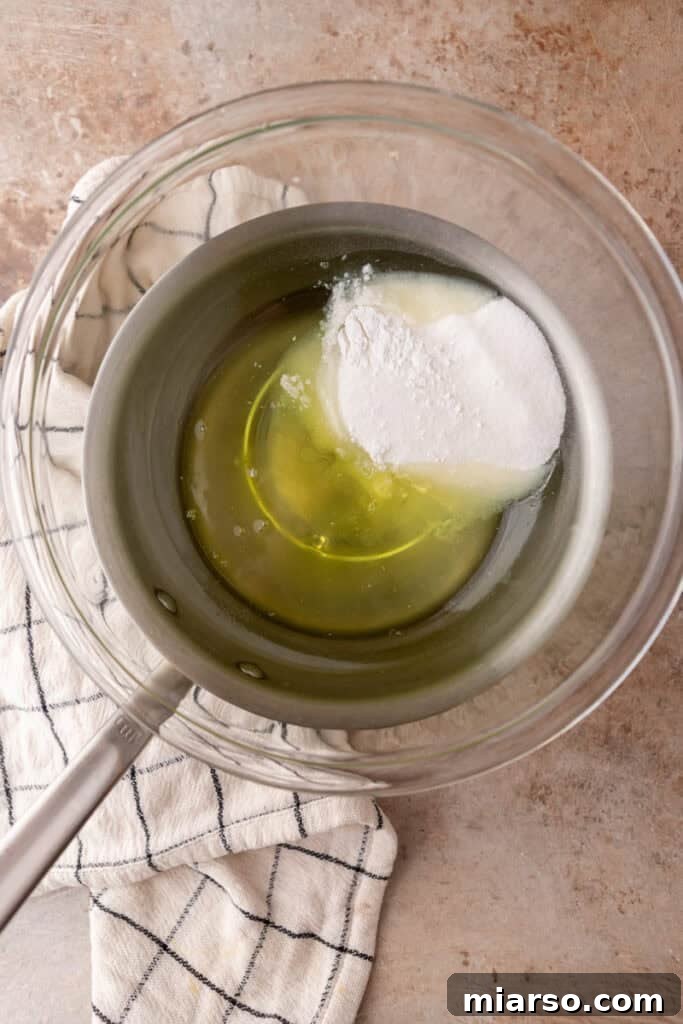
- Set up a double boiler: Place a clean, heatproof bowl (either metal or glass) over a pot of gently simmering water. Ensure the bottom of the bowl does not touch the water, as this could scramble the egg whites. Add the egg whites and granulated sugar to this bowl.
- Whisk the egg white mixture constantly and gently over the simmering water. Continue whisking until the sugar is completely dissolved – you can test this by rubbing a small amount of the mixture between your fingers; it should feel perfectly smooth, without any grittiness. Continue heating and whisking until the mixture reaches a temperature of 160°F (71°C) on an instant-read thermometer. This step pasteurizes the egg whites, making the meringue safe to eat and incredibly stable.
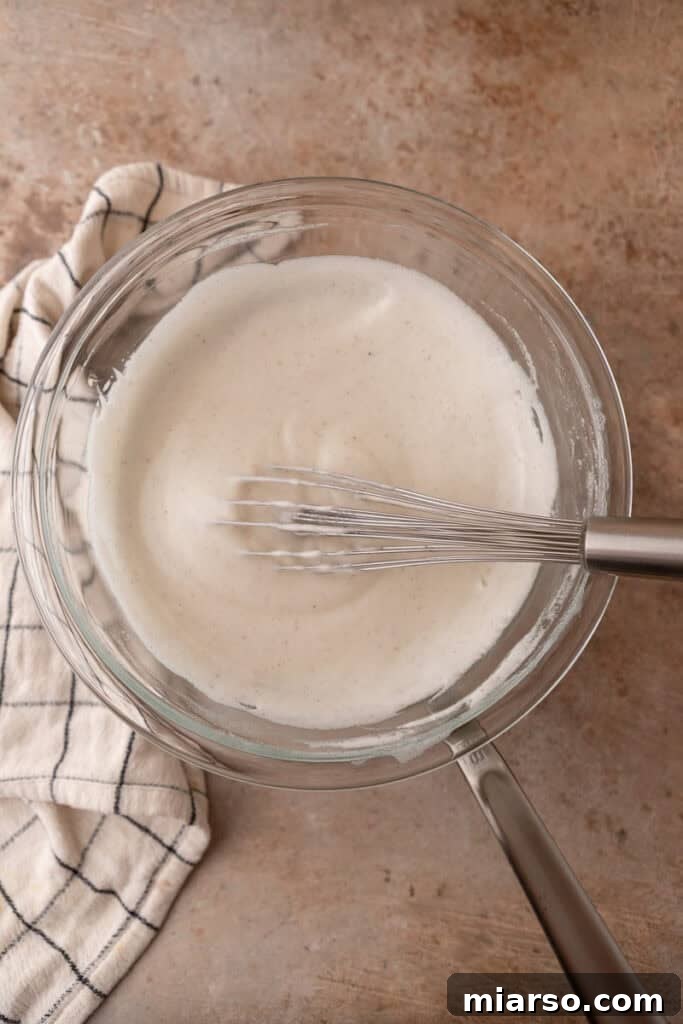
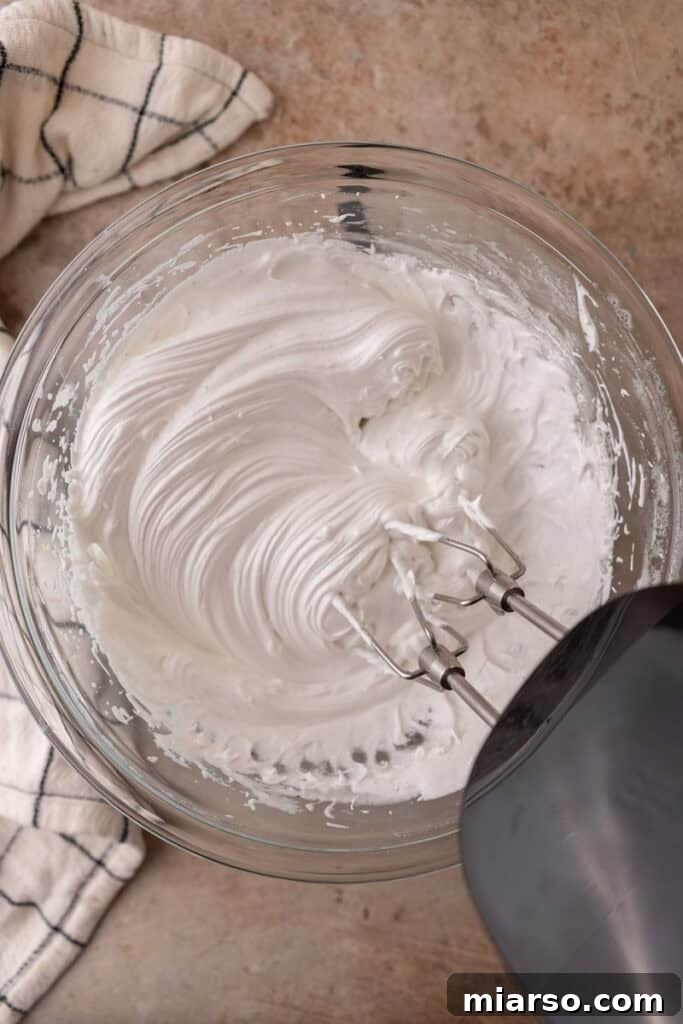
- Once the warmed egg white mixture is ready, carefully transfer it to the bowl of a stand mixer fitted with a whisk attachment. If you don’t have a stand mixer, a hand mixer will also work. Begin beating on medium-high speed. Continue beating until the meringue transforms into a thick, glossy, and voluminous cloud that forms firm, distinct peaks when the whisk is lifted. The mixing bowl should also feel cool to the touch, indicating the meringue has cooled sufficiently. This usually takes about 5-7 minutes.
- Once the meringue reaches stiff peaks, gently mix in the vanilla extract. If you are using it (and it’s highly recommended), also add the cream of tartar (or a tiny pinch of salt) at this stage for extra stability and to help the meringue hold its shape beautifully.
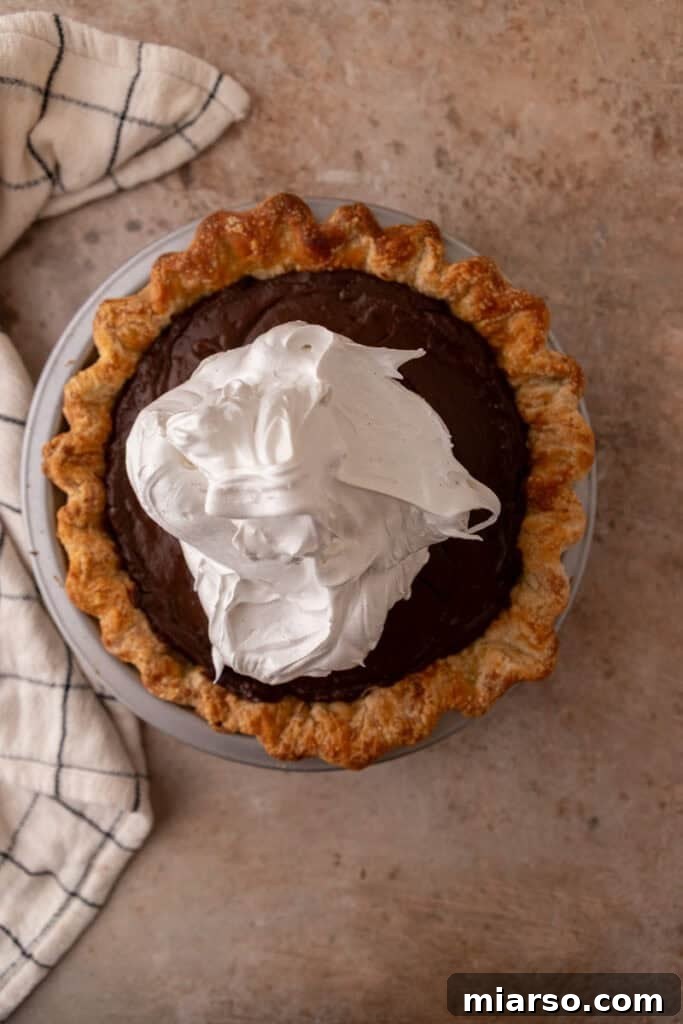
- Retrieve your thoroughly chilled chocolate pie. Using a rubber spatula, carefully spread the meringue evenly over the entire surface of the pie. It’s crucial to ensure the meringue touches and seals directly to the edges of the pie crust all the way around. This critical step helps prevent the meringue from shrinking back from the crust during chilling or torching, ensuring a beautifully finished pie. Create appealing swirls and peaks with your spatula for an elegant look.
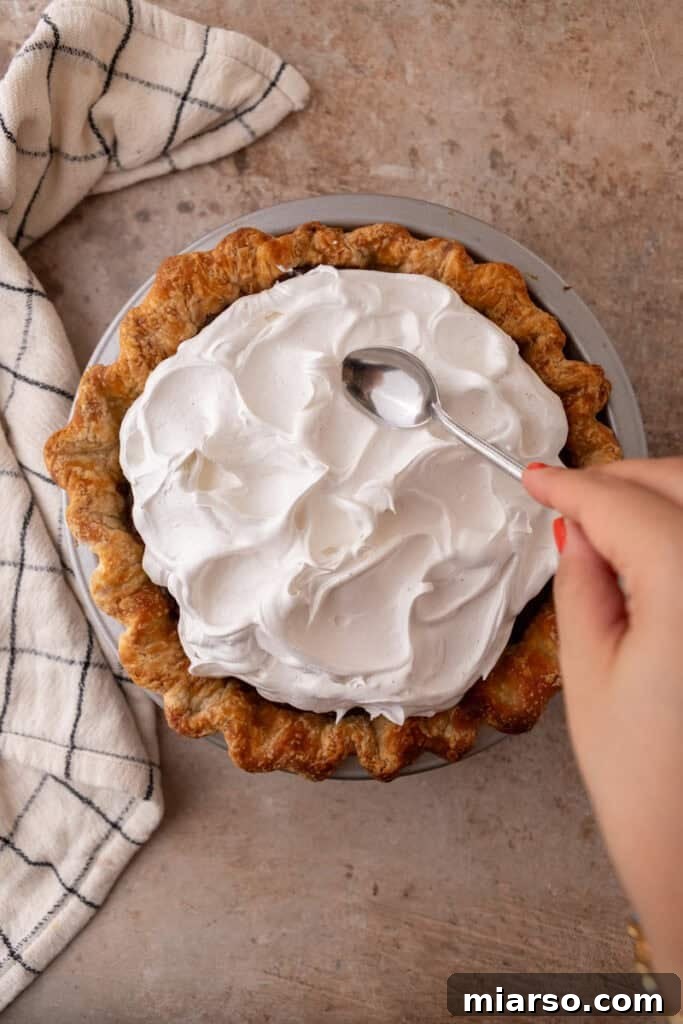
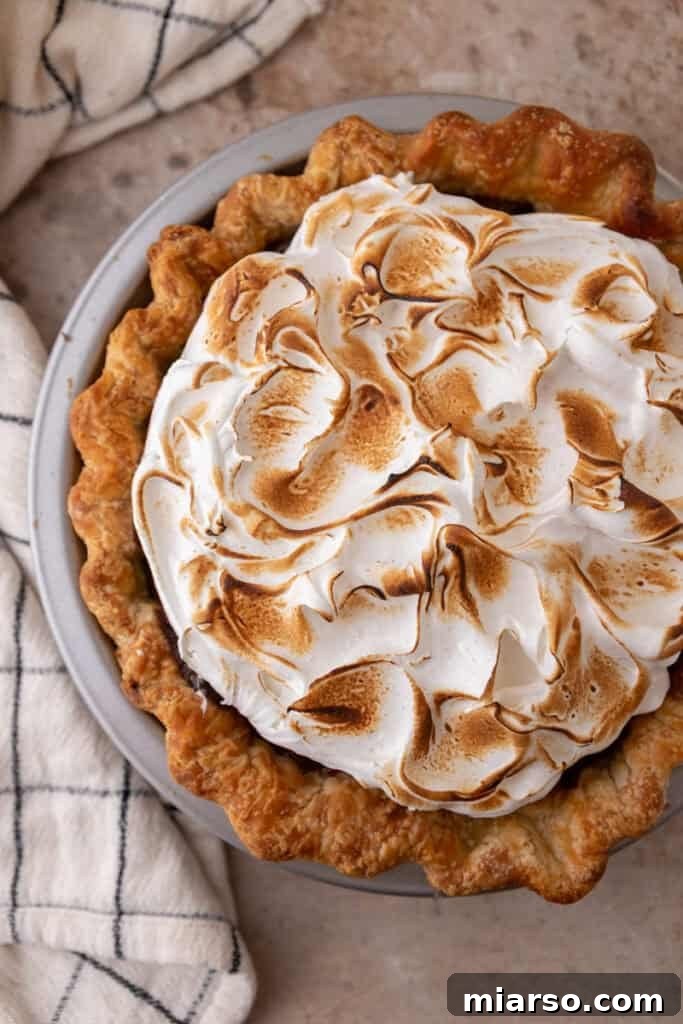
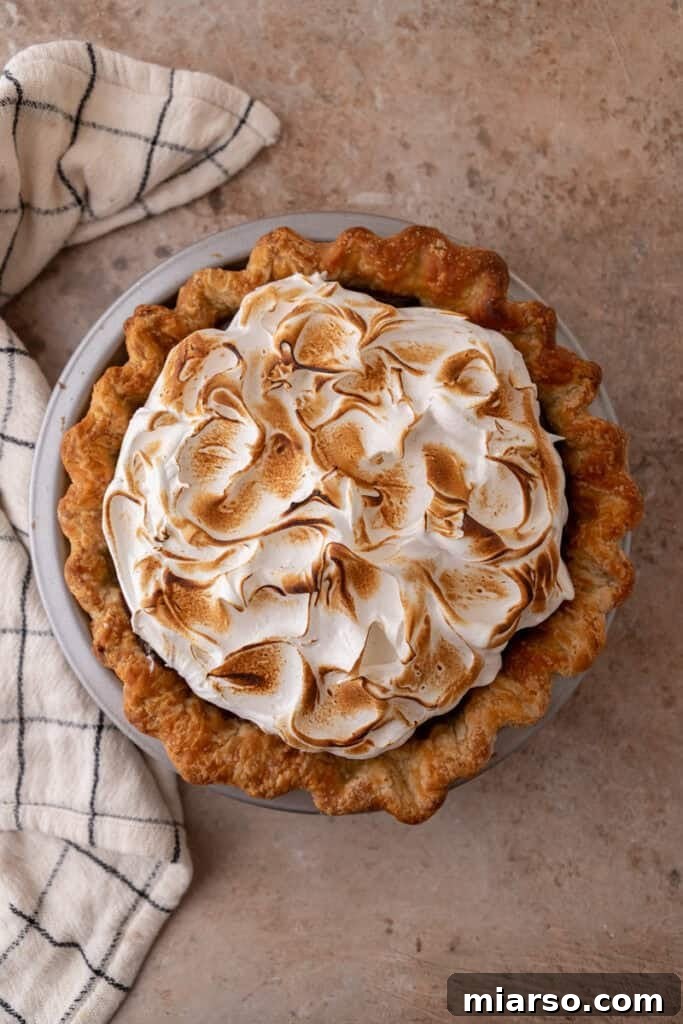
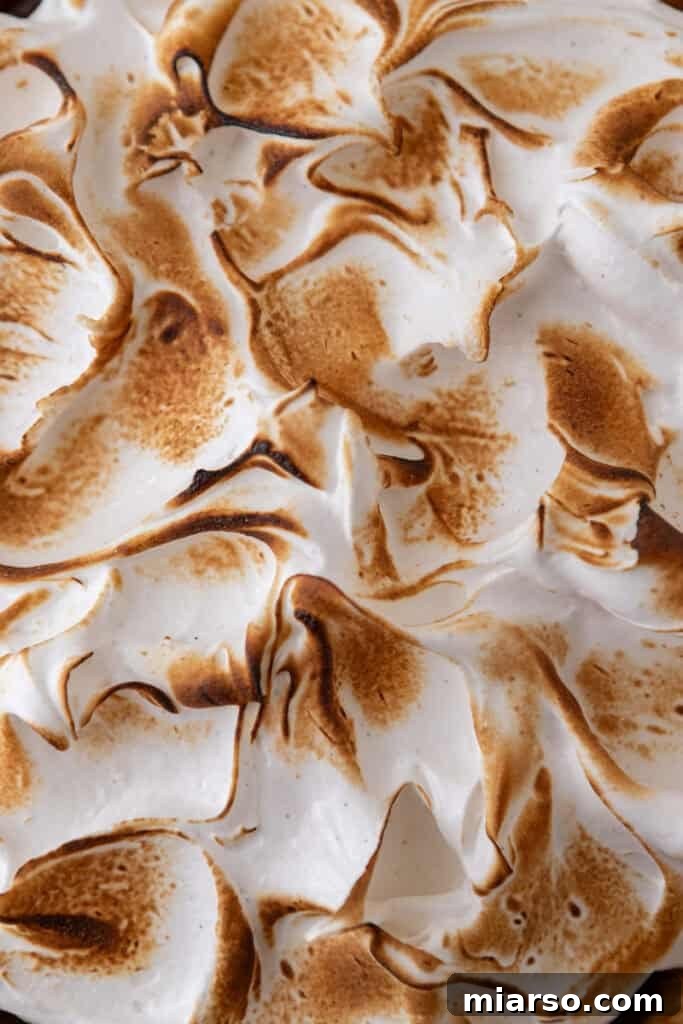
- To give your meringue that beautiful, appetizing golden-brown finish, use a kitchen torch to gently toast the peaks and swirls. Move the flame continuously to achieve an even, toasted color without burning.
- Once toasted, allow the pie to chill in the refrigerator for at least 1 hour before slicing and serving. This final chill ensures the meringue is perfectly set and easy to cut.
Expert Tips and Tricks for Meringue Pie Perfection
- Precision is Key: For the most consistent and accurate results, especially with baking, use a kitchen scale to weigh your ingredients rather than relying solely on measuring cups. This can significantly impact the final texture of both your custard and meringue.
- Room Temperature Matters: Ensure all refrigerated ingredients, especially eggs and milk, are brought to room temperature before you begin mixing. Room temperature ingredients emulsify more easily, leading to smoother custards and merengues with greater volume.
- Invest in Quality Chocolate: Since chocolate is a dominant flavor in this pie, the quality of your chocolate directly affects the richness and depth of the custard. Opt for the highest quality bittersweet or semisweet chocolate you can find for a truly decadent experience.
- Strain for Silky Smoothness: After cooking, always pour your chocolate custard through a fine-mesh sieve into a clean bowl. This crucial step removes any tiny bits of cooked egg, ensuring an impeccably smooth and luxurious texture for your filling.
- Patience with Tempering: Tempering eggs properly is vital to avoid scrambled bits in your custard. Gradually drizzle the hot milk into the egg mixture while whisking constantly. Don’t rush this process; slow and steady ensures a perfectly smooth base.
- Dissolve Sugar Completely: When making the meringue, ensure the sugar is fully dissolved in the egg whites over the double boiler. Rub a small amount of the mixture between your fingers; it should feel perfectly smooth, with no grittiness. Undissolved sugar can lead to a weeping or grainy meringue.
- Cleanliness for Meringue: Any trace of fat (from egg yolks, oily utensils, or even fingerprints) can prevent egg whites from whipping up properly. Ensure your mixing bowl and whisk are immaculately clean and grease-free.
- Seal the Meringue: When spreading the meringue over the chilled custard, make sure it touches and firmly seals to the edges of the pie crust all the way around. This creates a barrier that helps prevent the meringue from shrinking or “weeping” moisture.
Why This Chocolate Meringue Pie Will Become Your Signature Dessert
- This exquisitely delicious pie is an absolute guarantee to satisfy the deepest cravings of every chocolate lover, offering a rich and comforting indulgence that’s truly irresistible.
- It’s not just a dessert; it’s an impressive culinary creation that serves as the perfect showstopper for any special occasion, from intimate family gatherings to festive holiday celebrations and milestone birthdays.
- Thanks to its requirement for chilling, this pie is an ideal make-ahead option. Prepare it in advance, freeing up your time on the day of your event and making entertaining a breeze.
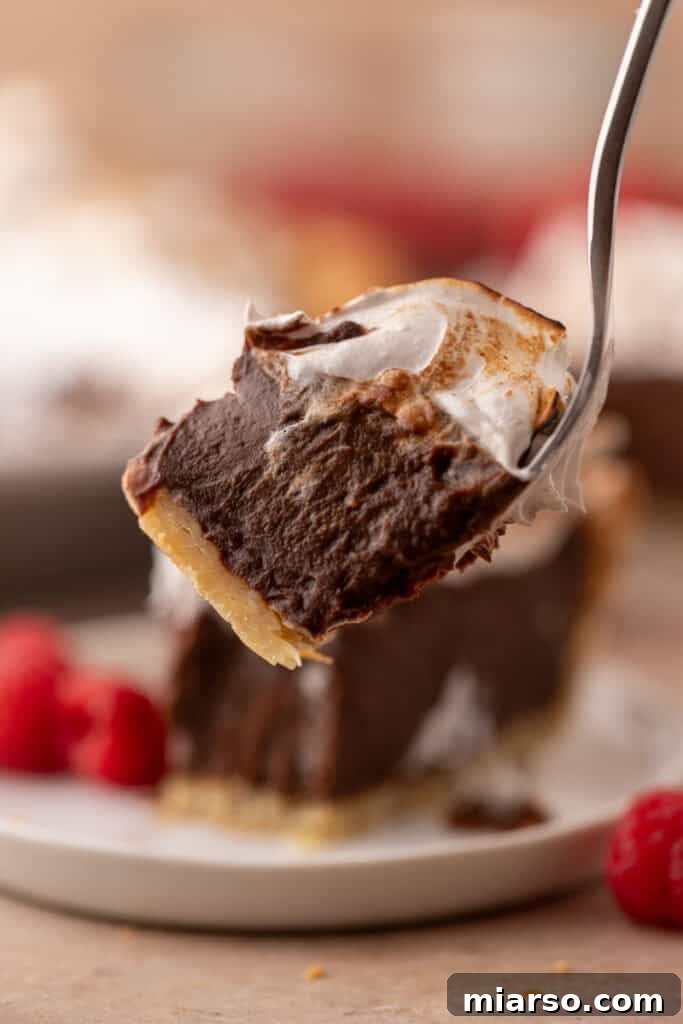
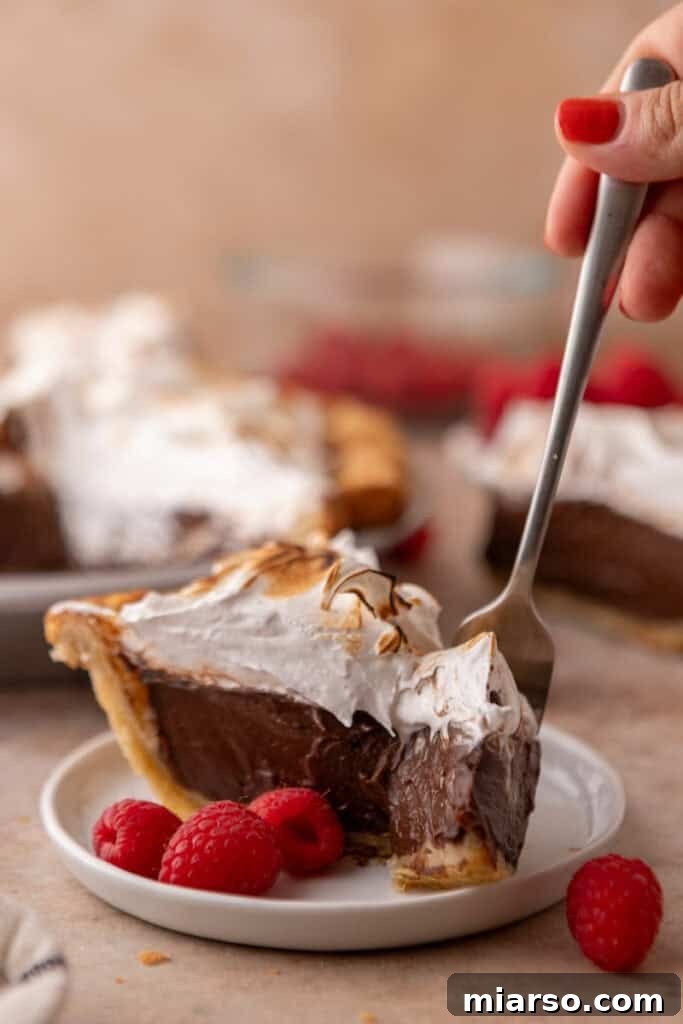
- Experience the ultimate textural delight: the satisfying crunch of the buttery crust, the velvety softness of the rich chocolate filling, and the marshmallow-like airiness of the fluffy meringue. This dessert truly is a perfect trifecta of mouth-pleasing sensations.
- Making this pie from scratch allows you to control the quality of ingredients, resulting in a superior flavor that store-bought options simply cannot match. It’s a labor of love that yields incredibly rewarding results.
Frequently Asked Questions – FAQ
What pie crust should I use for this recipe?
For this chocolate meringue pie, I highly recommend a buttery shortbread or a slightly salty crust. The subtle saltiness provides a wonderful contrast, balancing the sweetness of both the chocolate custard and the meringue. Alternatively, a classic graham cracker crust offers a sweeter base if that’s your preference. You have the flexibility to use either a homemade pie crust, which I find delivers the best flavor and texture, or a high-quality store-bought crust for convenience. The choice ultimately depends on your available time and desired effort. If you’re seeking a perfect, reliable homemade pie crust recipe to complement this dessert, I’ve got one right here that’s tried and true!
What if I don’t have a kitchen torch to toast the meringue?
No kitchen torch? No problem! You can still achieve a beautiful golden hue on your meringue using your oven. Preheat your oven to 400°F (200°C) and place the pie on a middle rack. Bake for approximately 4-6 minutes, or until the peaks of the meringue are lightly browned. It’s crucial to watch it very closely during this time, as meringue can go from perfectly golden to burnt in a matter of seconds. Keep an eye on it to prevent overcooking and ensure that lovely toasted finish.
Why is my custard lumpy or grainy, and how can I fix it?
A lumpy or grainy custard most commonly occurs if the eggs are cooked too quickly during the tempering process, causing them to scramble, or if the custard overheats and scorches in the saucepan. To prevent this, always temper your eggs slowly and whisk constantly. If you find your custard has developed lumps, don’t despair! A quick and effective fix is to strain the warm custard through a fine-mesh sieve immediately after cooking and before pouring it into the pie crust. This will remove any undesirable bits and leave you with a perfectly smooth, luscious filling.
How do I keep the meringue from weeping or separating?
Preventing meringue weeping (where liquid seeps from the base) and separation is a common concern. For the best results, ensure the sugar is completely dissolved in the egg whites during the double boiler heating stage – this creates a more stable meringue. Additionally, spread the meringue over a thoroughly cold, chilled custard, and make sure it firmly seals all the way to the edges of the pie crust. This tight seal helps prevent shrinkage and moisture accumulation. The good news is that because this recipe utilizes a cooked meringue topping (Swiss meringue method), it is inherently more stable and less prone to weeping compared to raw egg white meringues, making your job much easier!
How do I store leftovers of this pie?
To keep your chocolate meringue pie fresh and delicious, store any leftovers in an airtight container in the refrigerator. It’s important to choose a container with a lid that doesn’t press down on the meringue, as it can stick and ruin the fluffy texture. When properly stored, the pie should remain fresh and enjoyable for about three days. For the best quality and appearance, consume it within this timeframe.
Can I freeze the chocolate meringue pie?
While some pies freeze well, I generally do not recommend freezing this chocolate meringue pie. The delicate chocolate custard filling can become watery and lose its smooth texture once thawed, and the meringue topping is likely to separate, become chewy, or deflate significantly. This pie is truly best enjoyed fresh and chilled, so it’s advisable to make it when you know it will be consumed within a few days.
Chocolate Meringue Pie Recipe
Print Recipe
Ingredients
- Homemade or store-bought pie crust
Chocolate Custard Filling
- 1 cup granulated sugar
- ⅓ cup cornstarch
- 2 tablespoons cocoa powder
- ¼ tsp salt
- 2 ¾ cups whole milk divided
- 4 large egg yolks reserve the whites for meringue
- 6 oz bittersweet chocolate chopped
- 2 tbsp unsalted butter
- 1 ½ tsp vanilla extract
Meringue Topping
- 4 large egg whites room temperature
- 1/4 tsp salt
- ½ tsp cream of tartar
- 2/3 cup granulated sugar
- ½ tsp vanilla extract
Instructions
Pre bake the crust
-
Roll out your pie dough and fit it into a 9-inch pie dish. Trim and crimp the edges as desired. Chill in the fridge for 30 minutes (or freezer for 15) to prevent shrinking.Homemade or store-bought pie crust
-
Use a fork to prick the base of the crust all over. This helps prevent puffing. Line the crust with parchment paper or foil, making sure it covers the bottom and sides. Fill with pie weights, dried beans, or sugar
-
Bake at 375°F for 20 minutes.
-
Carefully lift out the parchment and weights. Return the crust to the oven. Bake uncovered for 10–15 more minutes, or until the bottom looks dry and lightly golden brown. Cool completely before adding your filling.
chocolate filling:
-
In a medium heatproof bowl, whisk together sugar, cornstarch, cocoa powder, salt, 2/3 cup milk, and egg yolks until smooth. set aside.1 cup granulated sugar, ⅓ cup cornstarch, 2 tablespoons cocoa powder, ¼ tsp salt, 4 large egg yolks
-
In a saucepan, heat the rest of the milk over medium heat until it’s just steaming but not boiling.2 ¾ cups whole milk
-
Temper the egg mixture: Slowly pour the hot milk into the yolk mixture while whisking constantly to prevent curdling. Start with about ½ cup, then gradually add the rest while whisking.
-
Return everything to the saucepan and cook over medium heat, whisking constantly, until thick and bubbly. About 2–4 minutes. It should hold a ribbon when the whisk is lifted and leave clear trails.
-
Remove from heat and immediately whisk in the chopped chocolate, butter, and vanilla until smooth and glossy.6 oz bittersweet chocolate, 2 tbsp unsalted butter, 1 ½ tsp vanilla extract
-
For the smoothest texture, pour through a fine mesh sieve into a clean bowl.
-
Pour into your pre-baked and cooled crust. Press plastic wrap directly on the surface and refrigerate at least 4 hours or overnight.
Meringue
-
In a heatproof bowl (glass or metal) set over a saucepan of simmering water (don’t let the bowl touch the water), combine egg whites, salt, sugar, and cream of tartar.4 large egg whites, ½ tsp cream of tartar, 2/3 cup granulated sugar, 1/4 tsp salt
-
Whisk constantly until the sugar is fully dissolved and the mixture reaches 160°F on a thermometer. Rub the mixture between your fingers, it should feel completely smooth.
-
Transfer to a stand mixer (or use a hand mixer), add in the vanilla extract, and beat on medium-high speed until stiff, glossy peaks form and the bowl feels cool to the touch—about 5–7 minutes.½ tsp vanilla extract
-
Spread the meringue over your chilled pie, sealing all the way to the crust edge.
-
Toast with a kitchen torch for a golden finish, or bake at 400°F for 4–6 minutes, watching closely until lightly browned.
-
Chill at least 1 hour before serving.
Nutrition
Nutrition information is automatically calculated, so should only be used as an approximation.