
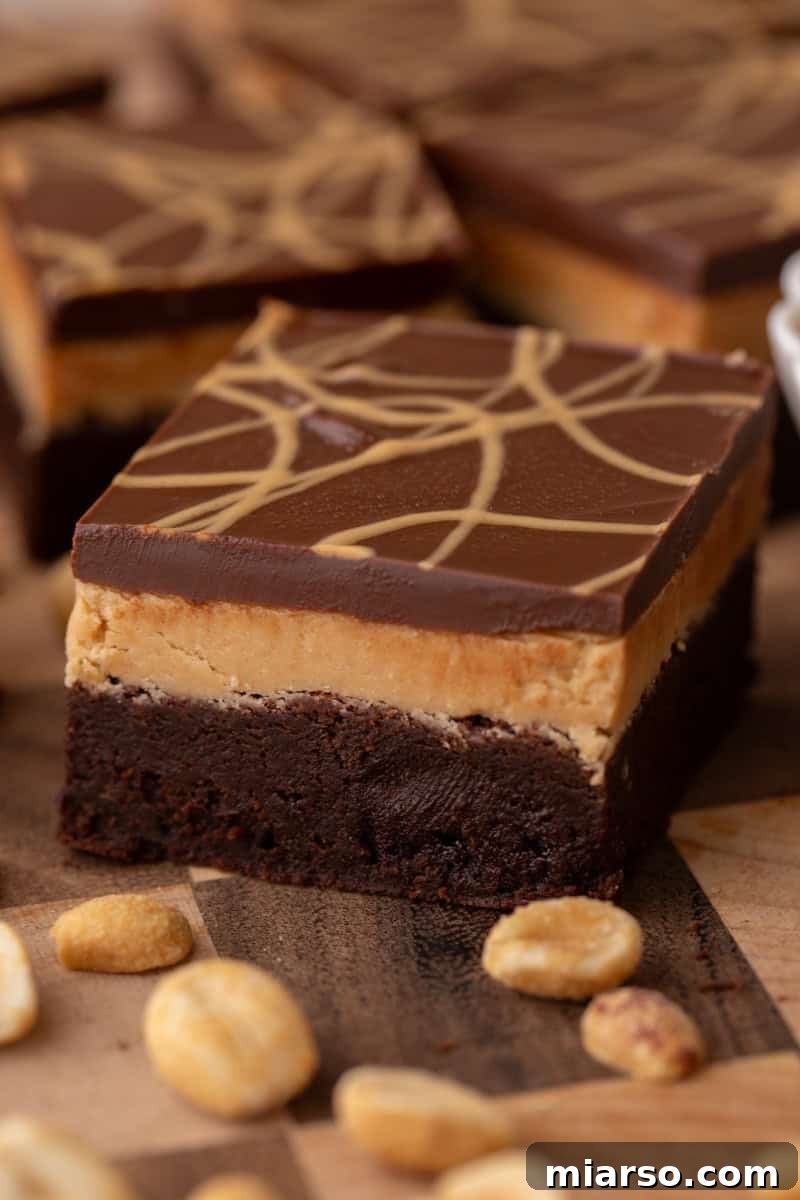
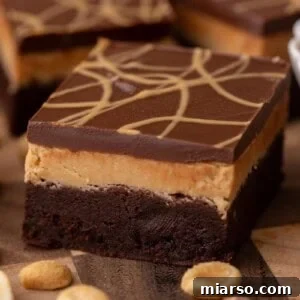
Prepare to be enchanted by the ultimate dessert experience with this incredible Buckeye Brownies Recipe! Imagine a rich, fudgy brownie base, crowned with a luscious, ultra-creamy peanut butter layer, and finished with a smooth, decadent chocolate topping. This isn’t just a dessert; it’s a symphony of flavors, reminiscent of your favorite buckeye candies, but in a more indulgent, brownie form. Every bite is an absolute dream for chocolate and peanut butter lovers alike.
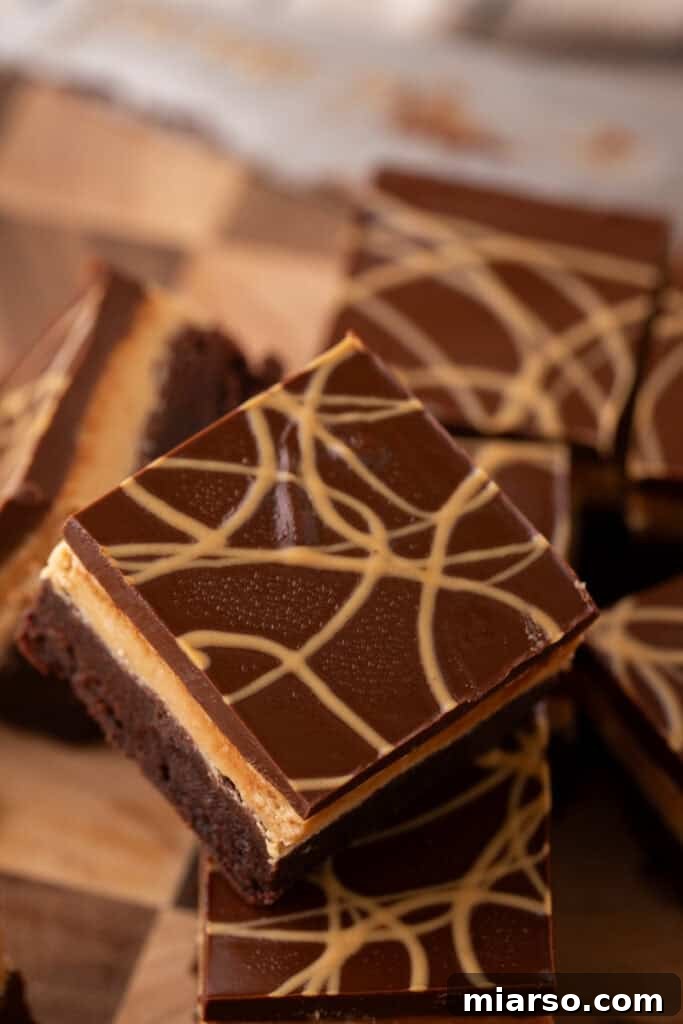
The timeless pairing of chocolate and peanut butter is a culinary match made in heaven, always delivering an irresistible flavor profile. For those from Ohio or the Midwest, the mention of “buckeye” instantly brings to mind those delightful, ultra-creamy peanut butter fudge balls partially dipped in chocolate. This recipe elevates that beloved candy into a magnificent brownie, creating a dessert that truly stands out.
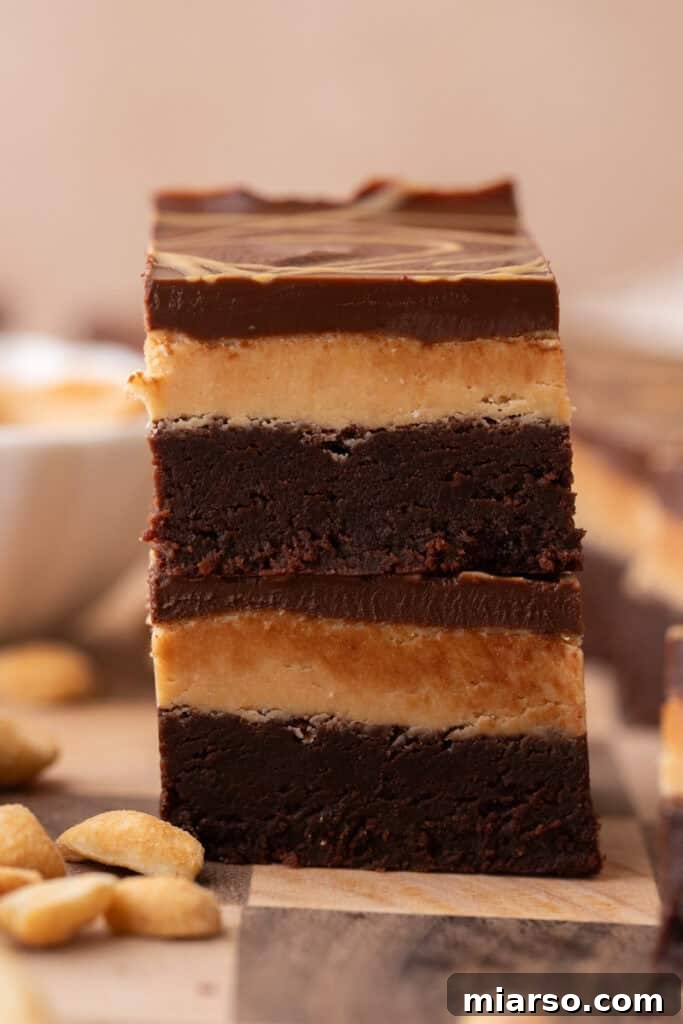
Can you envision a more perfect topping for intensely fudgy brownies? This concept is pure genius, taking a classic treat and transforming it into something extraordinary. I might sound overly enthusiastic, but trust me, this brownie recipe offers a unique and unparalleled experience. Each of its three distinct layers—from the rich brownie base to the smooth peanut butter filling and the glossy chocolate ganache—is incredibly smooth, rich, and deeply satisfying. Forget the store-bought candy; this homemade delight is a must-try for anyone who adores the chocolate-peanut butter combination.
If you’re a devoted fan of brownies and crave more delightful variations, be sure to explore these other fantastic recipes: our Crumbl Buckeye Brownie Cookies Copycat Recipe, delightful Peanut Butter Buckeye Pretzel Bites, indulgent Crumbl Brownie Batter Cookies, irresistible Crumbl Peanut Butter Brownie Cookies, or our decadent Cream Cheese Cheesecake Brownies.
What Exactly Are Buckeye Brownies?
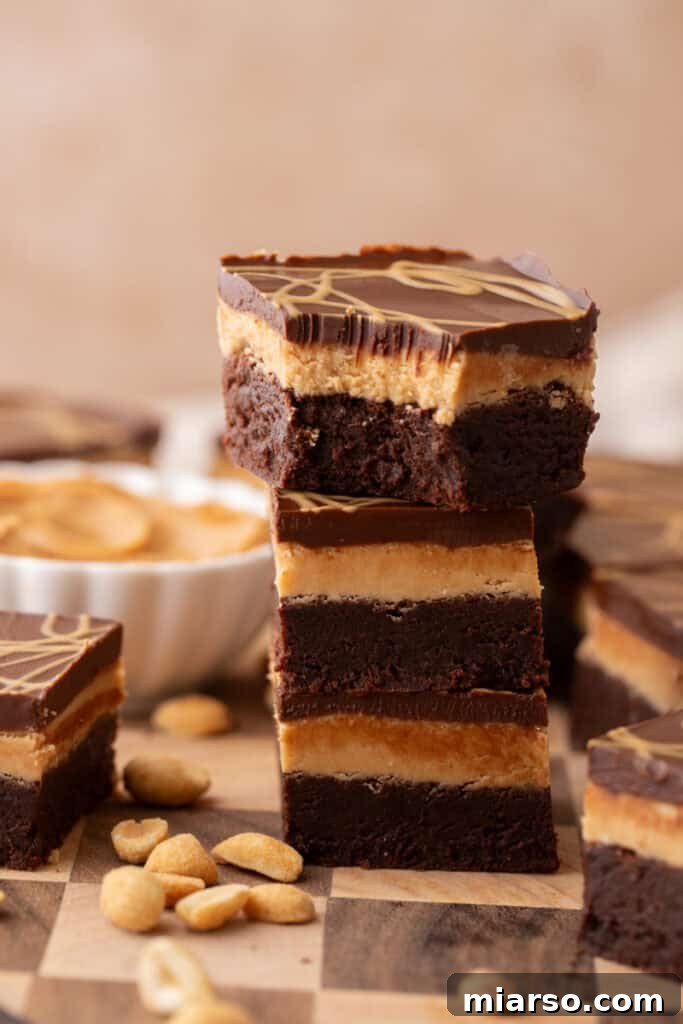
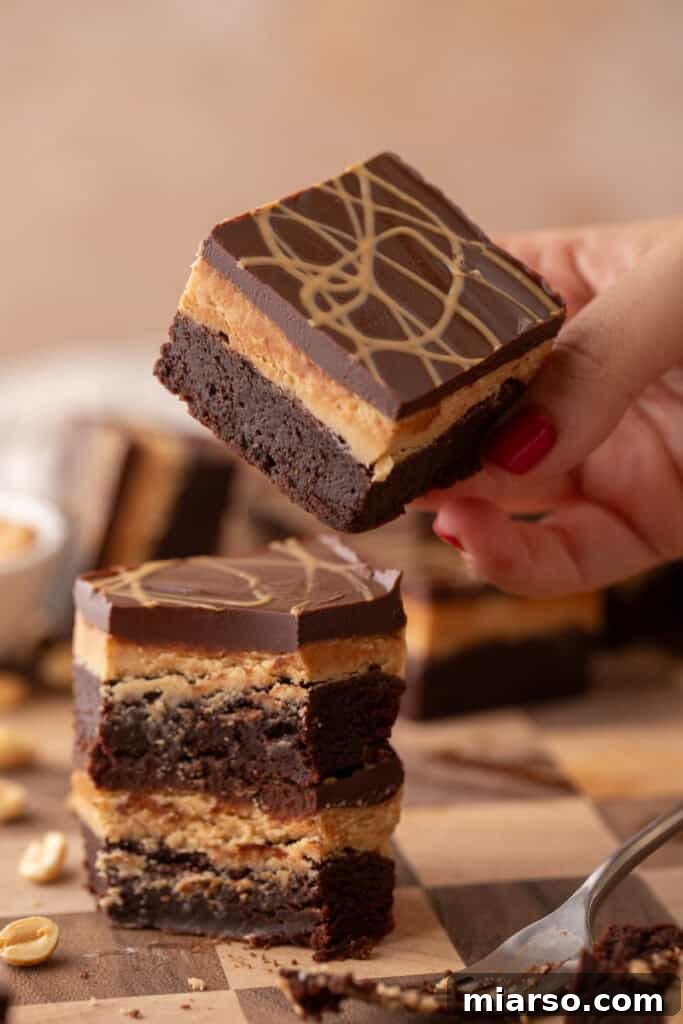
For those unfamiliar with the term, “Buckeye Brownies” are a delicious nod to the famous Buckeye candies, particularly popular in Ohio. Buckeye candies are essentially creamy peanut butter fudge balls partially dipped in chocolate, resembling the nut from the Buckeye tree. This brownie recipe takes that iconic flavor profile and reimagines it as a layered dessert. You get a thick, chewy, and intensely chocolatey brownie base, topped with a generous layer of sweet, rich, and smooth peanut butter filling, all encased in a luscious, semi-sweet chocolate ganache. It’s the best of both worlds – a classic fudgy brownie married with the beloved taste and texture of a buckeye candy.
Why This Buckeye Brownies Recipe is a Must-Try
This isn’t just another brownie recipe; it’s an experience waiting to happen. Here’s why these homemade Buckeye Brownies deserve a top spot on your baking list:
- Unforgettable Flavor Combination: This dessert expertly blends the intense richness of chocolate with the sweet, savory creaminess of peanut butter. It’s a harmonious duo that rarely disappoints, elevated to new heights in this layered treat.
- A Unique Twist on a Classic: It transforms the beloved buckeye candy into a more substantial, satisfying brownie form. If you’re a fan of Reese’s Peanut Butter Cups or classic buckeyes, prepare for your new favorite dessert.
- Perfect for Any Occasion: Whether it’s a casual get-together, a festive holiday celebration, a school bake sale, or a special event, these brownies are consistently a crowd-pleaser. Their striking layers and irresistible taste make them stand out.
- Make-Ahead Convenience: These brownies store exceptionally well in the refrigerator, meaning you can prepare them a day or two in advance. This frees up your time on the day of your event, reducing stress and ensuring a fresh, ready-to-serve dessert.
- Simple Ingredients, Incredible Results: Despite their impressive appearance and complex flavor, these brownies are made with readily available pantry staples and follow straightforward steps, making them accessible even for novice bakers.
- Textural Perfection: From the chewy, dense brownie to the soft, melt-in-your-mouth peanut butter layer and the slight snap of the chocolate ganache, every bite offers a delightful contrast of textures.
Essential Ingredients for These Decadent Buckeye Brownies
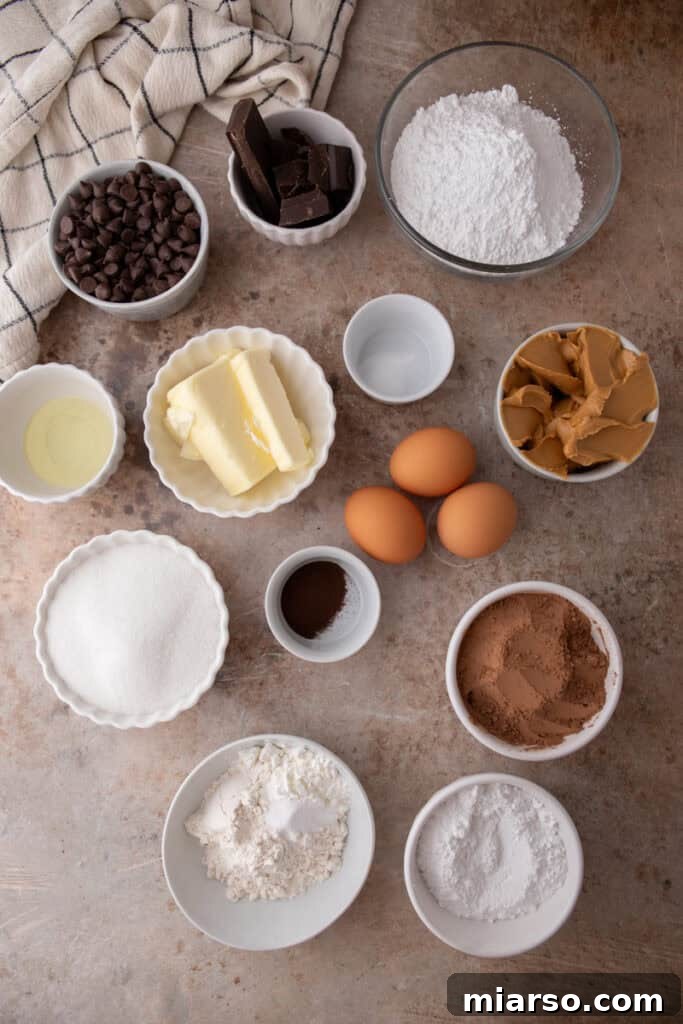
Crafting these extraordinary peanut butter brownies requires a selection of quality ingredients for each distinct layer. Below is a comprehensive list, with detailed measurements available in the full recipe card further down the page.
For the Rich Chocolate Brownie Base:
- Unsalted Butter: Essential for adding luxurious richness and moisture, contributing to that signature fudgy brownie texture.
- Neutral Oil: Enhances the overall moisture content and softness of the brownies without imparting any unwanted flavors. Vegetable, canola, or grapeseed oil are excellent choices.
- 70% Dark Chocolate: Provides a deep, intense chocolate flavor that forms the backbone of these fudgy brownies. Ensure it’s chopped into smaller pieces for even melting.
- Dutch Process Cocoa Powder: Known for its smooth, less bitter flavor and incredibly deep, dark color, it significantly intensifies the chocolate experience.
- Large Eggs & Extra Yolk: Act as binders, giving structure to the brownies and helping them achieve a slight lift and chewiness. Room temperature eggs emulsify better. The extra yolk adds richness and fudginess.
- Granulated Sugar: Sweetens the brownie base and plays a crucial role in creating that desirable shiny, crackly top.
- Powdered Sugar: Contributes additional sweetness while helping to achieve a softer, more delicate, melt-in-your-mouth crumb texture.
- Vanilla Extract: A crucial flavor enhancer that complements and rounds out both the chocolate and peanut butter notes.
- All-purpose Flour: Provides the necessary structure to hold all the ingredients together, creating a cohesive brownie.
- Cornstarch: A secret ingredient that helps lighten the texture of the chocolate layers, ensuring they remain tender and not overly dense.
- Kosher Salt: Balances the sweetness of the other ingredients and dramatically enhances all the chocolate flavors, preventing the brownies from tasting flat.
- Instant Espresso Powder: Doesn’t make the brownies taste like coffee, but rather deepens and amplifies the chocolate flavor, making it more robust and complex.
For the Creamy Peanut Butter Filling:
- Softened Butter: Adds essential creaminess and helps the peanut butter filling maintain its structure and smooth consistency.
- Creamy Peanut Butter: The undeniable star of this layer, delivering the classic “buckeye” flavor. Opt for a commercial brand (like Jif or Skippy) for the best texture and consistency.
- Powdered Sugar: Sweetens the filling and is vital for thickening the peanut butter mixture, allowing it to set properly and hold its shape.
- Vanilla Extract: Infuses the peanut butter layer with depth and a warm, inviting aroma that complements the nutty flavor.
- Salt: A small but mighty addition that offsets the richness and sweetness, enhancing the natural nutty flavor of the peanut butter.
For the Smooth Chocolate Ganache Topping:
- Butter: Contributes to a beautifully glossy and smooth chocolate topping, ensuring it sets with a desirable soft bite rather than a hard, brittle one.
- Semi-sweet Chocolate Chips: These melt down into a rich, sweet chocolate layer that perfectly contrasts the creamy peanut butter filling and ties all the layers together with the fudgy brownie base.
How to Make Homemade Buckeye Brownies from Scratch
Creating these irresistible Buckeye Brownies is a rewarding process. Follow these detailed steps to achieve perfect, layered perfection. Remember to consult the full recipe card at the bottom of this post for precise oven temperatures, baking times, and complete instructions!
Crafting the Chewy Chocolate Brownie Base
- Prepare Your Pan: Begin by preheating your oven to 350°F (175°C). Line an 8×8-inch metal baking pan with parchment paper, allowing some overhang on the sides to easily lift the cooled brownies later. Set it aside.
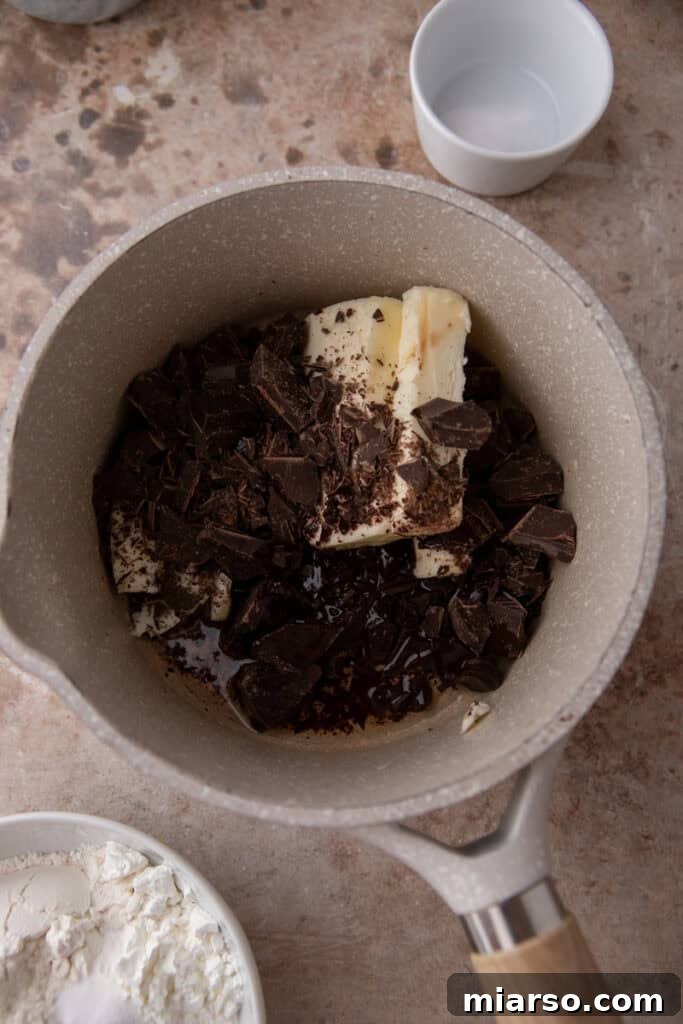
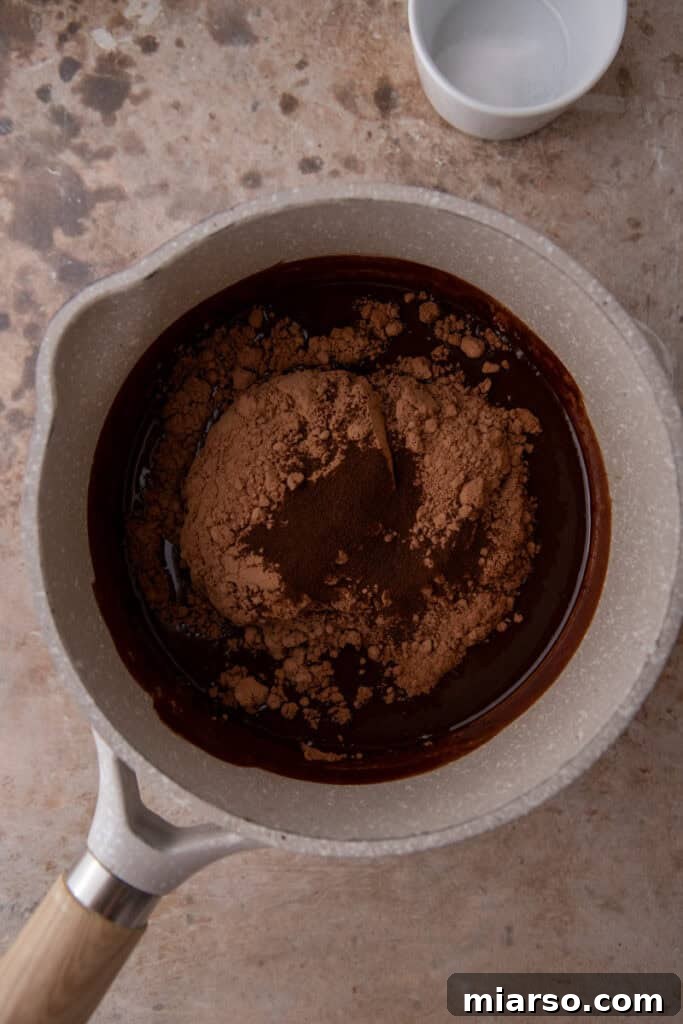
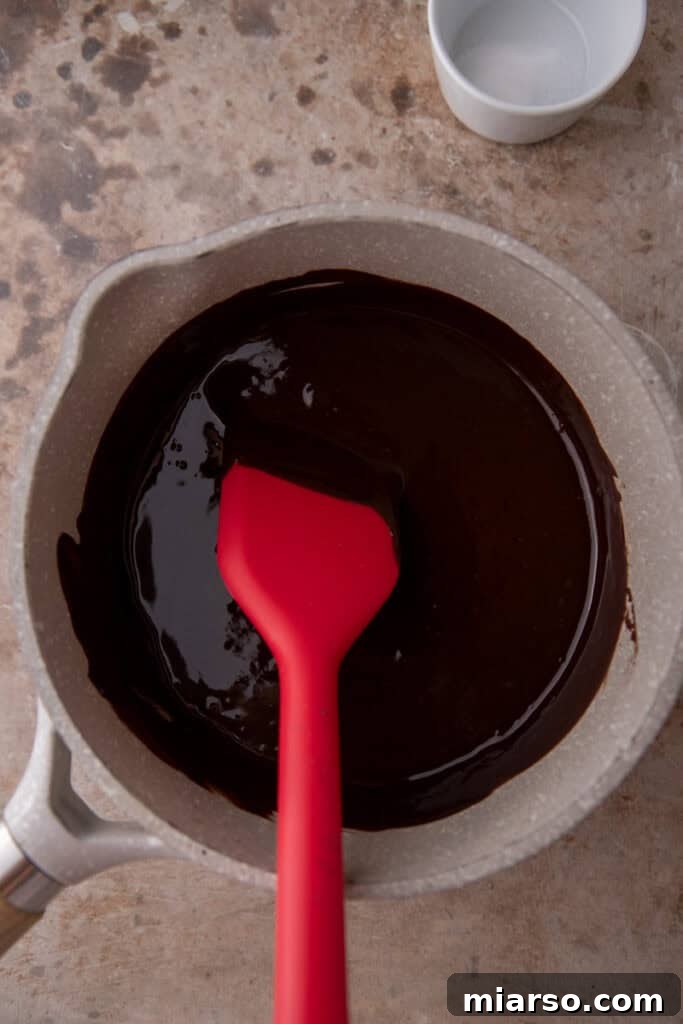
- Melt the Chocolates and Butter: In a heat-safe bowl, combine the unsalted butter, chopped 70% dark chocolate, and neutral oil. Gently warm this mixture until fully melted and smooth. You can do this in short 30-second bursts in the microwave, stirring well after each interval, or by using a double boiler on the stovetop. Once smooth, whisk in the Dutch process cocoa powder and instant espresso powder until thoroughly combined and lump-free. Allow this rich chocolate mixture to cool slightly before proceeding.
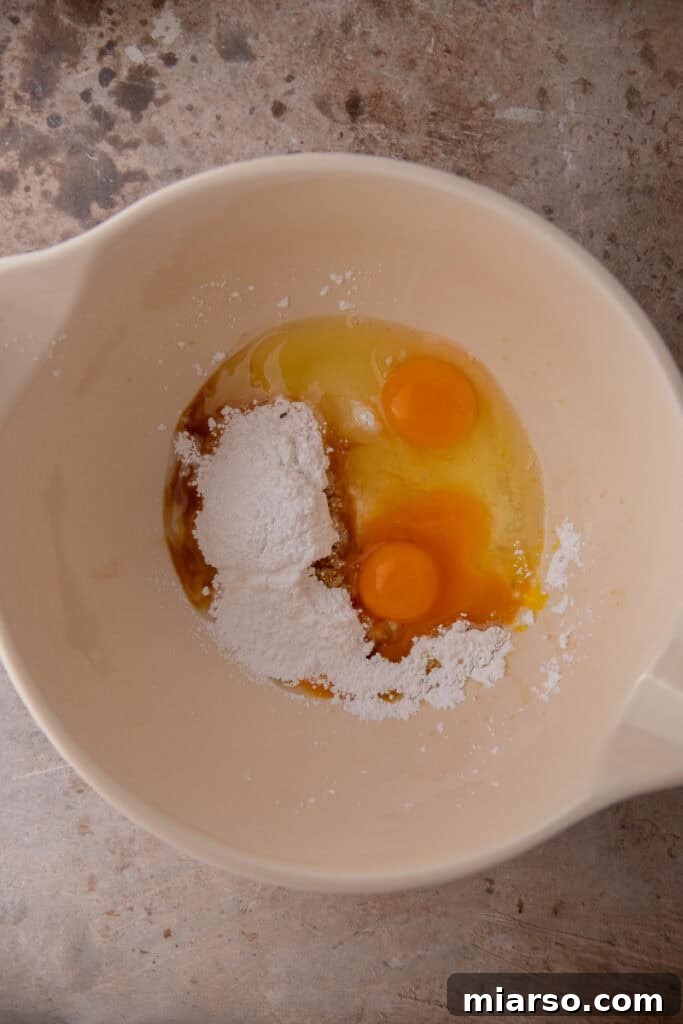
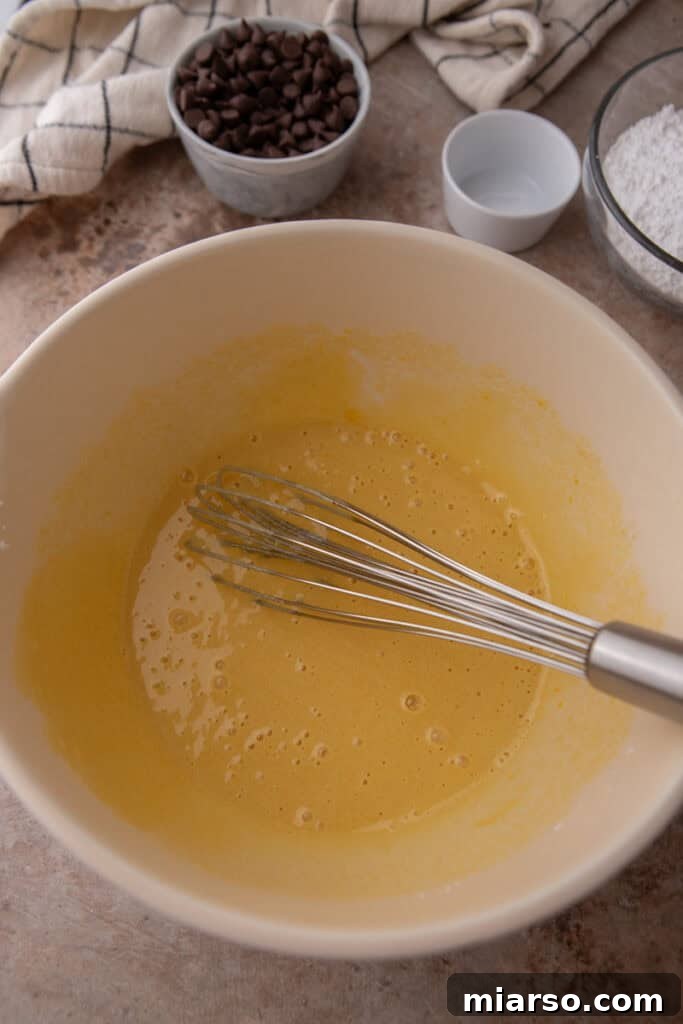
- Whip the Egg Mixture: In a separate large mixing bowl, combine the large eggs, extra egg yolk, granulated sugar, powdered sugar, and vanilla extract. Using a hand mixer or a stand mixer fitted with the whisk attachment, beat this mixture on high speed for 3-6 minutes. Continue beating until the mixture becomes significantly thick, pale yellow, and forms a “ribbon” when the beaters are lifted and allowed to fall back into the bowl. This crucial step incorporates air, which contributes to the brownies’ signature shiny, crackly top.
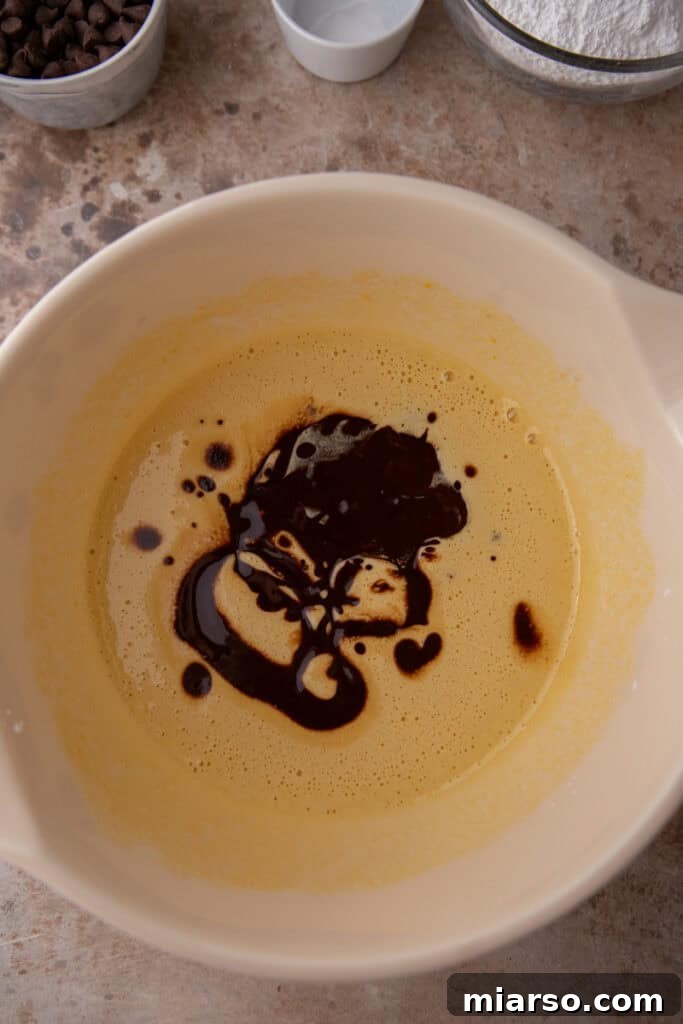
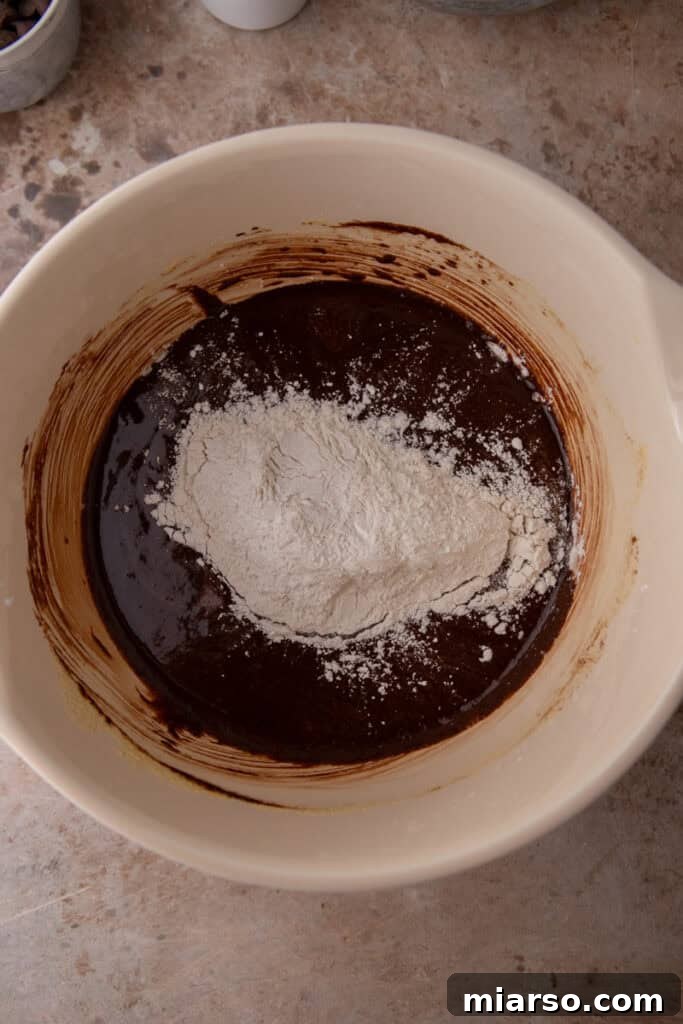
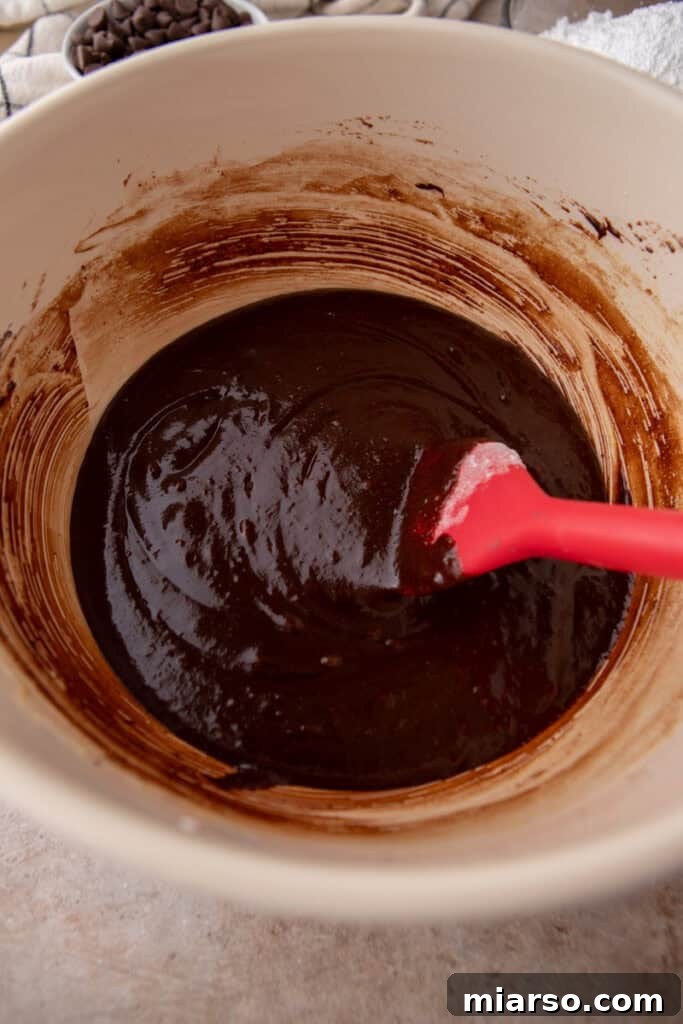
- Combine Wet and Dry Ingredients: With your mixer set to low speed, gradually stream the slightly cooled chocolate and butter mixture into the whipped egg mixture. Mix until just combined. Next, sift the all-purpose flour, cornstarch, and kosher salt directly over the batter in the bowl. Gently fold everything together using a rubber spatula. Mix only until no dry streaks of flour are visible; be careful not to overmix, as this can lead to tough brownies.
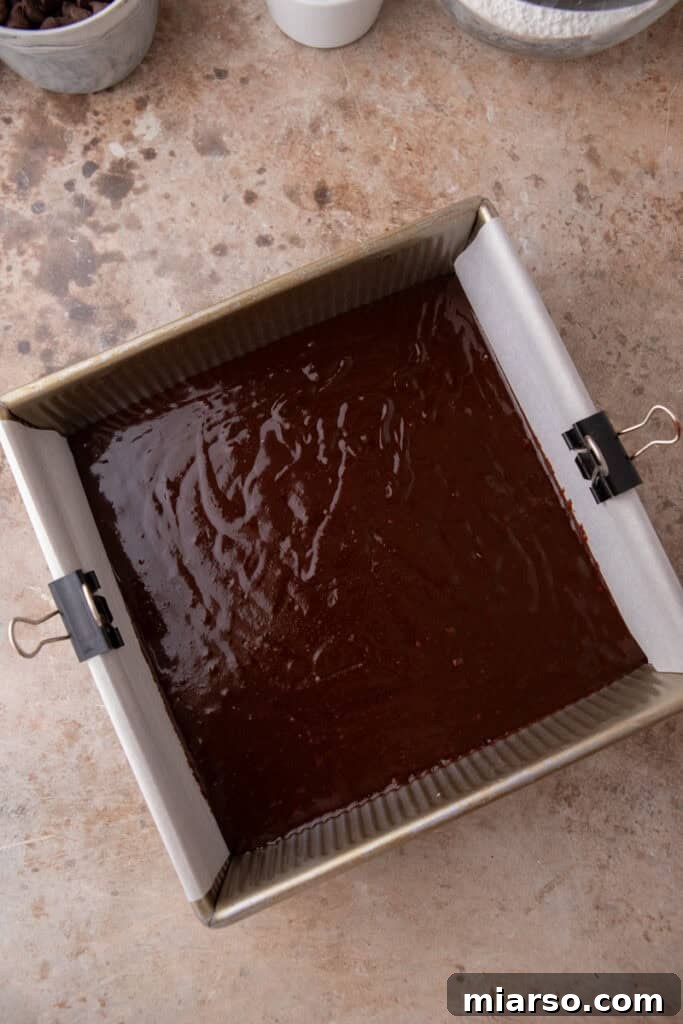
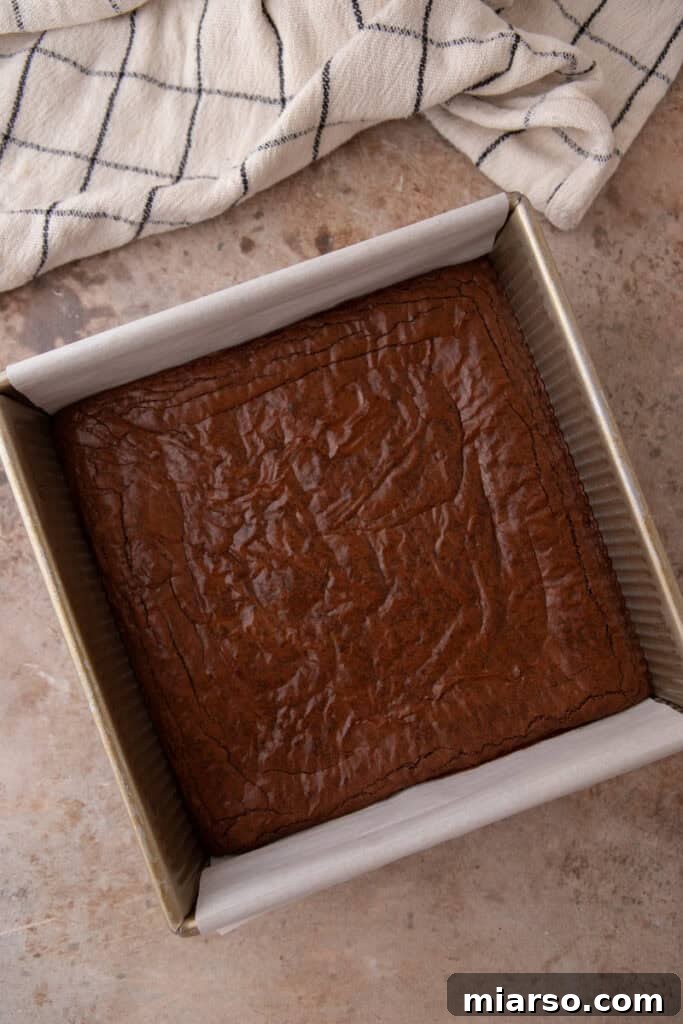
- Bake the Brownies: Pour the prepared brownie batter evenly into your lined square pan. Use an offset spatula to smooth the top. Gently tap the pan once or twice on your counter to release any trapped air bubbles. Bake for approximately 23-25 minutes, or until a toothpick inserted into the center comes out with a few moist crumbs clinging to it (not wet batter). Avoid overbaking, as this will result in dry brownies. Once baked, allow the brownies to cool completely in the pan on a wire rack before adding any subsequent layers. This is crucial for the layers to set properly.
Assembling the Creamy Peanut Butter Layer
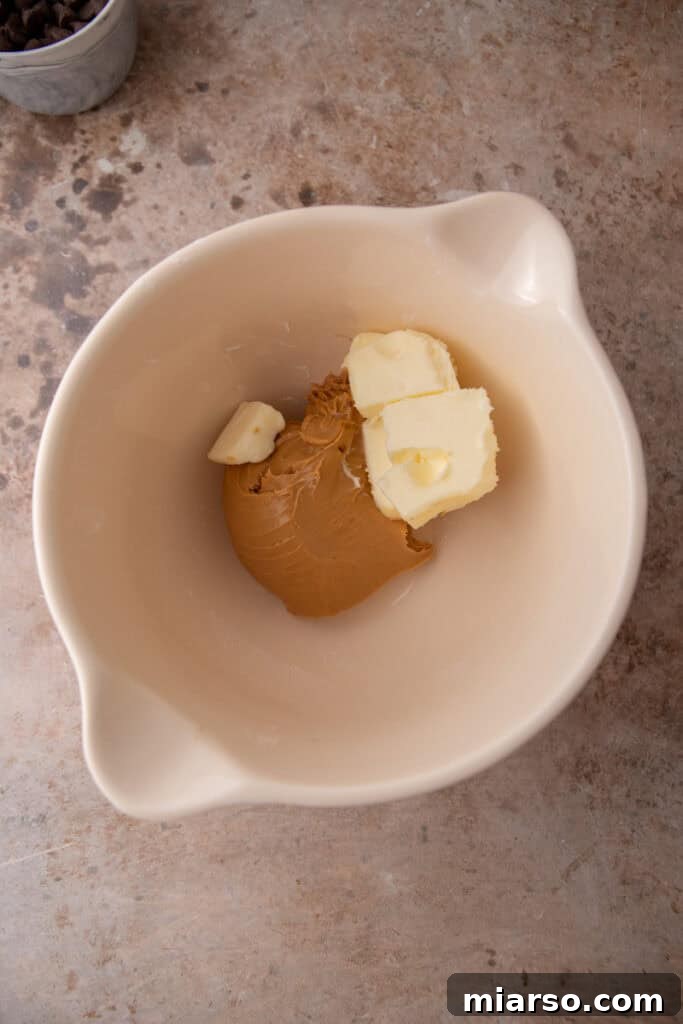
- Prepare the Peanut Butter Mixture: In a medium-sized mixing bowl, use a hand mixer to beat together the softened butter and creamy peanut butter until the mixture is light, smooth, and fluffy.
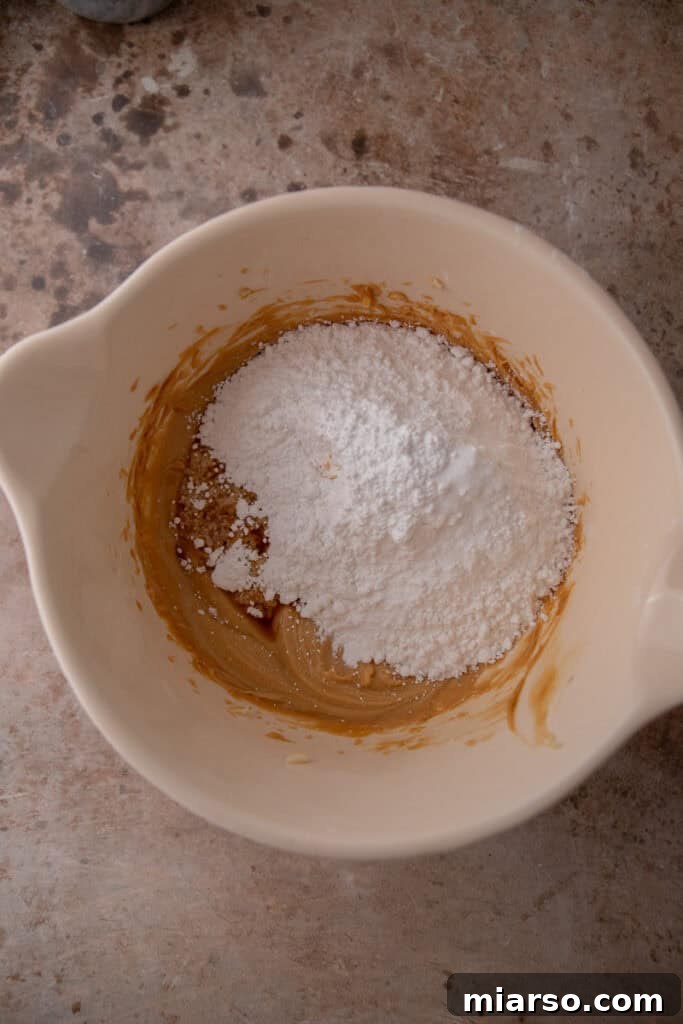
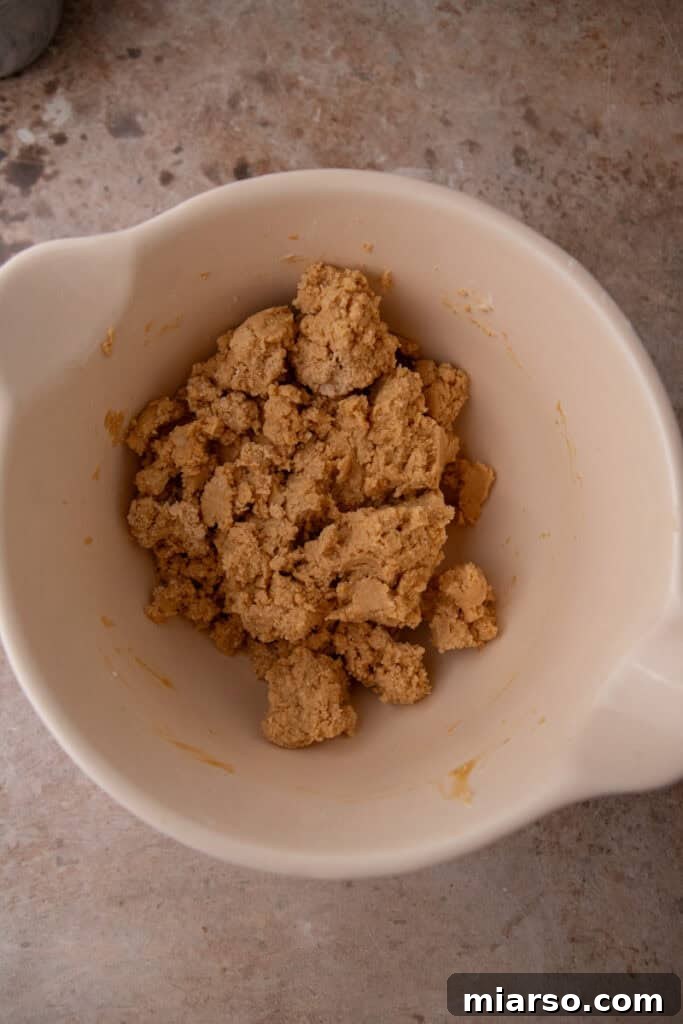
- Form the Layer: Add the powdered sugar, vanilla extract, and a pinch of salt to the peanut butter mixture. Continue mixing until the ingredients are well combined. The mixture should appear somewhat crumbly but will hold together easily when pressed between your fingers.
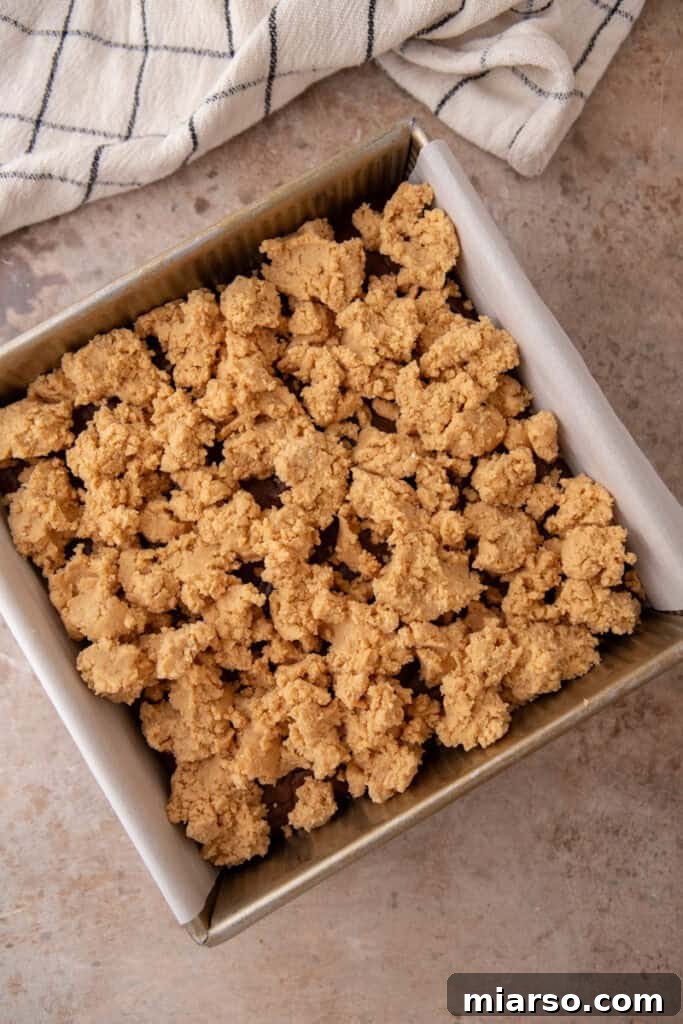
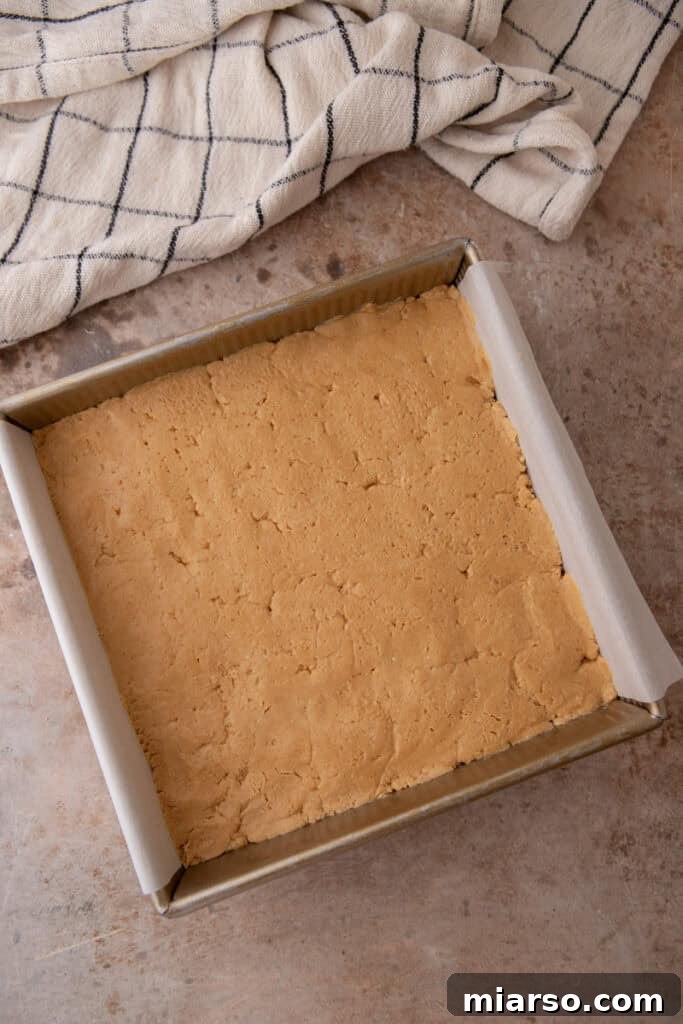
- Apply to Brownies: Once your chocolate brownies are completely cool, gently crumble the prepared peanut butter mixture evenly over the entire surface of the brownies. To ensure a smooth and compact layer without sticking to your hands, place a piece of parchment or wax paper over the peanut butter crumbs and firmly press down to create an even, dense layer.
Creating the Smooth Chocolate Topping
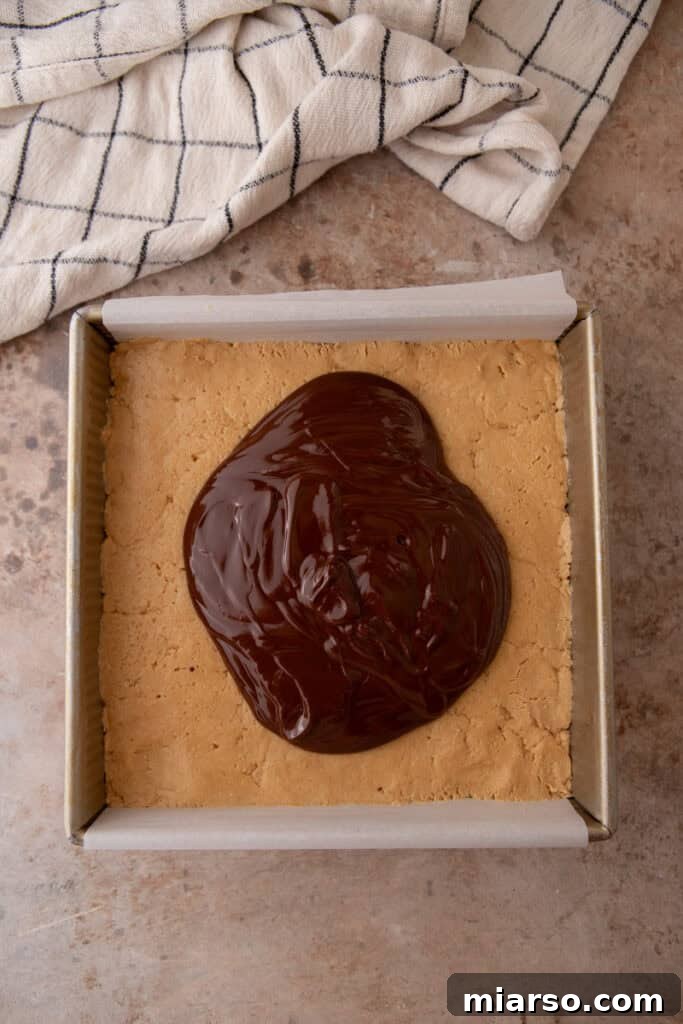
- Melt the Chocolate Ganache: In a microwave-safe bowl, combine the butter and semi-sweet chocolate chips. Microwave in 20-30 second intervals, stirring thoroughly after each, until the mixture is completely melted and beautifully smooth and glossy. Crucially, allow this melted chocolate to cool slightly (about 5 minutes) before pouring it over the peanut butter layer. This prevents the warmth from melting the peanut butter underneath and compromising the distinct layers.
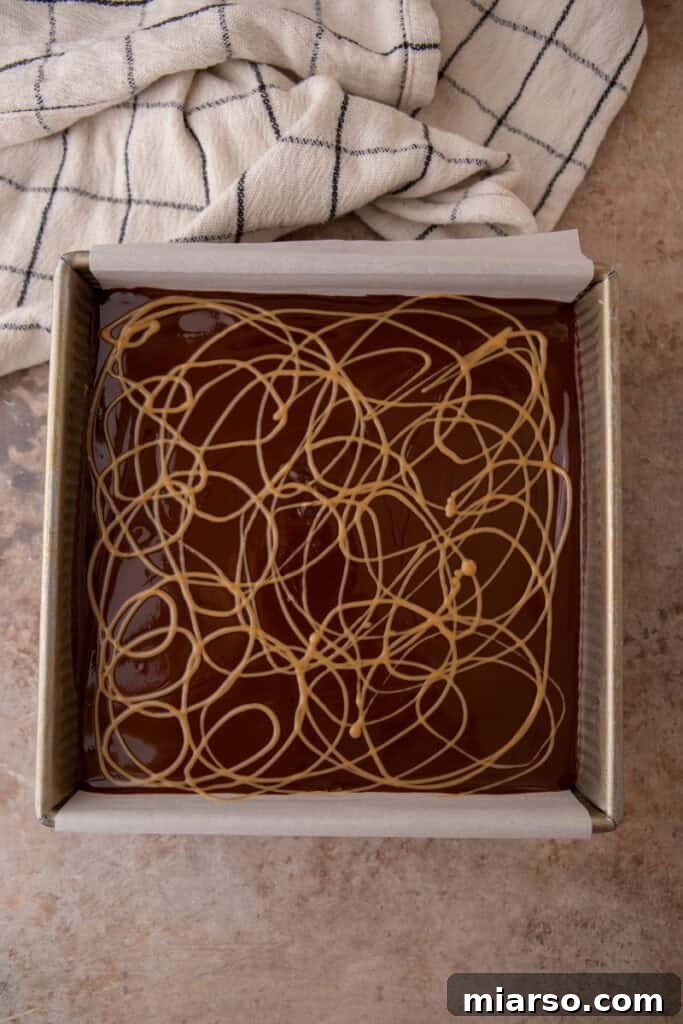
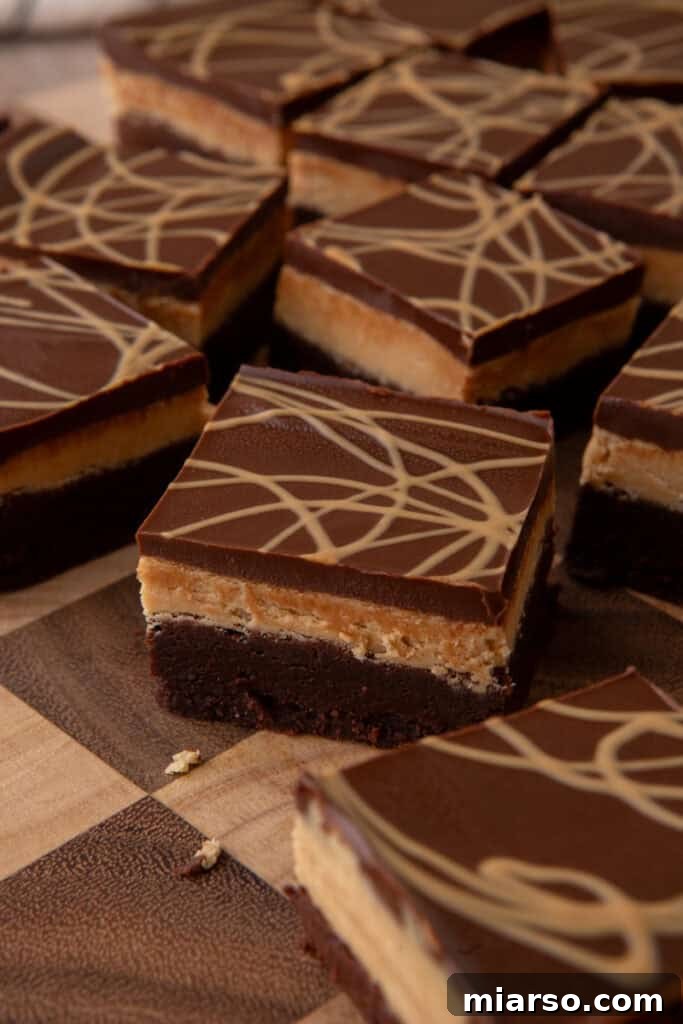
- Layer the Topping: Carefully pour the slightly cooled melted chocolate evenly over the pressed peanut butter layer. Use an offset spatula to gently spread the chocolate into a uniform, smooth coating across the entire surface. For an elegant decorative touch, you can drizzle a small amount of extra melted peanut butter (or white chocolate) over the top and swirl it with a toothpick to create a marble or ripple effect.
- Chill to Set: Place the pan of Buckeye Brownies into the refrigerator for at least 30-60 minutes, or until all the layers are firm and fully set. For the cleanest, most precise slices, it’s best to store and cut the brownies while they are chilled directly from the fridge. Use a sharp, warm knife for the best results.
Expert Tips for the Best Buckeye Brownies
Achieving bakery-quality Buckeye Brownies is simple with these pro tips:
- Weigh Your Ingredients: For unparalleled accuracy in baking, especially with flour and sugar, use a kitchen scale instead of measuring cups. This ensures consistent results every time.
- Sift Dry Ingredients: Always pass your dry ingredients (flour, cocoa powder, cornstarch, salt) through a fine-mesh sieve before adding them to the wet ingredients. This prevents clumps and ensures a smoother, more even batter.
- Room Temperature Ingredients: Pull cold ingredients like butter and eggs out of the refrigerator well in advance, allowing them to warm up to room temperature. Room temperature ingredients emulsify and mix together much more smoothly, leading to a more consistent and perfectly textured brownie.
- Avoid Overmixing: When incorporating the dry ingredients into the brownie batter, fold gently with a spatula. Stop mixing as soon as no dry streaks of flour remain. Overmixing develops the gluten in the flour, which can result in tough, cakey brownies rather than the desired fudgy texture.
- Cool Completely: Patience is key! Allow the brownie base to cool fully before adding the peanut butter layer, and let the chocolate topping set completely in the fridge before slicing. This prevents messy layers and ensures clean cuts.
- Achieve a Shiny Top: The secret to that beautiful, crackly, shiny brownie top lies in properly whipping the eggs and sugars until thick and pale, creating ribbons. Don’t skip this crucial step!
Frequently Asked Questions (FAQ) About Buckeye Brownies
What kind of oil should I use for the brownies?
Any neutral-flavored oil will work wonderfully. Great options include vegetable oil, grapeseed oil, canola oil, or even a light peanut oil if you want to subtly enhance the peanut butter theme.
Can I use a boxed brownie mix as the base?
Absolutely, using a high-quality boxed brownie mix can be a fantastic time-saver if you’re short on time but still want to enjoy these delicious Buckeye Brownies. Simply prepare the brownie base according to the package directions, ensuring it’s baked and fully cooled before you proceed with making the peanut butter and chocolate layers from scratch. Opting for a premium brand will generally yield a better texture and flavor for your base.
My peanut butter layer is too crumbly. What should I do?
The peanut butter mixture is designed to be slightly crumbly, but if it feels too dry to press into a cohesive layer, don’t worry! You can easily adjust it. Try adding a teaspoon or two of milk (dairy or non-dairy) or an extra tablespoon of creamy peanut butter at a time. Mix it in until the mixture comes together smoothly and holds its shape when pressed.
How do I store leftover Buckeye Brownies?
Storing your Buckeye Brownies is simple! For immediate enjoyment, place any leftovers in an airtight container or a zip-top bag. They can be kept at room temperature on your kitchen counter for up to 3 days, or in the refrigerator for up to 5 days. Chilling them in the fridge often enhances their fudgy texture and makes for cleaner slices.
For longer storage, these brownies freeze beautifully for up to one to two months. To prevent freezer burn and preserve their fresh taste, wrap individual brownies or the entire slab tightly in plastic wrap before placing them in an airtight freezer-safe container or heavy-duty freezer bag. Thaw them in the refrigerator overnight or at room temperature for a few hours before serving.
What kind of peanut butter should I use for the filling?
For the best creamy texture and classic buckeye flavor, we highly recommend using a commercial-brand, smooth peanut butter, such as Skippy or Jif. These brands have a consistent texture that works perfectly in the filling. While you could experiment with crunchy peanut butter for an added textural element, we advise against using natural peanut butter in this specific recipe due to its tendency for oil separation, which can affect the consistency of the filling.
Can I make brownie bites with this Buckeye Brownies recipe?
Yes, you certainly can! The easiest method is to bake the brownies as a whole slab and then simply slice them into smaller, bite-sized squares once they’re completely chilled and set. If you prefer individually baked, cup-shaped brownie bites, you could use a mini muffin tin. However, be aware that this would be a more meticulous process, as you would need to top each individual brownie bite separately, which can be quite time-consuming. Additionally, if using a mini muffin tin, you would need to significantly reduce the baking time for the brownie base.
Can I use a different type of chocolate for the topping?
Absolutely! The beauty of this recipe is its adaptability. Feel free to use your preferred type of chocolate for the ganache topping. Keep in mind that milk chocolate chips will result in a sweeter, milder topping, while using dark chocolate chips will add a more intense, deeper chocolate flavor to complement the rich peanut butter. You could also try white chocolate for a different aesthetic and flavor profile.
The Ultimate Buckeye Brownies Recipe
Fudgy brownies crowned with a creamy peanut butter filling and a smooth, decadent chocolate layer. These Buckeye Brownies are the ultimate chocolate-peanut butter indulgence.
15 mins
25 mins
40 mins
16 servings
Print Recipe
Ingredients
For the Rich Chocolate Brownie Base:
- ½ cup unsalted butter
- 3 tbsp neutral oil (vegetable or grape seed oil)
- 4 oz 70% dark chocolate, chopped
- ⅔ cup Dutch process cocoa powder
- 2 large eggs, room temp
- 1 egg yolk
- 1 cup granulated sugar
- ½ cup powdered sugar
- 1½ tsp vanilla extract
- ½ cup all-purpose flour
- 1 tbsp cornstarch
- ½ tsp kosher salt
- 1 tsp instant espresso powder
Peanut Butter Filling:
- 5 tbsp butter, softened at room temperature
- ¾ cup creamy peanut butter
- 1½ cup powdered sugar
- ½ tsp vanilla extract
- ¼ tsp salt
Chocolate Topping:
- 5 tbsp butter, salted or unsalted
- 1 cup semi-sweet chocolate chips
Instructions
Brownie Base:
- Preheat oven to 350°F (175°C). Line an 8×8-inch metal pan with parchment paper, leaving an overhang on two sides for easy removal.
- In a heatproof bowl, combine ½ cup butter, 4 oz chopped 70% dark chocolate, and 3 tbsp neutral oil. Melt gently in the microwave in 30-second intervals (or over a double boiler), stirring until smooth. Mix in ⅔ cup Dutch process cocoa powder and 1 tsp instant espresso powder until fully combined. Let cool slightly.
- In a large bowl, combine 2 large eggs, 1 egg yolk, 1 cup granulated sugar, ½ cup powdered sugar, and 1½ tsp vanilla extract. Using a hand or stand mixer, beat on high speed for 3-6 minutes until thick, pale, and ribbon-like. This creates the shiny crackle top.
- With the mixer on low speed, gradually stream in the slightly cooled chocolate mixture.
- Sift ½ cup all-purpose flour, 1 tbsp cornstarch, and ½ tsp kosher salt directly into the bowl. Gently fold everything together using a spatula until no dry streaks remain. Avoid overmixing.
- Transfer the batter to the prepared pan and smooth the top. Tap the pan gently on the counter to release air bubbles. Bake for 23-25 minutes, or until a toothpick inserted into the center comes out with a few moist crumbs.
- Allow the brownies to cool completely in the pan on a wire rack before adding the next layers.
Peanut Butter Layer:
- In a medium bowl, beat 5 tbsp softened butter and ¾ cup creamy peanut butter together until light and creamy using a hand mixer.
- Add 1½ cup powdered sugar, ½ tsp vanilla extract, and ¼ tsp salt. Mix until the mixture looks crumbly but sticks together when pressed.
- Once the brownies are completely cool, gently crumble the peanut butter mixture evenly over the top. Press it down firmly with a piece of parchment or wax paper to create a smooth, compact layer.
Chocolate Topping:
- In a microwave-safe bowl, combine 5 tbsp butter and 1 cup semi-sweet chocolate chips. Microwave in 20-30 second intervals, stirring between each, until fully melted and smooth. Let it cool for about 5 minutes to prevent melting the peanut butter layer.
- Pour the melted chocolate in an even layer over the peanut butter layer and gently spread it out using an offset spatula. Optionally, drizzle extra melted peanut butter (or white chocolate) over the top for a decorative swirl.
- Place the pan in the fridge for 30-60 minutes to firm up all the layers before slicing. For the cleanest slices, store and cut the Buckeye Brownies straight from the fridge using a warm, sharp knife.
Nutrition Information
Calories: 460 kcal | Carbohydrates: 45g | Protein: 6g | Fat: 30g | Saturated Fat: 14g | Polyunsaturated Fat: 3g | Monounsaturated Fat: 11g | Trans Fat: 1g | Cholesterol: 68mg | Sodium: 275mg | Potassium: 257mg | Fiber: 4g | Sugar: 34g | Vitamin A: 450IU | Calcium: 32mg | Iron: 3mg
Nutrition information is automatically calculated and should only be used as an approximation.
We hope you enjoy baking and devouring these exceptional Buckeye Brownies! Share your creations and thoughts by leaving a comment below.