The Ultimate 6-Inch Biscoff Cheesecake Recipe: A Dream for Cookie Butter Lovers
For every true Biscoff aficionado, this 6-inch Biscoff Cheesecake recipe is an absolute dream come true. Imagine a creamy, indulgent dessert, meticulously crafted with three distinct layers of rich cookie butter flavor. This isn’t just a cheesecake; it’s a symphony of caramelized biscuit notes, designed to perfectly satisfy even the most intense cravings. Its compact size makes it ideal for intimate gatherings, a special family treat, or simply a delightful indulgence for yourself and a loved one. Get ready to experience the best Biscoff cheesecake you’ve ever tasted!
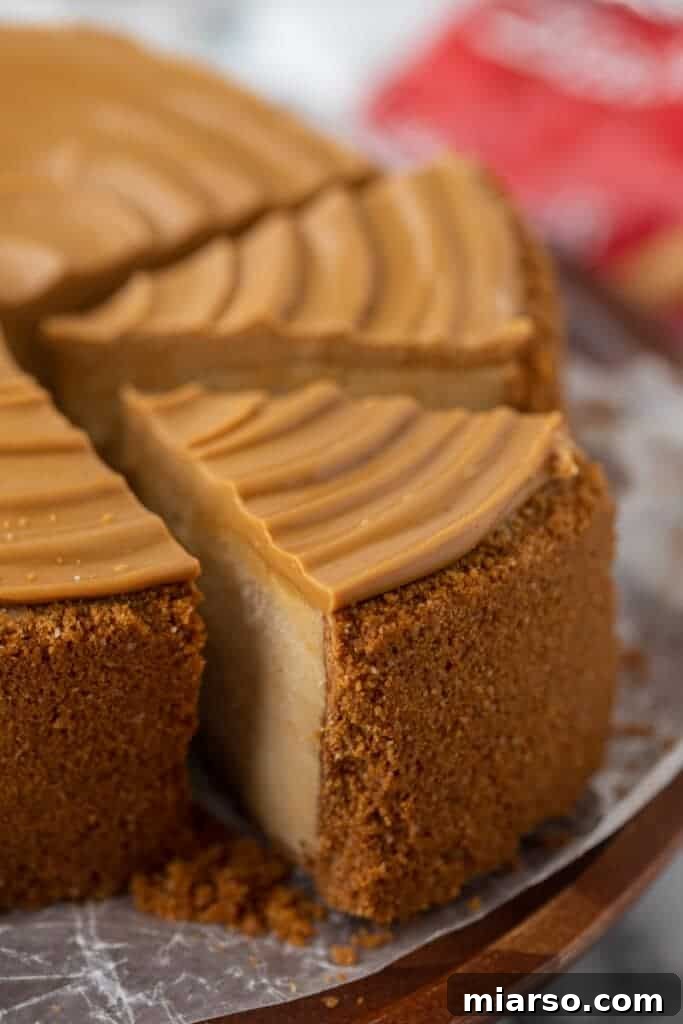
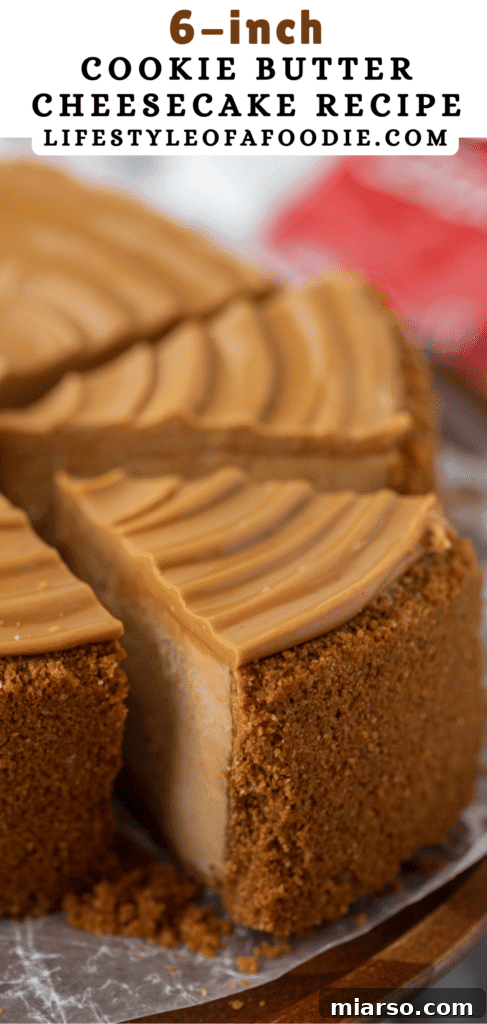
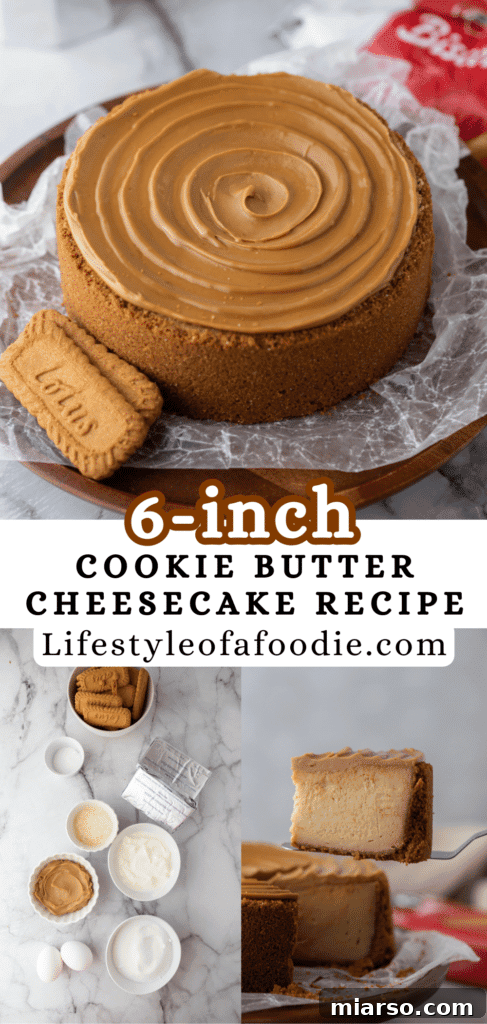
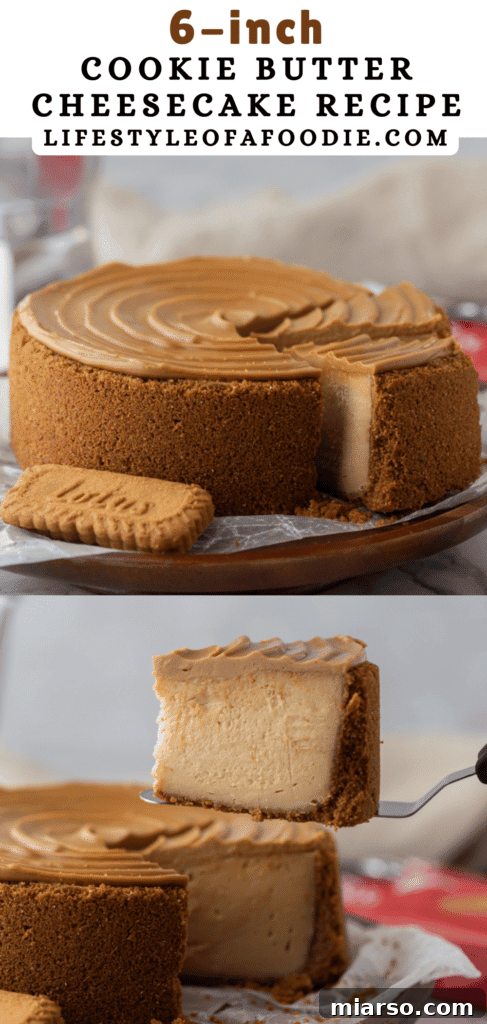
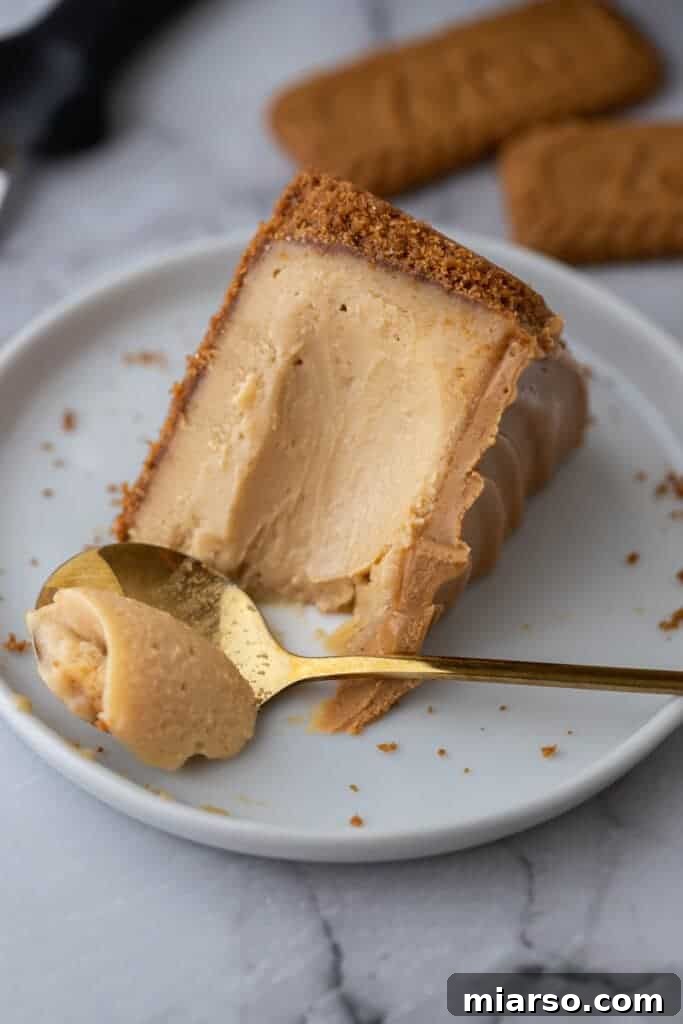
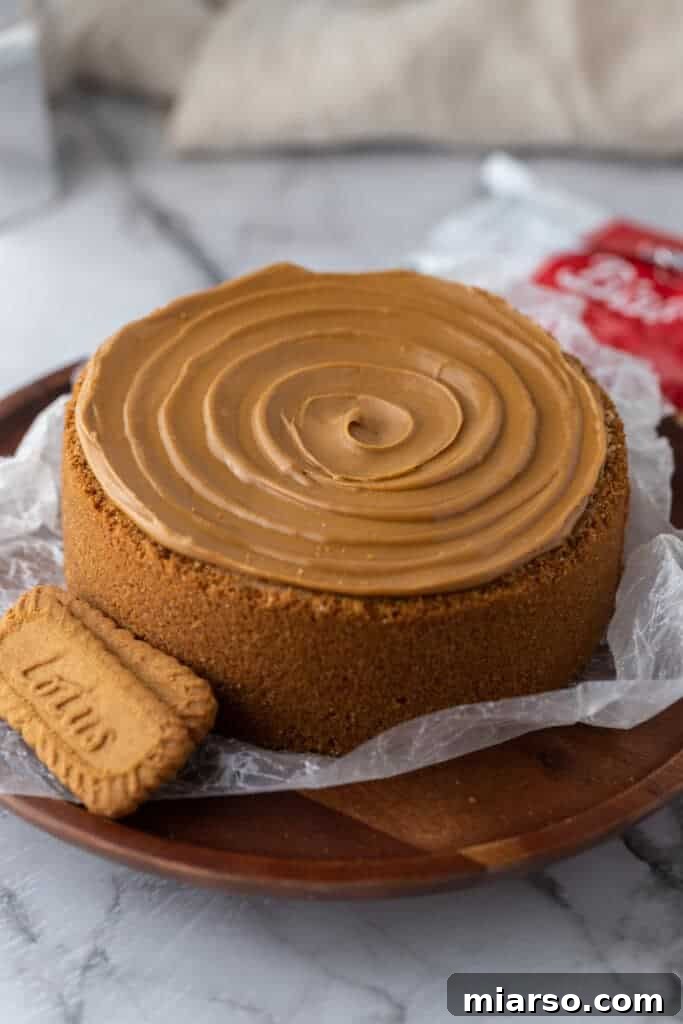
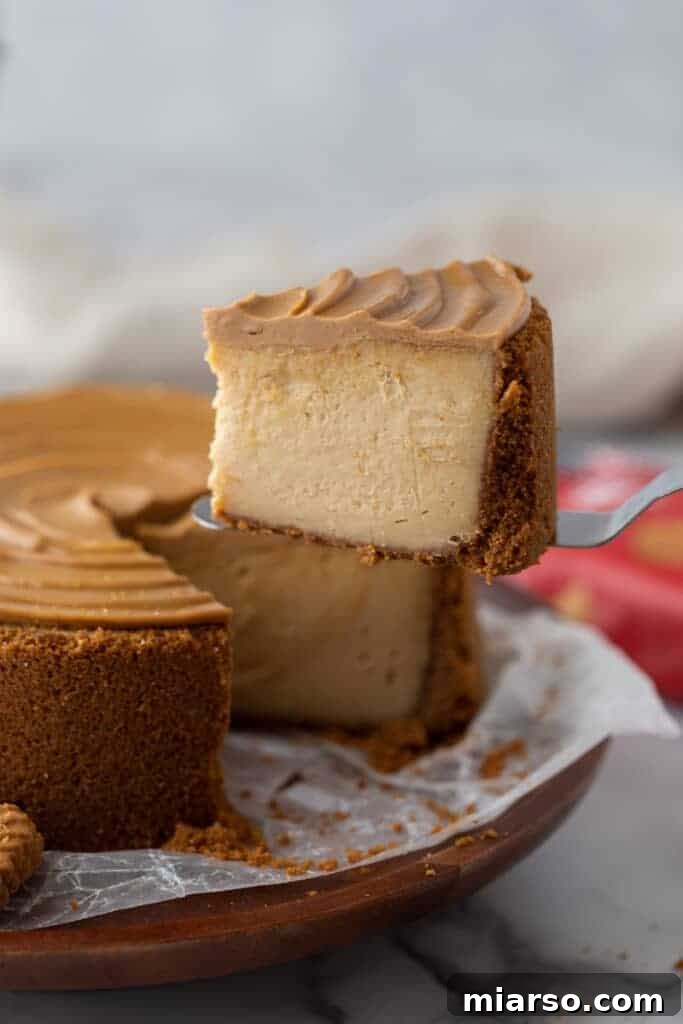
This magnificent Lotus Biscoff cheesecake begins with a foundation of finely crushed Biscoff cookies, mixed with melted butter to create a robust and flavorful crust. This crunchy base provides the perfect textural contrast to the silky-smooth filling. Next, a classic cheesecake batter is transformed with the generous addition of creamy Lotus Biscoff biscuit spread, infusing every bite with its signature spiced, caramelized flavor. Finally, it’s crowned with a glistening, thin layer of melted cookie butter, completing a beautiful trifecta of Biscoff goodness that makes this truly the best cookie butter cheesecake.
If your heart beats for irresistible cheesecake creations, you’re in the right place! We encourage you to explore more delightful recipes on our site, such as this Easy 4-inch Mini Cheesecake Recipe for One or Two, our Delicious Creamy Pumpkin Cheesecake, or these decadent Cheesecake Swirled Red Velvet Brownies. Each offers a unique twist on beloved desserts, promising to delight your palate.
Why This is The Best 6-Inch Biscoff Cheesecake Recipe You’ll Ever Make!
As a dedicated dessert enthusiast and an avid baker, I can confidently proclaim this to be the finest Lotus Biscoff cheesecake recipe available. My culinary journey has recently involved a deep dive into the world of cheesecake, developing a series of exciting flavor variations for my blog. This intensive process has allowed me to test countless recipes, refine techniques, and ultimately perfect this specific Biscoff creation.
What sets this recipe apart? It’s not just about the flavor; it’s about the meticulous balance of textures and the sheer simplicity of achieving a professional-quality dessert at home. I’ve gone above and beyond to ensure that every aspect—from the golden, crunchy crust to the unbelievably smooth, melt-in-your-mouth filling and the decadent Biscoff topping—is absolutely perfect. Forget dry, cracked cheesecakes; this recipe delivers a consistently creamy and perfectly set dessert every time. I invite you to try it for yourself and discover the magic!
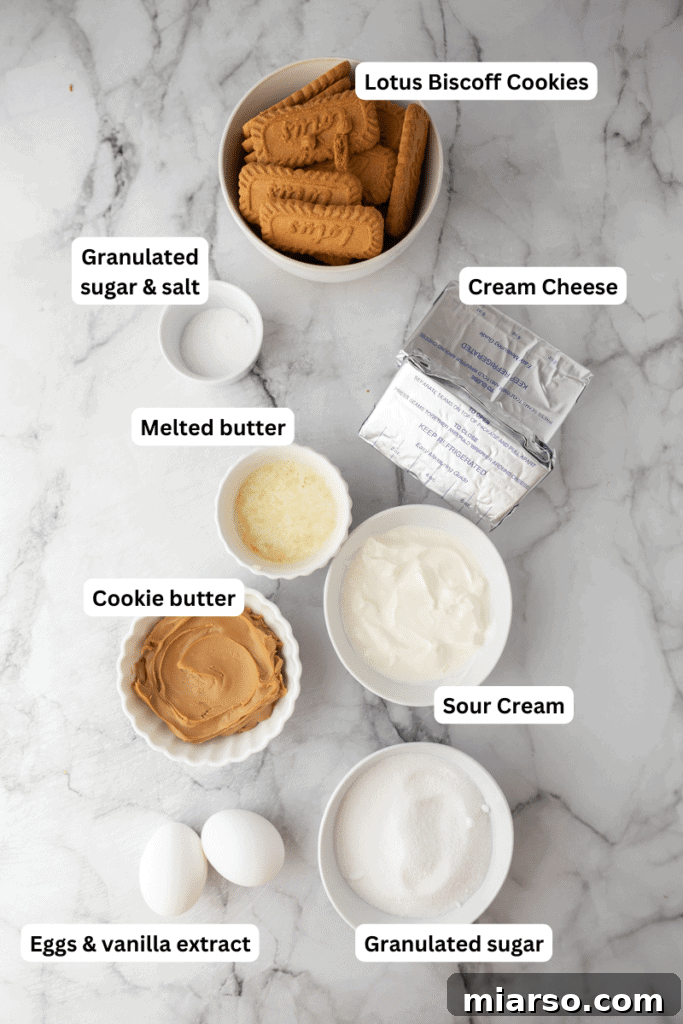
Essential Ingredients for Your 6-Inch Biscoff Cheesecake
Crafting this exquisite Biscoff cheesecake requires a selection of high-quality ingredients, each playing a vital role in achieving its rich flavor and flawless texture. Below, you’ll find a detailed breakdown of what you’ll need. For precise measurements, please refer to the complete recipe card at the bottom of this page.
For the Irresistible Biscoff Crust
- Crushed Biscoff Cookies: The star of our crust! You’ll need approximately 25 Biscoff cookies. When finely crushed, these biscuits provide a unique caramelized, slightly spiced foundation that perfectly complements the cheesecake filling. Using Biscoff cookies ensures an authentic and consistent flavor throughout.
- Granulated Sugar: A small amount of granulated sugar enhances the sweetness of the Biscoff cookies in the crust, ensuring a delightful balance against the creamy filling.
- Salt: Just a pinch of salt is crucial for balancing the sweetness and intensifying the rich flavors of the Biscoff cookies and butter, making the crust even more dynamic.
- Unsalted Butter: Melted unsalted butter acts as the binder for our cookie crumbs. Using unsalted butter allows you to control the exact amount of salt in the recipe, ensuring perfect seasoning. It’s essential to melt it thoroughly before mixing to achieve an evenly coated and firm crust.
For the Velvety Cheesecake Filling
- Cream Cheese: Opt for full-fat, brick-style cream cheese for the best texture and richness. It’s absolutely crucial to let it soften at room temperature for at least 30 minutes to an hour before you begin mixing. This ensures a lump-free, incredibly smooth batter, which is key to a crack-free cheesecake.
- Granulated Sugar: Sweetens the cream cheese base and contributes to the overall smooth texture of the filling.
- Vanilla Extract: A high-quality vanilla extract boosts the overall flavor profile, complementing the Biscoff spread without overpowering it, adding a subtle warmth to the creamy filling.
- Sour Cream: This is a secret weapon in cheesecake making! Sour cream adds a delightful tanginess and contributes significantly to the cheesecake’s ultra-creamy, smooth texture. Like the cream cheese, it must be at room temperature to blend seamlessly into the batter and prevent any lumps.
- Cornstarch: A small amount of cornstarch acts as a stabilizer, helping the cheesecake to set beautifully and preventing unsightly cracks on the surface. A little goes a long way in ensuring a perfect finish.
- Salt: Essential for balancing the sweetness of the sugar and Biscoff spread, enhancing all the other flavors in the filling.
- Large Eggs: Eggs provide structure and richness to the cheesecake, helping it to set properly. They should also be at room temperature for optimal incorporation into the batter, ensuring a smooth and homogenous mixture. Add them one at a time and mix gently to avoid over-aerating the batter.
- Biscoff Spread: The star flavoring for our cheesecake batter! This luscious cookie butter imparts its distinctive caramelized and spiced notes throughout the creamy filling, making every spoonful an unforgettable experience.
For the Luxurious Biscoff Topping
- Lotus Biscoff Spread: For the final flourish, a smooth layer of melted Biscoff spread creates a stunning finish and an extra burst of cookie butter flavor. You can use the classic Lotus Biscoff brand or opt for other popular cookie butter varieties like Trader Joe’s Speculoos Cookie Butter, both of which work wonderfully.
How to Master This 6-Inch Biscoff Cheesecake Recipe: A Step-by-Step Guide
Creating this spectacular Biscoff cheesecake is a rewarding process. Follow these detailed instructions to ensure a perfect, creamy result every time. Remember to check the recipe card at the end of this post for specific oven temperatures, baking times, and full step-by-step guidance!
Crafting the Perfect Biscoff Crust
- Prepare Your Pan: Begin by preheating your oven to 350°F (175°C). Prepare a 6-inch springform pan by lining the bottom with a circle of parchment paper. For extra protection against leaks, you can also extend the parchment paper up the sides of the pan, or wrap the bottom exterior of the pan tightly with aluminum foil if you plan to use a water bath.
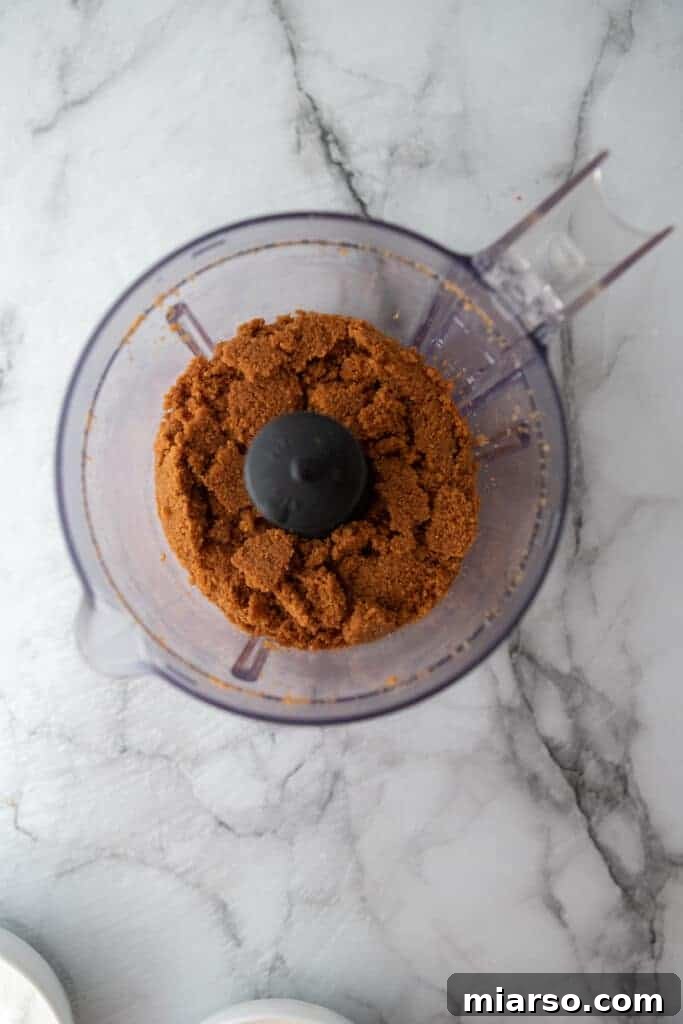
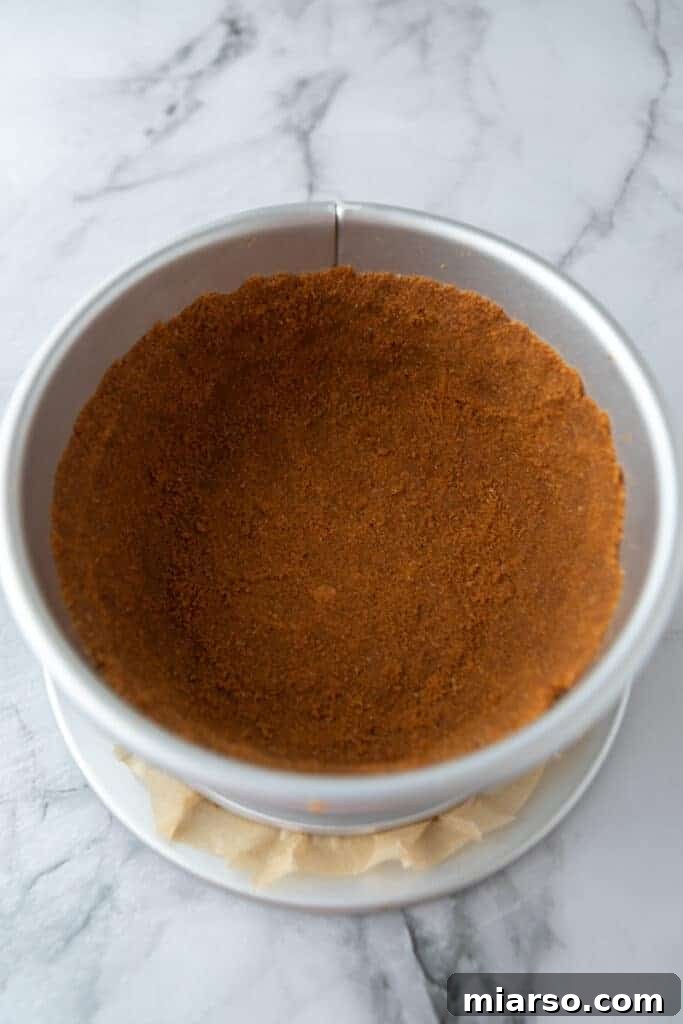
- Mix and Press the Crust: In a medium mixing bowl, combine your finely crushed Biscoff biscuits, granulated sugar, and salt. Pour in the melted unsalted butter and mix thoroughly until all the crumbs are moistened. Transfer this mixture into the prepared springform pan. Use the bottom of a flat-bottomed glass or your fingers to firmly and evenly press the mixture into the bottom of the pan, forming a compact crust.
- Pre-Bake the Crust: Bake the pressed crust in the preheated oven for 7 minutes. This step helps to set the crust and prevents it from becoming soggy once the filling is added. Once baked, remove the crust from the oven and set it aside to cool slightly. Immediately reduce your oven temperature to 300°F (150°C) in preparation for the cheesecake filling.
Mixing the Silky Biscoff Cheesecake Filling
- Cream the Cheese: In a large mixing bowl, using either a hand mixer or a stand mixer fitted with the paddle attachment, beat the softened room-temperature cream cheese on medium-low speed until it is completely smooth and free of lumps. This is a crucial step for a silky cheesecake texture.
- Add Sugar and Flavorings: Gradually add the granulated sugar, salt, and vanilla extract to the cream cheese mixture. Continue mixing on low speed until these ingredients are just combined, scraping down the sides of the bowl as needed to ensure everything is incorporated evenly. Be careful not to overmix at this stage, as incorporating too much air can lead to cracks in your baked cheesecake.
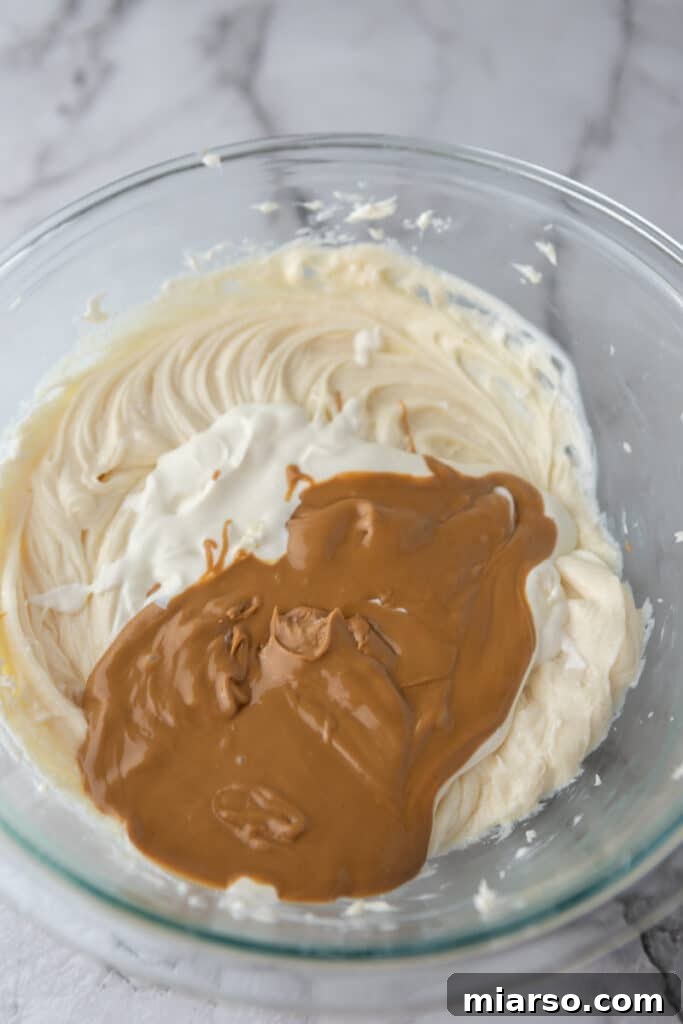
- Incorporate Sour Cream and Biscoff Spread: Gently mix in the room-temperature sour cream and the luscious Biscoff spread into the cream cheese mixture. Continue to mix on low speed, scraping the sides of the bowl frequently, until the mixture is perfectly smooth and homogenous. The goal here is a beautifully blended batter, not an aerated one.
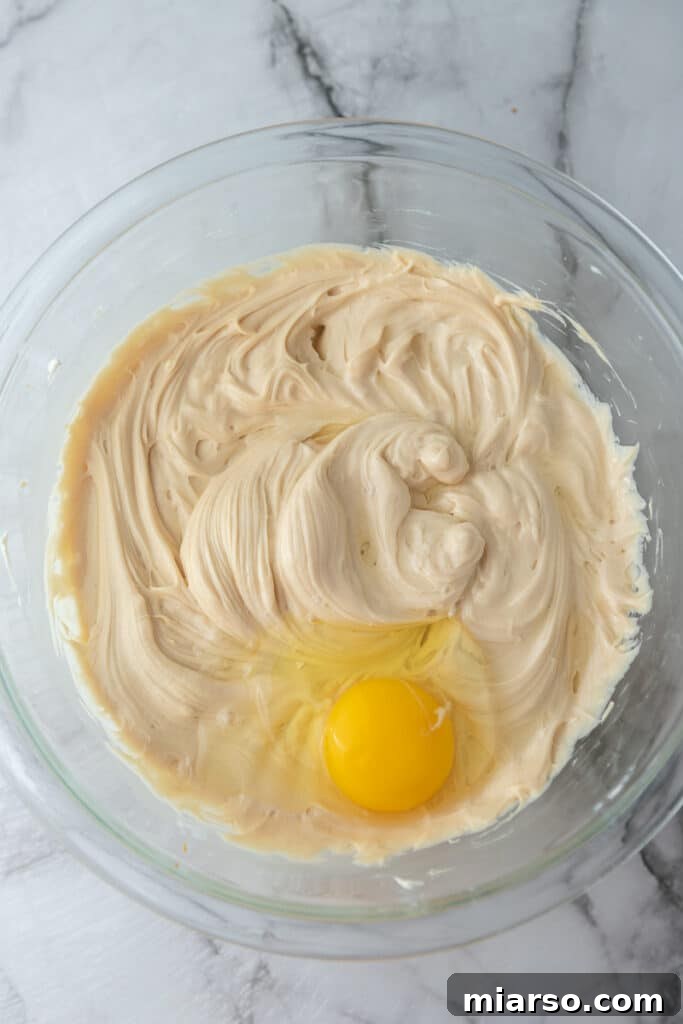
- Introduce the Eggs and Cornstarch: Add the room-temperature large eggs one at a time, mixing only until each egg is just combined with the batter. Scrape down the sides of the bowl once more. Finally, gently fold in the cornstarch. Mix very minimally at this stage to avoid incorporating excess air, which can cause the cheesecake to puff up and crack during baking.
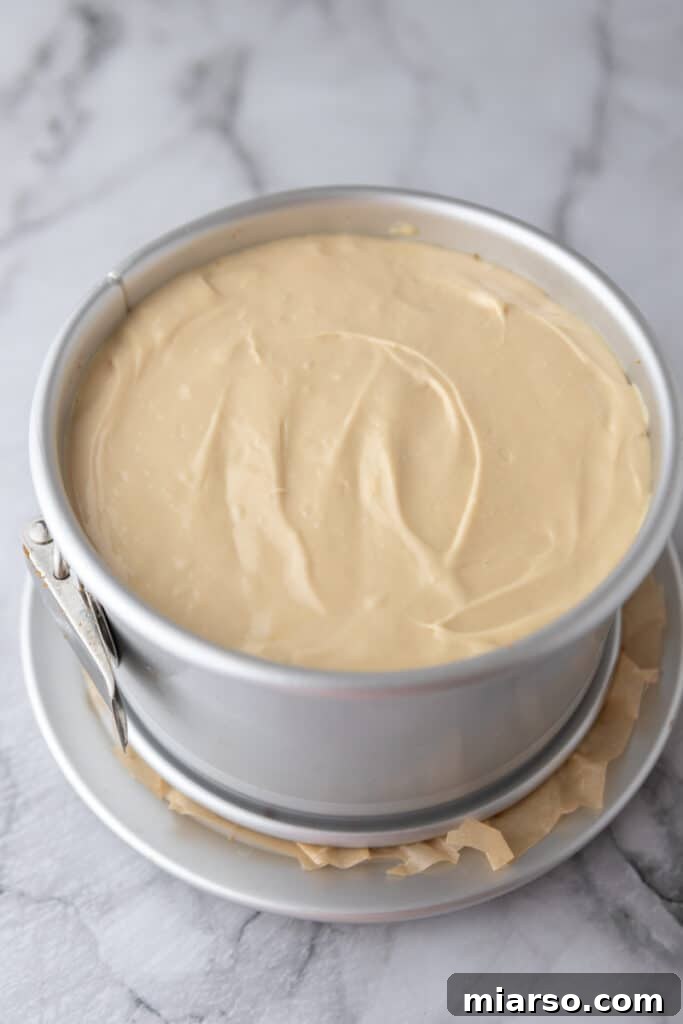
- Pour into the Pan: Carefully pour the prepared Biscoff cheesecake filling over the pre-baked and cooled crust in the springform pan. Use an offset spatula or the back of a spoon to gently smooth the top surface of the filling.
- Bake for Perfection (with or without a Water Bath): Place the springform pan in the preheated oven. You have two excellent options for baking to prevent cracks and ensure even cooking:
- Water Bath Method: Tightly wrap the bottom of your springform pan with several layers of heavy-duty aluminum foil to prevent water from seeping in. Place the wrapped pan into a larger roasting pan. Carefully pour hot water into the roasting pan, ensuring it comes halfway up the sides of the cheesecake pan.
- Steam Bath Method: Alternatively, you can place an oven-safe dish filled with hot water on the rack below or next to your cheesecake. This creates a steamy environment that helps maintain moisture in the oven, preventing the cheesecake from drying out and cracking.
Bake for approximately 30-35 minutes. The cheesecake is done when the edges appear set, but the center still has a slight wobble when gently shaken.
- Gradual Cooling is Key: Once the baking time is complete, turn off your oven. Crack the oven door open slightly and allow the cheesecake to cool slowly inside the oven for at least one hour. This gradual cooling prevents thermal shock, which is a common culprit for cheesecake cracks.
- Final Cool Down: Remove the 6-inch Biscoff cheesecake from the oven and let it cool completely at room temperature on a wire rack. Once fully cooled, it’s ready for its topping.
Adding the Decadent Biscoff Topping
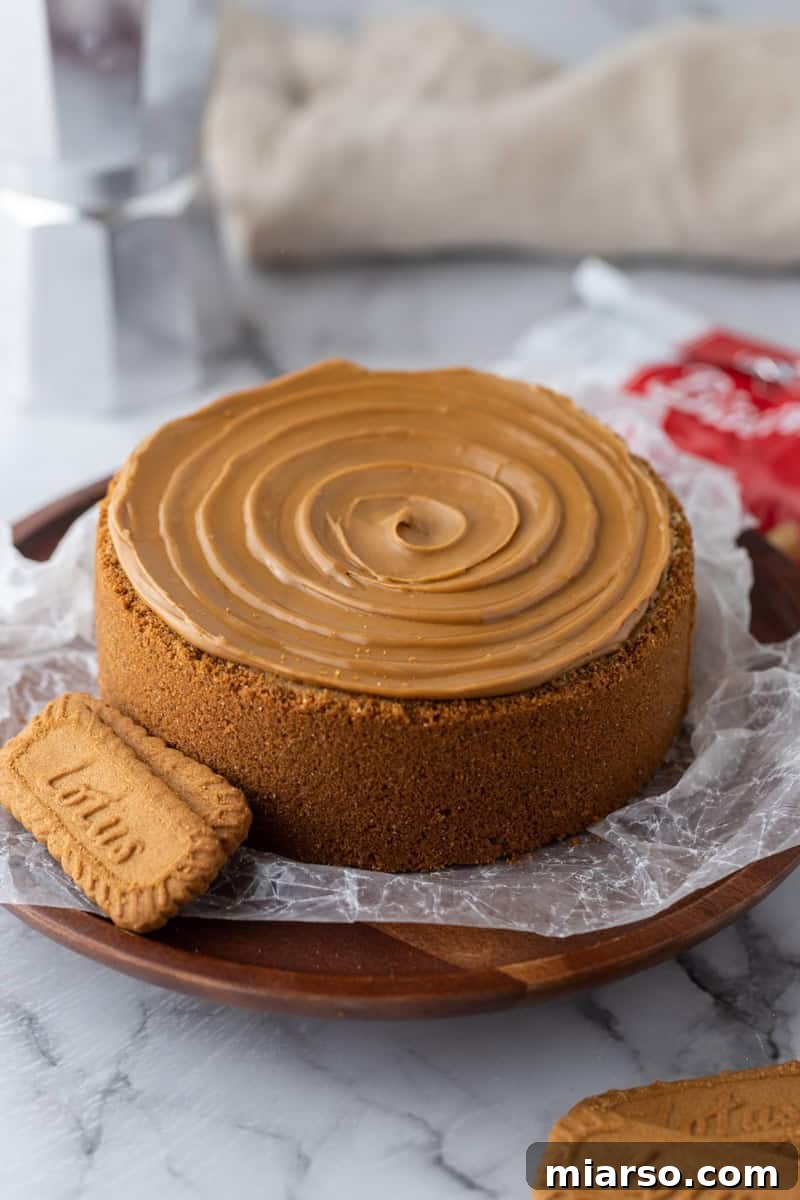
- Melt and Spread the Topping: In a microwave-safe bowl, melt the remaining Lotus Biscoff spread for 5-10 seconds, or just until it’s softened enough to be easily spreadable. Pour the melted cookie butter evenly over the cooled cheesecake. For a beautiful finish, use an offset spatula to create elegant swirls on the surface, mimicking the appealing look seen in the accompanying pictures.
- Chill to Perfection: Refrigerate the cheesecake for a minimum of 4 hours, or ideally, overnight. This crucial chilling period allows the cheesecake to set completely, firming up to its perfect, sliceable consistency and allowing the flavors to meld beautifully.
- Slice and Indulge: Once thoroughly chilled, gently remove the springform pan sides. Slice the creamy and indulgent Biscoff cheesecake using a warm, sharp knife (wipe the knife clean between each slice for the cleanest cuts) and serve. Enjoy every luxurious bite!
Why You Absolutely Must Make This Biscoff Cheesecake!
- Perfectly Portioned for Any Occasion: This 6-inch Biscoff Cheesecake recipe yields the ideal dessert for a family dinner, a small gathering with friends, or a weekend treat for one or two. Its manageable size eliminates the intimidation factor of larger cheesecakes, making it convenient for small parties, intimate get-togethers, or simply when you desire a luxurious dessert without excess leftovers.
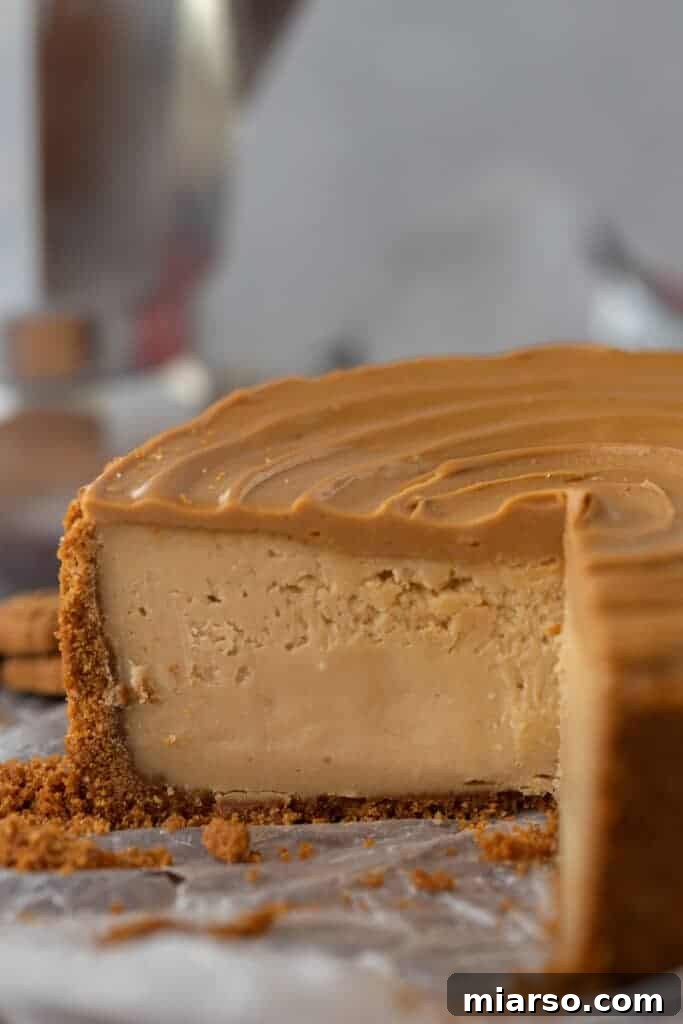
- A Symphony of Textures and Flavors: The delightful combination of the crunchy Biscoff cookie crumbs in the crust, the impossibly creamy and rich texture of the Biscoff-infused filling, and the smooth cookie butter topping creates an unparalleled experience for your sweet tooth. Each layer builds upon the last, offering a harmonious blend of caramelized, spiced, and velvety goodness.
- An Unforgettable Culinary Experience: If you are a devoted cheesecake connoisseur and have yet to experience the magic of Biscoff in this classic dessert, then you are in for an extraordinary treat! This recipe is a game-changer, offering a unique flavor profile that stands out from traditional cheesecakes and quickly becomes a new favorite.
- Impressive Yet Simple: While this cheesecake looks and tastes incredibly sophisticated, the recipe is straightforward and accessible for home bakers of all skill levels. With our detailed instructions and tips, you’ll achieve stunning, bakery-quality results that are sure to impress everyone who tries a slice.
Frequently Asked Questions (FAQ) about Biscoff Cheesecake
How do I properly store leftovers of this 6-inch Biscoff Cheesecake Recipe?
Storing your delicious Biscoff cheesecake correctly is crucial to maintain its freshness and flavor. If you plan to enjoy the leftovers within a few days, simply place the cheesecake in an airtight container and store it in the refrigerator. It will remain wonderfully fresh and creamy for up to 3-4 days.
For longer-term storage, or if you’re unsure when you’ll want another slice, the freezer is your best friend. First, wrap individual slices or the entire remaining cheesecake tightly in several layers of plastic wrap. Ensure there are no air pockets to prevent freezer burn. Then, place the wrapped cheesecake into an airtight freezer-safe container or a heavy-duty freezer bag. Stored this way, your Biscoff cheesecake will stay fresh and delicious for multiple weeks, or even up to 2-3 months. To thaw, simply transfer it to the refrigerator overnight, or for a quicker option, let it sit at room temperature for 30-60 minutes before serving.
What’s the best way to crush my Lotus Biscoff biscuits for the crust?
Achieving the perfect crumb consistency for your Biscoff crust is simple, and you have a couple of excellent methods to choose from:
The most efficient and highly recommended method is to use a food processor. Simply add your Biscoff cookies to the food processor bowl and pulse on high speed for about 15-20 seconds. This technique yields beautifully fine, even crumbs that will create a compact and uniform crust. Fine crumbs are essential for a crust that holds together well and has a pleasant texture.
If you don’t have a food processor, you can easily use a Ziploc bag and a rolling pin. Place the Biscoff cookies into a gallon-sized or large freezer-safe Ziploc bag. Seal the bag, pressing out as much air as possible. Then, gently but firmly tap the bag with a rolling pin or the flat side of a meat mallet to break the cookies into smaller pieces. Once they are broken down, roll the rolling pin back and forth across the bag with a little pressure. Continue rolling and tapping until the cookies are transformed into a powder-like consistency, similar to fine sand. For best results, ensure the crumbs have enough space to lay flat within the bag, which helps achieve a more consistent grind.
Can I substitute Trader Joe’s Speculoos cookies and spread for Lotus Biscoff?
Absolutely, you can! Trader Joe’s Speculoos cookies and cookie butter are fantastic alternatives to the Lotus Biscoff brand. While there might be a very slight difference in flavor profile – some find Speculoos to have a marginally bolder spice blend – they are incredibly similar and will produce a wonderfully delicious Biscoff-style cheesecake. If you’re a fan of Trader Joe’s products or simply prefer them, feel free to use their cookie butter and biscuits in this recipe with complete confidence. The core caramelized and spiced notes will shine through beautifully, ensuring your cheesecake is still a spectacular treat.
The Best 6-inch Biscoff Cheesecake Recipe
6-inch Biscoff Cheesecake Recipe
Ingredients
- 20 Biscoff cookies crushed
- 1/2 tablespoon granulated sugar
- 1/4 teaspoon salt
- 3 tablespoons unsalted butter
For the cheesecake filling:
- 12 oz cream cheese softened
- 2/3 cup granulated sugar
- 2 teaspoon vanilla extract
- 1/3 cup sour cream at room temperature
- 1/2 teaspoon salt
- 2 large eggs at room temperature
- 2/3 cup Biscoff spread
- 1/2 teaspoon cornstarch
For the topping:
- 1/2 cup 5.3 oz Biscoff spread, melted
Instructions
Make the crust
-
Preheat the oven to 350°F (175°C) and line the bottom of a 6-inch springform pan with parchment paper.
-
In a mixing bowl, combine the crushed Biscoff cookies, salt, granulated sugar, and melted butter. Press the mixture into the bottom of the prepared pan to form the crust. Then bake in the oven for 7 minutes. Reduce the heat to 300F (150°C) once the crust is done.20 Biscoff cookies, 1/2 tablespoon granulated sugar, 1/4 teaspoon salt, 3 tablespoons unsalted butter
Make the cheesecake
-
In a large mixing bowl, beat the cream cheese until smooth. Add the sugar, salt, and vanilla extract, and mix until well combined.12 oz cream cheese, 2/3 cup granulated sugar, 2 teaspoon vanilla extract, 1/2 teaspoon salt
-
Mix in the sour cream, and the cookie butter into the cream cheese mixture. Make sure to scrape the sides and mix until well incorporated.1/3 cup sour cream, 2/3 cup Biscoff spread
-
Add in the eggs one a time and mix until combined. Scrape the sides again then add in the cornstarch and mix gently in order not to incorporate too much air into the batter.2 large eggs, 1/2 teaspoon cornstarch
-
Pour the filling over the crust in the springform pan, smoothing the top with a spatula.
-
Bake in the preheated oven for about 30-35 minutes, or until the edges are set but the center is slightly wobbly. You can either bake your cheesecake in a water bath (making sure to wrap the bottom of the pan tightly with foil) or place a dish full of hot water in the oven alongside your cheesecake to maintain high moisture in the oven.
-
Once baked turn off the oven and crack the oven door open slightly to allow the cheesecake to cool down for an hour.
-
Remove the cheesecake from the oven and allow it to cool completely at room temperature. Melt the Biscoff cookie butter for 5-10 seconds just enough to soften it slightly then spread it onto your cheesecake. I used an offset spatula to create the swirls you see here. Refrigerate for at least 4 hours, or overnight, to set.
-
Slice and enjoy the creamy and indulgent Biscoff cheesecake!1/2 cup 5.3 oz Biscoff spread, melted
Notes
Nutrition
Carbohydrates: 66g |
Protein: 9g |
Fat: 38g |
Saturated Fat: 16g |
Polyunsaturated Fat: 1g |
Monounsaturated Fat: 7g |
Trans Fat: 0.2g |
Cholesterol: 104mg |
Sodium: 548mg |
Potassium: 159mg |
Fiber: 1g |
Sugar: 39g |
Vitamin A: 801IU |
Vitamin C: 0.1mg |
Calcium: 91mg |
Iron: 2mg
Nutrition information is automatically calculated, so should only be used as an approximation.

If you enjoyed this 6-inch Biscoff Cheesecake recipe, make sure to pin it for later!
Loved this recipe? Don’t let it get lost in your browser tabs! Pin this 6-inch Biscoff Cheesecake recipe to your favorite Pinterest boards so you can easily find it whenever a craving strikes. Sharing is caring, and we’d love for you to spread the cookie butter joy with your friends and family!