
These Chocolate Peppermint Crunch Slice and Bake Cookies have swiftly become a beloved holiday tradition, celebrated for their vibrant festive appeal and irresistible flavor. Exceptionally easy to prepare and wonderfully convenient, they are perfect for all your seasonal gatherings and gifting needs.

Greetings, fellow baking enthusiasts! The holiday season, with its joyous spirit and delightful aromas, may have passed, but the magic of these incredible chocolate peppermint cookies endures. While I may have missed sharing this festive delight before Christmas, it’s truly a recipe worth revisiting year-round, especially if you find yourself with leftover candy canes. Trust me, these aren’t just any peppermint candy cookies; they are a delightful symphony of rich chocolate and refreshing peppermint, promising pure bliss with every bite.
The beauty of these cookies lies not only in their exquisite taste but also in their simplicity. “Slice and bake” truly defines their effortless nature, making them an ideal choice for busy holiday schedules or spontaneous baking sessions. Whether you’re filling cookie boxes for loved ones or simply craving a sweet treat, these cookies deliver on both convenience and flavor, proving that some of the best culinary creations are born from unexpected moments.
More Irresistible Recipes to Discover
- Chocolate Walnut Slice and Bake Cookies
- Fudgy Cake Mix Chocolate Crinkle Cookies
- Chewy Cranberry Oatmeal Cookies
The Undeniable Appeal of Chocolate Peppermint Slice and Bake Cookies
My passion for slice and bake cookies is no secret, and these chocolate peppermint crunch cookies perfectly embody why. As the name suggests, the process is wonderfully straightforward: simply slice and then bake! This method is a game-changer, especially during the bustling holiday season or when you’re craving homemade cookies without the fuss. Inspired by the success of my beloved chocolate walnut slice and bake cookie recipe, I knew a peppermint version would be an instant hit, capturing the festive essence that so many adore.
What truly sets these cookies apart is their unique flavor profile. Instead of relying on peppermint extract, which might not always be on hand, I chose to infuse them with the natural crunch and vibrant taste of actual candy canes. This means you likely have most of the ingredients already tucked away in your pantry, ready to transform into these exceptional treats. The addition of real peppermint candy on top elevates these cookies, providing a perfect little crunch and an invigorating burst of peppermint that devotees of the flavor will truly appreciate. It’s a simple step that makes a world of difference, taking these from great to absolutely unforgettable.
Beyond the convenience, the combination of rich, dark chocolate with the cool, refreshing bite of peppermint is a classic for a reason. It evokes warmth, comfort, and festive cheer, making these cookies not just a dessert, but an experience. The melt-in-your-mouth chocolate base beautifully contrasts with the crisp texture of the candy cane pieces, creating a sensory delight that appeals to all ages. They are not merely cookies; they are miniature celebrations in every bite, perfect for sharing, gifting, or simply savoring on a quiet afternoon.
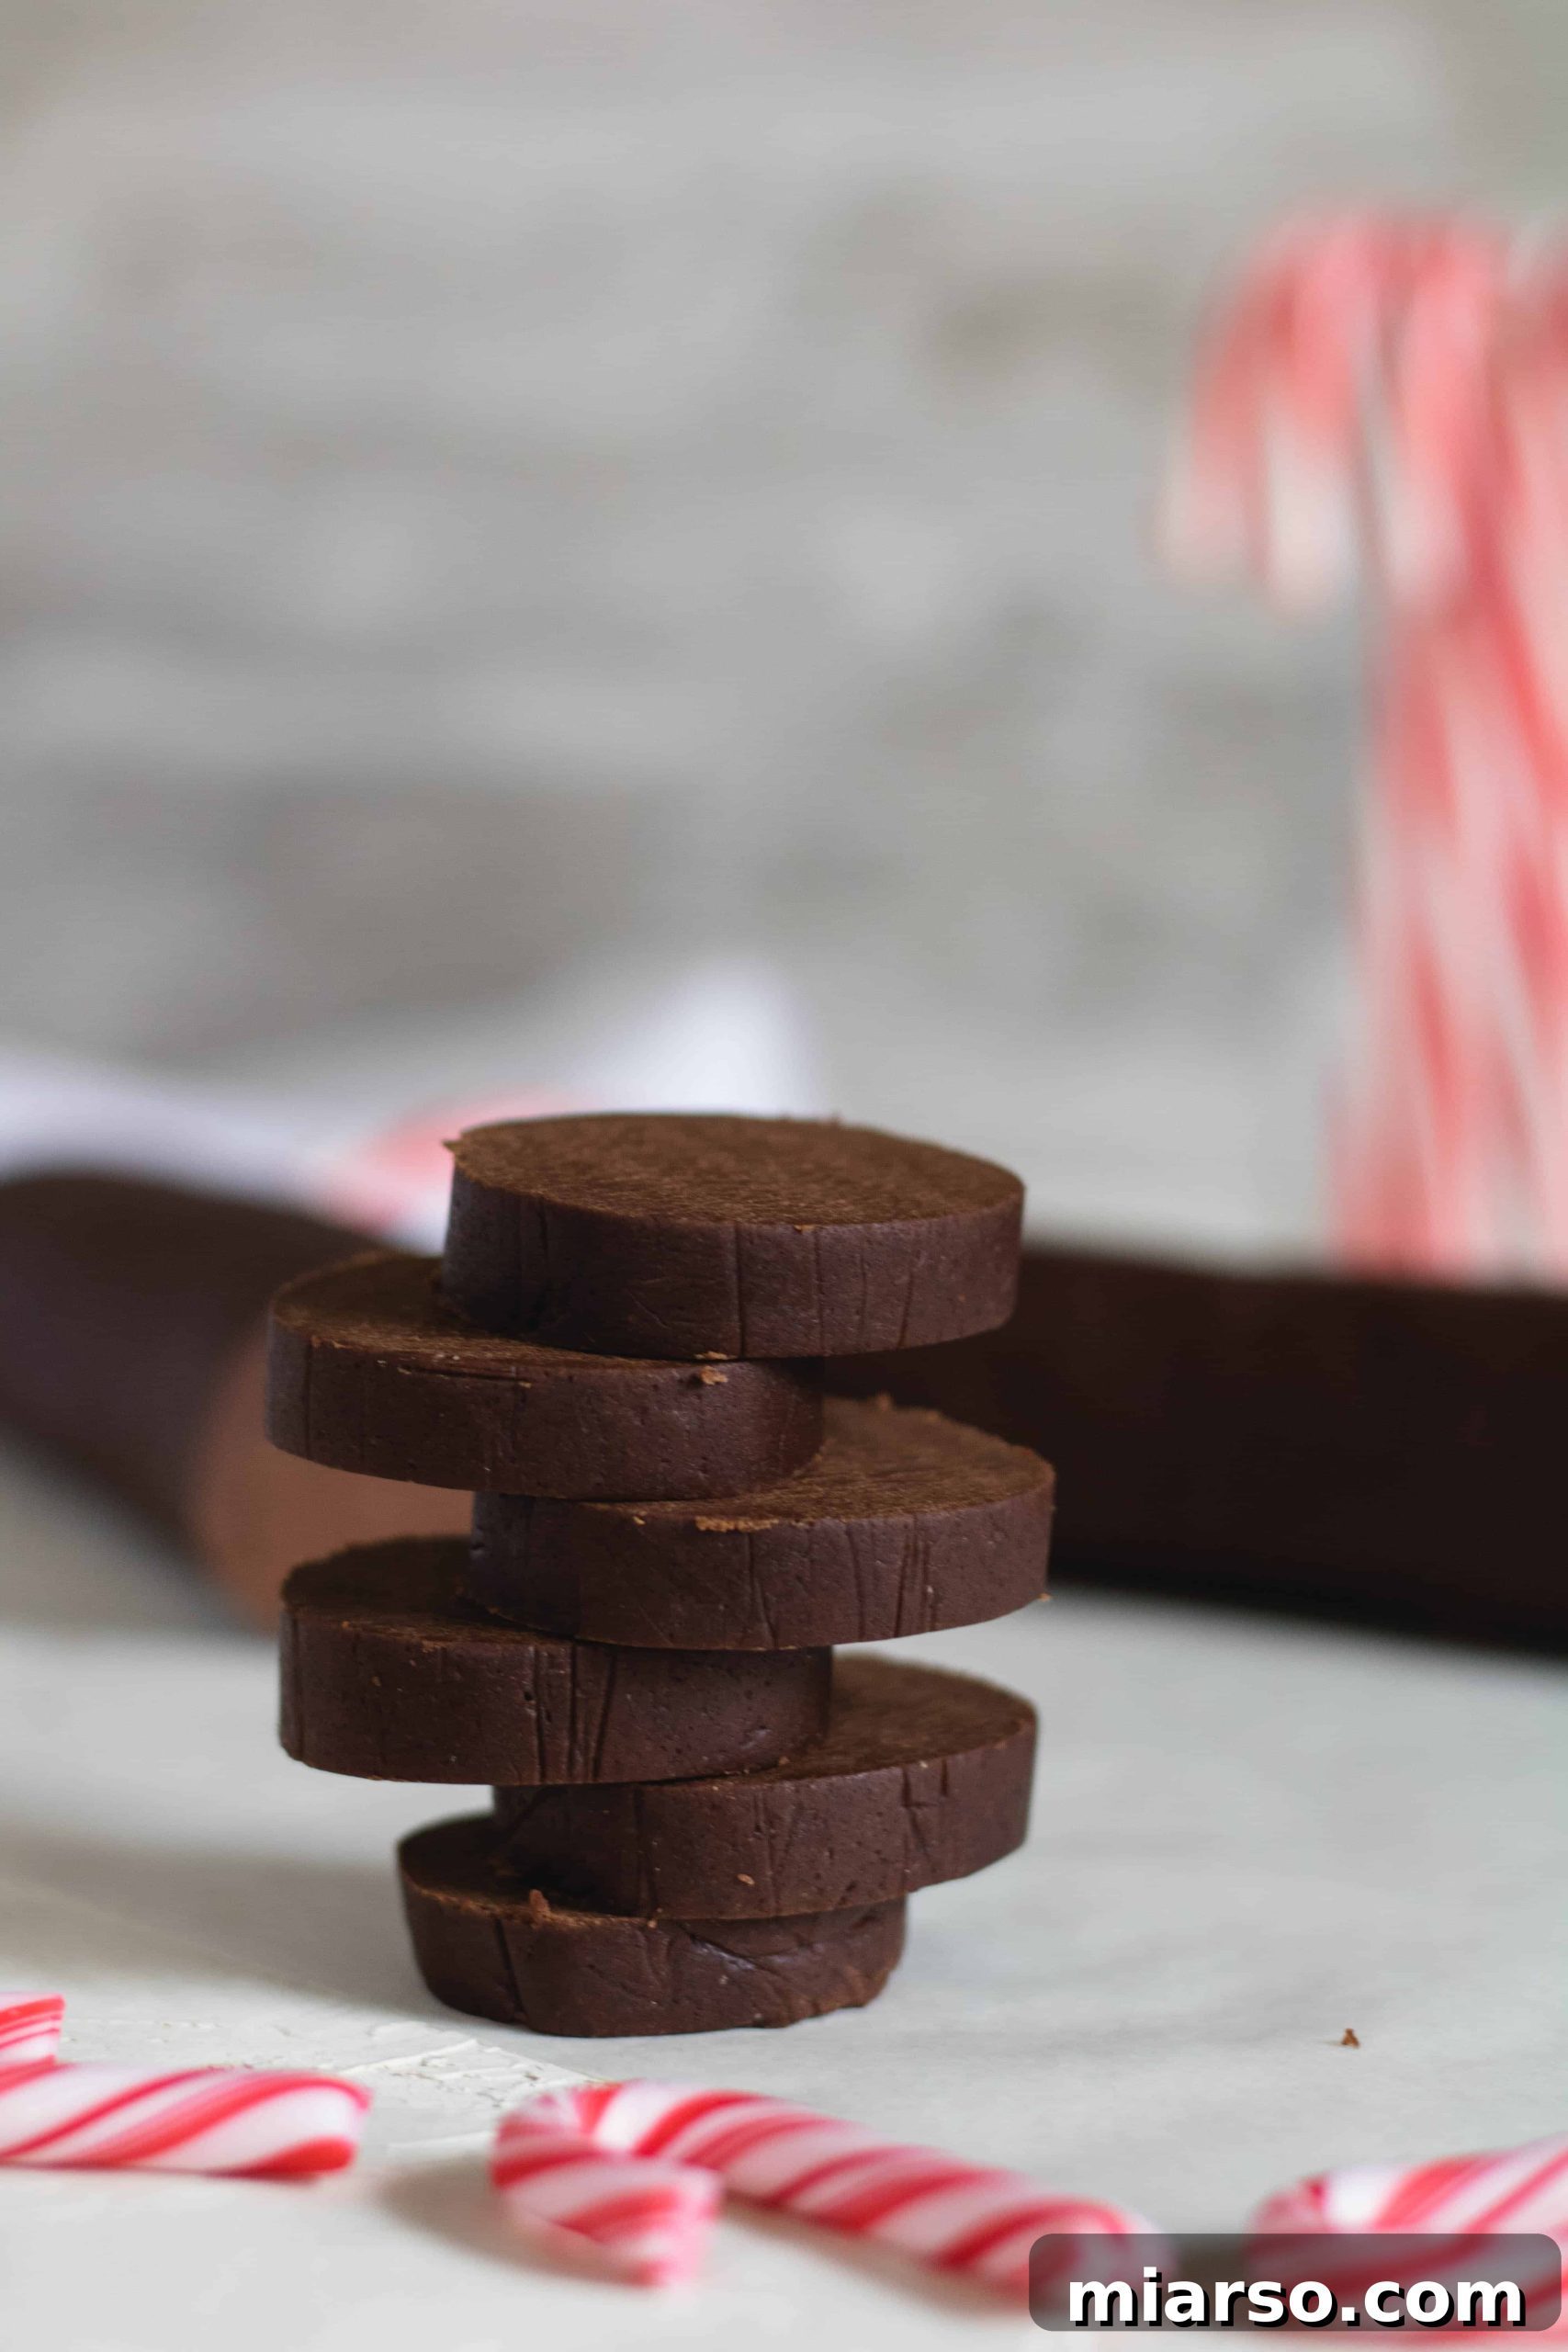
Essential Tools for Crafting Your Peppermint Crunch Cookies
While these cookies are designed for simplicity, having the right tools can make the baking process even smoother and more enjoyable. Here’s what you might need to bring these delightful white chocolate-dipped peppermint cookies to life:
- Baking Sheets: Essential for baking an even batch of cookies.
- Silicone Baking Mat (Silpat) or Parchment Paper: For non-stick baking and easy cleanup.
- A Sharp Knife: Crucial for clean and even slicing of the chilled cookie dough logs.
- Stand Mixer or Hand Mixer: To efficiently cream butter and sugar and incorporate ingredients.
- Large Mixing Bowls: For combining wet and dry ingredients.
- Measuring Cups and Spoons: For precise ingredient measurements.
- Cooling Rack: For allowing cookies to cool completely before dipping and decorating.

Ingredients for Your Irresistible Chocolate Candy Cane Cookies
This chocolate candy cane cookie recipe yields a generous batch, making it an excellent choice for holiday gifting or large family gatherings. You’ll easily be able to fill at least six cookie boxes, making them perfect for spreading cheer. Here’s a comprehensive list of what you’ll need to create these holiday masterpieces, along with a brief explanation of each ingredient’s role:
- All-Purpose Flour: The structural base of our cookies, providing the perfect texture.
- Cocoa Powder: Essential for that deep, rich chocolate flavor and beautiful dark color. Opt for unsweetened natural cocoa powder for the best results.
- Baking Powder: A leavening agent that helps the cookies rise slightly and contributes to a tender crumb.
- Baking Soda: Another leavening agent that reacts with acidic ingredients (like cocoa powder) to create a soft, chewy texture.
- Salt: A crucial flavor enhancer that balances the sweetness and deepens the chocolate notes.
- Unsalted Butter (softened): Provides richness, moisture, and aids in the creaming process for a tender cookie. Ensure it’s at room temperature for optimal mixing.
- Brown Sugar (packed): Contributes to the cookies’ chewiness, moisture, and a subtle caramel-like flavor. Packing it ensures accurate measurement.
- Large Eggs (room temperature): Bind the ingredients together, add moisture, and contribute to the cookie’s structure. Room temperature eggs emulsify better with butter.
- Vanilla Extract: Enhances all the other flavors, adding a warm, aromatic depth to the chocolate.
- Bright White Candy Melts (12 oz packet): For dipping, these provide a smooth, vibrant white coating that sets quickly.
- Coconut Oil: Added to the candy melts to achieve a smoother, more fluid consistency for easier dipping.
- Candy Canes (crushed): The star of the show, providing the signature peppermint crunch and festive aesthetic. You’ll need about 3 standard-sized candy canes.

Crafting Your Chocolate Peppermint Crunch Slice and Bake Cookies: A Step-by-Step Guide
Creating these delightful cookies involves a few simple stages, starting with the cookie dough and culminating in a beautifully decorated treat. Follow these steps for perfect results:
Preparing the Cookie Dough:
- Combine Dry Ingredients: In a medium-sized bowl, whisk together the all-purpose flour, cocoa powder, baking powder, baking soda, and salt. Ensure they are well combined, then set aside.
- Cream Butter and Sugar: In a large mixing bowl or the bowl of a stand mixer fitted with the paddle attachment, cream together the softened unsalted butter and packed brown sugar on medium-high speed. Beat for about 2-3 minutes until the mixture is light, fluffy, and pale in color. This step is crucial for incorporating air, which results in tender cookies.
- Add Wet Ingredients: Incorporate the room temperature eggs one at a time, mixing well after each addition. Stir in the vanilla extract until just combined. Scrape down the sides of the bowl to ensure everything is fully mixed.
- Gradually Add Dry Ingredients: With the mixer on low speed, slowly add the dry flour and cocoa powder mixture to the wet ingredients. Mix until the dough is just combined and no streaks of flour remain. Be careful not to overmix, as this can lead to tough cookies.
Form and Chill Dough Logs: Divide the cookie dough into two equal halves. On a clean surface, roll each half into a log approximately 12 inches long and about 1.5 to 2 inches in diameter. Wrap each log tightly in plastic wrap, ensuring no air can get in. Chill the dough logs in the refrigerator for at least 1 hour, or ideally, overnight (up to 24 hours). Chilling is essential for firming the dough, which prevents spreading and makes slicing much easier.

Baking the Cookies:

Preheat Oven: When you’re ready to bake, preheat your oven to 350°F (175°C). Line a large baking sheet with a silicone baking mat or parchment paper.
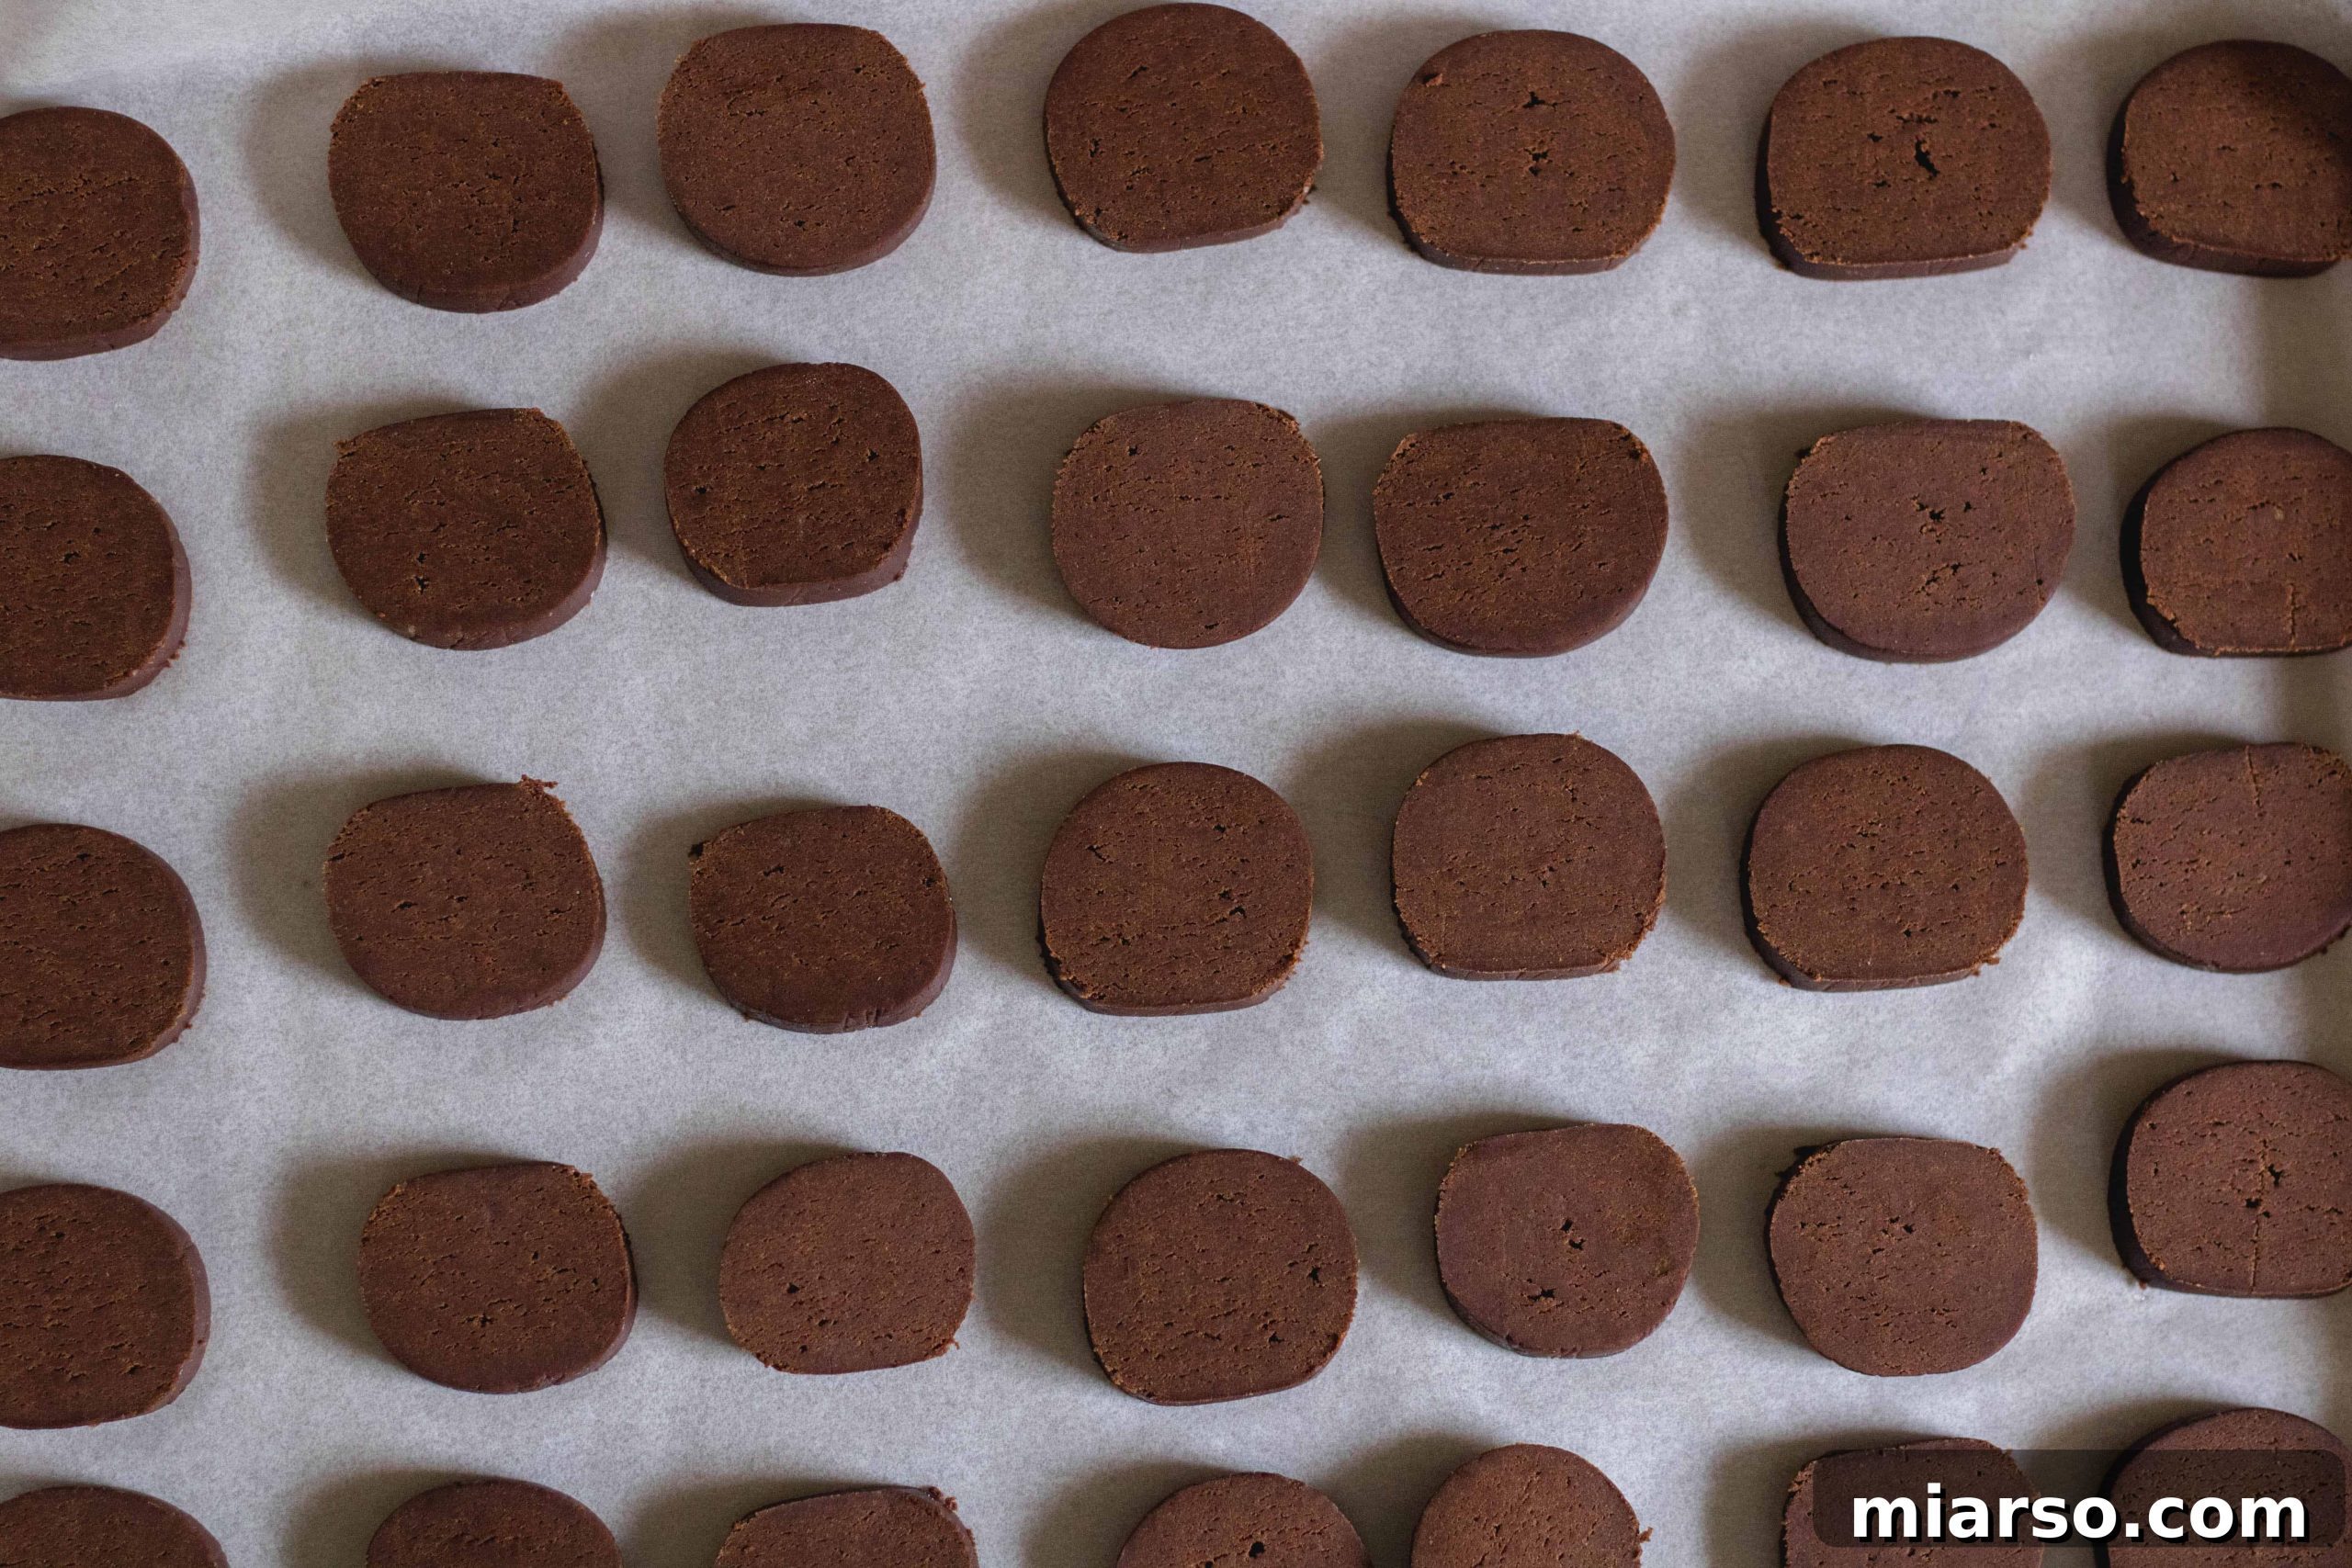
Slice Cookies: Remove one chilled cookie dough log from the refrigerator and unwrap it. Using a sharp knife, slice the log into rounds about ½ inch thick. Try to make them as uniform in size as possible for even baking.
Arrange and Bake: Place the sliced cookies on the prepared baking sheet, leaving about 1-2 inches of space between each cookie. This allows for slight spreading without them touching. Bake for 8-10 minutes, or until the edges are set and the centers look slightly soft. Remember, cookies continue to bake slightly as they cool.
Cool Cookies: Allow the cookies to cool on the baking sheet for about 10 minutes before carefully transferring them to a wire cooling rack to cool completely. They must be completely cool before dipping to prevent the candy melts from melting or becoming messy.
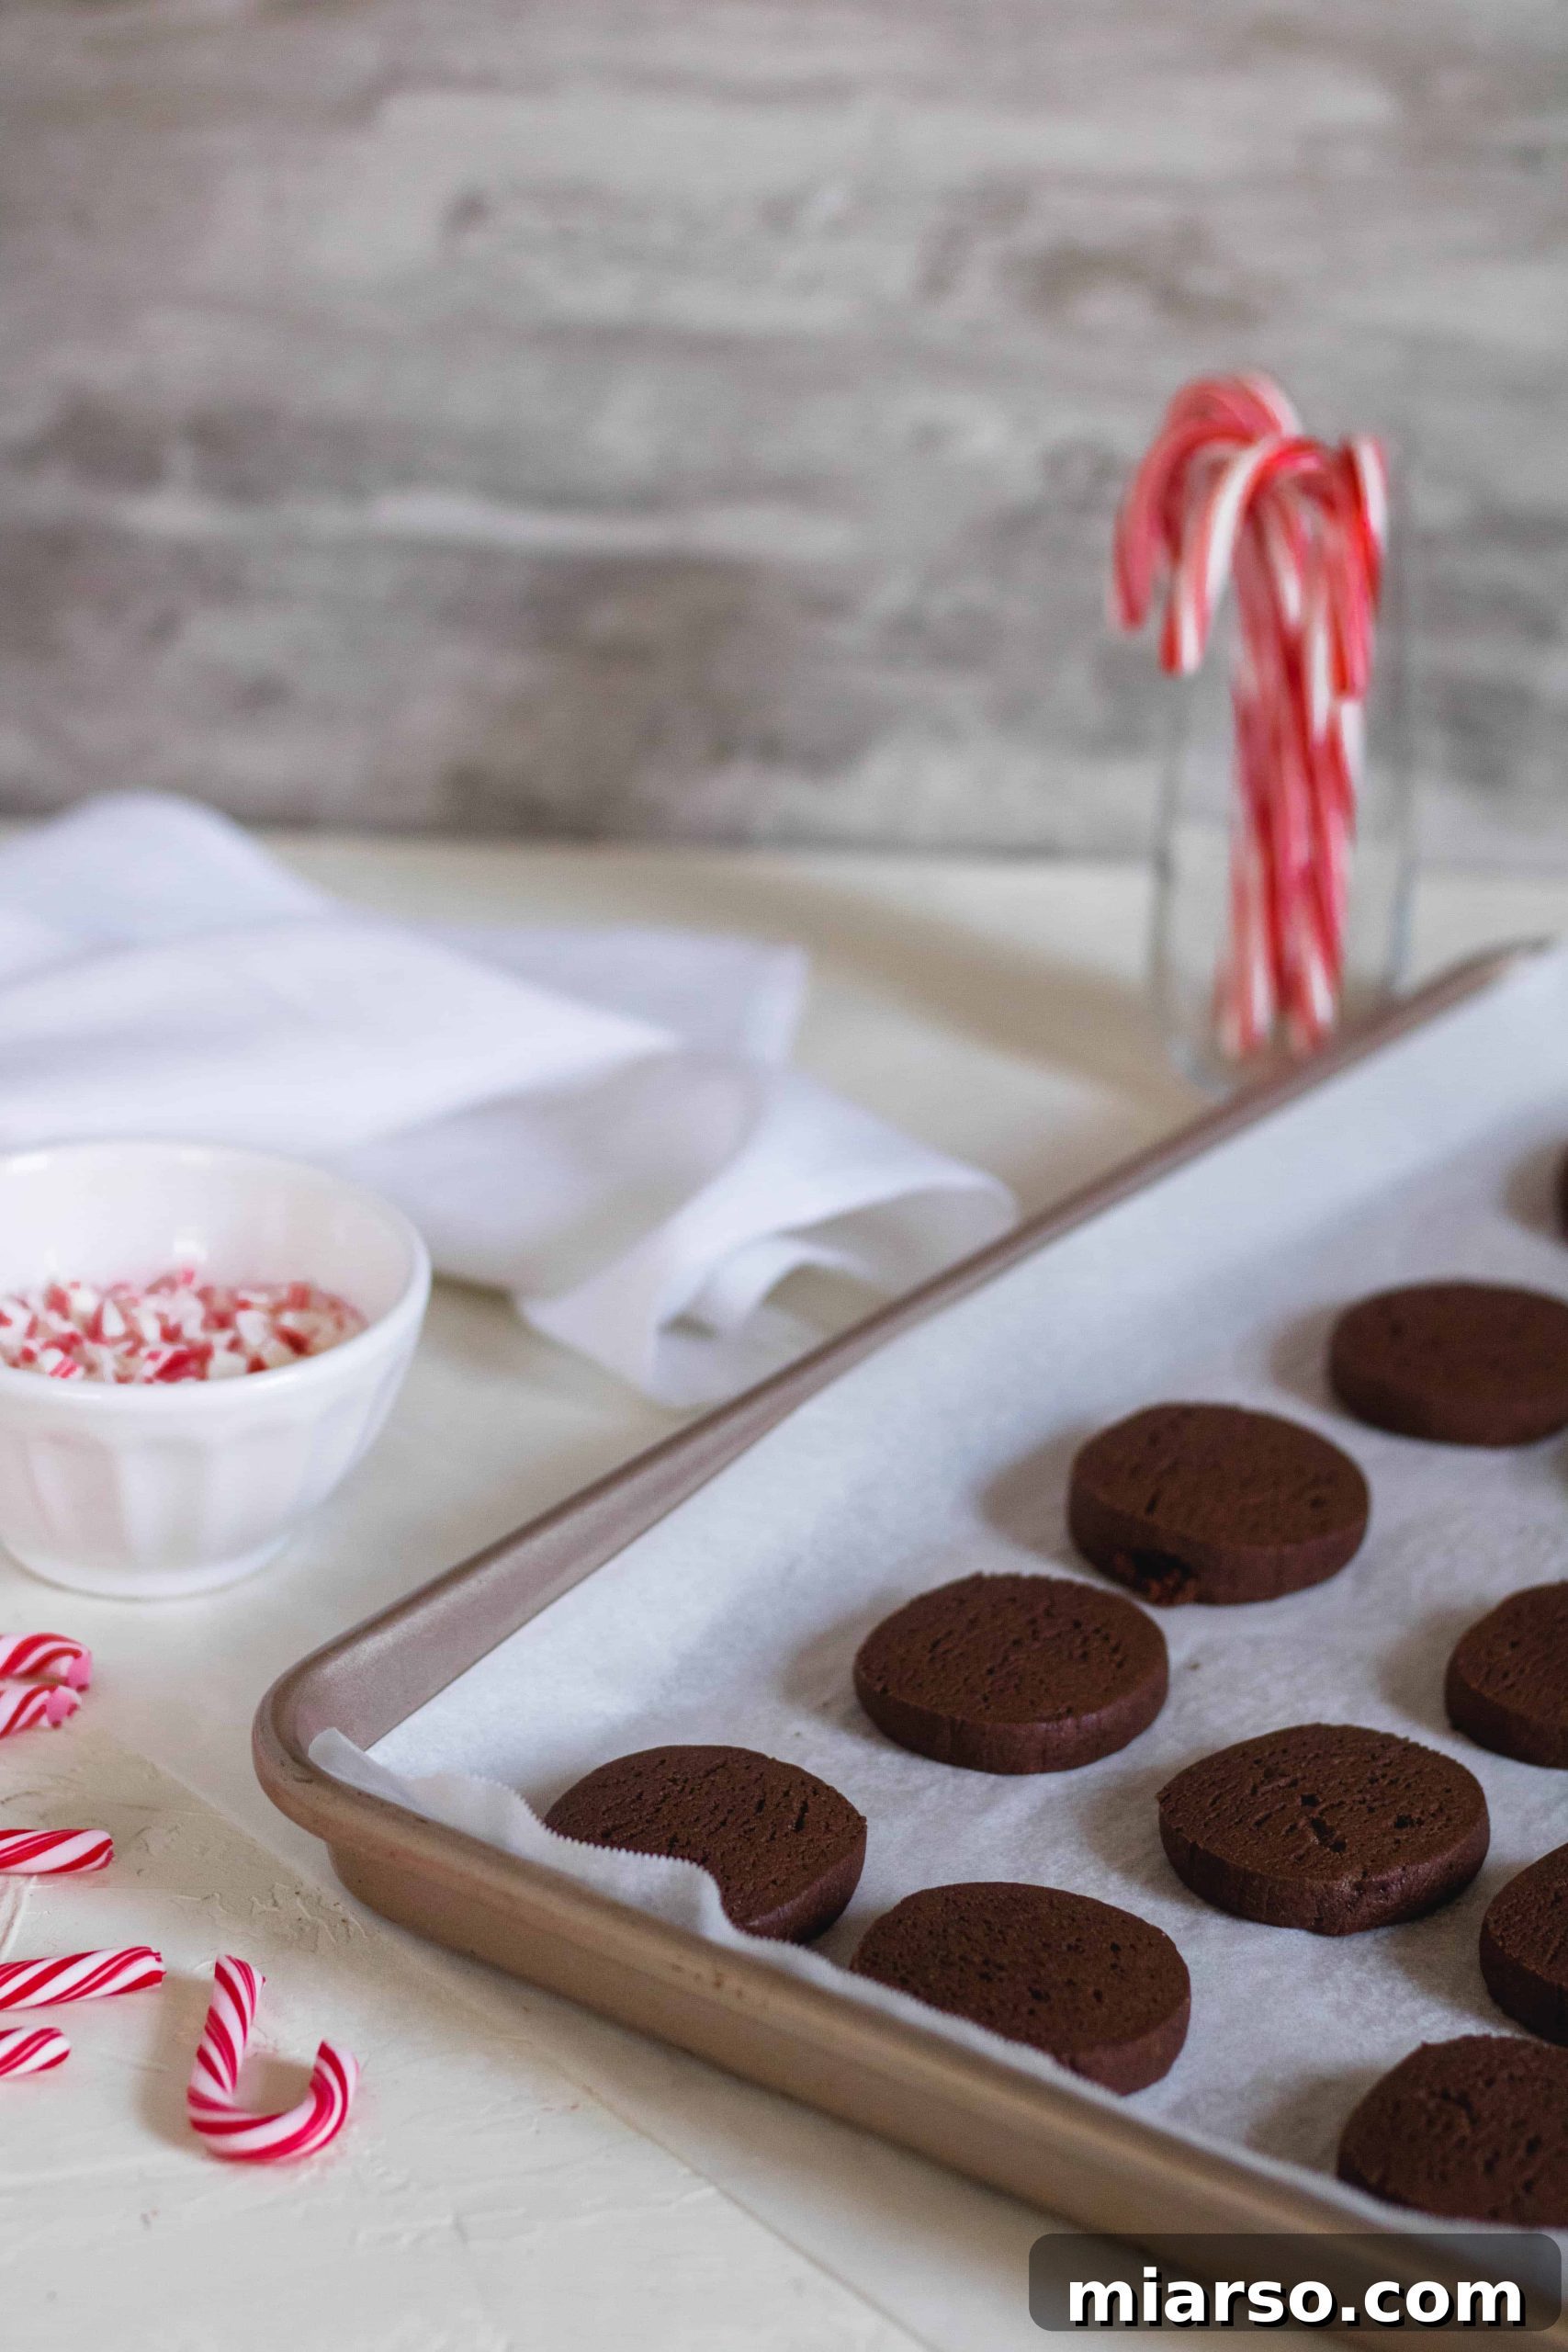
Dipping and Decorating:
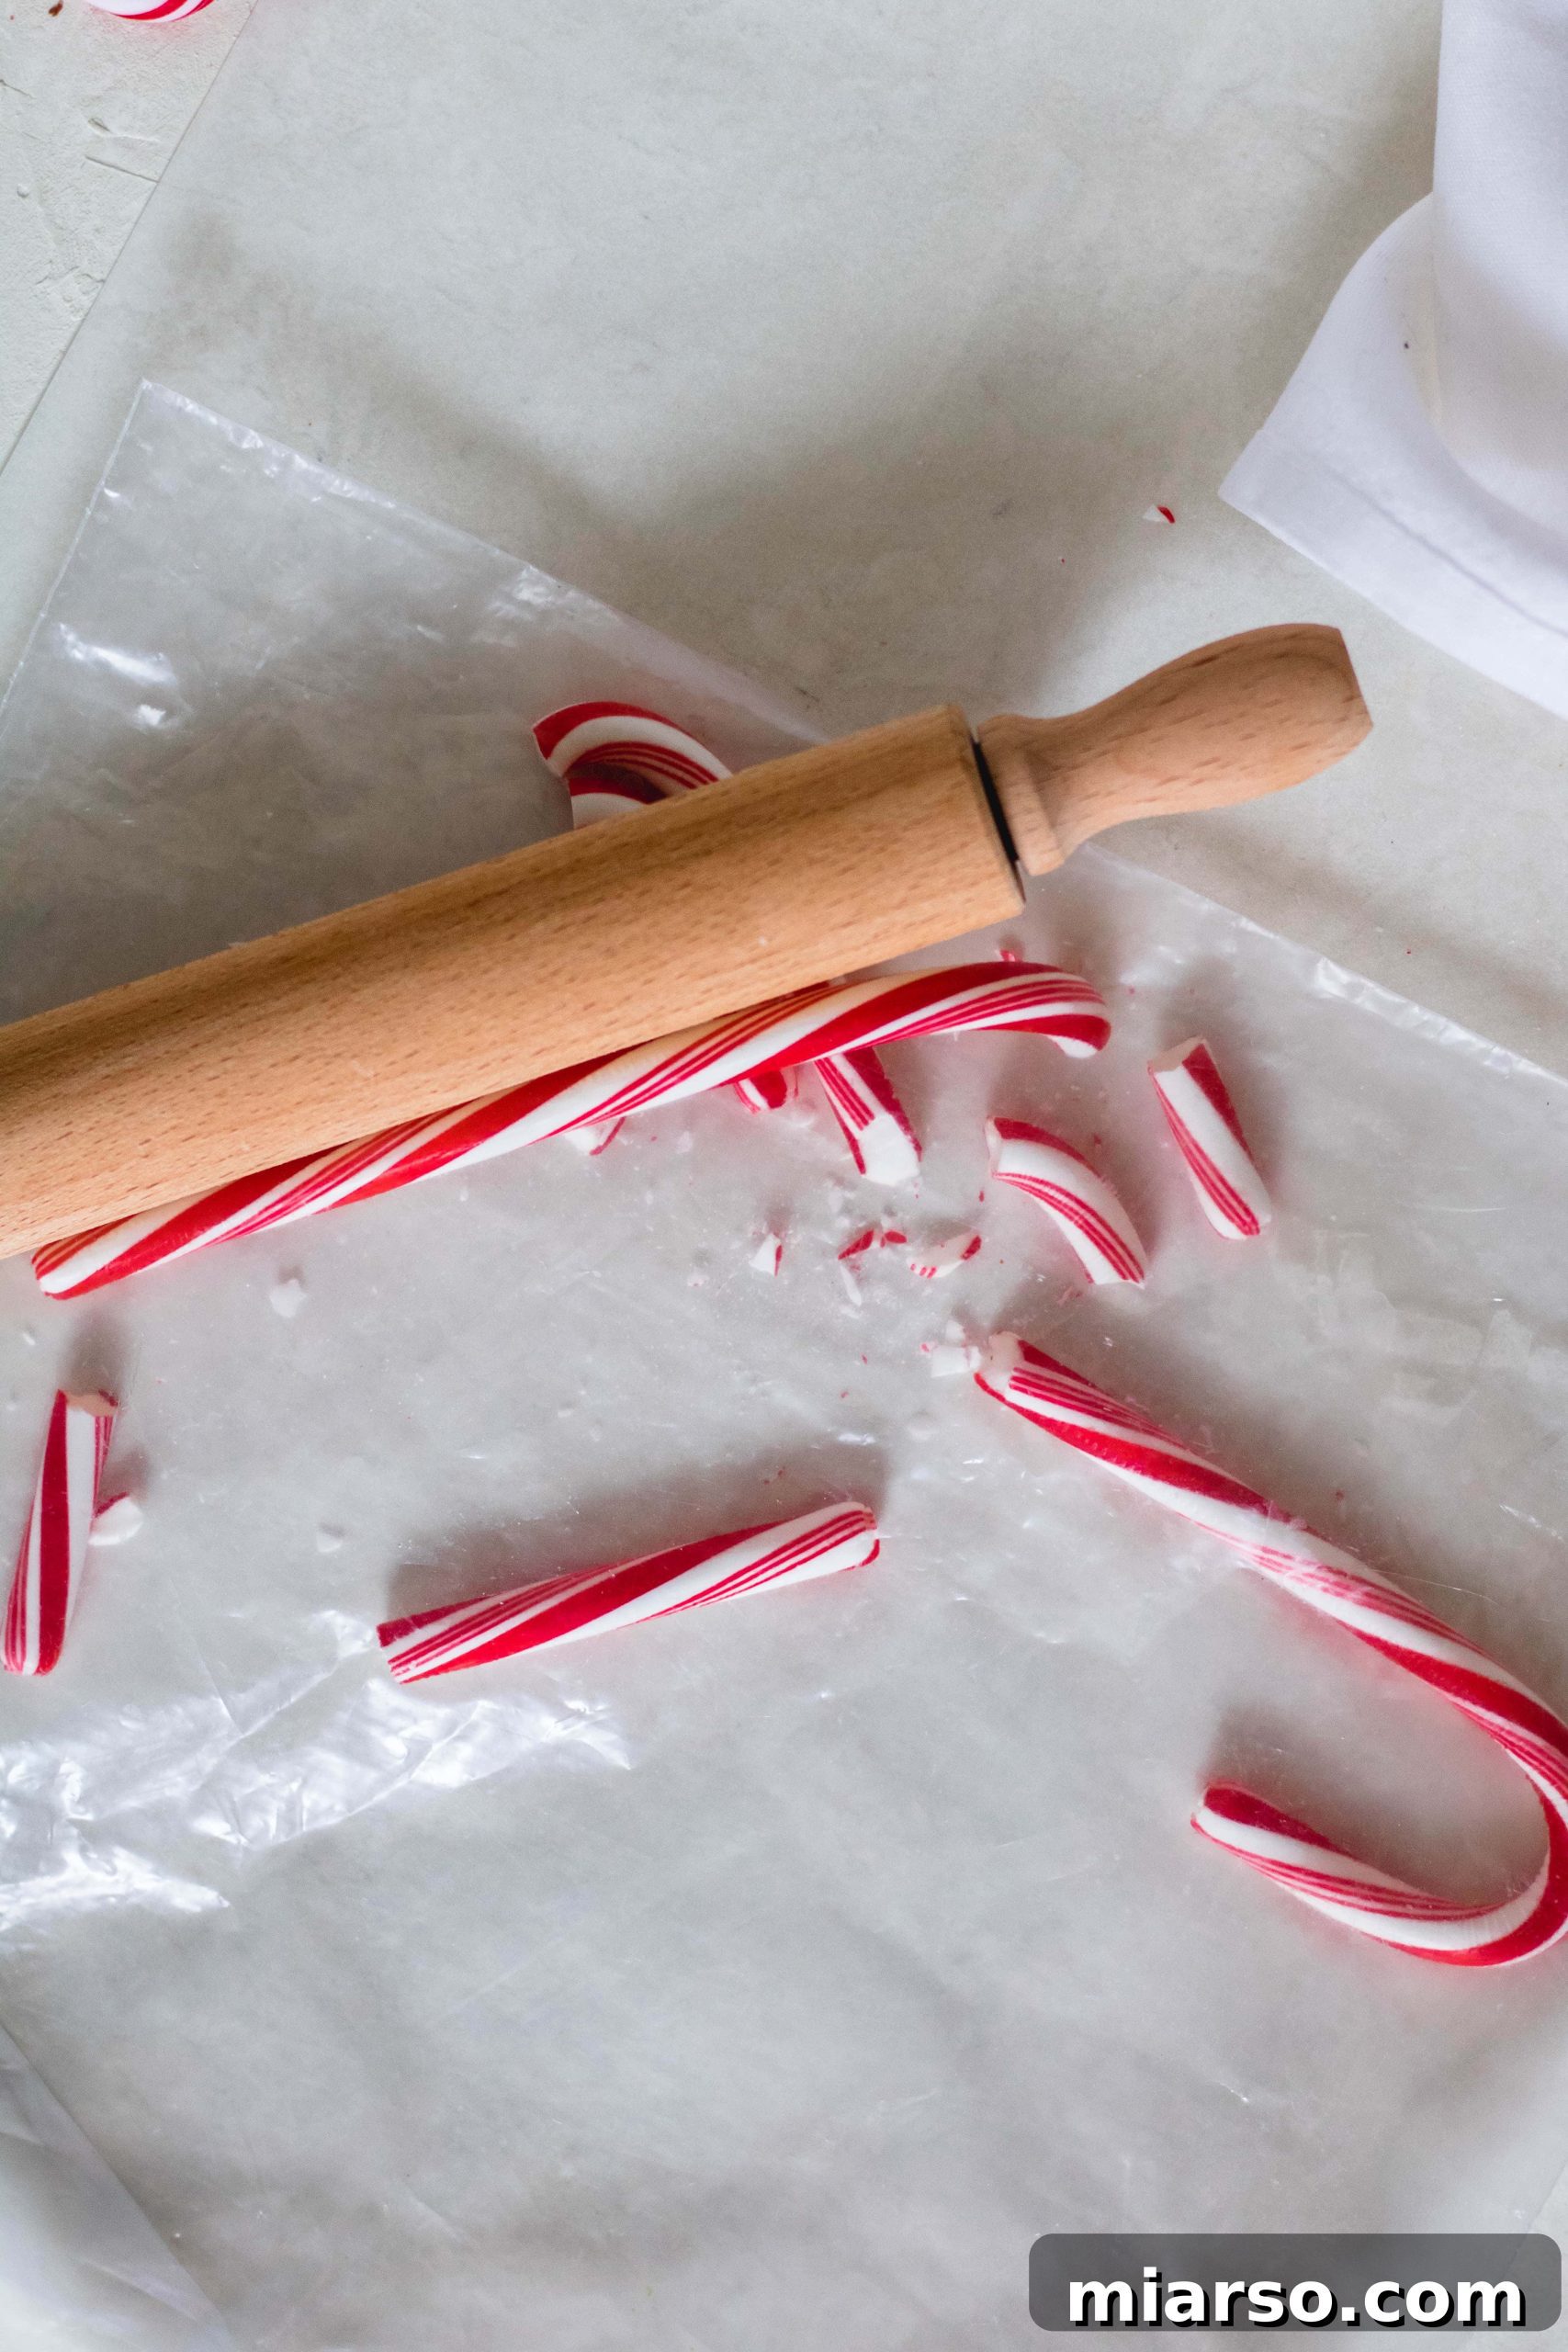
Crush Candy Canes: While your cookies are cooling, prepare your peppermint crunch. Place the candy canes in a heavy-duty Ziplock bag and use a rolling pin or meat mallet to crush them into small, irregular pieces. Don’t pulverize them too finely; a mix of textures adds to the crunch.
Melt Candy Melts: Once the chocolate slice and bake cookies are completely cool, melt the bright white candy melts according to the package directions. For a smoother, more workable consistency, stir in 2-3 tablespoons of coconut oil. This makes dipping much easier and ensures an even coating.
Dip and Sprinkle: Work with one cookie at a time. Dip each chocolate cookie halfway into the melted white candy melts. Lift it, allowing any excess to drip off, then immediately place it back on the parchment paper-lined baking sheet. Without delay, sprinkle the crushed peppermint candy over the wet candy melt. The candy melt solidifies quickly, so speed is key to ensure the peppermint sticks. Repeat with the remaining cookies.


Enjoy Your Creation: Allow the candy melts to fully set (this might take 15-30 minutes at room temperature, or quicker in the fridge if you’re in a hurry). Once set, your beautiful slice and bake chocolate cookies with candy cane pieces are ready to be enjoyed! Don’t forget to share these delightful Christmas cookies with friends and family!
- While the cookies are cooling, crush your candy canes completely. Place the candy canes in a ziplock bag and smash them using a rolling pin until you have small, crunchy bits.
- When the cookies are completely cool, melt the candy melts according to the package directions, adding 2-3 tablespoons of coconut oil to ensure a smooth, fluid consistency for dipping.
- Dip each cookie halfway into the white candy melts. Immediately place the cookie back on the parchment paper-lined baking sheet and generously sprinkle with the candy cane bits. Remember, the candy melt solidifies quickly, so dip and sprinkle each cookie individually before moving to the next.
IF YOU MADE SOMETHING FROM LIFESTYLEOFAFOODIE, I WOULD LOVE TO SEE ALL YOUR CREATIONS AND KNOW HOW EVERYTHING TURNED OUT! SO DON’T FORGET TO LEAVE A COMMENT BELOW AND FOLLOW ALONG WITH ME ON INSTAGRAM, PINTEREST, AND FACEBOOK.

Chocolate Peppermint Crunch Slice and Bake Cookies Recipe Card
These irresistible chocolate cookies, adorned with festive candy cane bits, are not just visually stunning but also boast an absolutely UH-MAZING flavor! Make them your go-to recipe for filling Christmas cookie boxes or simply for a delightful treat.

Chocolate Peppermint Crunch Slice and Bake Cookies
Ingredients
- 2 cups all-purpose flour
- ¾ cup unsweetened cocoa powder
- ¼ tsp baking powder
- ¼ tsp baking soda
- ¼ tsp salt
- ¾ cup unsalted butter softened to room temperature
- 1 cup brown sugar packed
- 2 large eggs room temperature
- 1 tsp vanilla extract
- 12 oz packet of bright white candy melts
- 2 tbsp coconut oil
- 3 candy canes crushed up
Instructions
-
In a large bowl, thoroughly mix the flour, cocoa powder, baking powder, baking soda, and salt together. Set this dry mixture aside.
-
In a separate large bowl or the bowl of a stand mixer, cream the softened butter and brown sugar together on high speed. Continue beating for about 2 minutes with a kitchen aid mixer, or 5 minutes if mixing by hand, until the mixture is light and fluffy.
-
Add the room temperature eggs one at a time, beating well after each addition. Then, mix in the vanilla extract until everything is smoothly combined.
-
Gradually add all of the reserved flour/cocoa powder mixture to the wet ingredients. Mix on low speed until the dough is completely combined and no dry streaks remain. Avoid overmixing.
-
Divide the cookie dough in half. Roll each half into a log, approximately 12 inches long and 1.5-2 inches in diameter.
-
Wrap each dough log tightly in plastic wrap to prevent drying. Chill in the refrigerator for at least 1 hour, or preferably overnight, to allow the dough to firm up.
-
When you are ready to bake, preheat your oven to 350°F (175°C). Line a large baking sheet with a silicone mat (Silpat) or parchment paper and set it aside.
-
Remove the chilled cookie logs from the fridge and unwrap them. Using a sharp knife, slice the dough into cookies about ½ inch thick. Aim for uniform slices for even baking.
-
Place the sliced cookies on the prepared baking sheet, ensuring they are about 1-2 inches apart. This spacing is important as they will expand slightly, and we don’t want them to stick together.
-
Bake for 8-10 minutes. The cookies are done when the edges are set and the centers still look a little soft. Let the cookies cool on the baking sheet for 10 minutes before carefully transferring them to a cooling rack to cool completely.
Dipping them in white chocolate and topping them with candy cane
-
While the baked cookies are cooling, crush your candy canes completely. Place them in a sturdy ziplock bag and use a rolling pin to smash them into fine pieces and small chunks.
-
Once the cookies are completely cool, melt the white candy melts according to the package instructions. Stir in 2-3 tablespoons of coconut oil to create a smooth, easy-to-dip consistency.
-
Dip each cookie halfway into the melted white candy. Immediately after dipping, place the cookie back on your parchment paper-lined baking sheet and sprinkle generously with the crushed candy cane bits. The candy melt solidifies quickly, so it’s crucial to dip and sprinkle each cookie individually before moving to the next one to ensure the candy canes adhere properly.
Notes
Nutrition information is automatically calculated and should only be used as an approximation. Please consult a professional for exact values.
Love this recipe? Leave a comment below!
The holiday season might officially be over, but the fate of those leftover candy canes doesn’t have to be tragic! Saving them for next year is generally a bad idea, as they tend to turn into a sticky, unappetizing mess, especially in humid environments. Instead, put them to good use in these delicious cookies, or consider other creative ways to use them up, such as in hot chocolate or as a topping for ice cream. Don’t let that festive flavor go to waste!
Expert Tips for the Best Slice and Bake Chocolate Peppermint Cookies
Achieving cookie perfection is easier than you think with these expert tips. Follow these guidelines to ensure your chocolate peppermint crunch cookies turn out beautifully every time:
- Ensure Uniform Sizing: One of the most important aspects of slice and bake cookies is consistency. Make a conscious effort to cut all your cookie rounds to the same thickness, ideally about ½ inch. If the cookies are of different sizes, they will bake unevenly, leading to some being overdone and others undercooked. A sharp, un-serrated knife works best for clean cuts.
- Avoid Overbaking at All Costs: This is a golden rule for many cookie recipes, and it holds especially true here. Overbaking leads to dry, crumbly cookies that lack that desirable chewy texture. Remove your cookies from the oven when their edges are just set and the centers still appear slightly soft. They will continue to firm up and cook subtly on the hot baking sheet after removal. Trust the recommended baking time and the visual cues!
- Dip and Sprinkle Immediately: When it comes to decorating with candy melts and crushed candy canes, timing is everything. Once you dip a cookie into the melted candy, immediately place it on your parchment-lined surface and sprinkle it generously with the crushed peppermint. White candy melts harden very quickly, so if you wait even a few seconds, the candy cane pieces won’t adhere properly. Work swiftly, one cookie at a time, for the best results.
- Chill Your Dough Thoroughly: While the recipe suggests at least an hour, chilling the dough overnight (up to 24 hours) is highly recommended. This allows the butter to fully firm up and the flavors to meld, resulting in cookies that hold their shape better during baking and have a richer taste.
- Room Temperature Ingredients: Ensure your butter and eggs are at room temperature. This allows them to cream together more effectively, creating a smoother, more emulsified dough that will produce a more tender and uniform cookie.

Delicious Substitutions and Creative Variations for Your Cookies
While this recipe is perfect as written, don’t hesitate to get creative! Here are a few substitutions and variations you can try to customize these chocolate slice and bake cookies with candy cane bits:
- White Chocolate Alternatives: If you prefer not to use candy melts, you can certainly use high-quality white chocolate. When choosing white chocolate, remember that its quality will significantly impact the final taste. Look for white chocolate bars or chips with a good cocoa butter content for a smooth melt and rich flavor. I’ve personally made these using premium white chocolate, and they yield an exceptional white chocolate cookie experience. Alternatively, for a slightly less sweet option, you could consider using dark chocolate for dipping, creating a triple chocolate and peppermint effect!
- Peppermint Candy Options: Candy canes are most prevalent during the holidays, but if you’re making these cookies at another time of the year, they might be harder to find. In that case, fear not! You can use other forms of peppermint candy. Crushed starlight mints, peppermint hard candies, or even finely chopped peppermint patties can work beautifully. Just ensure they are crushed to a similar consistency as the candy canes for that signature crunch. If you’re looking for an even stronger peppermint flavor, a tiny drop of pure peppermint extract (about ¼ teaspoon, added to the cookie dough or the melted white chocolate) can be incorporated, but use sparingly as it’s potent!
- Add Chocolate Chips: For an extra layer of chocolatey goodness, fold ½ cup of mini chocolate chips or chopped chocolate chunks into the cookie dough before forming the logs. This will make them even more indulgent!
- Spiced Dough: A pinch of cinnamon or a tiny dash of espresso powder (¼ teaspoon) added to the dry ingredients can subtly enhance the chocolate flavor without overpowering the peppermint.
- Nutty Crunch: While the original recipe focuses on peppermint crunch, for an added texture, you could also sprinkle some finely chopped toasted pecans or walnuts alongside the candy canes on the melted white chocolate.
Make-Ahead and Storage Tips
These chocolate peppermint crunch slice and bake cookies are fantastic for making ahead, which adds to their convenience, especially during busy times. Here’s how to manage them:
- Storing Baked Cookies: Once fully cooled and the candy melts have set, store the cookies in an airtight container at room temperature for up to 5 days. Layer them with parchment paper between layers to prevent sticking and to protect the candy cane topping.
- Freezing Baked Cookies: For longer storage, you can freeze the baked and decorated cookies. Place them in a single layer on a baking sheet and freeze until solid (about 1-2 hours). Once solid, transfer them to a freezer-safe airtight container or bag, separating layers with parchment paper. They will keep well for up to 2-3 months. Thaw at room temperature before serving.
- Freezing Dough Logs: The beauty of slice and bake is in the frozen dough! Wrap the chilled dough logs tightly in plastic wrap, then again in aluminum foil. Label and freeze for up to 3 months. When ready to bake, you can slice and bake directly from frozen, adding a couple of minutes to the baking time, or let them sit at room temperature for 10-15 minutes to soften slightly before slicing.
Frequently Asked Questions (FAQ)
Here are answers to some common questions you might have about making these chocolate peppermint crunch slice and bake cookies:
- Why do my cookies spread too much? Over-softened butter, not enough chilling time for the dough, or an oven that isn’t preheated to the correct temperature can all cause cookies to spread. Ensure your butter is softened but not melted, chill the dough thoroughly, and use an oven thermometer to verify your oven’s temperature.
- Can I use a different type of cocoa powder? Yes, you can. Natural unsweetened cocoa powder is recommended for its balanced flavor and interaction with baking soda. If using Dutch-processed cocoa, which is less acidic, you might notice a slightly different texture or flavor profile, but it should still work.
- My candy melts are too thick for dipping. What can I do? If your candy melts are too thick, you can add a little more coconut oil (start with ½ teaspoon at a time) and stir until you reach the desired consistency. Make sure not to overheat them, as this can cause them to seize.
- How do I crush candy canes without making a mess? Place the candy canes in a heavy-duty, sealable plastic bag. Expel as much air as possible, then use a rolling pin or the flat side of a meat tenderizer to gently tap and crush them. This contains the pieces and prevents them from scattering.
Shop This Recipe
This article may contain some affiliate links, meaning, at no additional cost to you, I will earn a commission if you click through and make a purchase. These links help support the blog and allow us to continue creating delicious recipes!
High-Quality Baking Sheets
Reusable Silicone Baking Mat
Premium Parchment Paper Rolls
Chef’s Quality Slicing Knife