
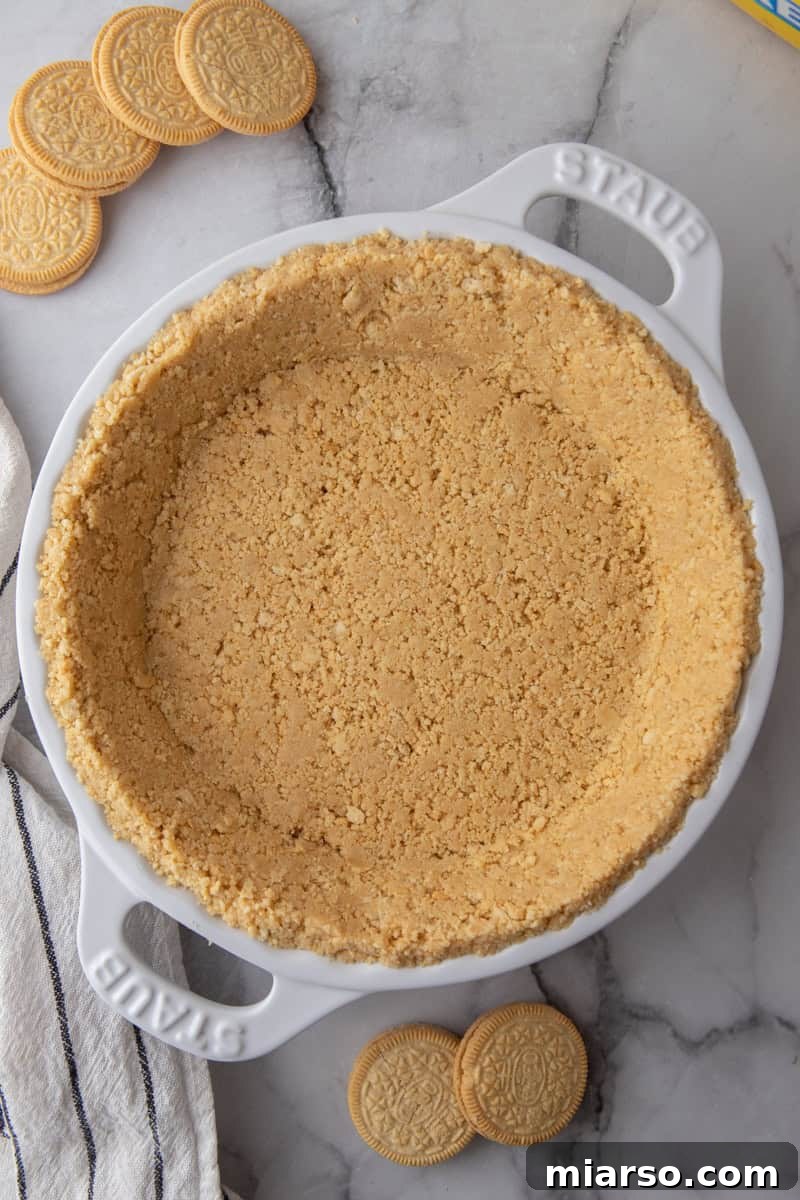
The Ultimate Golden Oreo Pie Crust: A Simple, Buttery, and Crunchy Delight
Transform your desserts with this incredibly simple yet extraordinarily delicious Golden Oreo Pie Crust recipe. Forget the fuss of complicated baking; this crust is crafted with just two essential ingredients, offering a rich, buttery, sweet, and perfectly crunchy base for all your favorite pies and cheesecakes. It’s a delightful departure from the traditional chocolate sandwich cookie crust, bringing a bright vanilla flavor that truly elevates any dessert it accompanies.
For years, the classic chocolate Oreo crust has reigned supreme in American dessert recipes, adding a distinctive flair to everything from chocolate creme pies to decadent cheesecakes. While undeniably delicious, there’s an entire world of flavor waiting to be discovered with its equally beloved counterpart: the Golden Oreo. Just as regular Oreos are celebrated for their iconic chocolate taste, Golden Oreos are famous for their vibrant, sweet vanilla flavor, which, when transformed into a crust, creates an unforgettable culinary experience.
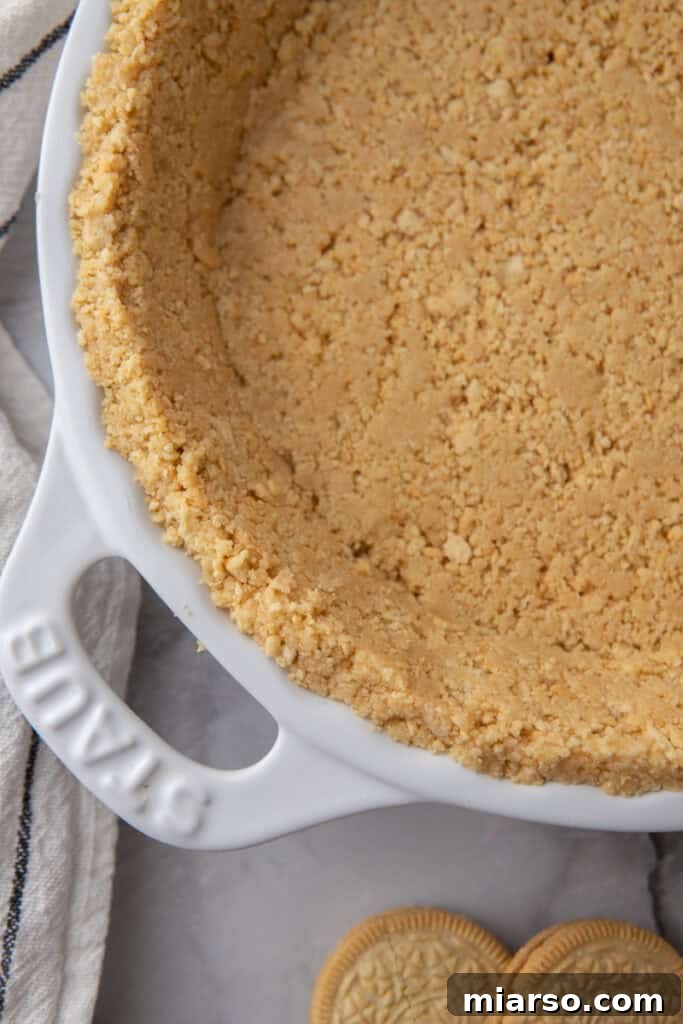
What makes this Golden Oreo dessert crust truly exceptional is its unparalleled ease of preparation. Unlike many recipes that demand the tedious task of scraping out the cream filling, this recipe ingeniously utilizes the whole Golden Oreo cookies – filling and all. This not only saves you valuable time and effort but also infuses the crust with an extra layer of sweetness and creaminess, making your homemade pie crust effortlessly superior.
If you’re passionate about pies and looking for more delightful dessert ideas, be sure to explore our other no-bake favorites. Discover the refreshing tang of this no-bake lemon pie recipe, indulge in these creamy No-Bake Cheesecake Bars, or whip up an Easy No Bake Key Lime Pie Recipe. Each offers a unique flavor profile that pairs beautifully with simple, homemade crusts.
Essential Ingredients for Your Buttery Golden Oreo Pie Crust
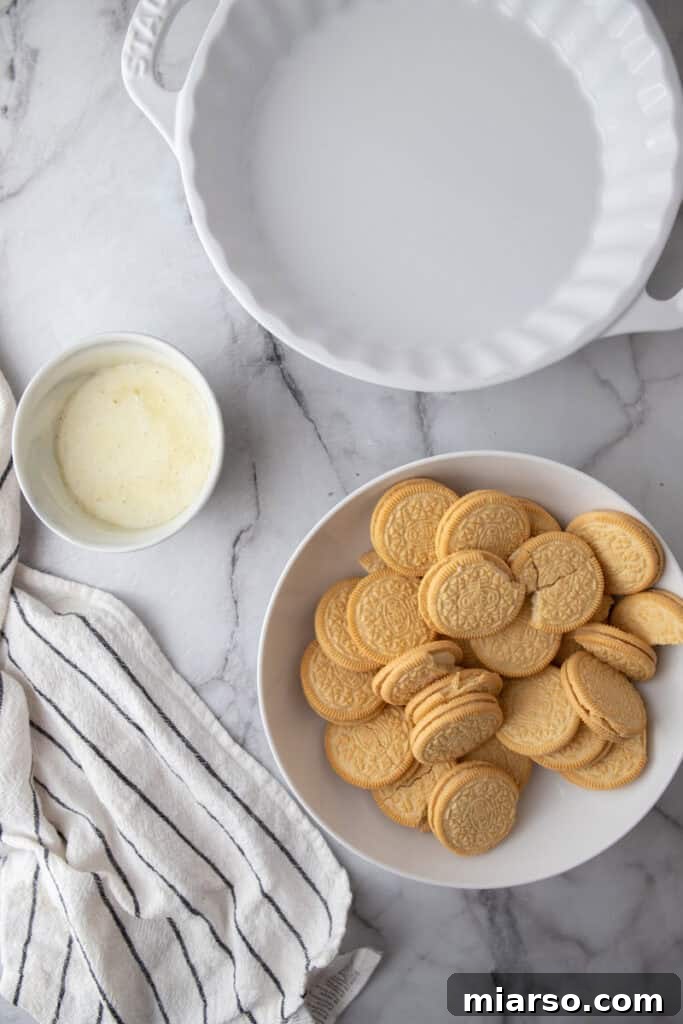
Creating this irresistible homemade Oreo crust requires minimal ingredients, making it accessible for every home baker. Each component plays a crucial role in achieving the perfect texture and flavor. For precise measurements, please refer to the detailed recipe card provided at the conclusion of this article.
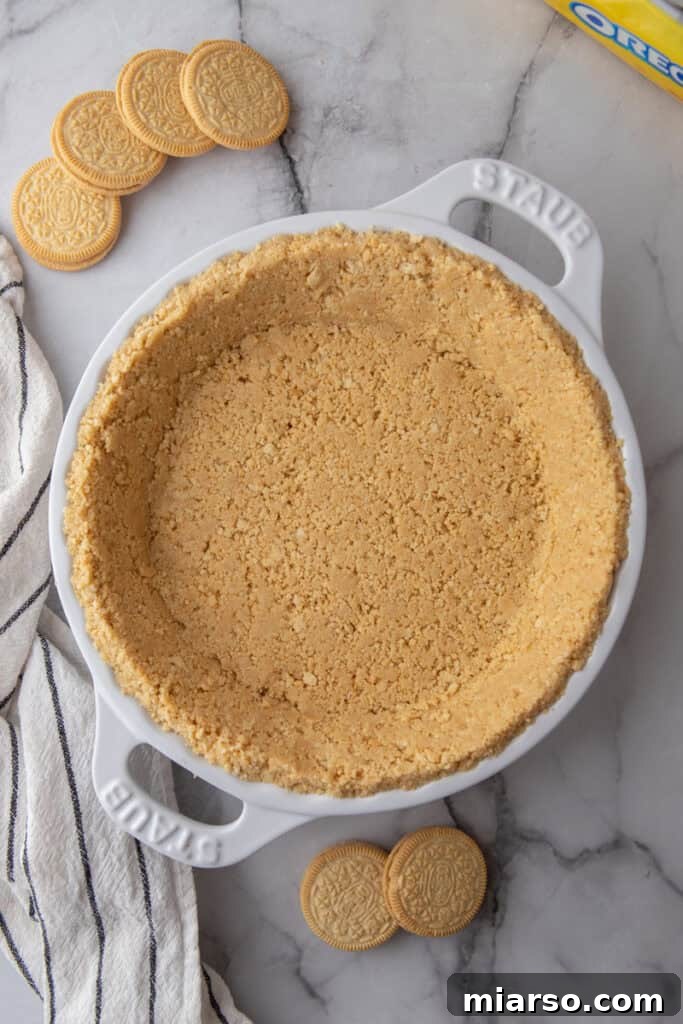
- Golden Oreos: These iconic vanilla-flavored cookies are the star of our crust. Their unique flavor profile provides a delightful, sweet, and slightly salty counterpoint to a wide range of pie and cheesecake fillings. When crushed, they form a fine, consistent crumb that holds together beautifully, offering a fantastic crunch in every bite.
- Unsalted Butter: Melted and warmed to perfection, unsalted butter is the magic binder that transforms the cookie crumbs into a cohesive crust. It not only helps the crumbs stick together but also imparts a rich, luxurious buttery flavor, enhancing the overall decadence of your dessert. Using unsalted butter allows you to control the saltiness of the crust, ensuring it complements your chosen filling perfectly.
Crafting Your Golden Oreo Cookie Crust: A Simple Step-by-Step Guide
This section outlines the straightforward process for making your very own homemade Golden Oreo pie crust. For comprehensive, step-by-step instructions, be sure to consult the complete recipe card at the end of this post.
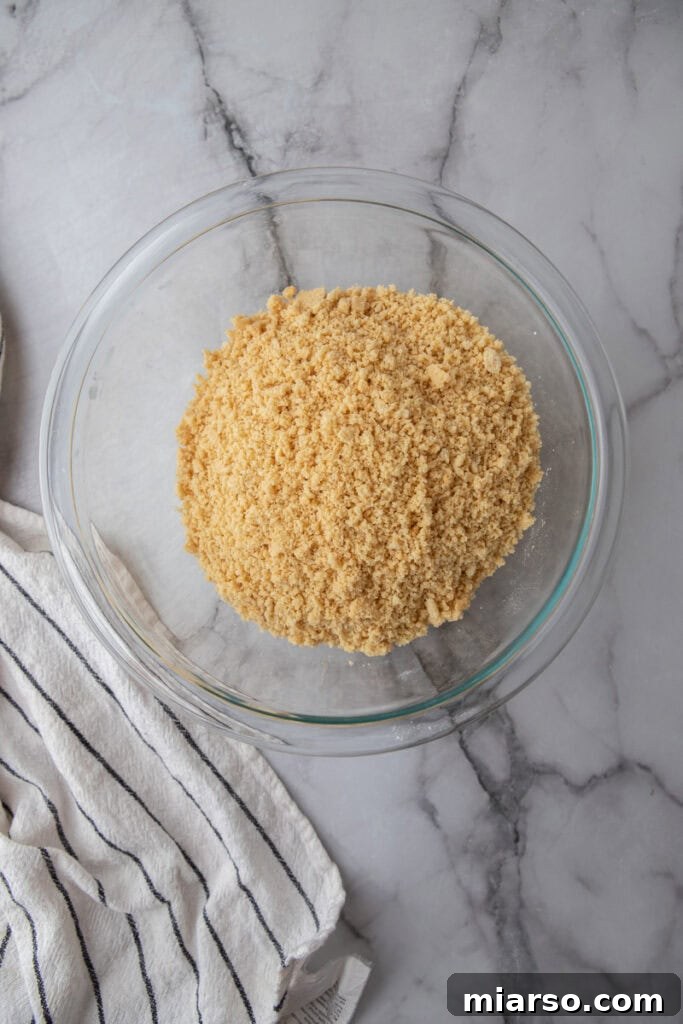
- Prepare the Cookie Crumbs: Begin by crushing your Golden Oreos into fine crumbs. A food processor is the quickest and most efficient tool for this, yielding uniform, sand-like crumbs. If you don’t have a food processor, simply place the cookies in a sturdy sealed plastic bag and use a rolling pin to crush them until they reach the desired fine, sandy texture. The finer the crumbs, the more cohesive and less crumbly your finished crust will be.
- Combine with Melted Butter: In a large mixing bowl, gently combine the finely crushed Golden Oreo crumbs with your melted unsalted butter. Stir thoroughly until all the crumbs are evenly moistened and coated with butter. The mixture should resemble wet sand and hold together when pressed between your fingers. This ensures that the crust will bind properly and achieve its signature buttery crunch.
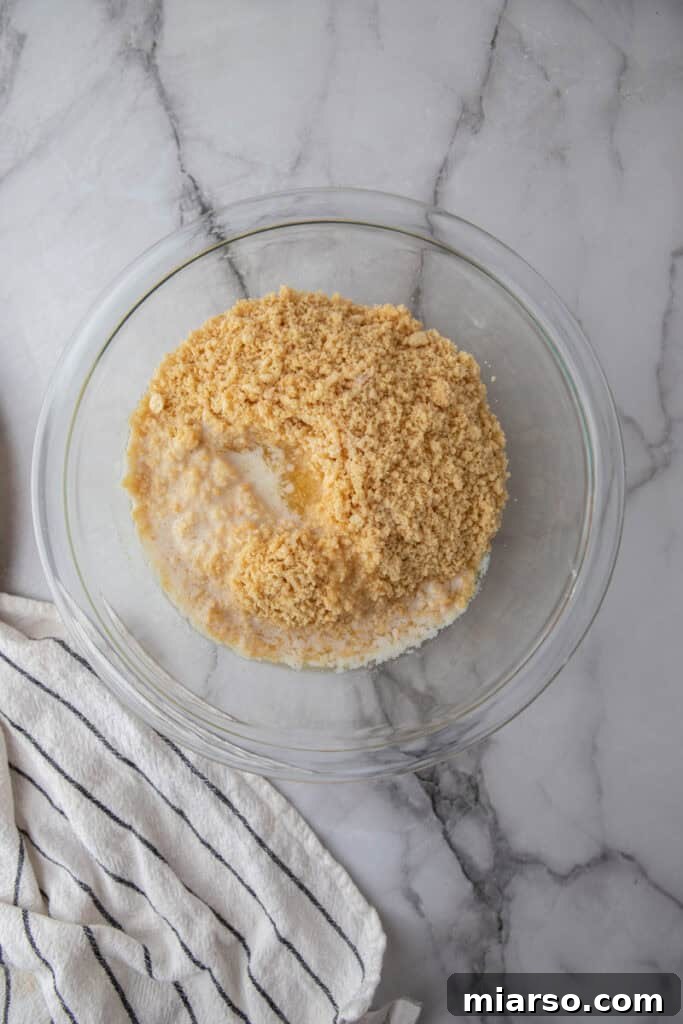
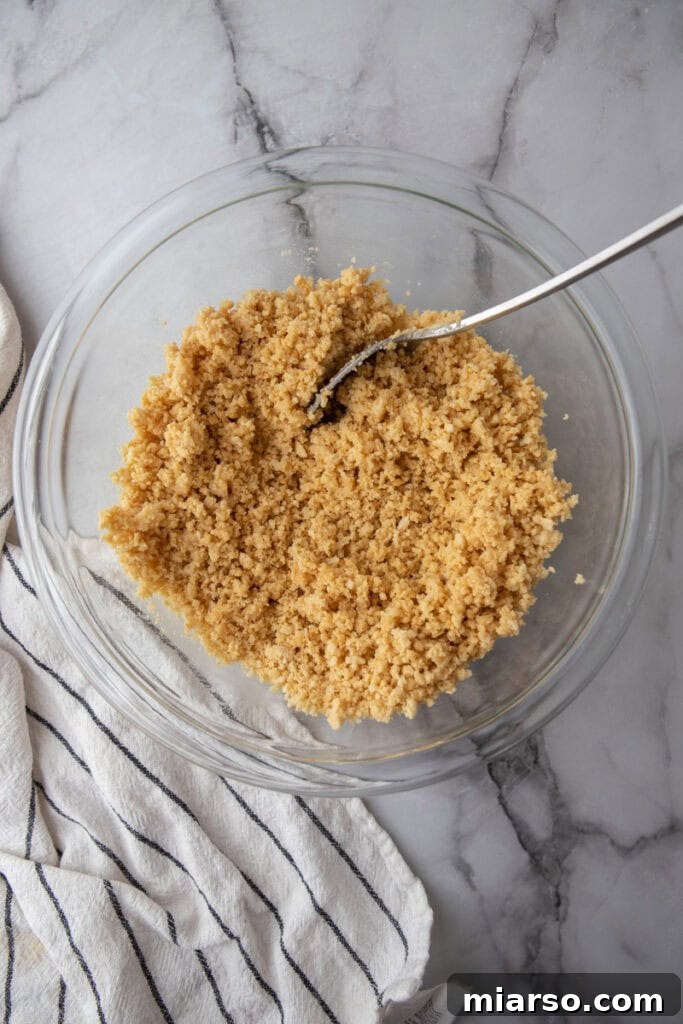
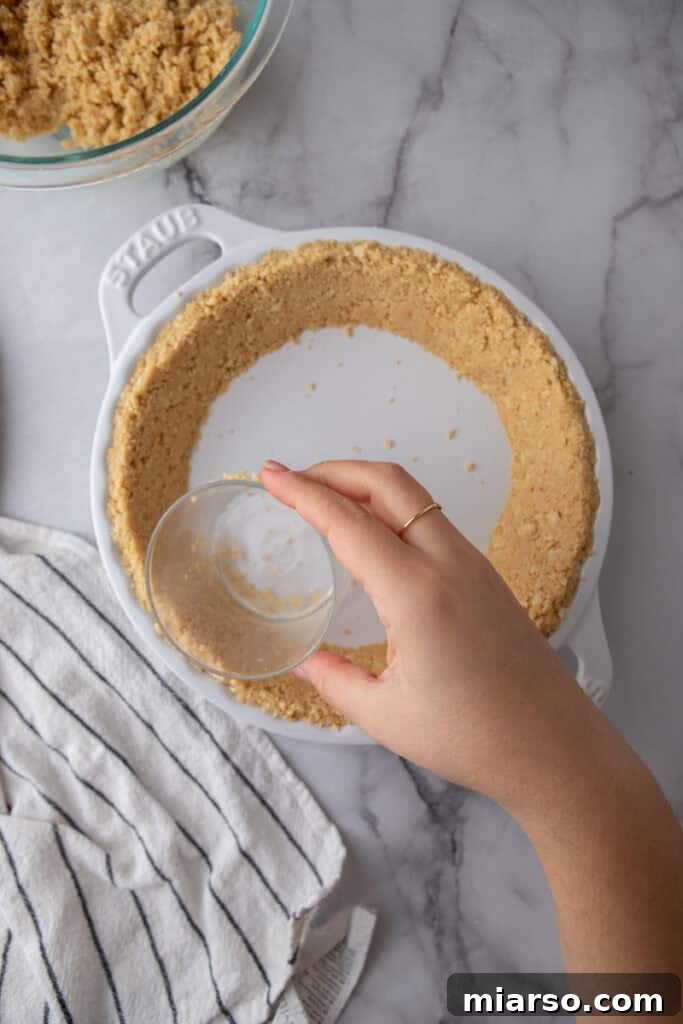
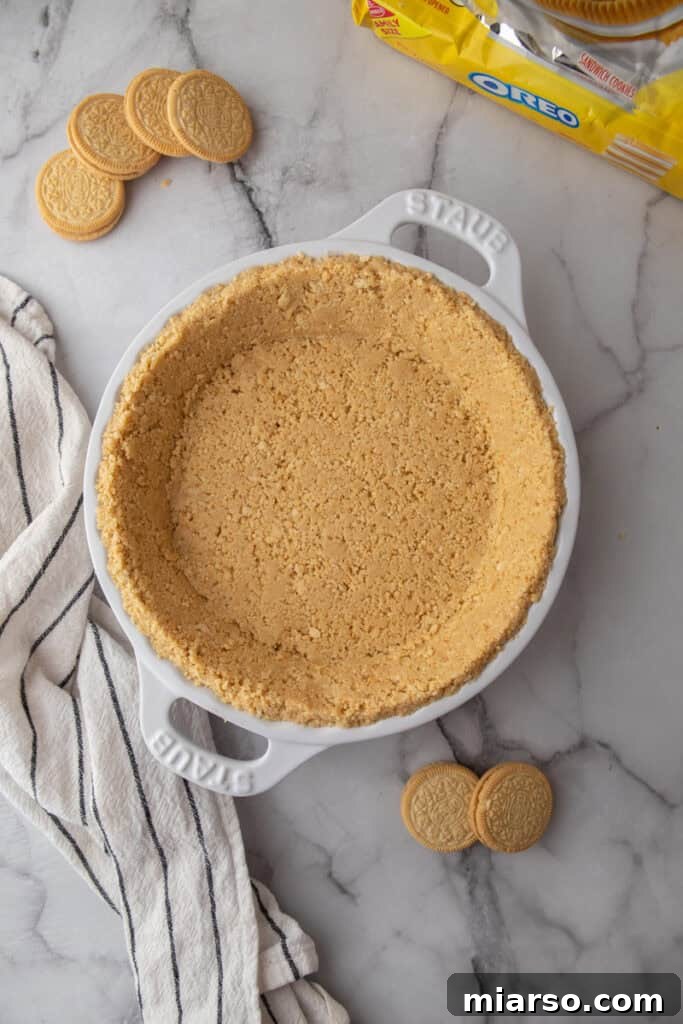
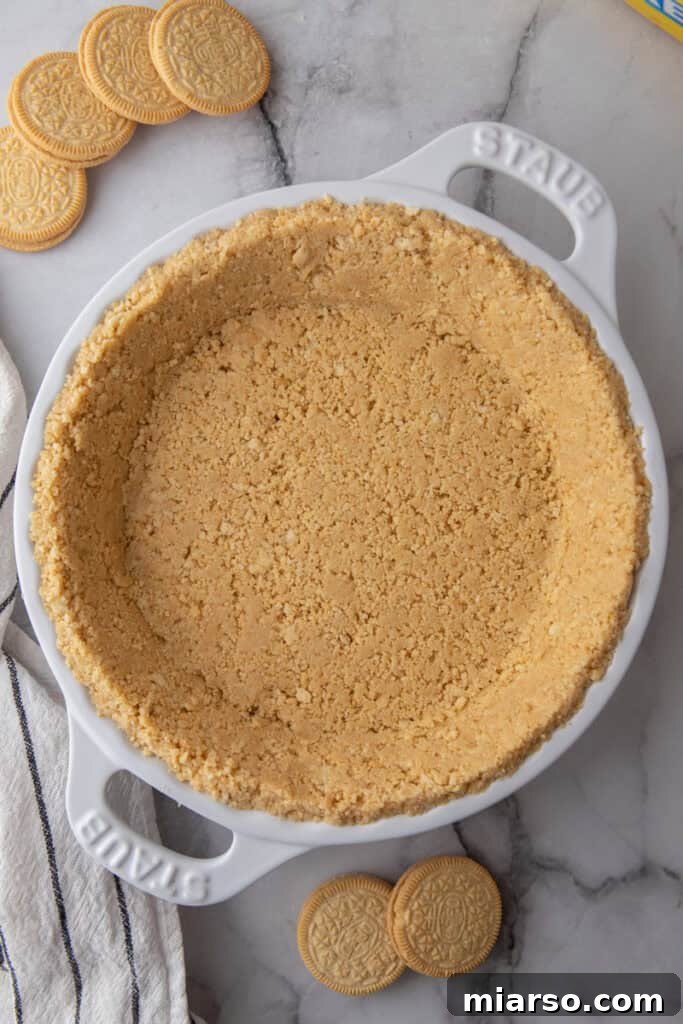
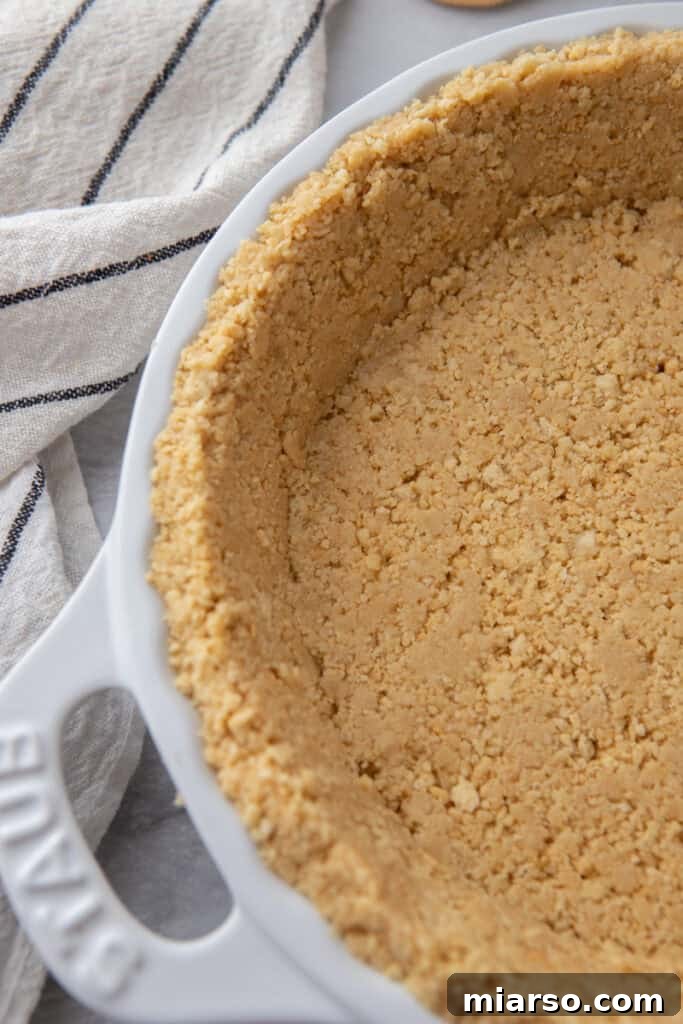
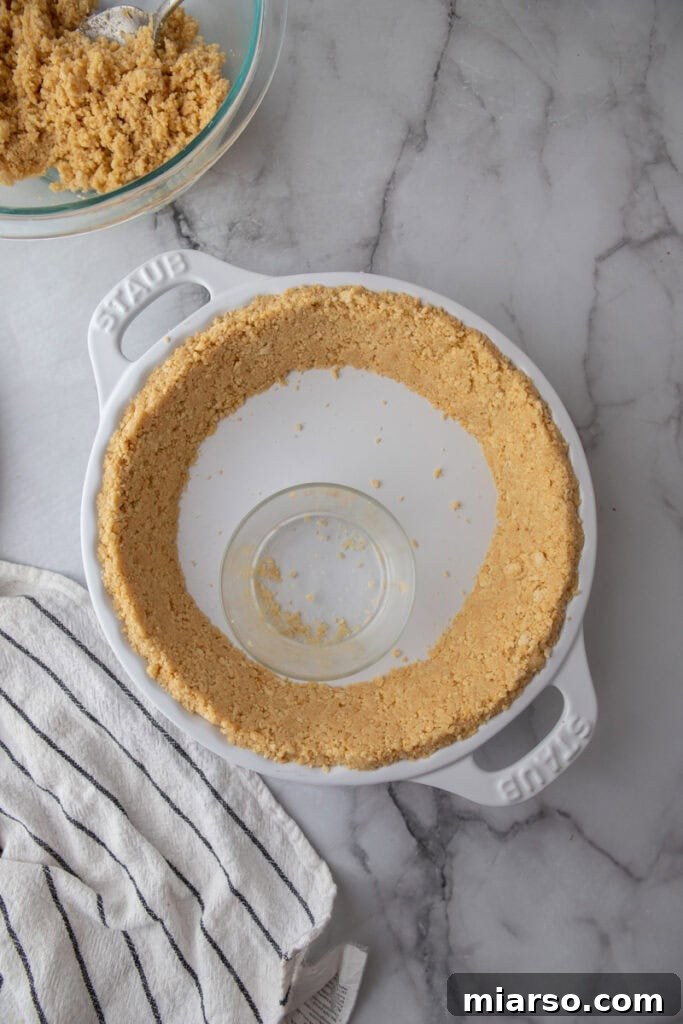
- Form the Pie Crust: Carefully pour about two-thirds of the moistened Golden Oreo mixture into a standard 9-inch pie plate. Begin by pressing this portion firmly up the sides of the pie plate, using the back of a spoon or the flat bottom of a measuring cup to create an even, sturdy edge. Then, add the remaining mixture to the base of the pie plate and press it down into an even, compact layer. The key here is to apply firm, consistent pressure to ensure the crust holds its shape and doesn’t crumble when sliced.
- Choose Your Method: No-Bake Crust: For a delightful no-bake pie crust, once formed, simply refrigerate the crust for at least 30 minutes, or freeze it for about 15 minutes. This chilling period allows the butter to solidify, setting the crust firmly in place. This method is ideal when your chosen filling is served cold or if the pie will be enjoyed on the same day it’s prepared, offering a tender yet firm base.
- Choose Your Method: Baked Crust: If your recipe calls for a baked crust, preheat your oven to 350°F (175°C). Place the formed crust in the preheated oven and bake for 8-10 minutes, or until the edges are slightly golden brown and you detect a toasted, sweet aroma. Baking provides extra stability and a deeper, more pronounced flavor. Allow the baked crust to cool completely to room temperature on a wire rack before adding any filling, preventing condensation and sogginess.
Golden Oreo Pie Crust: Expert Tips and Tricks for Perfection
- Achieve Fine Crumbs: The secret to a stable, sliceable crust is finely ground cookie crumbs. Larger chunks can prevent the crust from binding properly, leading to a crumbly texture. Aim for a consistency similar to fine sand for optimal results.
- Balance the Sweetness: While Golden Oreos are sweet, a tiny pinch of salt (about ¼ teaspoon, added with the melted butter) can help to enhance the vanilla flavor and provide a subtle balance to the sweetness, elevating the overall taste profile.
- Create a Moisture Barrier (for No-Bake): If you’re using a no-bake crust with a particularly moist filling, consider brushing a very thin layer of melted white or dark chocolate over the cooled crust before adding the filling. This creates a protective barrier, preventing the crust from becoming soggy over time.
- Press Firmly: This step cannot be overstressed. Applying significant, consistent pressure when forming the crust is crucial for its structure. The tighter the crumbs are packed, the less likely your crust is to fall apart when you cut into your delicious pie.
- Cool Completely: Whether you bake or chill your crust, ensure it is completely cooled or set before adding any filling. Adding filling to a warm or unset crust can lead to melting butter, uneven textures, or even a soggy bottom. Patience is key!
- Prevent Sticky Crumbs: If using your hands to press the crumbs, occasionally wet them slightly or lightly dust them with flour to prevent the mixture from sticking.
Why This Golden Oreo Pie Crust Will Be Your New Favorite
There are countless reasons why this easy Golden Oreo pie crust recipe deserves a permanent spot in your culinary repertoire. It’s more than just a crust; it’s a foundation for endless dessert possibilities:
- Effortless Simplicity: Requiring only two common ingredients and minimal effort, this recipe demystifies the pie-making process. You can find all components readily at any local grocery store, making it a convenient choice for spontaneous baking or last-minute dessert needs.
- Unforgettable Flavor Elevation: This crust offers a refreshing and exciting flavor alternative to traditional chocolate or graham cracker crusts. The bright vanilla notes of the Golden Oreos provide a unique twist that will surprise and impress your guests, adding an unexpected layer of deliciousness to your creations.
- Smart Pantry Utilization: It’s an ingenious way to make good use of those extra packages of Golden Oreos that might be lingering in your pantry. Instead of letting them go stale, transform them into a spectacular base for your next dessert masterpiece.
- Versatility Personified: Whether you prefer a baked, crispy crust or a soft, tender no-bake option, this recipe caters to both, adapting seamlessly to a wide variety of dessert types, from rich cheesecakes to light mousse pies.
- Kid-Friendly Fun: The simplicity of this recipe makes it a fantastic project for involving younger family members in the kitchen. Crushing cookies and pressing crumbs are enjoyable tasks that even novice bakers can master, fostering a love for baking.
Frequently Asked Questions (FAQ) about Golden Oreo Pie Crust
When is the no-bake crust the best choice?
The no-bake option for your Golden Oreo pie crust recipe is perfect when you’re crafting a no-bake dessert or one that benefits from a softer, less firm base that doesn’t require oven heat to set. Here are some ideal scenarios:
- Pudding Pies: Delicate pudding fillings, such as banana cream or chocolate pudding pies, often don’t need heat to set and are best complemented by the tender texture of a chilled crust.
- Ice Cream Pies: A no-bake crust is a match made in heaven for ice cream pies. Both components firm up beautifully in the freezer, creating a cohesive, easy-to-slice dessert that’s wonderfully refreshing.
- Mousse Pies: Light and airy fillings like chocolate mousse pie or peanut butter pie maintain their delicate stability when paired with a chilled crust. The no-bake method ensures the mousse remains perfectly fluffy and doesn’t get weighed down by a hard, baked crust.
- Quick Desserts: When time is of the essence, the no-bake crust allows you to assemble and chill your dessert rapidly, making it perfect for last-minute gatherings or cravings.
When should I opt for the baked crust?
The baked crust offers enhanced stability, a toastier flavor, and a crisper texture, making it ideal for specific types of desserts, particularly those with heavier or wetter fillings. Consider the baked option for:
- Cheesecake Recipes: For rich, dense cheesecakes, a crunchy baked Golden Oreo crust provides essential structural integrity. Baking the crust ensures it remains firm and prevents it from becoming soggy under the weight of the filling. You can even par-bake the crust for a few minutes longer to ensure it stays extra crispy.
- Custard and Cream Pies: Classic pies like pumpkin pie, sweet potato pie, or traditional banana cream pie benefit greatly from a pre-baked crust. This prevents the crust from absorbing too much moisture from the filling during baking, resulting in a crisp bottom.
- Tarts: Delicate tart fillings, such as lemon tart or French silk pie, require a baked crust to maintain their elegant structure and provide a sturdy foundation for slicing and serving.
- Heavy or Wet Fruit Fillings: If you’re making a fruit pie with a juicy filling, a pre-baked crust acts as a crucial barrier, significantly helping to prevent sogginess and ensuring a delightful texture contrast.
- Enhanced Stability for Storage: Even if your filling is no-bake, choosing the baked crust option can provide superior crunch and stability. This is a better choice for pies or tarts that you plan to store for a day or two before serving, as the baked crust holds up better over time.
Can I experiment with other Oreo flavors for this crust?
Absolutely! The beauty of this Oreo cookie crust recipe lies in its adaptability. While Golden Oreos provide a fantastic vanilla base, feel free to unleash your culinary creativity and experiment with other Oreo flavors. Imagine a peanut butter Oreo crust for a chocolate peanut butter pie, or perhaps a mint Oreo crust for a refreshing mint chocolate dessert. The possibilities are endless, allowing you to tailor your crust to perfectly complement your filling and personal preferences. Don’t be afraid to get adventurous!
How do I store an unfilled Golden Oreo crust?
If you’ve prepared your crust ahead of time and it’s unfilled, storage is simple. You can keep it right in its pie plate. Tightly wrap the top of the pie plate with plastic wrap or aluminum foil to prevent it from drying out or absorbing refrigerator odors. Stored this way, the crust will remain fresh in the refrigerator for up to 3 to 4 days, making it perfect for meal prepping your desserts.
Can I make this Golden Oreo crust ahead of time and freeze it?
Yes, absolutely! This Oreo pie crust is an excellent candidate for making ahead. The prepared crust, still in its 9-inch pie dish, can be stored in the refrigerator as described above, or it can be frozen for up to a month for longer storage. When freezing, ensure you wrap it very tightly with multiple layers of plastic wrap, pressing out as much air as possible to prevent freezer burn. When you’re ready to use it, simply let it thaw in the refrigerator overnight or on the counter for a few hours before filling.
Why is the cream filling kept in the Golden Oreos for the crust?
Keeping the cream filling in the Golden Oreos is a deliberate choice that enhances both the texture and flavor of your pie crust. The filling contains fats and sugars that act as an additional binding agent, working alongside the melted butter to create a more cohesive and stable crust. Beyond structure, it contributes extra sweetness and a delightful creaminess that deepens the vanilla flavor profile of the Golden Oreo crust, making it richer and more indulgent than a crust made with just the cookie wafers.
Is it possible to make this Golden Oreo crust recipe gluten-free?
Certainly! Making this recipe gluten-free is incredibly straightforward. Simply use gluten-free Golden Oreos, which are widely available in most grocery stores. The recipe and preparation steps remain exactly the same, ensuring you can enjoy a delicious, safe-for-all gluten-free pie crust without any compromise on taste or texture.
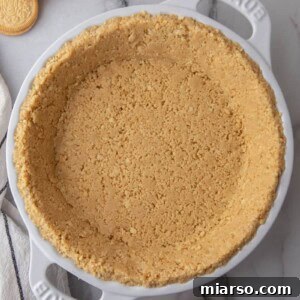
Golden Oreo Pie Crust Recipe
10 minutes
10 minutes
20 minutes
1 pie crust
Print Recipe
Ingredients
- 24 Golden Oreo cookies with filling
- 5 tablespoons Unsalted butter melted
Instructions
Option 1: No-Bake Oreo Crust
-
Use a food processor to pulse the cookies into fine crumbs. If using a rolling pin, place Oreos in a zip-top bag and crush until they resemble sand.24 Golden Oreo cookies
-
In a bowl, combine Oreo crumbs with melted butter and stir until the mixture is evenly coated.5 tablespoons Unsalted butter
-
Pour 2/3 of the mixture into a 9-inch pie plate, then press it firmly up the sides using the back of a spoon or the bottom of a measuring cup. Add the rest of the mixture and press it into the base in an even layer.
-
Refrigerate for at least 30 minutes (or freeze for 15 minutes) before filling.
Option 2: Baked Oreo Crust
-
Preheat oven to 350°F (175°C).
-
Follow Steps 1-3 from the No-Bake option to crush the Oreos, mix with butter, and press into a 9-inch pie pan.
-
Bake for 8-10 minutes, until slightly firm and fragrant.
-
Cool completely before adding the filling.
Nutrition
Carbohydrates: 205g |
Protein: 16g |
Fat: 112g |
Saturated Fat: 52g |
Polyunsaturated Fat: 12g |
Monounsaturated Fat: 41g |
Trans Fat: 2g |
Cholesterol: 151mg |
Sodium: 1125mg |
Potassium: 691mg |
Fiber: 8g |
Sugar: 117g |
Vitamin A: 1755IU |
Calcium: 77mg |
Iron: 35mg
Nutrition information is automatically calculated, so should only be used as an approximation.
Conclusion: Elevate Your Desserts with This Golden Touch
In the world of dessert making, a truly exceptional crust can make all the difference, transforming a good pie into an unforgettable culinary experience. This Golden Oreo Pie Crust recipe offers just that: a simple, buttery, and supremely crunchy foundation that promises to elevate any dessert it graces. With its straightforward two-ingredient preparation, the flexibility of both baked and no-bake options, and the delightful vanilla flavor of Golden Oreos, it’s a versatile staple for both seasoned bakers and curious beginners.
Beyond its ease and delicious taste, this crust encourages creativity, inviting you to explore new flavor combinations and personalize your homemade treats. Whether you’re crafting a classic cheesecake, a refreshing fruit tart, or a creamy pudding pie, the Golden Oreo crust provides a golden touch that will impress your family and friends. So, ditch the ordinary, embrace the extraordinary simplicity, and let this easy Golden Oreo crust become the secret ingredient to your next show-stopping dessert.