
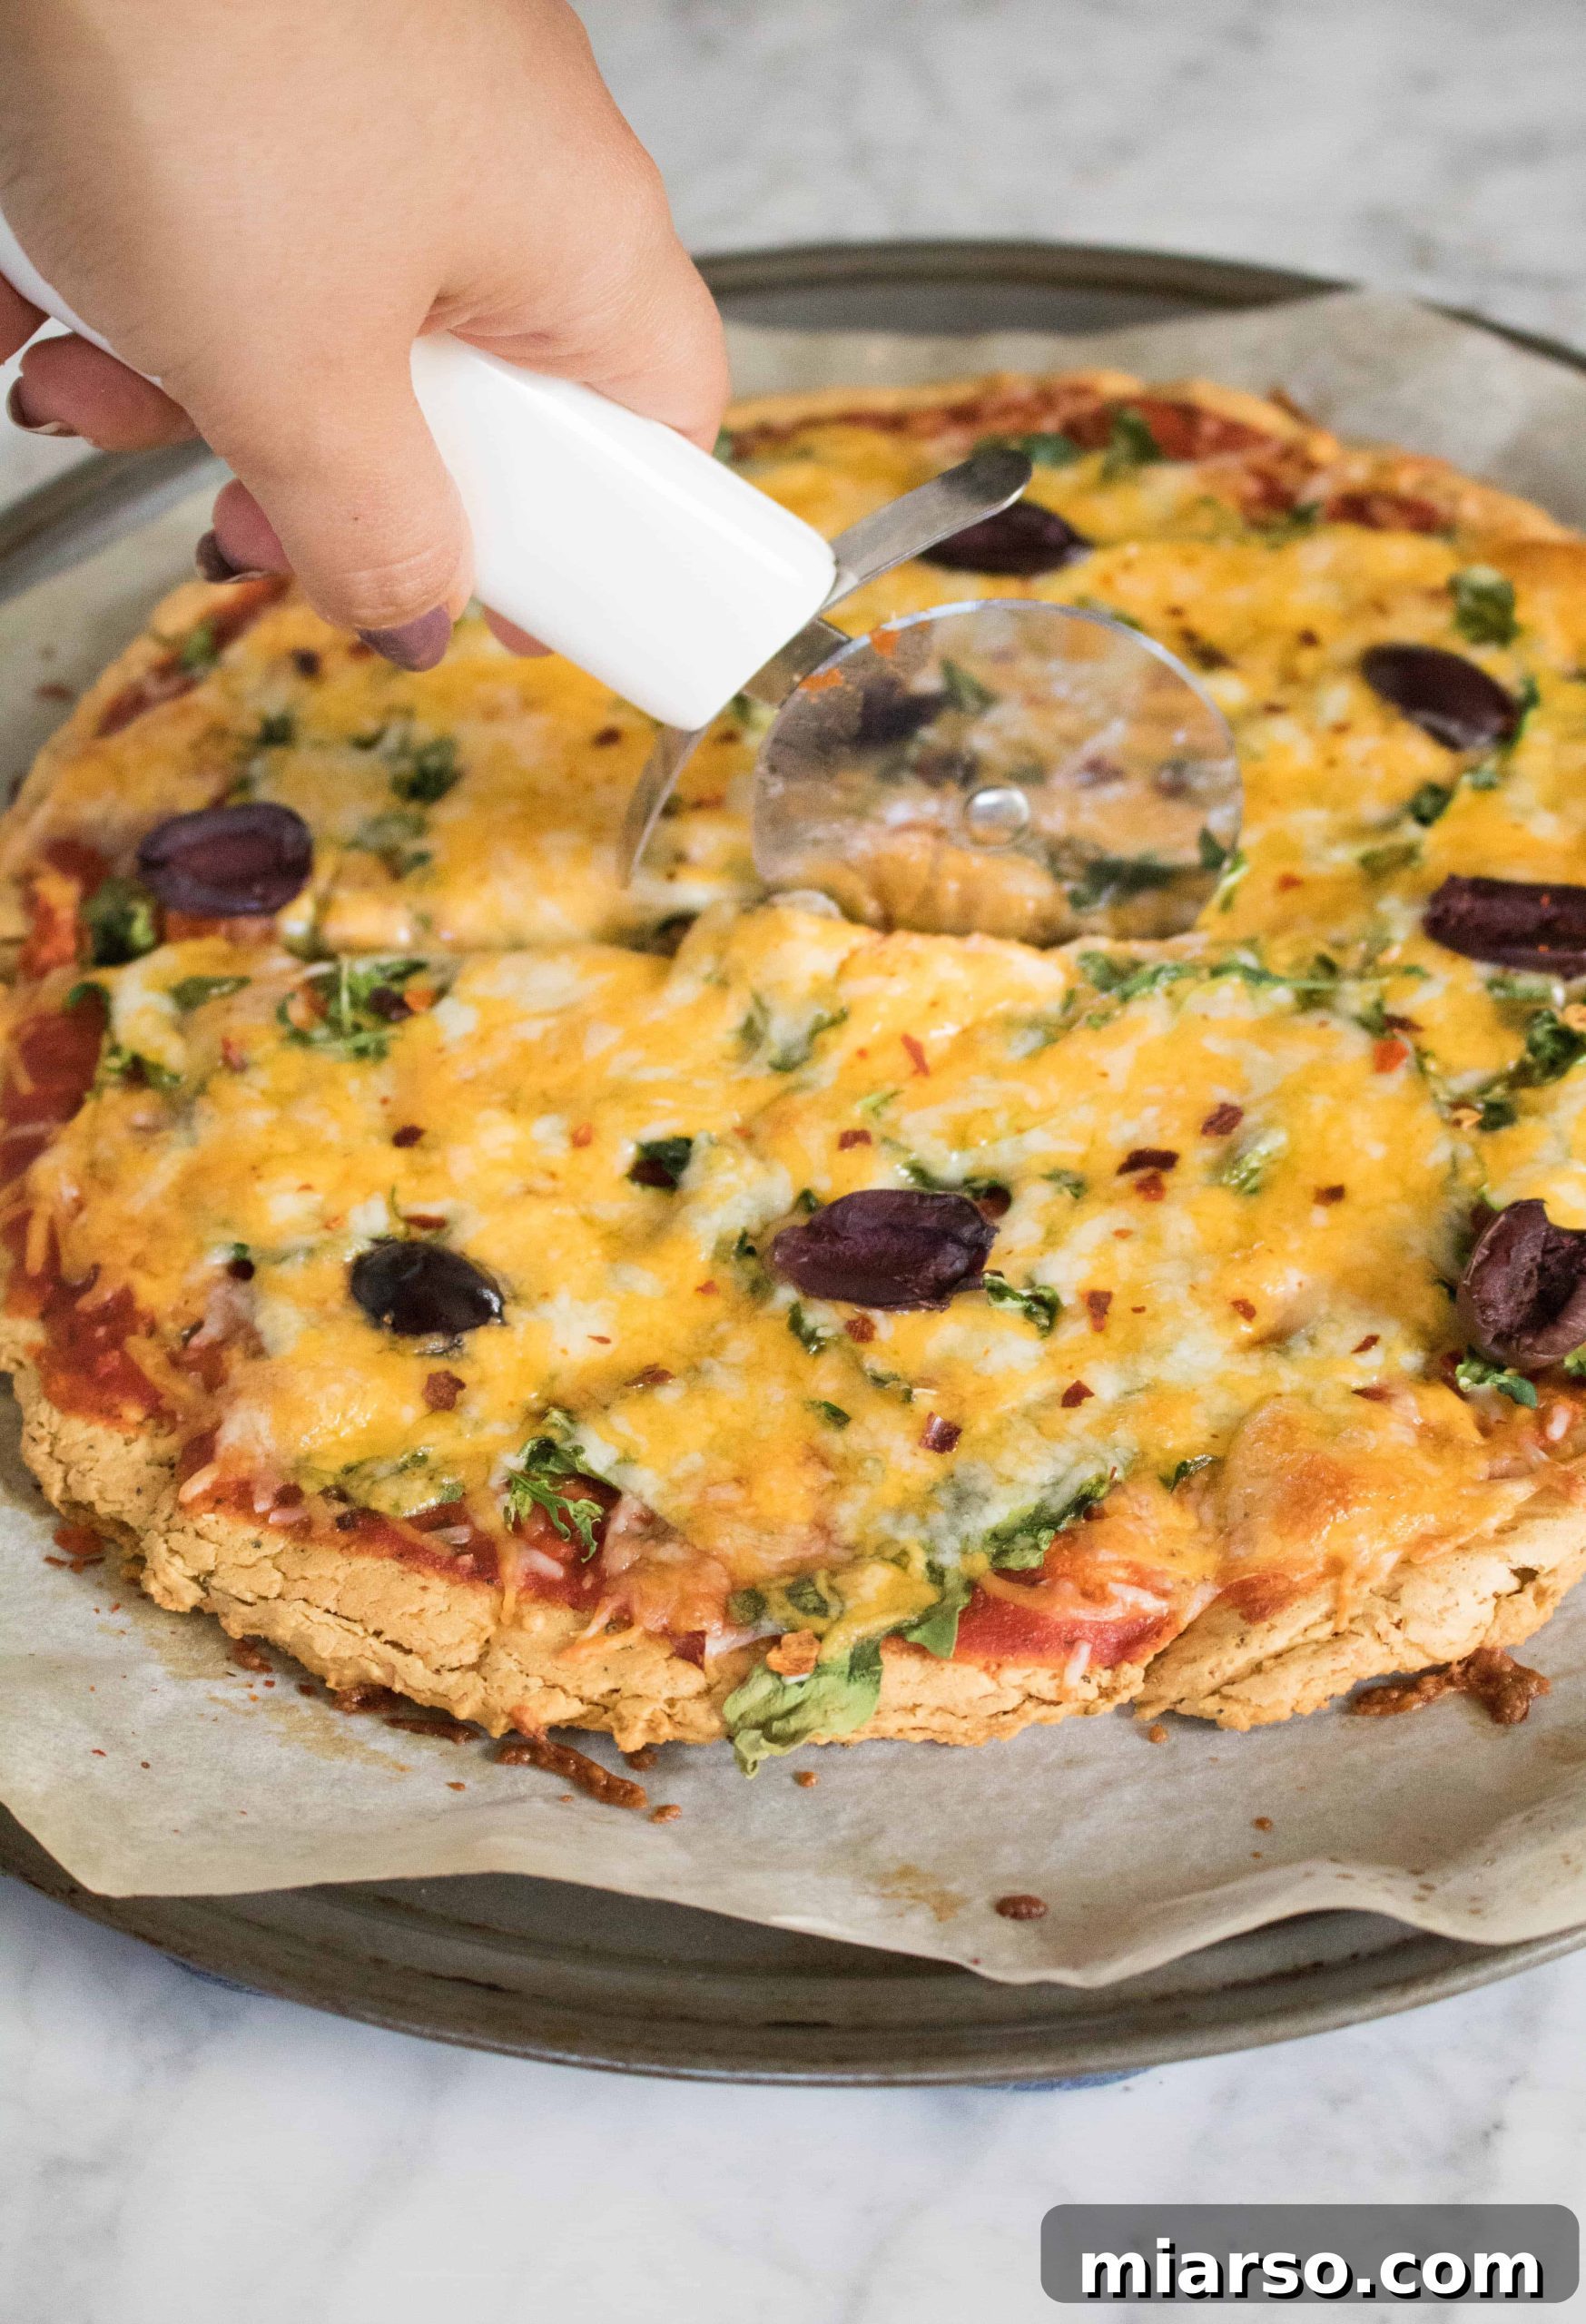
Easy Gluten-Free Chickpea Pizza Crust: Your Quick & Healthy Homemade Pizza Solution
Craving pizza but looking for a healthier, gluten-free alternative? Say hello to the **Gluten-Free Chickpea Pizza Crust**! This innovative crust is a game-changer for those with gluten sensitivities, dietary restrictions, or anyone simply aiming to infuse more nutrition into their meals. Packed with protein and fiber, this low-guilt option is not only incredibly satisfying but also surprisingly quick to prepare, having dinner on the table in under an hour for the entire family to savor.
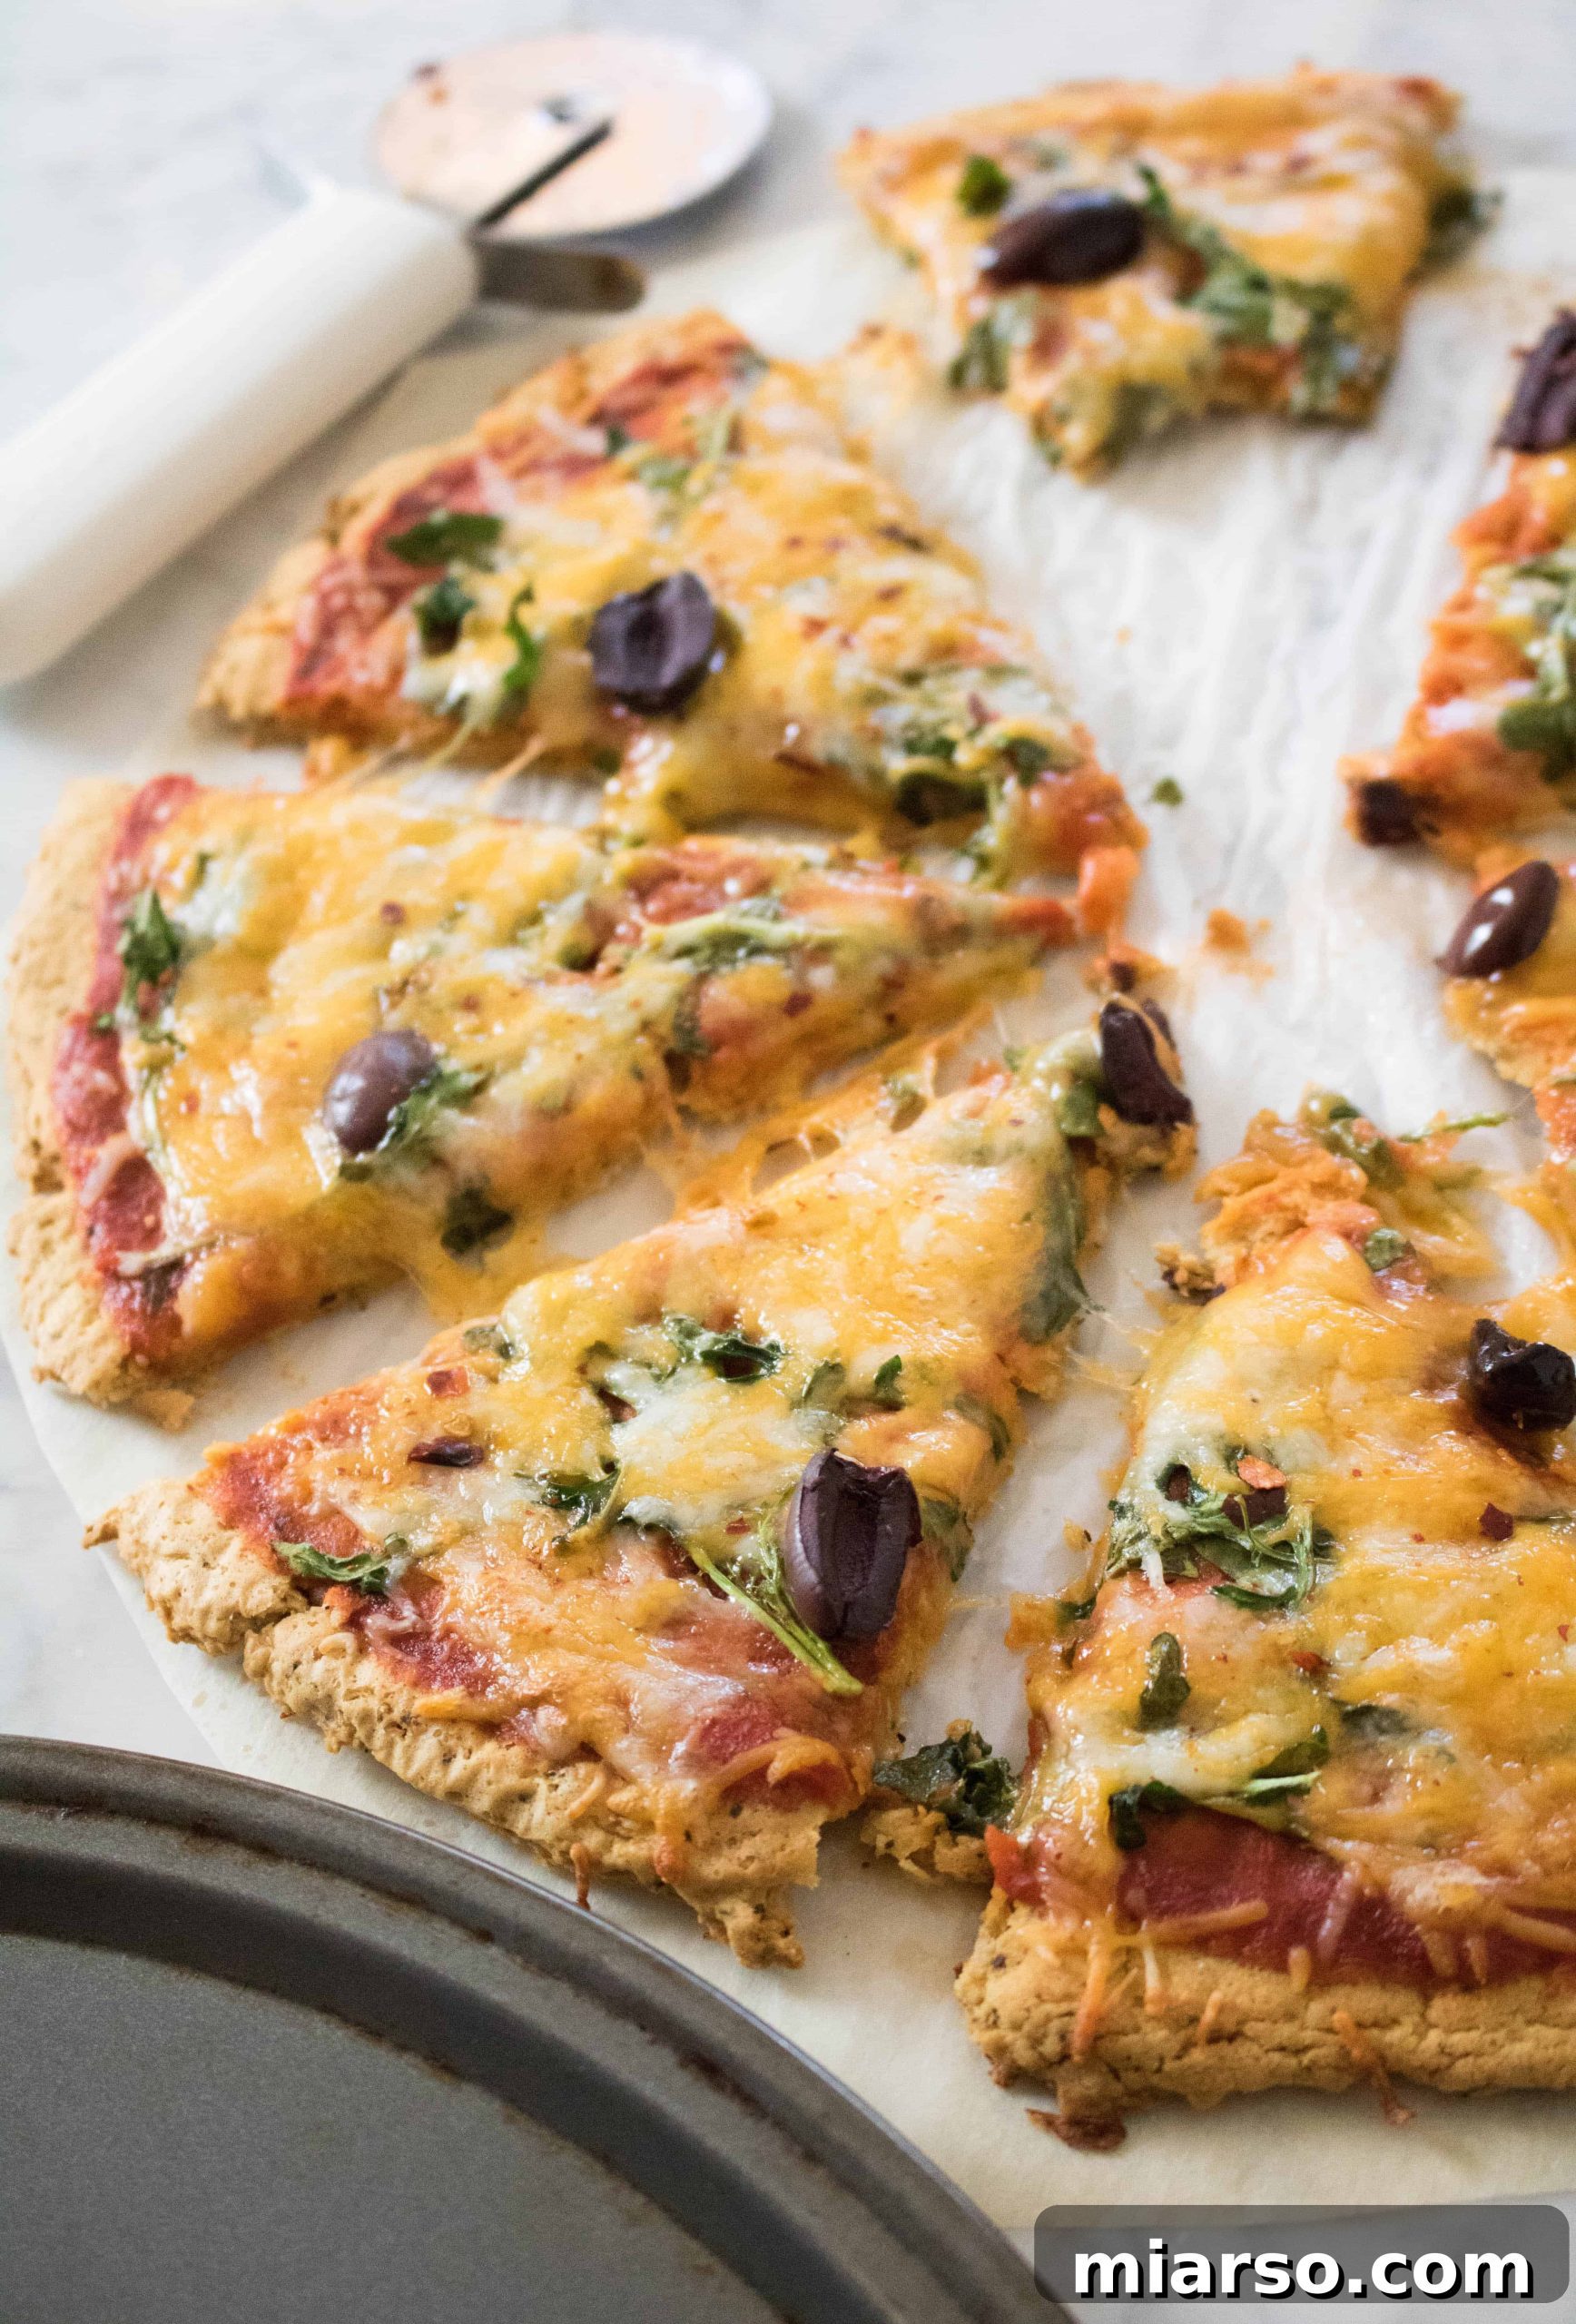
My culinary journey on this blog has always been about exploring unique and accessible pizza crusts that go beyond the traditional. While I’ve previously shared a delicious cauliflower pizza crust, I must admit it often takes a significant amount of time for prep work. As much as I adore it, the extensive preparation often prevents me from making it as frequently as my pizza cravings demand. But fear not, the world of healthy pizza crusts is vast and varied!
Driven by an ongoing fascination with chickpeas, especially chickpea flour, and having successfully created delightful chickpea cookies in the past, a savory chickpea pizza crust seemed like the natural next step. The versatility of chickpeas is truly remarkable, lending itself beautifully to both sweet and savory applications.
Why Choose Chickpeas for Your Pizza Crust?
Chickpeas, also known as garbanzo beans, are a powerhouse of nutrition. They are an excellent source of plant-based protein, dietary fiber, and a variety of essential vitamins and minerals, including iron, folate, and magnesium. Incorporating them into your pizza crust not only makes it gluten-free but also significantly boosts its nutritional profile, helping you feel fuller for longer and supporting digestive health.
While chickpea flour is a fantastic ingredient, I wanted to make this particular recipe as convenient and accessible as possible for everyone. That’s why I opted for canned chickpeas—a pantry staple that’s readily available in most grocery stores. This choice eliminates the need to source specialty flours, making homemade gluten-free pizza a reality for more households. (Don’t worry, a dedicated chickpea flour pizza crust recipe is still on my list to share soon!)
This recipe truly embodies convenience without compromising on flavor or texture. It results in a crust that is hearty, slightly chewy, and provides a wonderful base for any toppings you desire. Whether you’re a seasoned chef or a beginner in the kitchen, this canned chickpea pizza crust is designed for simplicity and delicious results.
Essential Ingredients for Your Gluten-Free Chickpea Pizza Crust
To whip up this incredible canned chickpea pizza crust, gather these simple yet powerful ingredients:
- Canned Chickpeas: The star of our show! Using canned chickpeas significantly cuts down on prep time, making this recipe incredibly quick and easy. Just rinse and drain, and they’re ready to blend.
- Egg: Acts as a crucial binding agent, holding the crust together and giving it structure, ensuring it doesn’t crumble when sliced.
- Chickpea Flour: While the base is canned chickpeas, a small amount of chickpea flour helps absorb any excess moisture from the chickpeas, resulting in a firmer, crispier crust. It also reinforces the gluten-free nature of the recipe.
- Salt, Pepper, Garlic Powder, & Basil: These spices are essential for infusing the crust with a foundational layer of savory flavor. Feel free to adjust quantities or add other herbs like oregano or thyme to customize the taste.
Elevate Your Pizza Night: More Recipes You’ll Love
If you’re enjoying exploring unique pizza creations, be sure to check out these other fantastic recipes:
- Quick Spinach Pizza With White Sauce
- Creamy Garlic White Pizza Sauce
- Easy Flat Bread Margarita Pizza with Pesto Drizzle
Inspiring Topping Ideas for Your Gluten-Free Chickpea Pizza Crust
The beauty of pizza lies in its endless customization. This robust chickpea crust pairs wonderfully with a myriad of toppings, allowing you to get creative and cater to every palate. Here are some healthy and delicious topping ideas to get you started:
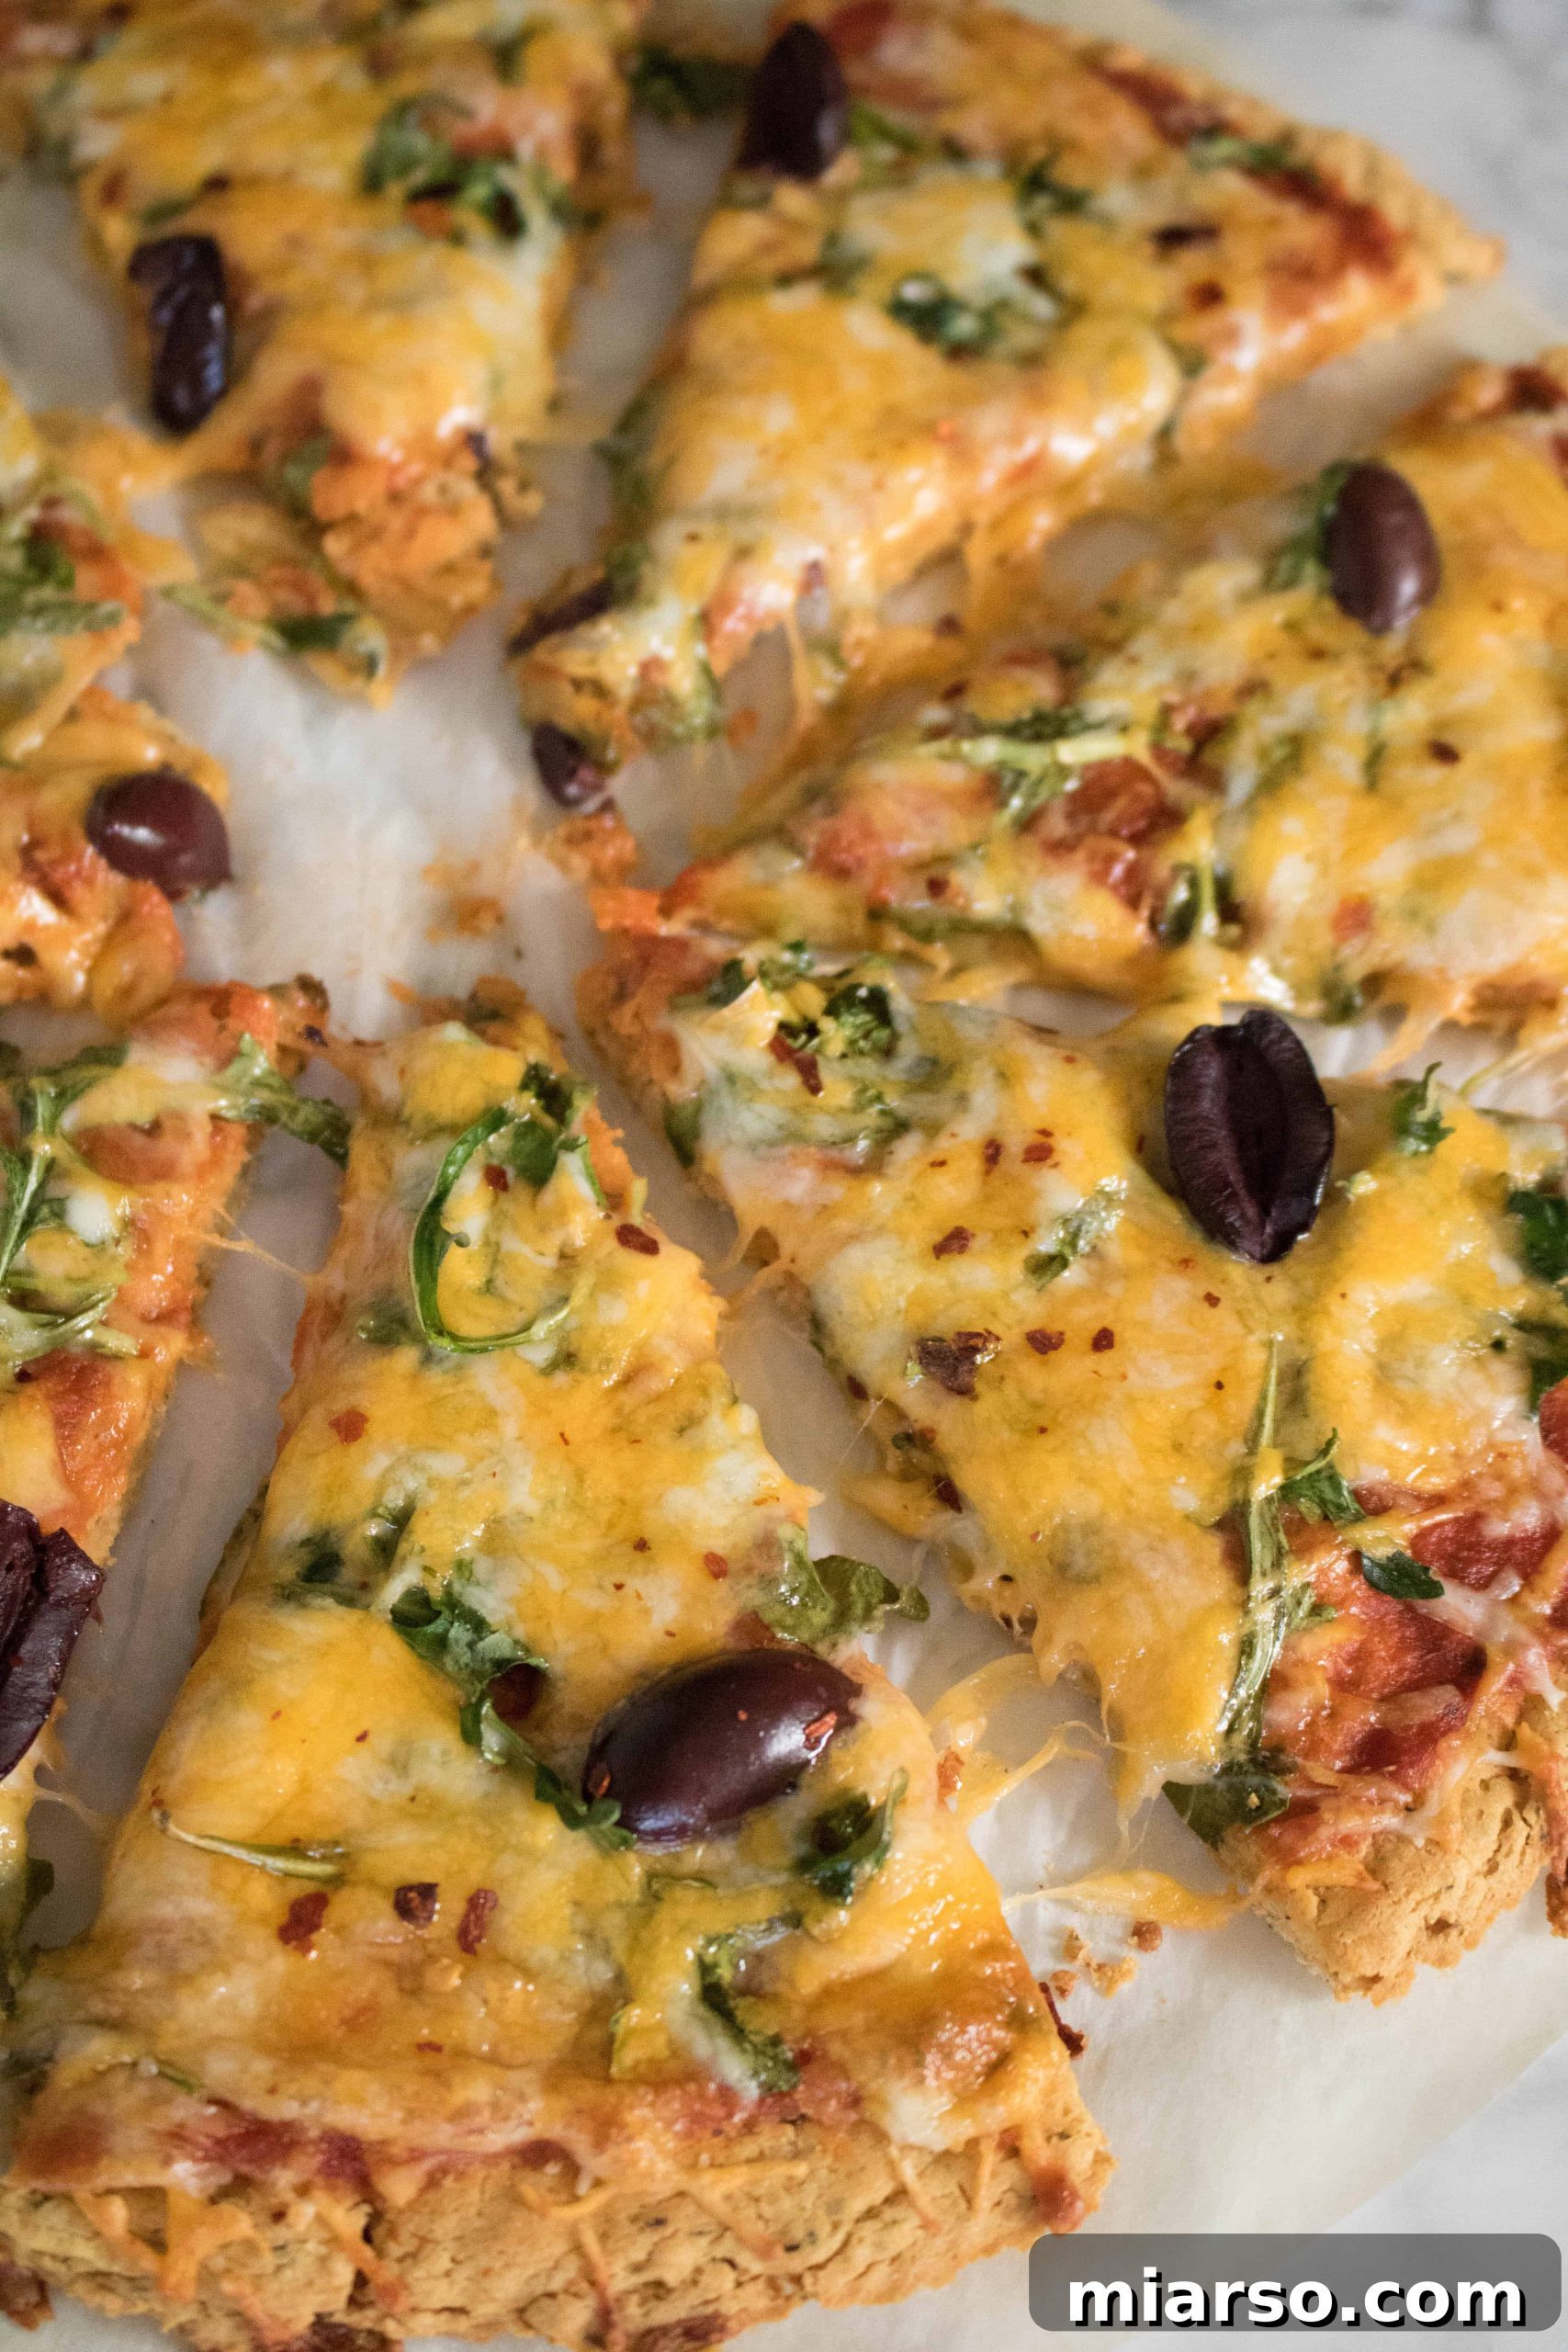
- Mediterranean Fresh: Artichoke hearts, sun-dried tomatoes, fresh spinach, crumbled feta cheese, and Kalamata olives. A drizzle of olive oil after baking enhances the flavors.
- Grilled Garden Medley: Assorted grilled vegetables like zucchini, bell peppers, red onion, and cherry tomatoes, finished with a dollop of creamy Greek yogurt garlic sauce.
- Savory & Earthy: Sliced eggplant, a spread of hummus as your “sauce,” and colorful bell peppers.
- Green Power: Fresh zucchini ribbons, vibrant kale, tender yellow squash, and a cracked egg baked right on top for a delightful breakfast-for-dinner option.
- Herbaceous & Tangy: Fresh arugula (added after baking for crispness), sun-dried tomatoes, Kalamata olives, thinly sliced red onion, tangy feta cheese, and fragrant fresh basil.
- Pesto Perfection: A generous spread of pesto as the base, topped with sliced Roma tomatoes and fresh basil leaves.
- Sweet & Savory Chicken: Caramelized onions, shredded chicken, chopped green onions, and more sun-dried tomatoes for a gourmet touch.
I could truly go on forever with topping combinations, but the main takeaway is to embrace experimentation! Pizza is the perfect canvas for your culinary imagination. Personally, I’m currently obsessed with veggie pizzas, especially as the weather warms up here in Las Vegas. There’s something incredibly satisfying about grilled vegetables with perfectly melted cheese.
Tools You’ll Need for the Perfect Chickpea Pizza Crust
Before you begin, ensure you have these kitchen essentials:
- Parchment paper: Essential for preventing sticking and easy removal of the crust.
- Food processor: Key for achieving that smooth, hummus-like consistency for your batter.
- Non-stick pizza pan: While parchment paper helps, a good non-stick pan provides extra assurance and even baking.
How to Make This Gluten-Free Chickpea Pizza Crust: A Simple Guide
Preparing this chickpea pizza crust is incredibly straightforward. The main step involves blending all the ingredients into a smooth batter—it’s that simple!
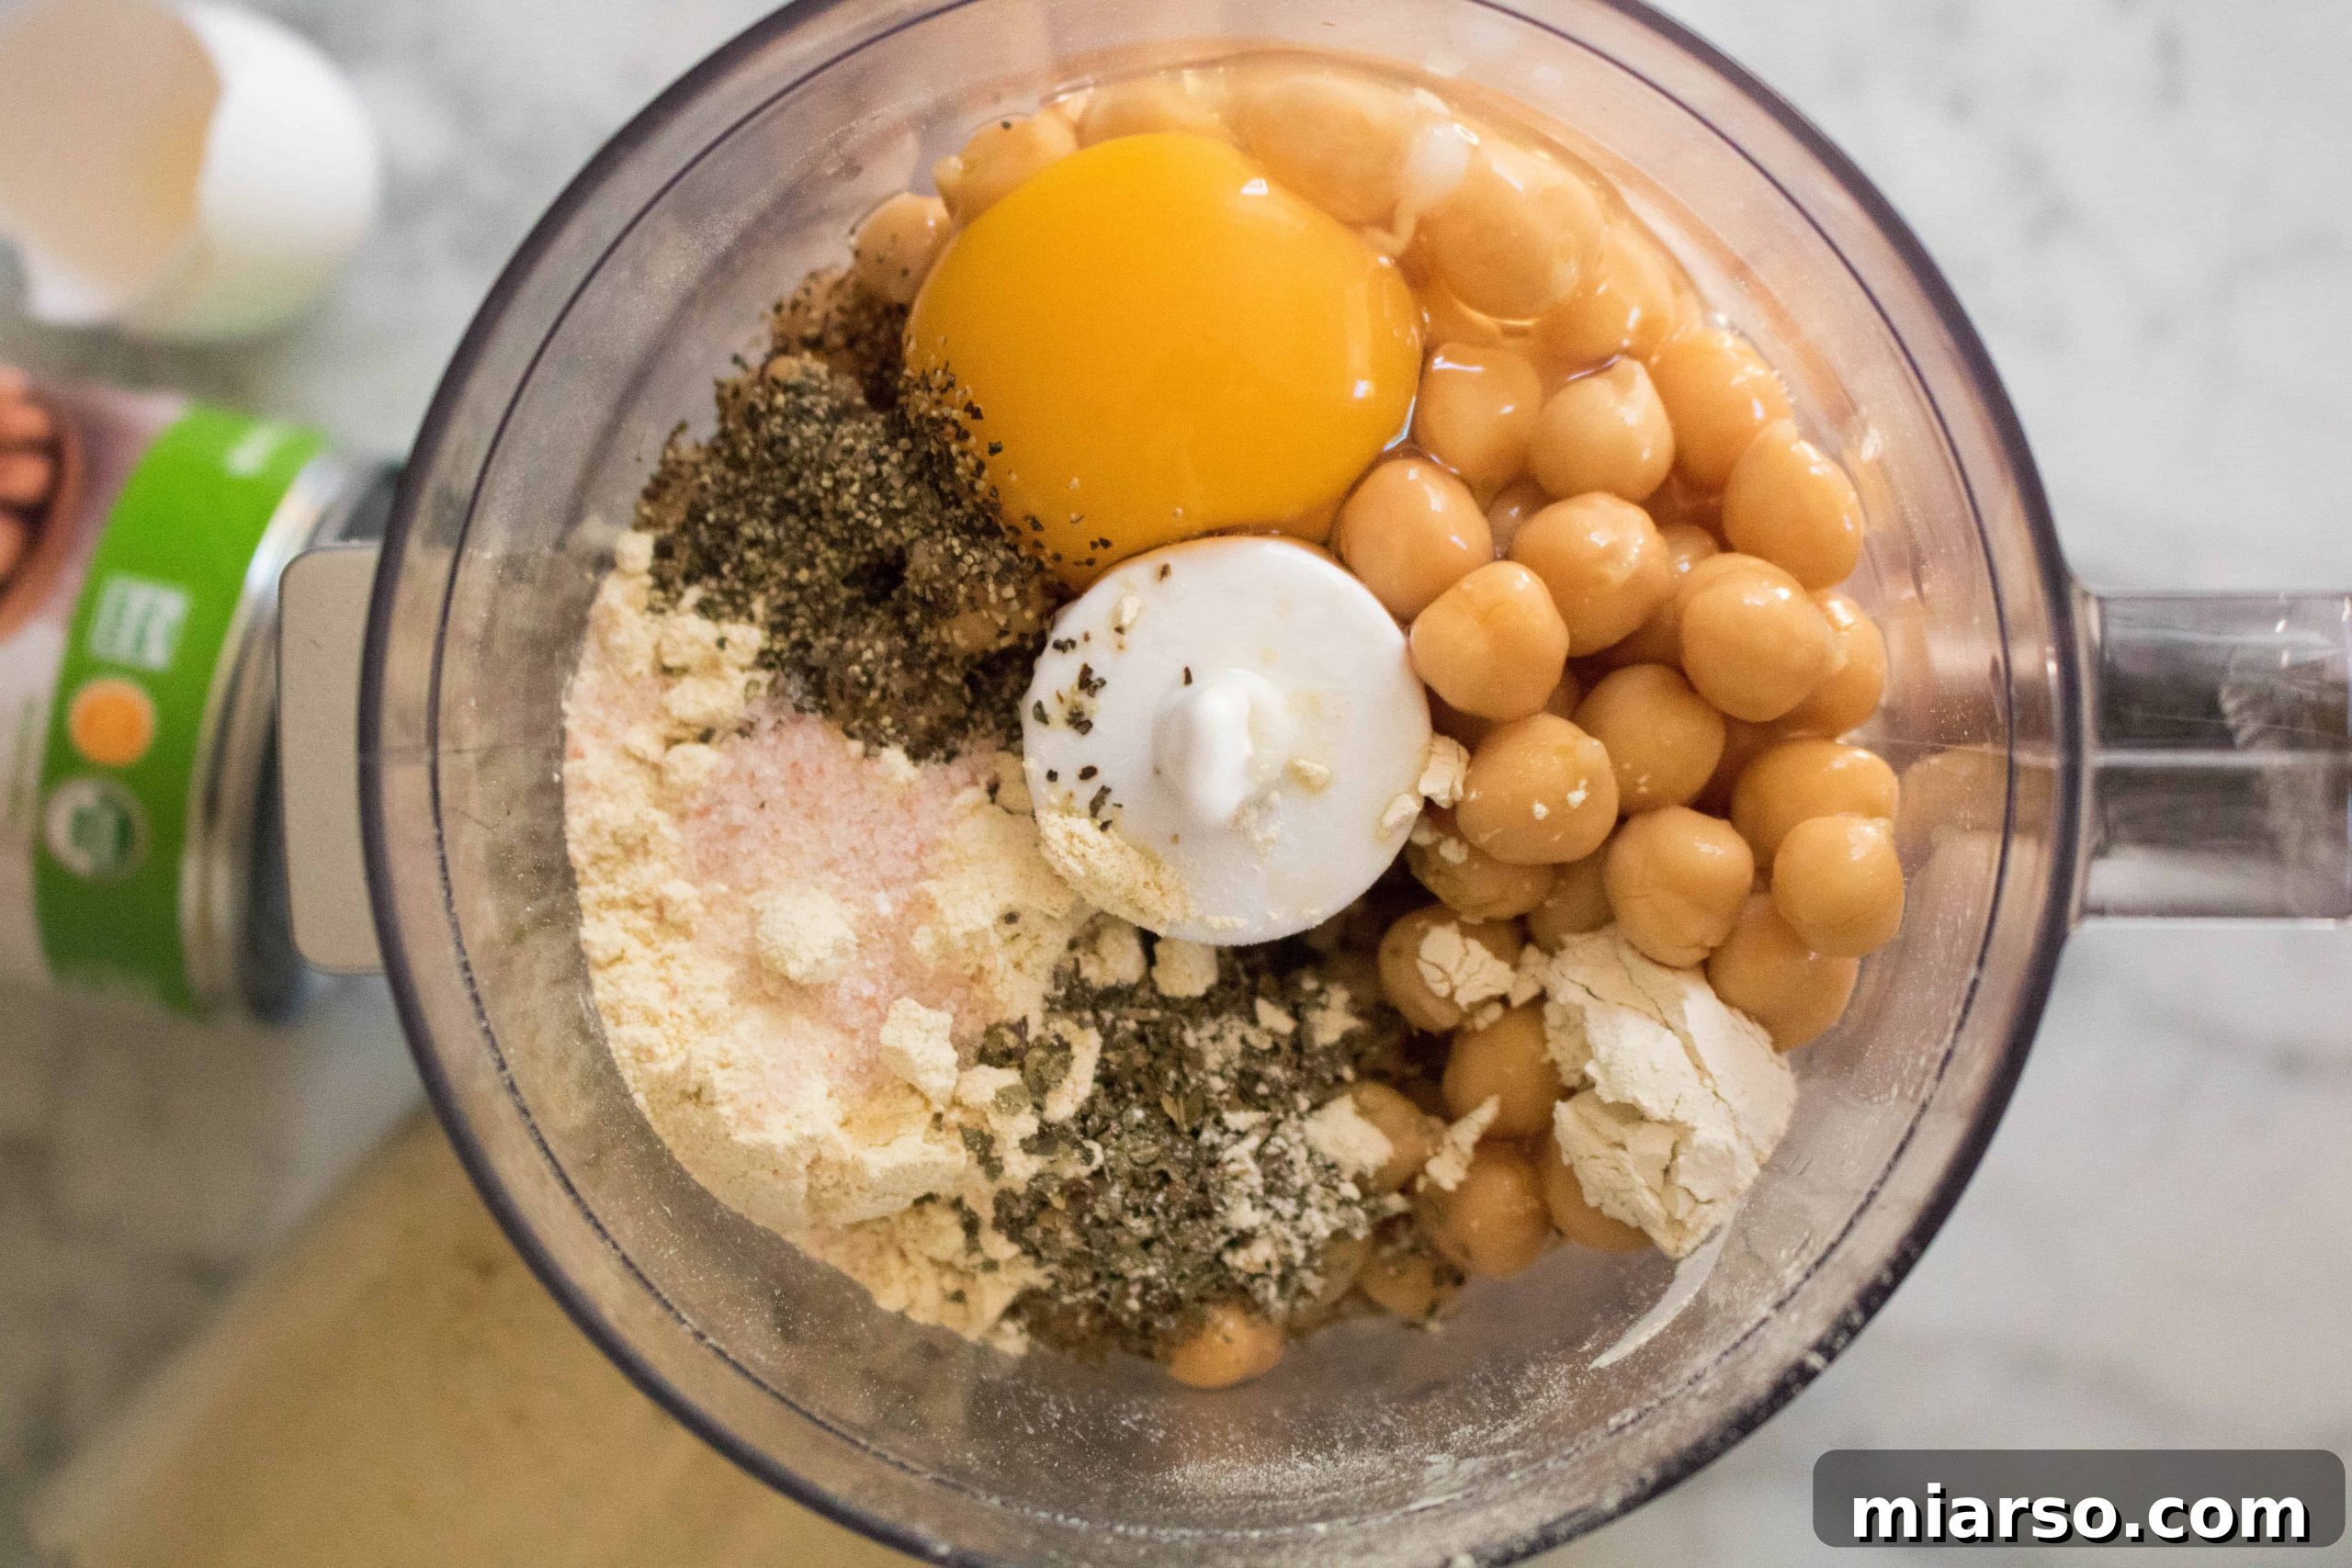
First, begin by preheating your oven to 400°F (200°C). Line a pizza baking sheet with parchment paper and lightly spray it with nonstick cooking spray. This crucial step prevents the crust from sticking and ensures easy removal.
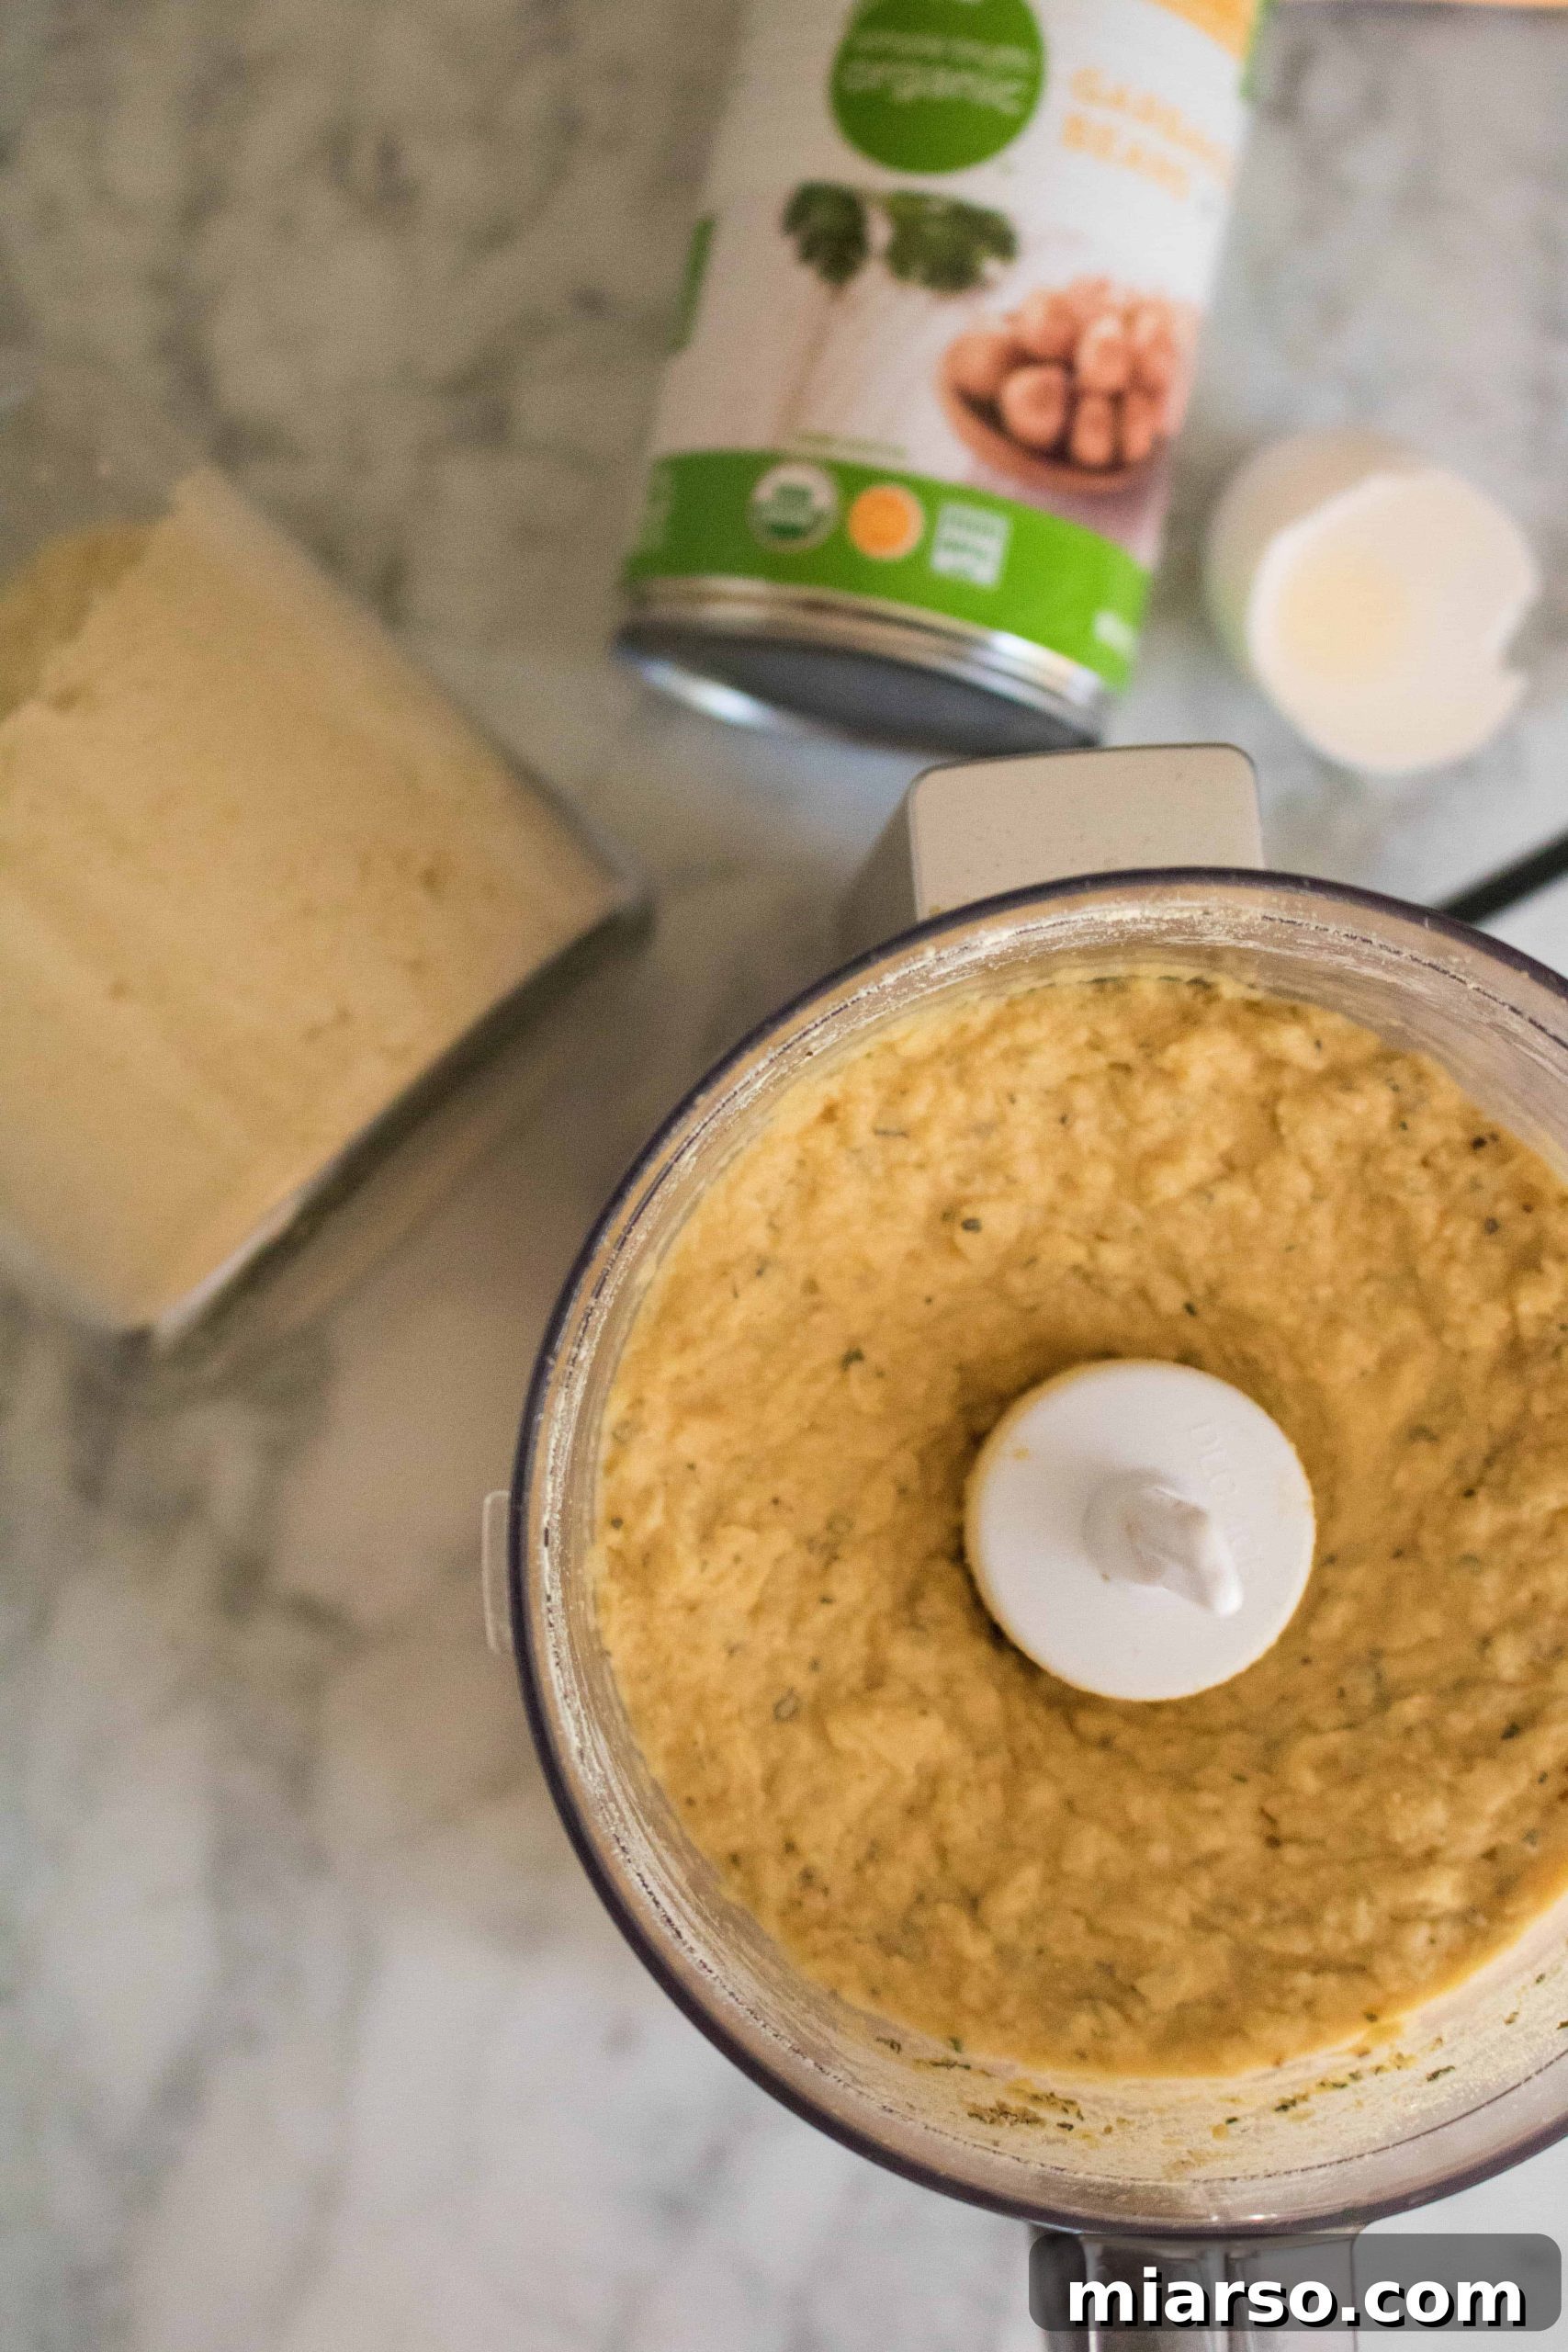
Next, rinse and thoroughly drain your canned chickpeas. Transfer them to a food processor. Add the chickpea flour (you can also use a general gluten-free flour blend or oat flour if chickpea flour isn’t available), garlic powder, dried basil, onion powder (if using), a pinch of salt, freshly ground black pepper, and one large egg. Process all these ingredients until the mixture achieves a perfectly smooth and creamy consistency, much like a thick hummus.
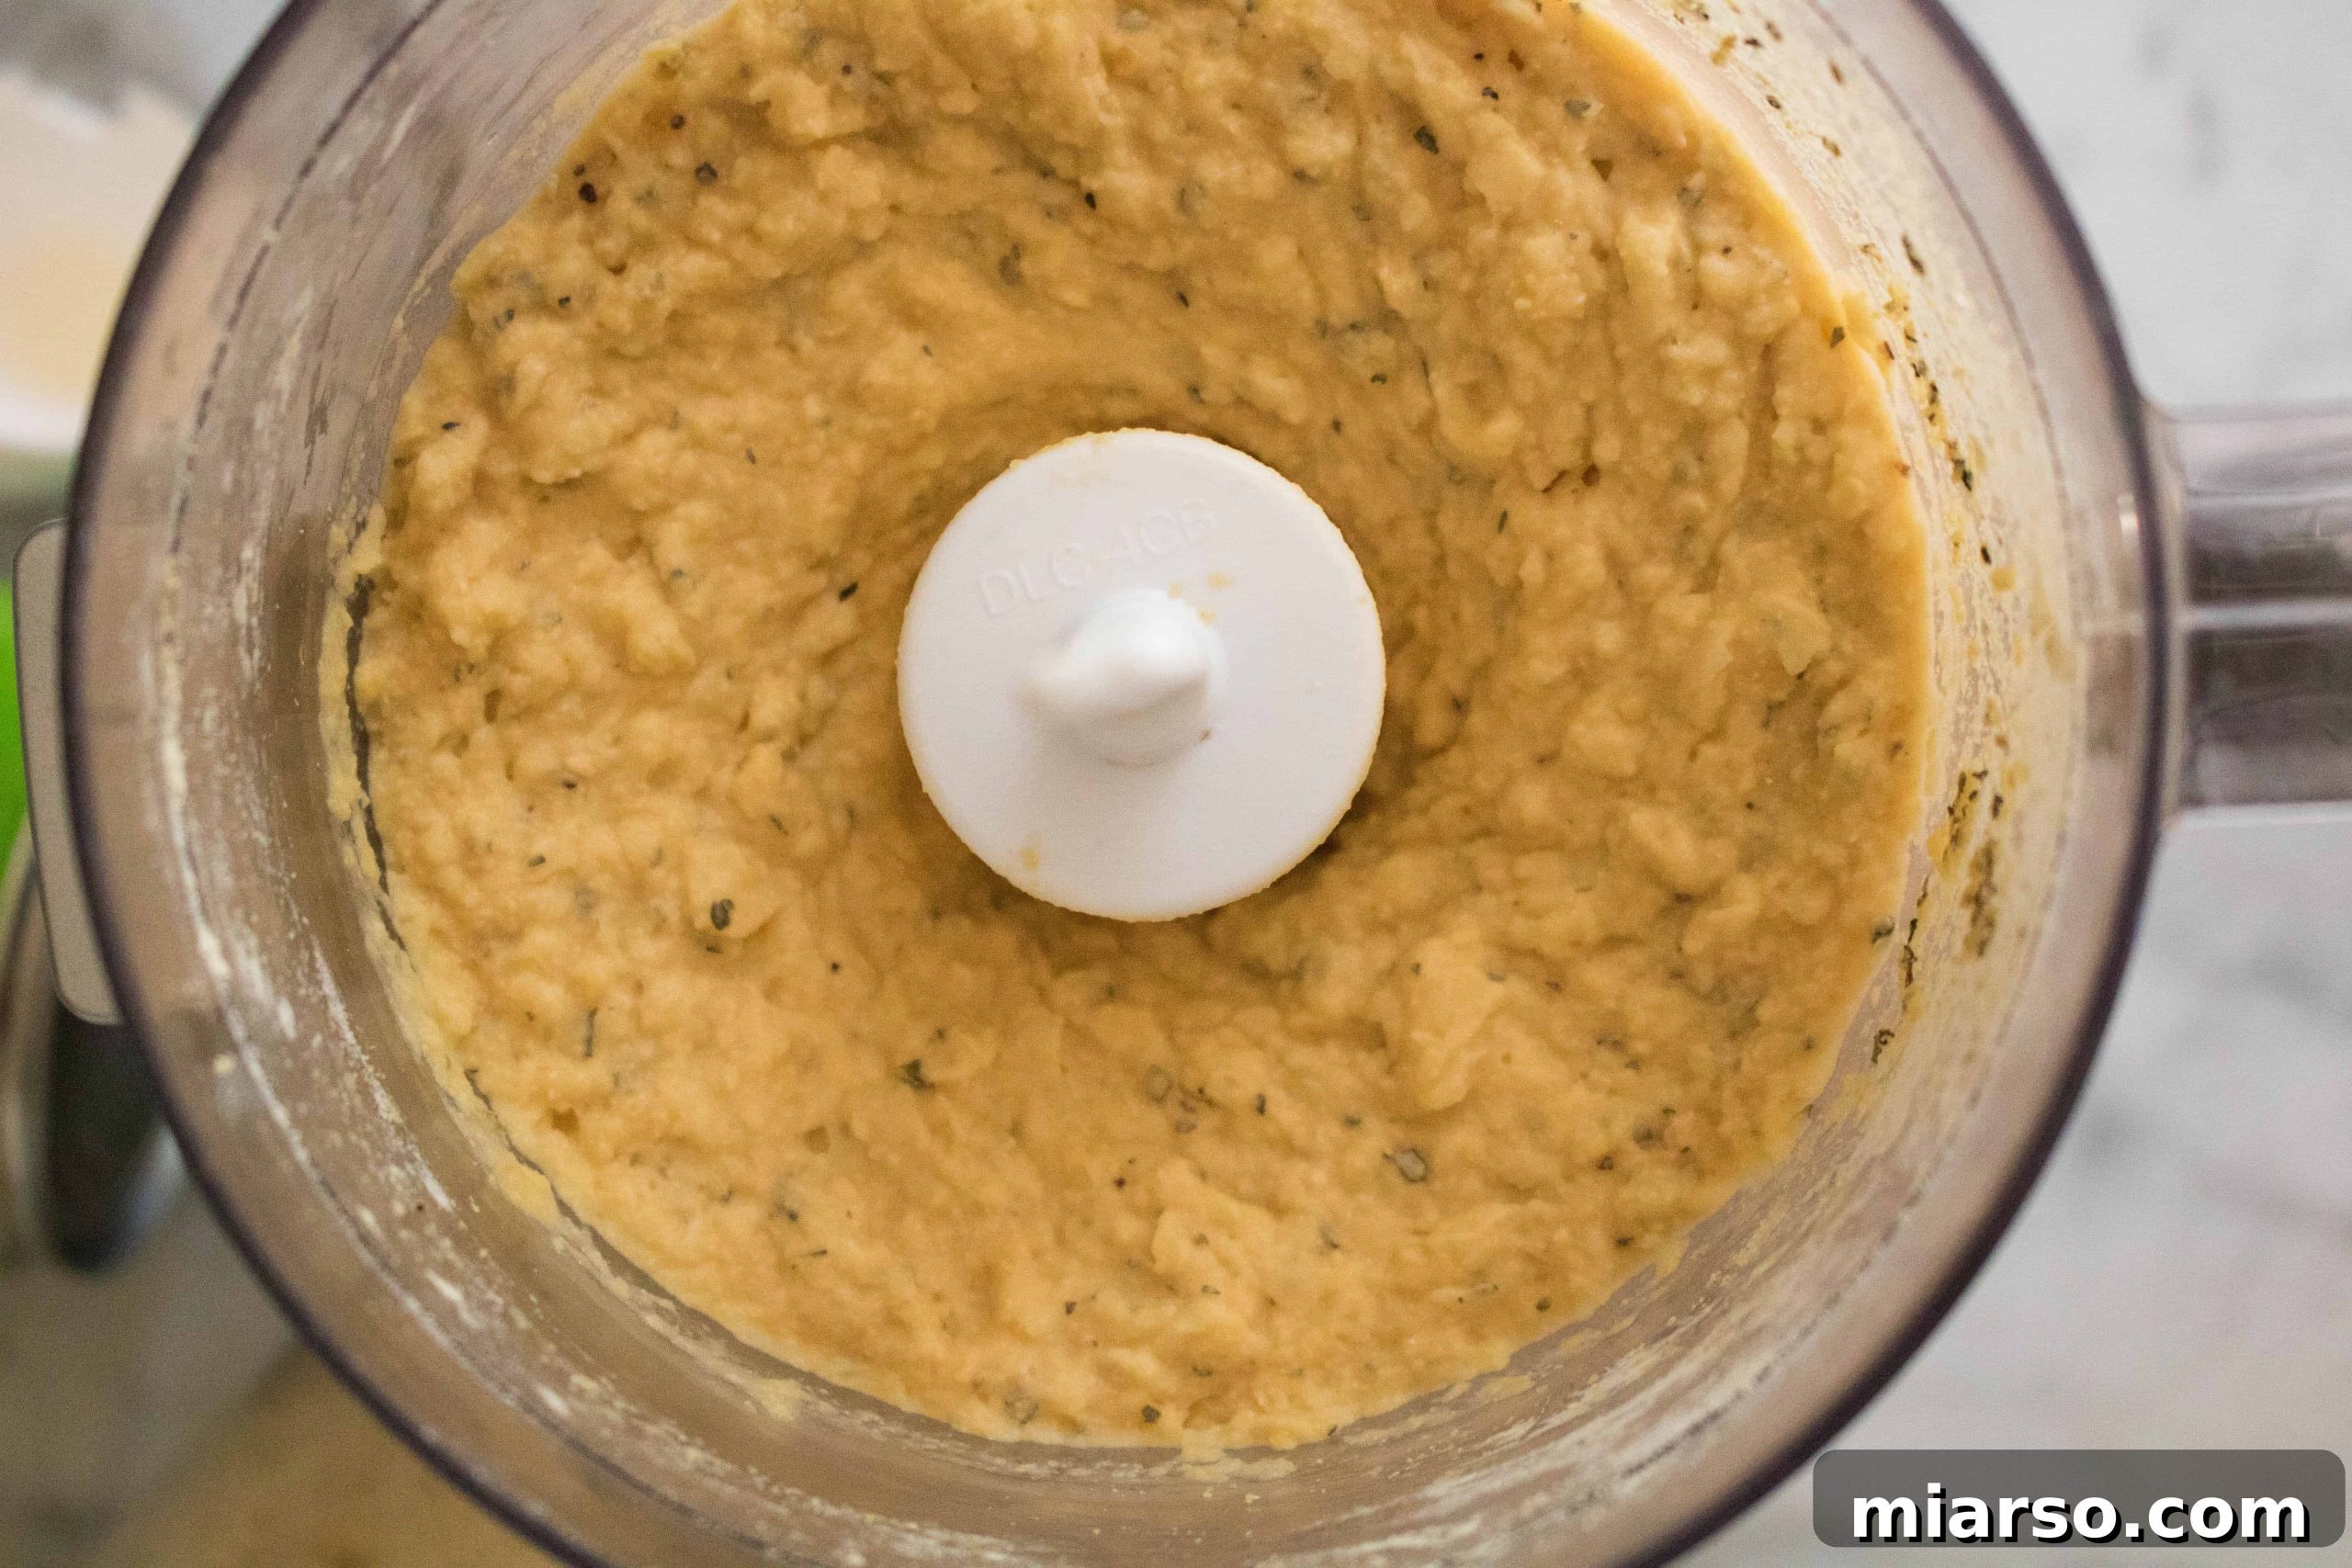
Once blended, carefully transfer the batter onto the prepared parchment paper-lined baking sheet. Using a rubber spatula, gently spread the mixture into an even 10 to 12-inch circle. Aim for a consistent thickness for even baking.
Bake the crust in the preheated oven for 15 minutes. This initial bake helps to set the crust and begin the crisping process. After 15 minutes, carefully remove the crust from the oven, gently flip it over using a wide spatula, and return it to the oven to bake for another 10 minutes. Flipping ensures both sides get a chance to crisp up beautifully.
Once the second bake is complete, it’s time for the fun part: adding your desired toppings! Spread your favorite tomato sauce, load up on veggies, cheese, and whatever else your heart desires. Return the pizza to the oven for another 10 minutes, or until the cheese is bubbling and beautifully melted and the crust edges are golden brown. Slice and serve immediately for the best experience!
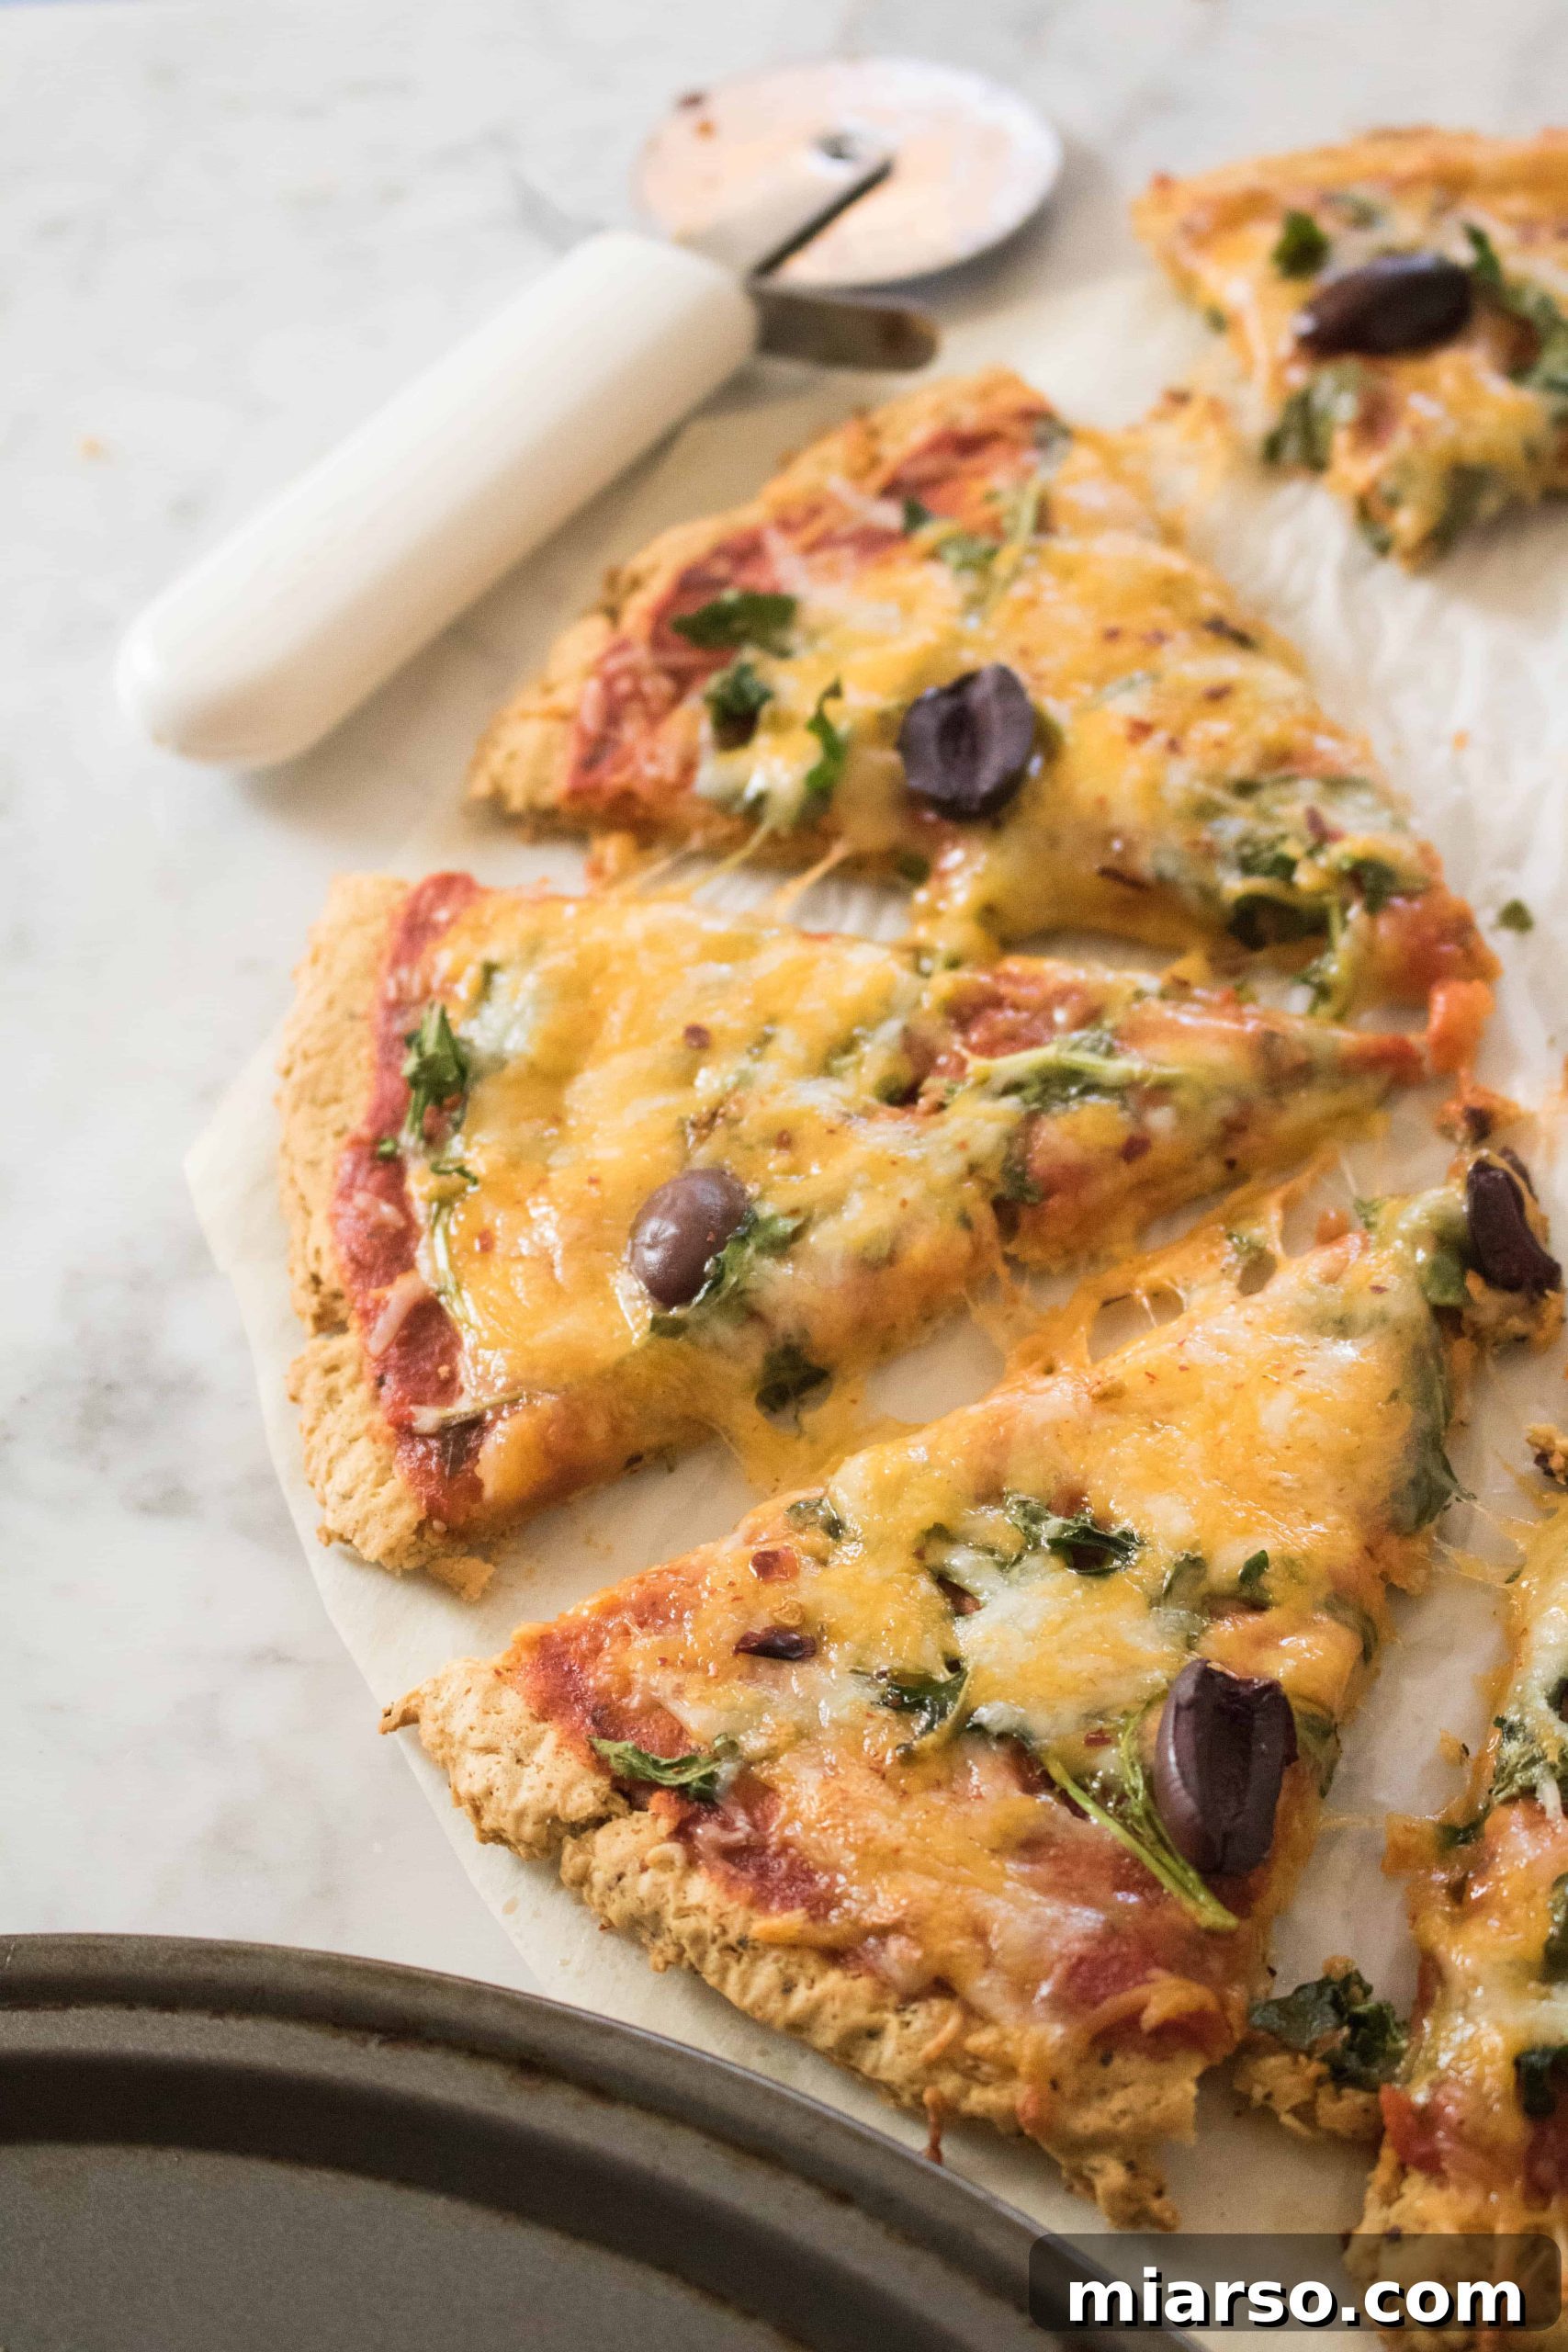
Easy Gluten-Free Chickpea Pizza Crust Recipe
A gluten-free option for a super easy to make pizza crust. This pizza crust is made up of mainly canned chickpeas to make your life easier and have that dinner ready in less than an hour!
Prep time: 5 minutes
Cook time: 35 minutes
Total time: 40 minutes
Servings: 1 (12″ pizza)
Ingredients
- 1 can chickpeas, rinsed and drained
- 1 egg
- 2 tbsp chickpea flour
- 1 tsp garlic powder
- 2 tsp dried basil
- 3/4 tsp salt
- 1 tsp black pepper
Instructions
- First, start by preheating the oven to 400°F (200°C). Line your pizza baking sheet with parchment paper and spray with nonstick cooking spray.
- In a food processor, combine the rinsed and drained chickpeas, egg, chickpea flour, garlic powder, the basil, and a pinch of salt until smooth. The mixture will resemble hummus in texture.
- Transfer the batter onto the parchment paper-lined baking sheet and spread it into a 10 to 12-inch circle with a rubber spatula.
- Bake for 15 minutes, then remove from the oven and carefully flip the crust. Bake for another 10 minutes. After the second bake, top with your desired tomato sauce, veggies, cheese, or whatever your heart desires, and place back in the oven for another 10 minutes, or until toppings are heated through and cheese is melted. Slice and serve!
Notes
As mentioned earlier, the topping possibilities are truly endless, so don’t hesitate to get creative and personalize your pizza!
Tips for Success & Variations
Achieving a perfectly crispy chickpea pizza crust is easier than you think! Here are a few additional tips to help you:
- Even Spreading: Ensure your batter is spread evenly on the parchment paper. Thinner spots might burn, while thicker areas could remain too soft. A uniform 10-12 inch circle is ideal.
- Crispiness Boost: For an extra crispy crust, you can extend the second bake (before adding toppings) by a few minutes, keeping a close eye on it to prevent burning. Some ovens might vary, so adjust baking times as needed.
- Flavor Variations: Don’t limit yourself to basil and garlic powder. Experiment with dried oregano, a pinch of chili flakes for heat, or even some nutritional yeast for a cheesy flavor boost in the crust itself.
- Make Ahead: You can bake the crust completely, let it cool, and store it in an airtight container in the refrigerator for up to 3 days, or freeze it for up to a month. Thaw and then add toppings before the final bake.
- Mini Pizzas: Instead of one large pizza, divide the batter into smaller circles to create individual-sized pizzas, perfect for personalized toppings or meal prepping.
Frequently Asked Questions About Chickpea Pizza Crust
Here are answers to some common questions about making and enjoying chickpea pizza crust:
Q: Can I use fresh chickpeas instead of canned?
A: Yes, you can! You’ll need to cook them thoroughly until very tender before blending. One 15-ounce can of chickpeas is roughly equivalent to 1 ½ cups of cooked chickpeas.
Q: What if my crust isn’t getting crispy?
A: Ensure your oven is preheated to the correct temperature. Also, make sure to drain your chickpeas very well, as excess moisture is the enemy of crispiness. Flipping the crust mid-bake is also key. If it’s still not crisping, you can bake it a little longer before adding toppings, or even finish it under the broiler for a minute or two (watch carefully!).
Q: Can I make this recipe without a food processor?
A: A food processor is highly recommended for achieving the smooth, uniform batter. While you could try a very powerful blender, a food processor is best for thicker mixtures like this. Mashing by hand would likely result in a much chunkier, less cohesive crust.
Q: Is this crust suitable for meal prepping?
A: Absolutely! You can bake the crust ahead of time and store it. When ready to eat, simply add your toppings and bake until hot and bubbly. This makes weeknight pizza nights incredibly fast.
Thank you so much for exploring this delicious and healthy recipe with me!
Did you try and enjoy this chickpea pizza crust? We’d love to hear your thoughts! Please leave a comment below and let us know how it turned out and what toppings you used. In the meantime, don’t forget to follow us on Instagram for more culinary inspiration.
More Recipes That Might Interest You:
- The Secret Ingredient to the Best and Easiest Marinara Sauce Recipe
- Low Carb Cauliflower Pizza Crust with a Twist
- Quick and Easy Caramelized Bell Peppers
As always, make sure to follow me on Instagram at @Chahinez_tbt and Pinterest. If you give this recipe a try, share your creations and let me know how you liked it! Have an awesome day and don’t forget to pin this recipe for later enjoyment!
XO, Chahinez