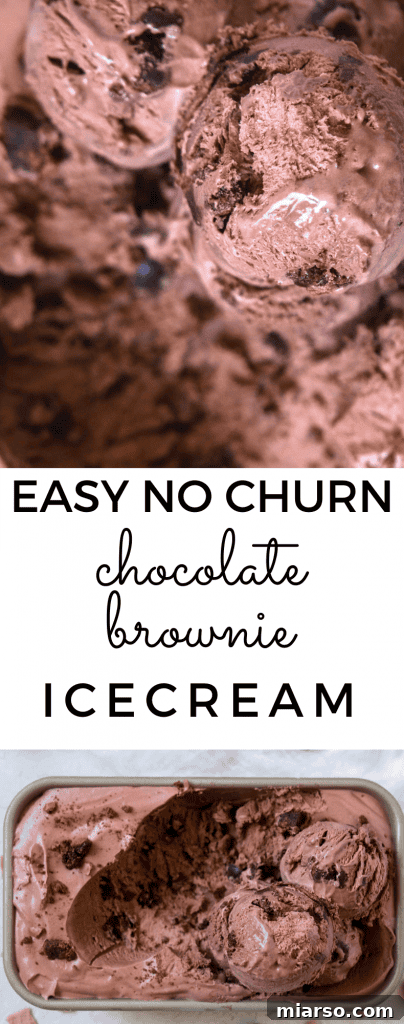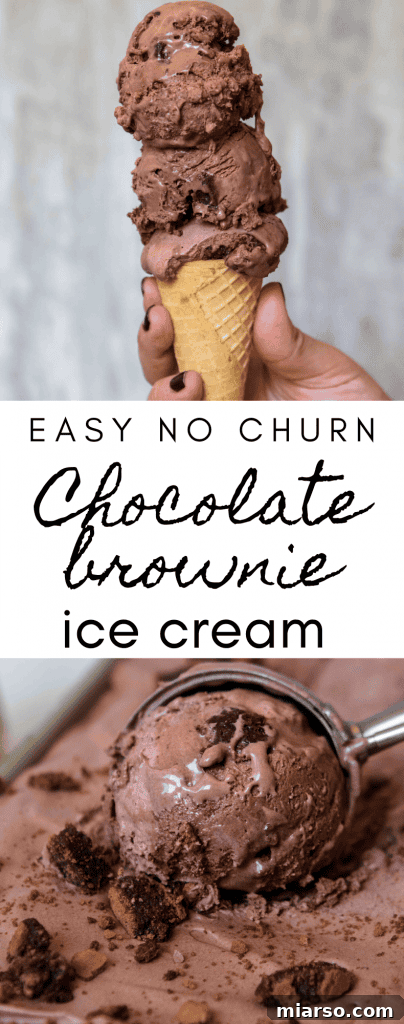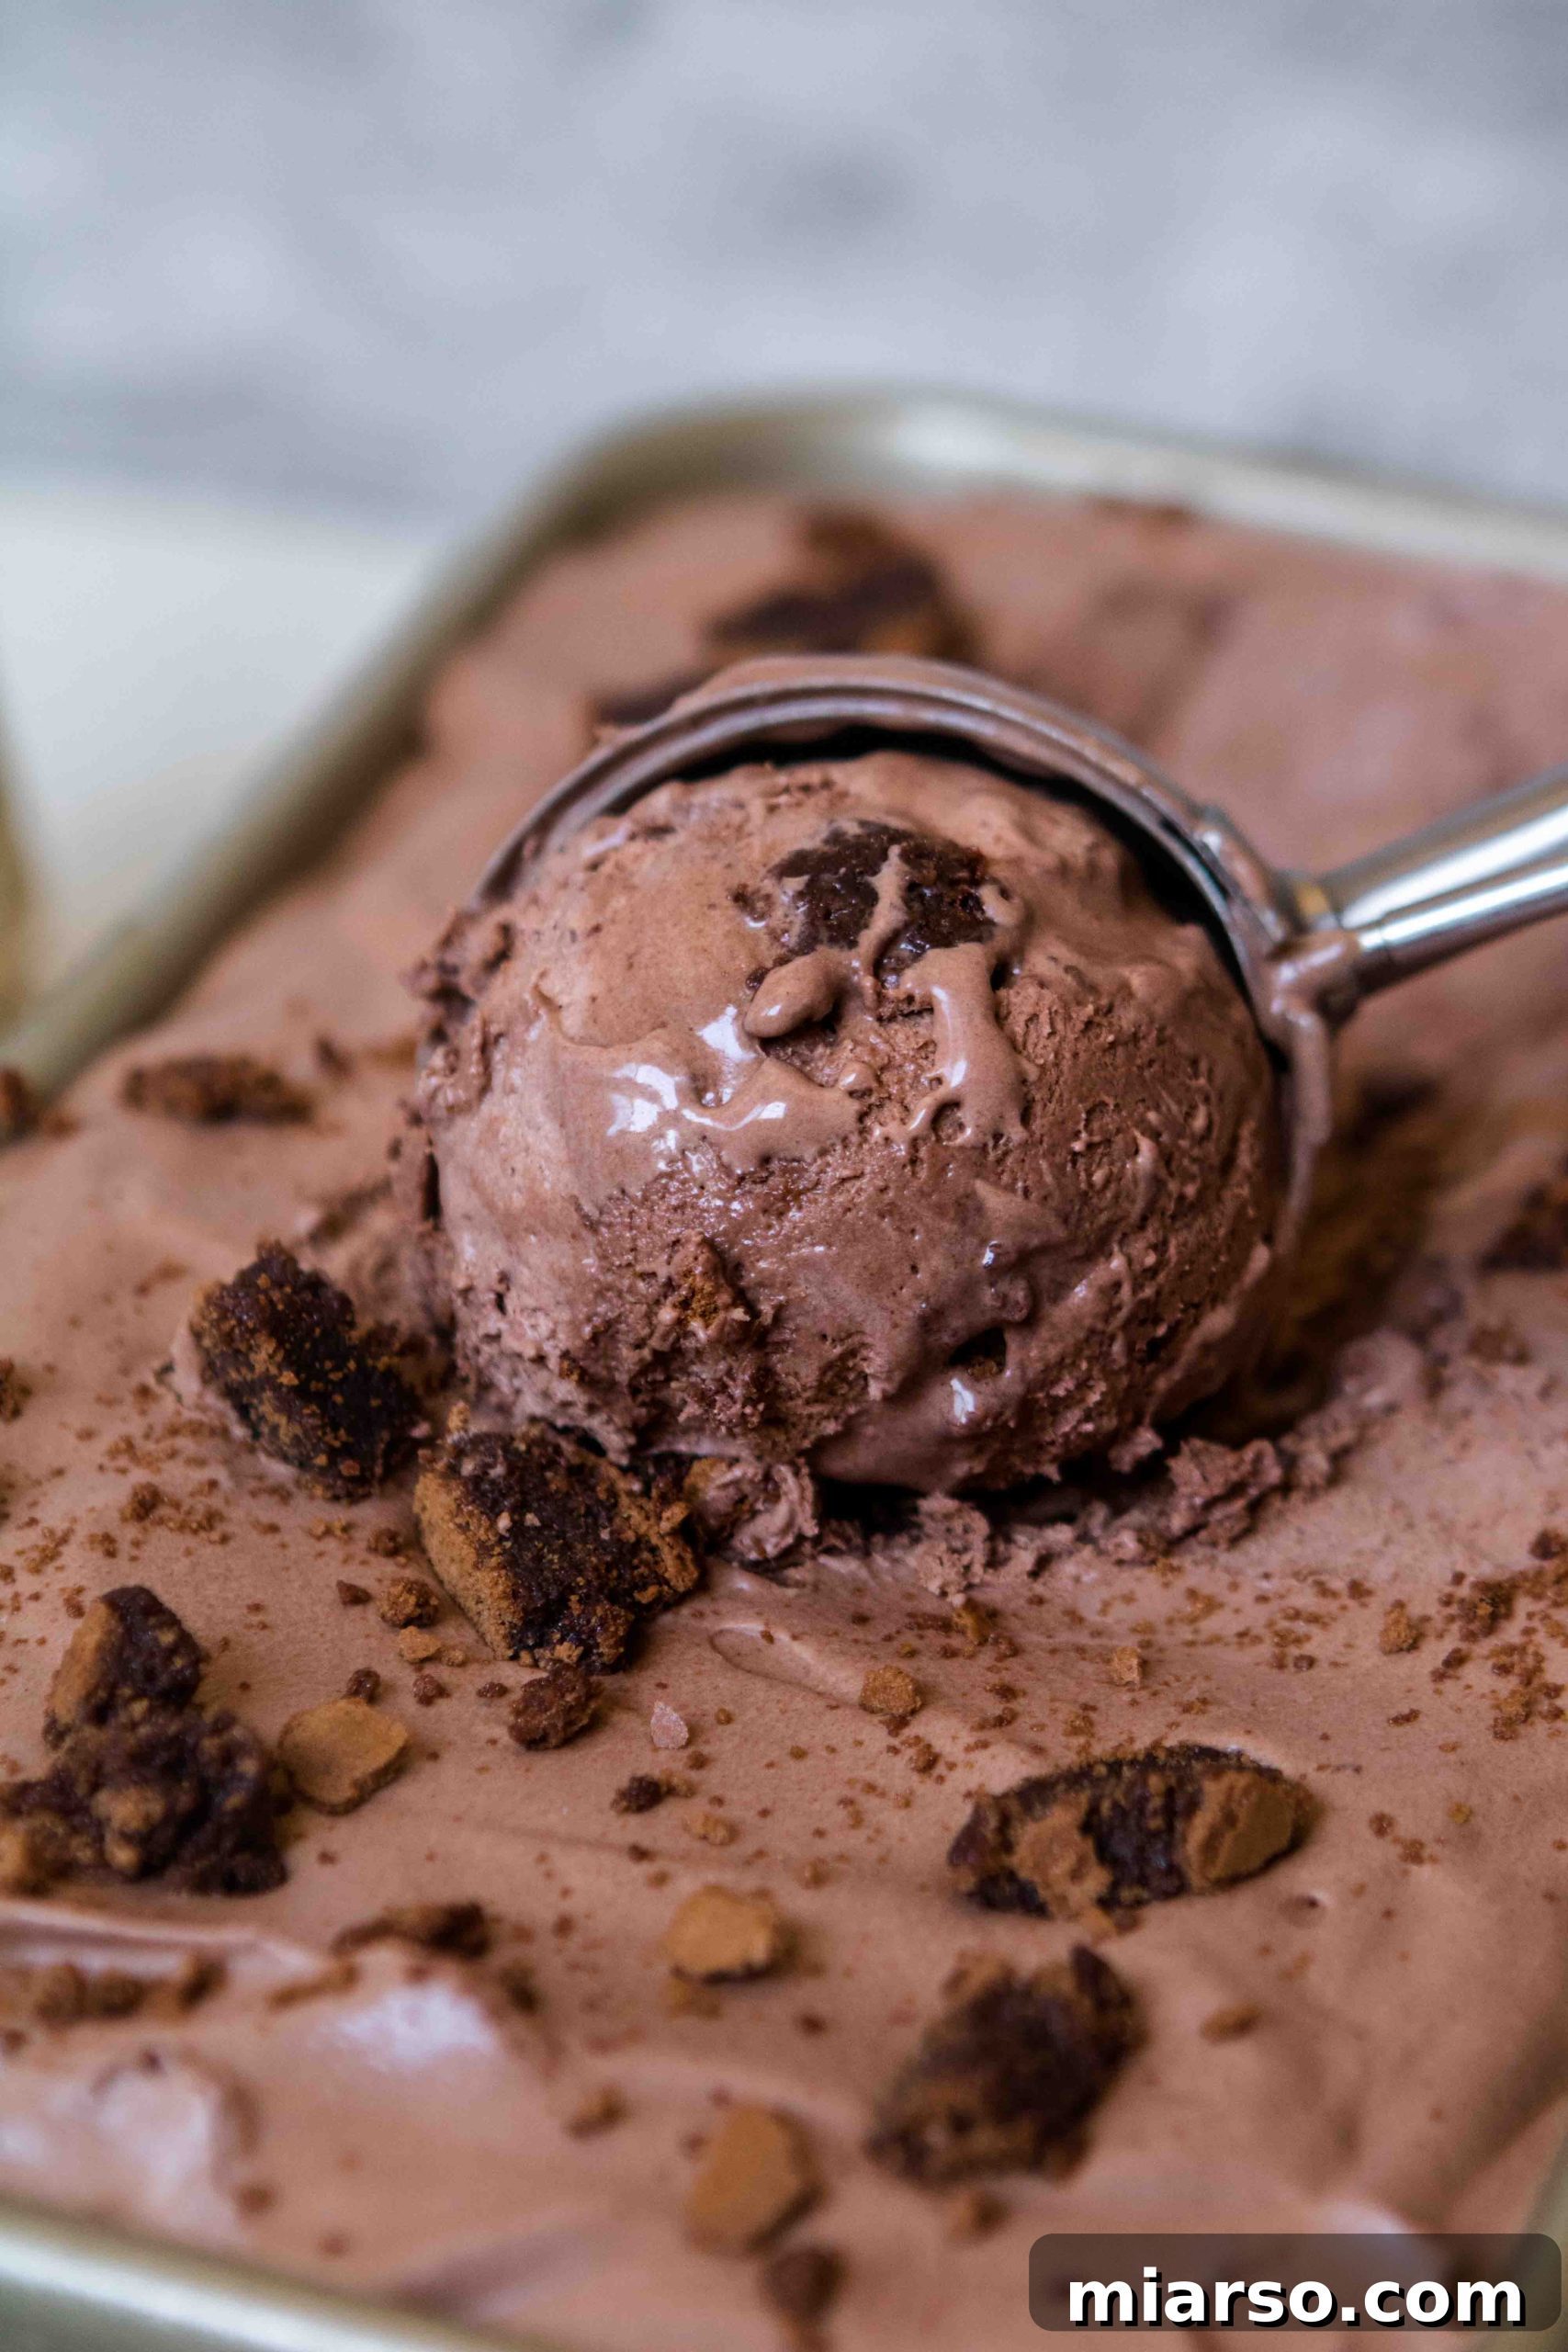
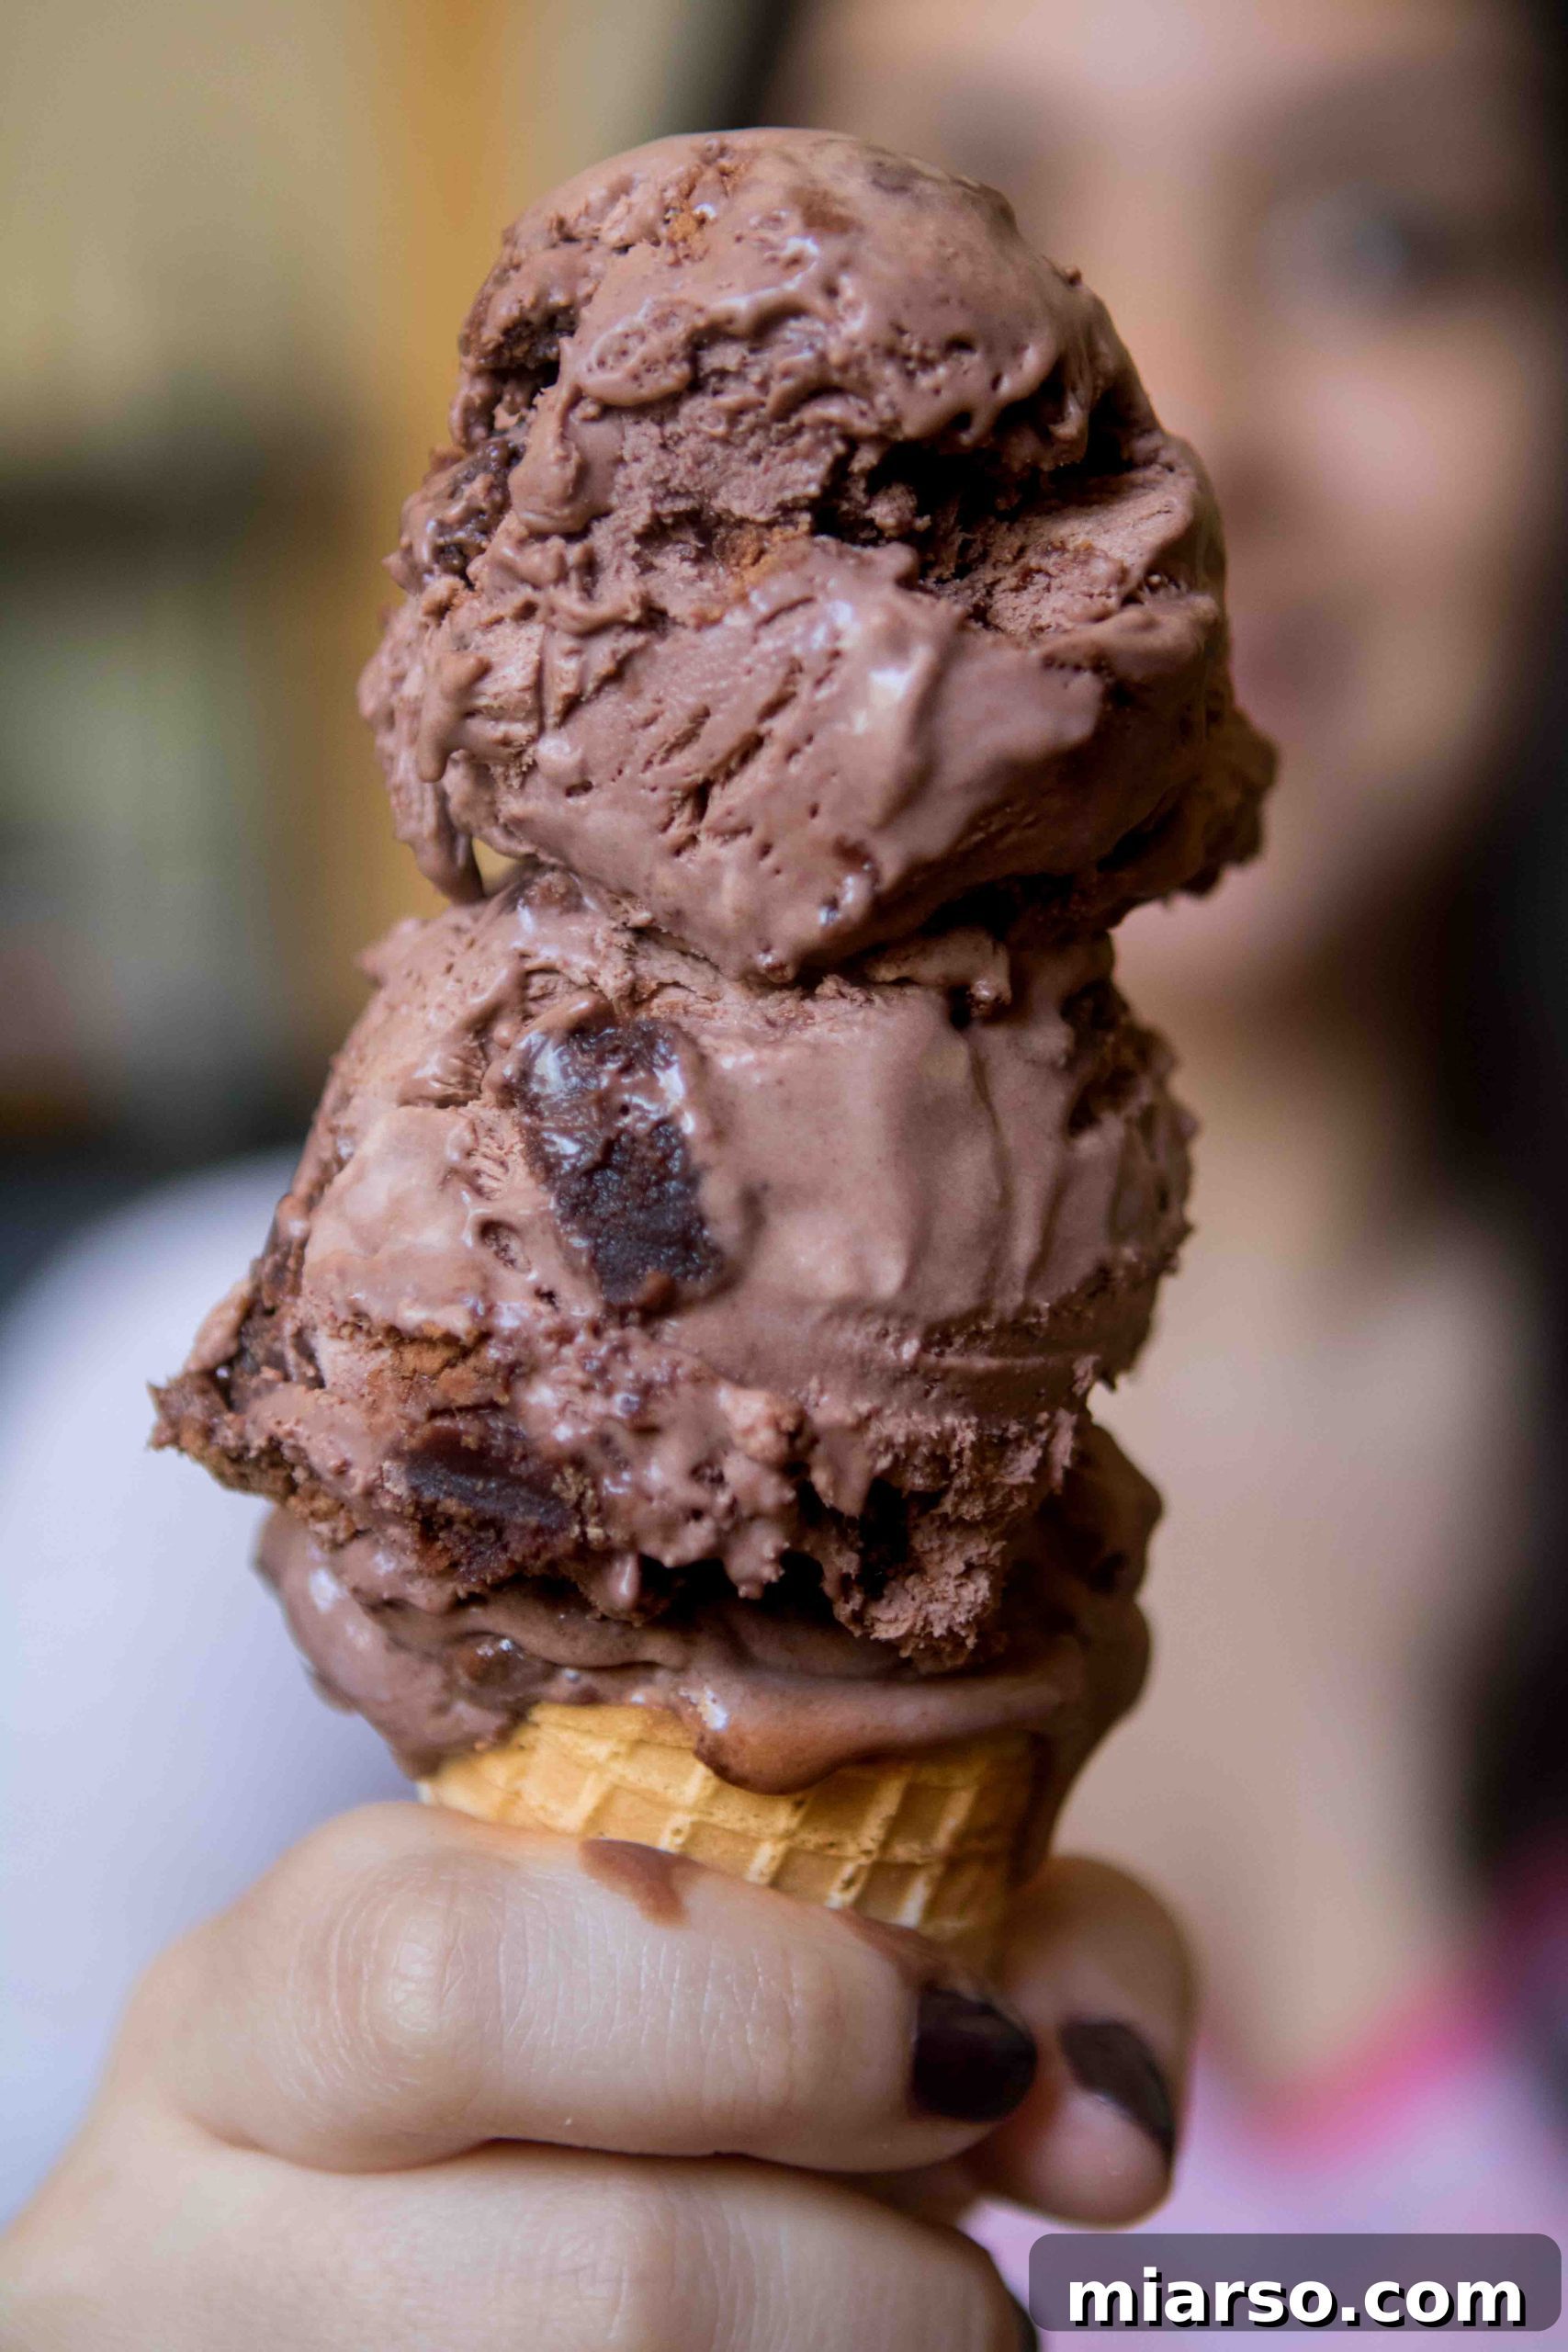
Imagine a chocolate no-churn ice cream so incredibly decadent, so lusciously creamy, and so generously studded with fudgy brownie bites that it utterly surpasses any store-bought alternative. Yes, please! This homemade no-churn chocolate ice cream is the ultimate answer to all your summer dessert desires, delivering rich, intense chocolate flavor without the need for a cumbersome ice cream machine. It’s truly a dream come true for dessert lovers everywhere.
Hello, fellow food enthusiasts!
Summer is just around the corner, bringing with it longer days, warmer weather, and a natural craving for refreshing treats. This year, more than ever, we’re all seeking simple joys and comforting indulgences right at home. While plans might look a little different, the desire for something sweet and satisfying remains strong. For me, few things offer more solace and happiness than a generous scoop of rich, creamy chocolate ice cream.
There’s something uniquely comforting about chocolate ice cream. It’s sweet, incredibly creamy, deeply chocolatey, and incredibly easy to whip up, even when you’re not feeling particularly ambitious in the kitchen. In times when routines are disrupted and the world feels a bit uncertain, finding moments of pure delight in simple pleasures becomes incredibly important. This no-churn recipe ensures that you can experience that pure delight with minimal effort.
Fortunately, connecting with loved ones is easier than ever, thanks to modern technology. While virtual gatherings are wonderful, sometimes a physical treat can make those connections even sweeter. Imagine sharing a virtual dessert party with friends and family, all enjoying this incredible homemade ice cream. It’s a small way to spread joy and create happy memories, even from a distance. So, let’s put any worries aside and focus on something truly wonderful:
Irresistible Chocolate Brownie No-Churn Ice Cream!
This recipe was originally conceived as a straightforward no-churn chocolate ice cream. However, after making a batch of my popular fudgy brownies (the ones without cocoa powder!), I found myself with a delightful amount of leftovers. Inspiration struck, and I knew these rich, chewy brownie bites would be the perfect addition to elevate an already fantastic dessert. The result? An ice cream that’s almost like a brownie chunk paradise, reminiscent of cookie dough ice cream but with an even deeper, more indulgent chocolate experience.
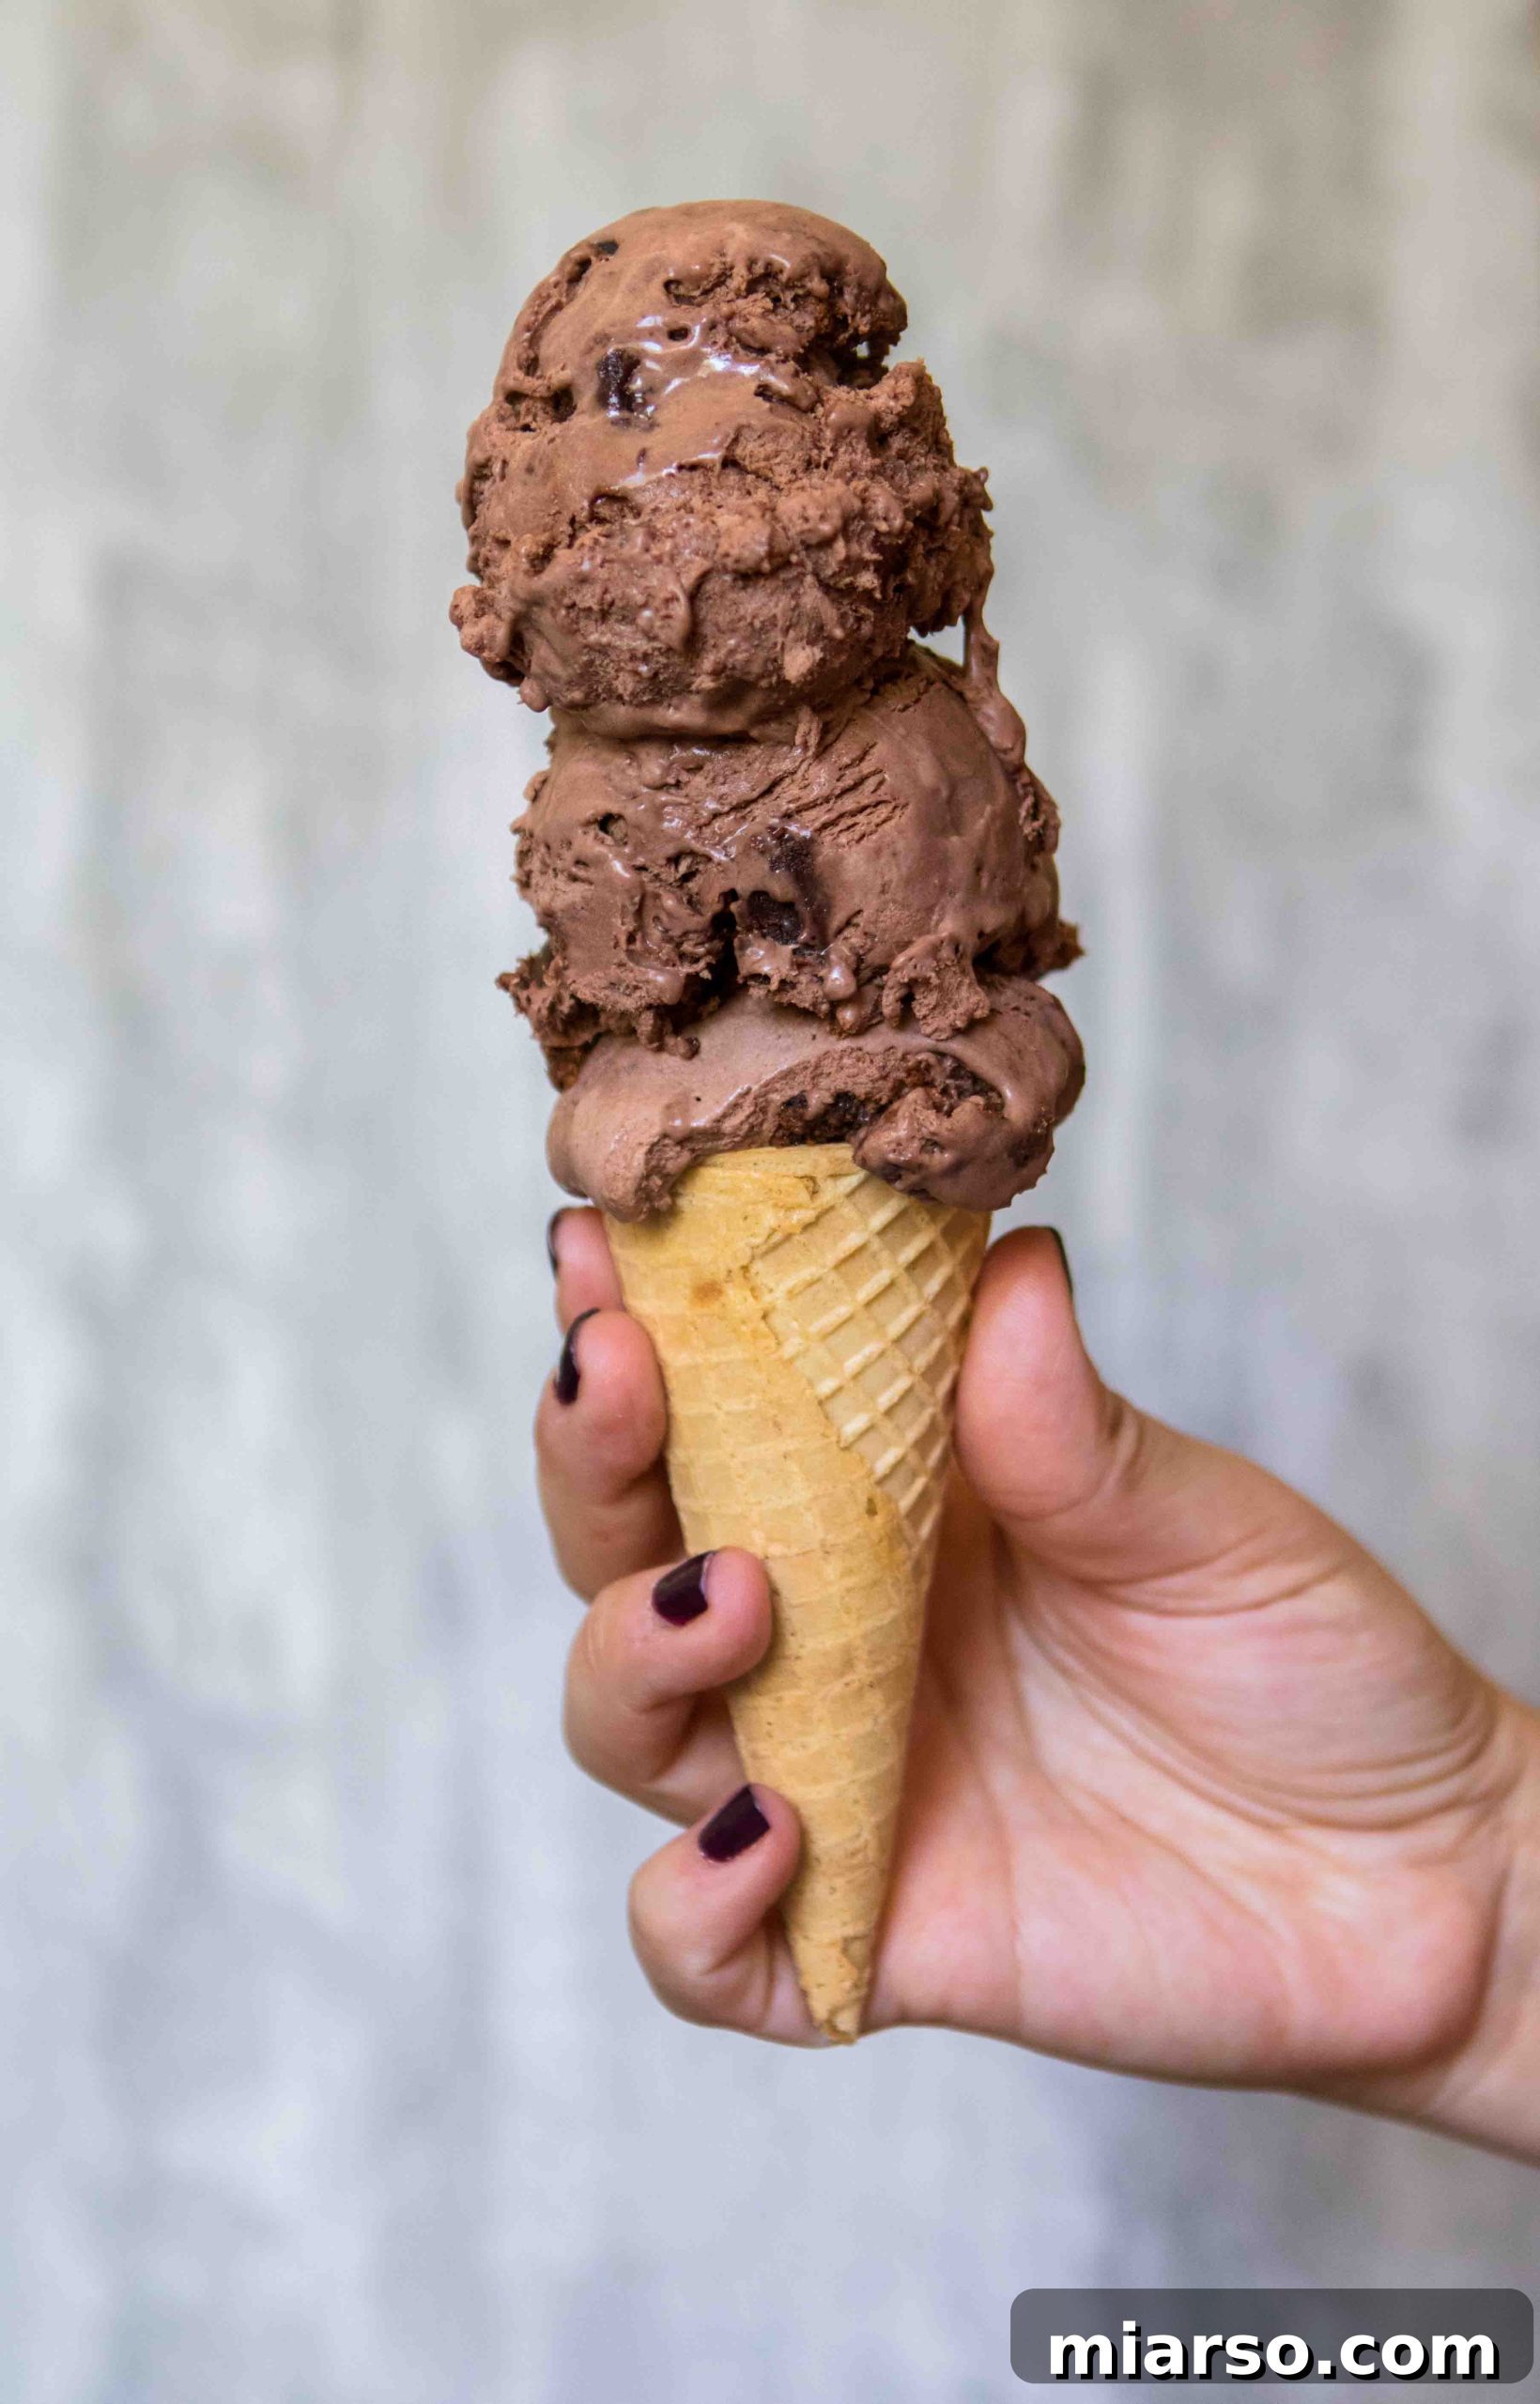
This ice cream is incredibly rich and satisfying, meaning just one or two scoops are often enough to hit the spot. But, of course, feel free to indulge as much as your heart desires – after all, it’s homemade! Every spoonful offers a symphony of smooth, intense chocolate ice cream perfectly complemented by tender, chewy pieces of brownie. It’s a textural and flavor experience that will have you coming back for more.
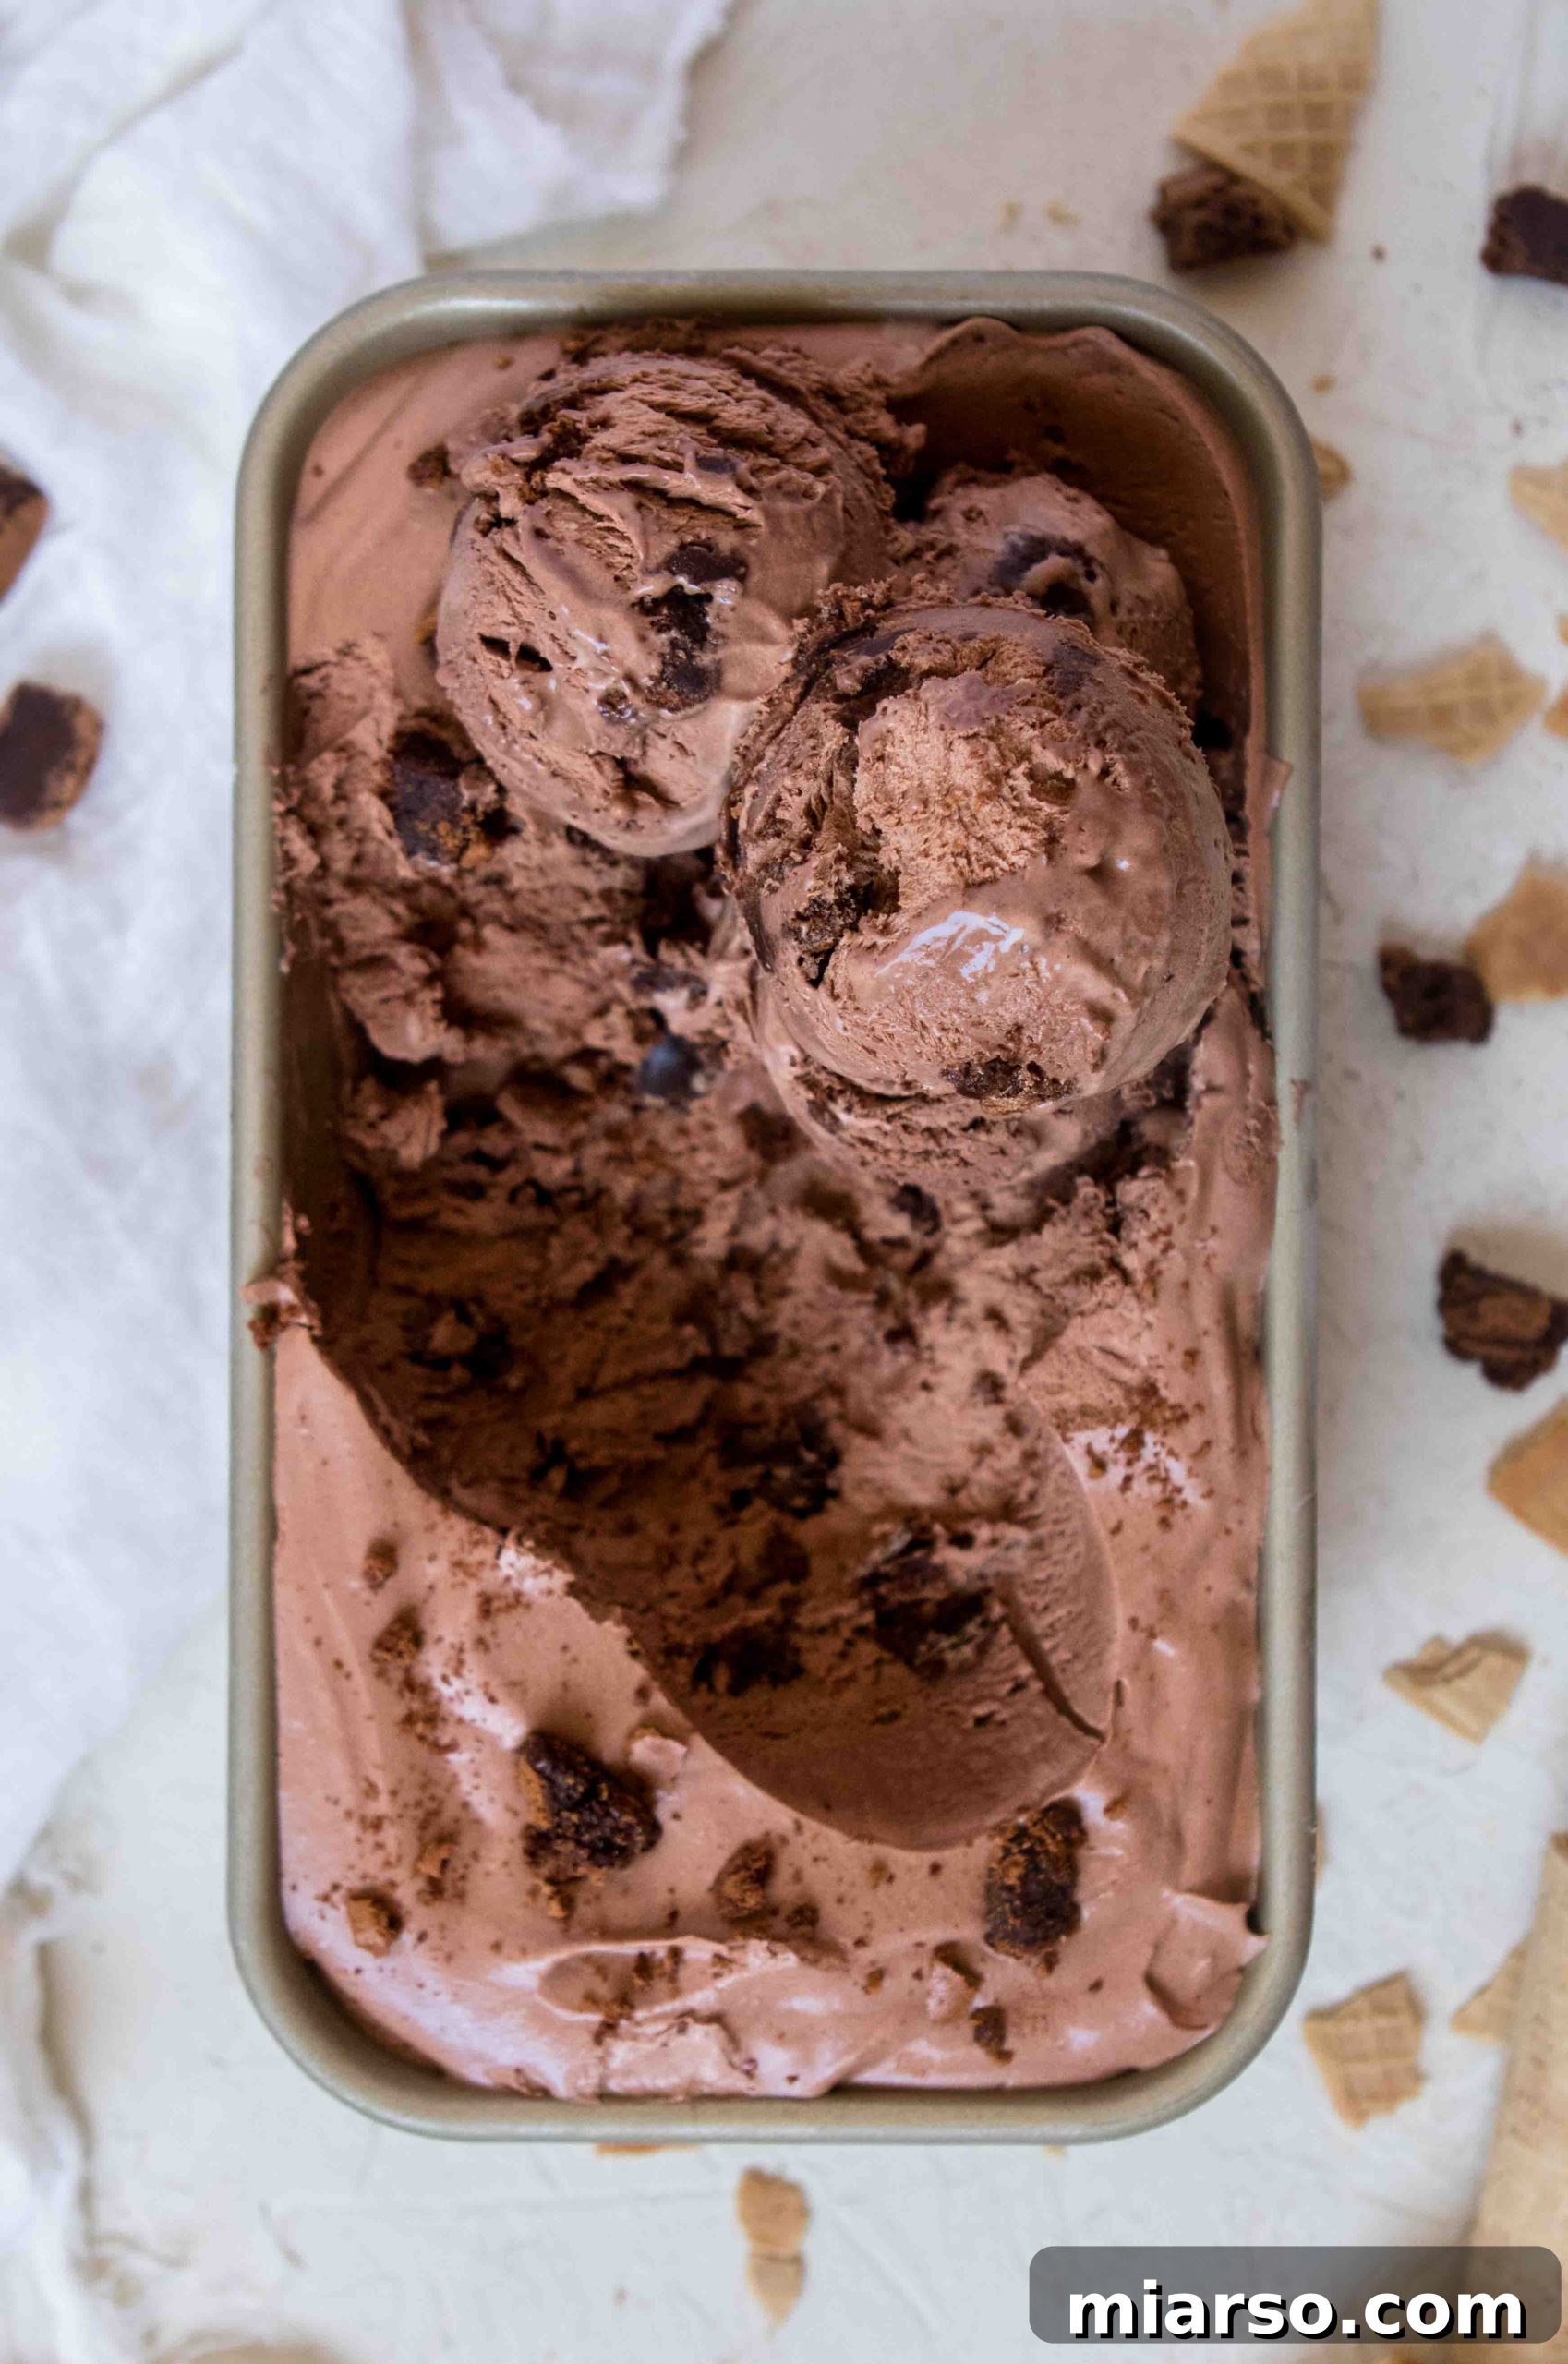
Why This No-Churn Chocolate Ice Cream Stands Out
When I set out to create this no-churn chocolate ice cream, my goal was clear: to craft a homemade version that not only rivaled but genuinely surpassed the quality and flavor of premium store-bought ice cream. I’m thrilled to report that this recipe achieves just that. It’s not merely good for a no-churn recipe; it’s simply excellent ice cream, period. Here’s why it will become your new favorite:
- **Unbelievably Creamy Texture:** Achieve a silky-smooth, almost custardy consistency without a single egg yolk or complex tempering process. The secret lies in the careful balance of ingredients that prevent ice crystals from forming, ensuring a delightfully rich mouthfeel.
- **Profound Chocolate Flavor:** This isn’t just “chocolatey”; it’s a deep, complex, and robust chocolate experience. By combining both melted dark chocolate and rich Dutch-processed cocoa powder, we build layers of intense flavor that truly satisfy serious chocolate cravings.
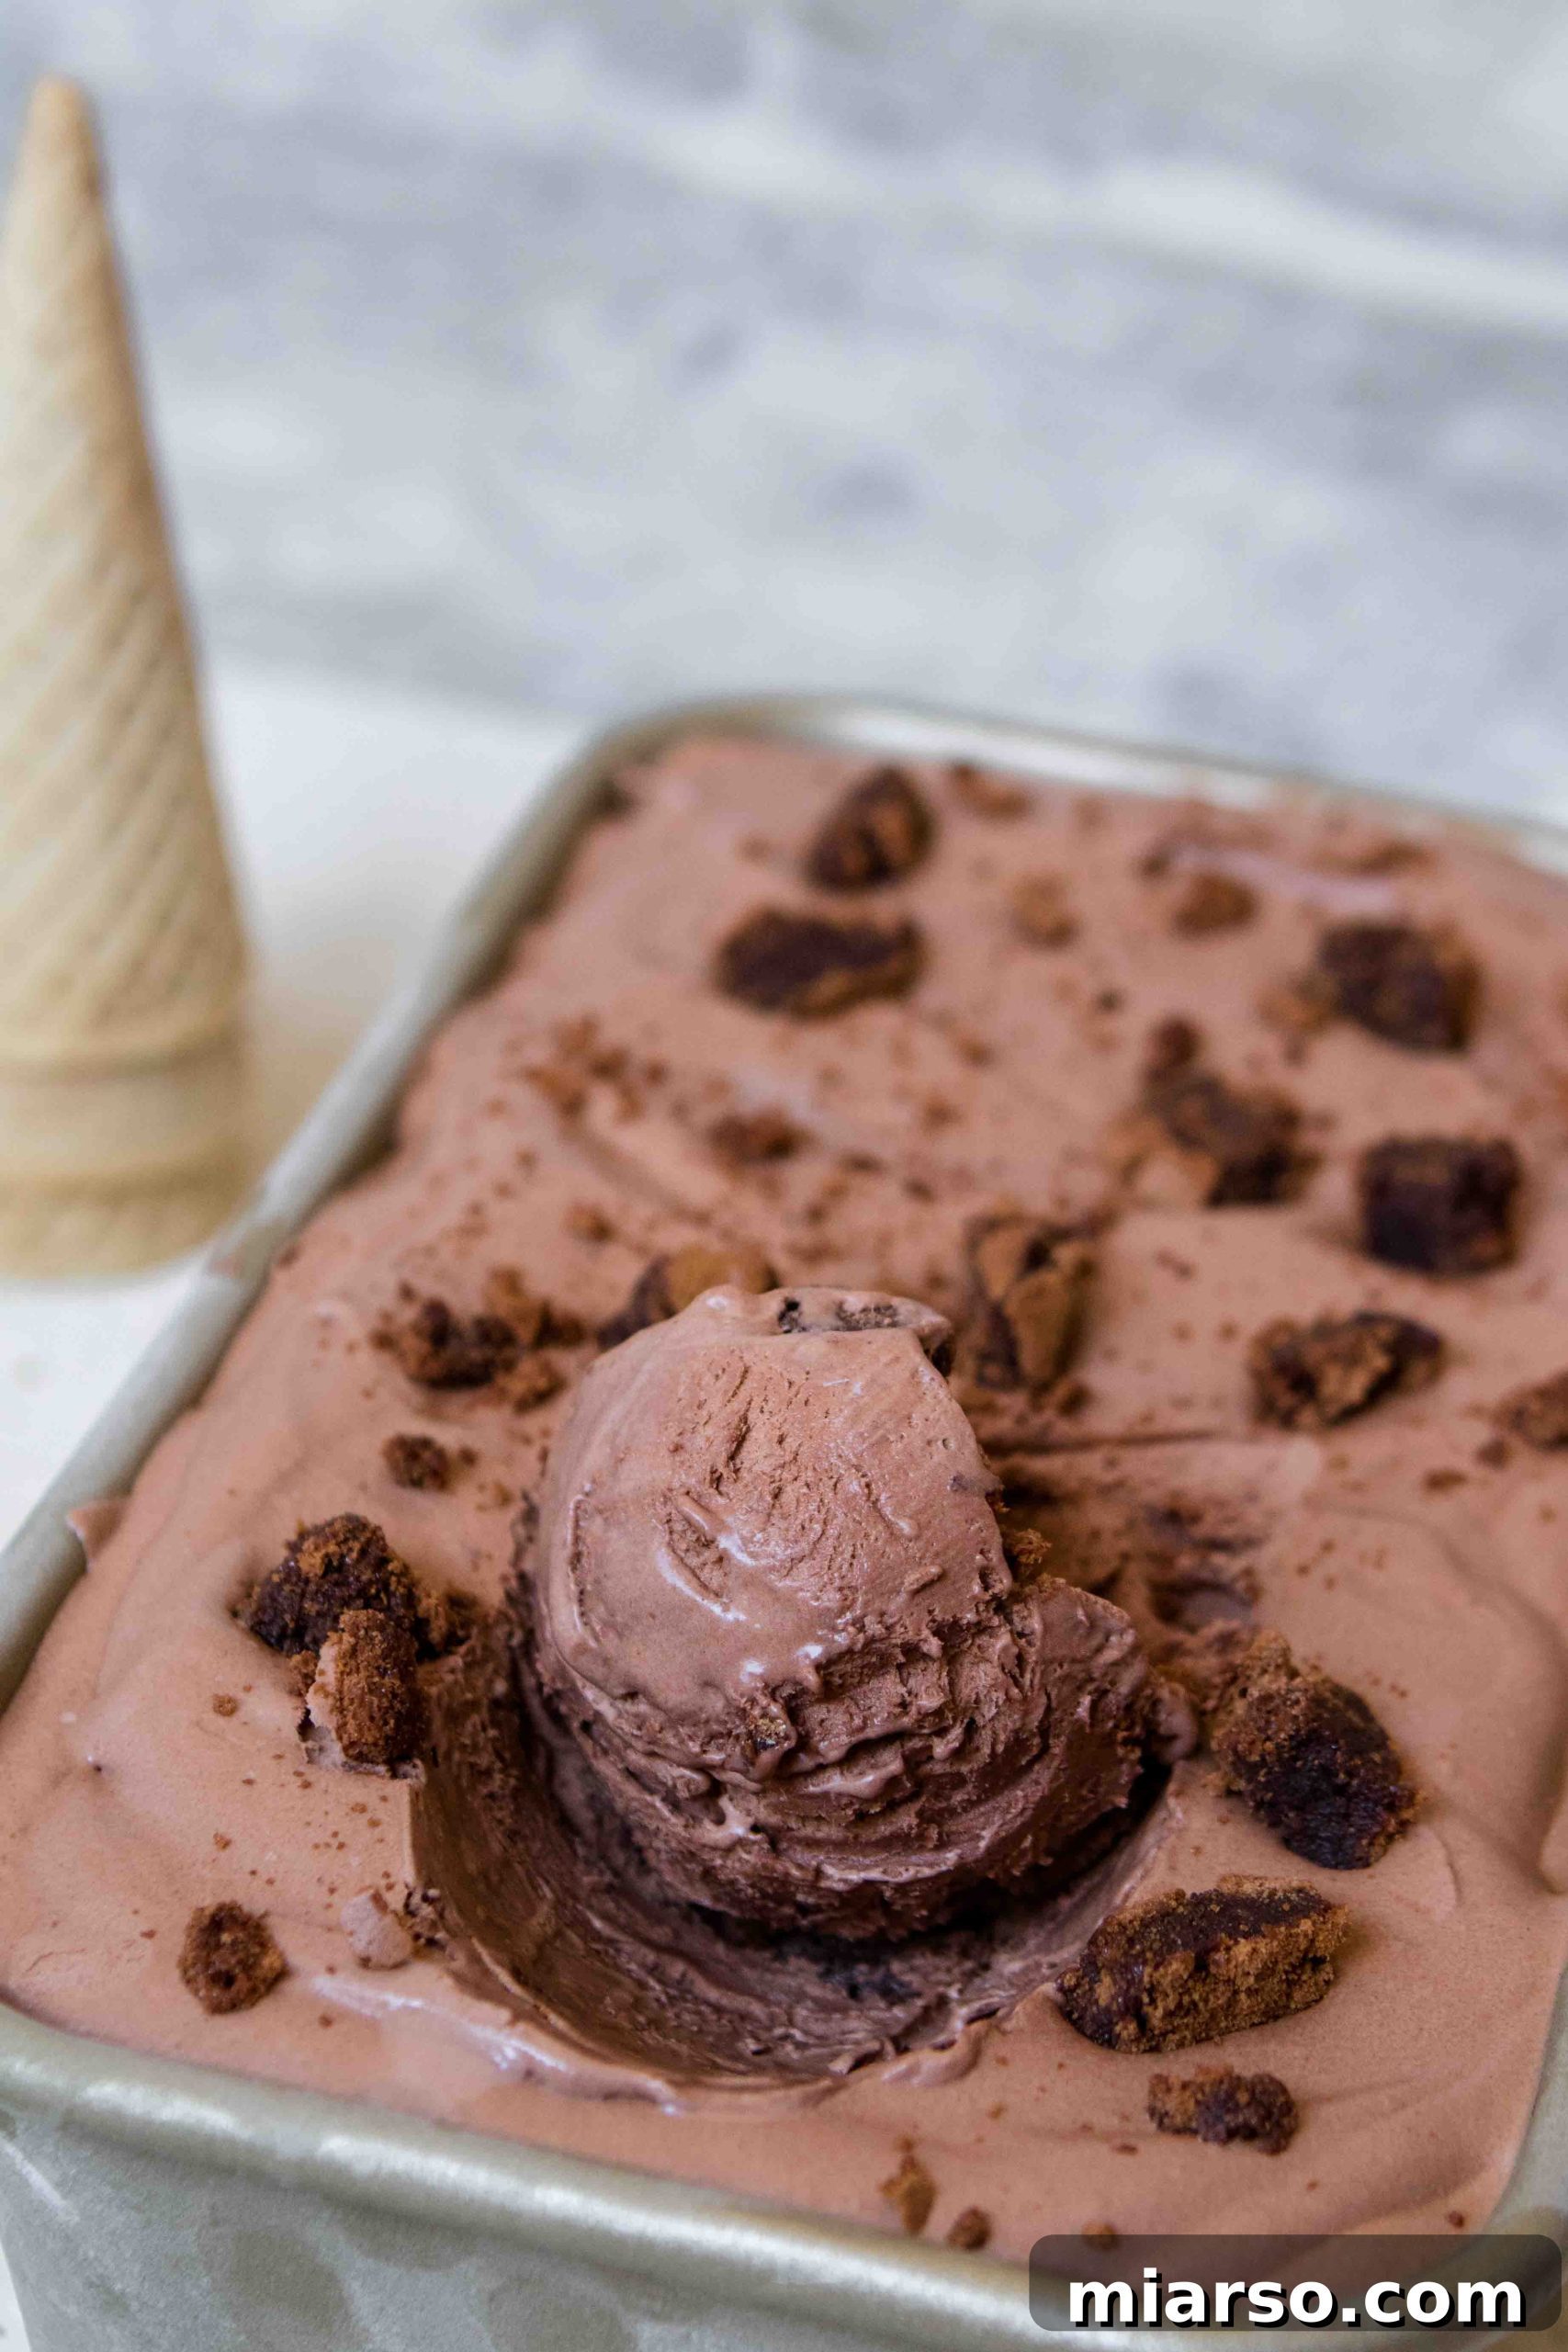
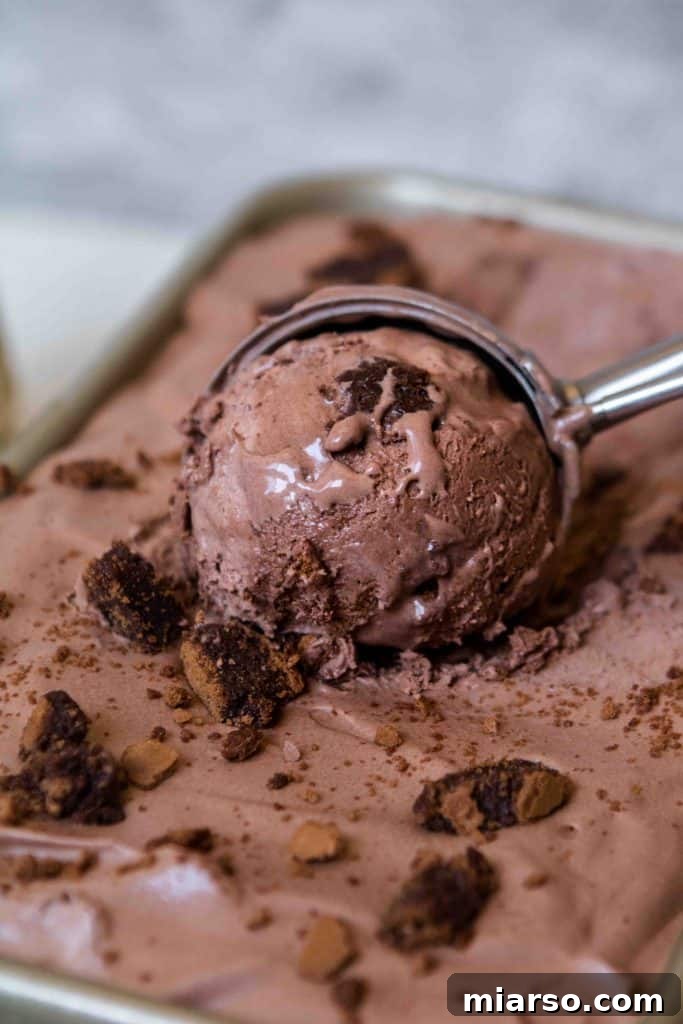
- **Generous Chunks of Fudgy Brownies:** Each scoop is a treasure hunt, revealing tender, chewy, and intensely fudgy brownie pieces. These delightful pockets of baked goodness add incredible texture and an extra layer of chocolate indulgence that elevates the entire dessert.
- **Effortlessly Easy to Prepare:** Forget complicated steps or lengthy preparation times. This recipe is designed for simplicity, allowing you to create gourmet-quality ice cream with minimal fuss and readily available ingredients.
- **Absolutely No Machine Required:** The “no-churn” aspect means exactly that – no expensive, bulky ice cream maker needed. If you have a hand mixer or a stand mixer to whip cream, you have all the specialized equipment necessary.
- **Guaranteed to Impress:** Prepare for rave reviews! The exceptional flavor and texture of this homemade brownie chocolate ice cream will surprise and delight anyone who tries it, making you the undisputed dessert hero.
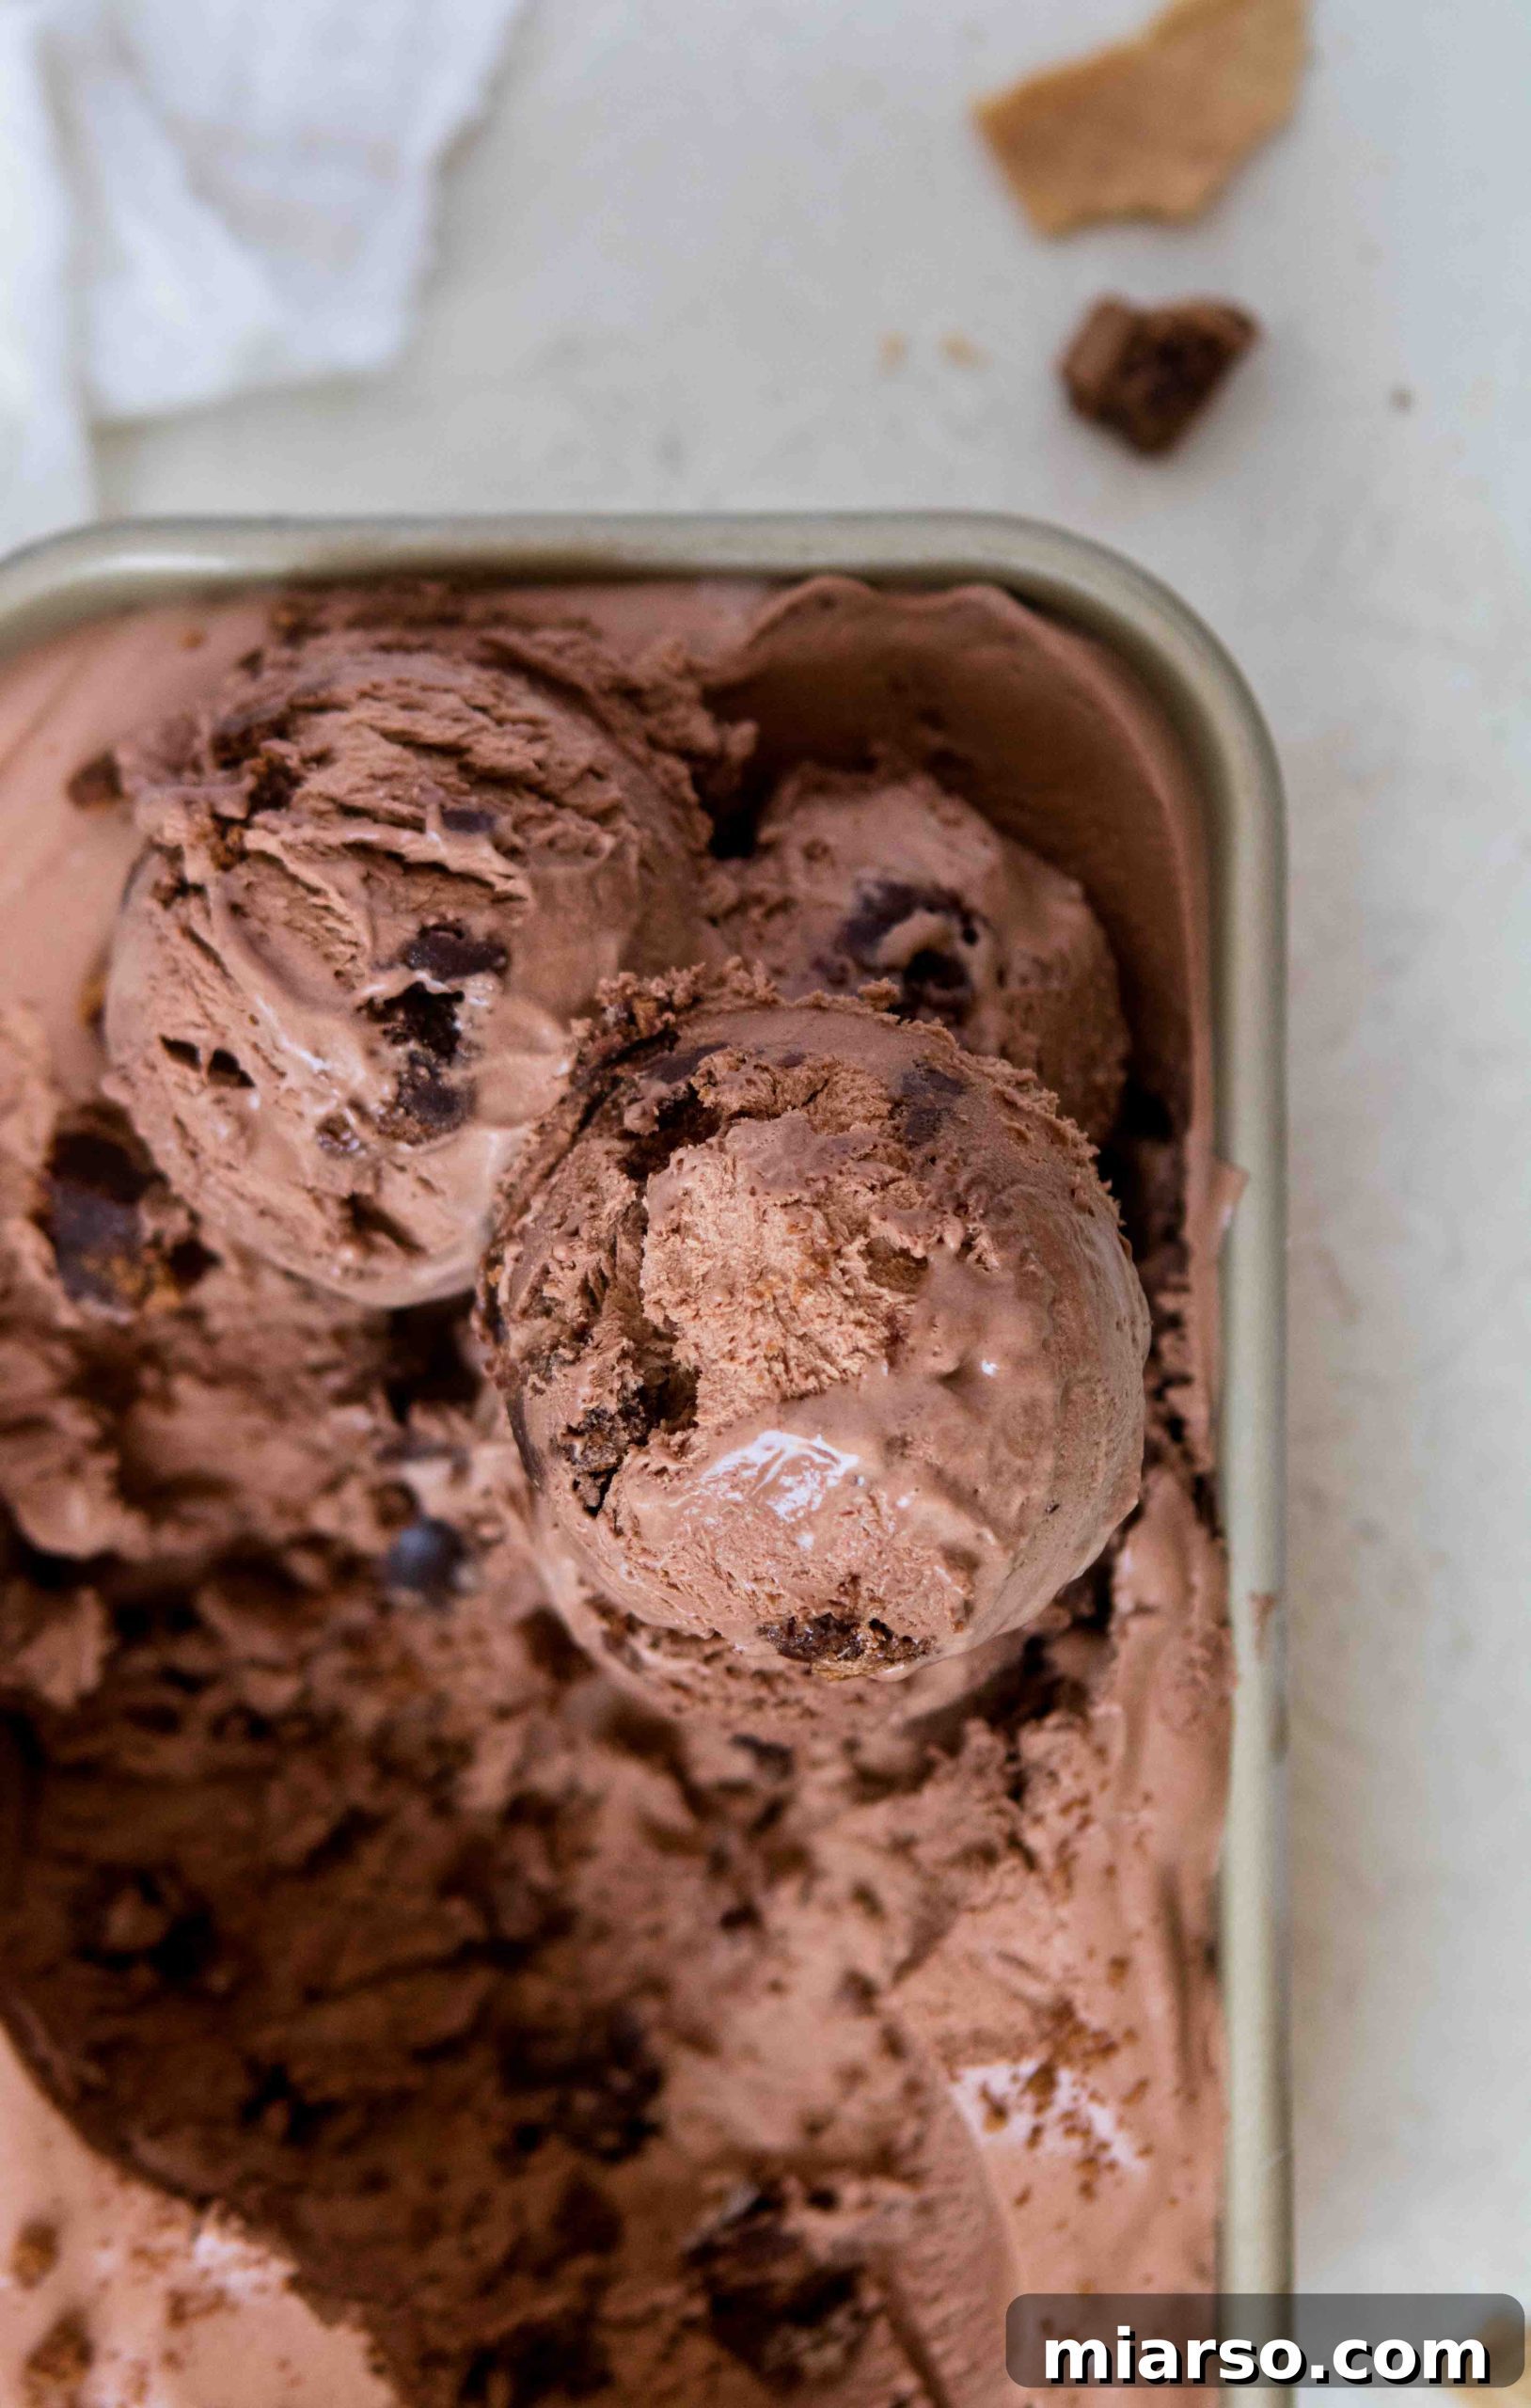
Understanding No-Churn Ice Cream: A Simple Indulgence
When we talk about “no-churn ice cream,” we’re referring to a fantastic method of making homemade ice cream without the use of an ice cream maker. Yes, you heard correctly! You absolutely do not need an expensive or bulky appliance to create this incredibly rich, decadent, and utterly delicious chocolate ice cream right from your own kitchen.
Traditionally, ice cream is crafted by first creating an egg custard base, chilling it thoroughly, and then churning it in an ice cream machine for 25 to 40 minutes. This churning process is crucial for incorporating air into the mixture while simultaneously freezing it, resulting in that signature light and creamy texture. The outcome of this classic method is, undeniably, incredible!
However, ice cream machines can be quite large and take up valuable counter or storage space, which can be a real drawback, especially for those living in smaller homes or apartments. As someone with numerous kitchen gadgets already, adding another one specifically for ice cream just isn’t practical. So, traditional churned ice cream might seem out of reach for many.
But don’t let that deter you from enjoying homemade ice cream! The beauty of the no-churn method is its ingenious simplicity. Instead of churning, we achieve that wonderful creamy texture by first whipping heavy cream until it’s light and airy. This whipped cream then gets gently folded into a base mixture, typically made with sweetened condensed milk and flavorings. The air incorporated into the whipped cream mimics the effect of churning, producing a sublime, rich, and incredibly smooth ice cream that tastes every bit as luxurious as its traditional counterpart. It’s a game-changer for home cooks and dessert lovers alike, opening up the world of homemade ice cream to everyone.
Essential Ingredients for Perfect No-Churn Ice Cream
Crafting this phenomenal no-churn chocolate ice cream requires just a handful of quality ingredients. Each one plays a vital role in achieving the perfect creamy texture and deep, satisfying chocolate flavor:
- Heavy Whipping Cream: This is the superstar ingredient that provides the essential fat content and airy structure for our no-churn ice cream. For the best results, always use heavy whipping cream with at least 36% fat. The higher the fat percentage, the richer and creamier your ice cream will be, and the better it will whip up to stiff peaks. Ensure it’s very cold before whipping!
- Dark Chocolate Chips: To create a truly profound chocolate experience, this recipe cleverly uses both melted chocolate and cocoa powder. Dark chocolate chips contribute a luxurious, smooth chocolate base, adding depth and richness that cannot be achieved with cocoa powder alone. Choose a good quality dark chocolate for superior flavor.
- Sweetened Condensed Milk: This magical ingredient is key to no-churn ice cream. It provides all the necessary sweetness and, crucially, its high sugar content and thick consistency help prevent the formation of large ice crystals during freezing, resulting in a wonderfully smooth and scoopable texture. Make sure it’s at room temperature for easy blending.
- Dutch-Processed Cocoa Powder: I’m a huge advocate for Dutch-processed cocoa powder in chocolate desserts. Its alkalized nature gives it a darker, richer color and a smoother, less bitter, and more intensely chocolatey flavor compared to natural cocoa powder. It perfectly complements the melted dark chocolate, deepening the overall chocolate profile.
- Salt: A tiny pinch of salt might seem counterintuitive in a sweet dessert, but it’s an absolute flavor enhancer. Salt balances the sweetness and significantly deepens the chocolate flavor, making every bite more complex and satisfying. Don’t skip it!
- Vanilla Extract: Vanilla and chocolate are a classic pairing for a reason. A good quality vanilla extract adds a subtle warmth and aromatic complexity that rounds out the chocolate flavors, making them even more inviting and delicious.
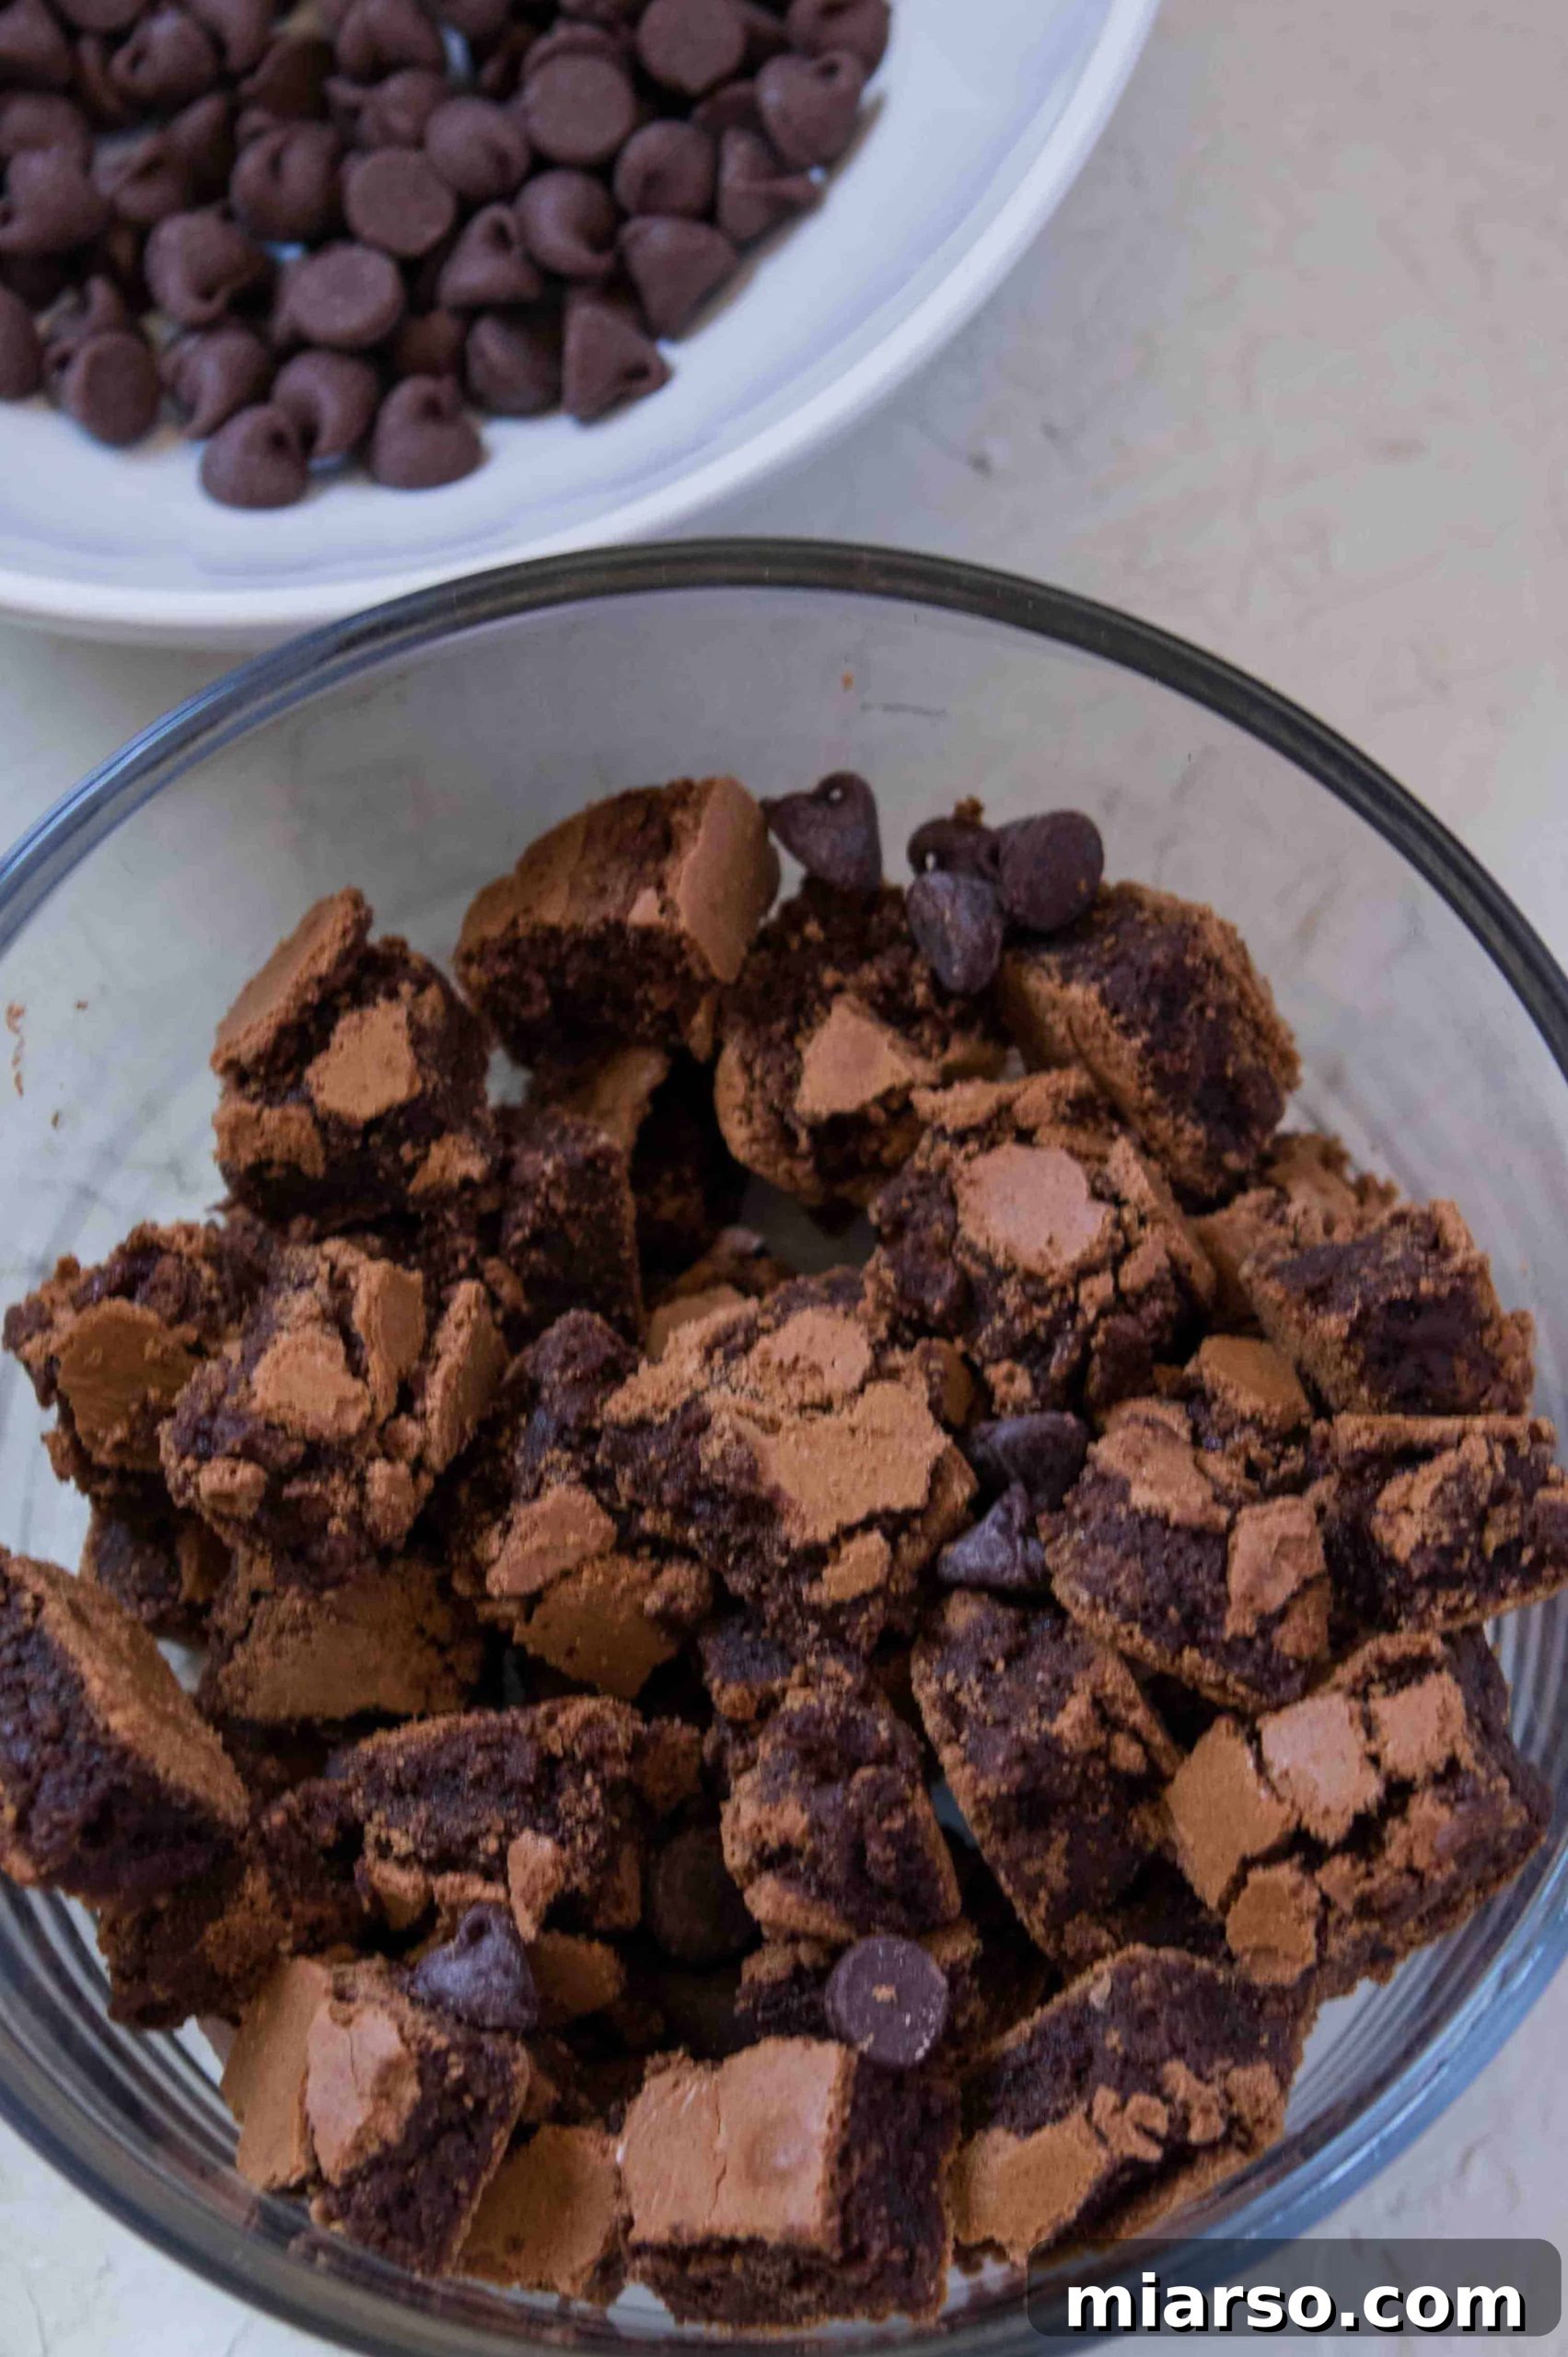
- Brownie Bits: The star mix-in! I used my incredibly fudgy and popular no-cocoa-powder brownie recipe for the perfect chewy, dense bits in this chocolate ice cream. You can use homemade brownies (make sure they are cooled and a little firm) or your favorite store-bought fudgy brownies, cut into small, bite-sized pieces.
More Chocolate Treats You Will Love!
If you’re as passionate about chocolate as I am, you’ll definitely want to explore these other delicious recipes:
- Hemp Seed Chocolate Bliss Balls
- Vegan Aquafaba Chocolate Mousse
- Espresso Chocolate Chip Cookies
How to Make Chocolate No-Churn Ice Cream (Step-by-Step)
Creating this rich and creamy chocolate brownie ice cream is surprisingly simple. Follow these steps for an indulgent treat:
- **Melt the Chocolate:** Begin by melting your dark chocolate chips. You can do this easily in the microwave in 30-second intervals, stirring well after each, until smooth. Alternatively, use a double boiler over simmering water, stirring until fully melted and glossy.
- **Combine Chocolate Base Ingredients:** Once the chocolate is melted and slightly cooled, add the sweetened condensed milk, Dutch-processed cocoa powder, and a pinch of salt to the bowl. Whisk these ingredients together until the mixture is completely smooth, lump-free, and well combined. This forms your rich chocolate base.
- **Whip the Heavy Cream:** In a separate, very cold bowl (chilling your bowl and whisk attachments beforehand can help), pour in the heavy whipping cream along with the vanilla extract. Using a hand mixer or a stand mixer fitted with the whisk attachment, whip the cream on medium-high speed until it forms stiff peaks. This means when you lift the whisk, the cream holds its shape firmly. Be careful not to over-mix, or it could turn into butter, which we definitely don’t want for ice cream! This usually takes about 3-4 minutes.
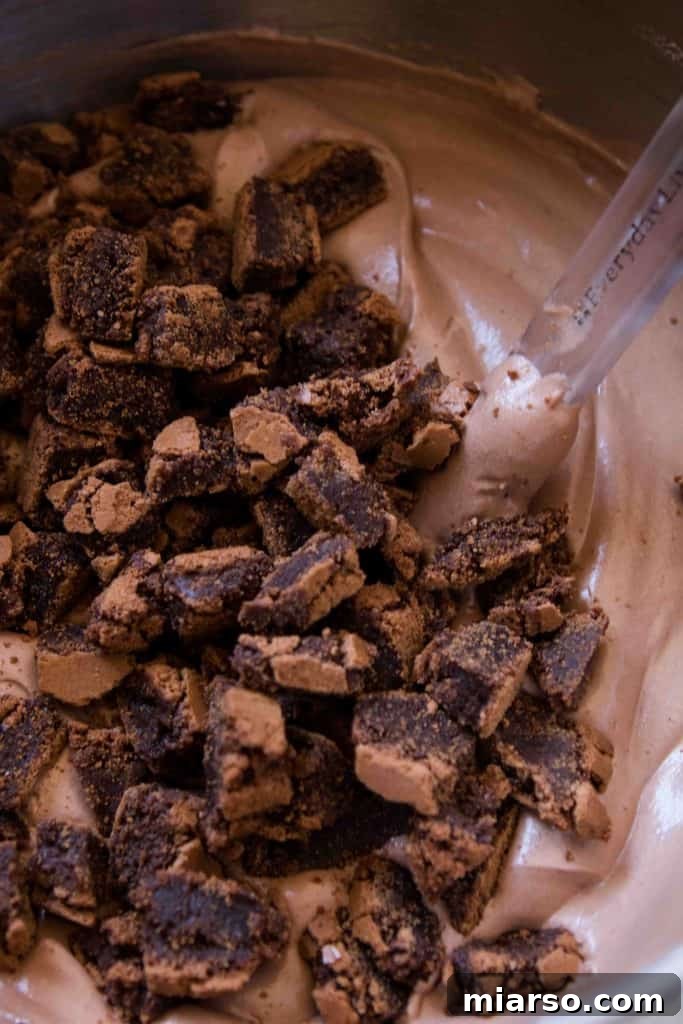
- **Gently Fold Mixtures Together:** Scoop about one-third of the whipped cream into the chocolate mixture. Gently fold it in using a spatula until just combined. This lightens the chocolate base and makes it easier to incorporate the rest of the whipped cream. Then, add the remaining whipped cream and continue to fold gently until the two mixtures are fully incorporated, being careful not to deflate the air from the whipped cream. This gentle folding is crucial for that light, creamy texture.
- **Add Brownie Bits:** Once your ice cream base is beautifully blended, it’s time for the star addition! Gently fold in your brownie bits. Distribute them evenly throughout the mixture.
- **Freeze for Perfection:** Pour the ice cream mixture into an 8-inch loaf pan or a freezer-safe container. Cover the pan tightly with plastic wrap, pressing it directly onto the surface of the ice cream to prevent ice crystals from forming. Freeze for a minimum of 5 hours, or ideally, overnight, until it is completely firm. The longer it freezes, the better its texture will set.
- **Serve and Enjoy:** When you’re ready to indulge, take the ice cream out of the freezer and let it sit at room temperature for about 5-10 minutes. This allows it to soften slightly, making it easier to scoop into perfect, creamy portions. Scoop generously and savor every chocolatey, brownie-filled bite!
Don’t forget to check out this no-churn vanilla bean and dulce de leche ice cream recipe for another delightful variation!
Can I Prepare This Double Chocolate Brownie Ice Cream in Advance?
Absolutely! This no-churn chocolate ice cream is an ideal make-ahead dessert. In fact, preparing it in advance is highly recommended as it allows ample time for the ice cream to freeze thoroughly and set to its perfect, scoopable consistency. You can make it a day or even several days before you plan to serve it, ensuring you have a stress-free, delicious treat ready for any occasion.
How Long Will No-Churn Ice Cream Remain Fresh?
Properly stored, this delectable chocolate ice cream will last wonderfully in your freezer for up to two weeks. To ensure it stays as fresh, creamy, and free from freezer burn as possible, make sure to store it in an airtight container. If using a loaf pan, wrap it tightly with a layer of plastic wrap pressed directly onto the surface of the ice cream, and then cover it with aluminum foil or a lid. This double layer of protection is key to preserving its texture and flavor.
Expert Tips for Crafting the Best No-Churn Ice Cream
While this no-churn ice cream recipe is incredibly straightforward, a few key tips can elevate your homemade treat from great to absolutely unforgettable. Follow these simple guidelines to ensure you create an irresistible ice cream that everyone will adore:
- High-Fat Heavy Whipping Cream: The quality of your heavy cream is paramount. Always opt for heavy whipping cream with at least 36% milk fat. Cream with a higher fat content will whip up more easily, create a more stable whipped cream, and ultimately result in a richer, smoother, and more luxurious ice cream texture. Ensure your cream (and ideally your mixing bowl and whisk attachments) are very cold before you start whipping.
- Prioritize Dark Chocolate: For a truly deep and balanced chocolate flavor, dark chocolate is essential in this recipe. I’ve found that using semi-sweet chocolate chips can sometimes make the ice cream overly sweet, overshadowing the complex chocolate notes. If dark chocolate isn’t available and you must use semi-sweet, consider slightly reducing the amount of sweetened condensed milk to prevent an excessively sweet final product. The combination of dark melted chocolate and Dutch-processed cocoa powder creates a robust flavor profile that’s hard to beat.
- Dice Your Brownies Small: The brownie bites are a delightful addition, but their size matters. For the best eating experience, cut your brownies into small, roughly 1/2-inch pieces. This ensures that each spoonful offers a perfect balance of creamy ice cream and chewy brownie, without any single chunk overwhelming your palate. Smaller pieces also distribute more evenly throughout the ice cream, guaranteeing brownie goodness in every bite.
- Gentle Folding is Key: When combining the whipped cream with the chocolate mixture, resist the urge to vigorously stir. Gentle folding is crucial to maintain the airiness and volume of the whipped cream, which is what gives no-churn ice cream its light, creamy texture. Over-mixing can deflate the cream, resulting in a denser, icier ice cream.
- Chill Everything: For optimal results, ensure your heavy cream, mixing bowl, and whisk attachments are all very cold. This helps the cream whip up faster and hold its peaks more effectively, leading to a superior ice cream base.
- Patience During Freezing: While the recipe suggests a minimum of 5 hours, freezing overnight (8-12 hours) will yield the best, firmest, and most scoopable ice cream. Resist the temptation to check on it too often, and allow it to solidify completely for the ultimate texture.
IF YOU MADE SOMETHING FROM LIFESTYLEOFAFOODIE, I WOULD LOVE TO SEE ALL YOUR CREATIONS AND KNOW HOW EVERYTHING TURNED OUT! SO DON’T FORGET TO LEAVE A COMMENT BELOW AND FOLLOW ALONG WITH ME ON INSTAGRAM, PINTEREST, AND FACEBOOK.
Chocolate No-Churn Ice Cream with Brownies
This incredible chocolate no-churn ice cream, packed with fudgy brownie bits, is truly what dessert dreams are made of. It’s lusciously creamy, intensely chocolatey, and incredibly easy to make without an ice cream machine.
Chocolate No-Churn Ice Cream with Brownies
15 mins
15 mins
8 servings
Print Recipe
Ingredients
- 2 cup heavy whipping cream Very cold
- 1/4 tsp vanilla extract
- 1/2 cup dark chocolate chips
- 1 can sweetened condensed milk At room temperature.
- 1/3 cup dutch processed cocoa powder
- 1/4 tsp salt
- 2 cups brownie bits Homemade or store bought
Instructions
-
Start by melting the chocolate chips in the microwave or over a double boiler until smooth.
-
Once the chocolate is melted, add the sweetened condensed milk, cocoa powder, and salt. Whisk these ingredients together until the mixture is smooth and well combined.
-
In a separate bowl, using a hand mixer or a stand mixer, whip the heavy cream and vanilla extract on medium-high speed until the cream holds stiff peaks (about 3-4 minutes). Be careful not to over-mix, as it can turn into butter.
-
Gently scoop about one-third of the whipped cream into the chocolate mixture and fold it in until just combined. Then, add the remaining whipped cream and gently fold the two mixtures together until fully incorporated, being careful not to deflate the cream.
-
Fold in the brownie bits until they are evenly distributed throughout the ice cream base.
-
Pour the mixture into an 8-inch loaf pan, cover it tightly with plastic wrap (pressing it onto the surface), and freeze for at least 5 hours, or ideally, overnight, until firm.
-
When ready to serve, remove the ice cream from the freezer and let it sit at room temperature for 5-10 minutes to soften slightly. Scoop and enjoy your delicious homemade treat!
Nutrition information is automatically calculated, so should only be used as an approximation.
Thank you so much for joining me on this delicious journey! I truly hope you enjoyed learning how to make this perfect summer treat. If you give this incredibly creamy chocolate ice cream with brownie bits a try, I would absolutely love to hear how yours turned out. Please share your experiences and any delightful variations you create in the comments below. Your feedback and culinary adventures mean the world!

If you enjoyed this chocolate no-churn ice cream with brownie bits, make sure to pin it for later!