
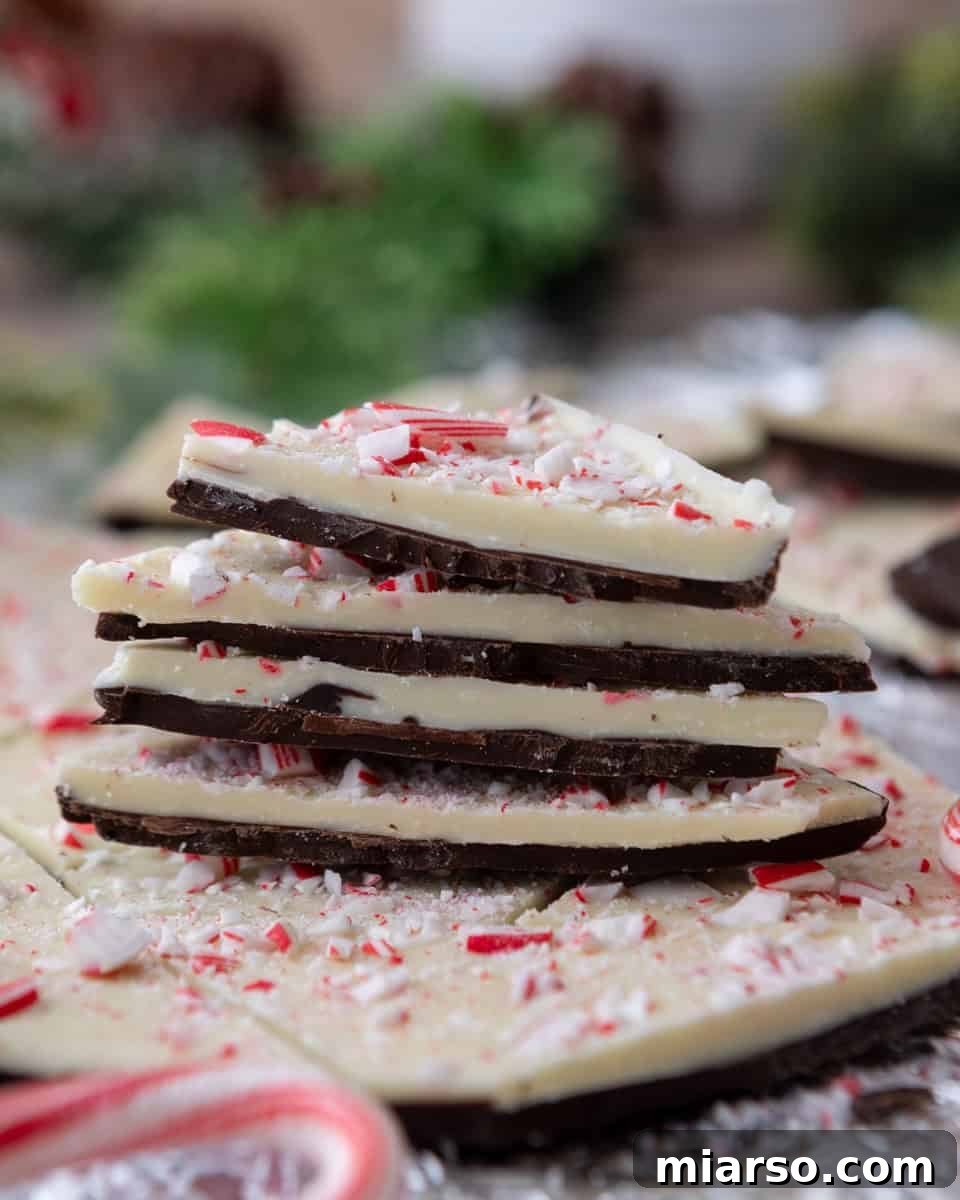
Unlock the secret to crafting the most **foolproof homemade peppermint bark** that will impress everyone with its impeccable, clean layers, satisfying snap, and delightful crunch of perfectly crushed candy canes in every bite. If you’ve ever grappled with chocolate seizing upon contact with peppermint extract, struggled to achieve even layers, or found your candy canes mysteriously melting on top, this meticulously tested recipe is designed to transform your holiday baking experience. It elevates a beloved classic holiday treat, making it accessible and utterly delicious for home bakers.
Since you’re here to master the art of peppermint bark, you’ll undoubtedly also adore our Peppermint Bark Brownie Cookies – another festive favorite!
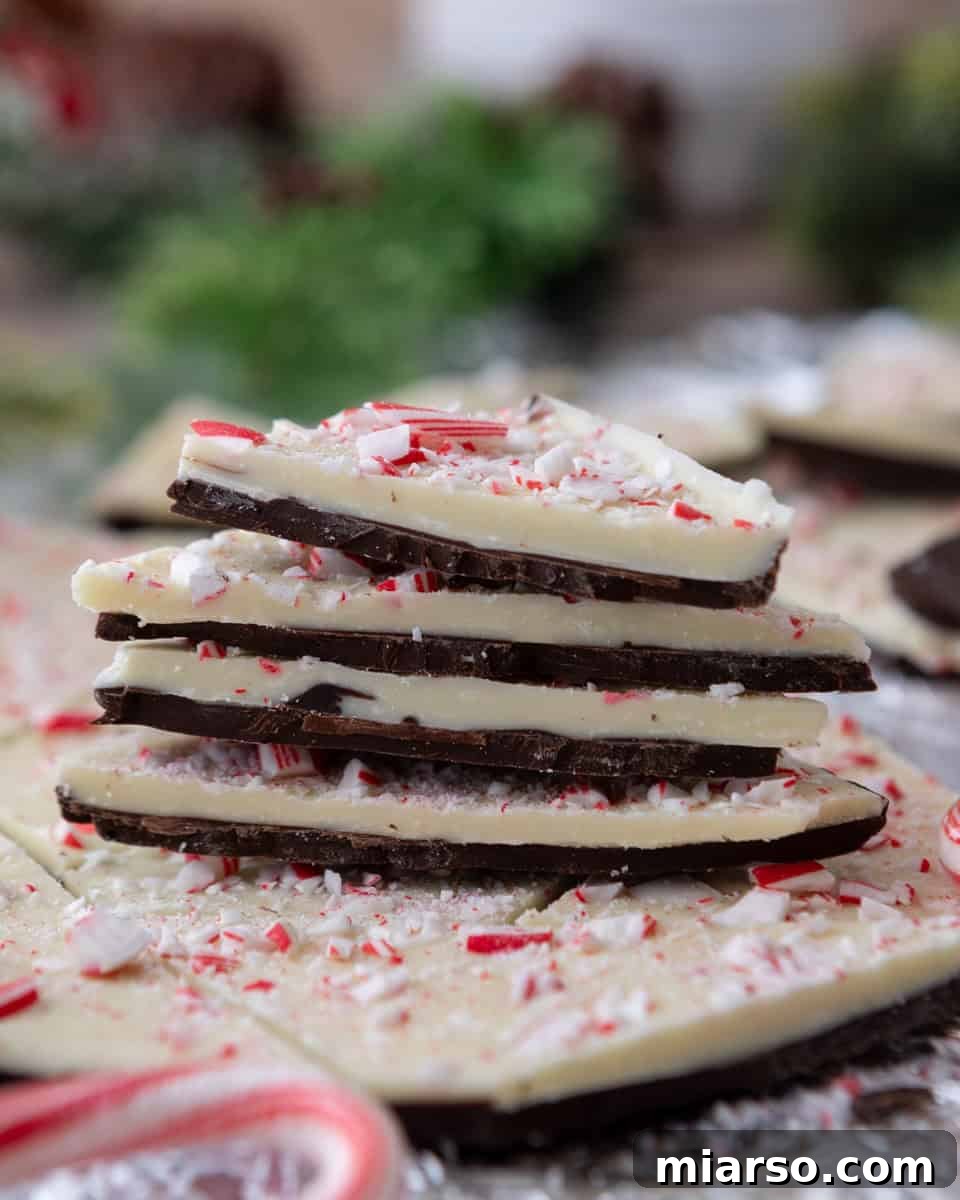
Why This Peppermint Bark Recipe Will Become Your Holiday Tradition
There’s a reason why peppermint bark graces holiday tables year after year. It’s not just a treat; it’s an experience. Our rendition guarantees not only ease but also perfection, ensuring your bark stands out. Here’s why this recipe deserves a permanent spot in your annual festive routine:
- Visually Stunning Layers: Achieve distinct, beautiful dark and white chocolate layers that remain separate, without blending or unsightly cracking, giving your bark a professional, artisanal look.
- Superior Chocolate Quality: We insist on real, high-quality semisweet and white chocolate bars (not waxy chips) for a truly luxurious taste and a smoother melt, resulting in a richer, more satisfying bark.
- Seize-Proof Confidence: A touch of vegetable oil or shortening acts as a crucial fat buffer, preventing the dreaded chocolate seizing when peppermint extract is introduced – a common pitfall that this recipe gracefully sidesteps.
- Effortless Gifting: This peppermint bark is incredibly photogenic and holds up beautifully, making it an ideal homemade gift that packages elegantly for friends, family, and neighbors.
- Lightning-Fast Prep: Spend less time in the kitchen and more time enjoying the holidays, as this recipe requires less than 20 minutes of active, hands-on preparation.
- Perfect Snap, No Tempering: Despite foregoing complex tempering, your bark will boast a magnificent shine and that coveted crisp, clean snap straight from the refrigerator, thanks to our simple yet effective techniques.
Let’s Chat About Peppermint Bark Perfection!
Peppermint bark often seems deceptively simple – just melt, spread, and chill, right? My initial attempts were a stark reminder that even the simplest recipes can have their challenges. The first time I experimented without adding oil, my chocolate **seized instantly** the moment the peppermint extract made contact. I wanted to throw my spatula across the kitchen! On my second try, I chilled the bottom layer for too long, only to find the two chocolate layers stubbornly refusing to adhere to each other. But every kitchen mishap is a lesson learned, and these “fails” have been transformed into invaluable tips that you can now benefit from.
Here are the key takeaways from my journey to perfect peppermint bark:
- The Essential Fat Buffer: Peppermint extract, being alcohol-based, can cause chocolate to seize. A mere teaspoon of vegetable oil, coconut oil, or shortening provides the necessary fat buffer, ensuring a smooth, silky melt every time. This tiny addition is a game-changer.
- Optimal Bottom Layer Firmness: If your dark chocolate layer becomes too firm before you add the white chocolate, don’t despair! A quick, light pass with a kitchen torch over the surface can re-warm it just enough to create the perfect bond for the next layer. This simple trick ensures your layers stick together beautifully.
- Embrace the Candy Cane Crunch: When you think you’ve added enough crushed candy cane pieces, pause, and then add more! The vibrant color and the satisfying, invigorating crunch of the candy canes are what truly elevate peppermint bark from good to absolutely exciting. Don’t be shy!
Once I refined this formula, homemade peppermint bark became one of my absolute favorite holiday desserts. It’s incredibly easy to make in large batches, super reliable, and adds an undeniable festive touch to any occasion. You’ll find yourself reaching for this recipe year after year.
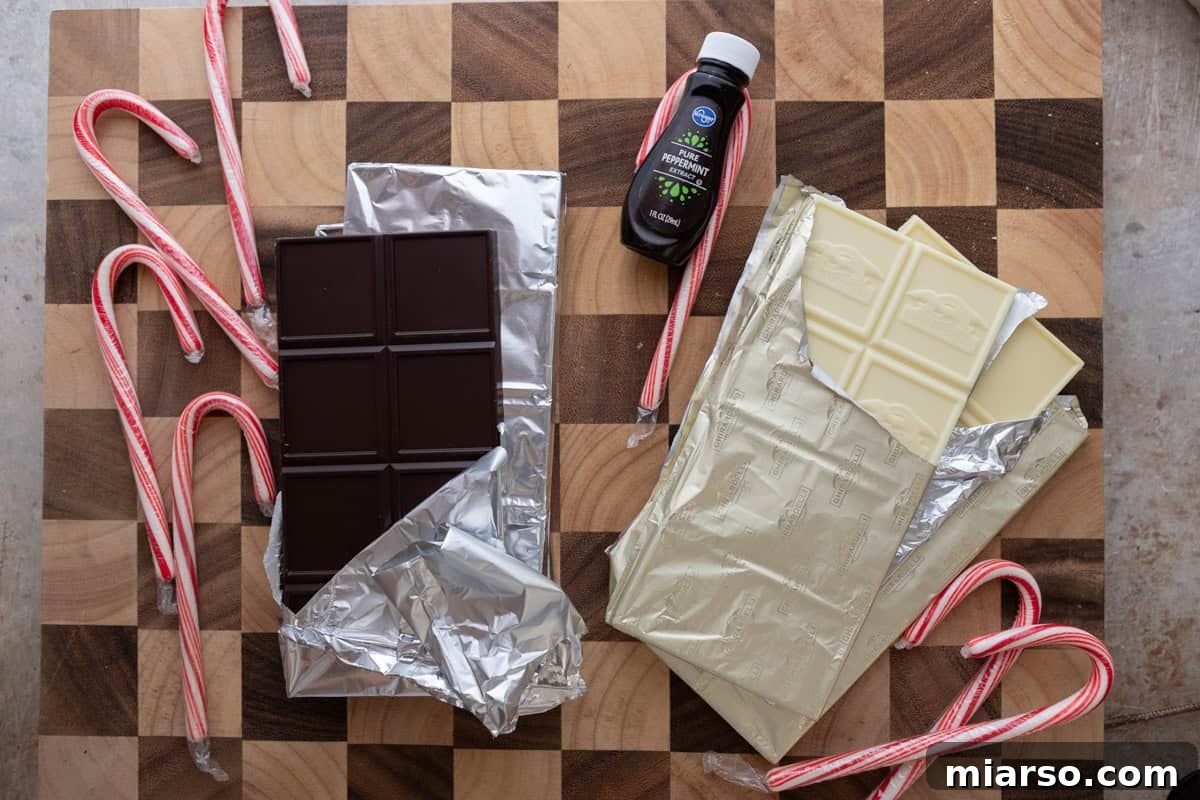
Essential Ingredients for the Best Peppermint Bark
The beauty of peppermint bark lies in its simplicity, meaning the quality of your ingredients truly shines through. Opting for good quality chocolate and fresh candy canes will make a noticeable difference in the final product. Here’s a closer look at what you’ll need:
- Semisweet Chocolate: This forms the rich, dark base of your bark. Avoid standard chocolate chips, which often contain stabilizers that prevent smooth melting. Instead, choose high-quality chopped chocolate bars (like Ghirardelli or Guittard) or baking wafers. They melt beautifully and provide a superior flavor profile.
- White Chocolate: The creamy, contrasting top layer. White chocolate can be finicky and scorch easily, so careful melting is key. Again, prioritize quality white chocolate bars or wafers over waxy chips, as the flavor of this layer is prominent. A good white chocolate tastes rich and milky, not just sweet.
- Peppermint Extract: The star flavor! A little goes a long way with this potent extract. You’ll only need about ½ teaspoon for the entire batch. Using too much can result in an overpowering, medicinal taste, so measure carefully.
- Vegetable Oil, Coconut Oil, or Shortening: While technically optional, this ingredient is *highly recommended* for its ability to prevent the chocolate from seizing when the alcohol-based peppermint extract is added. It also contributes to that gorgeous, glossy finish and crisp snap without the need for intricate tempering.
- Crushed Candy Canes: The festive crown jewel! For the best texture and visual appeal, crush your candy canes using a rolling pin or a meat mallet inside a double zip-top bag. Aim for a mix of fine powder (for color dispersal) and small, crunchy chunks (for that irresistible textural contrast).
How to Make Classic Peppermint Bark: A Step-by-Step Guide
Creating beautiful, delicious peppermint bark is easier than you think when you follow these clear steps. Precision and a little patience will yield perfect results every time.
- Prepare Your Baking Sheet: Begin by lining a 9×13 inch baking sheet or similar-sized pan with parchment paper. Ensure the parchment extends over the edges, creating “handles” that will make lifting the finished bark out of the pan effortlessly later on.
- Crush the Candy Canes: Place your candy canes into a sturdy zip-top bag. For extra security against punctures, insert this bag into another zip-top bag. Using a rolling pin or a meat mallet, gently but firmly crush the candy canes until you have a varied mix of fine dust and small, chunky pieces. Set these aside, ready for sprinkling.
- Melt the Dark Chocolate: Transfer your chopped semisweet or dark chocolate into a microwave-safe bowl. Heat the chocolate in short, 30-second intervals, stirring thoroughly after each interval. Continue this process until the chocolate is completely smooth and free of lumps, typically taking about 1.5 to 2 minutes total. If using, stir in 1 teaspoon of vegetable oil or shortening at this stage to prevent seizing.
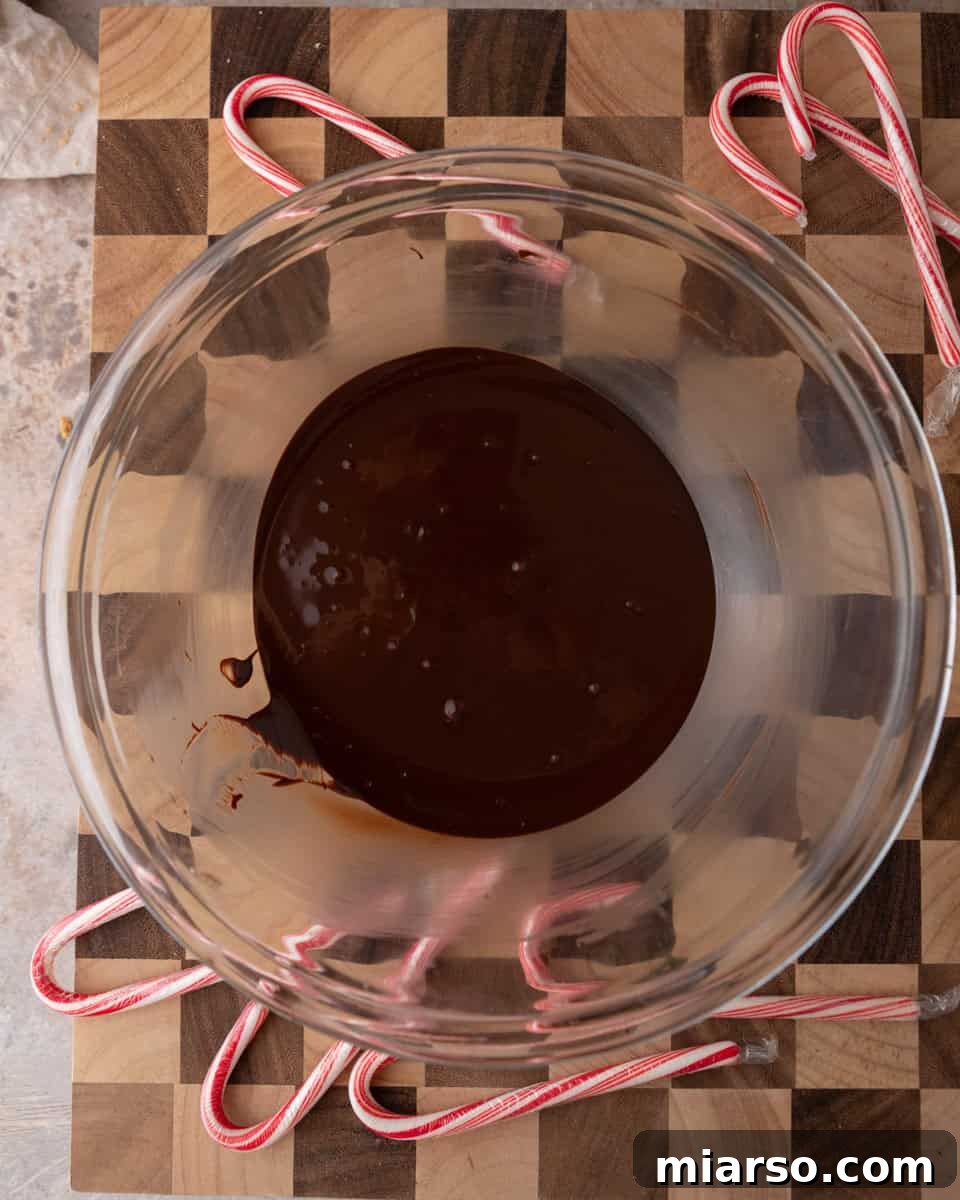
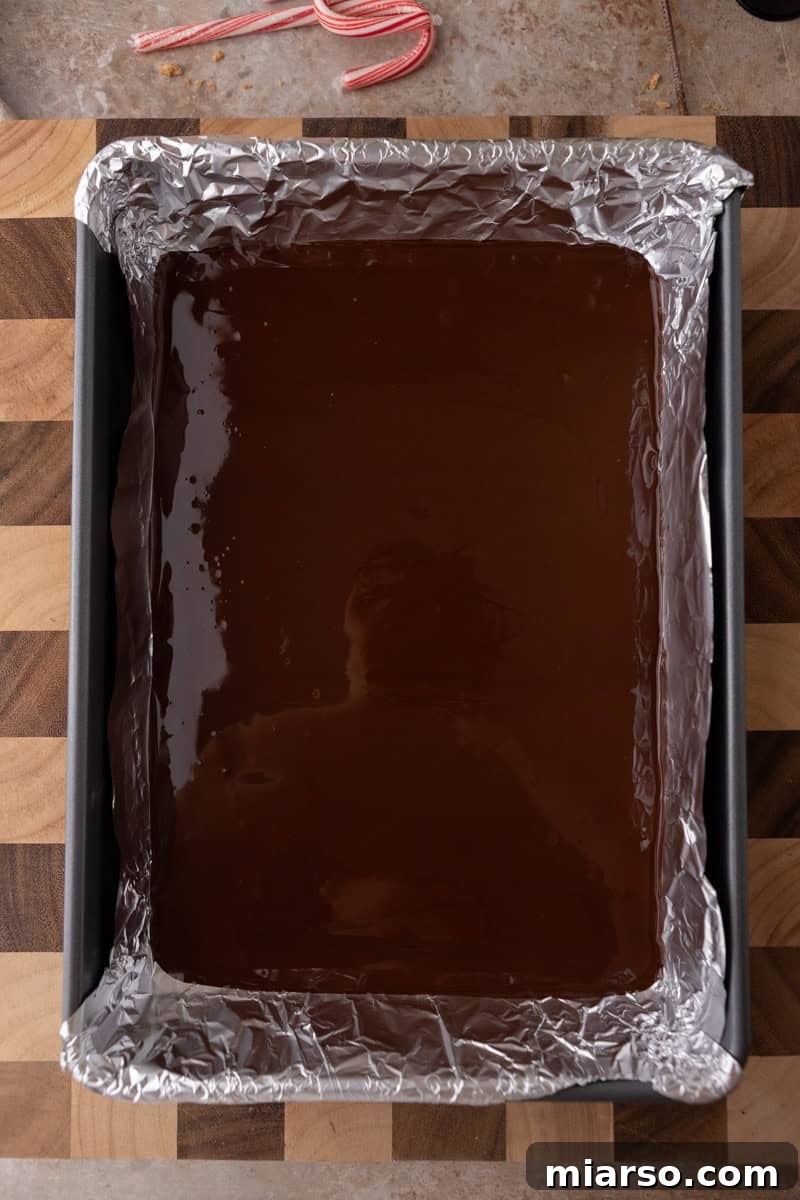
- Create the Base Layer: Pour the melted dark chocolate onto the parchment-lined baking sheet. Using an offset spatula, swiftly and evenly spread the chocolate to a thickness of approximately ¼ inch. Gently tap the pan on your counter several times to release any trapped air bubbles, ensuring a perfectly smooth and flat surface.
- Chill the Dark Chocolate: Place the baking sheet in the refrigerator for about 10-15 minutes. The goal here is for the chocolate to firm up enough to be set, but still have a slight tackiness when lightly touched. This ensures the white chocolate layer adheres beautifully without mixing. Avoid chilling until rock-hard.
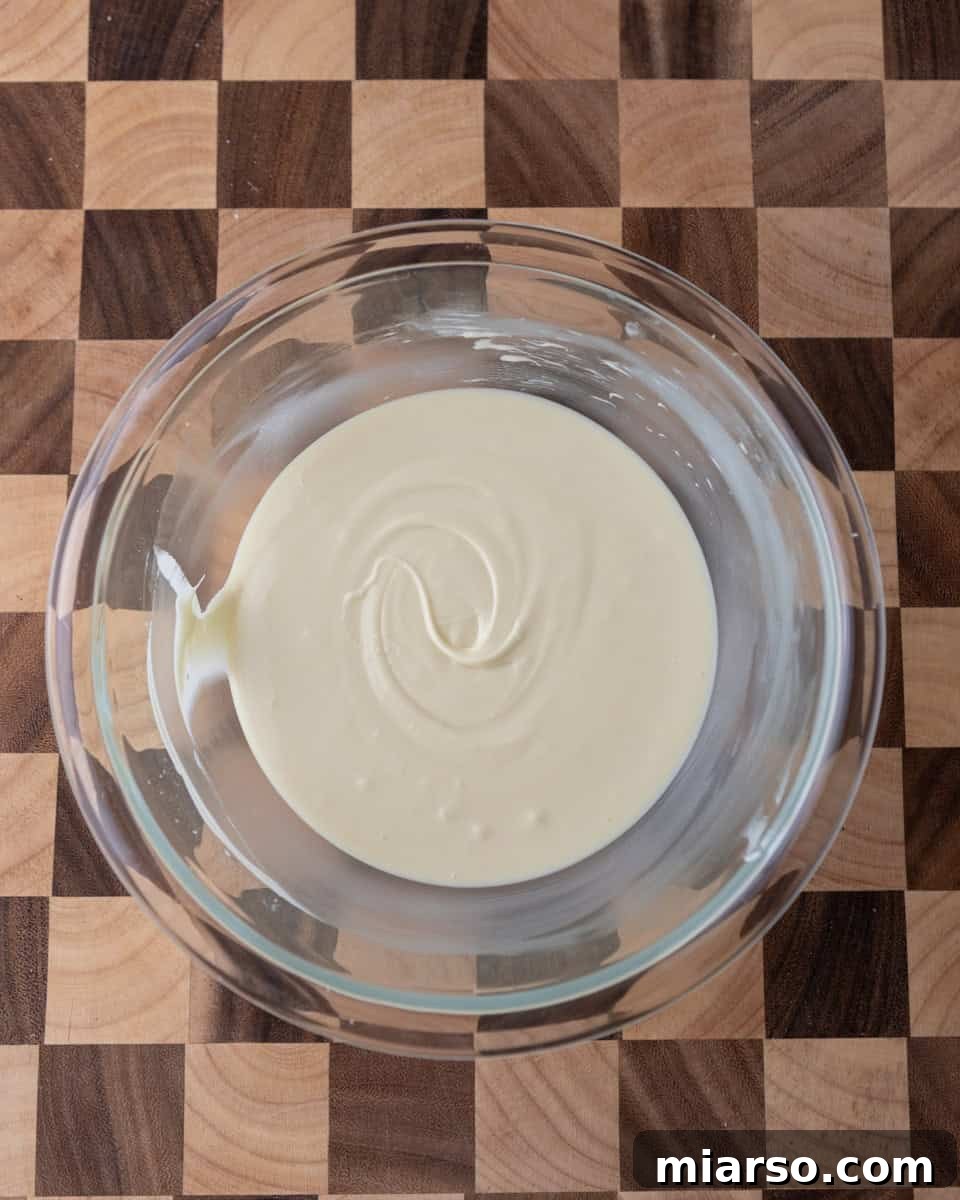
- Melt the White Chocolate: In a separate clean, microwave-safe bowl, melt the chopped white chocolate. This chocolate type is more delicate, so microwave in shorter, 20-second intervals, stirring meticulously after each. Continue until it’s completely smooth. Once melted, stir in the remaining oil (if using) and then carefully add the ½ teaspoon of peppermint extract. Stir well to combine.
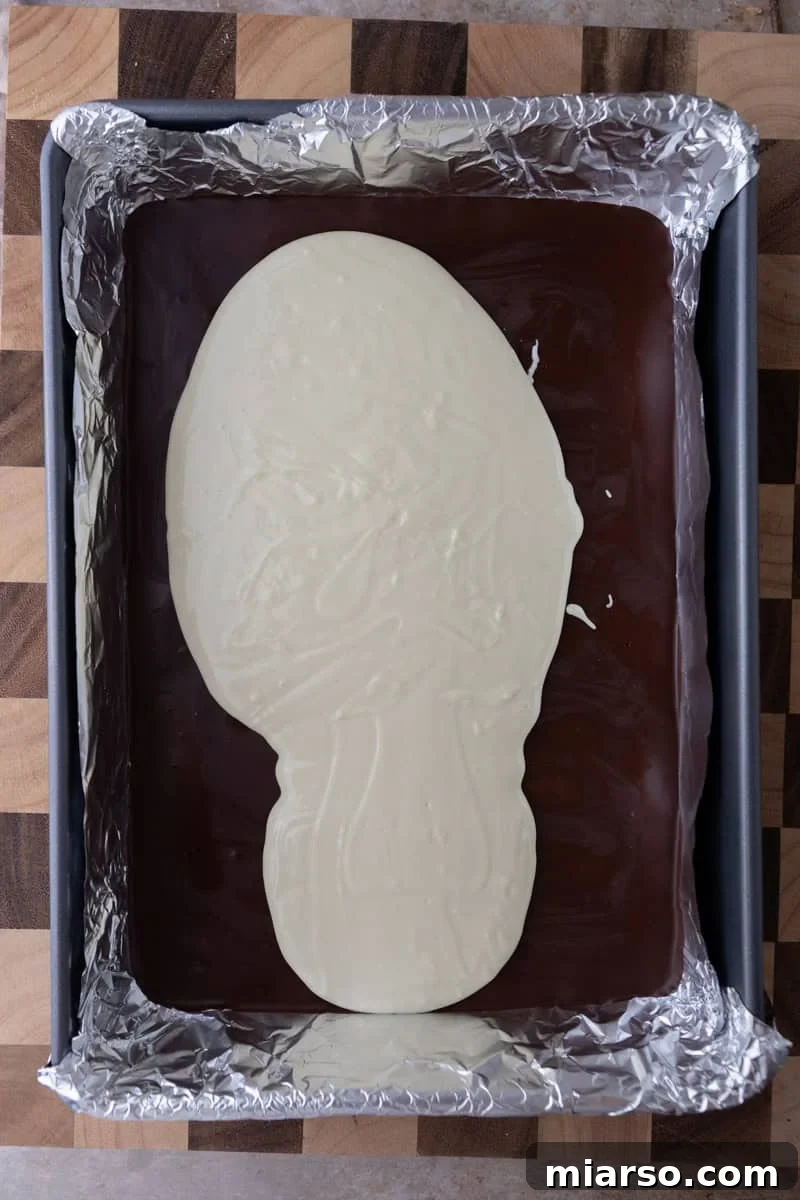
- Apply the Top Layer: Retrieve the chilled dark chocolate from the refrigerator. Carefully pour the melted white chocolate over the dark chocolate layer. Using your offset spatula, gently and quickly spread the white chocolate into an even ¼-inch layer, taking care not to drag or disturb the bottom dark chocolate layer. Tap the pan lightly again to smooth the surface.
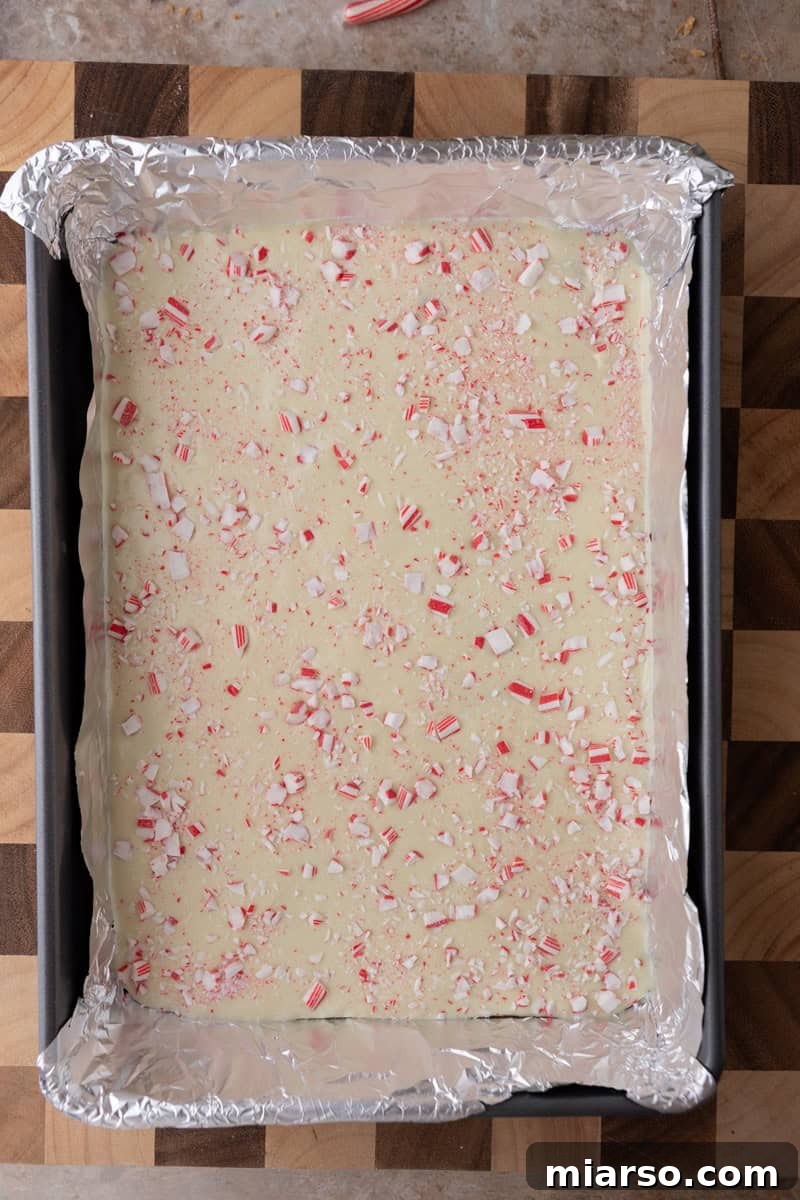
- Generously Sprinkle Candy Canes: Immediately after spreading the white chocolate, generously sprinkle the crushed candy cane pieces over the entire surface. While the white chocolate is still warm and wet, gently press down on the candy canes with your hand or a clean piece of parchment paper to ensure they adhere firmly to the top layer.
- Final Chill: Return the baking sheet to the refrigerator for at least 1 hour, or until the peppermint bark is completely firm and set through both layers. This chilling is crucial for achieving the perfect snap.
- Break into Pieces: Once fully chilled, carefully lift the entire slab of bark from the pan using the parchment paper handles. You can then break it into rustic, irregular shards by hand for a charming homemade look. Alternatively, for cleaner, more uniform pieces, lightly score the bark with a sharp knife before breaking. For the best texture and flavor, allow the bark to sit at room temperature for about 10 minutes before serving.
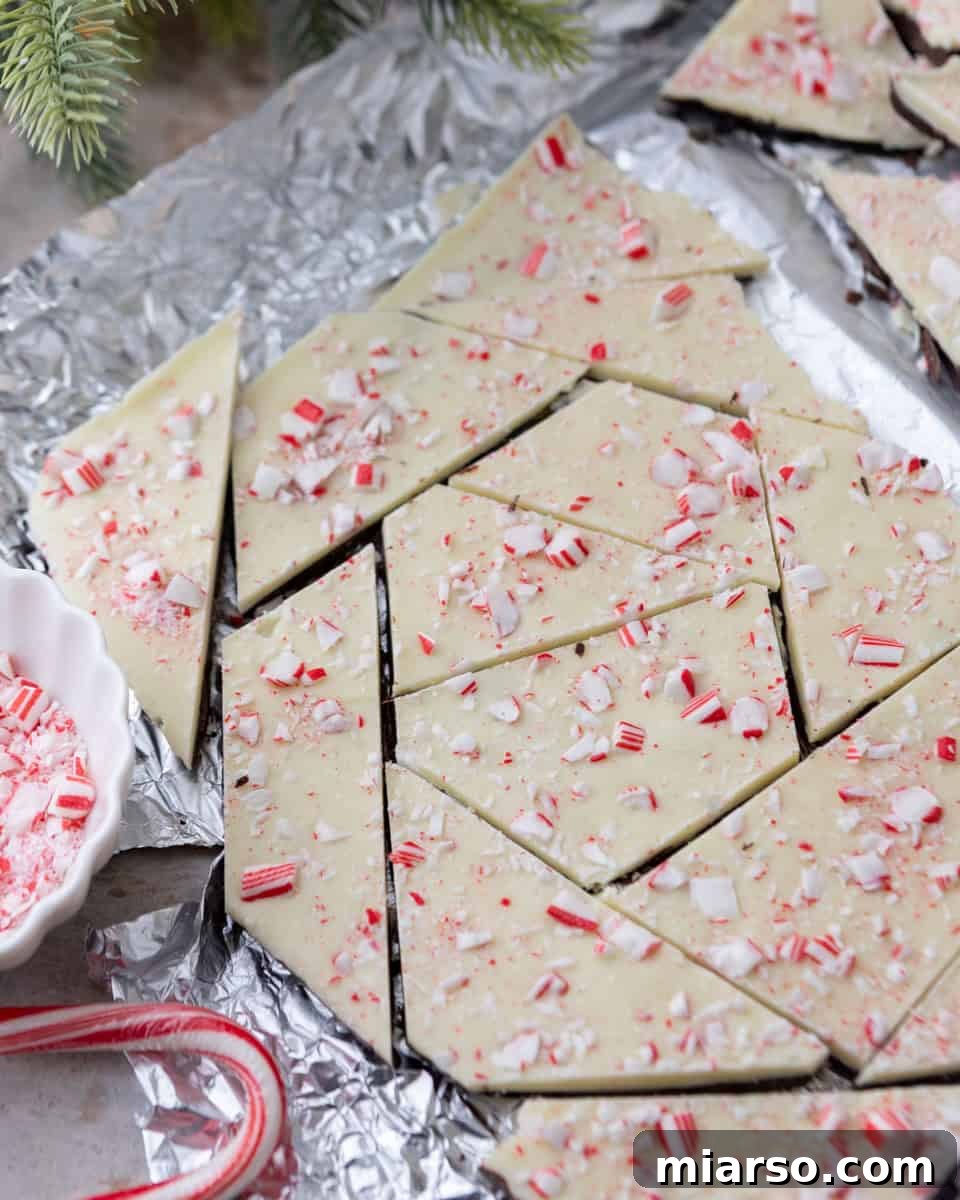
Expert Tips for Perfect Peppermint Bark
Achieving truly perfect peppermint bark means paying attention to a few crucial details. These expert tips will help you avoid common pitfalls and ensure your bark is always a holiday showstopper:
- Timing is Key for Candy Canes: Crush your candy canes just before you plan to use them. If they sit out for too long, especially in humid conditions, they can start to absorb moisture and clump together, making them difficult to sprinkle evenly.
- Invest in Quality Chocolate: Since chocolate is the primary ingredient, its quality directly impacts the flavor and texture of your bark. Using high-quality chocolate bars, rather than baking chips, will result in a much smoother melt, a richer flavor, and a more satisfying snap. Think of it as an investment in deliciousness.
- Don’t Rush the Chilling: The chilling step between layers is non-negotiable. Skipping it will cause the warm white chocolate to swirl into the dark chocolate, resulting in muddy, indistinct layers instead of crisp, clean ones. Patience here pays off in visual appeal.
- When Layers Separate: If you find that your dark chocolate layer becomes too cold and the white chocolate doesn’t adhere, a gentle re-warming can save the day. Briefly use a kitchen torch (from a safe distance) or allow the first layer to sit at room temperature for a few minutes until it’s slightly tacky before adding the second layer.
- Beware of Humidity: Humidity is the enemy of candy canes! It can cause them to become sticky, gooey, and even melt into the chocolate over time. Always store your finished peppermint bark in a cool, dry place. The refrigerator is generally the easiest and most reliable option to maintain its integrity and crunch.
Storage Tips for Lasting Freshness
Proper storage is essential to keep your peppermint bark fresh, crisp, and delicious throughout the holiday season and beyond. Here’s how to store it effectively:
- At Room Temperature: If stored in an airtight container in a cool, dry environment (below 70°F or 21°C), peppermint bark can last for 3–5 days. Avoid warm or humid rooms at all costs.
- In the Refrigerator: For optimal freshness and to prevent candy canes from becoming sticky, store peppermint bark in an airtight container in the refrigerator for up to 1 week.
- In the Freezer: For longer-term storage, freeze peppermint bark for 2–3 months. Layer pieces between sheets of parchment paper in an airtight freezer-safe container. Thaw in the refrigerator or at room temperature before serving.
Important Note: Never store peppermint bark in warm or humid rooms, as the candy canes will quickly become sticky and unpleasant!
Melting Chocolate: Microwave vs. Stovetop Double Boiler
The method you choose for melting your chocolate can impact your results. Both the microwave and double boiler methods have their advantages:
Microwave (Preferred Method)
The microwave is typically the fastest and easiest way to melt chocolate, making it ideal for this recipe. The key to success is consistent attention to detail: use short intervals and stir diligently after each one to ensure even melting and prevent scorching. This method offers excellent control if done correctly.
Stovetop (Double Boiler)
If you prefer maximum control and a gentler melting process, a double boiler method on the stovetop is an excellent alternative:
- Fill a saucepan with 1–2 inches of water.
- Place a heat-proof bowl (glass or metal) on top of the saucepan, ensuring the bottom of the bowl does not touch the water.
- Add your chocolate to the bowl and stir continuously as the steam from the simmering water gently melts the chocolate until it’s perfectly smooth.
Crucial Warning: Never allow steam or water droplets to come into contact with your melting chocolate. Moisture causes chocolate to seize even faster and more aggressively than peppermint extract!
Troubleshooting Common Issues for Peppermint Bark
Even with a foolproof recipe, minor issues can sometimes arise. Here’s how to address the most common peppermint bark problems:
Why did my chocolate seize?
Chocolate seizing (turning thick, grainy, and unworkable) often occurs when an alcohol-based ingredient, like peppermint extract, is added directly to warm chocolate without a fat buffer. The alcohol causes the sugar in the chocolate to crystallize. The simple fix, as noted earlier, is to stir 1 teaspoon of oil (vegetable, coconut, or shortening) into the melted chocolate *before* adding the peppermint extract. Mix the oil in thoroughly, then add the extract. Alternatively, you can use an oil-based peppermint extract to avoid this issue entirely.
Why did my layers separate?
Layers separating typically means your bottom dark chocolate layer was too cold and firm when the white chocolate was poured over it. The two layers couldn’t bond properly. To prevent this, ensure your first layer is set but still slightly tacky (not rock-hard) before adding the second. If it becomes too cold, gently re-warm it with a kitchen torch or let it sit at room temperature for a few minutes to soften slightly before adding the white chocolate.
Why are my candy canes melting into the chocolate?
This issue is almost always due to humidity. Candy canes are very susceptible to moisture, which causes them to become sticky and dissolve. To prevent this, store your peppermint bark in a cool, dry place. The refrigerator is usually the best option. For long-term storage or in very humid climates, keeping the bark in the freezer until ready to serve will best preserve the candy canes’ crisp texture.
Creative Gifting Ideas for Peppermint Bark
Peppermint bark isn’t just a joy to eat; it’s also one of the most delightful and easiest homemade desserts to gift during the holidays. Its festive appearance makes it a perfect present. Here are some charming gifting ideas:
- Elegant Cellophane Bags: Package individual or small groups of bark pieces in clear cellophane bags, tied with a festive ribbon. This allows the beauty of the bark to shine through.
- Ribbons and Tags: Enhance any package with a beautiful ribbon and a personalized gift tag, adding a touch of handmade charm and warmth.
- Holiday Tins or Cookie Boxes: Arrange layers of bark in decorative holiday tins or cookie boxes, separating layers with parchment paper for protection. These make wonderful, ready-to-give gifts.
- Hot Chocolate Kits: Include shards of peppermint bark in homemade hot chocolate kits. The bark melts beautifully into warm milk, adding both chocolate and peppermint flavor.
- Hostess Gift Basket: Combine peppermint bark with other homemade holiday cookies, fudge, or spiced nuts for a thoughtful and impressive hostess gift that will be greatly appreciated.
Frequently Asked Questions About This Peppermint Bark
Can I use chocolate chips instead of bars?
While you can use chocolate chips, they typically won’t melt as smoothly or yield the same rich flavor as high-quality chocolate bars or wafers. This is because chocolate chips often contain stabilizers that help them maintain their shape when baked, which can result in a slightly less fluid melt for bark.
Can I use milk chocolate instead of semisweet?
Absolutely! If you prefer a sweeter, milder chocolate flavor, milk chocolate can be used for the base layer. Just be aware that it will make the overall bark a bit sweeter, so adjust to your personal taste preferences.
How thick should peppermint bark be?
Aim for each chocolate layer to be approximately ¼ inch thick. If the bark is too thick, it can become quite hard and difficult to bite into, impacting the overall enjoyable texture.
Can I skip the oil?
You can skip the added oil, but if you’re using a standard alcohol-based peppermint extract, there’s a significantly higher chance of your chocolate seizing. The oil acts as a protective buffer. If you genuinely wish to omit the oil, we strongly recommend using an oil-based peppermint extract instead, which is formulated to prevent seizing.
What’s the best way to break peppermint bark?
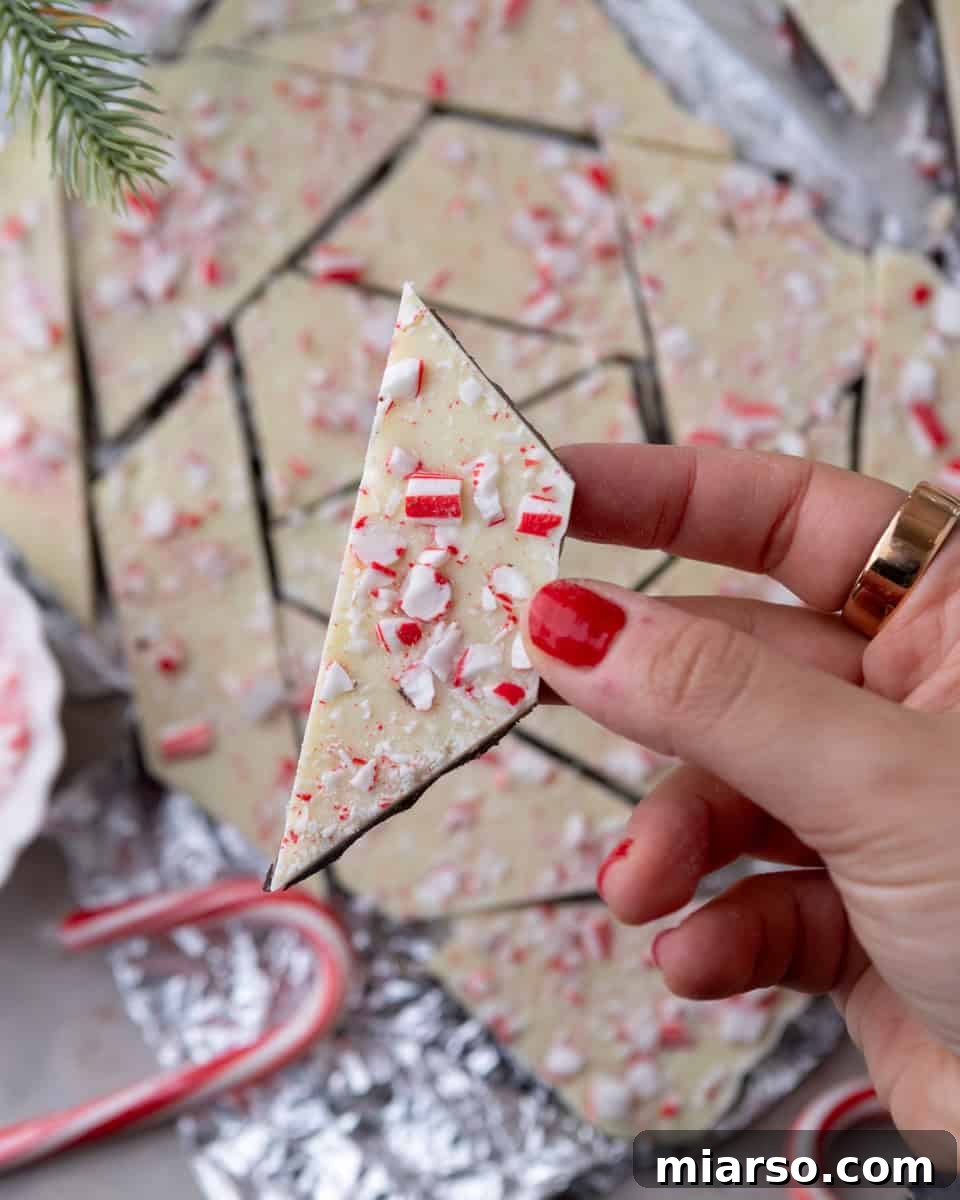
For a charming, rustic aesthetic, simply use your hands to break the chilled bark into irregular pieces. For cleaner, more uniform edges, lightly score the surface with a sharp knife first, then break along the scored lines. Alternatively, allow the bark to sit at room temperature for about 10 minutes to soften slightly before using a very sharp knife to slice it into neat squares or rectangles.
Classic Peppermint Bark
Equipment
Ingredients
- 12 oz semisweet chocolate or dark chocolate, chopped
- 12 oz white chocolate chopped
- 1 tsp coconut oil or shortening
- 1/2 tsp peppermint extract
- 7 candy canes crushed
Instructions
-
Line a 9×13 inch baking sheet with parchment paper, letting it hang over the edges for easy removal. Set aside.
-
Place the candy canes in a zip-top bag, seal it, then place inside another bag for extra protection. Use a rolling pin to crush them into a mix of fine pieces and small chunks. Set aside.7 candy canes
-
Place the chopped semisweet chocolate in a microwave-safe bowl. Microwave in 30-second intervals, stirring thoroughly between each interval, until completely melted and smooth (about 1.5-2 minutes total).12 oz semisweet chocolate
-
Pour the melted dark chocolate onto the prepared baking sheet. Use an offset spatula to spread it into an even layer about 1/4 inch thick. Tap the pan firmly on the counter 3-4 times to release air bubbles and create a smooth surface.
-
Refrigerate for about 10-15 minutes, just until the chocolate has started to firm up but still has a slight tackiness when you press it lightly. You don’t want it rock-hard, a tiny bit of stick helps the white chocolate layer grip and bond.
-
Place the chopped white chocolate in a clean microwave-safe bowl. Microwave in 20-second intervals (white chocolate burns more easily than dark/semi-sweet!), stirring thoroughly between each interval, until melted and smooth. Stir in the coconut oil, then add in the peppermint extract.12 oz white chocolate, 1 tsp coconut oil, 1/2 tsp peppermint extract
-
Once the dark chocolate is fully set, pour the melted white chocolate over it. Quickly spread into an even layer with an offset spatula, working gently so you don’t disturb the dark chocolate underneath. Tap the pan on the counter again to smooth.
-
Immediately sprinkle the crushed candy canes evenly over the white chocolate layer while it’s still wet. Gently press down with your hand to help them stick.
-
Refrigerate for at least 1 hour, or until completely firm and set throughout.
-
Remove the bark from the pan by lifting the parchment paper. Break into irregular pieces by hand for a rustic look, or score lightly with a knife before breaking for cleaner edges. Let sit at room temperature for 10 minutes before serving for the best texture and flavor.
Notes
Nutrition
Carbohydrates: 16g |
Protein: 2g |
Fat: 10g |
Saturated Fat: 6g |
Polyunsaturated Fat: 0.3g |
Monounsaturated Fat: 3g |
Trans Fat: 0.01g |
Cholesterol: 4mg |
Sodium: 14mg |
Potassium: 121mg |
Fiber: 1g |
Sugar: 14g |
Vitamin A: 11IU |
Vitamin C: 0.1mg |
Calcium: 37mg |
Iron: 1mg
Nutrition information is automatically calculated, so should only be used as an approximation.