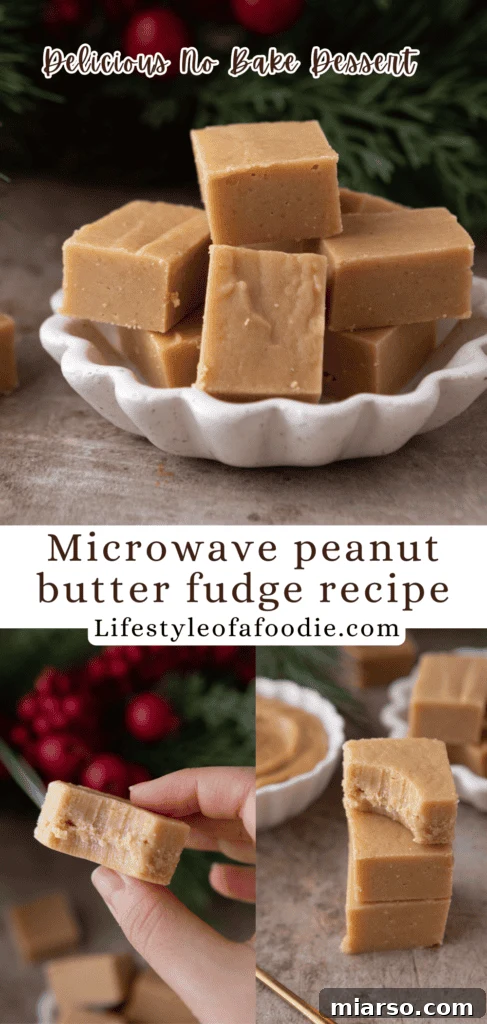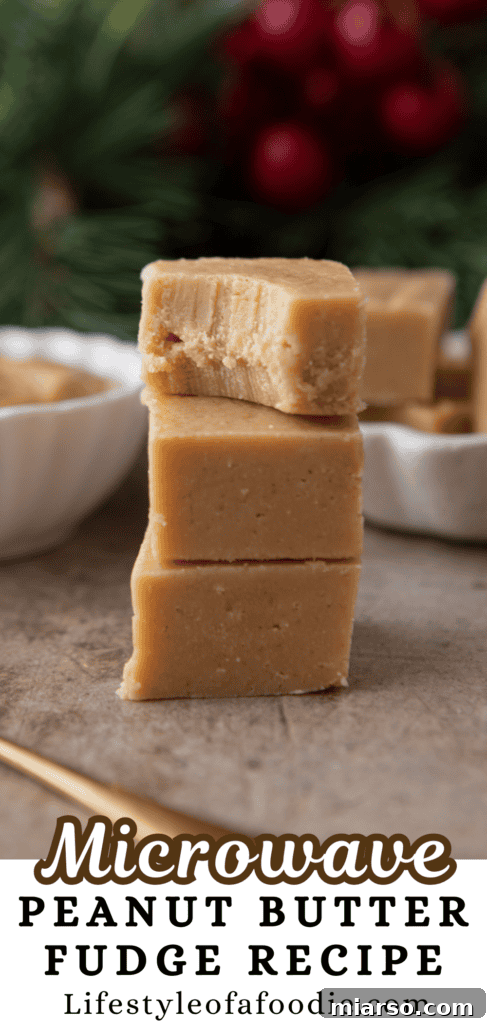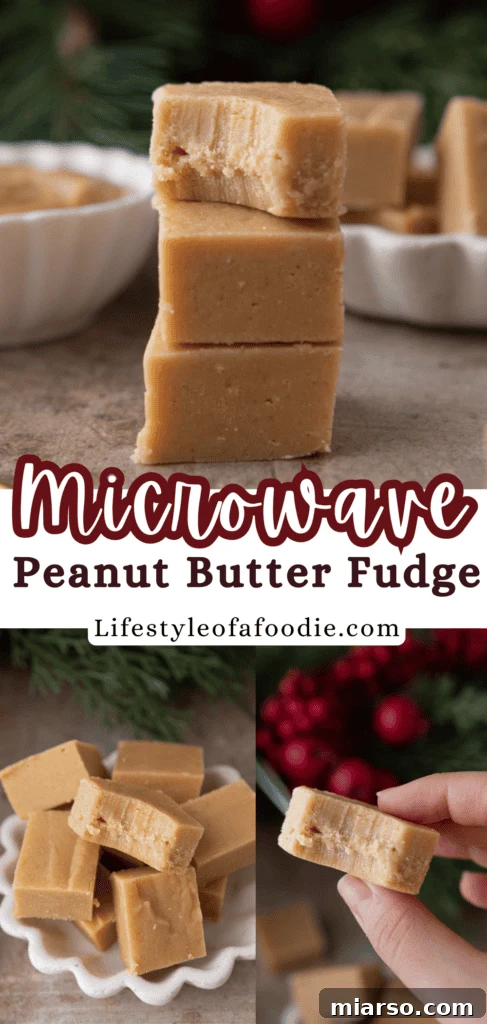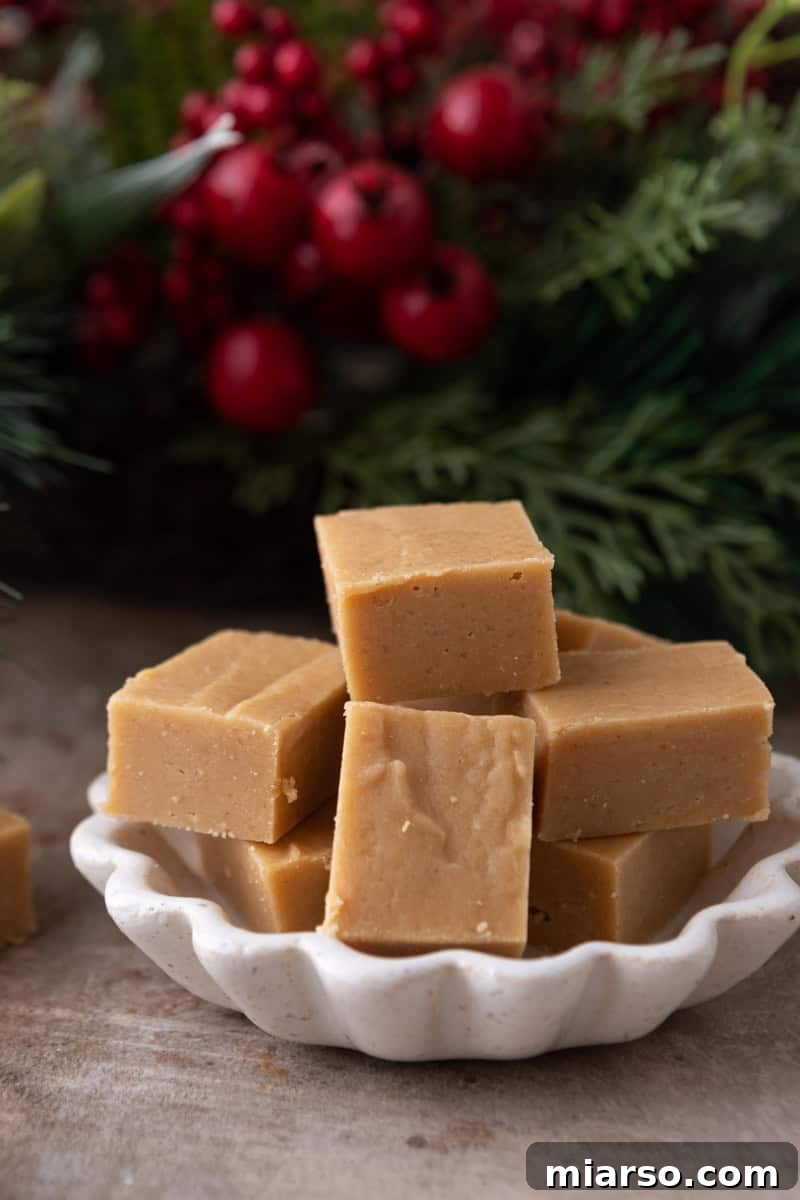
Microwave Peanut Butter Fudge: The Ultimate Easy Dessert
Craving something sweet, rich, and utterly irresistible but short on time? This **Microwave Peanut Butter Fudge Recipe** is your perfect solution! It’s an exceptionally easy, no-bake dessert that delivers creamy, dreamy peanut butter flavor in mere minutes. Forget complicated candy thermometers or endless stirring over a hot stove; this recipe utilizes the convenience of your microwave, making it ideal for busy weeknights, impromptu gatherings, or satisfying that sudden sweet tooth. Whether you’re a seasoned baker or a kitchen novice, you’ll be amazed at how quickly and effortlessly you can create this delicious, indulgent treat.
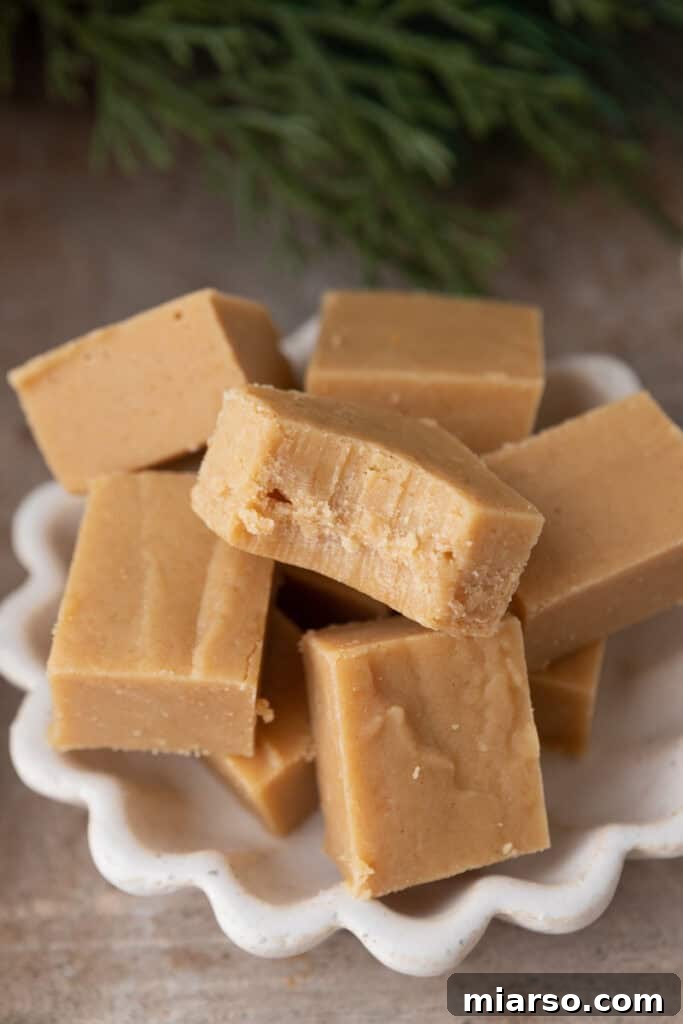
There’s nothing quite like the comforting taste of homemade fudge, and when it comes to simplicity, this **easy peanut butter fudge recipe** stands head and shoulders above the rest. It requires no stovetop cooking, making it a safe and fun activity for the whole family to participate in. Perfect for holiday parties, festive potlucks, or simply as a delightful indulgence after a long day, this creamy, melt-in-your-mouth dessert is guaranteed to become a cherished “go-to” in your recipe collection. Its irresistible peanut butter aroma and velvety texture will have everyone asking for seconds!
If you’re a fan of effortless, no-bake holiday recipes, be sure to explore my exclusive no-bake holiday ebook. It’s brimming with delightful treats that are sure to impress without the stress of oven baking.
And while you’re here discovering deliciousness, don’t miss out on other fantastic fudge creations like this Peppermint Chocolate Fudge Recipe, a Small Batch Keto Peanut Butter Fudge for those watching their carbs, or the festive Christmas Sugar Cookie Fudge Recipe. Each offers a unique twist on this classic sweet treat!
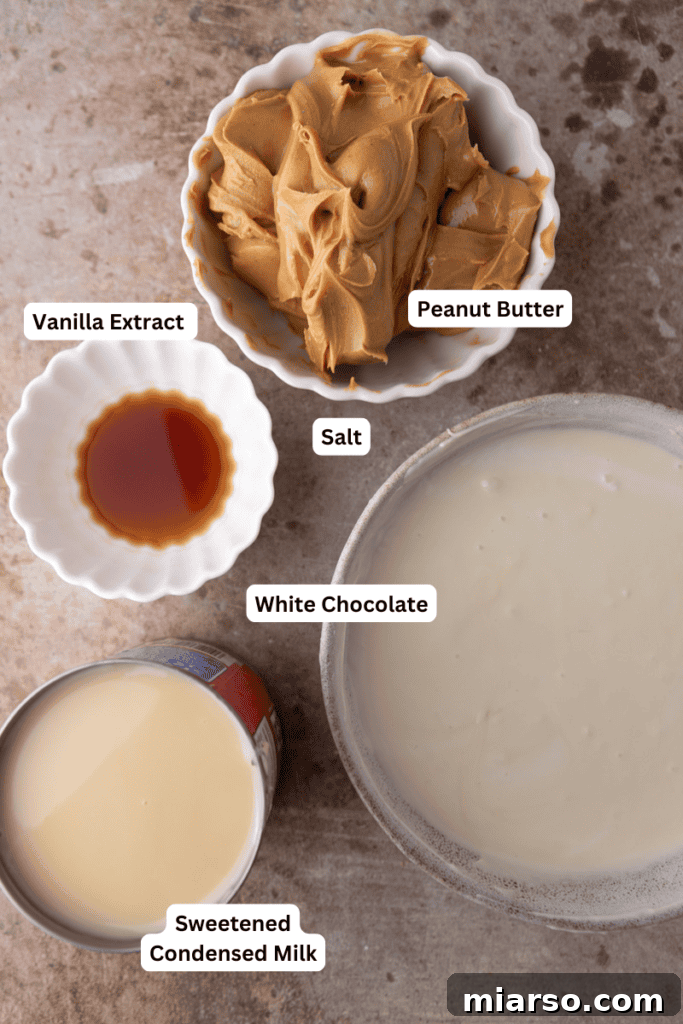
Essential Ingredients for Your Microwave Peanut Butter Fudge
One of the many charms of this **homemade peanut butter fudge** is its minimal ingredient list. You’ll only need a handful of common pantry staples to whip up this amazing treat. Simplicity is key, and these ingredients work together harmoniously to create that iconic rich and creamy fudge texture. Below are the core components you’ll need; detailed measurements can be found in the recipe card further down the page.
- Creamy Peanut Butter: The star of the show! It provides that unmistakable nutty flavor and contributes significantly to the fudge’s smooth, luscious texture. For best results, opt for a creamy, processed peanut butter (like Jif or Skippy) rather than natural peanut butter, as the latter can sometimes result in a thinner, less firm fudge due to its oil separation.
- Sweetened Condensed Milk: This magical ingredient acts as the primary binder and provides the bulk of the sweetness. It’s crucial for achieving that dense, chewy fudge consistency without requiring complex sugar cooking. Make sure to use one standard-sized can (14 oz) for the perfect balance.
- White Chocolate Chips: Beyond adding sweetness and a delicate creaminess, white chocolate chips are vital for helping the fudge set properly. When melted, they provide structure and a smooth base that perfectly complements the peanut butter. High-quality white chocolate chips will elevate the flavor.
- Vanilla Extract: A touch of pure vanilla extract is a flavor enhancer, adding depth and warmth to the overall profile of the fudge. It subtly balances the sweetness and rounds out the peanut butter notes, making the fudge even more irresistible.
- Pinch of Salt (Optional but Recommended): Don’t skip this! A small pinch of salt works wonders by contrasting and balancing the intense sweetness, bringing out the complex flavors of the peanut butter and chocolate. It truly makes a noticeable difference in the finished product.
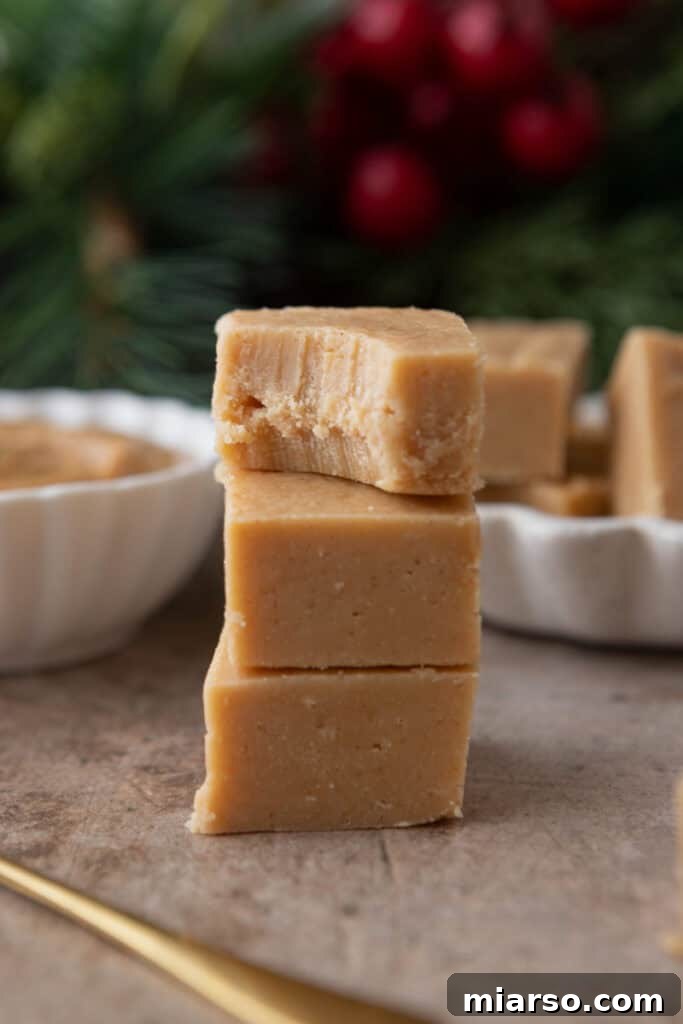
Step-by-Step: Crafting Your Easy Microwave Peanut Butter Fudge
Making this **quick dessert** is incredibly straightforward, even for those new to fudge making. The microwave does most of the heavy lifting, ensuring a smooth, even melt every time. Follow these simple steps to create a batch of perfect peanut butter fudge. Remember to consult the comprehensive recipe card at the bottom of the page for precise measurements and additional tips!
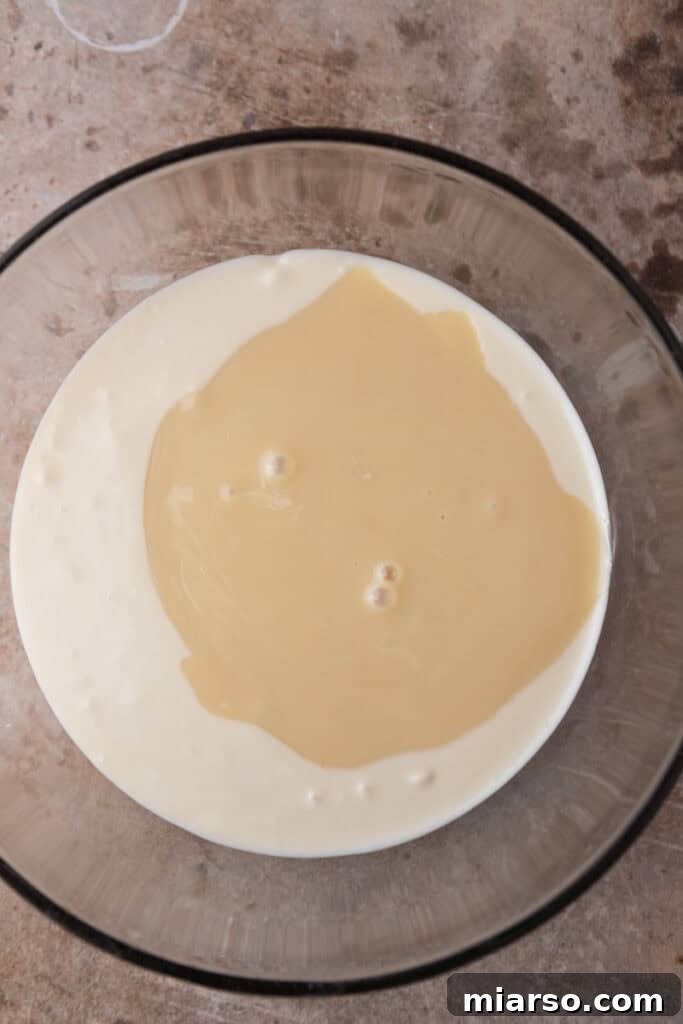
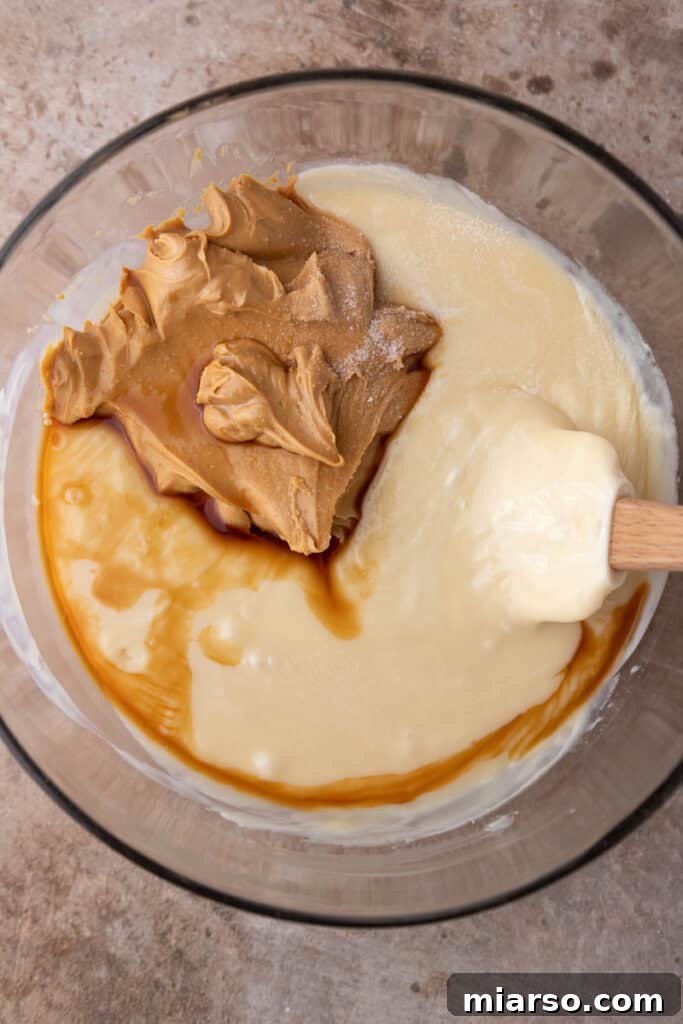
- **Melt the Base:** Begin by combining the sweetened condensed milk and white chocolate chips in a large, microwave-safe bowl. This bowl should be substantial enough to accommodate all ingredients and allow for easy stirring. Microwave the mixture in short, 30-second increments. After each interval, remove the bowl and stir thoroughly with a spatula. This gentle, consistent stirring prevents scorching and ensures the chocolate melts evenly into a smooth, glossy consistency. Typically, this process takes about 1 to 2 minutes in total, but adjust based on your microwave’s power.
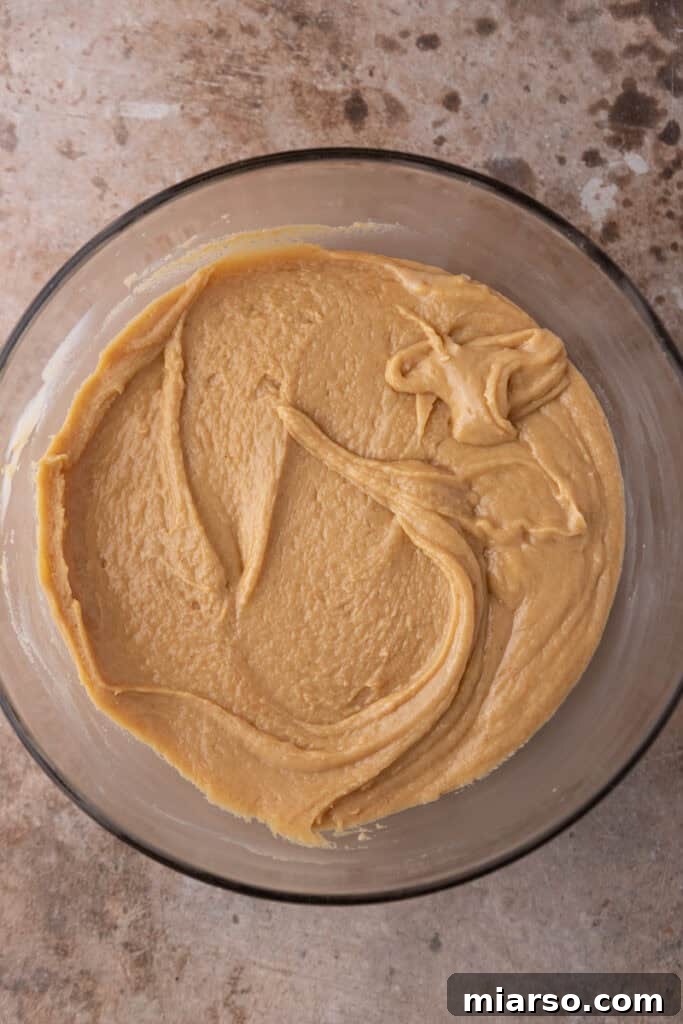
- **Incorporate Flavor:** Once the condensed milk and white chocolate mixture is completely melted and smooth, it’s time to add the stars of the flavor profile. Stir in the creamy peanut butter, vanilla extract, and that crucial pinch of salt (if using). Continue stirring diligently until all ingredients are fully blended, and the mixture transforms into a wonderfully creamy, uniform fudge batter. Ensure there are no streaks of unmixed peanut butter or vanilla.
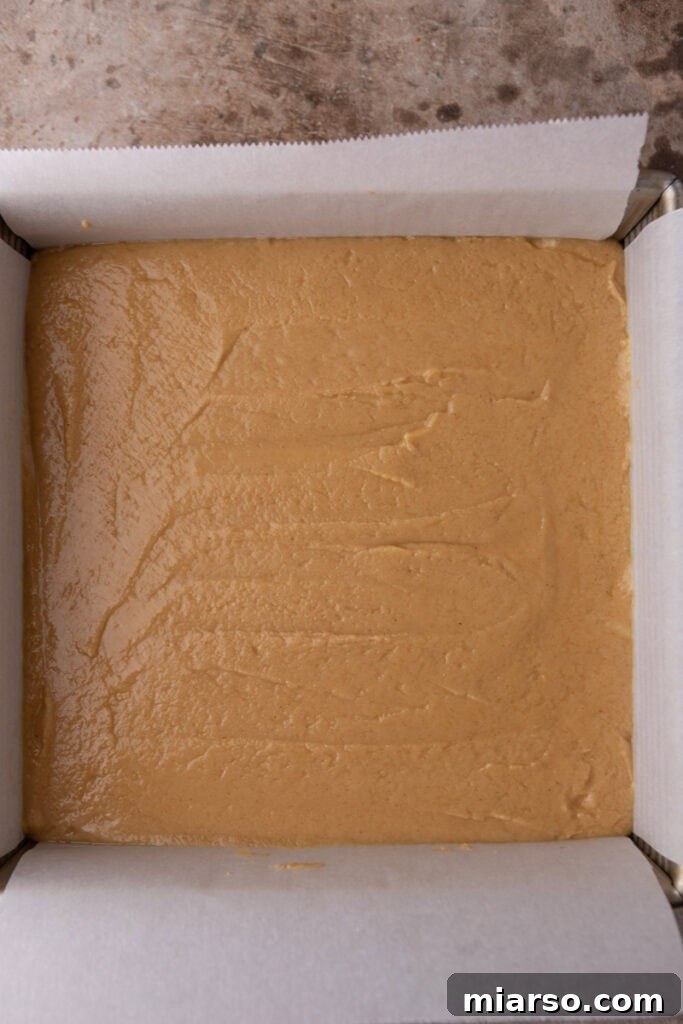
- **Prepare and Pour:** Line an 8×8-inch square pan with parchment paper, leaving an overhang on the sides. This “sling” will make it incredibly easy to lift the set fudge out of the pan later. Alternatively, you can lightly grease the pan with cooking spray or butter. Carefully pour the thick peanut butter fudge mixture into the prepared pan, spreading it evenly across the surface with your spatula. Make sure the top is as smooth as possible for a professional finish.
- **Chill to Perfection:** Place the pan with the fudge mixture into the refrigerator. It’s essential to let the fudge chill for at least 2 hours, or until it is completely set and firm to the touch. Rushing this step might result in soft, crumbly fudge that doesn’t hold its shape well. Patience is a virtue here!
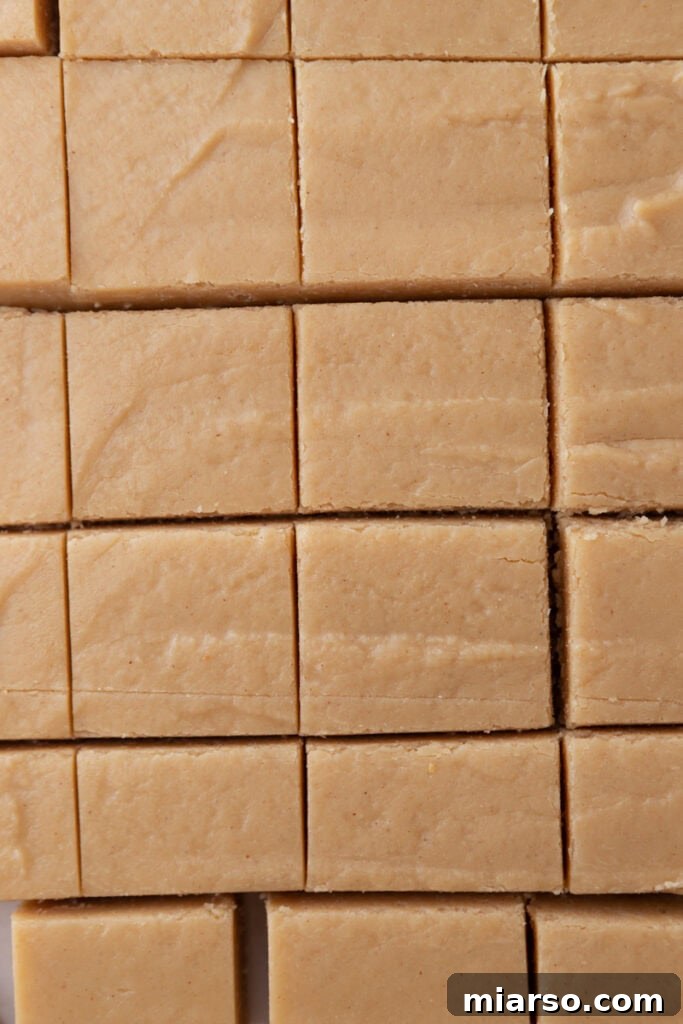
- **Slice and Savor:** Once the fudge has firmed up beautifully, use the parchment paper overhangs to lift it out of the pan. Place the block of fudge on a cutting board. Using a sharp knife, cut the fudge into small, even squares, approximately 1-inch in size. Wipe the knife clean between cuts for the cleanest edges. Now, it’s time to enjoy your homemade, effortlessly delicious microwave peanut butter fudge!
Why This Microwave Peanut Butter Fudge is a Must-Try!
If you’re still debating whether to make this **no-bake peanut butter fudge**, let us convince you! This recipe isn’t just about making fudge; it’s about creating joy with minimal fuss and maximum flavor. Here are compelling reasons why this will quickly become your new favorite dessert:
- **Unbeatable Simplicity:** This is truly one of the easiest fudge recipes you’ll ever encounter. No complex techniques, no special equipment beyond a microwave and a bowl, and no culinary degree required. It’s perfect for beginner bakers or anyone looking for a stress-free dessert.
- **Minimal Ingredients:** With just a few staple ingredients, this recipe proves that extraordinary flavor doesn’t need an elaborate shopping list. You likely have most of these items in your pantry right now!
- **A Peanut Butter Lover’s Dream:** If you or someone you know adores peanut butter, this fudge is an absolute game-changer. It delivers a rich, intense peanut butter flavor that is deeply satisfying and utterly addictive.
- **Perfect for Gifting:** Thoughtful, homemade gifts are always appreciated, especially during the holiday season. A batch of this fudge, beautifully packaged, makes for quick, easy, and incredibly delicious Christmas presents or hostess gifts.
- **Lightning Fast:** From start to finish, this fudge comes together in mere minutes, requiring only a couple of hours to chill. When that sweet craving hits, you won’t have to wait long to indulge!
- **Versatile Treat:** While perfect for holidays, this fudge is fantastic year-round. Bring it to potlucks, serve it at birthday parties, or just keep a stash in your fridge for a delightful everyday treat.
Frequently Asked Questions (FAQ) About Microwave Peanut Butter Fudge
We’ve gathered some common questions to help you perfect your **microwave peanut butter fudge** and troubleshoot any issues. Our goal is for you to make the best batch possible!
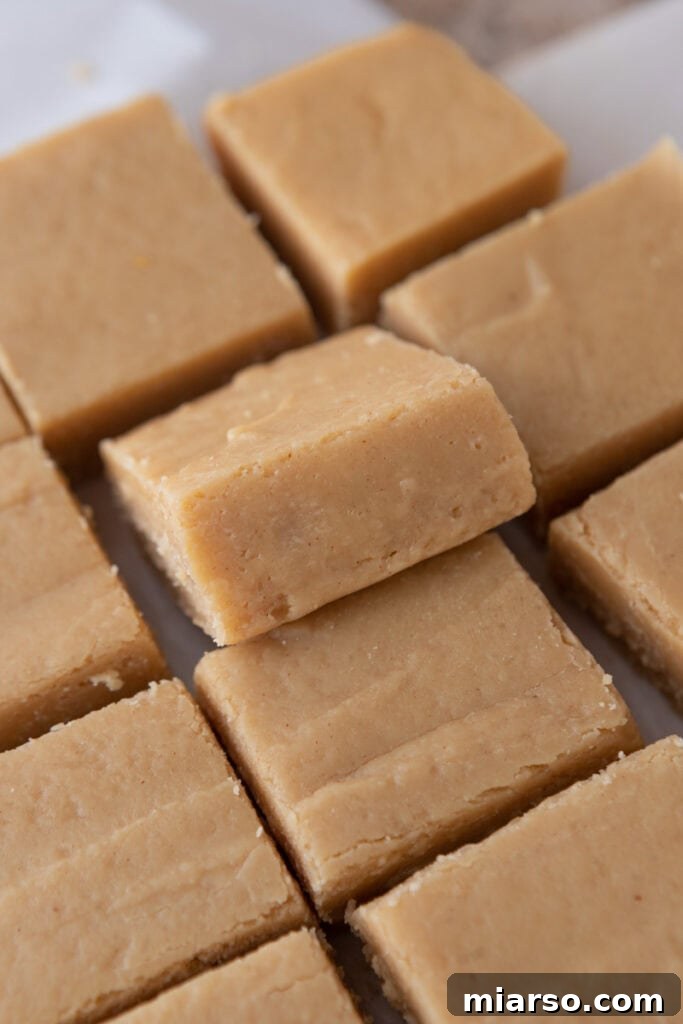
How small should I cut the fudge?
For optimal enjoyment and portion control, I recommend aiming for approximately 1-inch squares of fudge. This size is perfect because the fudge is incredibly rich and decadent, so a smaller piece is often just right to satisfy your sweet craving. Additionally, smaller pieces are less likely to crumble or fall apart, making them easier to handle and serve. You can even cut them into festive shapes with small cookie cutters for special occasions!
Is it better to use natural peanut butter or processed?
For this specific **easy fudge recipe**, a processed, creamy peanut butter such as Skippy, Jif, or any other widely available grocery store brand, is highly recommended. These types of peanut butter contain stabilizers that help the fudge set firmly and maintain its creamy texture. Natural peanut butter, which typically separates oil, tends to be thinner and can result in a softer, less stable fudge that might not set as firmly. While you *can* use natural peanut butter, you might need to adjust the quantities of other ingredients or extend the chilling time to achieve a desirable consistency.
Can I use crunchy peanut butter?
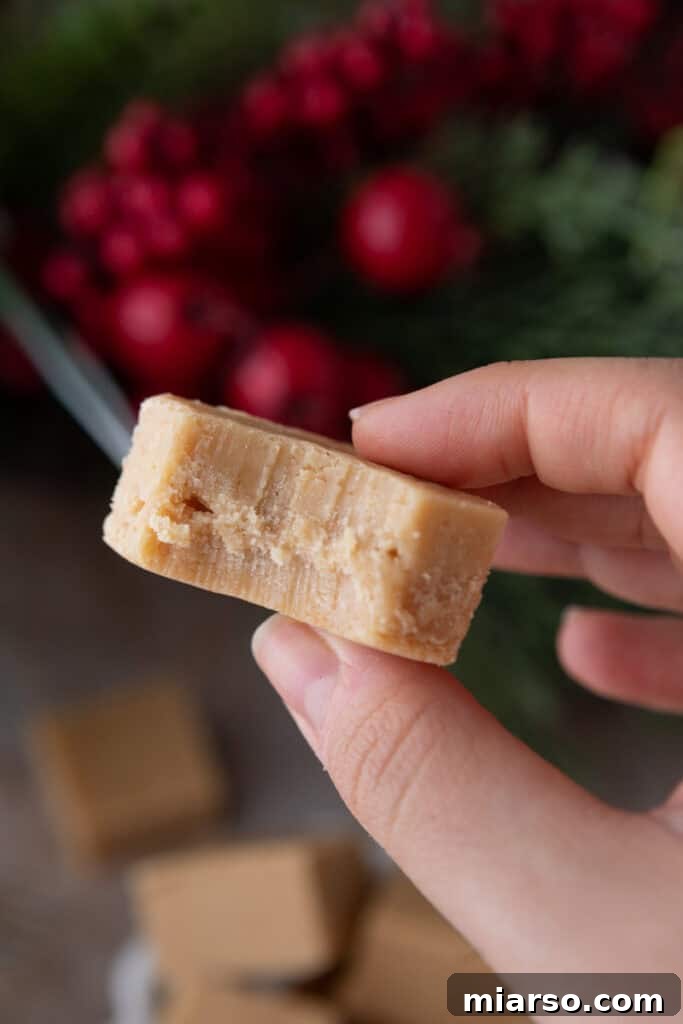
Absolutely! If you enjoy a bit of texture in your treats, using crunchy peanut butter in this recipe is a fantastic idea. It will introduce delightful small chunks of peanuts, adding an extra layer of nutty flavor and a satisfying crunch to the fudge. Keep in mind that the overall texture of the fudge will be slightly less smooth than if you used creamy peanut butter, but it will still be incredibly delicious and add an interesting dimension!
What can I use as a topping for this easy peanut butter fudge recipe?
While this fudge is perfect on its own, adding a topping can elevate it to a new level of deliciousness and visual appeal. Here are a few fantastic ideas to inspire you:
- **Simple Powdered Sugar Dusting:** For an elegant and understated finish, a light dusting of powdered sugar adds a touch of sweetness and a beautiful presentation.
- **Vanilla Frosting or Icing:** A thin layer of vanilla frosting or glaze can add an extra creamy texture and a complementary sweetness. You can make a simple glaze with powdered sugar and milk/water.
- **Decadent Cream Cheese Frosting:** For a truly indulgent experience, spread a rich cream cheese frosting on top. The slight tang of the cream cheese perfectly cuts through the sweetness of the fudge.
- **Chocolate Drizzle:** Melted milk or dark chocolate drizzled over the top creates a lovely contrast and reinforces the classic peanut butter-chocolate pairing.
- **Chopped Peanuts or Candies:** Sprinkle some finely chopped roasted peanuts for extra crunch and nutty flavor, or add miniature chocolate chips, M&Ms, or peanut butter cups for a fun, colorful topping.
- **Sea Salt Flakes:** A sprinkle of flaky sea salt can enhance the flavors and provide a sophisticated finish, balancing the sweetness beautifully.
How do I store leftover fudge?
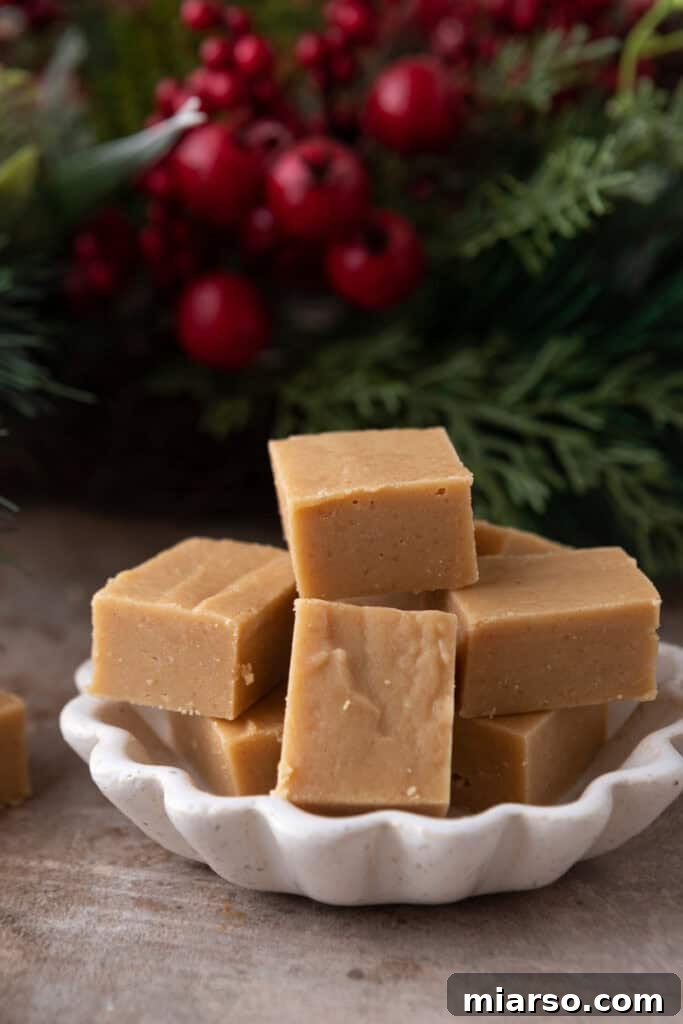
Proper storage is key to keeping your **microwave peanut butter fudge** fresh and delicious. Once cut, the fudge should be stored in an airtight container. Place a piece of parchment paper between layers of fudge to prevent them from sticking together. Keep the container in the refrigerator, where the fudge will remain fresh for about 1 to 2 weeks. Ensure the container is well-sealed to prevent the fudge from absorbing any odors from other foods in the fridge.
Can I freeze peanut butter fudge?
Yes, absolutely! This peanut butter fudge freezes wonderfully. For longer storage, wrap individual pieces or small blocks of fudge tightly in plastic wrap, then place them in a freezer-safe airtight container or heavy-duty freezer bag. Frozen fudge can last for up to 3 months. When you’re ready to enjoy it, simply transfer the fudge from the freezer to the refrigerator to thaw overnight, or let it sit at room temperature for about 30 minutes until softened to your liking.
Why is my fudge too soft or not setting?
If your fudge turns out too soft or doesn’t set properly, there are a few common culprits. The most likely reason is that the white chocolate chips and sweetened condensed milk mixture wasn’t heated enough, or wasn’t stirred thoroughly enough to ensure a complete melt and proper activation of the setting agents in the chocolate. Make sure your microwave intervals are sufficient to get a smooth, completely melted base. Another factor could be using natural peanut butter, which has a higher oil content and can affect firmness. Ensure you’re using the recommended creamy, processed peanut butter. Finally, ensure you give it adequate chilling time in the refrigerator – at least 2 hours is crucial!
Can I double this fudge recipe?
Yes, you can easily double this recipe! If you’re making it for a large gathering or want to prepare extra for gifting, simply double all the ingredient quantities. You’ll want to use a larger pan, such as a 9×13-inch baking dish, and ensure your microwave-safe bowl is large enough to handle the increased volume. The microwave melting time might also need to be slightly extended, so continue to microwave in short bursts and stir frequently until completely smooth.
Microwave Peanut Butter Fudge Recipe Details
Peanut Butter Microwave Fudge
This delightful Microwave Peanut Butter Fudge is an incredibly simple, no-bake recipe, requiring just a few common ingredients and minutes of your time. It’s perfect for satisfying your sweet cravings for any occasion, especially during the festive holiday season!
Print Recipe
Ingredients
- 1 cup creamy peanut butter
- 14 oz sweetened condensed milk
- 2 cups white chocolate chips
- 1 tsp vanilla extract
- A pinch of salt (optional)
Instructions
- In a large microwave-safe bowl, combine the sweetened condensed milk and white chocolate chips.
- Microwave in 30-second intervals, stirring well after each, until the mixture is completely melted and smooth (this should take approximately 1-2 minutes).
- Stir in the creamy peanut butter, vanilla extract, and a pinch of salt (if desired). Continue to stir until all ingredients are fully blended and the mixture is uniformly creamy.
- Prepare an 8×8-inch pan by lining it with parchment paper, leaving an overhang on the sides for easy removal, or by lightly greasing it.
- Pour the peanut butter fudge mixture into the prepared pan, spreading it evenly across the surface with a spatula.
- Place the pan in the refrigerator and allow the fudge to chill for at least 2 hours, or until it has completely set and is firm.
- Once the fudge has firmed up, use a sharp knife to cut it into small, even squares (about 1-inch pieces). Serve and enjoy your delicious homemade fudge!
Nutrition
Calories: 97 Calories | Carbohydrates: 8g | Protein: 2g | Fat: 7g | Saturated Fat: 3g | Polyunsaturated Fat: 1g | Monounsaturated Fat: 3g | Cholesterol: 2mg | Sodium: 40mg | Potassium: 69mg | Fiber: 0.4g | Sugar: 7g | Vitamin A: 3IU | Vitamin C: 0.1mg | Calcium: 24mg | Iron: 0.1mg
Nutrition information is automatically calculated, so it should only be used as an approximation.
Enjoyed this recipe? Leave a comment below!
Loved This Microwave Peanut Butter Fudge Recipe? Pin It for Later!
If you found this easy and delicious **Microwave Peanut Butter Fudge** recipe as delightful as we did, don’t forget to save it for future reference! Pin it to your favorite dessert boards on Pinterest so you can always find this quick, no-bake treat whenever a craving strikes or you need a last-minute gift idea. Share the sweetness with friends and family!