Welcome to the ultimate solution for every baker’s nightmare: cakes sticking to the pan! This incredible homemade cake release recipe is an absolute game-changer, promising perfectly unmolded cakes every single time. Forget the frustration of torn edges, crumbling layers, and intricate designs left behind in the pan. With just three simple, readily available ingredients, you can whip up this baking magic, affectionately known as “goop,” and elevate your baking experience. Say goodbye to store-bought sprays filled with artificial ingredients and hello to a natural, cost-effective, and remarkably effective alternative that will quickly become your most trusted baking companion.
“Works great, used up 1 batch and made another to share with a friend. Love it, nothing sticks.”
– Jody, a Happy Baker
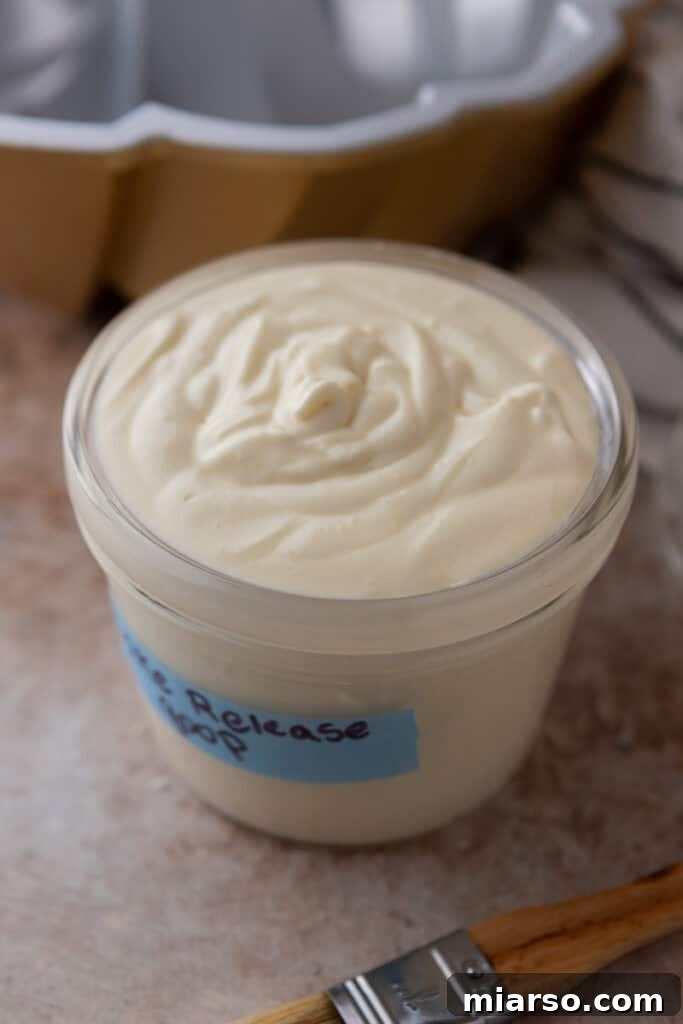
The End of Sticking Cakes: Why Homemade Cake Release is Your New Best Friend
There’s nothing more disheartening than pouring your heart and soul into baking a beautiful cake, only to have it cling stubbornly to the pan, ruining its presentation and your mood. Whether you’re a seasoned pastry chef or a casual home baker, the problem of a sticky cake pan is universal. This is where homemade cake release steps in, offering a foolproof method to ensure your baked goods slide out effortlessly, maintaining their pristine shape and intricate details. From simple round cake tins and classic loaf pans to the most elaborate and decorative Bundt cake pans, this incredible mixture provides a consistent non-stick barrier that works wonders every single time.
Beyond its unparalleled effectiveness, one of the greatest advantages of making your own cake goop is the complete control over ingredients. Unlike many commercial non-stick sprays that contain propellants and artificial additives, this homemade version is all-natural, giving you peace of mind about what you’re serving your loved ones. Once you experience the magic of perfectly released cakes, you’ll wonder how you ever baked without it. Not only will you achieve superior results, but you’ll also save a significant amount of money by bypassing expensive store-bought products. It’s a simple hack that delivers monumental benefits, truly transforming your baking routine.
If you’re as passionate about baking as we are, you might enjoy exploring some of our other delightful cake recipes. Why not try this Best Banana Cake Recipe for a comforting classic, our elegant Almond Cake Recipe, a zesty Lemon Bundt Cake Recipe, or a rich Chocolate Pound Cake Recipe? Each of these will benefit greatly from your newly made cake release!
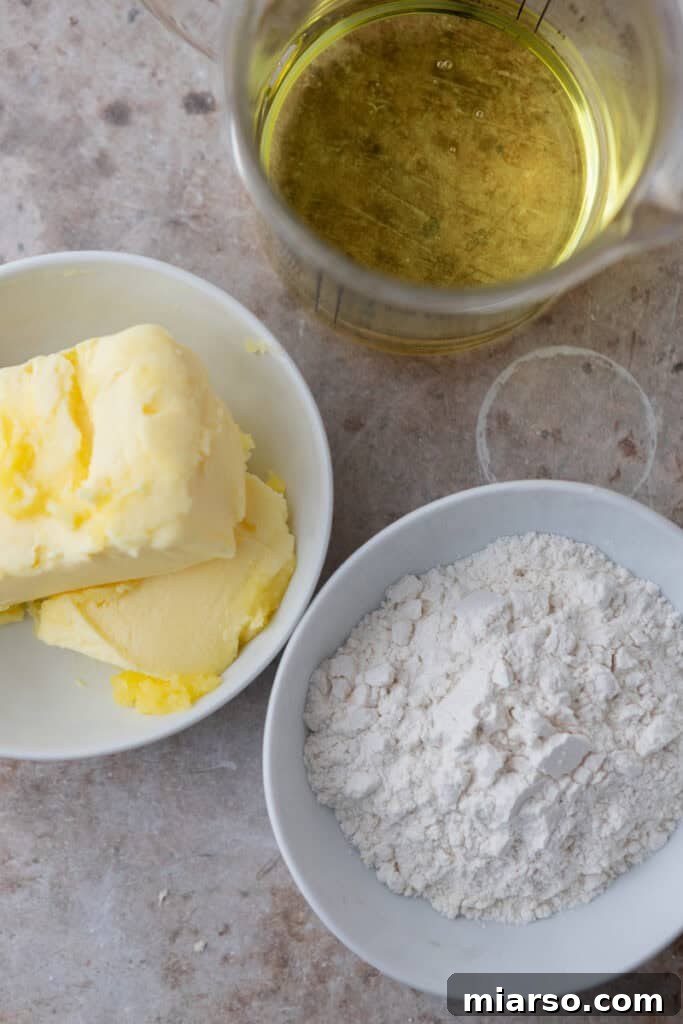
Unveiling the Simple Ingredients for Homemade Cake Release
The beauty of this homemade cake release recipe lies in its simplicity. You only need three common kitchen staples, combined in equal parts, to create this powerful non-stick solution. Each ingredient plays a crucial role in forming a smooth, spreadable mixture that adheres perfectly to your baking pans and prevents even the most delicate cakes from sticking. Below are the star components you’ll need; precise measurements can be found in the comprehensive recipe card at the bottom of this article.
- All-purpose Flour: This forms the foundational non-stick barrier. When baked, the flour creates a dry, slippery layer on the surface and edges of the pan, allowing your cake to detach cleanly. It provides the necessary structure to the goop, ensuring it coats evenly without running off. For those with dietary restrictions, gluten-free flour can be easily substituted without compromising the effectiveness of the release.
- Vegetable Oil: The oil is the primary lubricant in our cake release. It adds essential moisture to the mixture, ensuring a smooth, spreadable consistency that can be easily applied to every nook and cranny of your baking pan. Its presence helps create a slick surface, reducing friction between the cake batter and the pan, facilitating a seamless release. Any neutral-flavored vegetable oil, such as canola, sunflower, or grapeseed oil, will work wonderfully.
- Vegetable Shortening: This ingredient is the secret weapon that truly sets homemade cake release apart. Shortening provides a stable, creamy base for the goop, helping it adhere firmly to the pan’s surface. Its solid fat content ensures a more robust non-stick layer compared to oil or butter alone. Shortening has a higher melting point than butter, making it ideal for maintaining its integrity during baking and preventing the mixture from soaking into the cake batter. While regular vegetable shortening is perfect, if you happen to have butter-flavored shortening on hand, it can add a subtle, pleasant aroma without altering the cake’s taste.
The combination of these three ingredients creates a synergistic effect, delivering a non-stick power that surpasses traditional greasing and flouring methods, and even many commercial sprays. Get ready to experience effortless cake releases every single time!
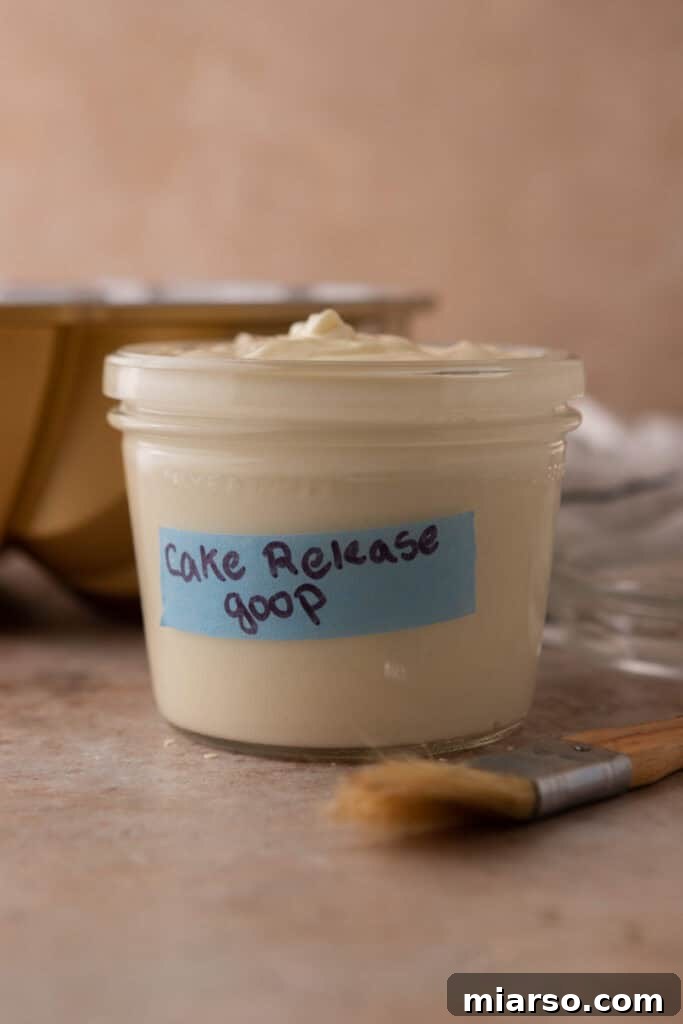
Crafting Your Perfect Cake Release: A Simple How-To Guide
Making this homemade cake release is incredibly straightforward, requiring minimal effort and time. In just a few minutes, you’ll have a batch of this magical goop ready to tackle all your baking adventures. The process is so simple that even the most novice baker will find it a breeze. Follow these easy steps, and remember to refer to the detailed recipe card at the end of this post for precise ingredient quantities and full instructions.
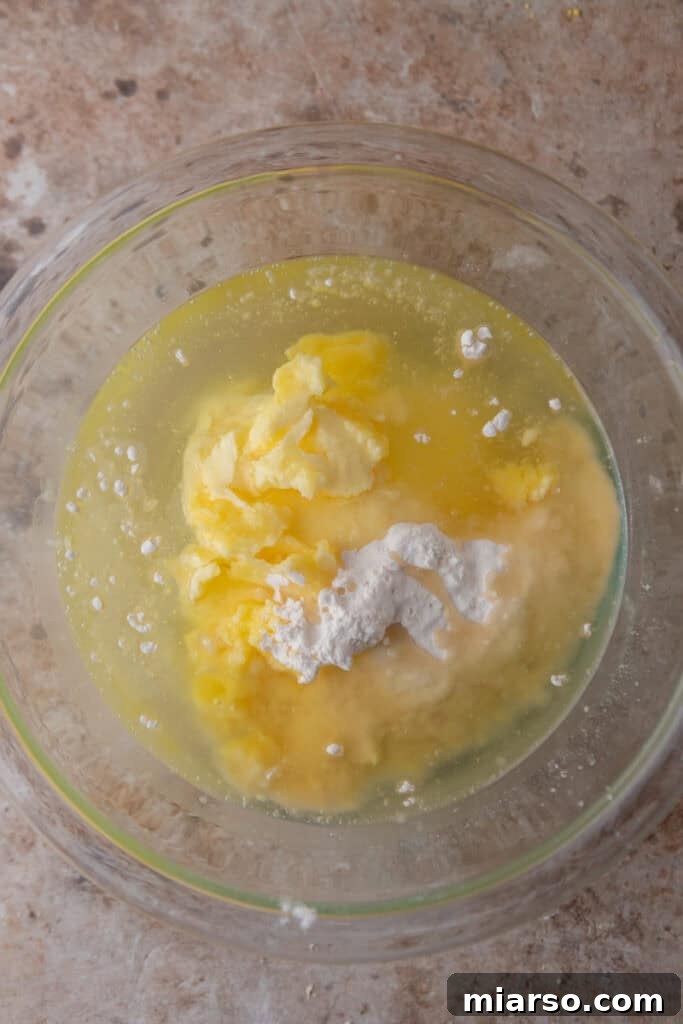
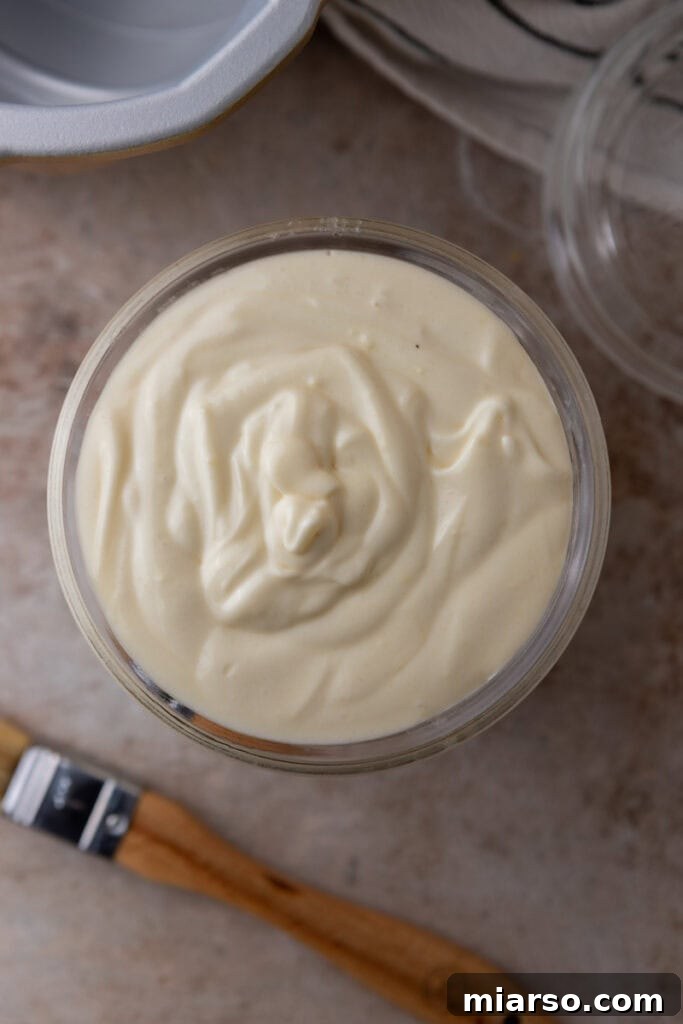
- Combine the Ingredients: In a medium-sized mixing bowl, measure out equal parts of all-purpose flour, vegetable oil, and softened vegetable shortening. It’s crucial for the shortening to be at room temperature or slightly softened to ensure it blends smoothly with the other ingredients. If your shortening is too firm, you can gently microwave it for a few seconds until it’s pliable, but not fully melted.
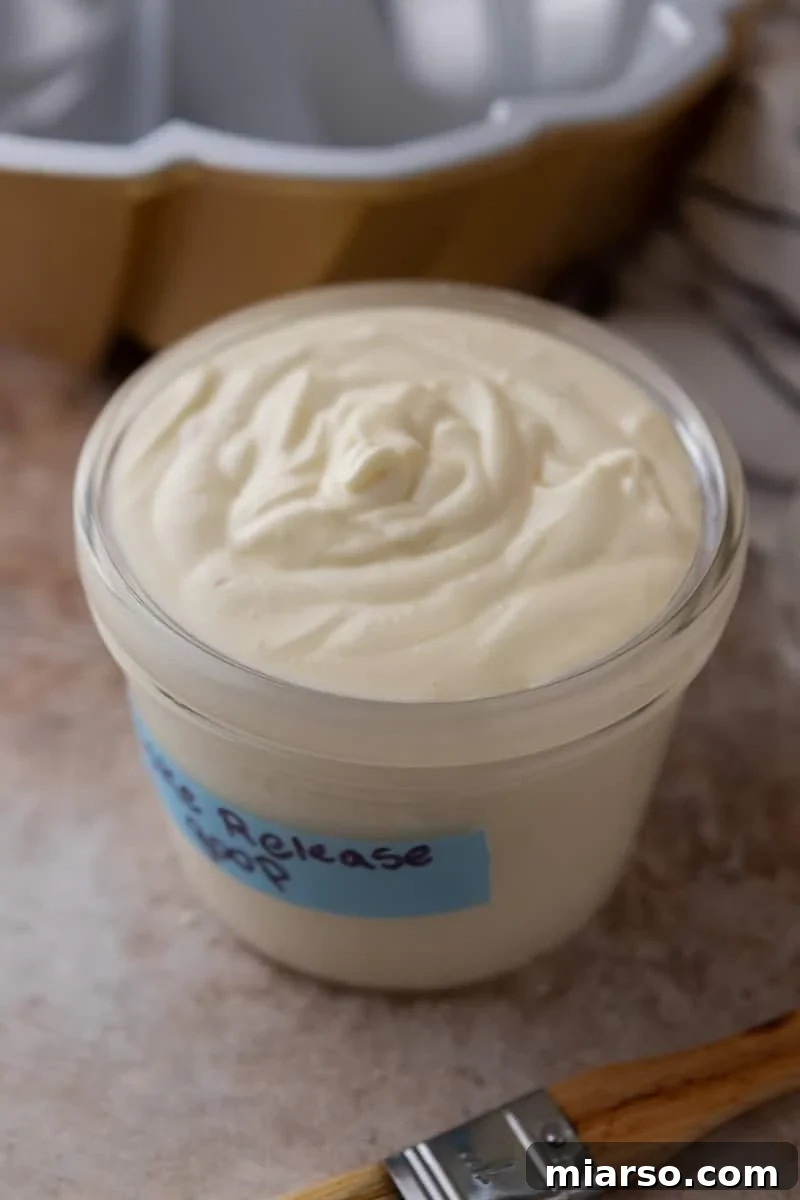
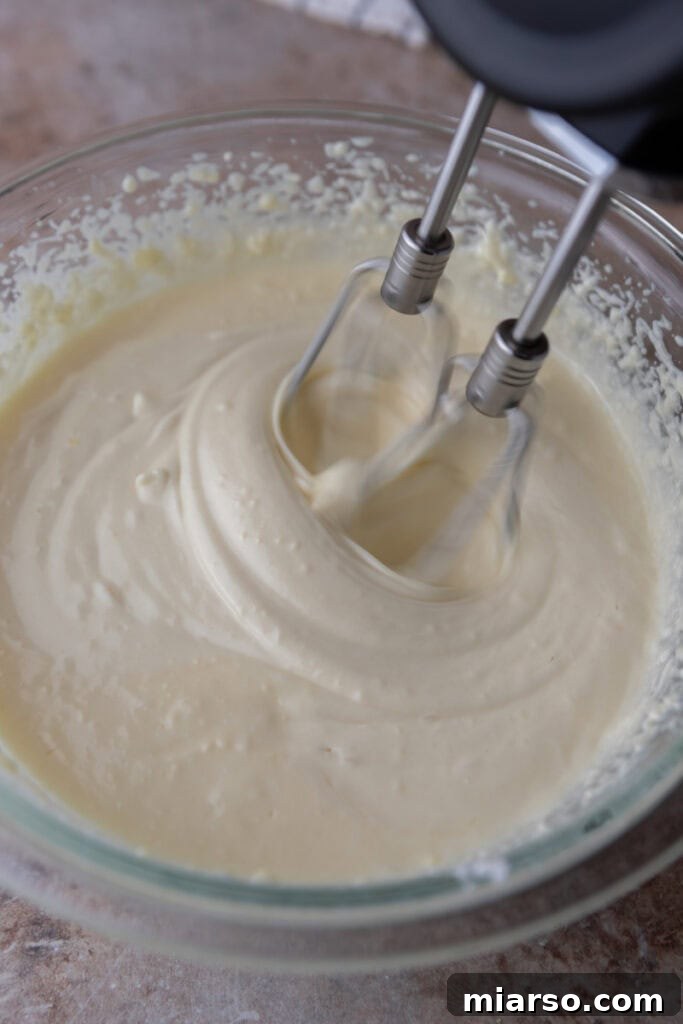
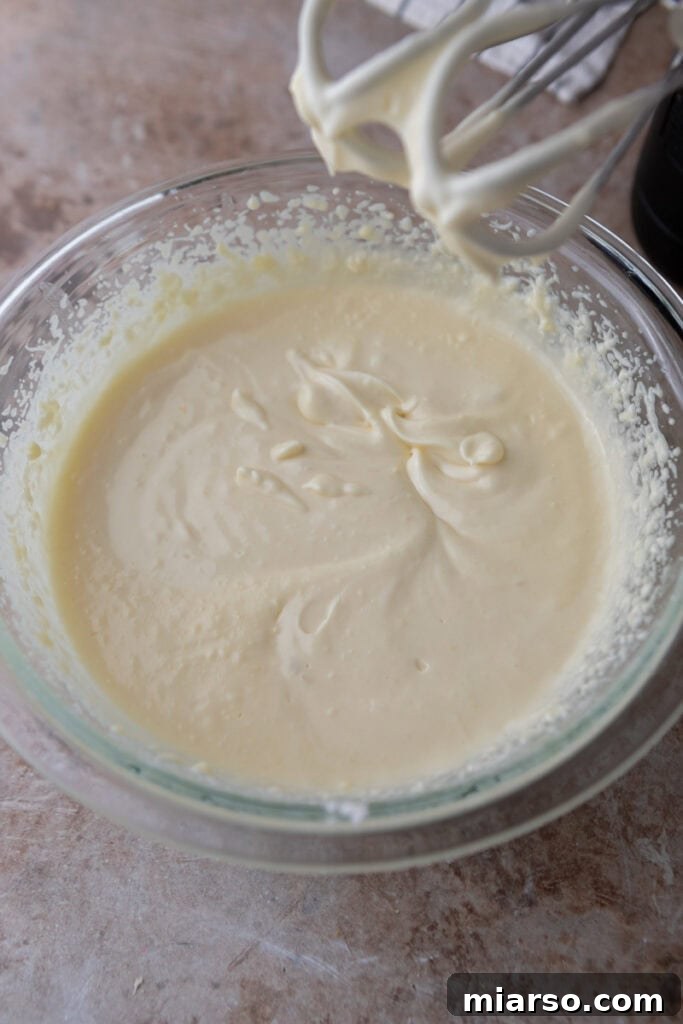
- Whisk Until Smooth: Using a whisk or a spatula, vigorously mix the three ingredients together. Continue mixing until the mixture is completely smooth, lump-free, and thoroughly blended. The ideal consistency should be creamy and easily spreadable, similar to a thick pancake batter or a soft frosting. If the mixture seems too stiff, you can add a tiny bit more oil, a teaspoon at a time, until the desired consistency is achieved. If it’s too runny, incorporate a small amount of additional flour.
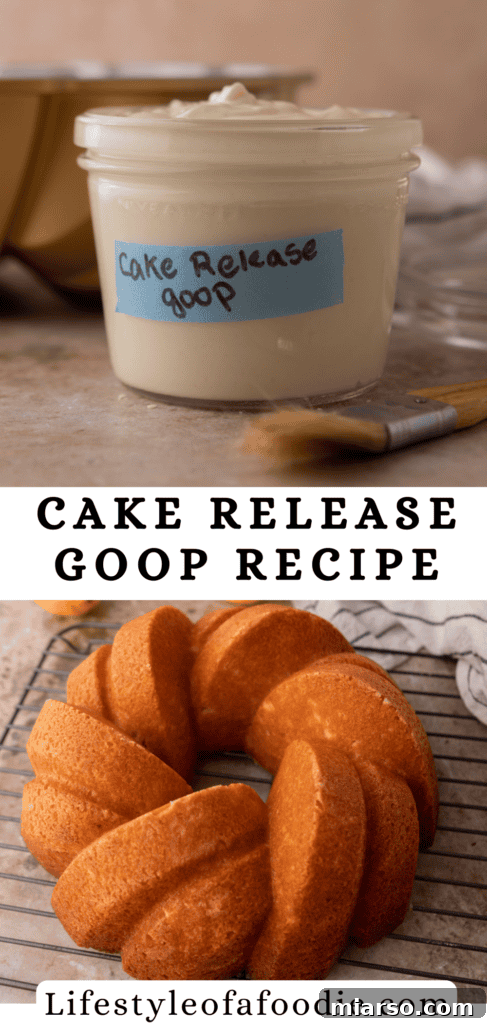
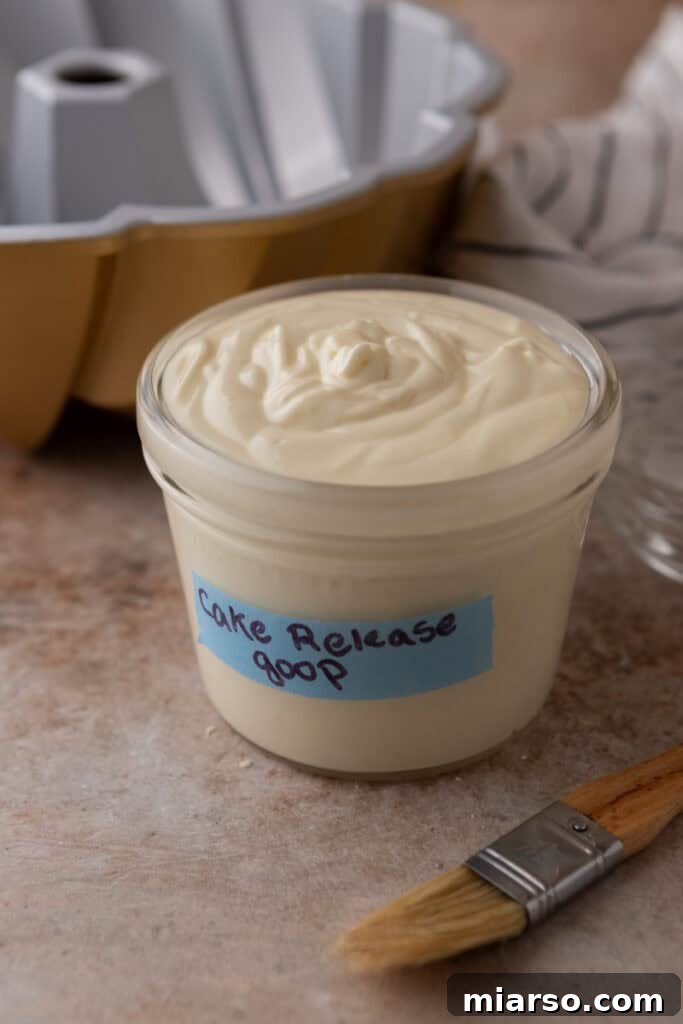
- Store for Future Use: Once your cake release is perfectly mixed, transfer it to an airtight container. A mason jar with a tight-fitting lid is an excellent choice, as is a squeeze bottle for even easier application. Store this homemade goop at room temperature for up to three months. For extended freshness, especially in warmer climates, you can keep it in the refrigerator for up to six months. If stored in the fridge, allow it to come to room temperature or give it a quick stir before using to restore its smooth, spreadable texture.
Mastering the Application: How to Use Your Homemade Cake Pan Release
Once you’ve prepared your batch of homemade cake release, applying it correctly is key to ensuring flawless results. The goal is to create a thin, even, and complete coating on all surfaces that will come into contact with your cake batter. This method is far superior to simply greasing and flouring, as it provides a more robust and consistent non-stick layer, especially for those challenging intricate pans.
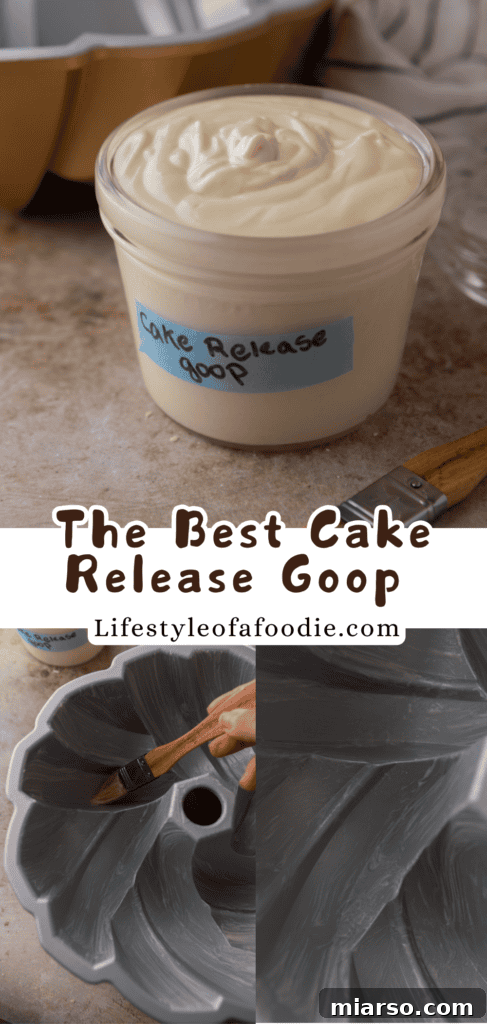
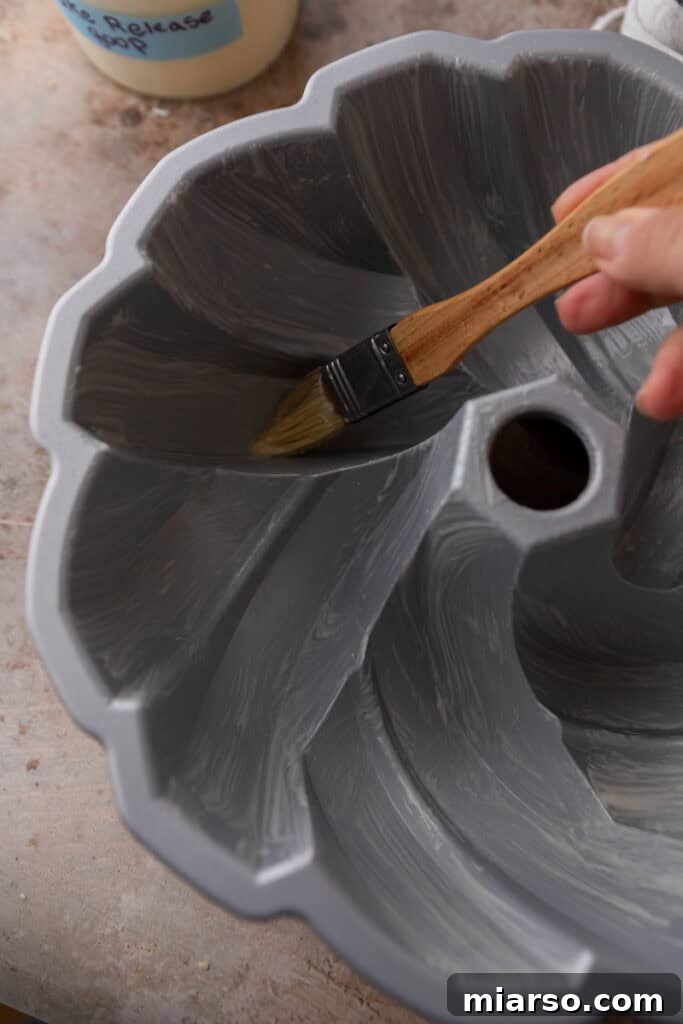
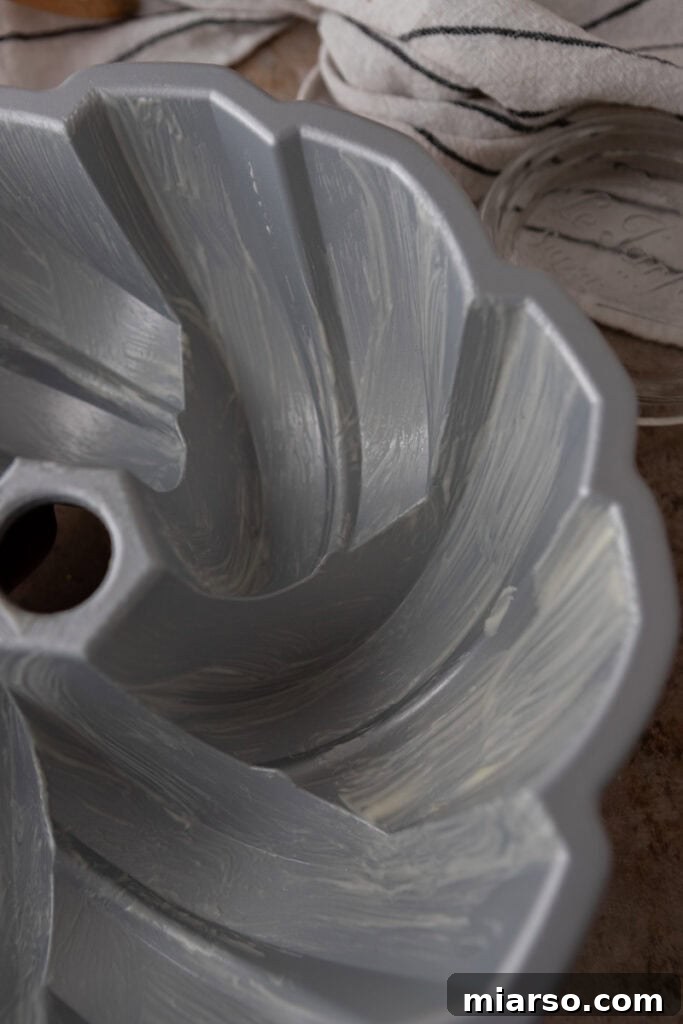
- Prepare Your Pan: Before adding your batter, ensure your baking pan is clean and dry. Using a pastry brush or even a folded paper towel, scoop a small amount of the homemade cake release.
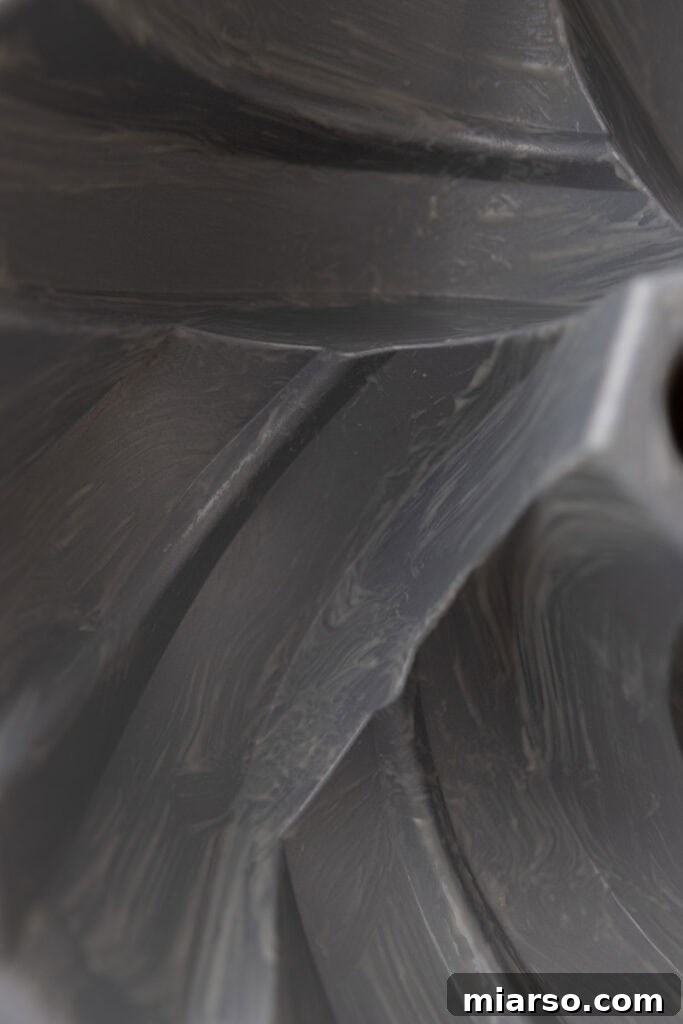
- Apply a Thin, Even Layer: Begin applying the goop to the bottom and sides of your pan. Work systematically, ensuring every inch of the pan’s interior is covered. Pay special attention to corners, crevices, and any intricate designs, such as those found in Bundt pans. A silicone pastry brush is particularly effective for reaching into all the nooks and crannies. The layer should be thin enough to coat the pan without pooling or creating thick patches. There’s no need for parchment paper when using this effective method, making your pan preparation even simpler!
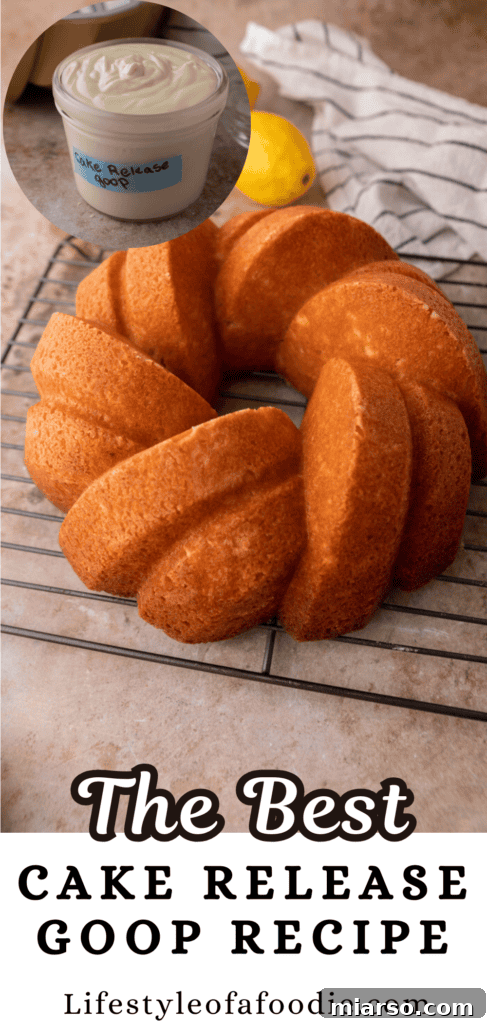
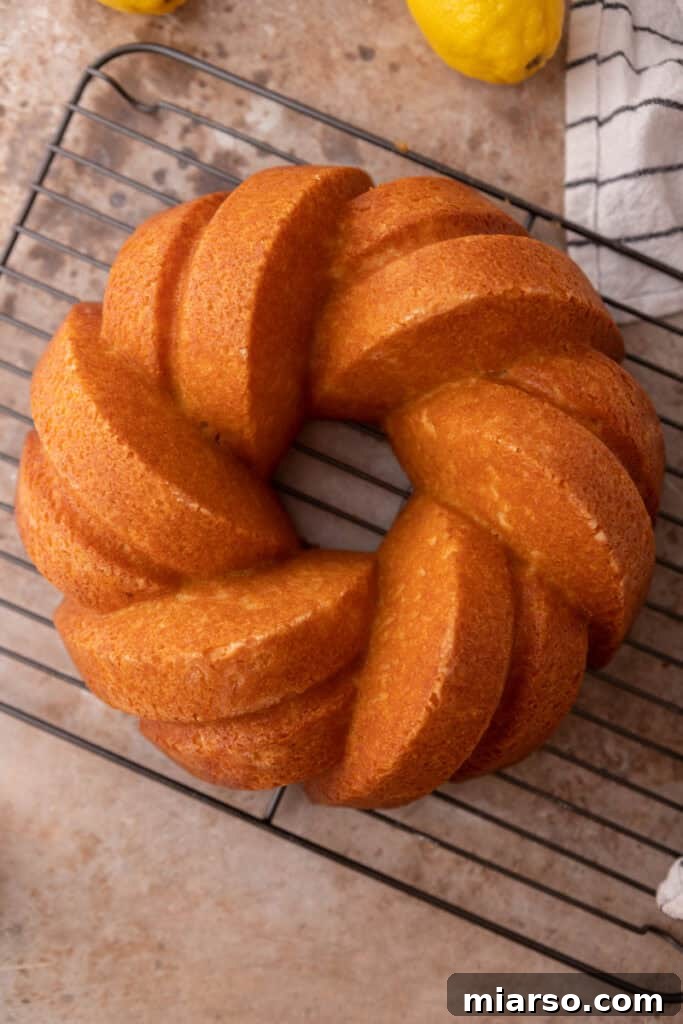
- Fill and Bake: Once your pan is thoroughly coated, pour in your cake batter and bake as directed by your recipe. You’ll be amazed at how easily your cakes slide out once cooled, leaving you with perfect, intact baked goods every time.
Homemade Cake Goop: Expert Tips and Tricks for Flawless Baking
While the basic recipe for homemade cake release is incredibly effective, a few insider tips and tricks can help you achieve even more consistent and professional results. Incorporating these simple practices into your baking routine will ensure every cake, muffin, or bread loaf you bake comes out perfectly, beautifully intact, and ready for decorating or serving.
- Achieve Ultra-Smooth Consistency: For an exceptionally smooth, uniform cake release, consider using an electric mixer instead of whisking by hand. A stand mixer with the paddle attachment or a hand mixer will quickly emulsify the ingredients, eliminating any tiny lumps and creating a perfectly creamy texture that’s a joy to apply.
- Simplify Application with a Squeeze Bottle: While a mason jar is excellent for storage, transferring your goop to a clean, empty squeeze bottle (like those used for condiments) can make application significantly easier and less messy. This allows for precise control, helping you get into all the tight spaces of intricate pans without over-applying.
- Generous Coating for Intricate Pans: For highly detailed or fluted pans, such as elaborate Bundt molds, don’t be shy with your application. Apply a slightly more generous layer and use a flexible silicone pastry brush to work the mixture into every single nook, cranny, and design element. This ensures no small section is left unprotected, preventing any sticking.
- Optimal Temperature for Application: If you store your homemade cake release in the refrigerator, it will firm up. Always let it come to room temperature for about 15-30 minutes before use. If you’re short on time, a quick stir or gentle warming (not melting) will help restore its smooth, spreadable consistency, making it easier to apply evenly.
- The “Double Coat” for Extra Security: For extra peace of mind with very sticky recipes or particularly old/worn pans, consider applying a very thin second coat of the cake release after the first has settled for a moment. This reinforces the non-stick barrier, providing ultimate protection.
- Label and Date Your Container: To keep track of freshness, always label your container with the date you made the cake release. This ensures you’re always using the freshest, most effective batch.
The Undeniable Benefits: Why You Need This Cake Release in Your Kitchen
Making your own cake release isn’t just a fun kitchen experiment; it’s a fundamental shift in how you approach baking. Once you incorporate this simple hack into your routine, you’ll quickly realize its myriad advantages, from simplifying preparation to enhancing the quality of your finished baked goods. Here’s why this homemade goop is an indispensable tool for every baker:
- Effortless and Time-Saving: Preparing a batch of this pan release takes mere minutes, making it incredibly convenient. It’s perfect for both beginners who are intimidated by traditional greasing and flouring, and seasoned professionals looking for a more efficient method. The quick preparation means less fuss and more time enjoying the baking process.
- Unrivaled Non-Stick Performance: Bid farewell to the anxiety of baking in intricate Bundt pans. This formula is specifically designed to adhere to complex surfaces, ensuring that even the most detailed cake designs release cleanly and beautifully. No more broken sections or leftover crumbs clinging to the pan.
- Versatile Beyond Cakes: While it excels with cakes, the utility of this homemade goop extends far beyond. It’s perfect for ensuring seamless release from muffin tins, cupcake molds, loaf pans for breads and quick breads, and even for greasing griddles when making pancakes or crepes. Think of it as your all-purpose non-stick solution for any baking or cooking surface.
- No Sticky Residue or Altered Taste: Unlike some commercial sprays that can leave a gummy, sticky residue on your pans over time, or even impart an off-flavor to delicate bakes, this magic cake pan release prevents sticking without any undesirable side effects. Your pans stay cleaner, and your baked goods taste exactly as intended.
- All-Natural and Healthier Choice: By making your own, you control the ingredients, avoiding the propellants, emulsifiers, and artificial components often found in aerosol sprays. This gives you a healthier, more natural alternative for your kitchen.
- Cost-Effective: The ingredients for this cake release are inexpensive and common. Making a batch yourself is far more economical than consistently purchasing commercial non-stick sprays, saving you money in the long run.
Frequently Asked Questions (FAQ) About Homemade Cake Release
Many bakers have questions when trying a new kitchen hack. Here are some of the most common inquiries about homemade cake release, along with comprehensive answers to ensure your baking success.
Can I make this cake goop gluten-free?
Absolutely, you can! The all-purpose flour in this recipe primarily functions as a non-stick barrier. You can easily substitute it with a gluten-free all-purpose flour blend (or a single gluten-free flour like rice flour or cornstarch) without any issues. The performance of the cake release will remain just as effective, making it a perfect solution for gluten-free baking.
Will this change the taste of my cake?
No, this homemade cake release recipe has a wonderfully neutral flavor profile. The small amount of mixture used is purely functional and will not impart any noticeable taste or alter the texture of your delicate baked goods. The vegetable oil and shortening are neutral in flavor, and the flour is odorless, ensuring your cake’s original taste shines through.
Can I add flavors to this DIY cake release?
While the standard recipe is neutral, you can certainly get creative! For chocolate cakes, adding a little unsweetened cocoa powder (about 1-2 tablespoons per ½ cup of flour) can create a “chocolate cake goop.” This not only adds a subtle cocoa aroma but also prevents any visible white flour residue on dark cakes. Just ensure the cocoa powder is well blended to maintain a smooth consistency.
Does this work for savory bakes?
Yes, absolutely! This versatile non-stick solution isn’t just for sweet treats. It works perfectly for savory dishes that require greasing, such as cornbread, biscuits baked in a pan, savory muffins, and even casseroles. It ensures everything releases cleanly, preventing sticky bottoms and sides, making cleanup easier for both sweet and savory baking alike.
Can I use butter instead of shortening?
While butter can be used, it’s generally not recommended as a direct substitute for shortening in this recipe. Butter has a lower melting point and a higher water content than shortening, which can affect both the storage life and the consistency of the cake release. It might separate more easily, become grainy, or not provide the same stable, robust non-stick barrier. Shortening helps create a much smoother texture and keeps the mixture shelf-stable for a longer period. For best results and longevity, stick to vegetable shortening.
How long does homemade cake release last?
When stored correctly in an airtight container, such as a glass jar or a squeeze bottle, your homemade cake release has an impressive shelf life. It will last for up to 3 months at room temperature (in a cool, dark pantry) and up to 6 months if stored in the refrigerator. Over time, some separation might occur, which is completely normal. Simply give it a good stir with a spoon or shake the squeeze bottle vigorously to re-emulsify the ingredients before each use. This simple act will restore its smooth, consistent texture and ensure optimal performance.
Easy Cake Pan Release (Goop) Recipe
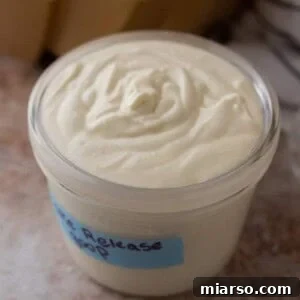
Homemade Cake Release (Goop)
This foolproof cake release recipe has just three simple ingredients, is incredibly easy to make, and guarantees your cakes will come out of the baking pan perfectly every single time, without sticking or tearing.
Prep time: 5 mins
Total time: 5 mins
Yields: 1.5 cups
Ingredients
- ½ cup all-purpose flour
- ½ cup vegetable oil (or melted shortening)
- ½ cup vegetable shortening (softened, regular or butter-flavored)
Instructions
- In a medium bowl, whisk together the flour, oil, and shortening until smooth and well combined. The mixture should have a thick, spreadable consistency.
- Transfer the homemade cake release to an airtight container. Store it at room temperature for up to 3 months, or in the refrigerator for up to 6 months.
- To use, simply brush a thin, even layer onto the bottom and sides of your cake pans using a pastry brush or a paper towel. Make sure to coat all edges and corners thoroughly.
- Pour your cake batter into the prepared pan and bake as directed by your recipe. No need for parchment paper!
This method ensures cakes release without leaving a greasy residue, unlike some sprays. It works perfectly for even the most intricate Bundt pans!
Nutrition information is automatically calculated and should only be used as an approximation.
Loved This Cake Release Recipe? Make Sure to Pin It for Later!
If you’re as excited about this game-changing homemade cake release as we are, don’t forget to save it for your future baking endeavors! Pin these images to your favorite baking boards on Pinterest so you can easily find this recipe whenever you need a perfect non-stick solution. Share the baking love with your friends and fellow enthusiasts!