Indulge Guilt-Free: The Ultimate Vegan Chocolate Mousse with Aquafaba
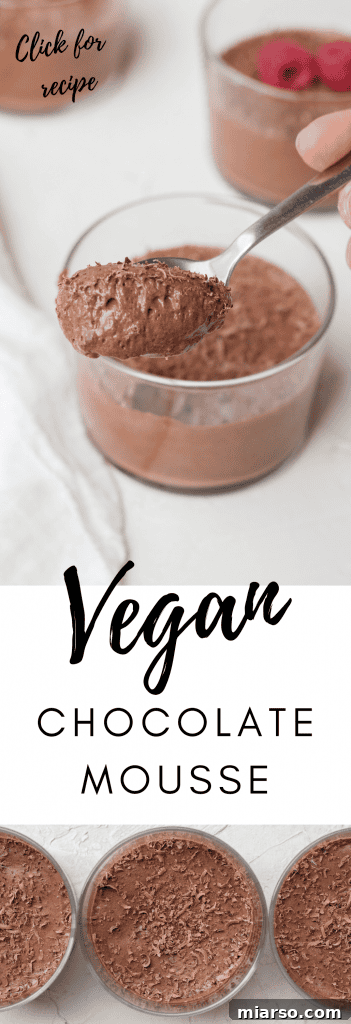
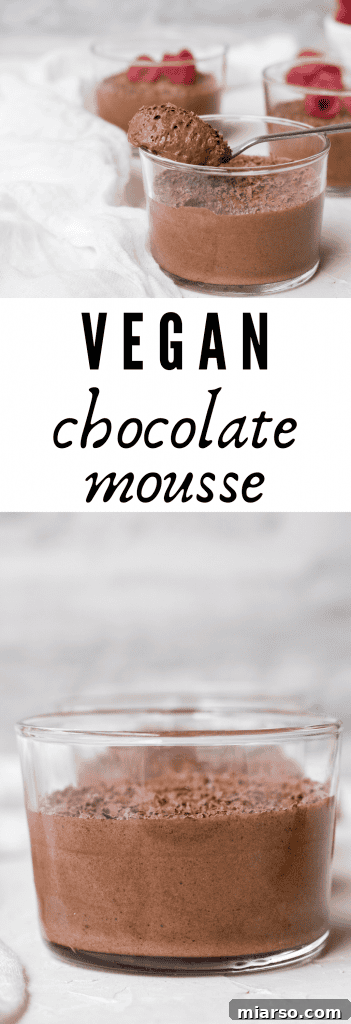
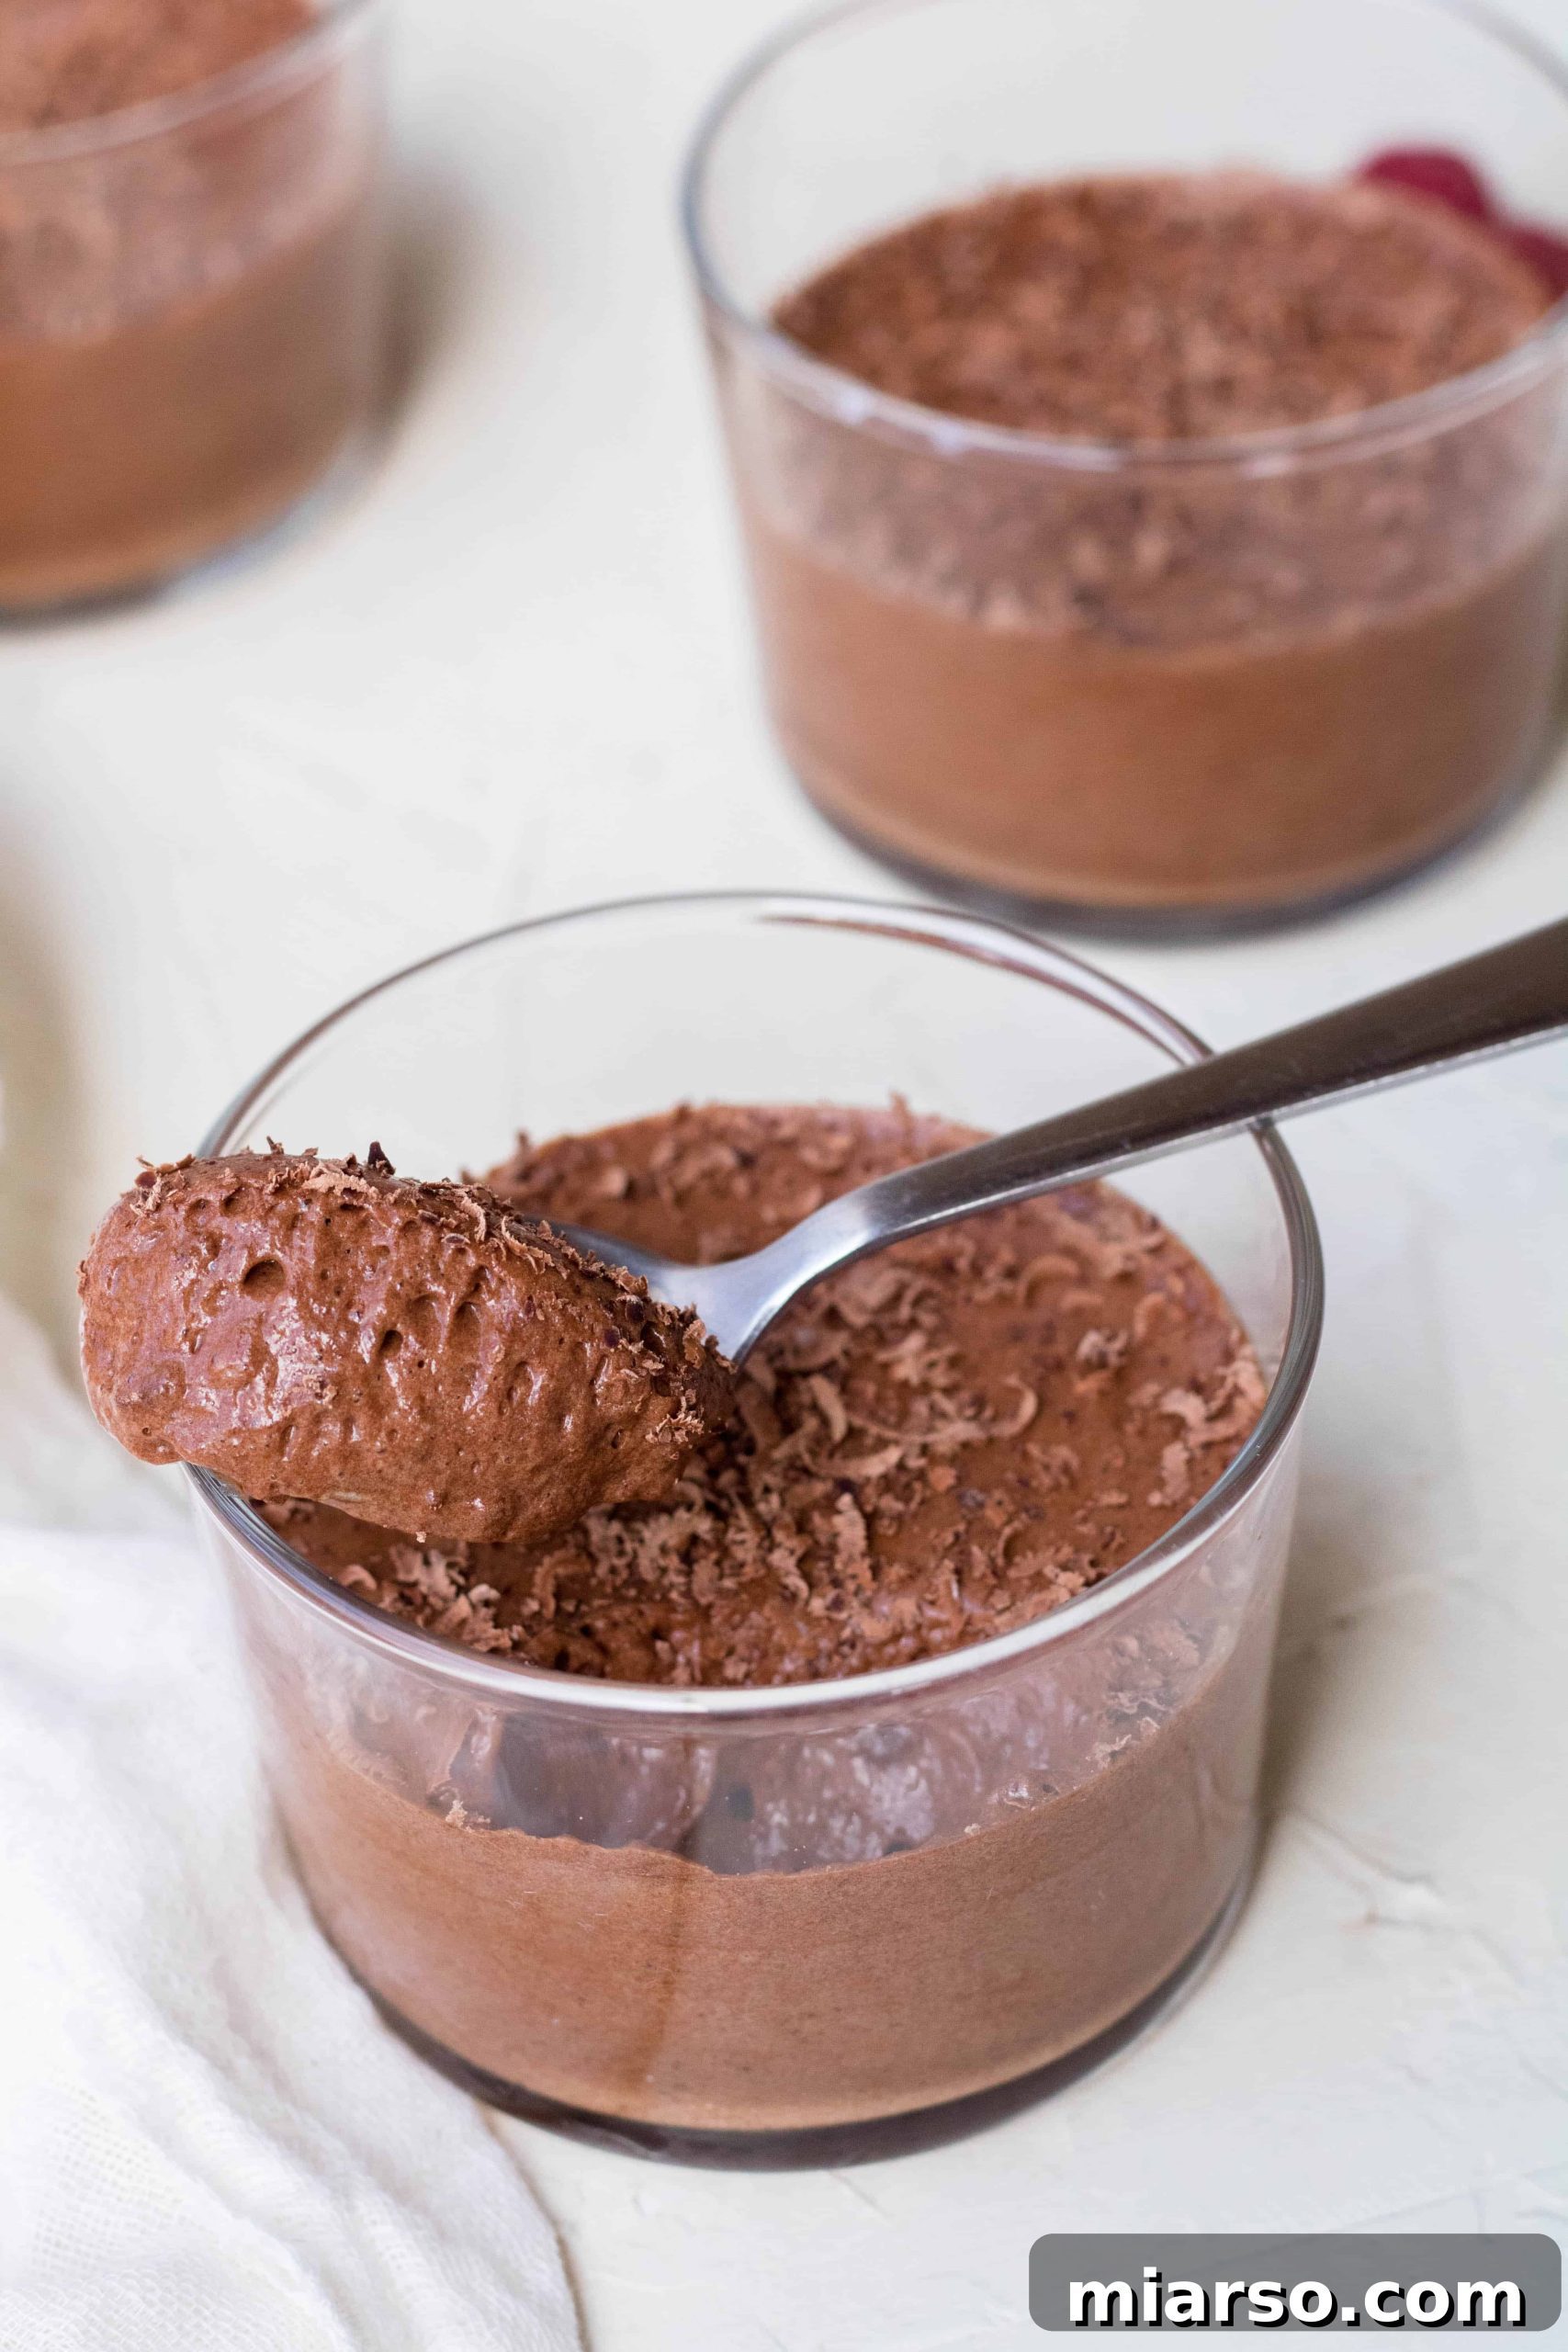
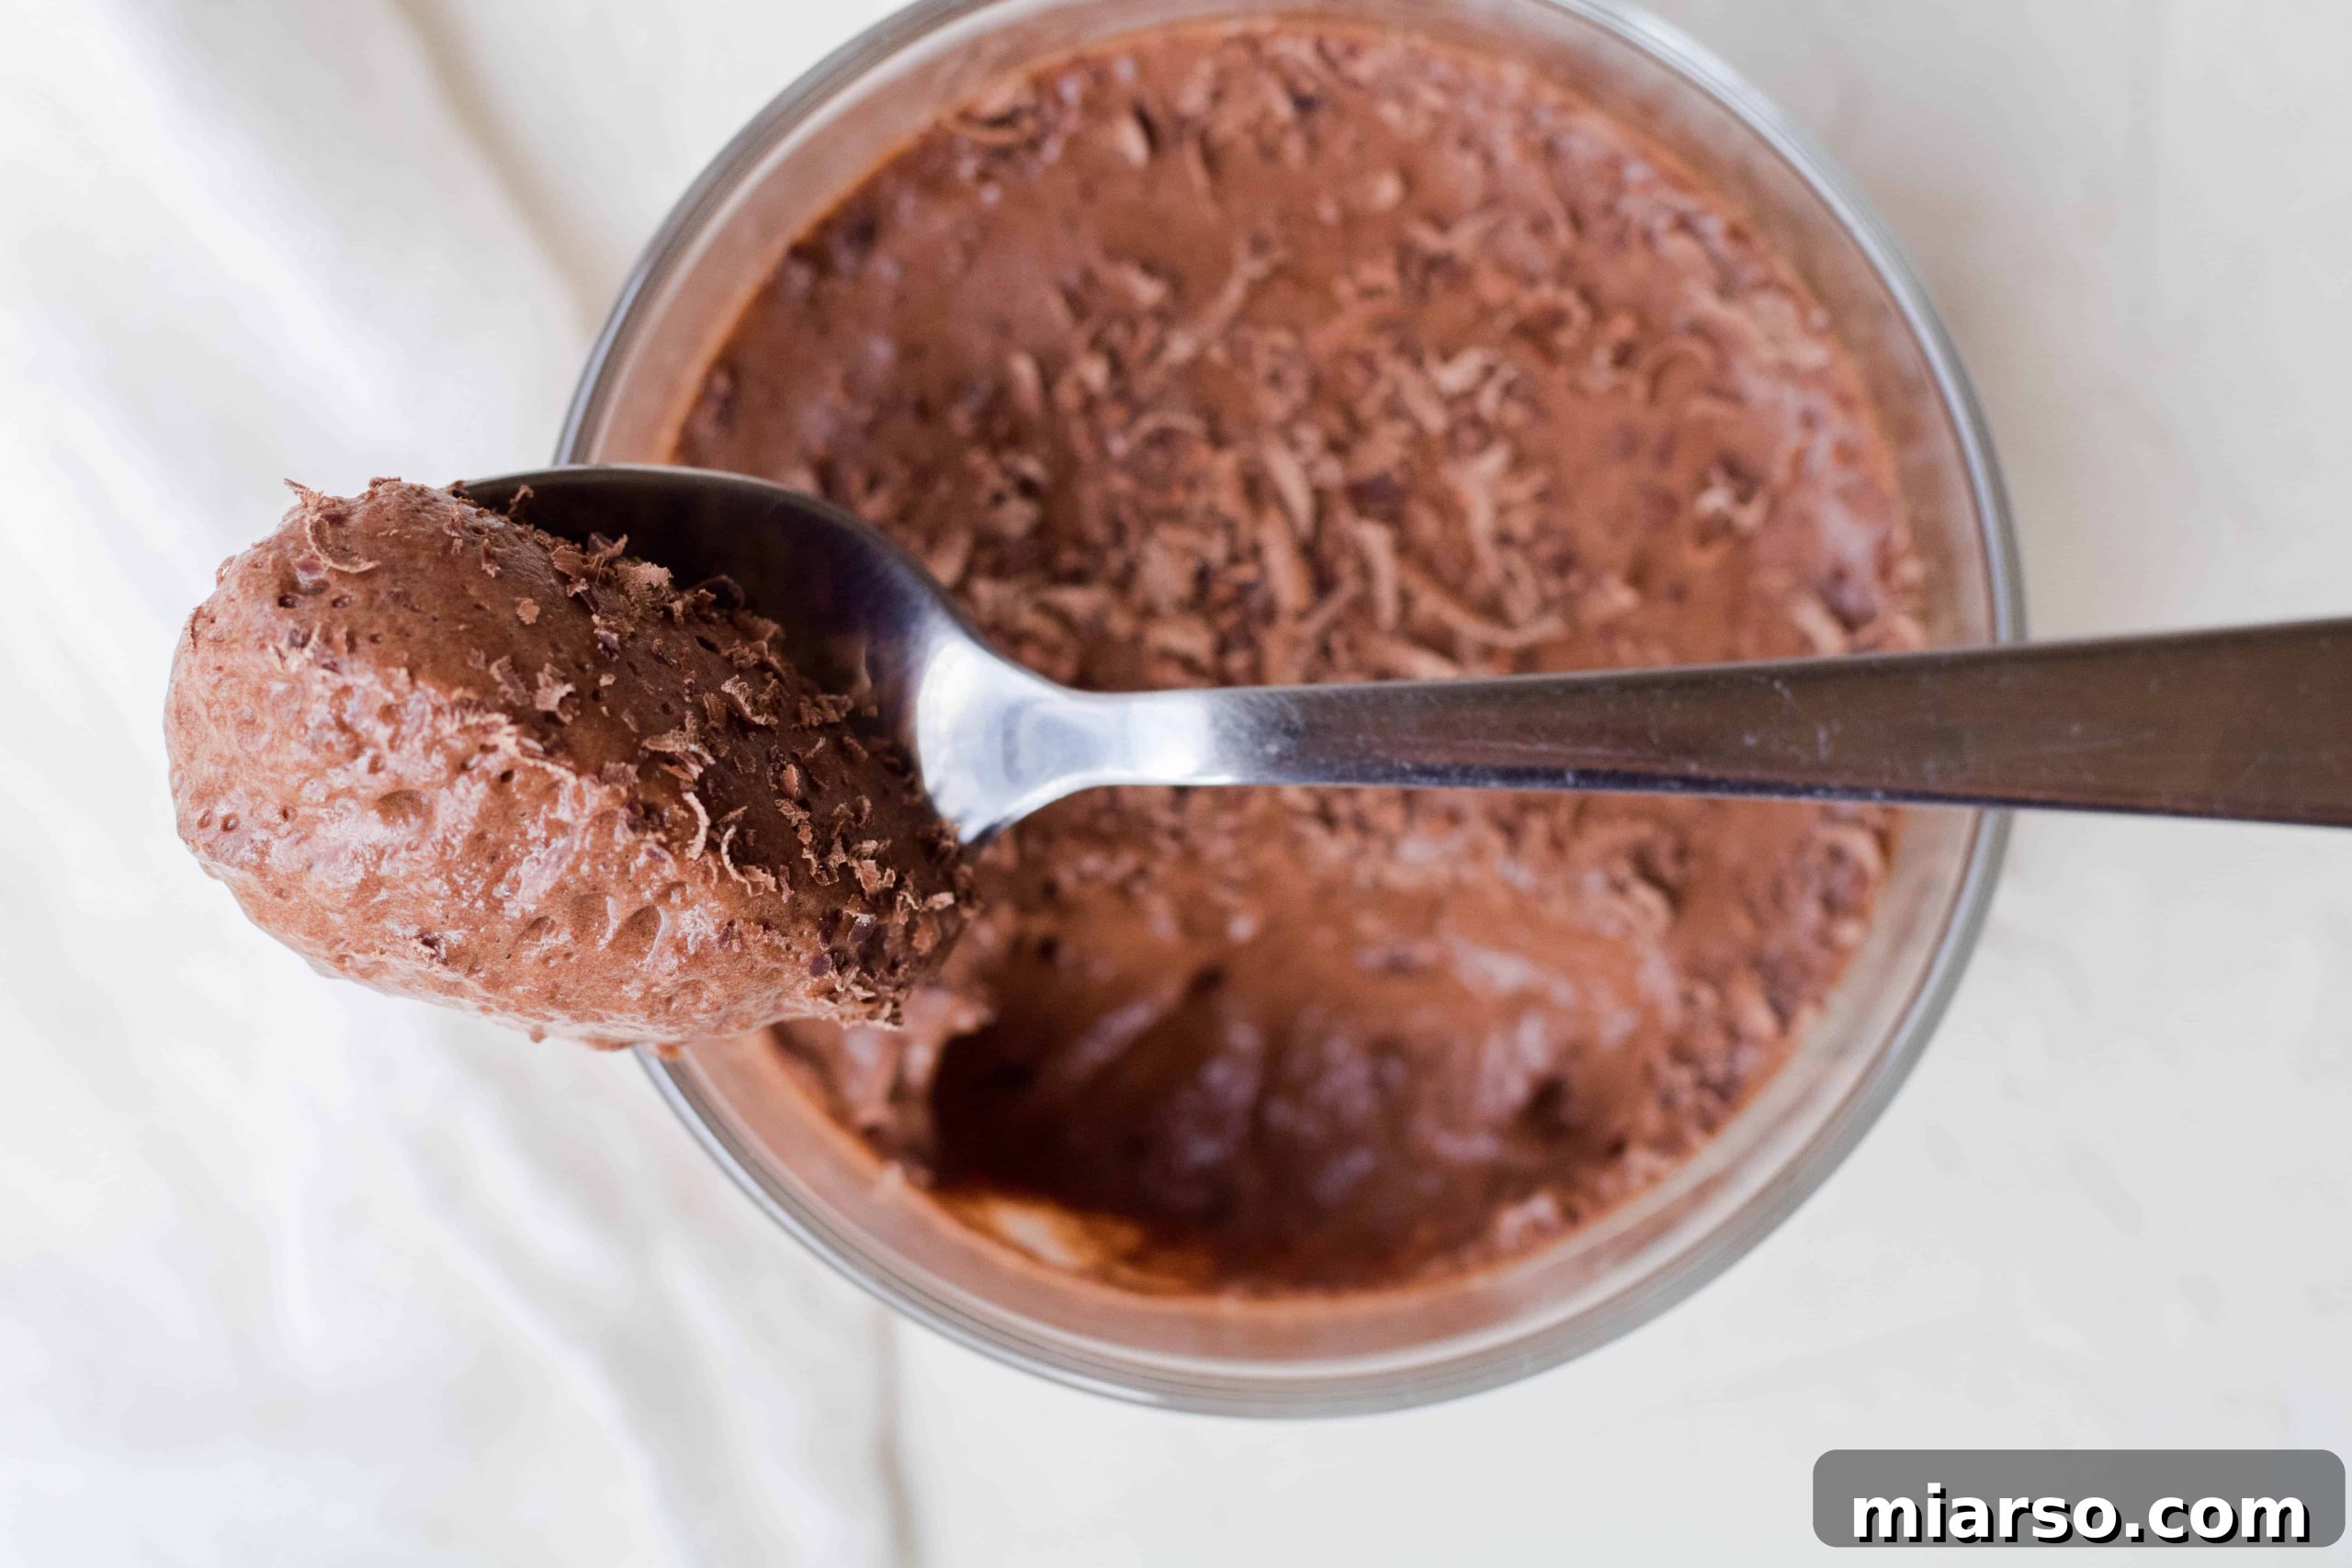
Prepare to have your dessert world transformed! This vegan chocolate mousse isn’t just a substitute; it’s a revelation. Incredibly rich, surprisingly light, and unbelievably easy to make, it challenges everything you thought you knew about dairy-free and egg-free desserts. Thanks to the magic of aquafaba – the often-overlooked liquid from canned chickpeas – we achieve a heavenly, airy texture that rivals traditional mousse, all without a single drop of dairy or any eggs. Get ready to impress yourself and everyone else with this simple yet sophisticated treat!
Sign Up for Our Newsletter: Get a Free Weekly Meal Planner & Recipe Card!
Join our growing community of food enthusiasts! Subscribe to our mailing list today and receive a complimentary weekly meal planner, along with exclusive recipe cards delivered straight to your inbox. Unlock delicious inspiration, helpful cooking tips, and be the first to know about our latest creations. Don’t miss out on making every meal a masterpiece!
Hello everyone! I hope you’re doing well. It’s been a unique period, and finding moments of comfort and joy at home has become more important than ever. For me, that often means turning to delicious, comforting recipes that lift my spirits and satisfy my sweet cravings. This vegan aquafaba chocolate mousse has been a true savior, offering a delightful escape into creamy, chocolatey bliss.
Cooking and baking have always been a way for me to find peace and express creativity, and sharing these recipes brings me immense joy. Especially during times when we seek solace and simple pleasures, a homemade dessert can make all the difference. This recipe is designed not only to be incredibly tasty but also to be a simple, stress-free process that anyone can master. It’s a perfect treat to enjoy on your own or to share with loved ones, bringing a little sweetness into any day.
Why This Vegan Chocolate Mousse is a Game-Changer
This vegan chocolate mousse is more than just a dessert; it’s a testament to how innovative plant-based cooking can be. It’s my absolute go-to whenever I’m looking for something truly impressive, whether I’m hosting vegan friends, have run out of eggs, or simply desire an indulgent yet guilt-free treat. The best part? Its stunning texture and rich flavor will have everyone convinced it’s the traditional version, making it a fantastic conversation starter at any gathering.
The secret ingredient, aquafaba, is what truly sets this mousse apart. You would never guess that this luxurious, airy dessert is made from chickpea liquid! The transformation of aquafaba from a humble brine into a fluffy, white, egg-white-like foam is nothing short of magical. It’s an incredible demonstration of how plant-based ingredients can replicate the functionalities of their animal-derived counterparts, opening up a world of possibilities for delicious, ethical desserts.
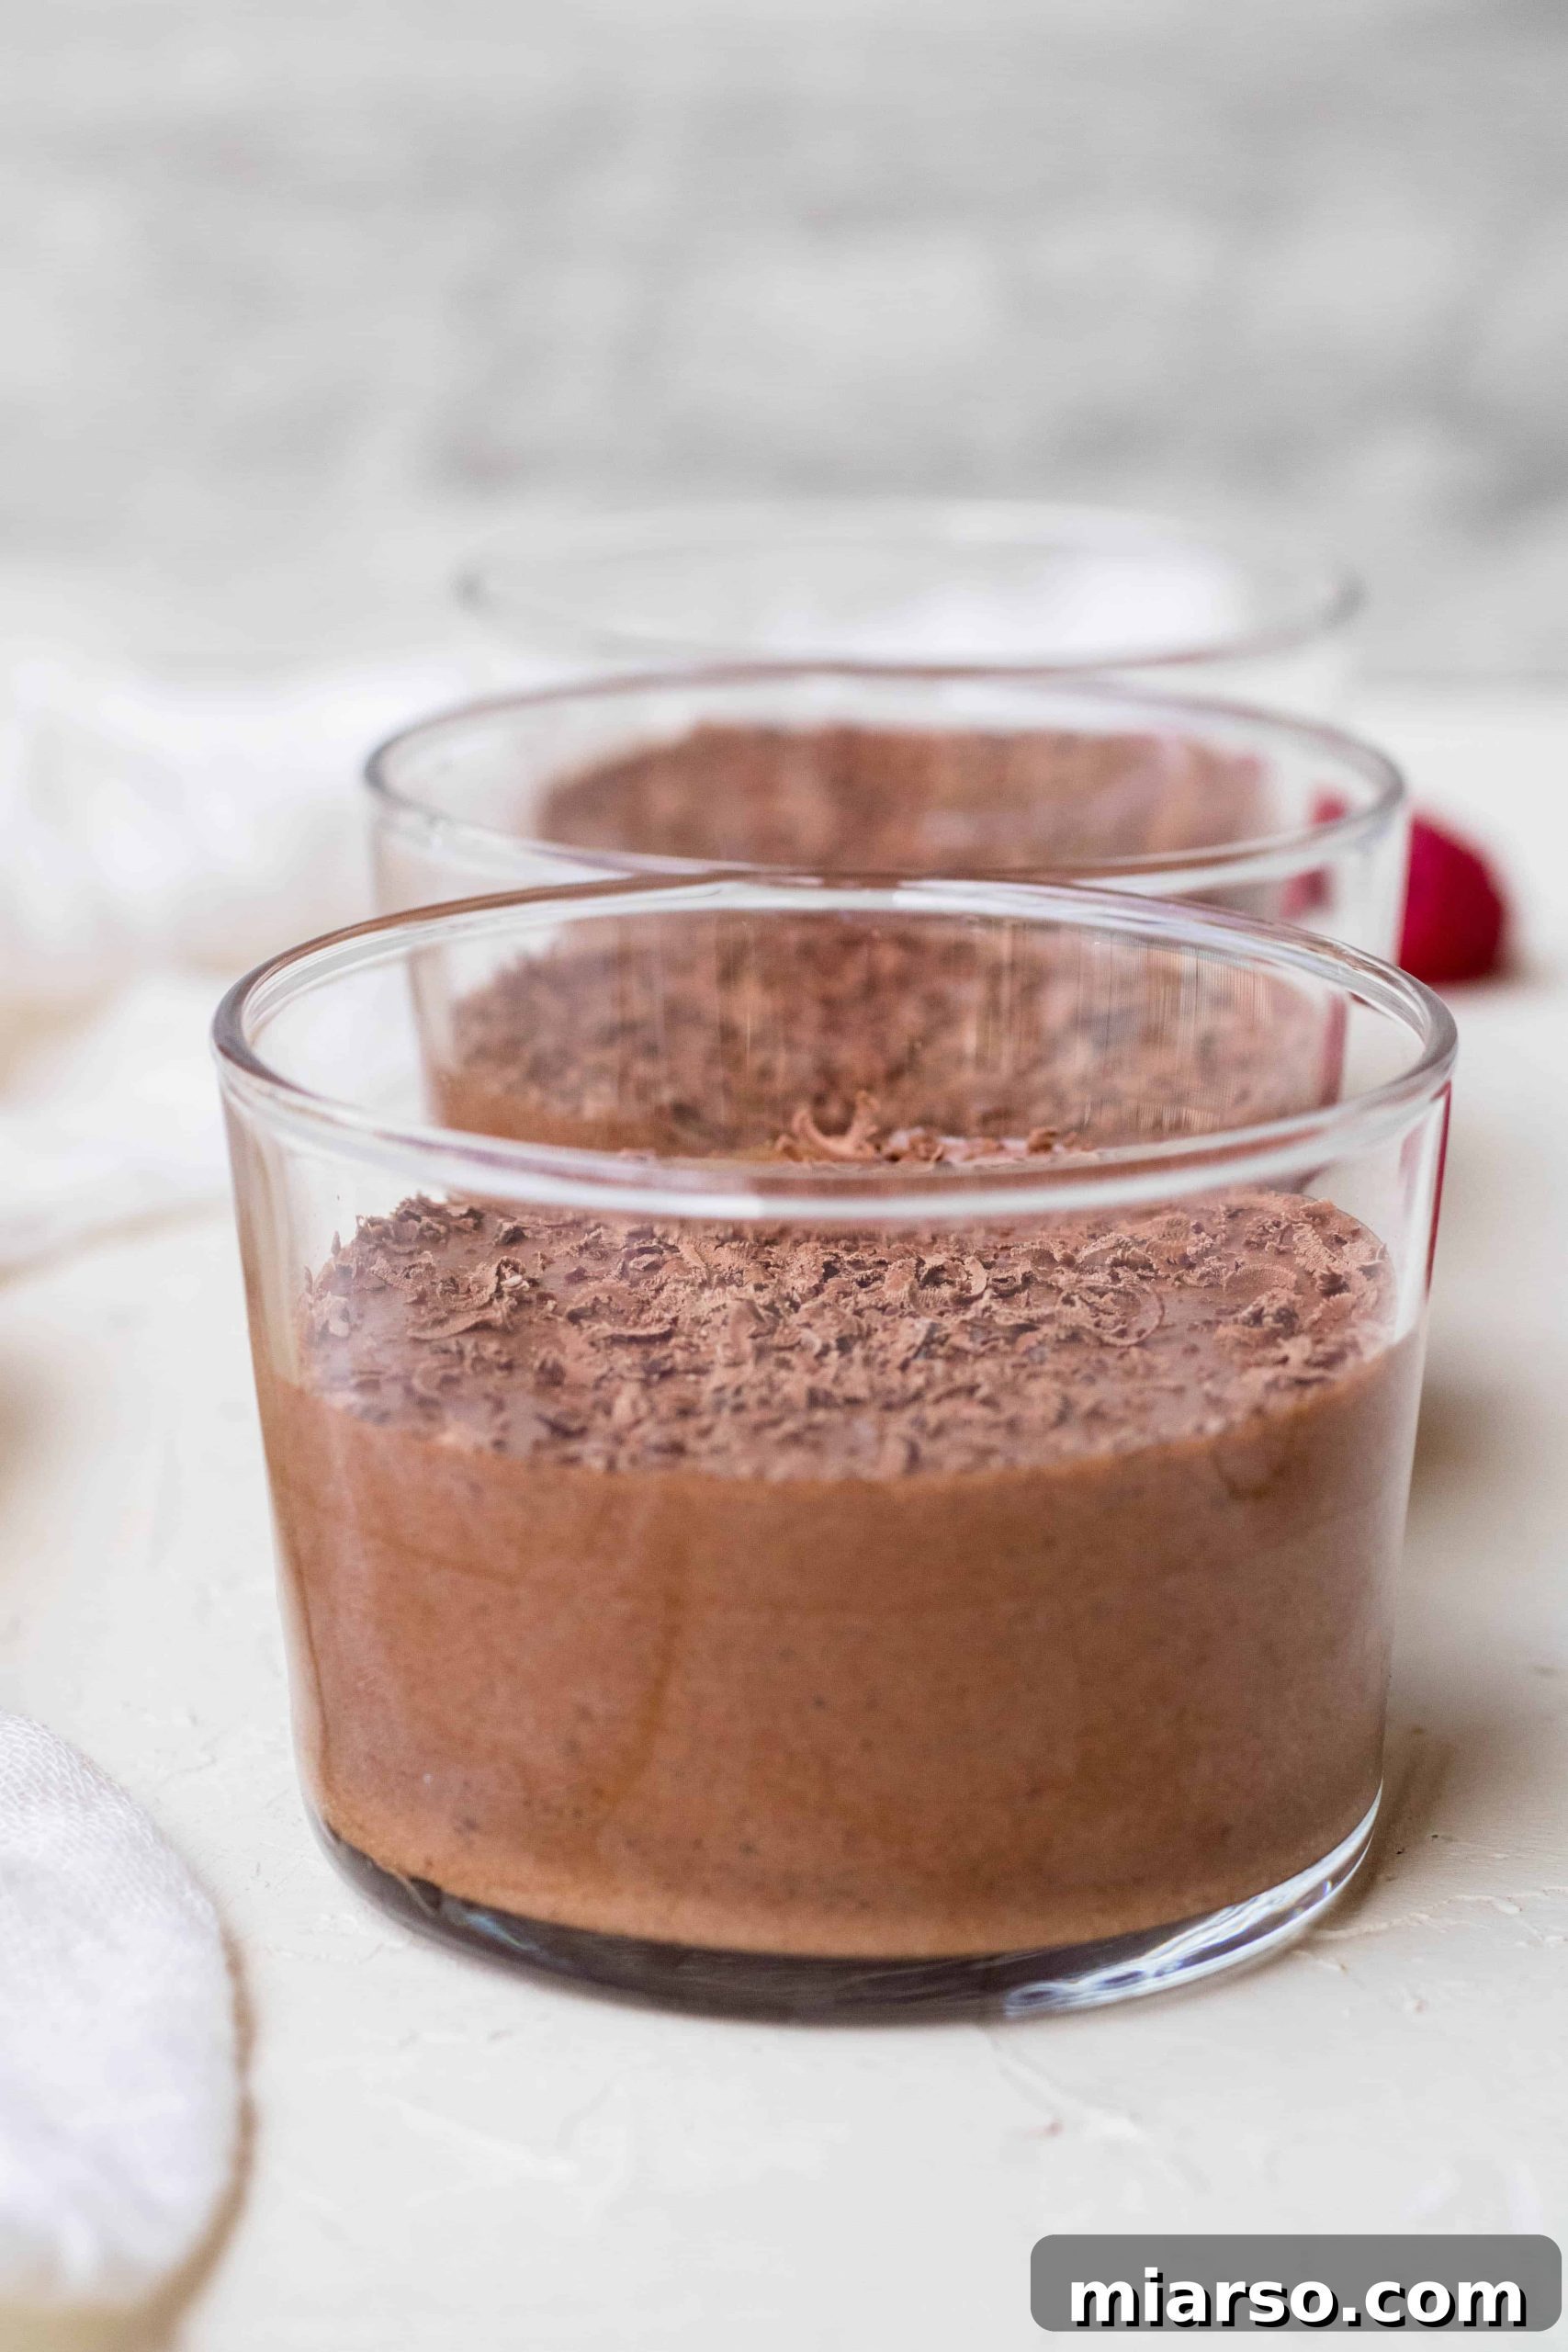
Essential Ingredients for Your Decadent Vegan Chocolate Mousse
Crafting this delightful mousse requires just a few simple ingredients, many of which you might already have in your pantry. Using quality ingredients ensures the best flavor and texture, so don’t skimp on the good stuff!
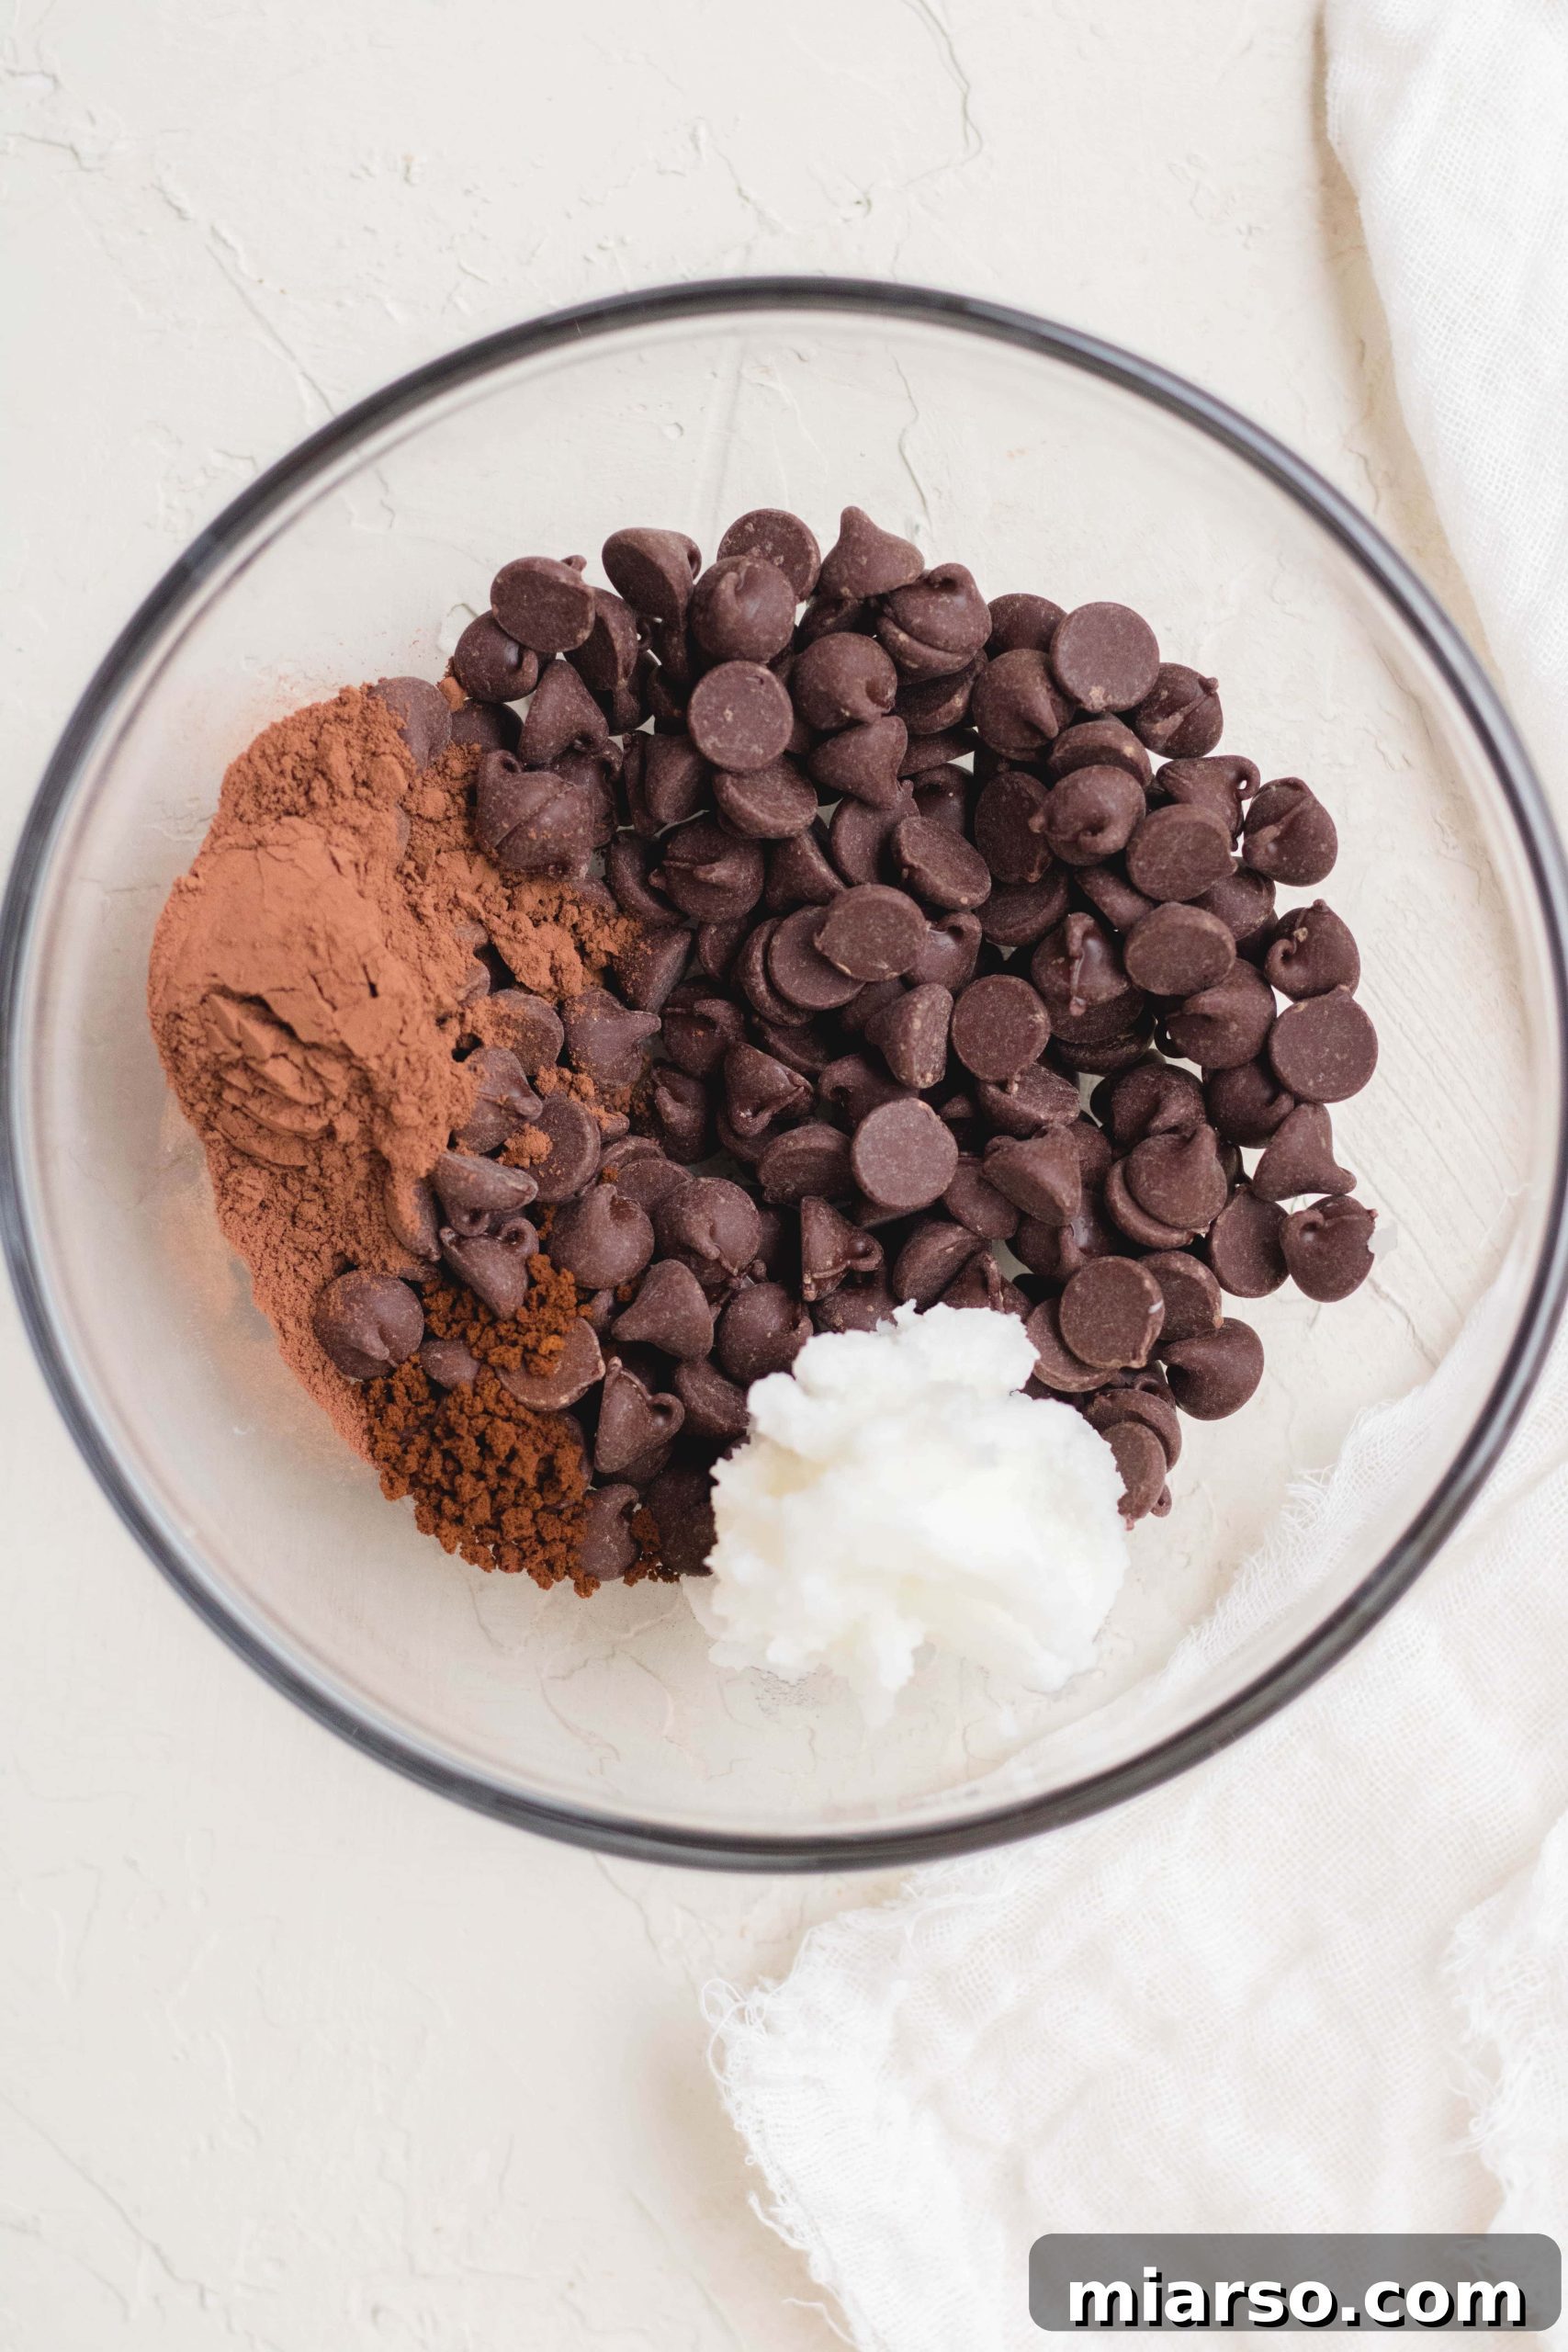
- Semi-sweet vegan chocolate chips: The foundation of our mousse. Semi-sweet chocolate provides a balanced richness that isn’t overly sugary, allowing the deep chocolate notes to shine through. Ensure your chosen brand is certified vegan.
- Coconut oil: This helps create a smooth, glossy melted chocolate mixture and contributes to the mousse’s luxurious mouthfeel. It also acts as a vegan alternative to butter or other fats found in traditional recipes.
- Instant coffee/espresso powder (optional): While optional, a touch of instant coffee or espresso powder deepens the chocolate flavor without making the mousse taste like coffee. It enhances the richness and complexity beautifully.
- Cocoa powder: Adds an extra layer of intense chocolate flavor and helps achieve that characteristic deep brown color. Unsweetened cocoa powder is typically best for this recipe.
- Aquafaba: The star, our miraculous egg white replacer. This is the liquid from canned chickpeas, and its ability to whip up into stiff peaks is truly astounding.
Aquafaba Demystified: What Exactly is This Wonderful Ingredient?
Aquafaba is essentially the viscous liquid leftover from cooking chickpeas (or other legumes) or found in canned chickpeas. The name itself is derived from Latin, meaning “bean water.” While it might seem like a humble byproduct, its culinary applications are anything but! It gained widespread recognition in the vegan community for its remarkable ability to mimic the properties of egg whites.
Scientifically, aquafaba is a complex mixture primarily composed of carbohydrates, proteins, and saponins that have leached out of the chickpeas during the cooking process. Although the individual content of these components is relatively low, their collective interaction gives aquafaba its unique emulsifying, binding, thickening, and whipping properties. When whipped, these compounds create a stable foam structure very similar to that of meringue.
I frequently use aquafaba as a direct substitute for egg whites in countless vegan desserts. It’s the secret behind fluffy meringues, delicate pavlovas, vibrant macarons, and of course, this incredibly airy chocolate mousse. Its neutral flavor ensures that it doesn’t impart any “bean” taste to your final dish, making it an indispensable ingredient for plant-based baking and culinary innovation.
Canned vs. Homemade Aquafaba: Which is Best for Your Mousse?
When it comes to sourcing aquafaba, you have a couple of options, and both can work beautifully for this recipe. The choice largely depends on your convenience and preference.
For ease and accessibility, aquafaba from canned chickpeas is often the most straightforward choice. Simply drain a can of chickpeas, and you have your liquid ready to go! When choosing canned chickpeas, opt for varieties that are low-sodium or unsalted if possible, as this can affect the taste of your dessert. Also, check the ingredient list to ensure there are no unnecessary additives or preservatives that might alter the whipping consistency or flavor. The consistency of canned aquafaba can vary slightly between brands, but generally, it works wonderfully for whipping.
If you prefer a more controlled approach or happen to be cooking chickpeas from scratch, you can absolutely use homemade aquafaba. To make your own, simply cook dried chickpeas until they are tender. After cooking, drain the chickpeas but reserve the cooking liquid. You may need to reduce this liquid further on the stovetop until it reaches a consistency similar to egg whites or the brine from canned chickpeas. This reduction concentrates the necessary proteins and starches, ensuring it whips properly. The advantage of homemade aquafaba is knowing exactly what went into it, free from any potential can lining chemicals or additives.
Ultimately, either option can yield fantastic results. For beginners or those short on time, canned aquafaba is a perfect starting point. For the more adventurous or those seeking complete control, making your own is a rewarding experience.
More Delicious Vegan Recipes You Will Love!
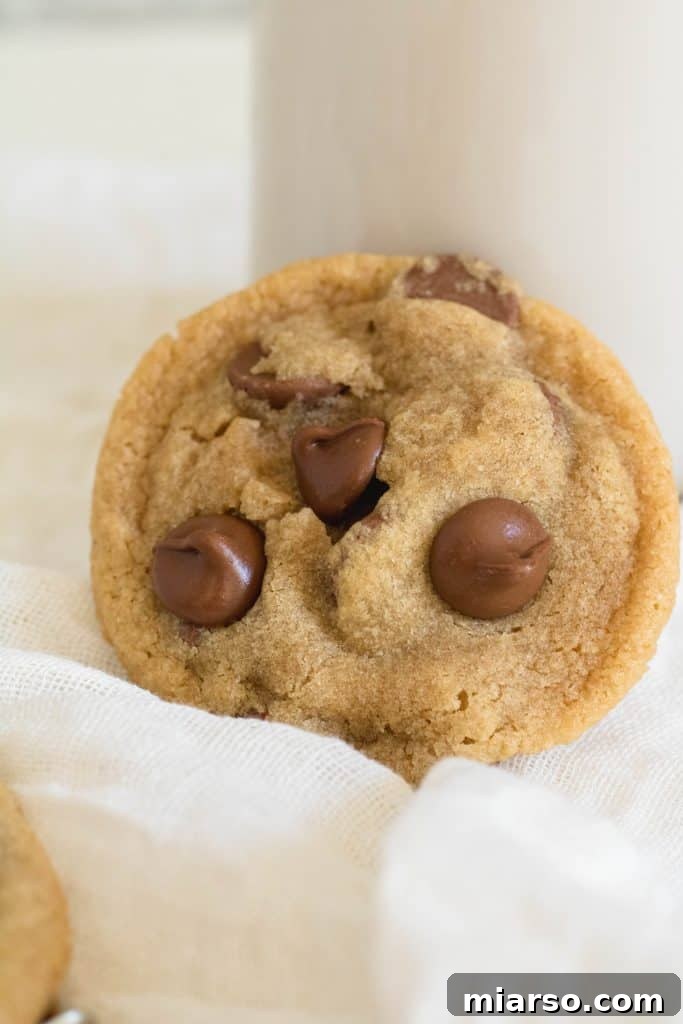
- Small batch chocolate chip cookies
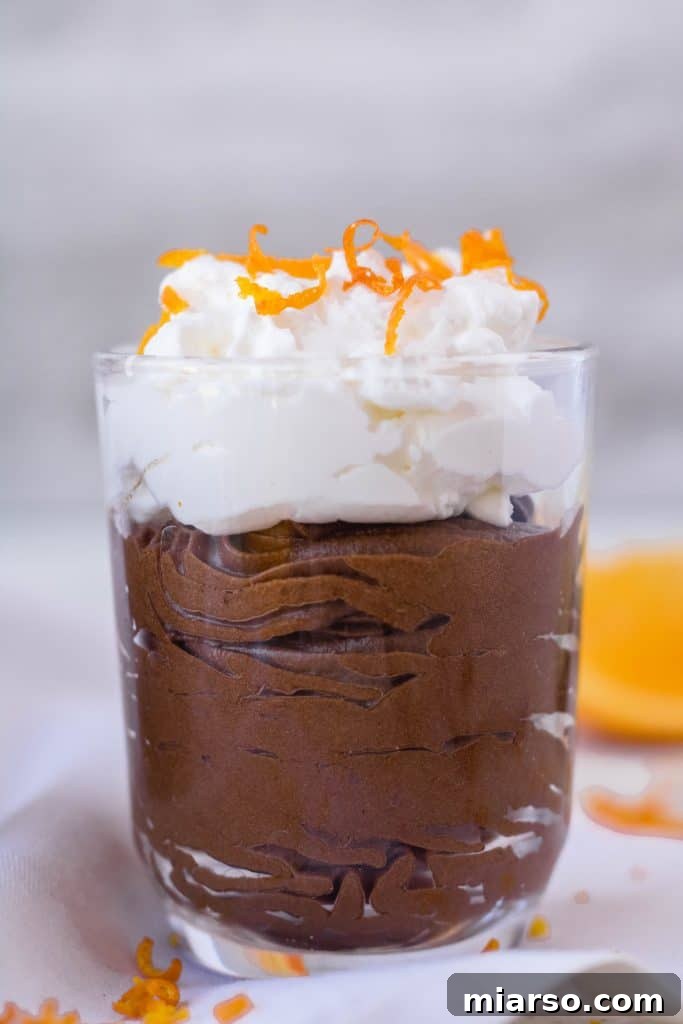
- Vegan chocolate orange mousse
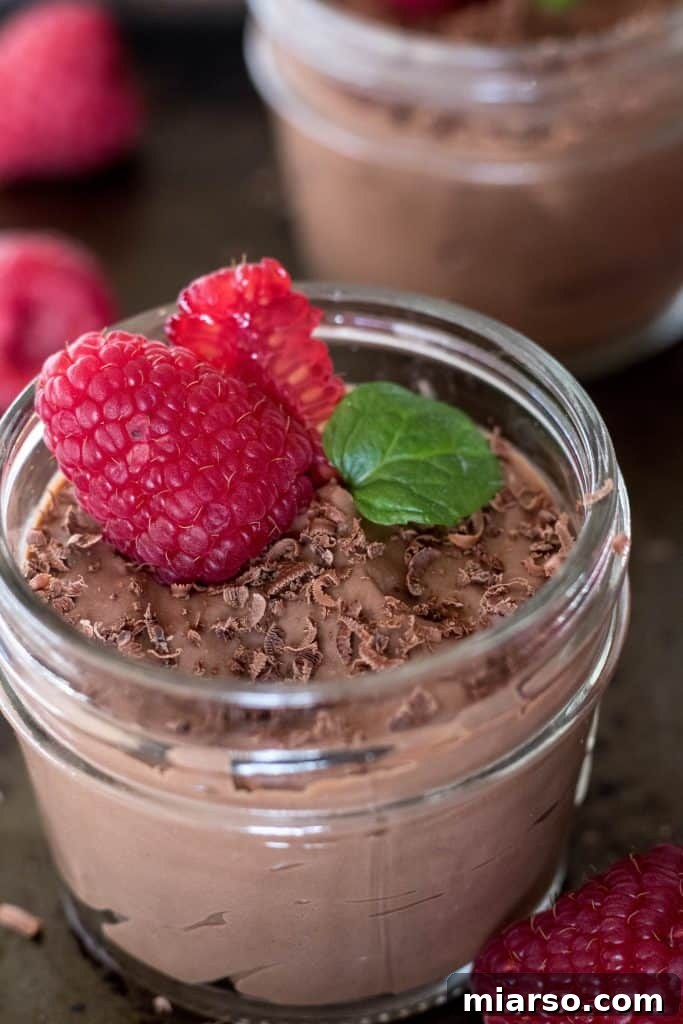
- 3 ingredient chocolate mousse
How to Make This Dreamy Vegan Chocolate Mousse
Creating this exquisite aquafaba chocolate mousse is a delightful process that’s surprisingly simple. Follow these steps carefully to ensure a light, airy, and perfectly chocolatey dessert:
1. Prepare the Chocolate Base: Start by combining your vegan semi-sweet chocolate chips, coconut oil, instant coffee (if using), and cocoa powder in a small, microwave-safe bowl. Heat in the microwave in short bursts of 30 seconds, stirring well after each interval. This gentle melting process prevents the chocolate from seizing or burning. Continue until the mixture is completely smooth and glossy, with no lumps remaining.
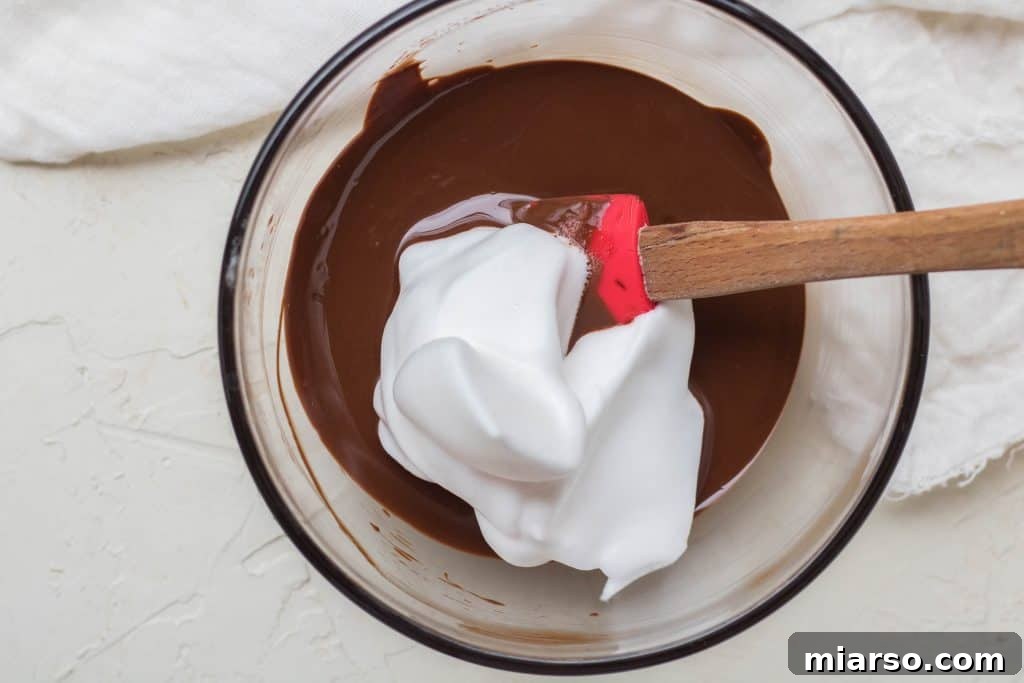
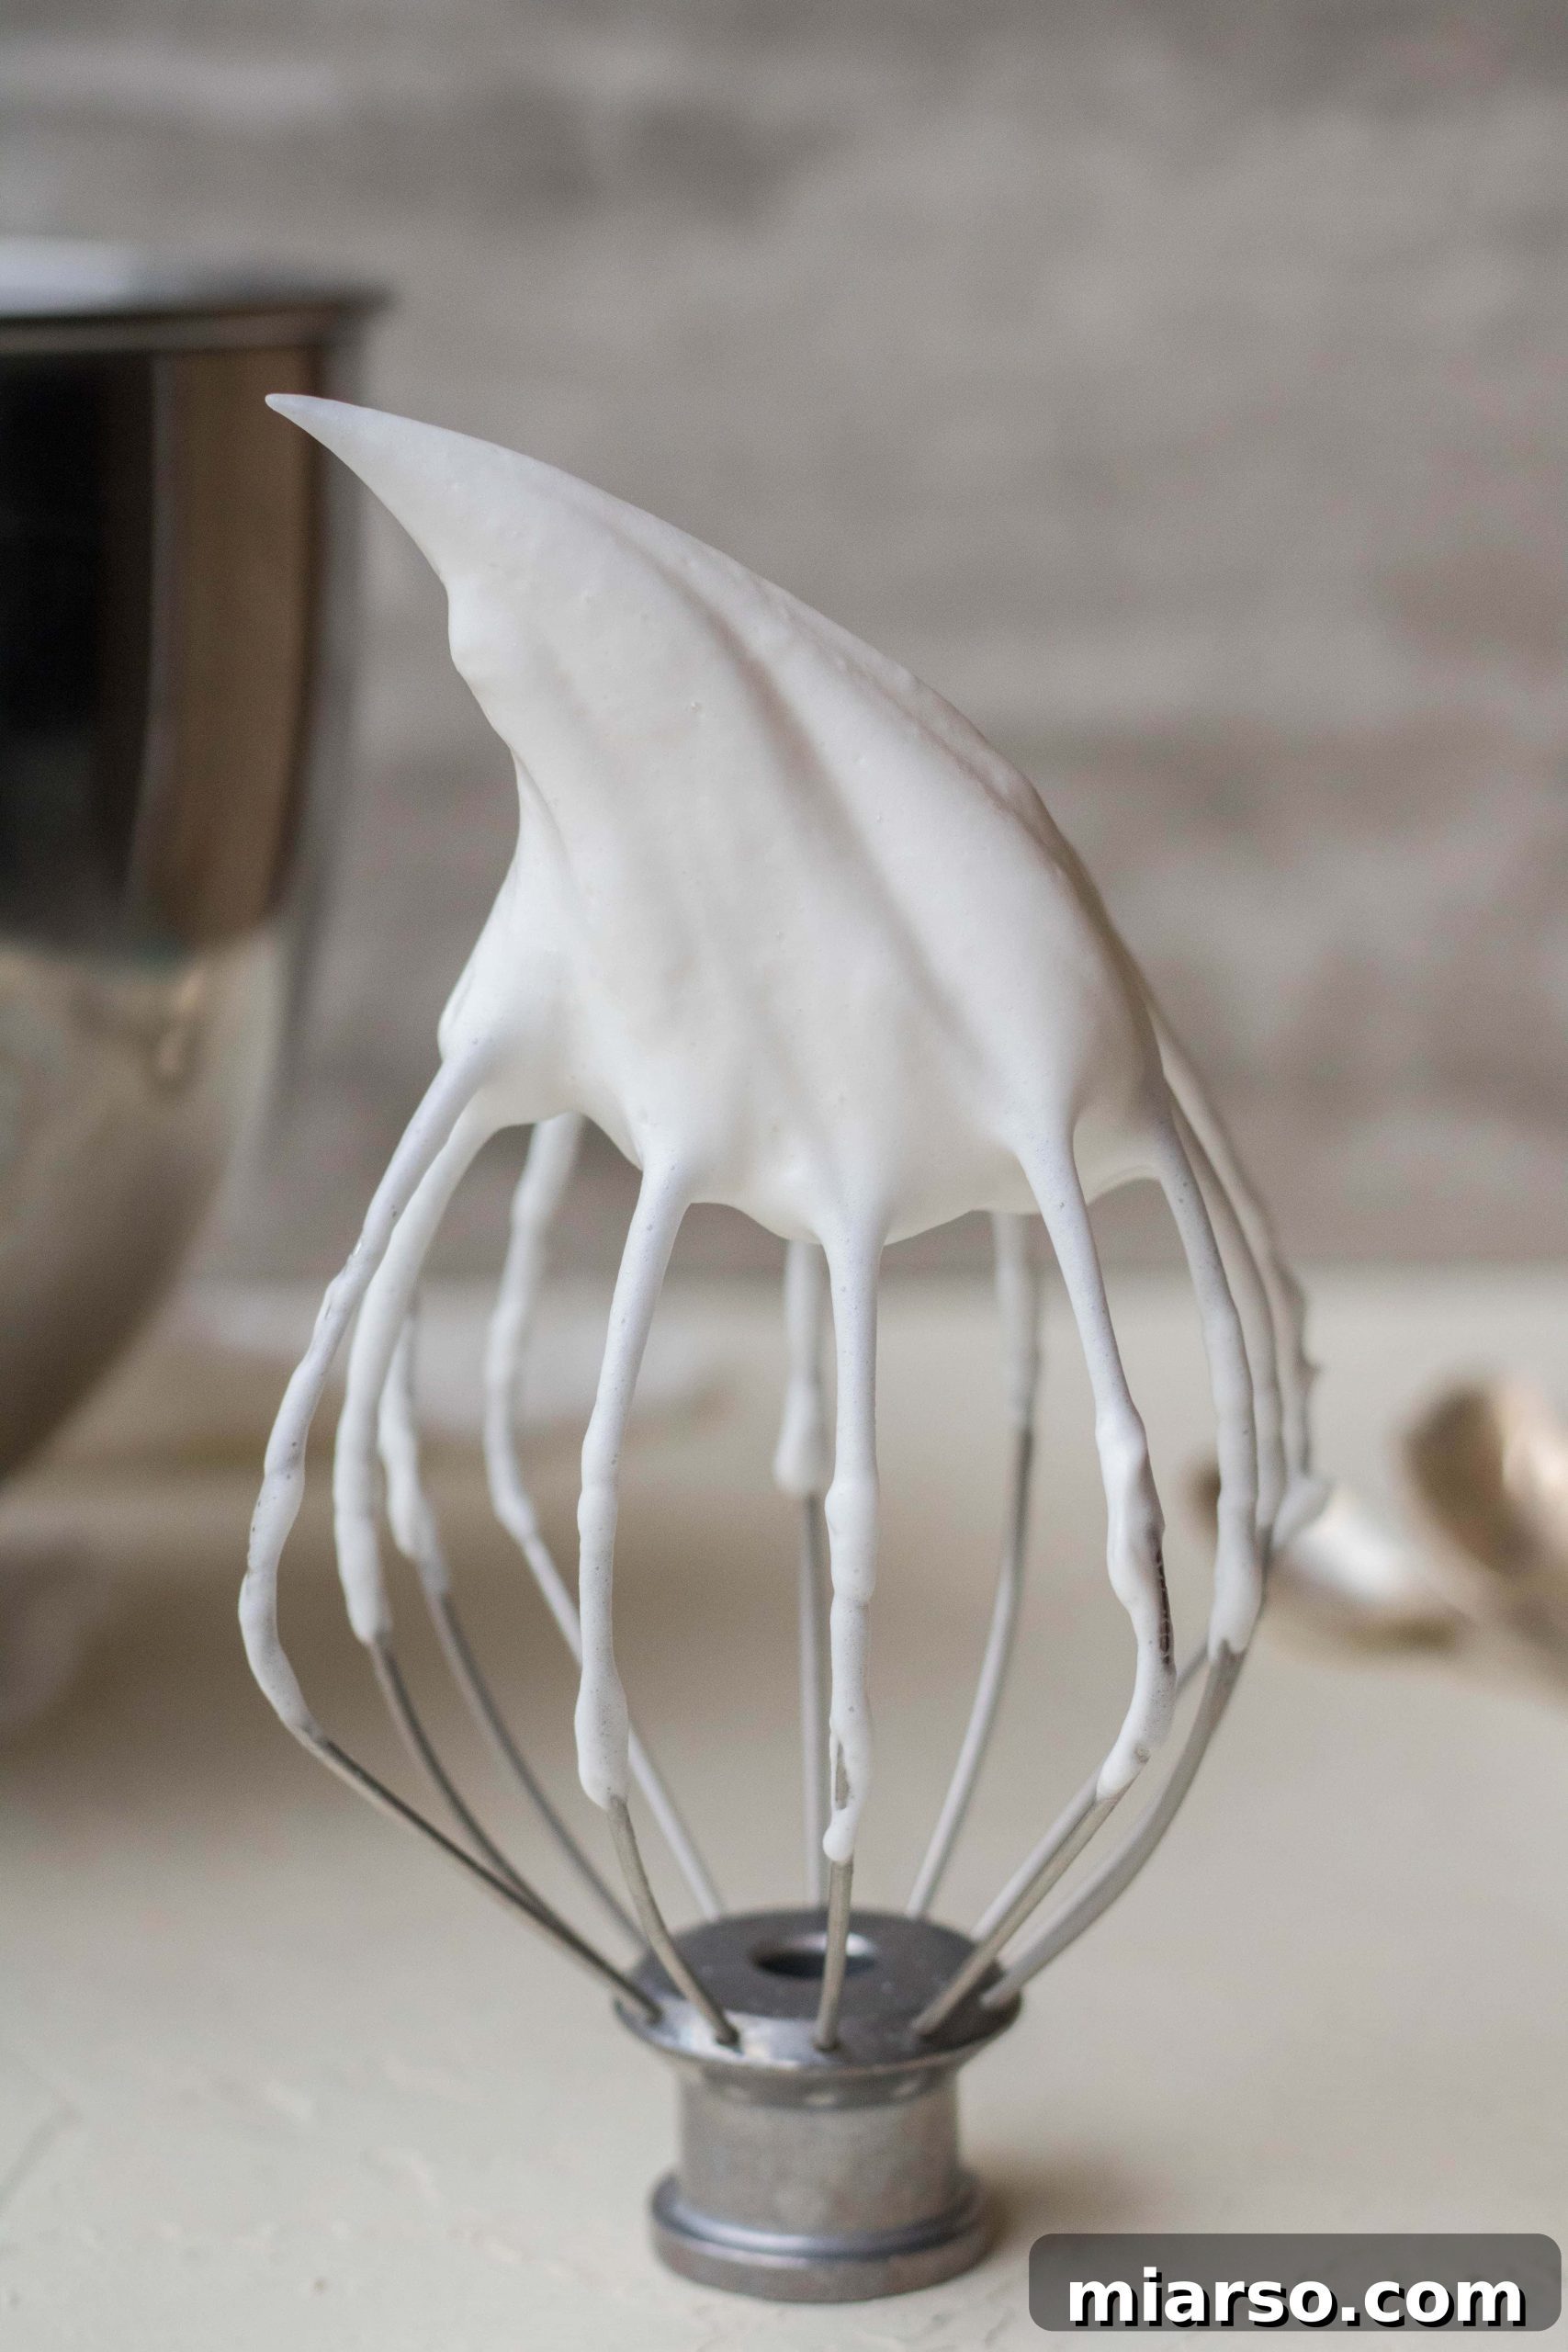
2. Whip the Aquafaba to Stiff Peaks: Pour the aquafaba into a very clean, dry mixing bowl. It’s crucial that the bowl and whisk attachments are free of any grease or oil, as this can prevent the aquafaba from whipping properly. Using a stand mixer fitted with a whisk attachment, or a powerful hand mixer, begin whipping the aquafaba on high speed. This process requires patience; it will take approximately 10 minutes (sometimes a little longer) for the chickpea water to transform into a thick, glossy, white foam that holds stiff peaks, similar to meringue. You’ll know it’s ready when you can lift the whisk and the peaks stand firm without drooping.
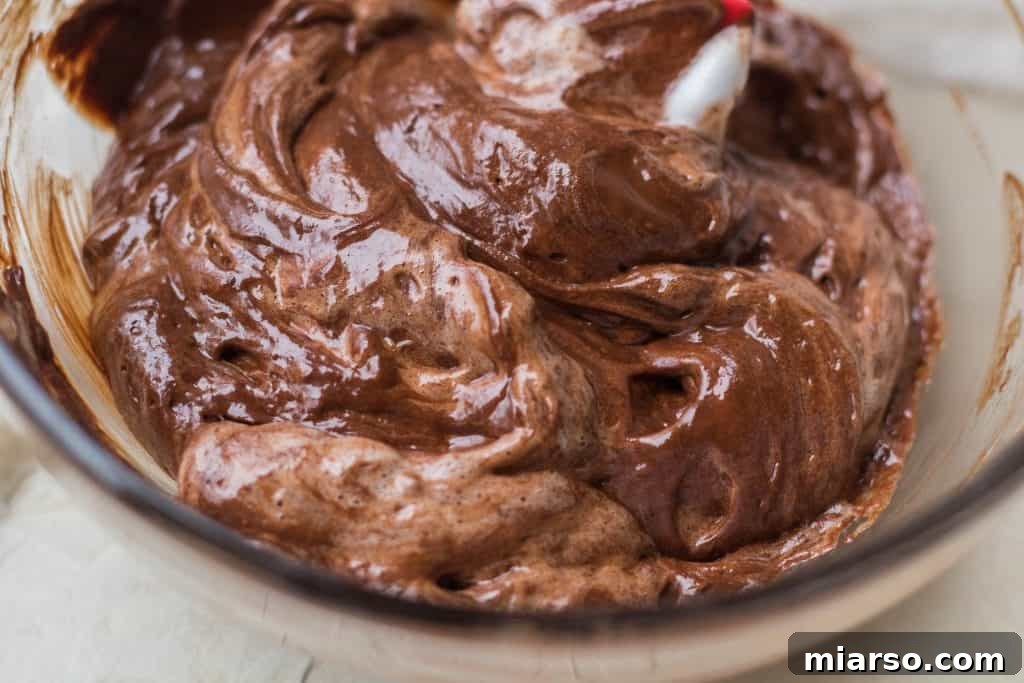
3. Gently Temper the Chocolate: This is a critical step to ensure a smooth, uniform mousse. Take about 4-5 large spoonfuls of the whipped aquafaba and carefully fold it into the melted chocolate mixture. Stir gently until just combined. This process, known as tempering, gradually lightens the chocolate mixture and prevents it from seizing or becoming stiff when it meets the colder, airier aquafaba. It helps maintain the delicate structure of the whipped aquafaba.
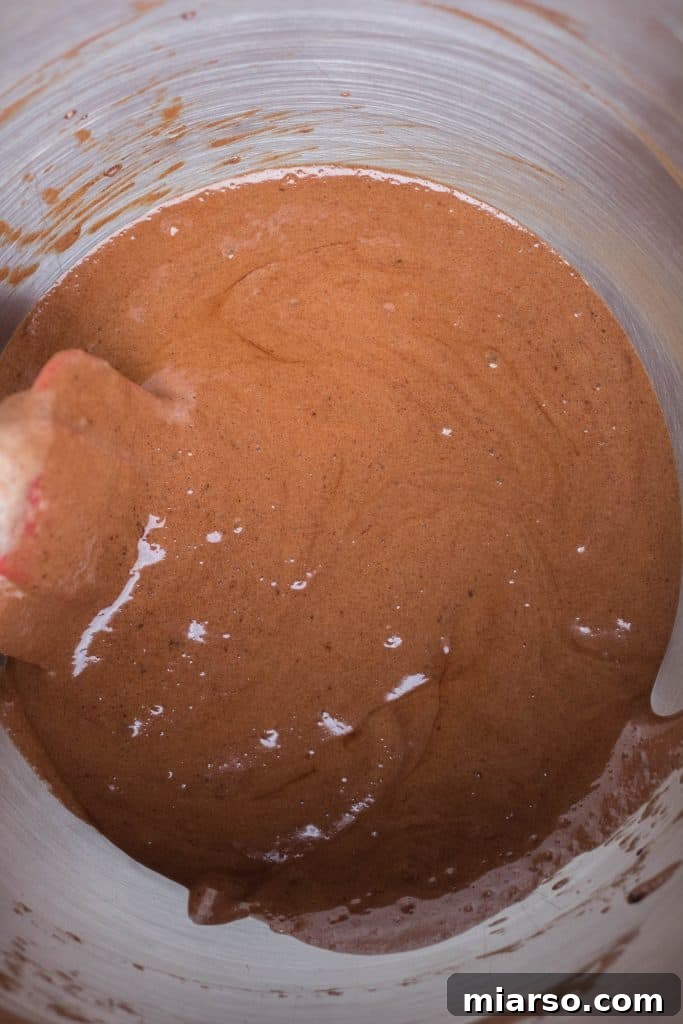
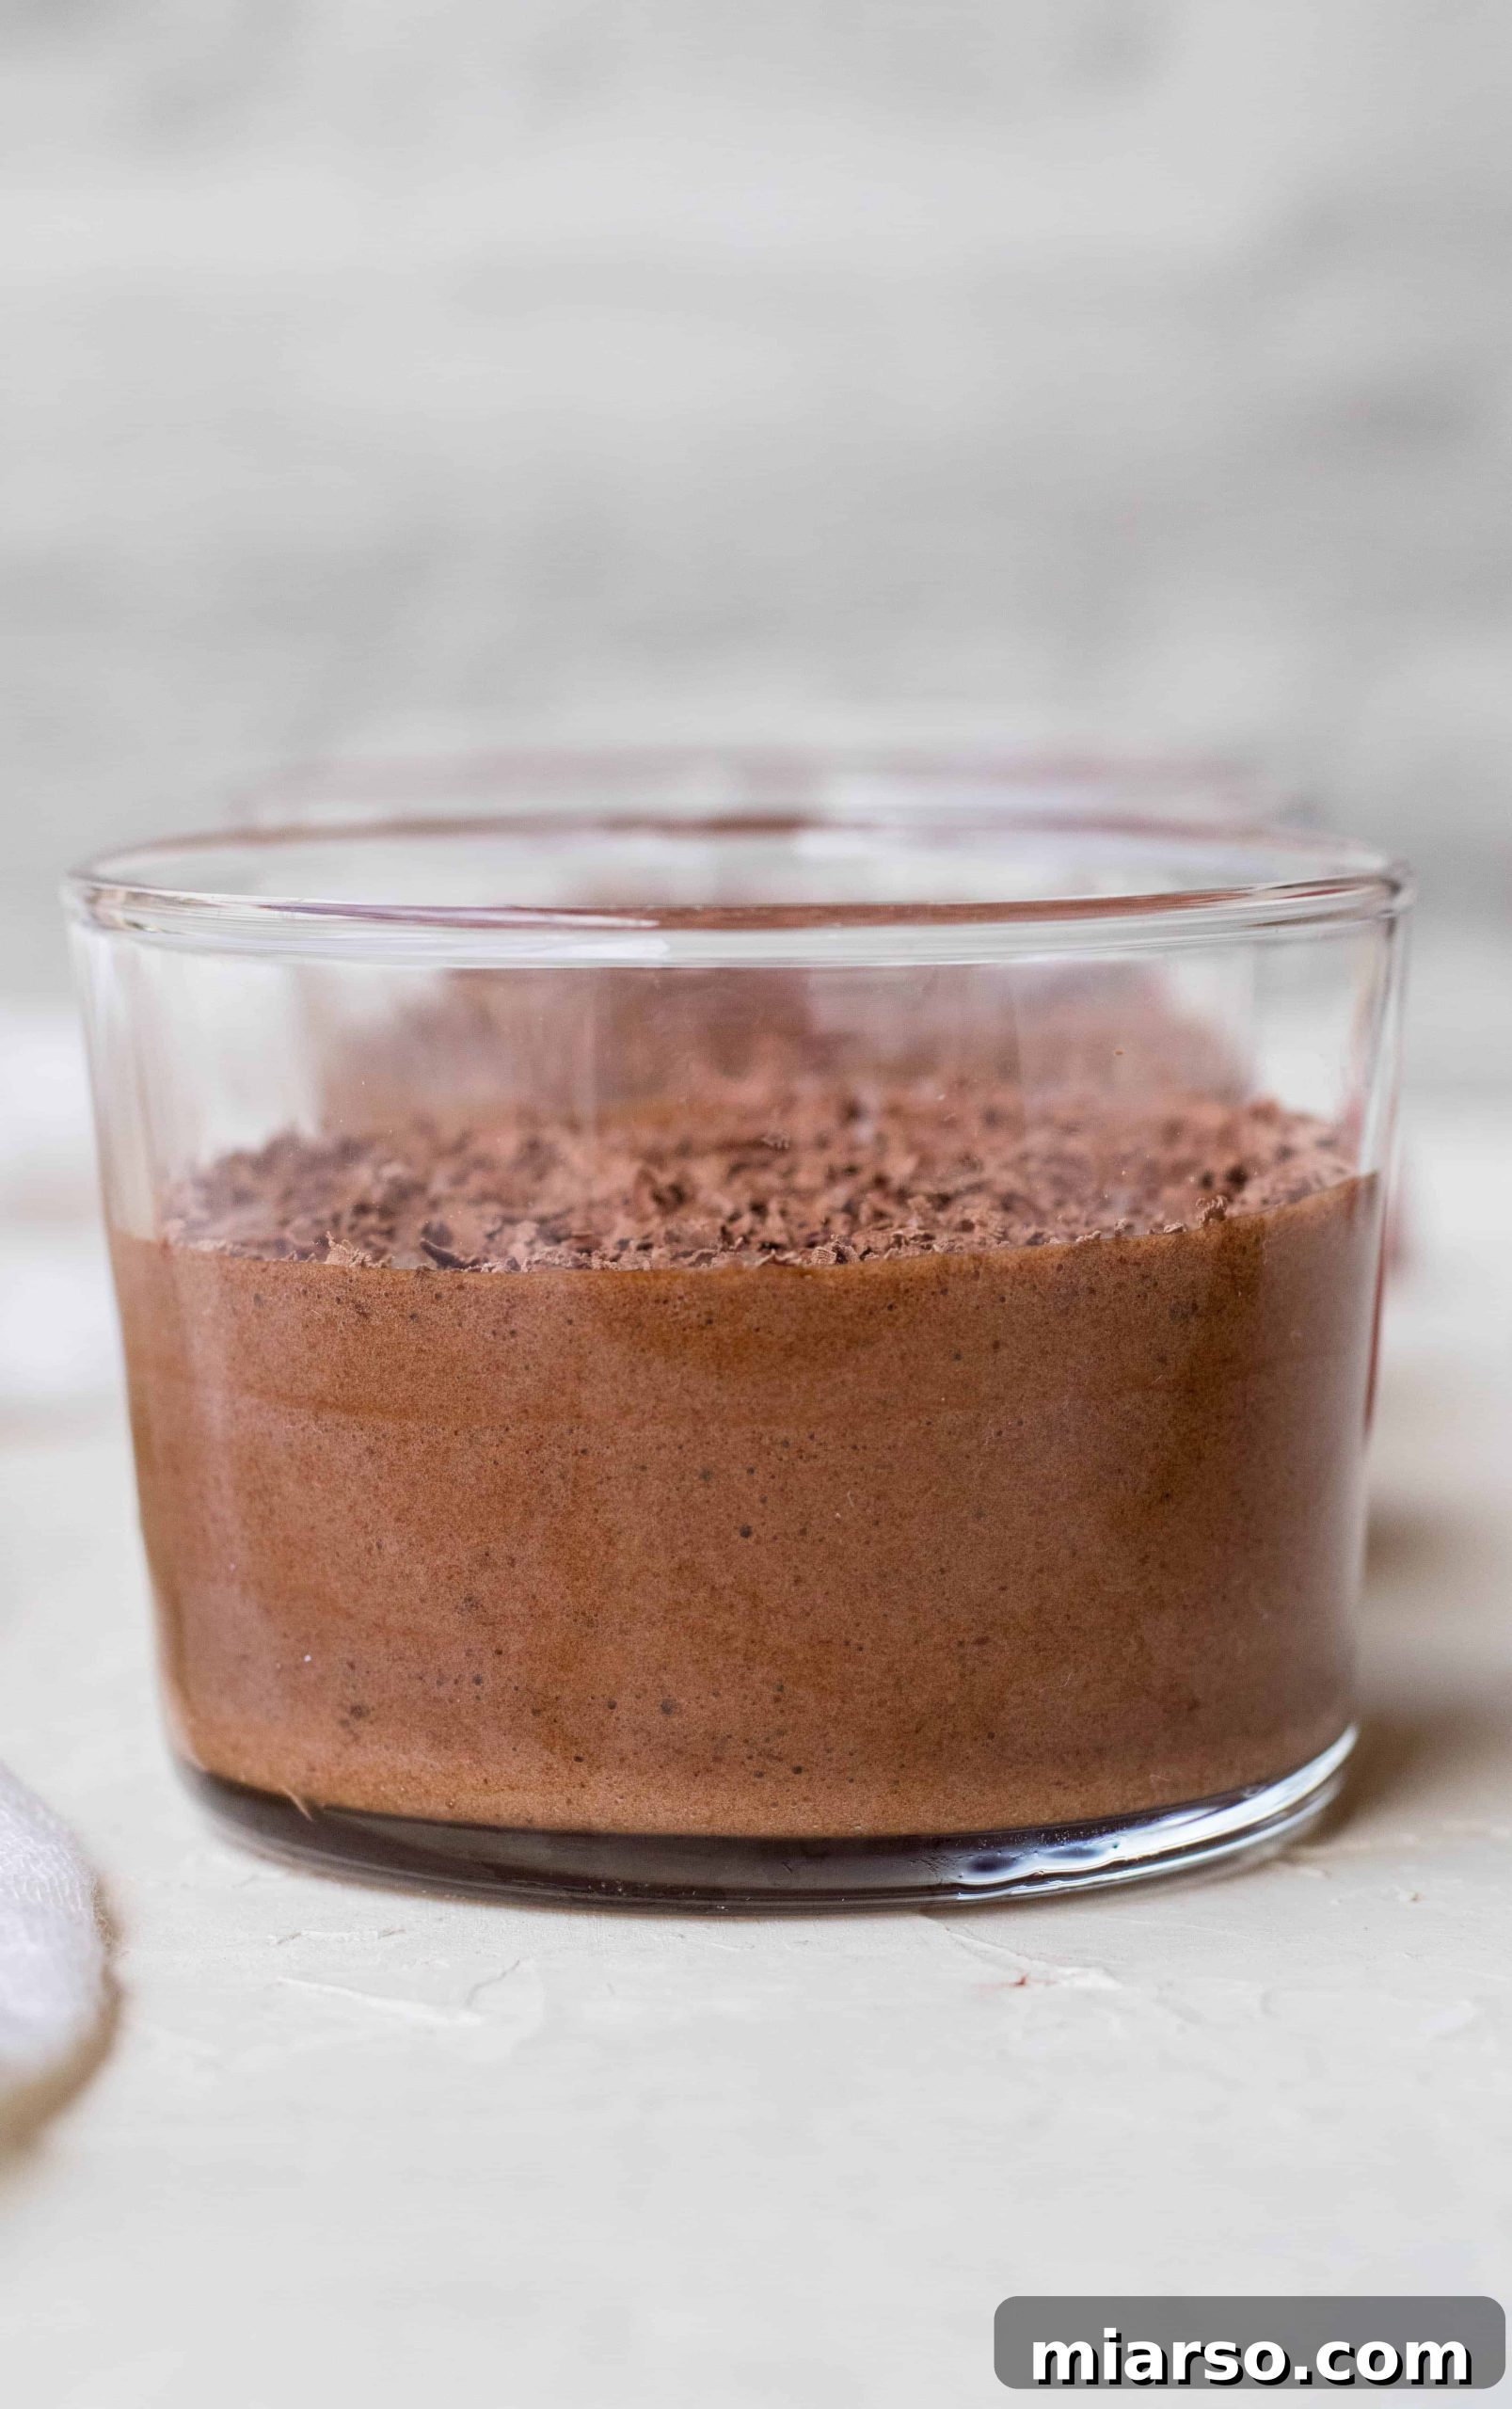
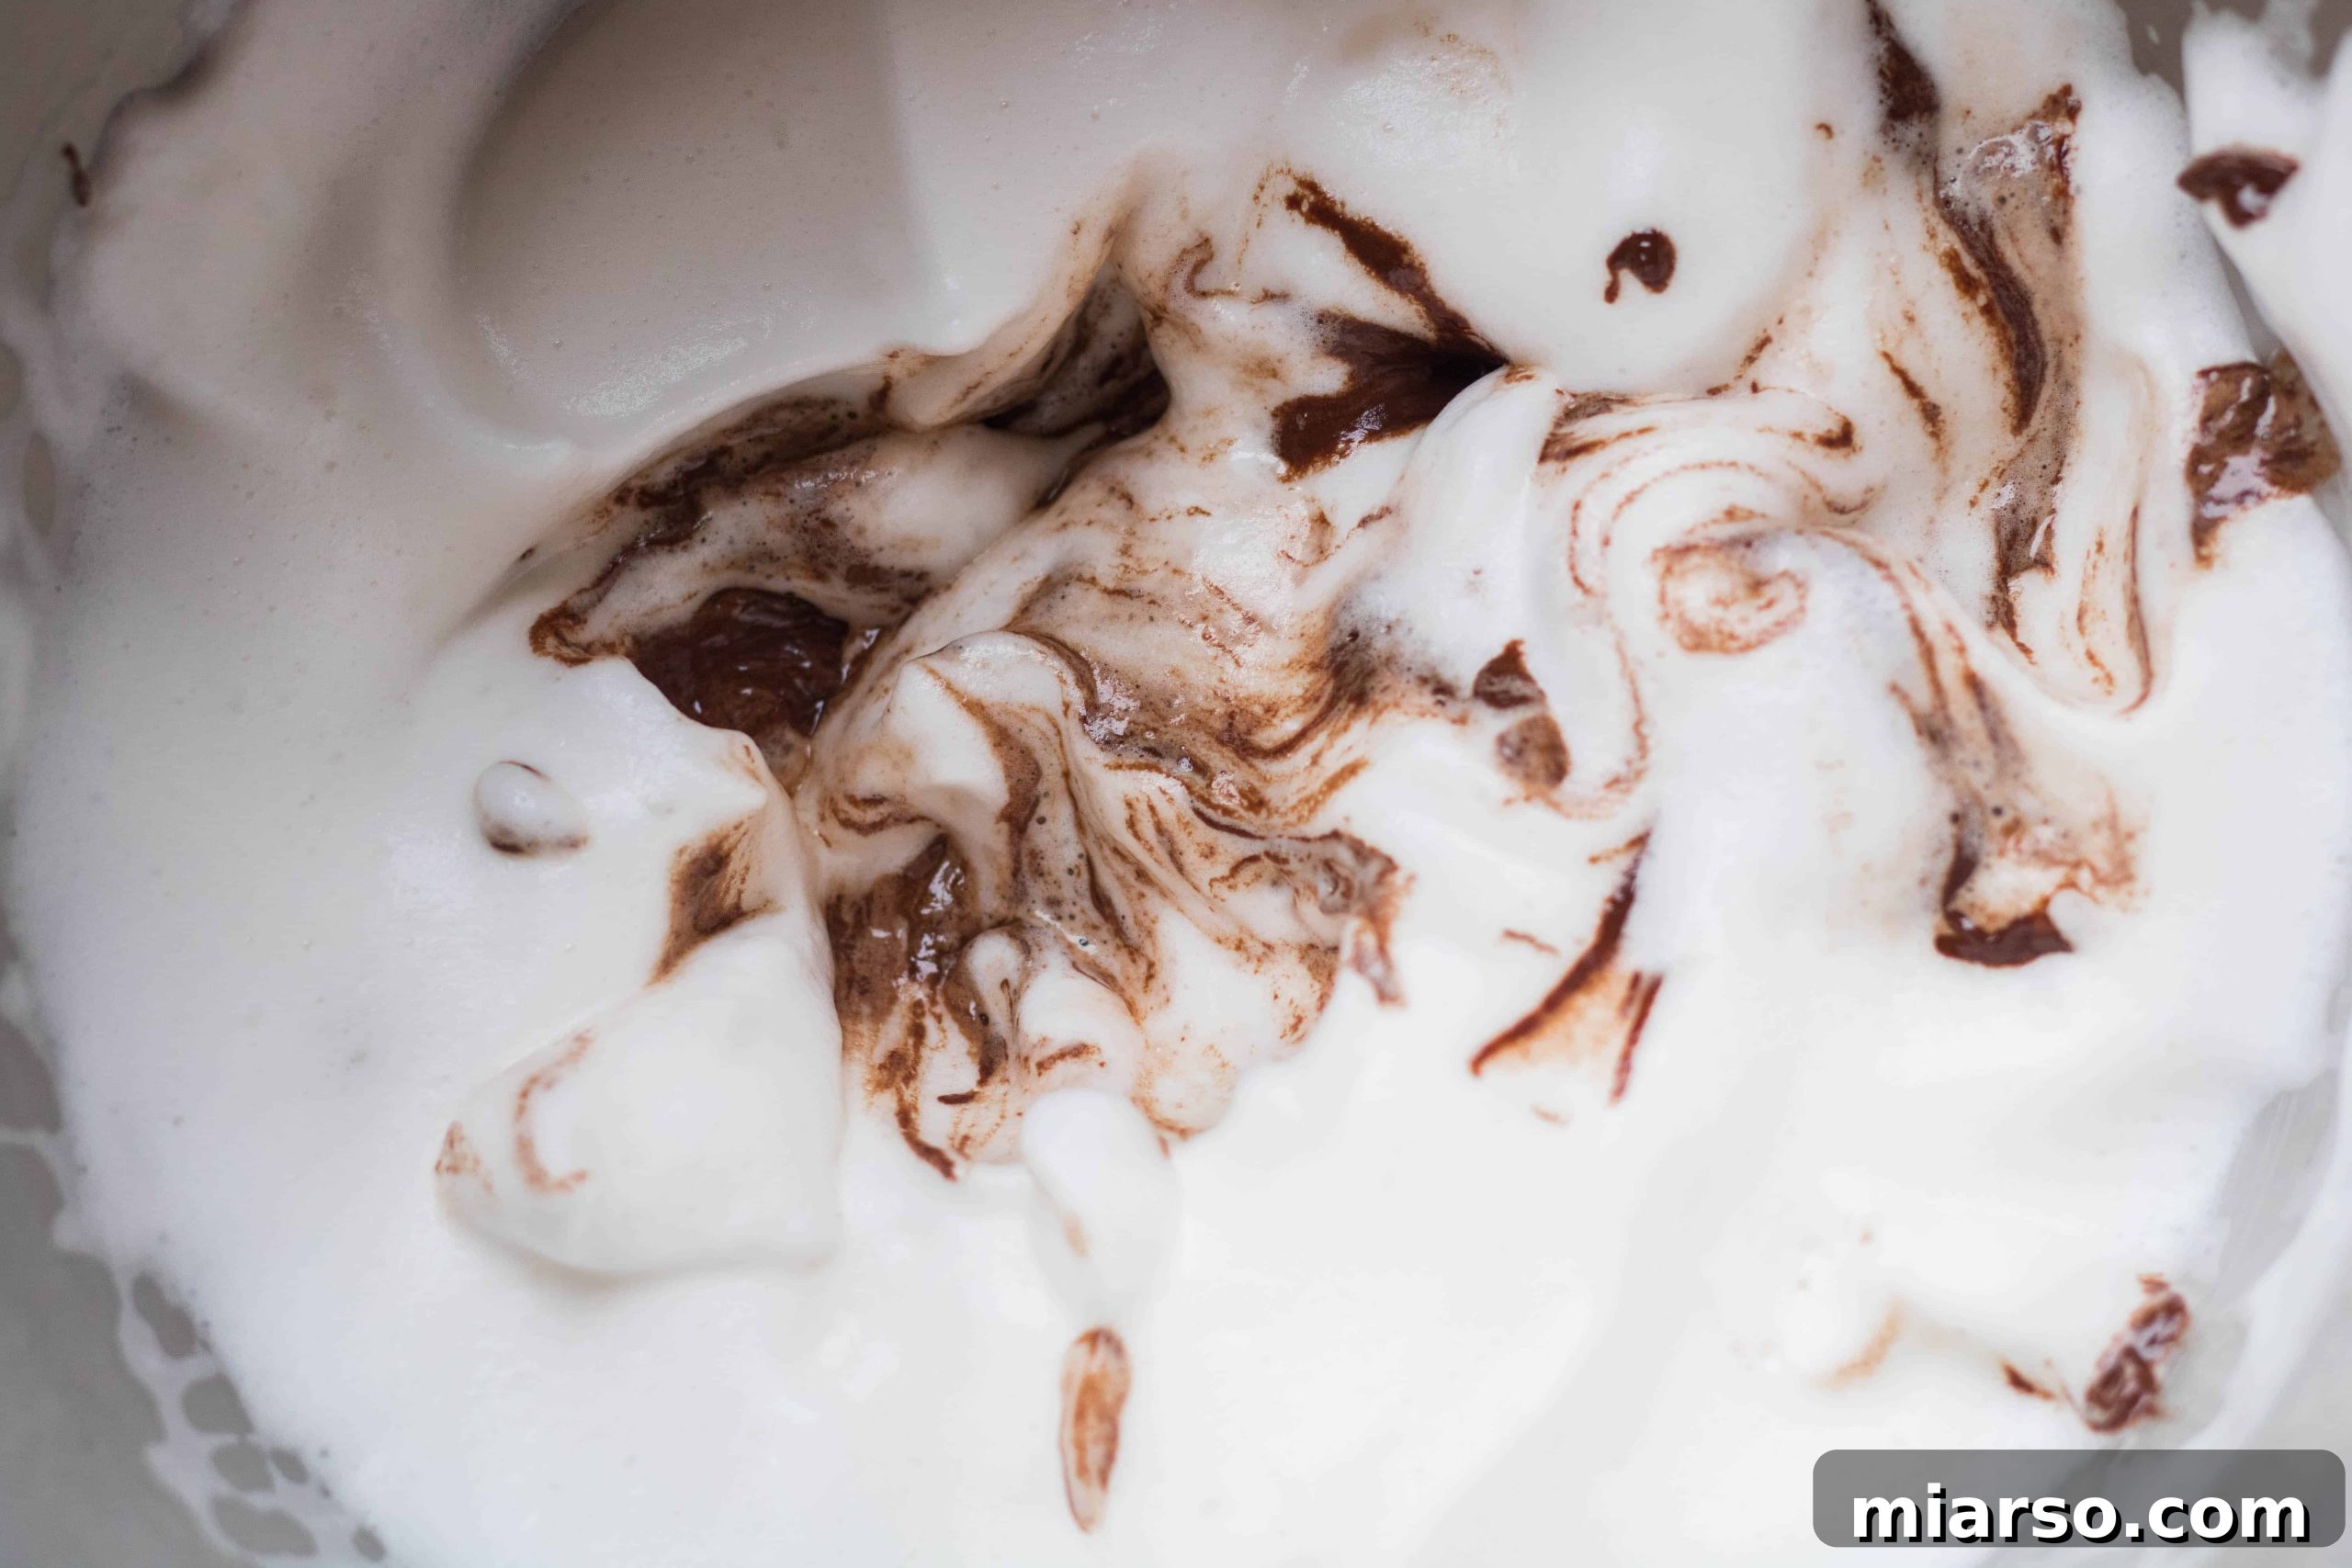
4. Fold in the Remaining Aquafaba and Chill: Add the tempered chocolate mixture to the bowl with the remaining whipped aquafaba. Using a spatula, gently fold the chocolate into the aquafaba. Use a light hand and broad strokes to incorporate the ingredients without deflating the airy foam. Continue folding until no white streaks remain and the mixture is uniformly chocolate brown. Divide the vegan chocolate mousse evenly among 3 dessert ramekins or glasses. Cover them loosely with plastic wrap and chill in the refrigerator for at least 2 hours, or ideally, overnight. Chilling allows the mousse to set and develop its signature texture.
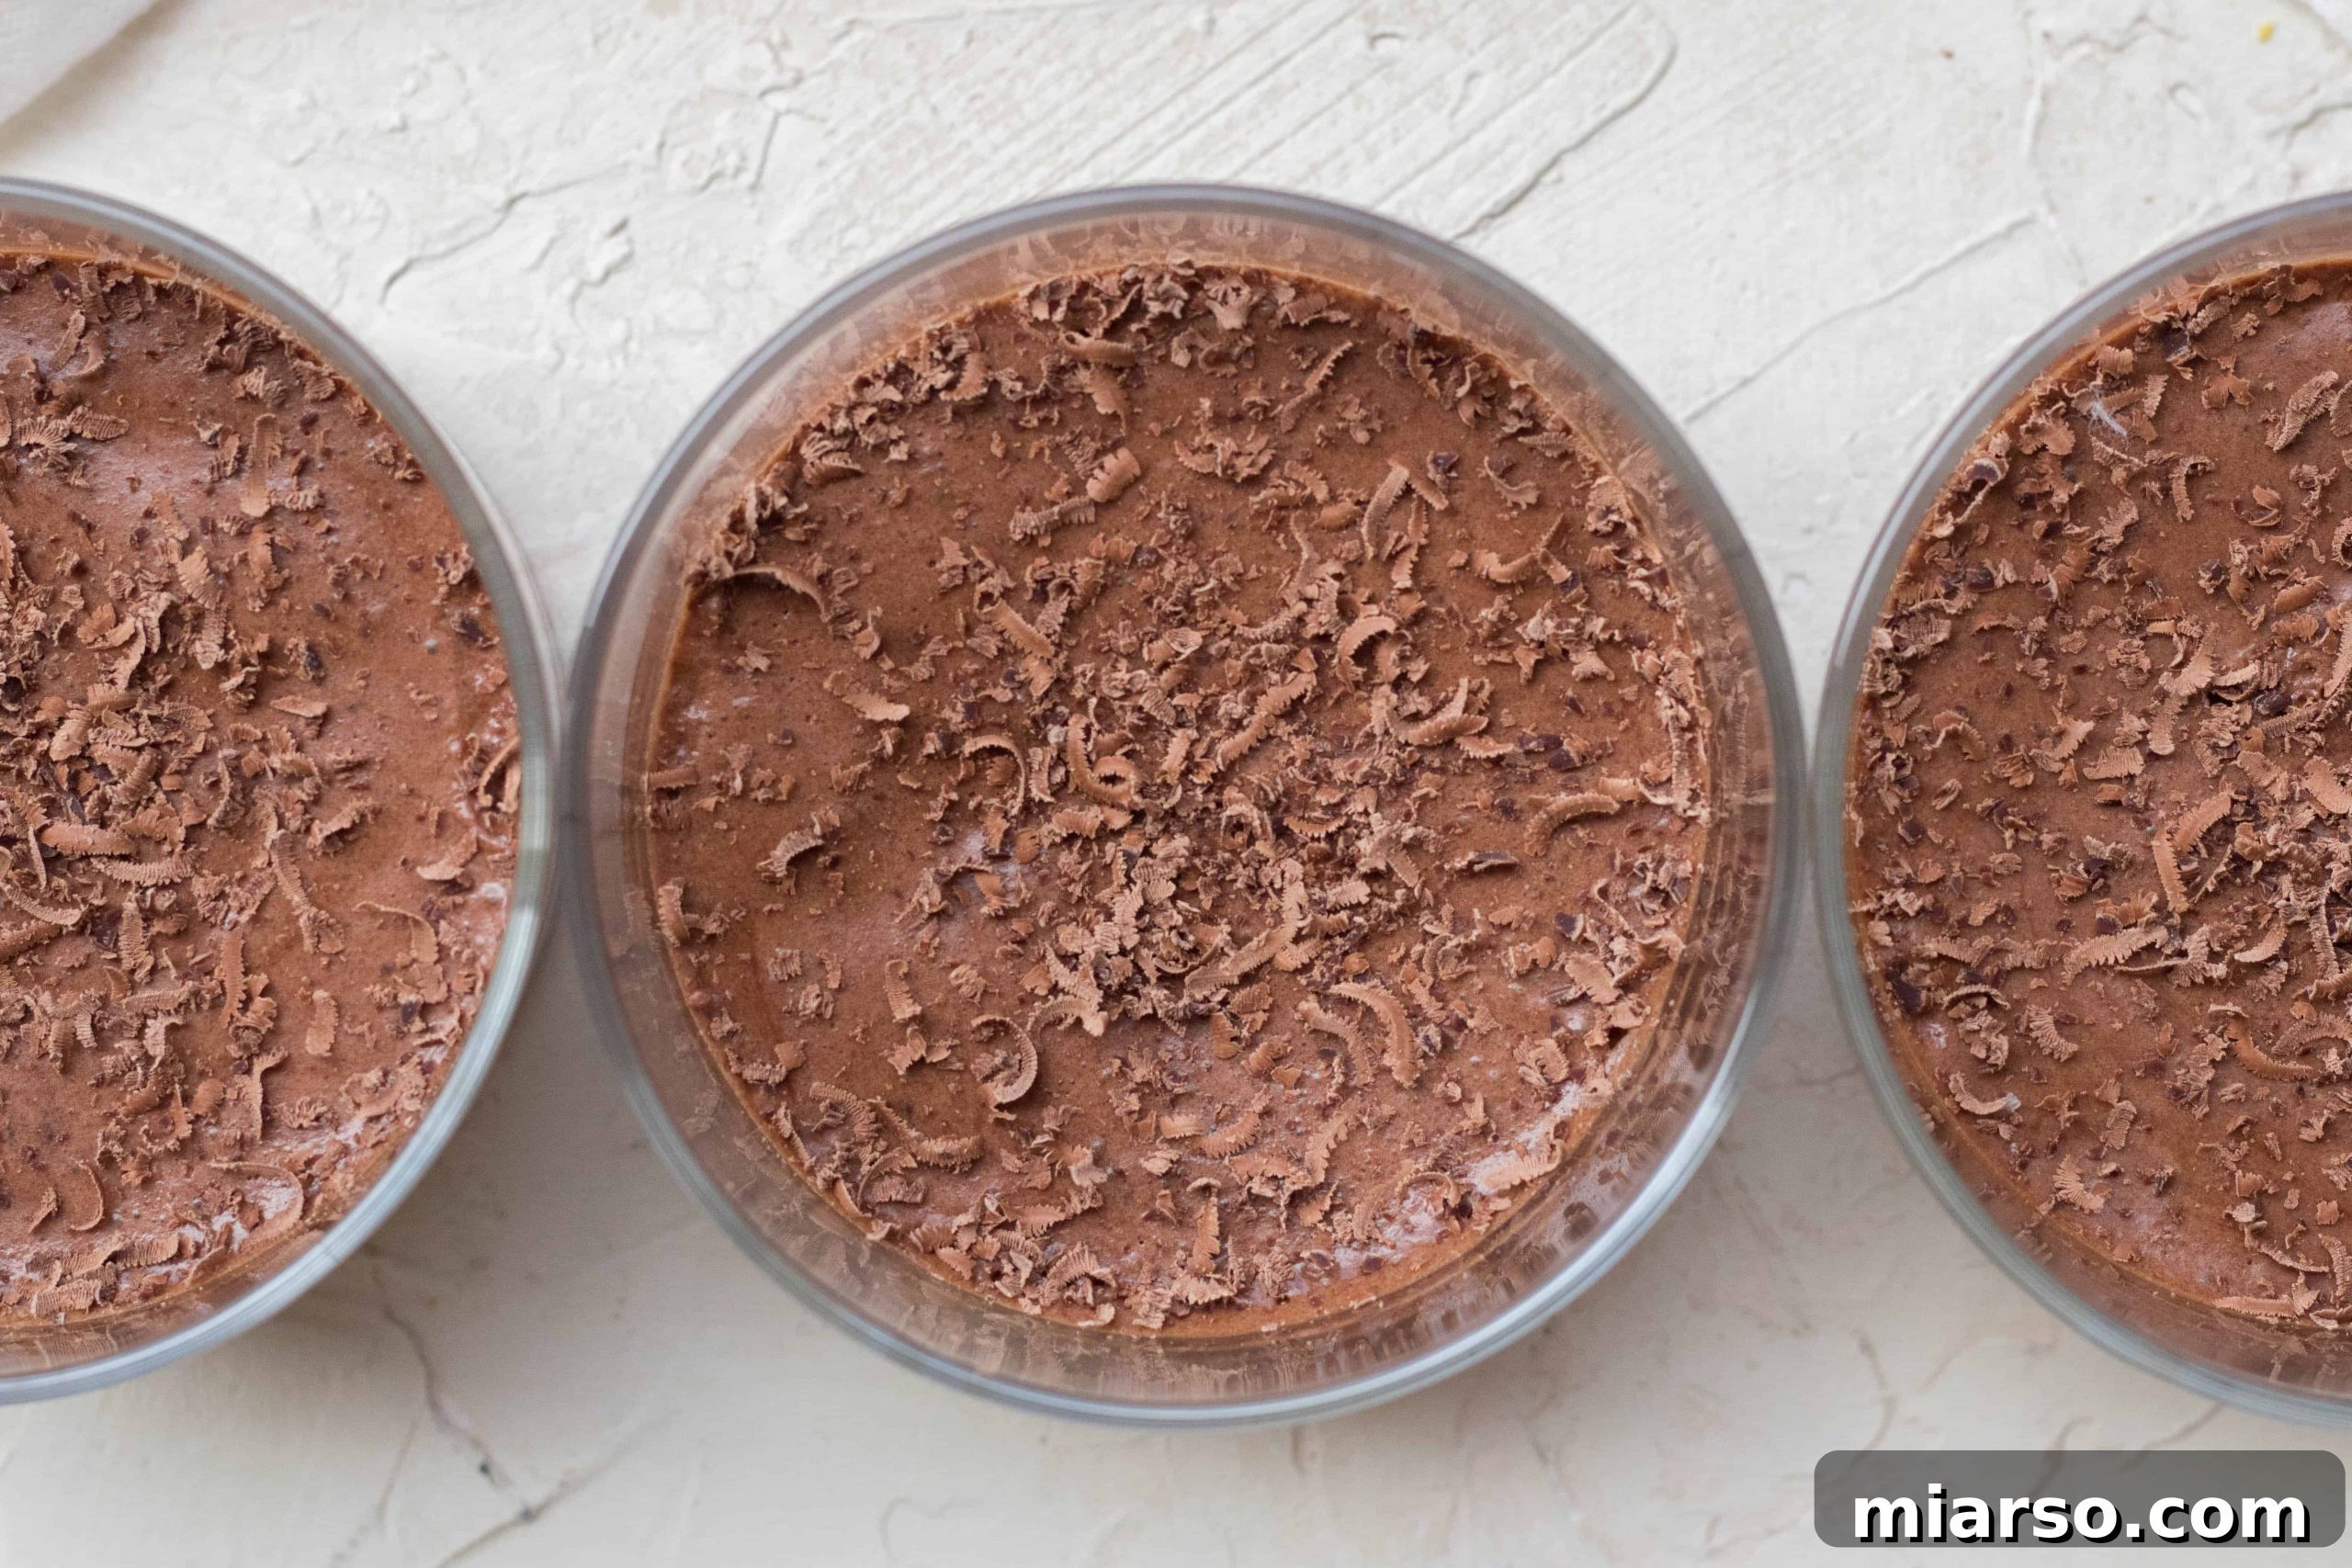
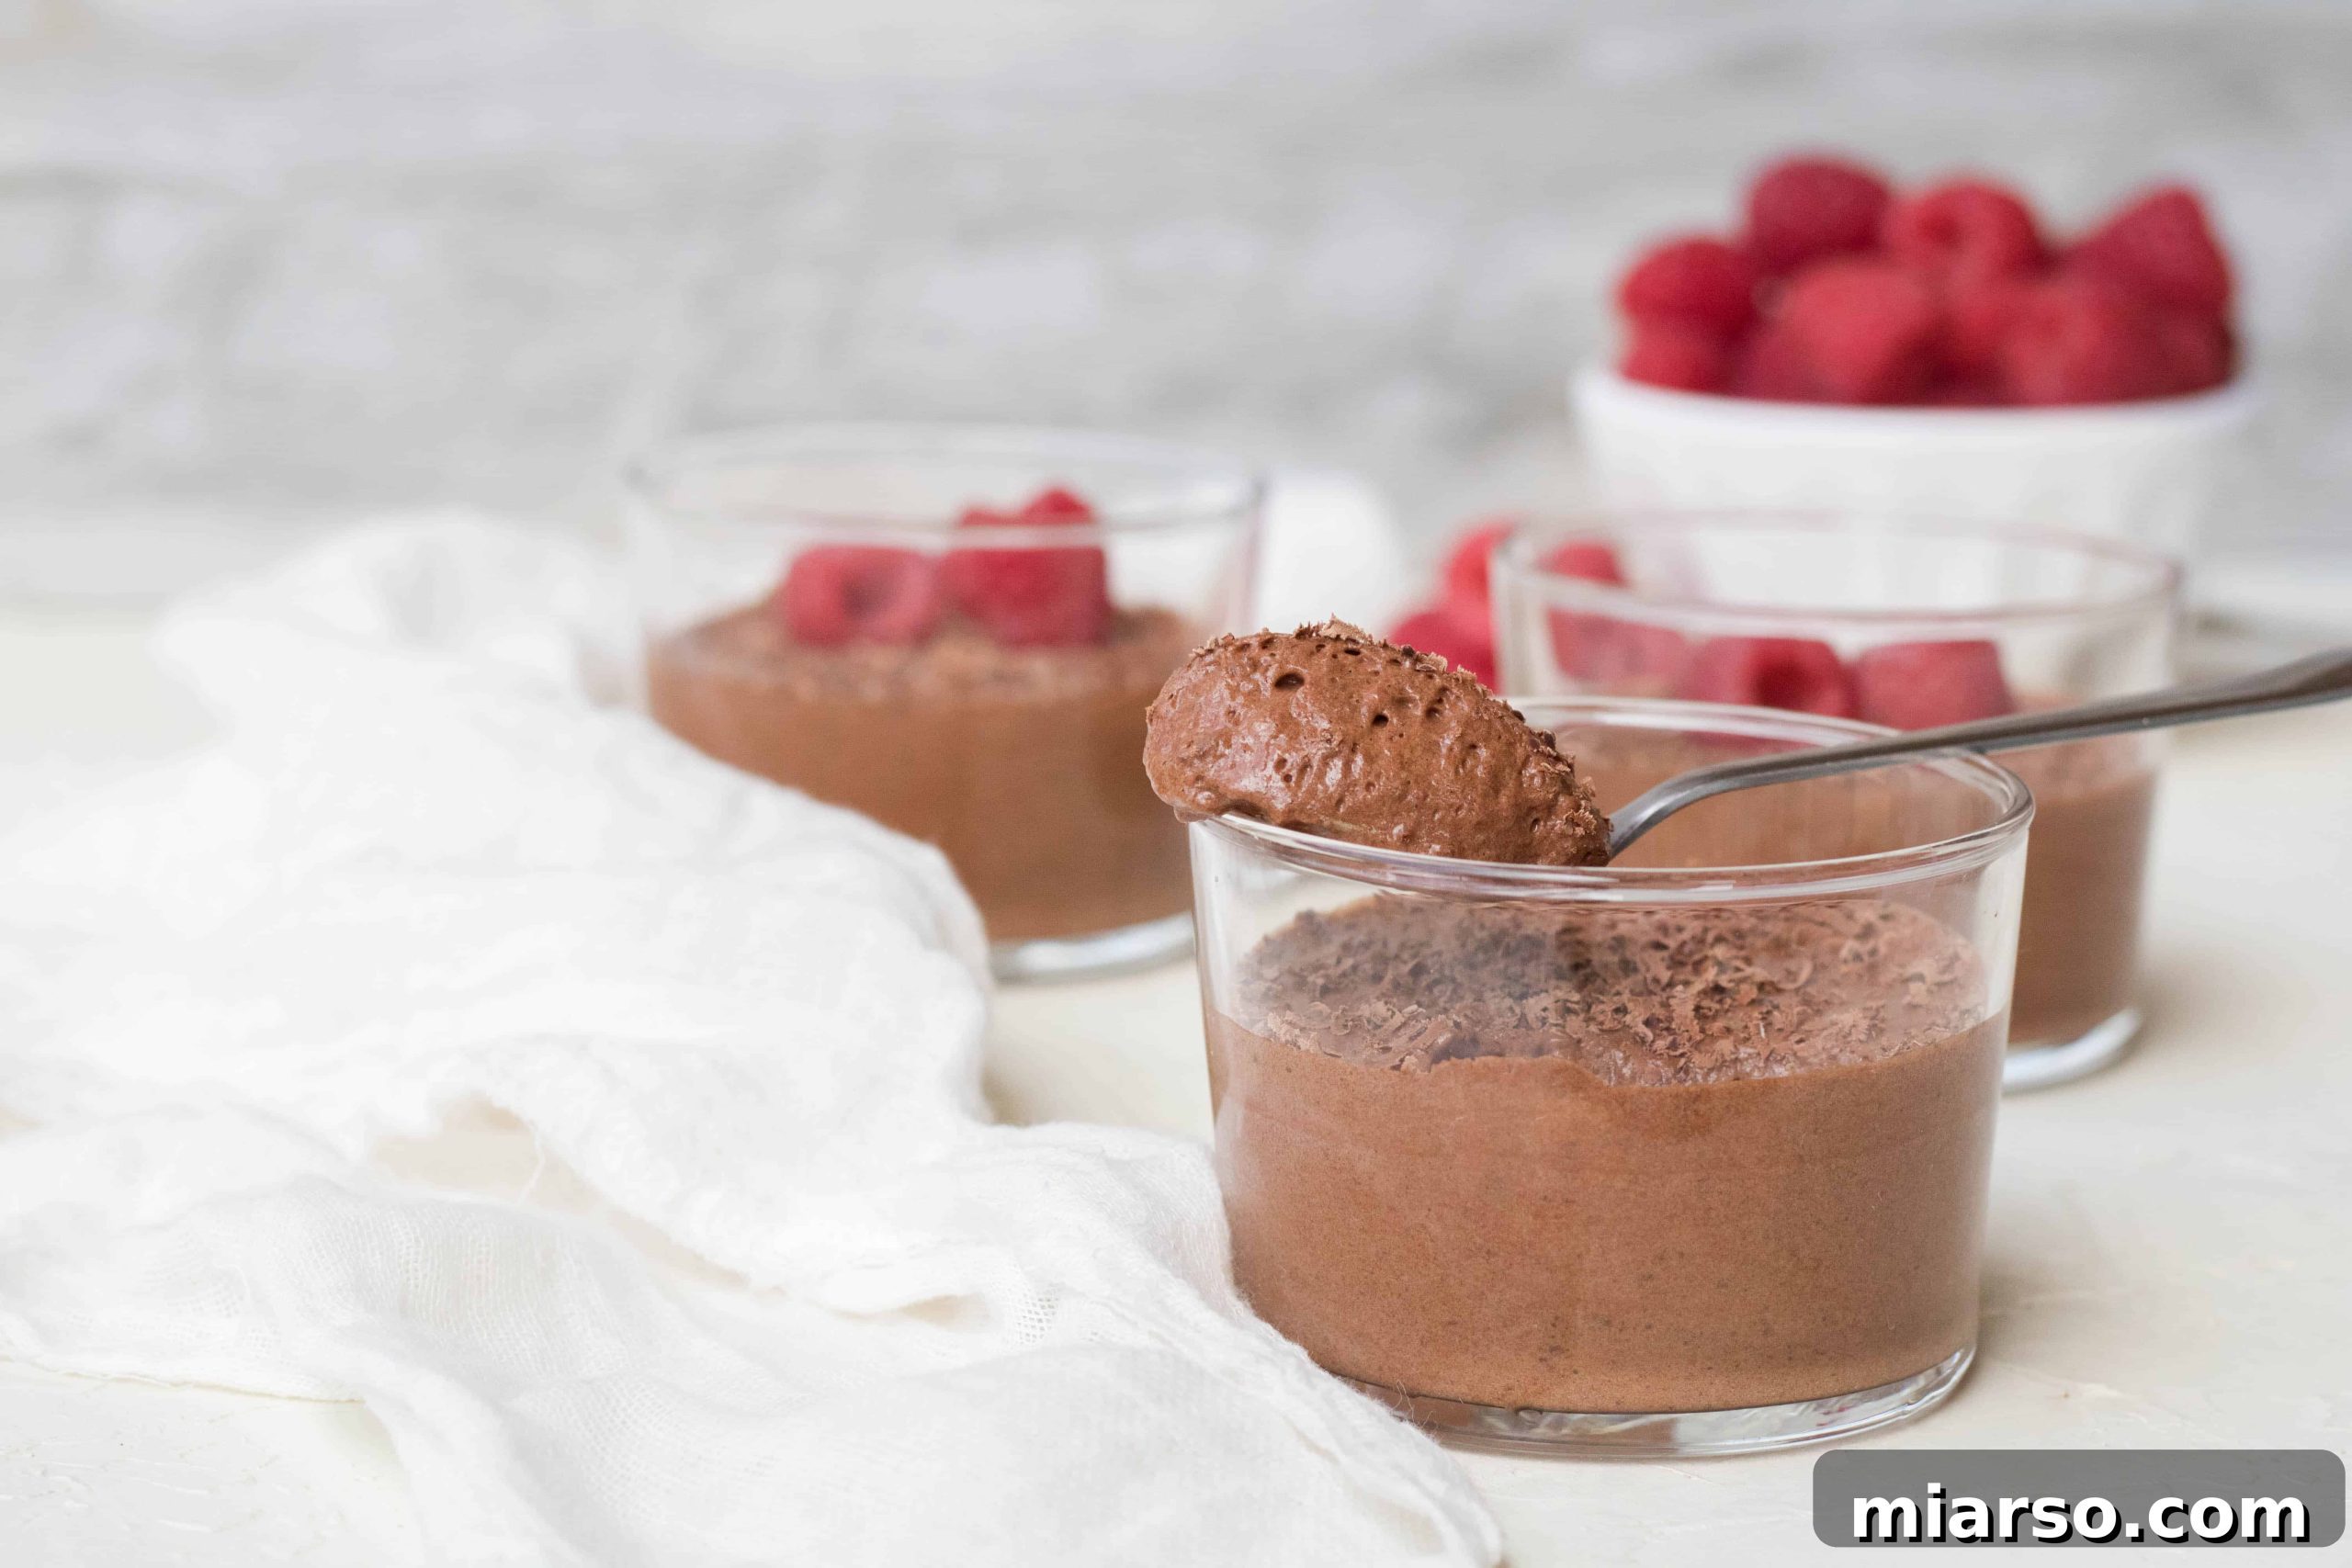
5. Garnish and Serve: Once thoroughly chilled and set, your vegan chocolate mousse is ready to be enjoyed! Serve it as is, or elevate it with your favorite toppings. Grated chocolate and fresh raspberries offer a classic pairing, adding a touch of tartness and visual appeal. For an extra touch of indulgence, a dollop of coconut whipped cream makes it truly special and fancy!
How to Store Your Aquafaba Chocolate Mousse
Proper storage is key to enjoying your delicious vegan chocolate mousse for as long as possible. Once prepared and divided into individual ramekins or serving dishes, cover each one tightly with plastic wrap to prevent any air from reaching the surface. This helps maintain its delicate texture and prevents it from absorbing any refrigerator odors.
Store the covered mousse in the refrigerator, where it will remain fresh and delightful for 1-2 days after preparation. While it’s theoretically possible to store it longer, the texture is at its peak within the first couple of days. In my experience, this mousse is so utterly delicious that it rarely lasts long enough to truly test its maximum shelf life!
For longer storage, while not traditionally recommended for mousse due to potential texture changes, you could try freezing individual portions in airtight containers for up to 1-2 weeks. Thaw in the refrigerator overnight before serving. However, be aware that freezing and thawing might slightly alter the incredibly light and airy consistency, making it a bit denser. For the best experience, enjoy it fresh and chilled.
Does This Vegan Chocolate Mousse Truly Taste Like Regular Chocolate Mousse?!
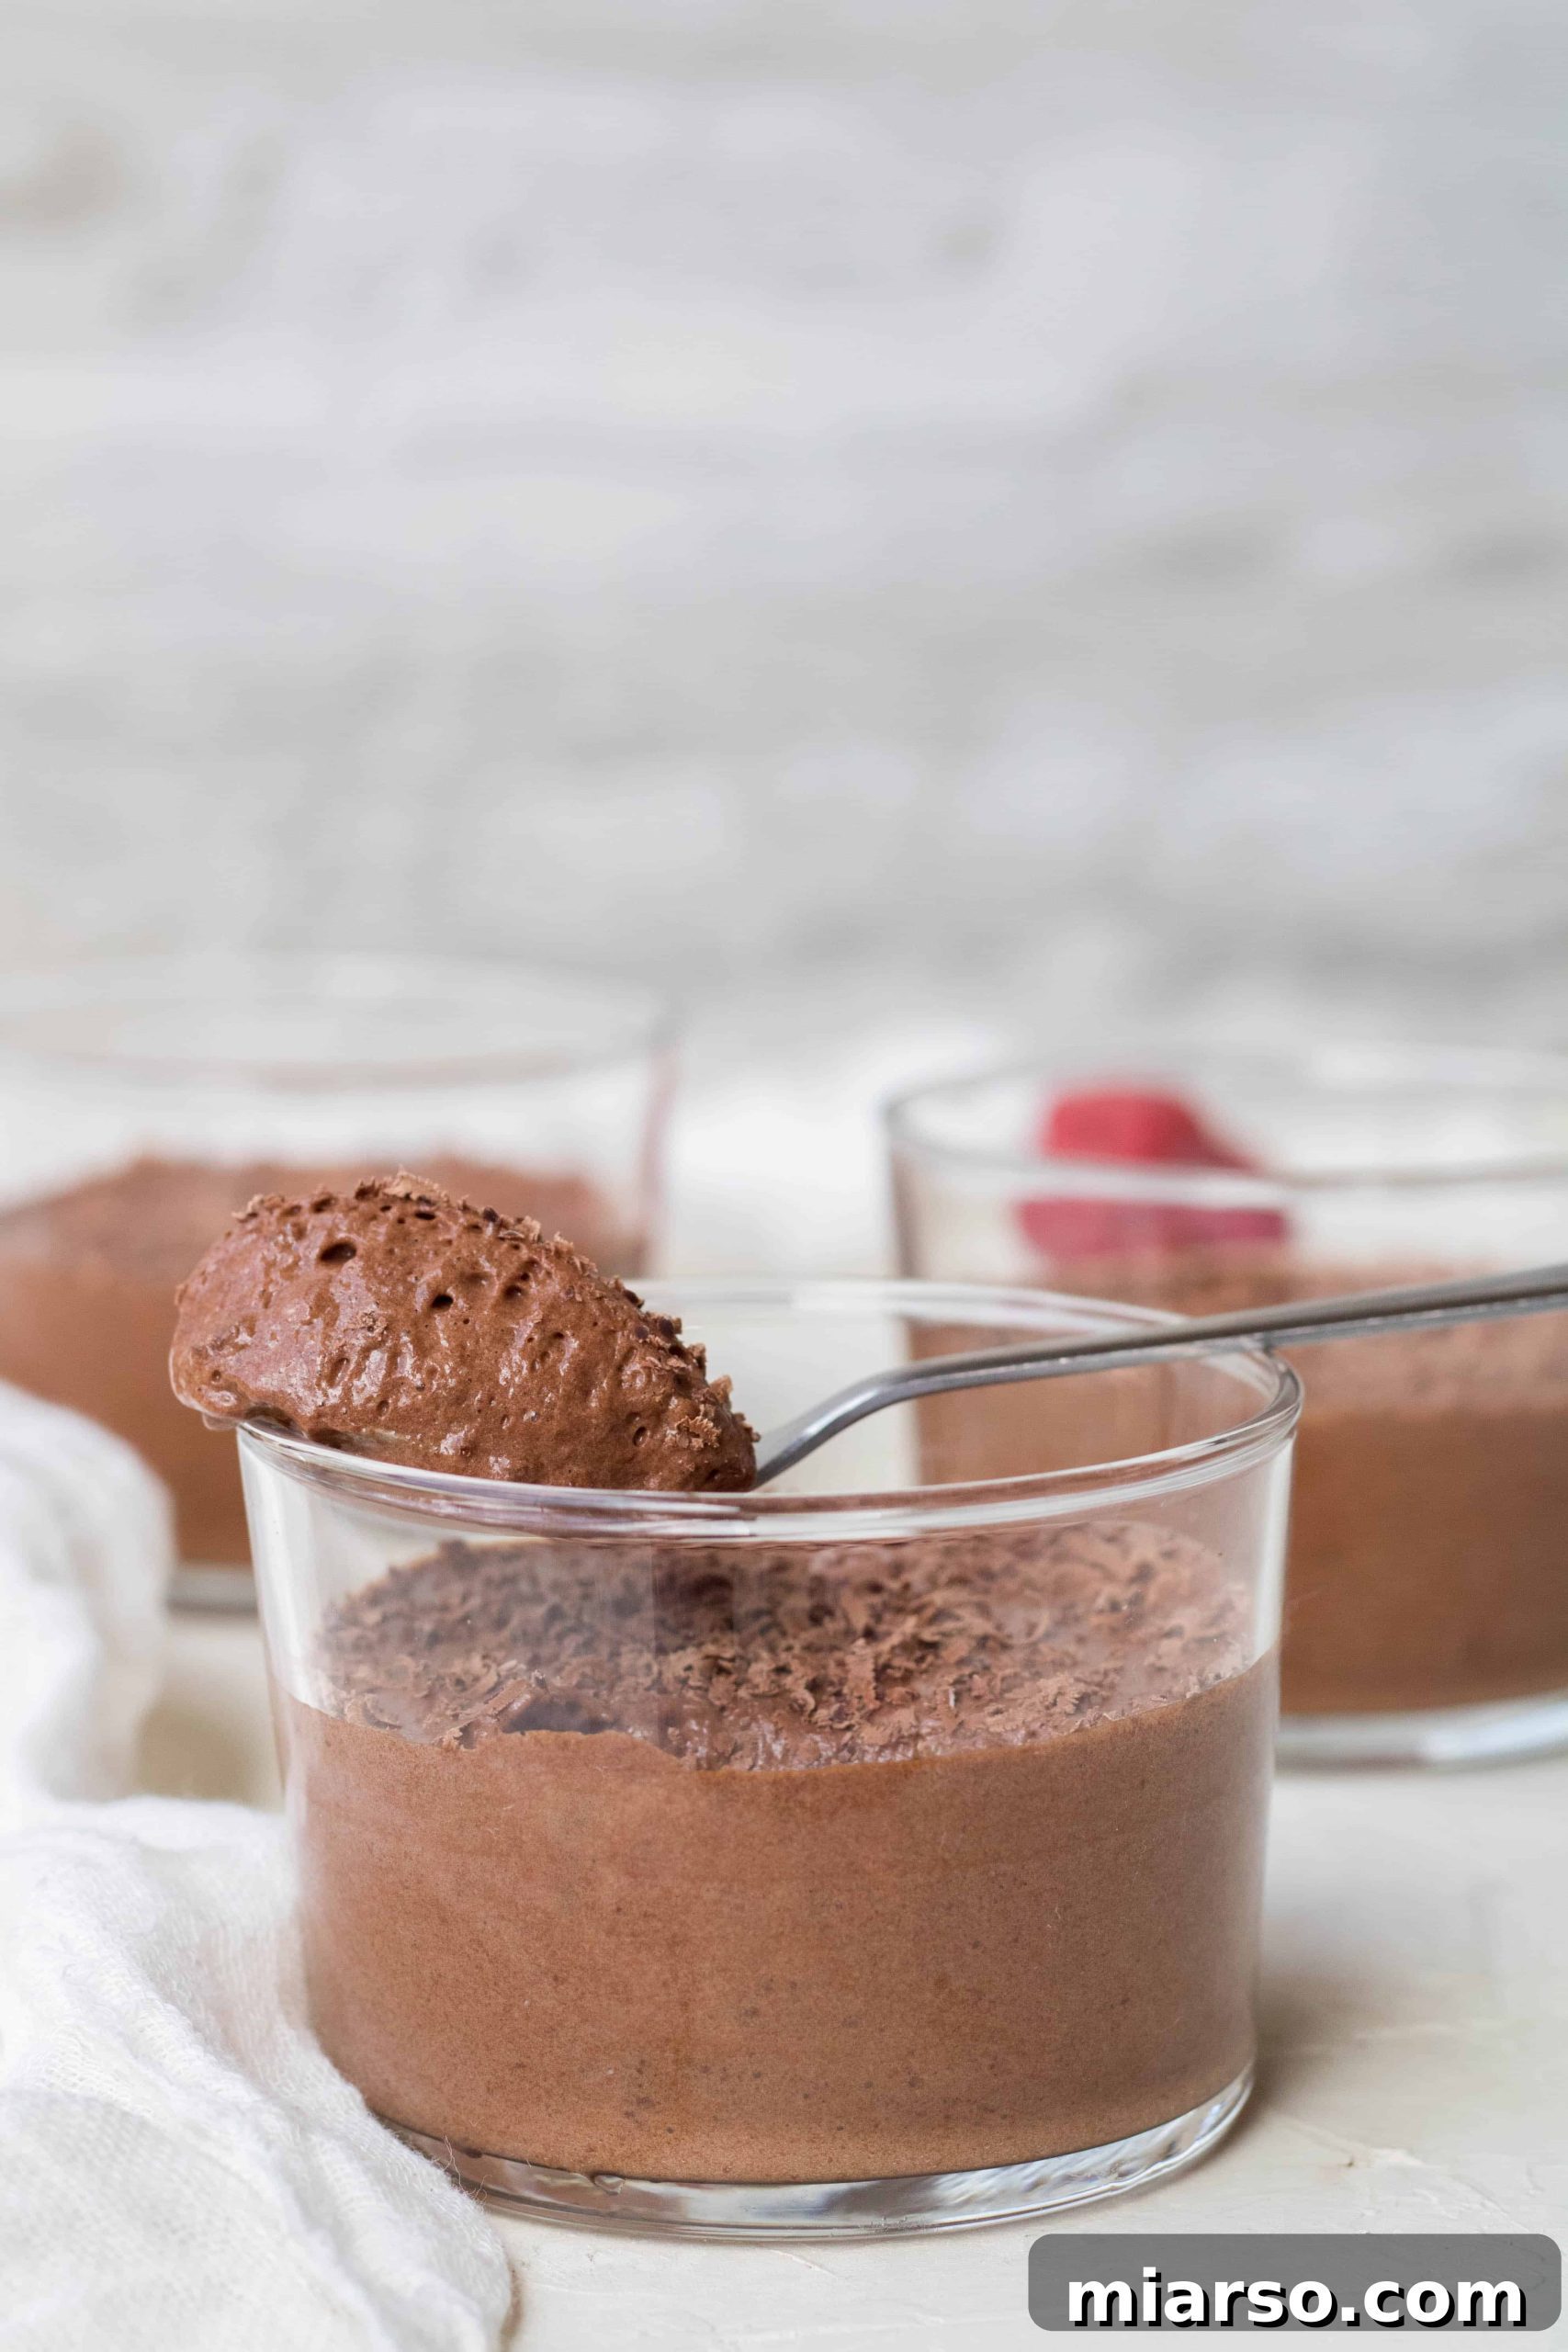
Absolutely, my friends, and in the best possible way! This is by far the most common question I get, and I’m thrilled to tell you that this aquafaba chocolate mousse delivers all the rich, decadent flavor and melt-in-your-mouth texture you expect from a classic chocolate mousse. If you’re wondering if there’s any hint of chickpea flavor, let me assure you: there is none whatsoever! The robust chocolate, enhanced by the subtle addition of instant coffee or espresso powder, completely masks any residual taste from the aquafaba.
What you get is an incredibly light, airy, and intensely chocolatey dessert with a sophisticated espresso undertone that perfectly complements the cocoa. The texture is ethereal, just like a traditional mousse, proving that plant-based ingredients can create truly exceptional culinary experiences without compromise. Prepare to be amazed!
IF YOU MADE SOMETHING FROM LIFESTYLEOFAFOODIE, I WOULD LOVE TO SEE ALL YOUR CREATIONS AND KNOW HOW EVERYTHING TURNED OUT! SO DON’T FORGET TO LEAVE A COMMENT BELOW AND FOLLOW ALONG WITH ME ON INSTAGRAM, PINTEREST, AND FACEBOOK.
Vegan Chocolate Mousse with Aquafaba Recipe
Vegan Chocolate Mousse with Aquafaba
Equipment
Ingredients
- 3/4 cup semi-sweet vegan chocolate chips
- 1 tbsp coconut oil
- 1 tsp espresso powder
- 1 tbsp cocoa powder
- 1/2 cup aquafaba
Instructions
-
Place the chocolate, coconut oil, instant coffee, and cocoa powder in a small bowl. Melt in the microwave in 30-second increments, stirring until smooth.
-
While the chocolate melts, whip the aquafaba in a stand mixer or with a hand mixer until stiff peaks form (about 10 minutes). Ensure your bowl and attachments are completely clean and grease-free.
-
Gently fold 4-5 large spoonfuls of whipped aquafaba into the melted chocolate mixture. This tempering step prevents the chocolate from seizing.
-
Add the chocolate mixture to the remaining whipped aquafaba and gently fold with a spatula until just combined. Fill 3 dessert ramekins with the mousse and chill for at least a couple of hours or overnight.
-
Serve chilled with grated chocolate and raspberries, or get fancier with coconut whipped cream!
Nutrition information is automatically calculated, so should only be used as an approximation.
Tips and Tricks for the Best Aquafaba Mousse!
- Make sure to whip your aquafaba mousse for at least 10 minutes: Yes, patience is key here! It truly takes this long, sometimes even a bit more, for aquafaba to develop into those crucial stiff peaks. Don’t stop too early; under-whipped aquafaba will result in a runny mousse. Look for a texture that’s thick, glossy, and holds its shape when you lift the whisk.
- Ensure your equipment is spotless: Any trace of grease or oil in your mixing bowl or on your whisk attachments can prevent aquafaba from whipping properly. Before starting, wash and thoroughly dry your equipment. A squeeze of lemon juice or a wipe with vinegar can help ensure a truly grease-free surface.
- Use chilled aquafaba: While some recipes suggest room temperature, many find that cold aquafaba whips up faster and more reliably. Keep your can of chickpeas in the fridge before use.
- Add a pinch of cream of tartar or lemon juice: A small amount (about 1/4 teaspoon per 1/2 cup of aquafaba) of an acidic stabilizer like cream of tartar or lemon juice can help the aquafaba whip more quickly and create a more stable foam. This is particularly helpful if you’re new to working with aquafaba.
- Fold gently: Once your aquafaba is perfectly whipped, the key to a light and airy mousse is gentle folding. Incorporate the melted chocolate mixture slowly and use a spatula to fold rather than stir, preserving as much air as possible in the aquafaba foam. Overmixing will deflate the mousse.
Shop This Recipe
This post may contain affiliate links, meaning that at no cost to you, I will get a small percentage of every purchase you make! This helps support the creation of more delicious recipes.