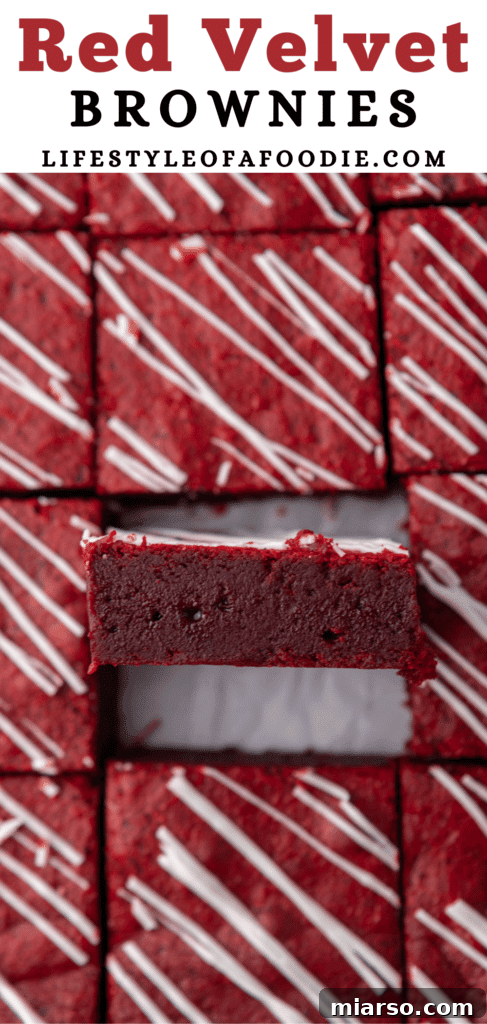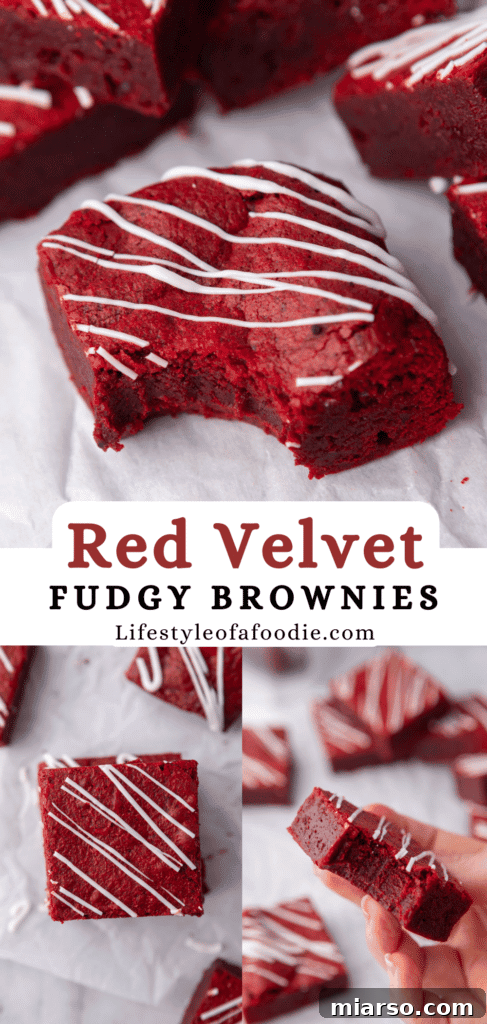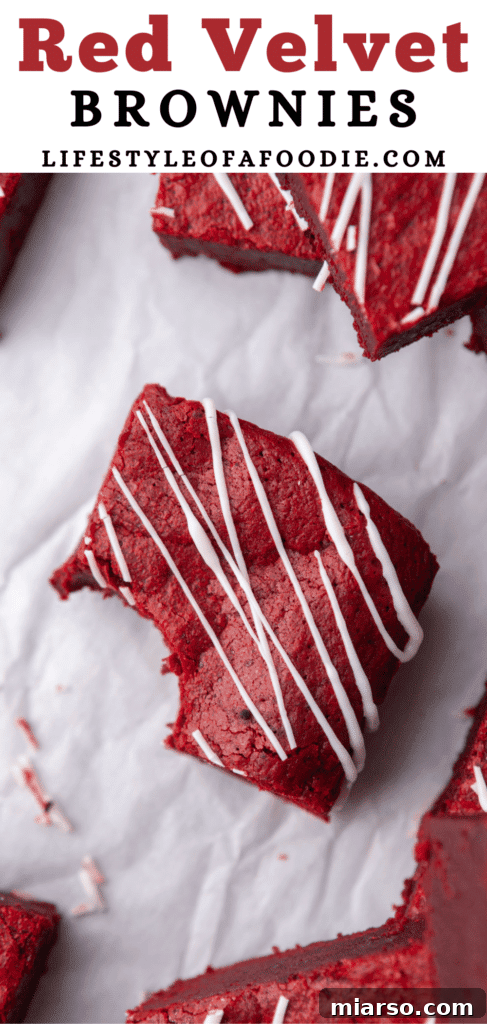
Irresistible Fudgy Red Velvet Brownies: Your Ultimate Guide to a Decadent Treat
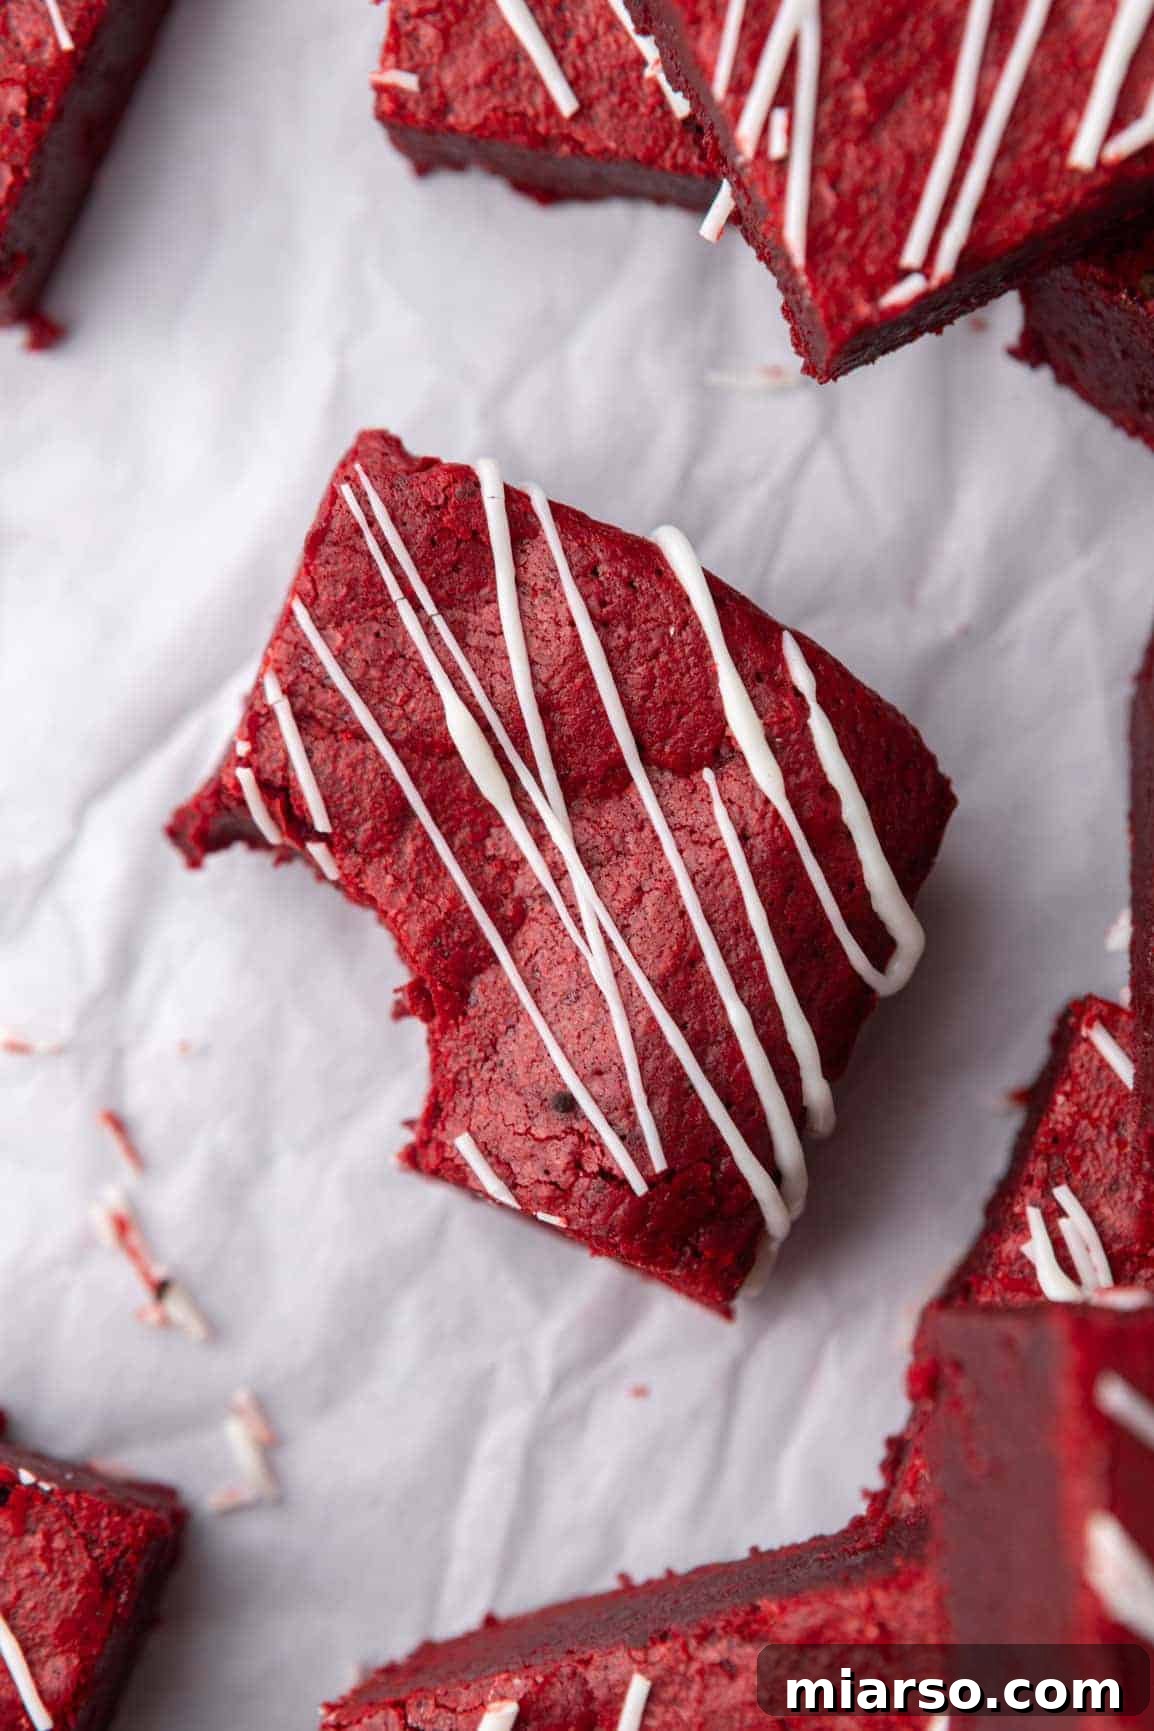
Delight your senses with these truly irresistible fudgy red velvet brownies. They are the quintessential dessert for celebrating special occasions like Valentine’s Day, Christmas, or baby showers, yet simple enough to whip up whenever a craving for something sweet and sophisticated strikes. Each bite offers a harmonious blend of rich chocolate and a distinctive tangy red velvet flavor, encased in an incredibly moist and fudgy texture that guarantees a delightful experience. Their vibrant crimson hue makes them as visually stunning as they are mouth-wateringly delicious, ensuring they’ll be the star of any dessert table and a recipe you’ll revisit again and again.
“Made these for a bake sale and they all sold!”
– Nicole
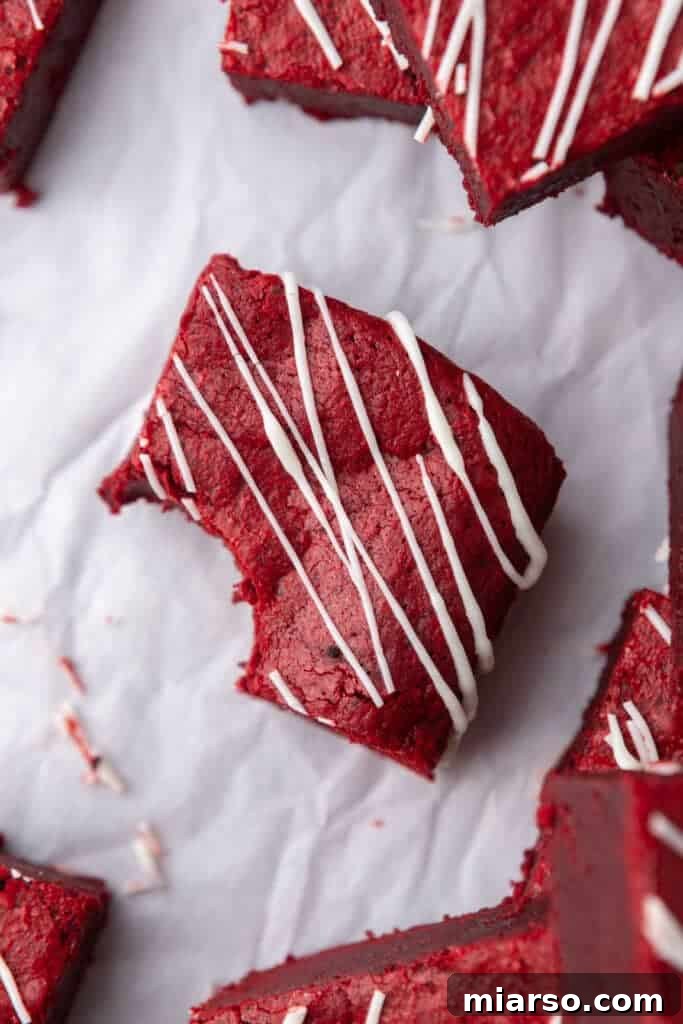
If you’re a true enthusiast of red velvet desserts, then this fudgy red velvet brownie recipe is about to become your new go-to. Unlike a typical chocolate brownie, this recipe specifically highlights the unique characteristics of red velvet – a delicate balance of chocolatey depth with a subtle, yet crucial, tang. This unique flavor profile, combined with the signature vibrant red, elevates a simple brownie into an extraordinary treat. It’s a surprisingly easy recipe that yields impressive results, perfect for both novice bakers and seasoned pros.
Beyond the holidays, these brownies are perfect for any gathering, a delightful after-dinner treat, or simply to satisfy your sweet tooth on a quiet afternoon. Their versatility and captivating appearance make them suitable for any event where a touch of elegance and a burst of flavor are desired. If you’re passionate about red velvet, be sure to explore other delectable recipes like these Easy Crumbl Red Velvet Cupcake Cookies, this Small Batch Red Velvet Cupcakes Recipe, or this Edible Red Velvet Cookie Dough Recipe to further indulge your red velvet cravings.
The Distinctive Charm of Red Velvet Brownies
What sets red velvet brownies apart from their classic chocolate counterparts? It’s all in the exquisite flavor profile and striking appearance. Traditional red velvet desserts are known for a specific taste that arises from the interaction of acidic ingredients—like vinegar or buttermilk—with a touch of unsweetened cocoa powder. This culinary chemistry creates a subtle tanginess that beautifully complements the mild chocolate notes, forming a sophisticated and complex flavor that is truly unique.
While regular brownies boast a deep, straightforward chocolate intensity, red velvet brownies offer a more nuanced experience. They deliver that delicate balance of a slight tanginess alongside a gentle chocolate flavor, all amplified by the visually arresting deep red hue. This iconic color is achieved with red gel food coloring, ensuring a vibrant pop that makes these brownies instantly recognizable and undeniably festive. It’s this combination of rich texture, intriguing flavor, and stunning color that elevates red velvet brownies into a league of their own, making them a consistently popular choice for dessert lovers.
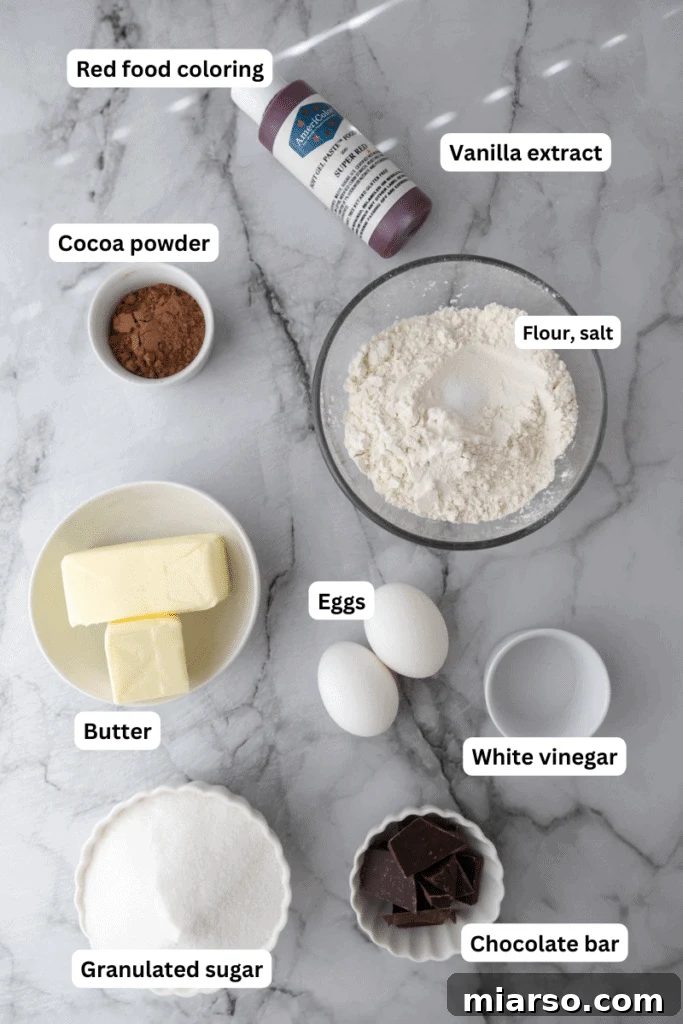
Essential Ingredients for Perfectly Fudgy Red Velvet Brownies
Crafting the perfect fudgy red velvet brownie starts with selecting the right ingredients. Each component plays a vital role in achieving that signature flavor, vibrant color, and irresistible texture. Here’s a breakdown of what you’ll need and why each ingredient is key. For precise measurements, always refer to the detailed recipe card at the bottom of this page.
- Unsalted Butter: The foundation of fudgy brownies! Melted butter provides richness and contributes significantly to that coveted dense, chewy texture. Using unsalted butter allows you to control the total salt content in the recipe, ensuring perfect flavor balance.
- Chopped Semi-Sweet Chocolate Bar: This is where the deep chocolate flavor truly comes from. Using a good quality chocolate bar, finely chopped, melts smoothly and incorporates beautifully into the batter, yielding a superior taste and a richer fudgy consistency. While chocolate chips can work in a pinch, a chopped bar provides a more luxurious melt.
- Granulated Sugar: Beyond sweetness, sugar plays a crucial role in the brownie’s structure and moisture. It helps create that desirable crinkly top and keeps the brownies wonderfully moist, preventing them from drying out during baking.
- Large Eggs: Eggs are essential for binding the ingredients together, providing structure, and contributing to the brownies’ chewiness. They also add richness and moisture, helping to create that perfect fudgy consistency.
- Vanilla Extract: A crucial flavor enhancer, vanilla extract doesn’t just add its own sweet notes but also deepens and brightens the chocolate flavor, making it more pronounced and complex. Opt for pure vanilla extract for the best results.
- White Vinegar: This seemingly unusual ingredient is a cornerstone of classic red velvet flavor. Its acidity reacts with the cocoa powder and often with buttermilk (or in this case, helps mimic the tang), creating the unique, subtle tangy undertone characteristic of red velvet. It’s also believed to enhance the red color.
- Red Food Coloring: To achieve that iconic, vibrant red hue, food coloring is indispensable. Gel food coloring is highly recommended over liquid versions as it provides a much more intense color with less liquid, ensuring the batter’s consistency isn’t compromised.
- Unsweetened Cocoa Powder: This provides the mild chocolate taste that distinguishes red velvet. It’s not meant to be intensely chocolatey like a traditional brownie; rather, it offers a subtle backdrop for the other flavors to shine. Dutch-processed cocoa powder can be used for a darker color, but natural cocoa powder will react better with the vinegar for the classic red velvet tang.
- All-Purpose Flour: The primary structural component of the brownie. Proper measurement is key—spoon and level the flour into your measuring cup to avoid adding too much, which can lead to dry, cakey brownies instead of fudgy ones.
- Salt: A small but mighty ingredient! Just a pinch of salt is all it takes to balance the sweetness of the sugar and enhance all the other flavors, making the chocolate taste richer and the tang more pronounced.
- White Chocolate Chips (Optional): For an extra layer of sweetness and texture, white chocolate chips make a delightful mix-in. They can be folded into the batter or melted and drizzled on top after baking for a beautiful finish.
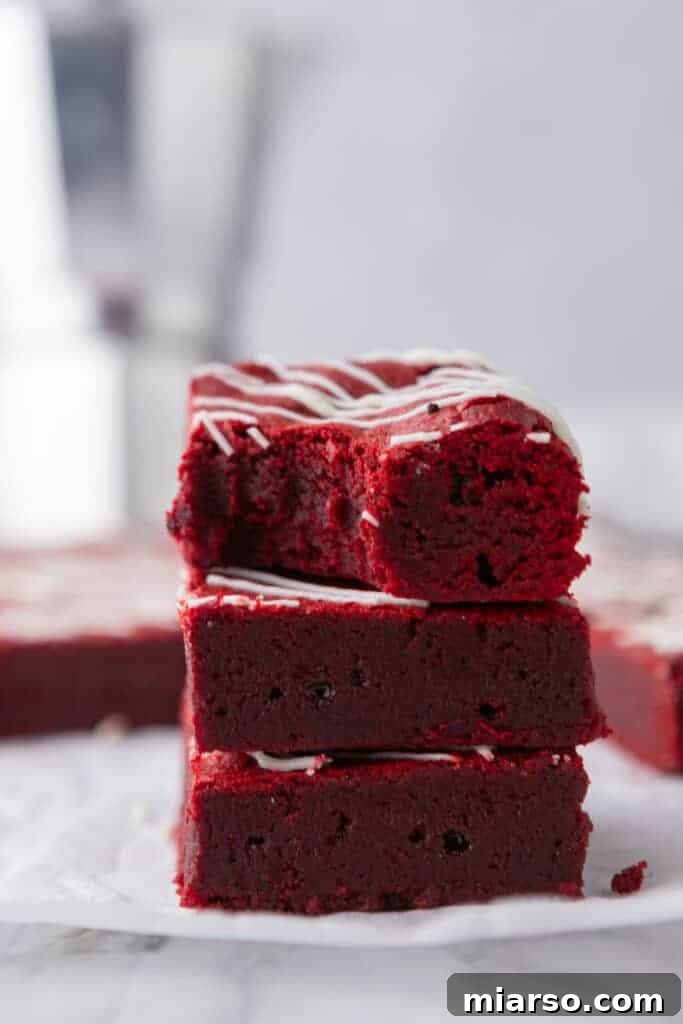
Step-by-Step Guide to Baking Your Red Velvet Brownies
Baking these fudgy red velvet brownies is a straightforward process that promises delicious rewards. Follow these detailed instructions to achieve perfect results every time. Remember to consult the full recipe card at the end of this post for precise measurements and baking times.
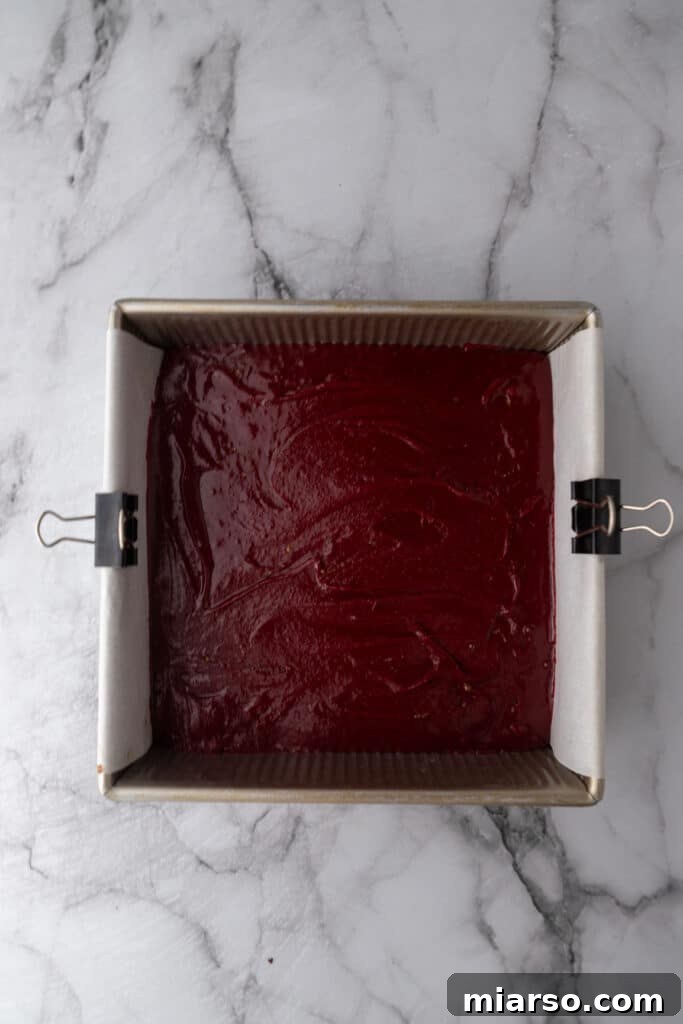
- Prepare Your Pan: Begin by preheating your oven to 350°F (175°C). Line an 8×8 inch (20×20 cm) baking pan with parchment paper, leaving an overhang on the sides. This creates “handles” that will make it incredibly easy to lift the cooled brownies out of the pan for clean slicing. You can also lightly grease the pan before lining to ensure the parchment adheres smoothly.
- Melt Butter and Chocolate: In a large, microwave-safe mixing bowl, combine the unsalted butter and finely chopped semi-sweet chocolate. Microwave in short 30-second increments, stirring well with a whisk after each interval, until the mixture is completely melted and smooth. Be careful not to overheat the chocolate, as it can seize. Alternatively, you can melt these ingredients together in a double boiler for a gentler approach.
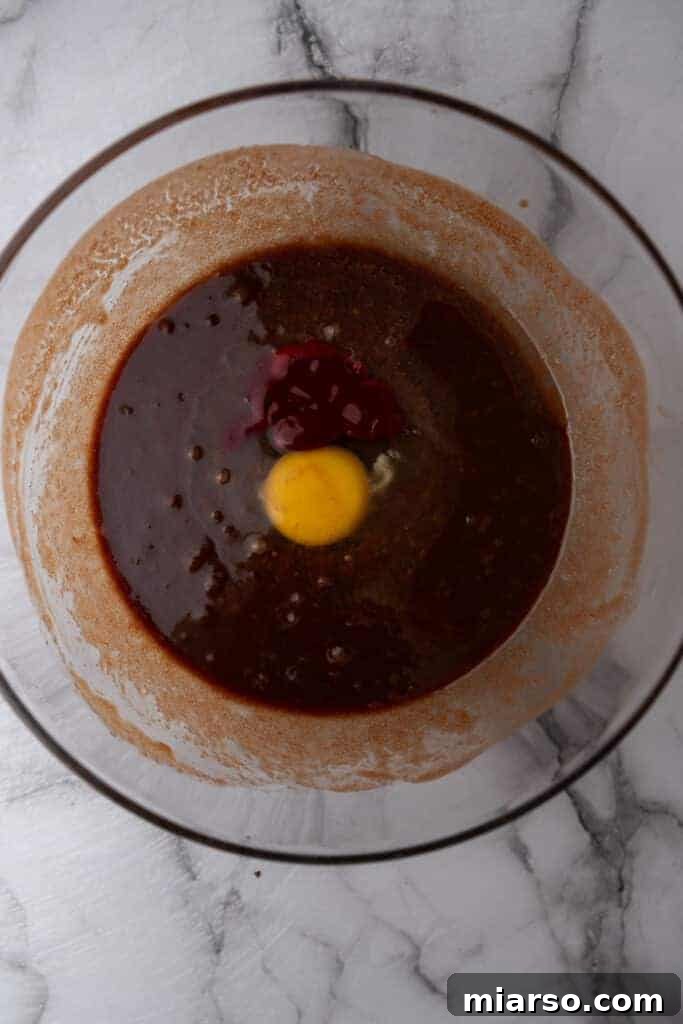
- Combine Wet Ingredients: Add the granulated sugar to the melted butter and chocolate mixture. Mix thoroughly with an electric mixer on medium speed until well combined and slightly glossy. Next, incorporate the eggs one at a time, beating well after each addition until fully integrated and the mixture is lightened. Finally, stir in the vanilla extract, white vinegar, and the vibrant red gel food coloring until the batter achieves a rich, uniform crimson hue.
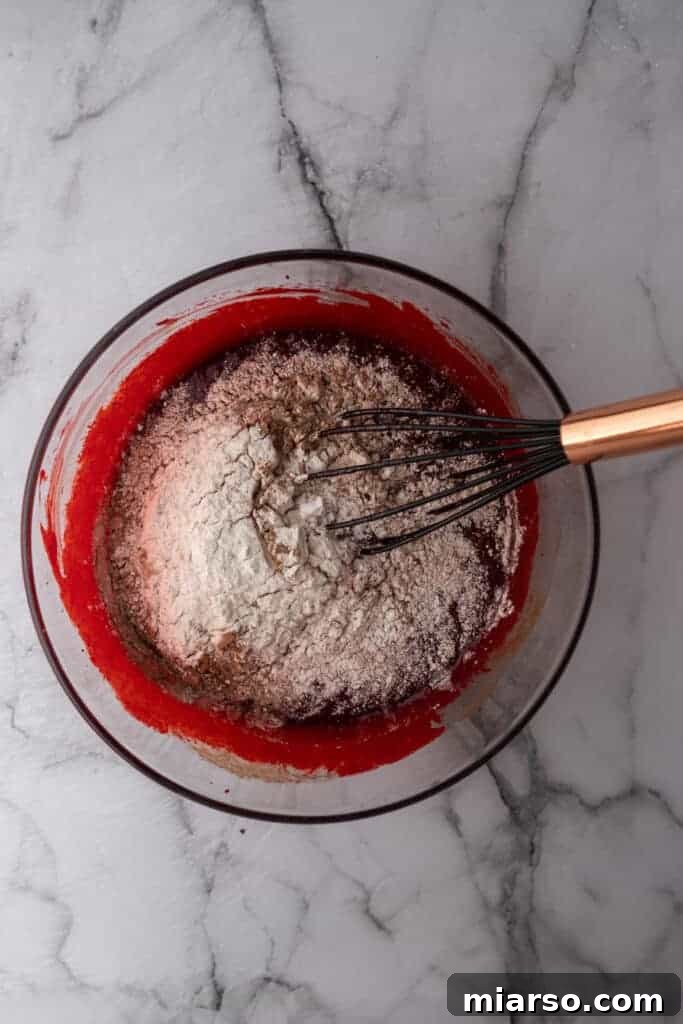
- Sift Dry Ingredients: In a separate medium-sized bowl, sift together the unsweetened cocoa powder, all-purpose flour, and salt. Sifting is an important step as it removes any lumps, aerates the dry ingredients, and ensures they are evenly distributed throughout the batter, contributing to a smoother texture in the final brownie.
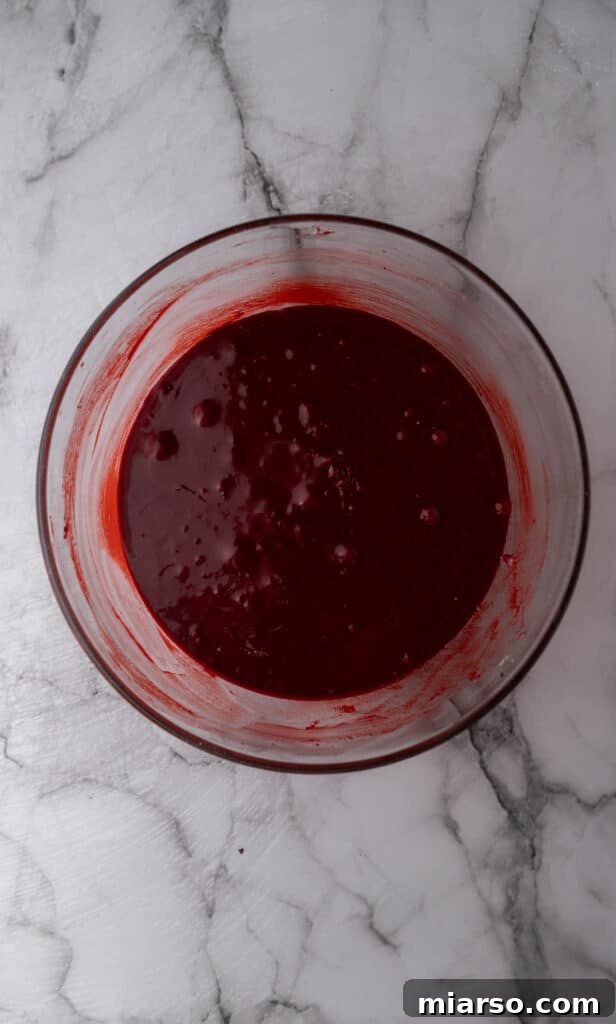
- Combine Wet and Dry: Gradually add the sifted dry ingredients to the wet mixture, mixing until just combined. It is crucial not to over-mix the batter once the flour is added. Over-mixing develops the gluten in the flour, which can lead to tough, cakey brownies instead of the desired fudgy texture. Use a spatula or a spoon and mix until no streaks of dry flour remain.
- Add Mix-Ins (Optional): If you desire to add extra elements like white chocolate chips, dark chocolate chunks, or chopped nuts, gently fold them into the brownie batter at this stage using a rubber spatula. This ensures even distribution without overworking the batter.
- Pour and Spread: Pour the luscious red velvet brownie batter into your prepared baking pan. Use a rubber spatula to spread it evenly into all corners of the pan. Make sure to scrape down the sides of the mixing bowl to get every last bit of delicious batter.
- Bake to Perfection: Transfer the pan to the preheated oven and bake for approximately 30-35 minutes. To test for doneness, insert a toothpick into the center of the brownies. It should come out with a few moist crumbs clinging to it, but not wet batter. If it comes out completely clean, the brownies are likely overbaked, and if it’s wet, they need more time.
- Cool Completely: This step is paramount for achieving perfectly fudgy brownies and clean, neat slices. Allow the brownies to cool completely to room temperature in the baking pan before attempting to cut them. Rushing this step will result in crumbly, messy brownies. Once cooled, use the parchment paper overhang to lift the entire slab out of the pan and onto a cutting board.
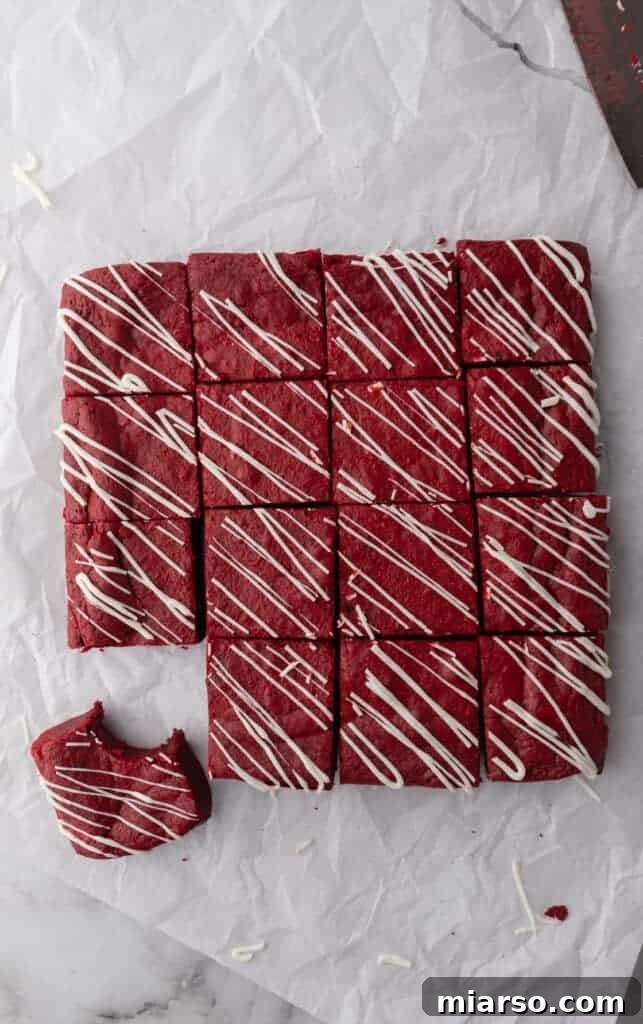
- Slice and Serve: Using a sharp knife, cut the cooled brownies into squares of your desired size. For an extra touch of elegance and flavor, you can optionally drizzle melted white chocolate over the top before slicing, allowing it to set for a beautiful finish. Enjoy your homemade, perfectly fudgy red velvet brownies!
This recipe is incredibly versatile in terms of tools. While I crafted this batch using a simple whisk and a rubber spatula for a hands-on experience, feel free to use a stand mixer with a paddle attachment or an electric hand mixer for added convenience. The key is to avoid over-mixing, regardless of the equipment you choose!
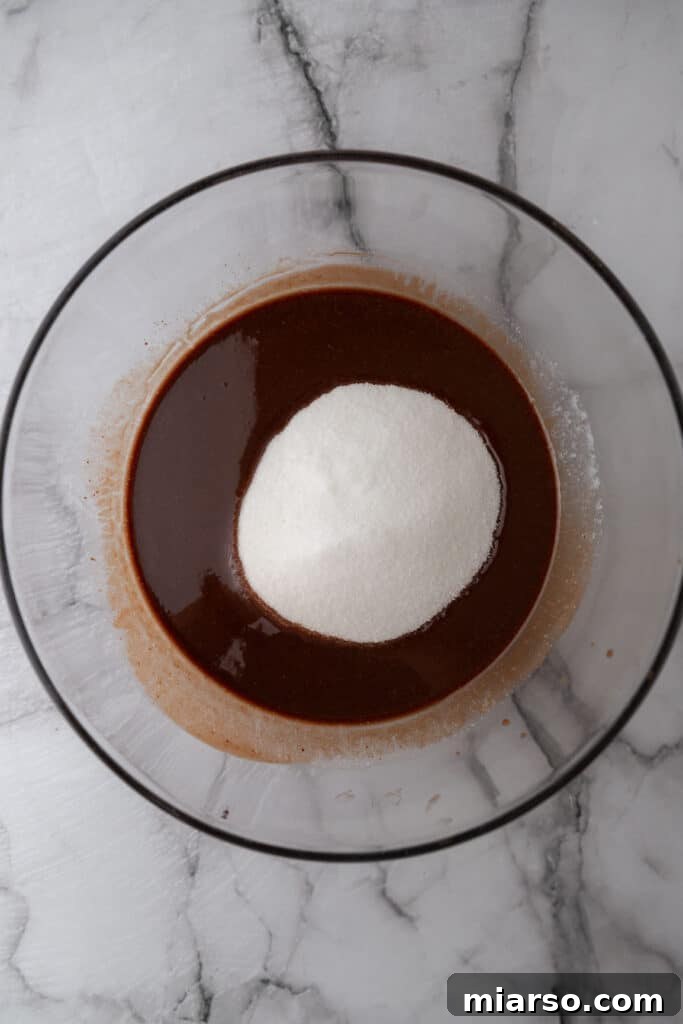
The Unbeatable Appeal of These Red Velvet Brownies
There are countless reasons why these fudgy red velvet brownies deserve a permanent spot in your recipe collection. They consistently deliver on flavor, texture, and visual appeal, making them a truly special dessert. Here’s why this recipe is an absolute must-try:
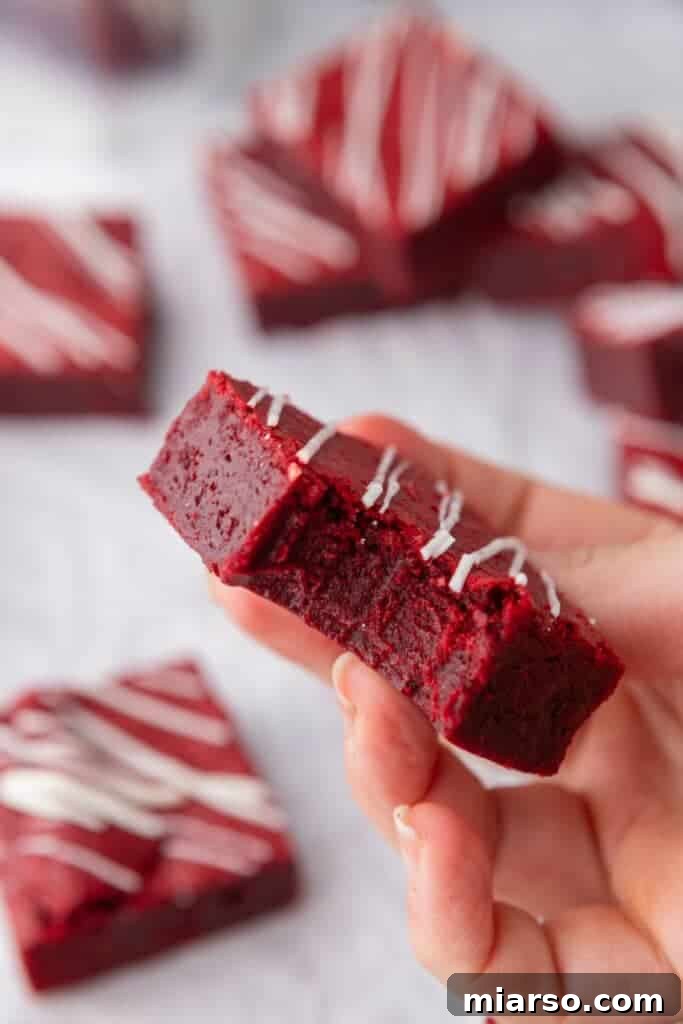
- Super Fudgy and Moist: Forget dry, crumbly brownies! These are engineered for ultimate fudginess. They boast an incredibly soft, dense, and gooey interior that literally melts in your mouth with every bite. The perfect balance of butter, chocolate, and sugar, combined with precise baking, ensures a consistently moist and decadent texture that brownie lovers dream of.
- Signature Red Velvet Flavor: Experience the true essence of red velvet. This recipe perfectly captures that distinctive taste – a delicate blend of mild cocoa with a subtle, tangy undertone, often described as buttermilk-like. This unique flavor profile, coupled with the stunning, vibrant red hue, makes these brownies truly extraordinary and undeniably authentic.
- Perfect for Any Occasion: While their striking red color makes them ideal for Valentine’s Day or Christmas, these brownies are versatile enough for any celebration or simply as an everyday indulgence. They’re a crowd-pleaser at potlucks, birthday parties, baby showers, or as a thoughtful homemade gift. Their elegance and deliciousness fit seamlessly into any event, big or small.
- No-Fuss Baking: You don’t need to be a seasoned baker to achieve spectacular results with this recipe. The steps are straightforward, the ingredients are common, and the process is forgiving. With minimal effort, you can create a dessert that tastes and looks like it came from a professional bakery, making it a joy for anyone to prepare.
- Guaranteed Crowd-Pleaser: From the moment they see the stunning red color to the very first fudgy bite, these brownies are a guaranteed hit. Their unique flavor and luxurious texture appeal to a wide range of palates, ensuring compliments and requests for the recipe will be coming your way. They truly are an unforgettable sweet treat that leaves everyone wanting more.
Frequently Asked Questions for Red Velvet Brownies
Have questions about making or enjoying your red velvet brownies? We’ve got you covered with answers to common queries and expert tips for success.
Achieving Brownie Perfection: Expert Tips
To ensure your red velvet brownies turn out perfectly fudgy and flavorful every single time, keep these essential tips in mind:
- Don’t Over-mix the Batter: This is arguably the most crucial tip for fudgy brownies. Once you add the dry ingredients to the wet, mix only until just combined and no streaks of flour are visible. Over-mixing develops gluten, which leads to tough, chewy, and cakey brownies rather than the desired dense, fudgy texture. Use a gentle hand or mix on low speed.
- Use Gel Food Coloring: For the most vibrant red color without altering the consistency of your batter, always opt for gel food coloring. Liquid food coloring requires larger quantities to achieve a deep hue, which can introduce too much moisture into your batter, potentially impacting the final texture. Gel colors are concentrated and provide a brilliant crimson.
- Test for Doneness Accurately: Knowing when your brownies are perfectly baked is key to their fudginess. Insert a toothpick into the center of the pan; it should come out with a few moist crumbs clinging to it, but absolutely no wet batter. If the toothpick comes out completely clean, your brownies are likely overbaked and will be drier. If it’s too wet, they need more time.
- Cool Completely Before Cutting: Patience is a virtue when it comes to brownies! Allowing them to cool completely in the pan to room temperature is essential. This allows the brownies to set fully, firming up their fudgy texture and making them much easier to cut into clean, neat squares. Cutting warm brownies will result in a crumbly, messy outcome.
- Quality Ingredients Matter: While simple, the quality of your ingredients can make a noticeable difference. Use good quality butter and a decent semi-sweet chocolate bar for the best flavor. Pure vanilla extract also enhances the overall taste significantly.
Storing Your Delicious Red Velvet Brownies
Proper storage is essential to keep your fudgy red velvet brownies fresh and delicious for as long as possible:
Room Temperature: Store the brownies in an airtight container on your kitchen counter for up to 3 days. Ensure the container is truly airtight to prevent them from drying out and losing their fudgy texture.
Refrigerator: For extended freshness, especially if topped with cream cheese frosting, store the brownies in an airtight container in the refrigerator for up to a week. Bring them to room temperature for about 15-20 minutes before serving for the best texture and flavor.
Freezer: These brownies freeze beautifully! Place them in a freezer-safe airtight container or a heavy-duty freezer bag, with parchment paper between layers to prevent sticking. Freeze for up to 2 months. Thaw individual brownies at room temperature for an hour or two, or briefly warm them in the microwave for a warm, gooey treat.
Can I Add Toppings to Red Velvet Brownies?
Absolutely! Toppings can elevate your red velvet brownies, adding extra flavor, texture, and visual appeal. Here are some fantastic ideas:
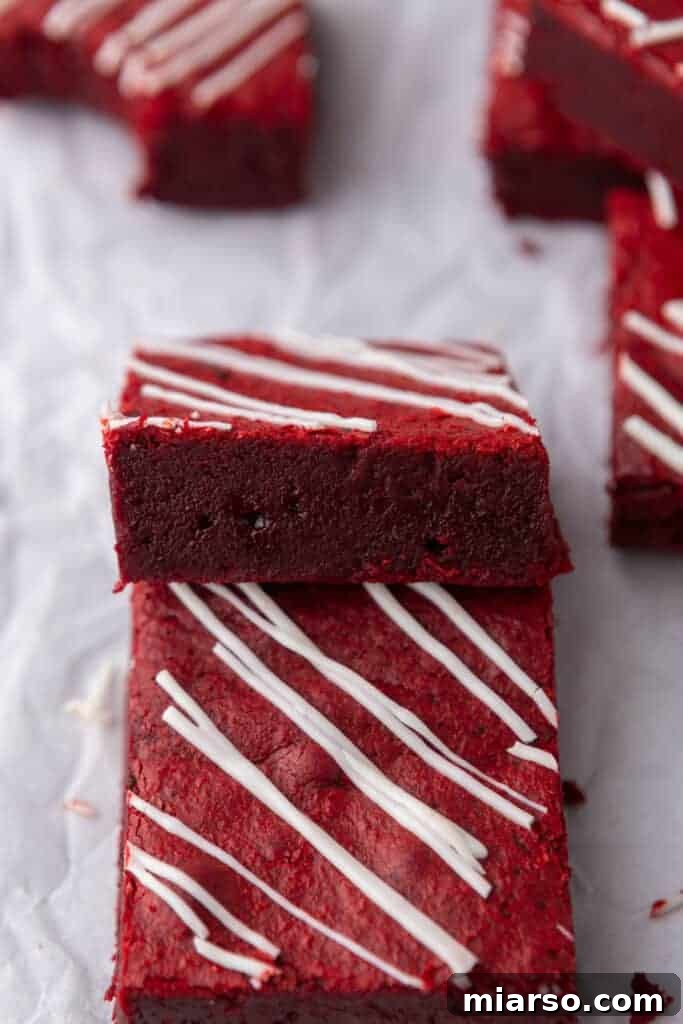
A simple dusting of powdered sugar adds a classic, elegant finish, especially against the vibrant red. For a festive touch, sprinkle heart-shaped candies, red and pink sprinkles, or edible glitter on top for Valentine’s Day or other celebrations. These simple additions enhance their already stunning appearance.
For an indulgent treat, spread a thick layer of decadent cream cheese frosting over your cooled brownies. The tangy sweetness of cream cheese frosting is the quintessential pairing for red velvet and truly takes these brownies to the next level. You can even add a touch of pink or red food coloring to the frosting to maintain the holiday of love theme. Other delicious options include a drizzle of melted dark or white chocolate, a rich chocolate ganache, or a swirl of salted caramel sauce for added luxury.
What Other Flavors or Mix-ins Work Best Here?
Get creative with your red velvet brownies by incorporating various mix-ins and flavor swirls!
- Mix-Ins: Beyond the suggested white chocolate chips, consider folding in dark chocolate chunks for a deeper chocolate flavor, milk chocolate chips for a sweeter profile, or even mini marshmallows for a gooey surprise. Chopped nuts like pecans, walnuts, or almonds add a delightful crunch and nutty depth. For a truly festive touch, colorful sprinkles can be folded in or added on top.
- Swirls: Create beautiful and flavorful swirls by melting a bowl of peanut butter, caramel sauce, or even a contrasting cream cheese mixture. Drizzle it generously over the brownie batter in the pan, then use a toothpick or skewer to gently swirl it through for a marbled effect. A raspberry jam swirl would also add a lovely fruity tartness.
- Red Velvet Brookie: For the ultimate hybrid dessert, bake a layer of your favorite cookie dough (perhaps a chocolate chip or white chocolate macadamia nut cookie dough) simultaneously with the red velvet brownie batter. Spread the cookie dough on the bottom of the pan, then top with the brownie batter, and bake together for an incredible red velvet brookie!
- Other Flavor Pairings: A hint of espresso powder can intensify the chocolate flavor without making it taste like coffee. A touch of mint extract could create a festive red velvet mint brownie, especially appealing around the holidays.
The Fascinating History of Red Velvet Desserts
The history of red velvet desserts is as rich and intriguing as the desserts themselves, tracing its roots back to the early 19th century. During this era, the term “velvet” in baking referred to cakes and desserts that boasted an exceptionally fine and soft crumb, a departure from coarser, more traditional recipes. These early “velvet cakes” were prized for their luxurious texture, which was a result of using cocoa powder, almond flour, or cornstarch to break down the protein in the flour.
Initially, the distinctive red color of these desserts was not achieved through artificial means but was a natural occurrence. The redness emerged from a chemical reaction between acidic ingredients—such as buttermilk or vinegar—and the anthocyanin pigments present in unprocessed cocoa powder. At the time, cocoa powder was less processed and more acidic than the modern Dutch-processed variety, which has been treated to neutralize its acidity. This natural interaction enhanced the cocoa’s reddish undertones, producing a beautiful, subtle reddish-brown hue without the addition of any artificial food coloring. It’s quite fascinating to think that the iconic color we now associate with red velvet was once entirely organic!
As the 20th century progressed, and food processing methods evolved, Dutch-processed cocoa powder became increasingly common. While Dutch-processing creates a darker, less acidic cocoa that’s excellent for intense chocolate flavors, it unfortunately diminished the natural reddish reaction. To preserve the beloved and visually striking red hue, bakers began to intentionally add red food coloring, which quickly became the standard practice for making red velvet desserts. Despite this change, the unique flavor profile – a delicate, moist crumb with a mild chocolate taste and those essential tangy undertones from ingredients like vinegar or buttermilk – remains the hallmark of this insanely popular sweet treat, ensuring its enduring appeal across generations.
The Best Fudgy Red Velvet Brownies Recipe
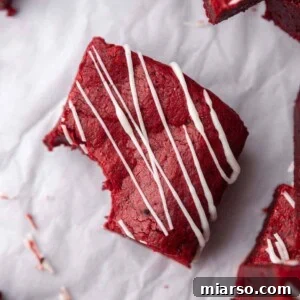
Red Velvet Brownies
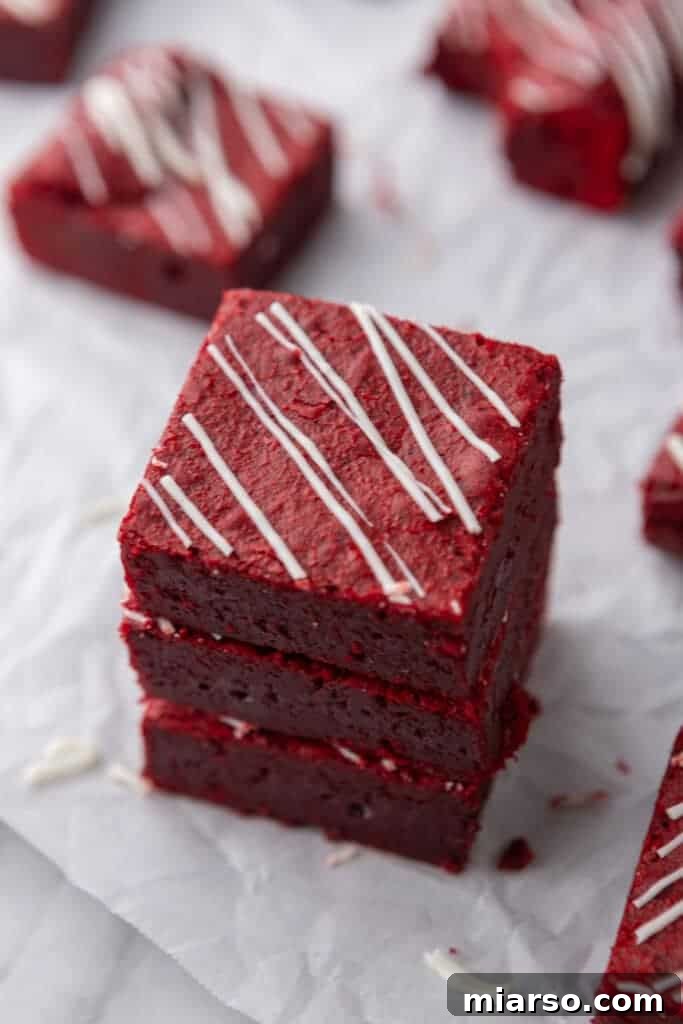
These fudgy red velvet brownies are an easy chocolatey treat that will be perfect when that sweet tooth hits!
Ingredients
- 3/4 cup unsalted butter, melted
- 2 oz chopped semi-sweet chocolate bar
- 1 & 1/4 cup granulated sugar
- 2 large eggs
- 2 teaspoon vanilla extract
- 1 teaspoon white vinegar
- 1/2 tablespoons red gel food coloring
- 2 tablespoons unsweetened cocoa powder
- 1 & 1/4 cup all-purpose flour
- 1/4 teaspoon salt
- 1/2 cup white chocolate chips (optional, mixed in the batter or melted and drizzled on top)
Instructions
- Preheat your oven to 350°F (175°C) and line an 8×8 inch baking pan with parchment paper.
- In a large microwave-safe mixing bowl, melt the butter and chopped chocolate in the microwave in 30-second increments. Stir until fully melted and smooth.
- Add in the granulated sugar and mix until combined. Then add the eggs one at a time, beating well after each addition. Stir in the vanilla extract, white vinegar, and red food coloring until the batter is uniformly crimson.
- In a separate bowl, sift together the cocoa powder, flour, and salt.
- Gradually add the dry ingredients to the wet ingredients, mixing until just combined. Be careful not to overmix. If desired, gently fold in white chocolate chips into the brownie batter.
- Pour the batter into the prepared 8×8 inch pan and spread it evenly with a spatula.
- Bake in the preheated oven for approximately 30-35 minutes or until a toothpick inserted into the center comes out with a few moist crumbs (not wet batter).
- Allow the brownies to cool completely in the pan before cutting into squares with a sharp knife.
- Optionally, drizzle melted white chocolate on top, allow it to set, then slice, and enjoy your delicious brownies!
Nutrition
Calories: 183kcal | Carbohydrates: 23g | Protein: 2g | Fat: 9g | Saturated Fat: 6g | Polyunsaturated Fat: 0.5g | Monounsaturated Fat: 2g | Trans Fat: 0.4g | Cholesterol: 43mg | Sodium: 46mg | Potassium: 31mg | Fiber: 0.5g | Sugar: 16g | Vitamin A: 296IU | Calcium: 8mg | Iron: 1mg
Nutrition information is automatically calculated, so should only be used as an approximation.
Love These Brownies? Pin for Later!