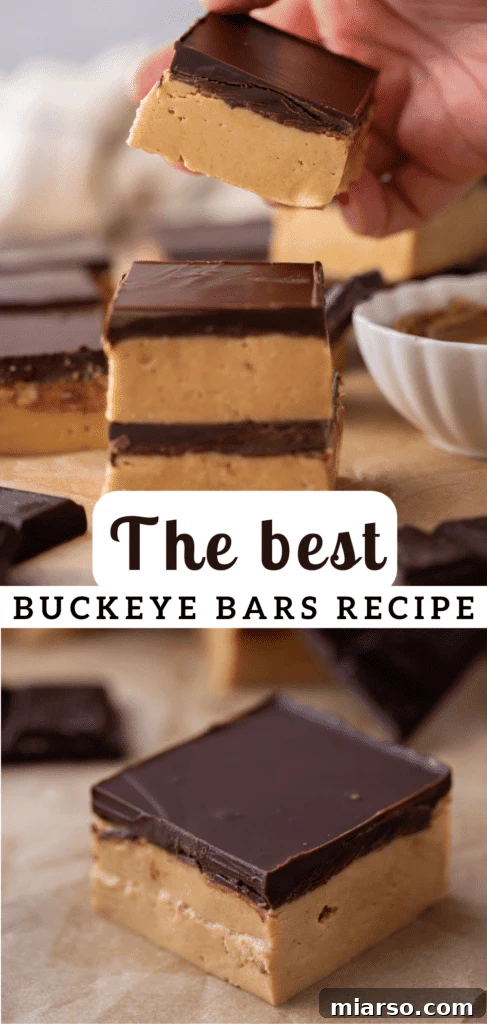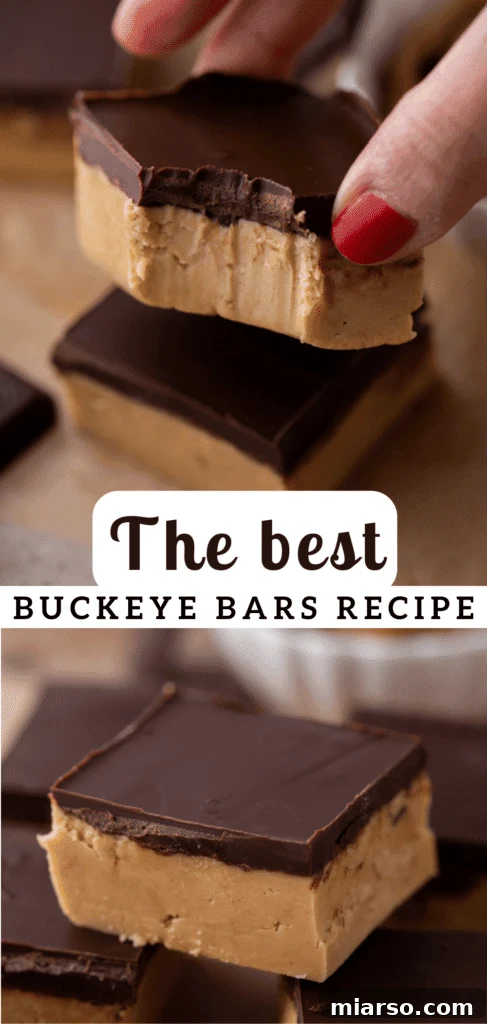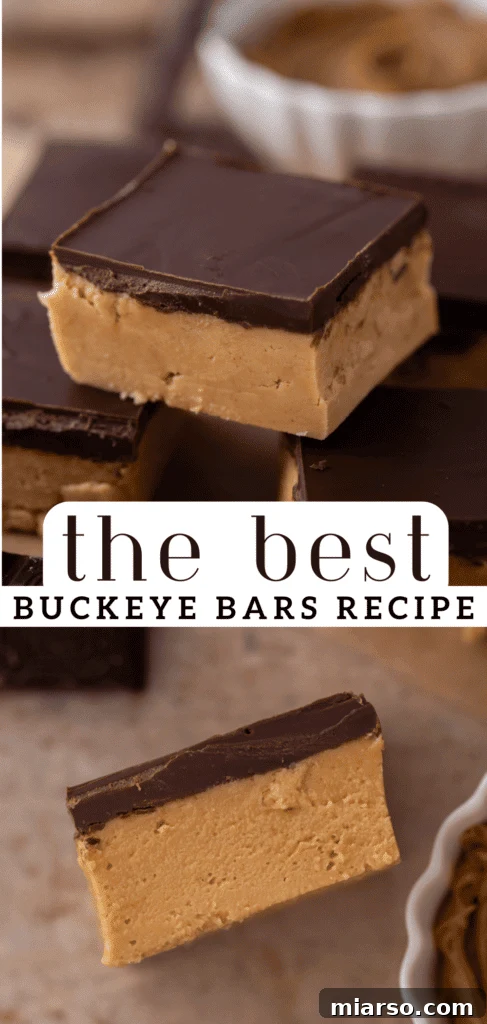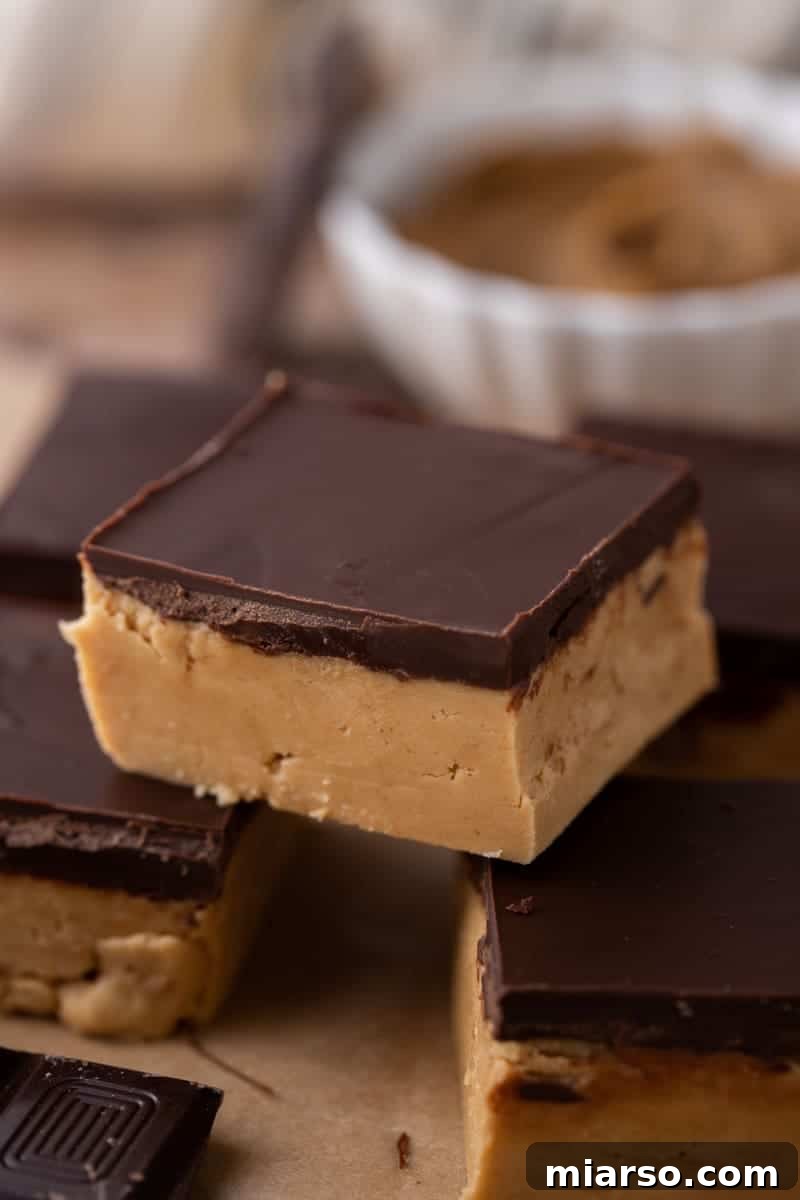
Are you ready to create a dessert that consistently disappears the moment it hits the table? This ultimate Buckeye Bars recipe delivers that perfect treat, combining everyone’s favorite flavor dynamic: peanut butter and chocolate. It’s a classic pairing that rarely fails to delight, and these easy-to-make bars elevate that combination to new heights of deliciousness.
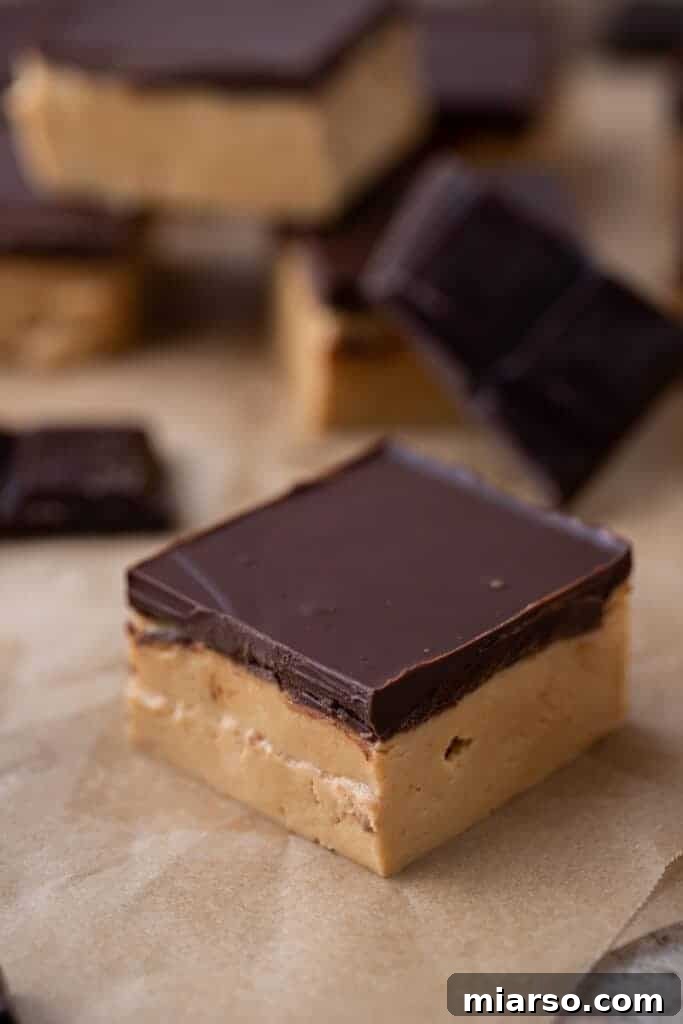
There’s an undeniable magic to the combination of rich, creamy peanut butter and smooth, decadent chocolate. It’s a flavor profile so beloved, it’s practically a dessert superpower! Just like how Reese’s Peanut Butter Cups vanish in an instant, these homemade no-bake Buckeye Bars are guaranteed to be an instant hit. Prepare to watch them disappear even faster when you share them with family and friends.
Featuring a generous, sweet peanut butter layer beautifully crowned with a thick, luscious blanket of chocolate, these bars are the embodiment of pure indulgence. They’re so incredibly moreish, it’s doubtful they’ll last through the week, especially if you have a household full of eager dessert enthusiasts. For larger gatherings or if you simply want to ensure a longer supply of this irresistible treat, I highly recommend preparing a double batch. Follow along with this straightforward guide to craft the most delicious peanut butter chocolate bars you’ve ever tasted!
If your heart beats for peanut butter, you’re in good company! Be sure to explore some of our other fantastic peanut butter creations. You might love this Edible Peanut Butter Cookie Dough Recipe, these budget-friendly No-Bake Chocolate Peanut Butter Bars, or these delightful Easy Peanut Butter Oreo Bars!
Discover the Ultimate No-Bake Buckeye Bars Recipe!
This easy Buckeye Bars recipe stands head and shoulders above other desserts for several compelling reasons, making it an absolute must-try for any sweet tooth. Beyond the universally adored and irresistible nutty-chocolate flavor fusion, this dessert is a true marvel of simplicity. It requires minimal effort and features an incredibly easy-to-follow process that doesn’t involve even glancing at an oven. That’s right – it’s a completely no-bake wonder!
The beauty of these bars extends beyond their delicious taste and straightforward preparation. They are wonderfully customizable, allowing you to tailor them to your personal preferences or any special occasion. Furthermore, their make-ahead potential is a game-changer for busy hosts and hostesses. Whether you’re planning a party, need a quick potluck contribution, or simply want a stash of delightful treats ready for impromptu cravings, these homemade Buckeye Bars are your perfect solution. Prepare to impress everyone with these effortless, customizable, and utterly delicious confections.
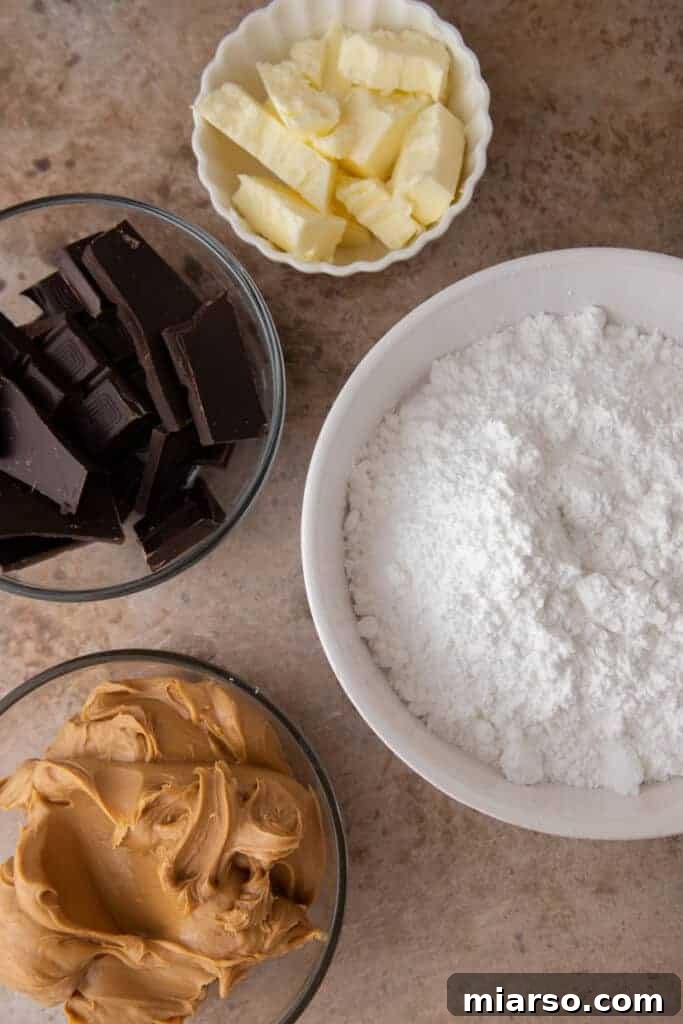
Essential Ingredients for Perfect Buckeye Bars
Crafting these delectable peanut butter chocolate bars requires a handful of simple, readily available ingredients. Each component plays a crucial role in achieving the signature taste and texture that makes Buckeye Bars so beloved. For precise measurements, please refer to the detailed recipe card conveniently located at the bottom of this page.
- Creamy Peanut Butter: The cornerstone of our peanut butter layer. Opt for a good quality creamy peanut butter to ensure a silky-smooth, melt-in-your-mouth texture for your bars. While creamy is recommended for that classic smoothness, feel free to use crunchy peanut butter if you’re a fan of a little textural contrast and added crunch in your treats.
- Unsalted Butter: Butter serves a dual purpose in this recipe. In the peanut butter layer, it helps to soften the dense peanut butter, creating a pliable and easily spreadable mixture. A portion of the butter is also reserved to ensure the chocolate topping melts smoothly and sets with a perfect consistency, preventing it from becoming too brittle. Ensure your butter is softened for the peanut butter layer.
- Fine Salt: A pinch of salt is essential, not just for enhancing the natural flavor of the peanuts, but more importantly, for perfectly balancing the sweetness of both the powdered sugar and the chocolate. It prevents the bars from being overwhelmingly sweet, creating a harmonious flavor profile.
- Pure Vanilla Extract: Don’t underestimate the power of vanilla extract. It acts as a flavor enhancer, deepening the richness of the chocolate and tying all the sweet and savory notes together, contributing to the overall exquisite taste of these Buckeye Bars.
- Powdered Sugar (Confectioners’ Sugar): The key to a wonderfully sweet and smooth peanut butter filling. Powdered sugar dissolves seamlessly into the mixture, creating that irresistible, melt-in-your-mouth texture and providing the perfect level of sweetness for the peanut butter layer.
- High-Quality Chocolate: Semi-sweet chocolate chips are typically the perfect choice, offering a beautifully balanced middle ground between intense bitterness and excessive sweetness. This ensures the chocolate layer complements rather than overwhelms the peanut butter. However, feel free to experiment with your preferred chocolate, such as milk chocolate for a sweeter profile or dark chocolate for a richer, more intense flavor.
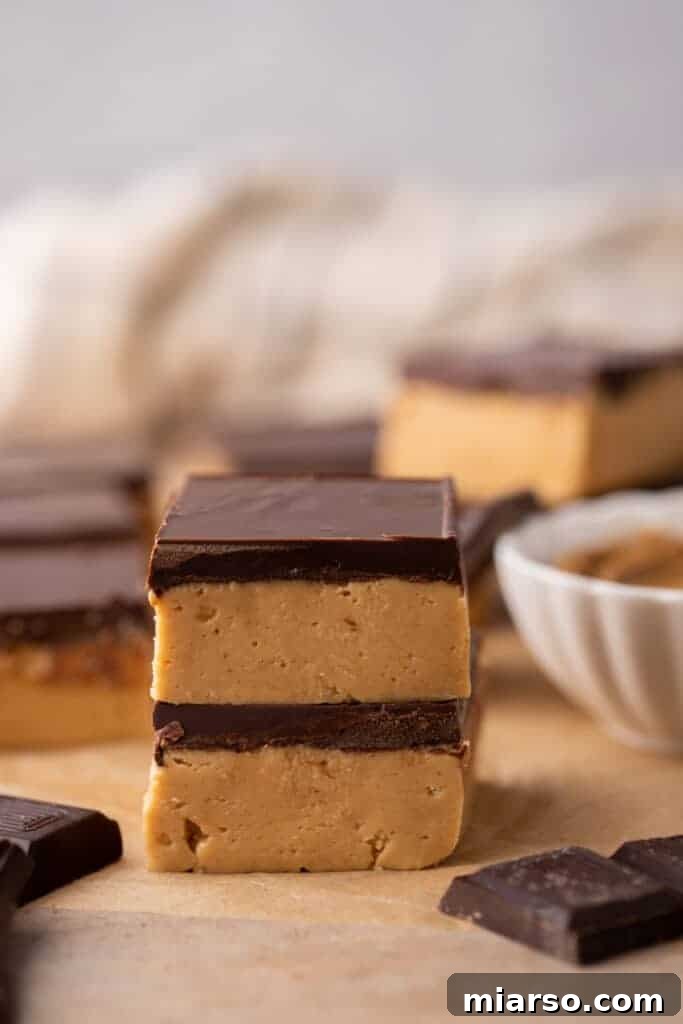
How to Prepare this Easy Buckeye Bars Recipe: Step-by-Step Guide
Creating these delightful no-bake Buckeye Bars is surprisingly simple and requires no advanced baking skills. Just follow these easy steps, and you’ll have a batch of incredible peanut butter chocolate treats in no time. For a complete list of ingredients and their exact measurements, please scroll down to the recipe card at the bottom of the page.
Crafting the Irresistible Peanut Butter Layer:
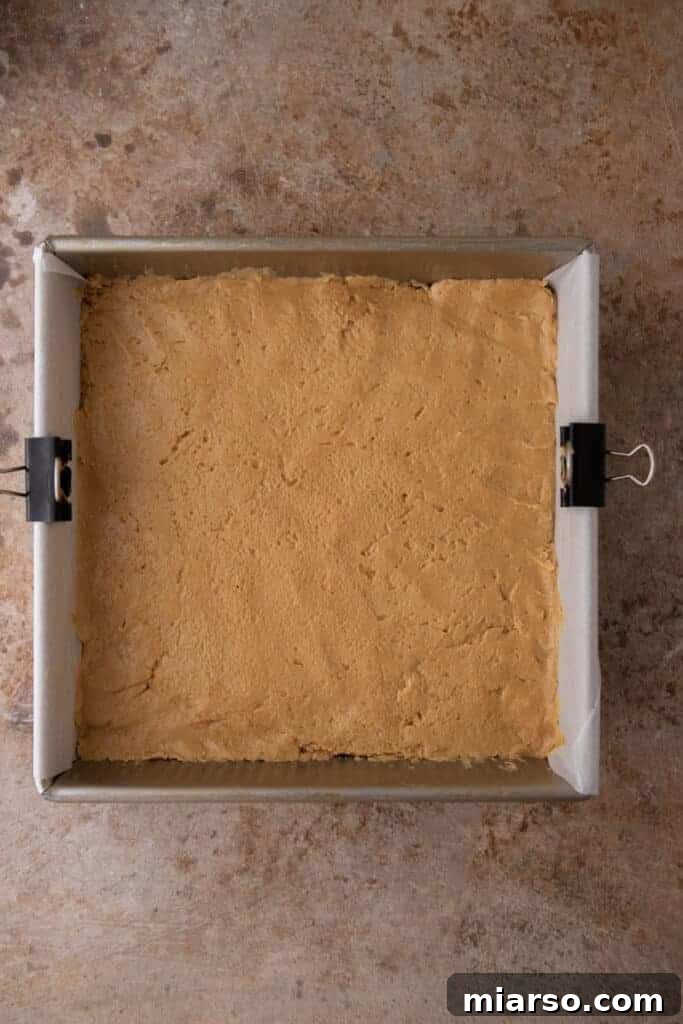
- Prepare Your Pan: Begin by lining an 8×8-inch square baking pan with parchment paper or aluminum foil, allowing for an overhang on the sides. This overhang will serve as handles, making it incredibly easy to lift the entire batch of bars out of the pan once they’re set. Set the prepared pan aside.
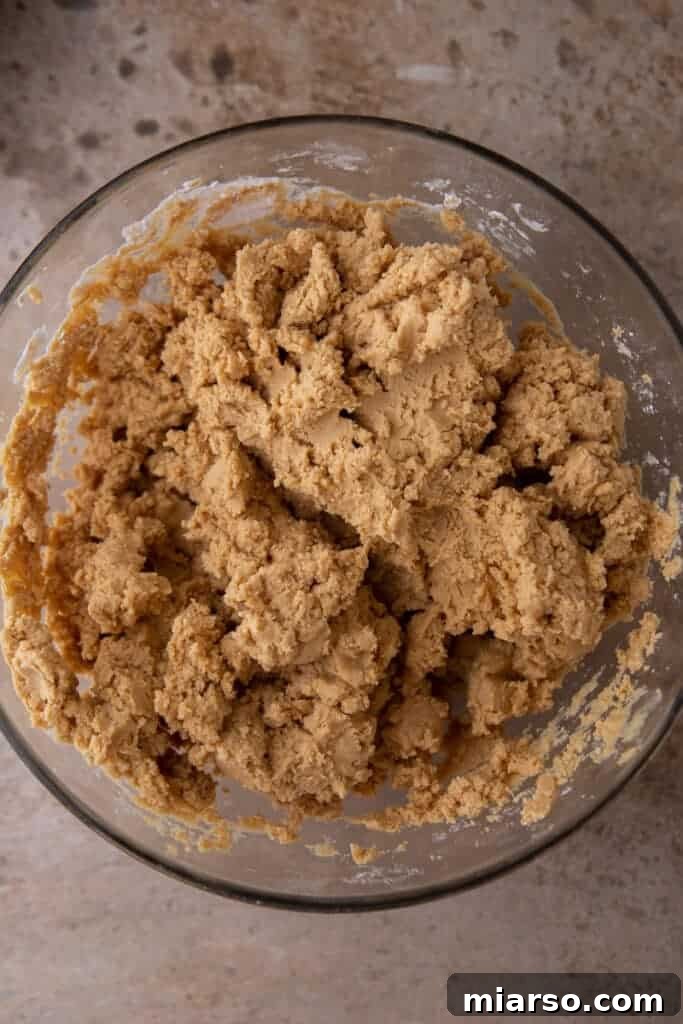
- Combine Wet Ingredients: In a large mixing bowl, thoroughly combine the creamy peanut butter and the softened butter. For the smoothest and quickest results, an electric mixer is highly recommended over a whisk or wooden spoon. Beat until the mixture is light, creamy, and well-integrated.
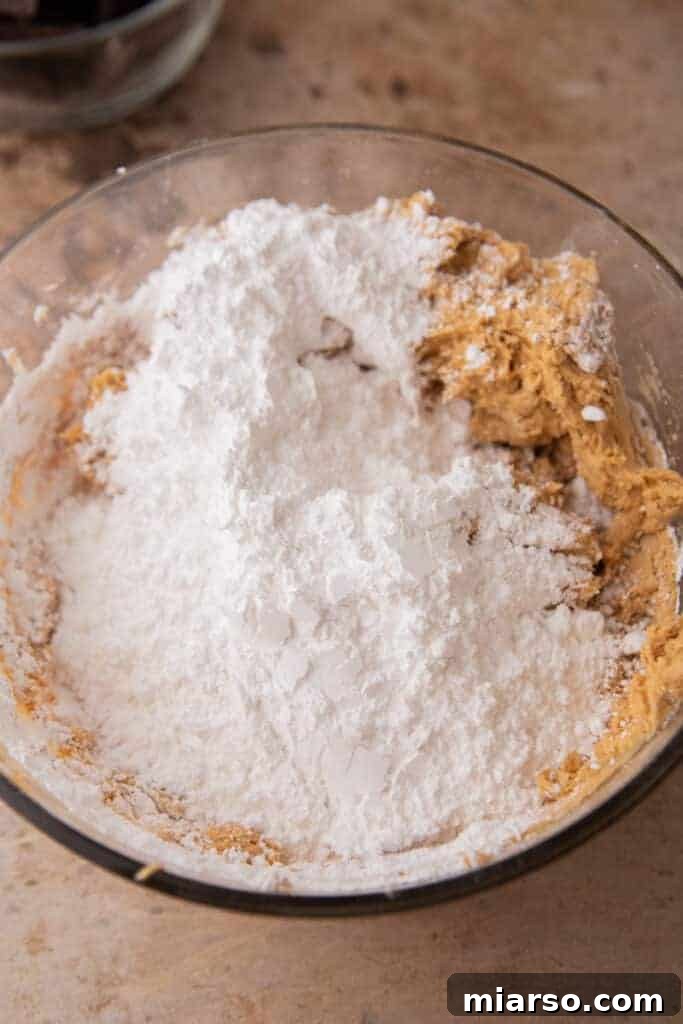
- Incorporate Dry Ingredients: Gradually add the powdered sugar to the peanut butter mixture, mixing on low speed until mostly combined. Then, stir in the vanilla extract and salt. Continue mixing until all ingredients are fully incorporated and the mixture forms a soft, slightly crumbly dough. Be careful not to overmix once the powdered sugar is added.
- Press into Pan: Transfer the peanut butter mixture into your prepared pan. Using your hands or the back of a spoon, gently but firmly press the mixture into an even, compact layer across the bottom of the pan. Ensure it’s uniform for consistent bars.
Creating the Smooth Chocolate Layer:
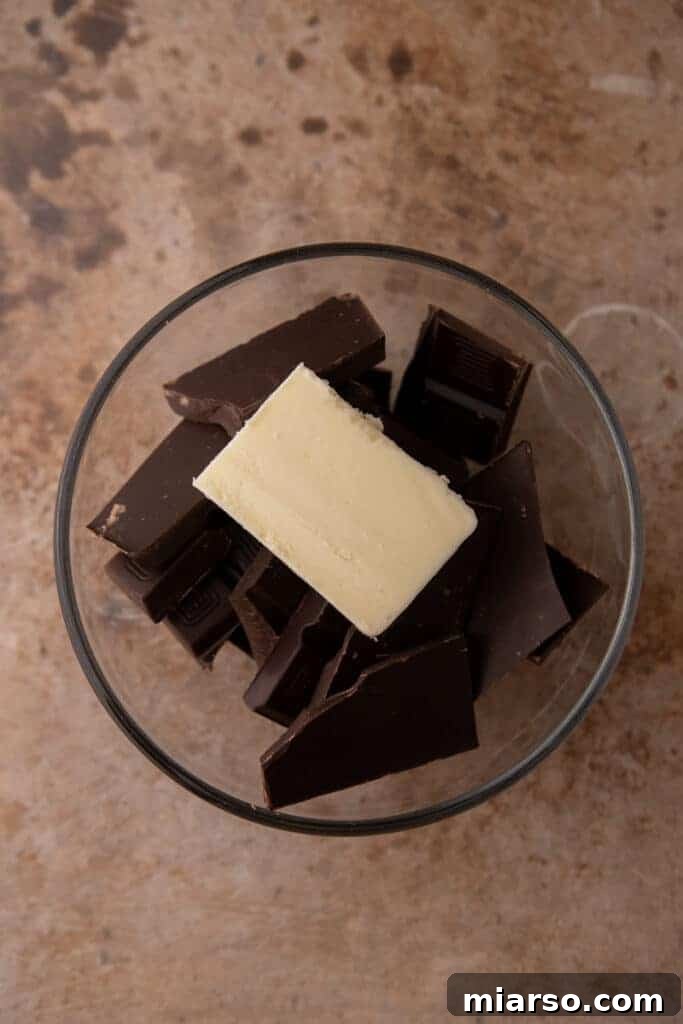
- Melt the Chocolate: In a separate microwave-safe bowl, combine your chocolate chips (or chopped chocolate) and the remaining butter. Melt the mixture in the microwave using 30-second intervals, stirring thoroughly after each interval. Continue this process until the chocolate is completely smooth and free of lumps. Alternatively, you can melt the chocolate over a double boiler for a gentler, more controlled melt.
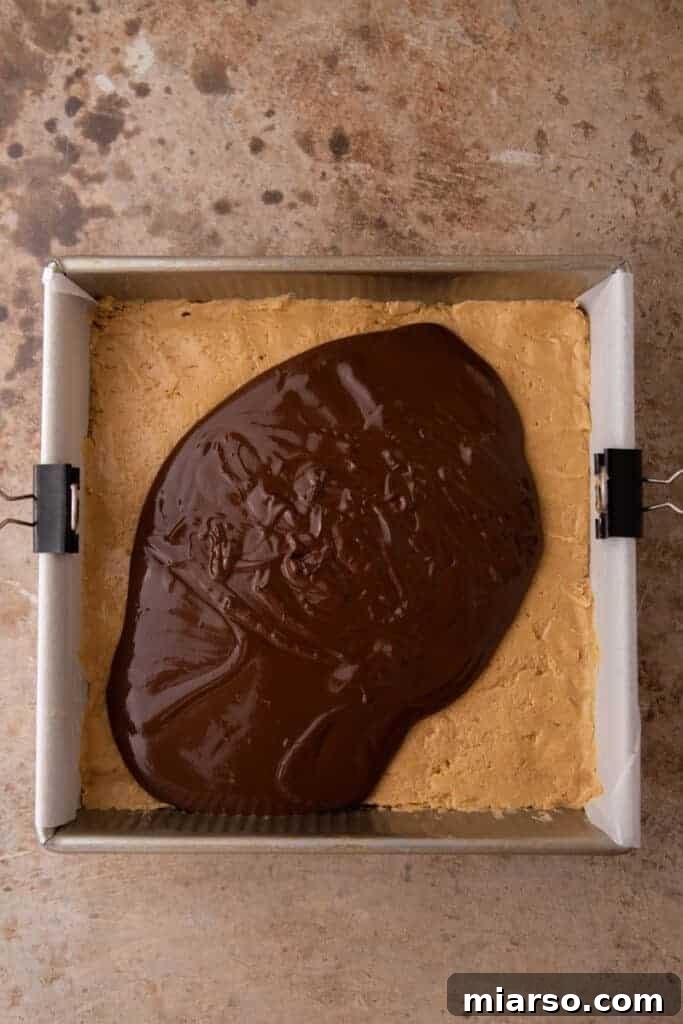
- Pour and Spread: Carefully pour the warm, melted chocolate mixture directly over the pressed peanut butter layer. Using an offset spatula or the back of a spoon, gently and evenly spread the chocolate to cover the entire surface of the peanut butter base. Work quickly but carefully to ensure a smooth, uniform chocolate topping.
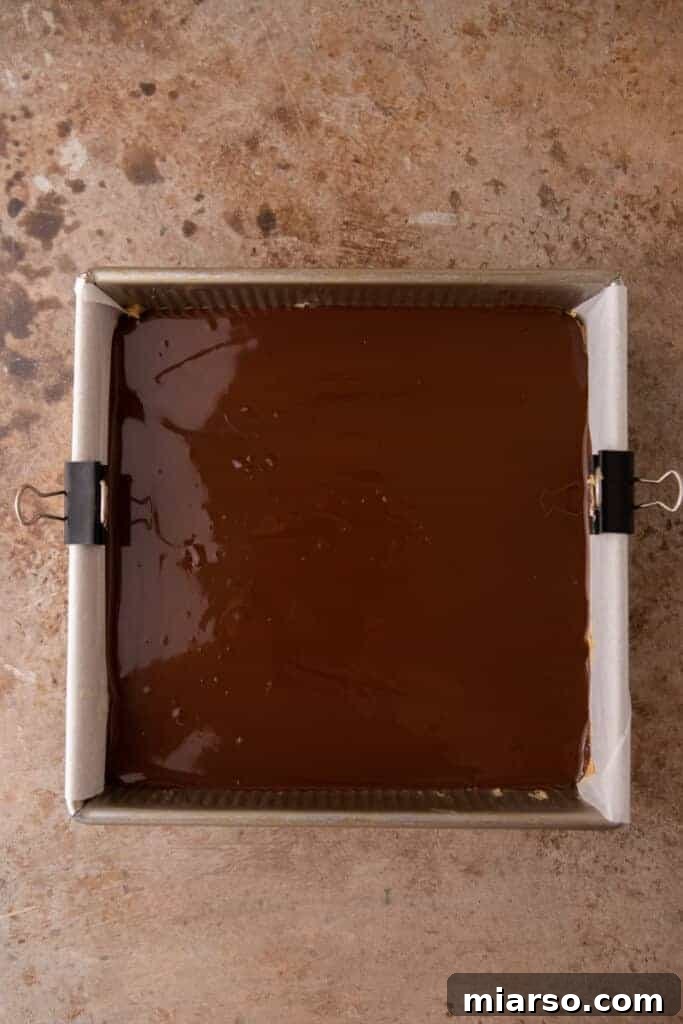
Finishing Touches and Serving:
- Set the Bars: Place the pan in the refrigerator for 10-20 minutes, or until the chocolate layer is completely set and firm to the touch. This chilling time is crucial for both layers to firm up properly, making the bars easier to cut.
- Slice and Enjoy: Once the bars are fully chilled and set, use the parchment paper overhang to lift the entire slab out of the pan. Place it on a cutting board. Using a sharp, warm knife (see tips below for best cutting results), slice your Buckeye Bars into your desired shape and size. Now, your irresistible peanut butter treats are ready to be savored!
Why These Buckeye Bars Will Become Your New Favorite Dessert!
- Effortless No-Bake Perfection: Say goodbye to preheating ovens and waiting around! This is a truly no-bake recipe, meaning less time in the kitchen and more time enjoying your delicious creations. It’s also a fantastic project for involving younger helpers, as there’s no hot oven to worry about.
- The Ultimate Peanut Butter Craving Satisfier: If you’re a peanut butter aficionado, these bars are tailor-made for you. The thick, sweet peanut butter layer is intensely flavorful, providing that satisfying, nutty goodness you crave.
- Simple Ingredients, Incredible Results: You won’t need a trip to a specialty store for this recipe. It calls for a handful of common pantry staples, making it an accessible and budget-friendly dessert that delivers extraordinary flavor.
- Perfect for Any Occasion: From casual family desserts to impressive party treats, these Buckeye Bars fit right in. Their ease of preparation and universal appeal make them a go-to choice for potlucks, holidays, or just a sweet pick-me-up.
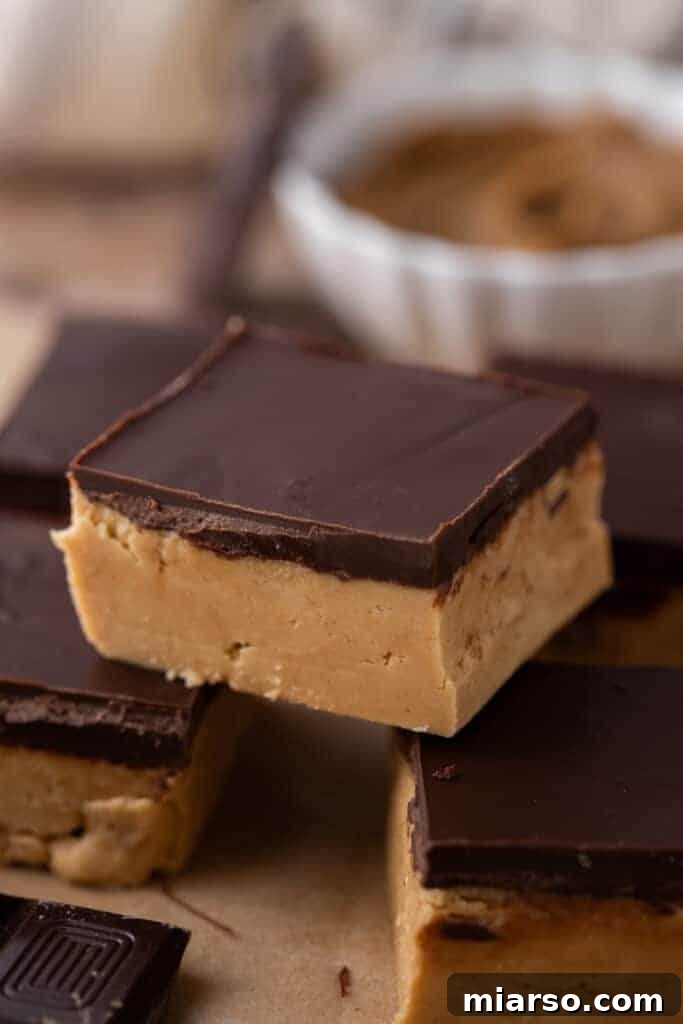
Frequently Asked Questions – FAQ for Buckeye Bars
How to Properly Store These Buckeye Bars?
To maintain their fresh taste and perfect texture, store your homemade Buckeye Bars in an airtight container. Place the container in the refrigerator, where the bars will remain delicious for up to two to three weeks. For best results, allow them to come closer to room temperature for about 10-15 minutes before serving to soften the chocolate and peanut butter layers slightly.
What’s the Best Way to Freeze Buckeye Bars?
Buckeye Bars freeze beautifully, making them an excellent make-ahead dessert! For optimal freshness and to prevent freezer burn, the best method is to individually wrap each sliced bar tightly in plastic wrap. Then, place the wrapped bars in a freezer-safe airtight container or heavy-duty freezer bag. Stored this way, they can remain fresh for up to three months. To enjoy, simply thaw them in the refrigerator overnight or at room temperature for a couple of hours.
If you’re pressed for time or don’t need them to last for several months, you can “flash-freeze” them. Arrange the cut bars in a single layer on a baking sheet, ensuring a little space between each piece. Freeze for about an hour, or until solid. Once frozen, you can transfer them all together into an airtight container or bag and store them in the freezer until you’re ready to indulge. This prevents them from sticking together.
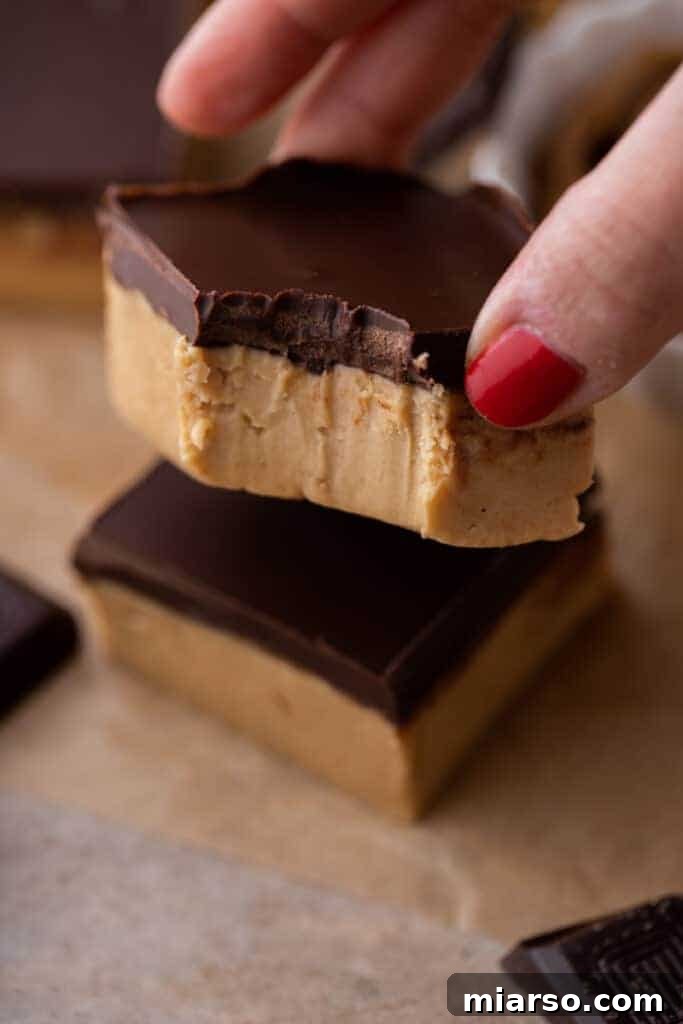
Ingredient Substitutions and Creative Flavor Variations for Your Buckeye Bars
This Buckeye Bars recipe is incredibly forgiving and open to customization, allowing you to tailor it to dietary needs or simply explore new flavor combinations!
- Chocolate Alternatives: Instead of classic semi-sweet chocolate, try using dark chocolate chips or bars for a richer, less sweet topping. For a sweeter, creamier finish, milk chocolate chips are a fantastic option. And for a truly unique twist, white chocolate would offer a delightful aesthetic and flavor variation, perhaps even with a drizzle of dark chocolate on top!
- Nut Butter Swaps: While peanut butter is traditional, you can easily substitute it with other creamy nut butters like almond butter, cashew butter, or even sunflower seed butter for a nut-free option (ensure it’s safe for those with allergies). Keep in mind that different nut butters have varying levels of thickness and oiliness, so you may need to slightly adjust the amount of powdered sugar to achieve the desired consistency for your peanut butter layer.
- Adding Texture and Crunch: For an exciting textural element and a hint of nostalgic flavor, consider folding graham cracker crumbs into the peanut butter mixture. This adds a subtle crunch and a wonderful, comforting taste reminiscent of childhood treats. You could also sprinkle a pinch of sea salt on top of the chocolate layer before it sets for a sophisticated sweet and salty finish.
- Extra Toppings: Before the chocolate sets, consider adding fun toppings! Sprinkles, chopped nuts (peanuts, pecans, walnuts), mini chocolate chips, or even crushed candies can add visual appeal and extra flavor.
The Secret to Cutting Buckeye Bars Without Cracking the Chocolate
Achieving perfectly clean cuts through the chocolate layer can sometimes be tricky, but here’s a foolproof secret that will make slicing your Buckeye Bars a breeze:
The first crucial step is to ensure the chocolate is properly set and solidified. It should be firmer than room temperature but not rock-hard cold. The 10-20 minute refrigeration period specified in the recipe is ideal for achieving this perfect consistency – just enough to firm up, but not so cold that it becomes brittle.
Second, and most importantly, you’ll want to use a warm knife. Fill a tall glass or mug with warm (not boiling) water and place a sharp, thin-bladed knife into it for about a minute or two. Carefully remove the knife from the water, thoroughly dry it with a paper towel (this prevents water spots on your chocolate), and then make your first slice. After each cut, dip the knife back into the warm water, dry it off, and then proceed with the next slice. This warming process helps the knife glide effortlessly through the chocolate, creating clean, crisp edges without any unsightly cracks or breaks.
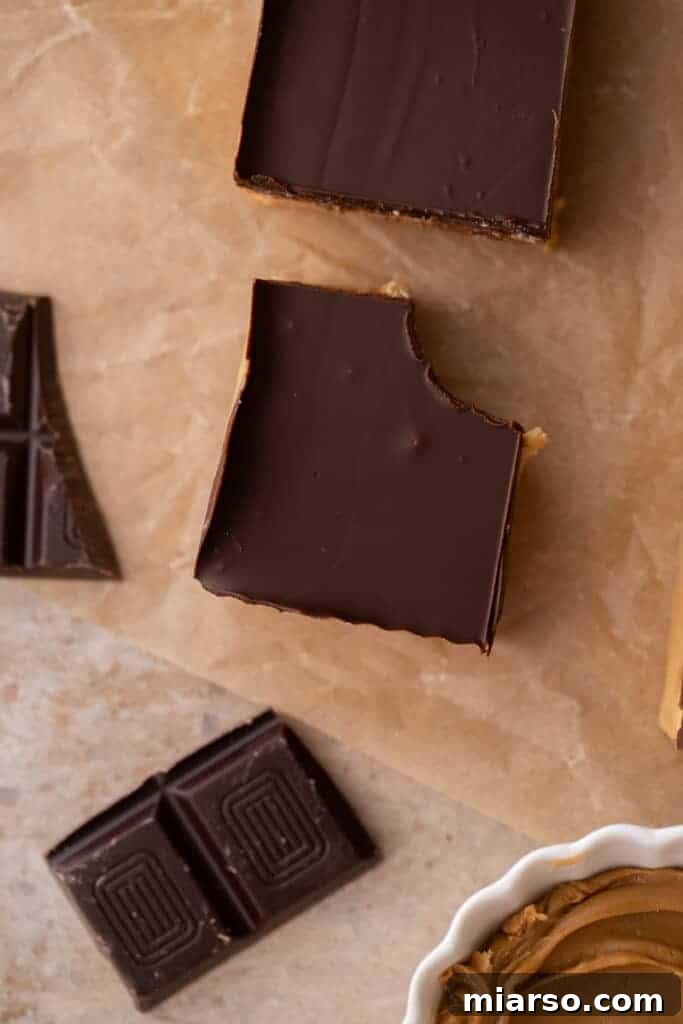
The Best No-Bake Buckeye Bars Recipe
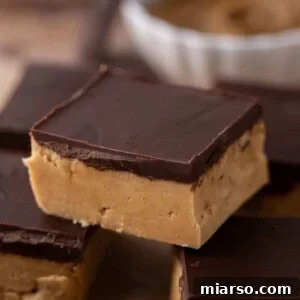
Buckeye Bars Recipe
This delightful Buckeye bar recipe features a luscious, sweet peanut butter layer perfectly complemented by a rich, thick chocolate topping. An effortless no-bake dessert that’s always a crowd-pleaser!
Prep time: 15 mins
Total time: 30 mins
Yields: 16 servings
Print Recipe
Ingredients
Peanut Butter Layer
- 2 cups creamy peanut butter
- 1/2 cup unsalted butter, softened
- 1/2 teaspoon fine salt
- 1 teaspoon vanilla extract
- 3 & 1/2 cups powdered sugar
Chocolate Layer
- 12 oz semi-sweet chocolate chips (or chopped chocolate)
- 3 tablespoons unsalted butter
Instructions
- Line an 8×8 inch pan with parchment paper or aluminum foil, leaving an overhang, and set aside.
- In a large bowl, combine the creamy peanut butter and softened butter using an electric hand mixer until a smooth mixture forms.
- Slowly add the powdered sugar and mix until almost combined. Then, add the vanilla extract and salt and mix again until all ingredients are fully incorporated and the mixture is slightly crumbly.
- Press the peanut butter mixture evenly into the prepared pan, creating a smooth, compact layer.
- In a microwave-safe bowl, combine the chocolate chips and the 3 tablespoons of butter. Melt in the microwave in 30-second intervals, stirring thoroughly in between each time until completely smooth.
- Pour the melted chocolate mixture over the peanut butter layer and gently spread it with an offset spatula to cover the entire surface evenly.
- Allow the bars to set in the fridge for 10-20 minutes, or until the chocolate is firm and no longer melted.
- Once set, use the parchment paper overhang to lift the entire block of bars from the pan. Place on a cutting board. Using a sharp, warmed knife (refer to the “How to Cut” tips below), slice your bars into desired squares or rectangles and enjoy your delightful peanut butter treats!
Notes
How to Cut the Bars Without Cracking the Chocolate?
To achieve perfectly clean slices, ensure the chocolate is set but not overly hard (10-20 minutes in the fridge is perfect). Then, fill a tall glass with warm water and immerse a sharp knife for a minute or two. Carefully dry the knife completely, then slice. Re-warm and dry the knife between each cut for best results. This technique allows the warm blade to glide smoothly through the chocolate without cracking it.
Nutrition
Nutrition information is automatically calculated and should only be used as an approximation.
Calories: 473 | Carbohydrates: 46g | Protein: 8g | Fat: 32g | Saturated Fat: 13g | Polyunsaturated Fat: 4g | Monounsaturated Fat: 13g | Trans Fat: 0.3g | Cholesterol: 21mg | Sodium: 277mg | Potassium: 247mg | Fiber: 3g | Sugar: 40g | Vitamin A: 243IU | Calcium: 24mg | Iron: 1mg
Enjoyed this recipe? Leave a comment below and let us know what you think!
Shop Smarter for This Recipe
This post may contain affiliate links, meaning that at no additional cost to you, I will earn a small commission on purchases made through these links. Your support helps keep this blog running!
If You Adored This Buckeye Bars Recipe, Don’t Forget to Pin It for Later!