
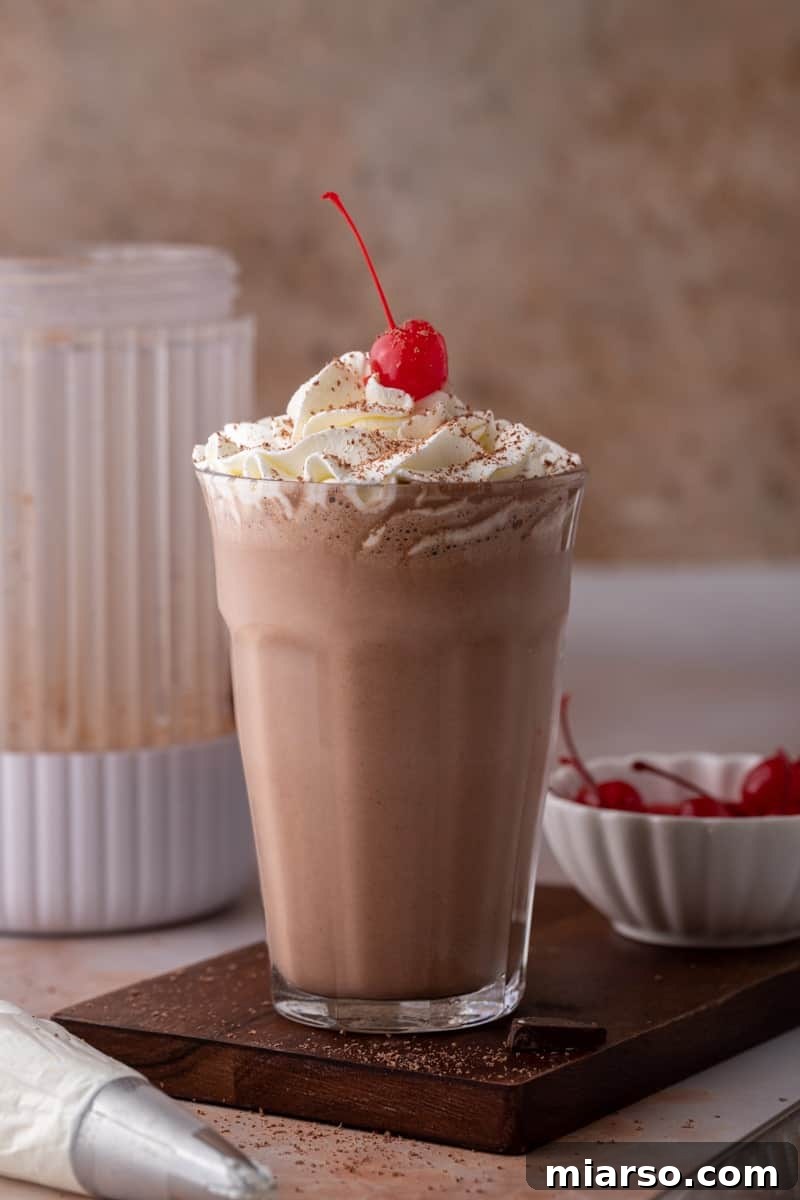
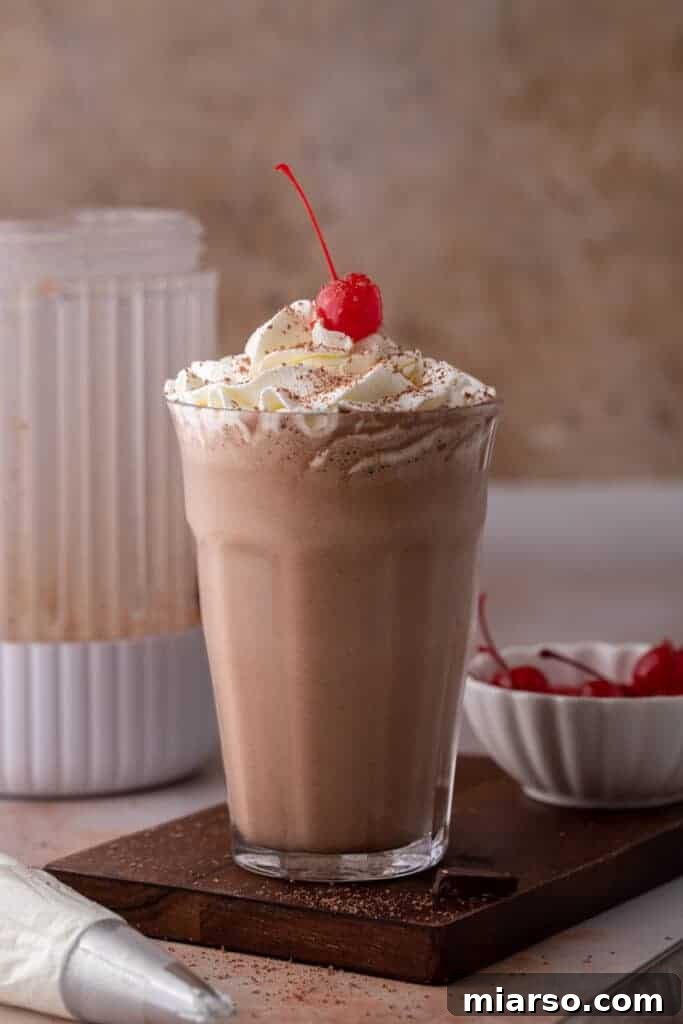
Indulge in the ultimate chocolate fantasy with this homemade chocolate milkshake recipe that promises to be thicker, creamier, and undeniably more satisfying than any diner offering. Crafted with just a few fundamental ingredients – premium vanilla ice cream, fresh milk, rich chocolate syrup, and a hint of unsweetened cocoa powder for an unparalleled depth of flavor – this decadent treat comes together in mere minutes. Imagine a tall, frosty glass filled with a velvety smooth chocolate concoction, crowned with a generous swirl of whipped cream and a vibrant maraschino cherry. It’s pure bliss, a genuine taste of chocolate heaven that’s perfect for satisfying any sweet craving or cooling down on a warm day.
My roommate just had dental implants in so made her chocolate shake per this recipe and it was great!
– Susan
If you’re a fan of delightful blended beverages and looking for more refreshing recipes, be sure to explore our guides on crafting a perfect Starbucks Vanilla Bean Frappuccino Recipe, mastering the iconic McDonald’s Caramel Frappuccino, and creating an irresistible Homemade Iced Mocha Coffee Recipe. Each offers a unique way to enjoy your favorite café-style drinks from the comfort of your kitchen.
Crafting the Perfect Chocolate Milkshake: Why This Recipe Stands Out
When it comes to the ultimate chocolate milkshake, this recipe isn’t just good; it’s exceptional. It consistently delivers that sought-after thick, rich, and wonderfully creamy texture reminiscent of classic diner shakes, all while being incredibly easy to prepare. Here’s a closer look at what makes this particular recipe a true standout in the world of frozen treats:
- Double the Chocolate Depth: Unlike many recipes that rely solely on chocolate syrup, ours incorporates both high-quality chocolate syrup and unsweetened cocoa powder. This ingenious combination creates a multi-layered chocolate flavor that is intensely rich, complex, and incredibly satisfying, without being overly sweet. It’s a deep, dark chocolate experience that will delight true chocoholics.
- Incredibly Thick and Creamy, Never Watery: The secret to its perfect consistency lies in careful ingredient ratios and the absence of ice. Ice, while seemingly a good idea for chilling, dilutes the milkshake and compromises its luxurious texture. Our recipe achieves its ideal thickness solely through the magic of ice cream and milk, ensuring every sip is a dense, creamy delight.
- Infinitely Customizable with Your Favorite Toppings: While delicious on its own, this milkshake serves as a blank canvas for personalization. Whether you prefer classic whipped cream and a cherry, a sprinkle of chocolate shavings, mini chocolate chips, or even a drizzle of caramel, the possibilities are endless. It’s designed to be your signature creation.
- Rich Flavor Profile, Balanced Sweetness: We’ve carefully balanced the sweetness to ensure a decadent experience without being cloying. The blend of vanilla ice cream, chocolate syrup, and cocoa powder results in a deeply chocolatey taste that highlights the quality of each ingredient, making it a sophisticated treat suitable for all palates.
- Simple Ingredients You Likely Already Have: Forget obscure or expensive items. This recipe utilizes common kitchen staples like vanilla ice cream, milk, chocolate syrup, and cocoa powder. This means you can whip up this divine milkshake whenever a craving strikes, without a special trip to the grocery store.
Let’s Chit Chat!
Okay, listen… I am not exaggerating when I say this chocolate milkshake is one of the profound reasons I fell head over heels in love with American desserts. When I first moved to the U.S., my inaugural real milkshake moment was nothing short of iconic. I remember everything vividly: the impossibly thick straw, the towering cloud of whipped cream, the glistening maraschino cherry perched perfectly on top. It felt like I had stepped directly into one of those quintessential high school movies I grew up watching, a scene of pure, unadulterated joy.
Naturally, such a memorable experience demanded replication at home. What followed were many (and I mean *many*) attempts to capture that authentic diner-style magic. Each iteration brought me closer, refining the balance of sweetness and chocolate intensity, experimenting with different milks and ice creams. And finally, I cracked it! This is the one. This recipe tastes exactly like the dream shakes we yearn for—thick, incredibly creamy, profoundly chocolatey, and almost ridiculously easy to make. This isn’t just a recipe; it’s your new go-to whenever that irresistible chocolate craving hits, guaranteeing a nostalgic, delicious escape every single time.
Essential Ingredients for Your Creamy Chocolate Milkshake
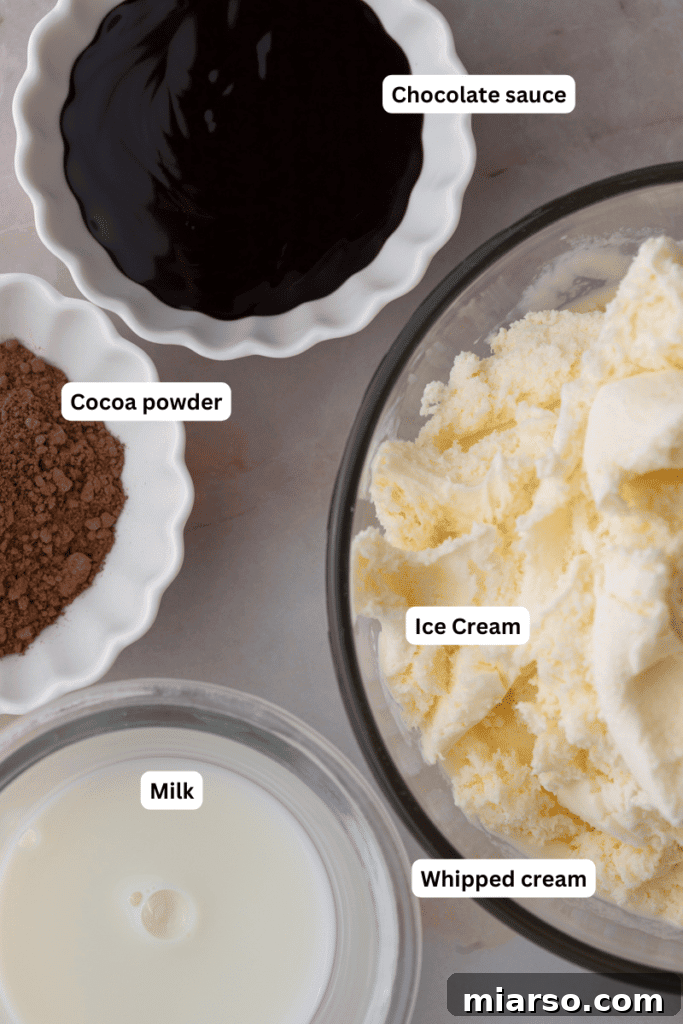
Creating an exceptionally creamy and flavorful chocolate milkshake begins with selecting the right ingredients. The beauty of this recipe lies in its simplicity, utilizing components that are readily available and work together to produce a spectacular result. Here’s a detailed look at what you’ll need to assemble your perfect frosty treat:
- Vanilla Ice Cream: The foundation of any great milkshake, vanilla ice cream provides the creamy texture and a subtle sweetness that complements the chocolate beautifully. While any quality vanilla ice cream you enjoy will work, a higher fat content often translates to a richer, smoother milkshake. For an even deeper chocolate experience, you can absolutely substitute chocolate ice cream, or even a swirl of both for a unique blend. Ensure your ice cream is slightly softened (not melted) for easier blending.
- Milk: Milk is crucial for achieving the desired liquid consistency and helping the ingredients blend smoothly. Whole milk is highly recommended for its richness and ability to contribute to that iconic thick, creamy mouthfeel. Its higher fat content enhances the overall luxuriousness of the shake. However, you can experiment with other options: for a slightly lighter shake, half nonfat milk and half heavy cream can be used to maintain some creaminess without being excessively heavy. Always make sure your milk is well-chilled before blending for the coldest, most refreshing result.
- Chocolate Syrup: This is where a significant portion of the chocolate flavor comes from. The quality of your chocolate syrup truly makes a difference here. Opt for a premium brand that you love the taste of, as its flavor will shine through prominently. Whether it’s a classic Hershey’s, a gourmet dark chocolate syrup, or a homemade version, ensure it’s rich and flavorful for the best possible milkshake.
- Cocoa Powder: This unsung hero elevates the chocolate profile from good to extraordinary. Adding a tablespoon of unsweetened cocoa powder intensifies the chocolate depth, giving the milkshake a more robust and sophisticated flavor that’s hard to achieve with syrup alone. It balances the sweetness of the ice cream and syrup, creating a more complex and truly decadent chocolate experience.
- Whipped Cream (Optional): No classic diner milkshake is complete without a generous cloud of whipped cream on top. You can use a convenient store-bought aerosol can for ease, or whip up your own homemade cream for an extra touch of fresh, airy deliciousness. It adds a lovely contrast in texture and a delightful creamy finish.
- Chocolate Shavings, Sprinkles, or Mini Chocolate Chips (Optional): For the ultimate presentation and an extra textural element, garnish your milkshake. A sprinkle of chocolate shavings adds elegance, colorful sprinkles bring a playful touch, and mini chocolate chips provide delightful little bursts of chocolate in every sip. Maraschino cherries are also a classic, vibrant addition.
Mastering the Art of a Thick & Creamy Chocolate Milkshake: A Step-by-Step Guide
Achieving that perfectly thick, wonderfully creamy chocolate milkshake is simpler than you might think. With just a few basic steps, you’ll be enjoying a gourmet-quality beverage in no time. Follow these detailed instructions to create a milkshake that rivals any professional establishment:
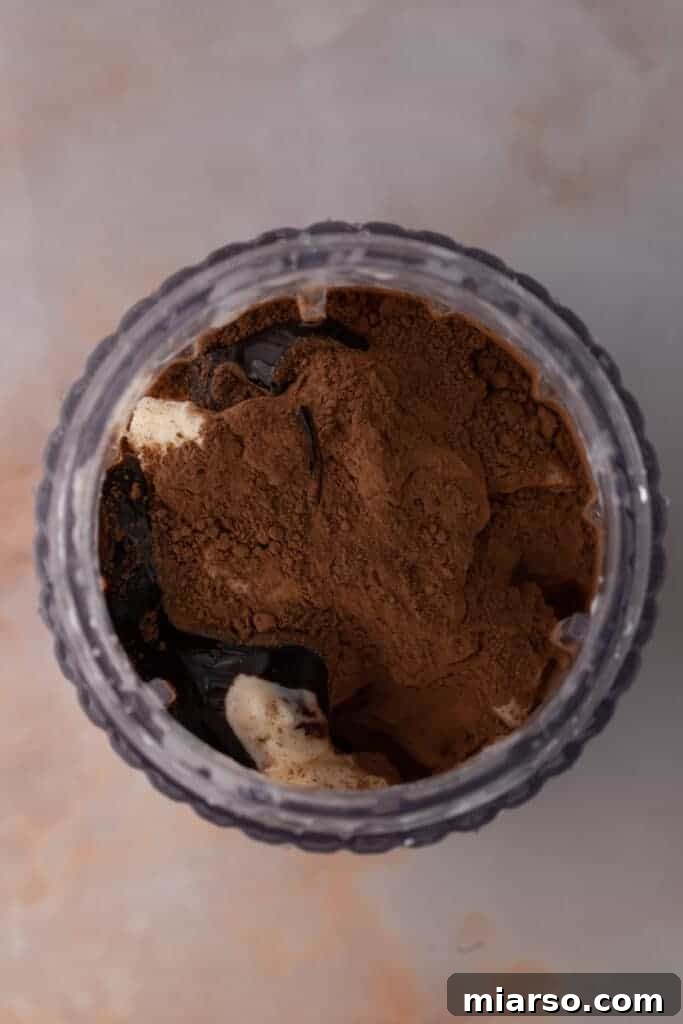
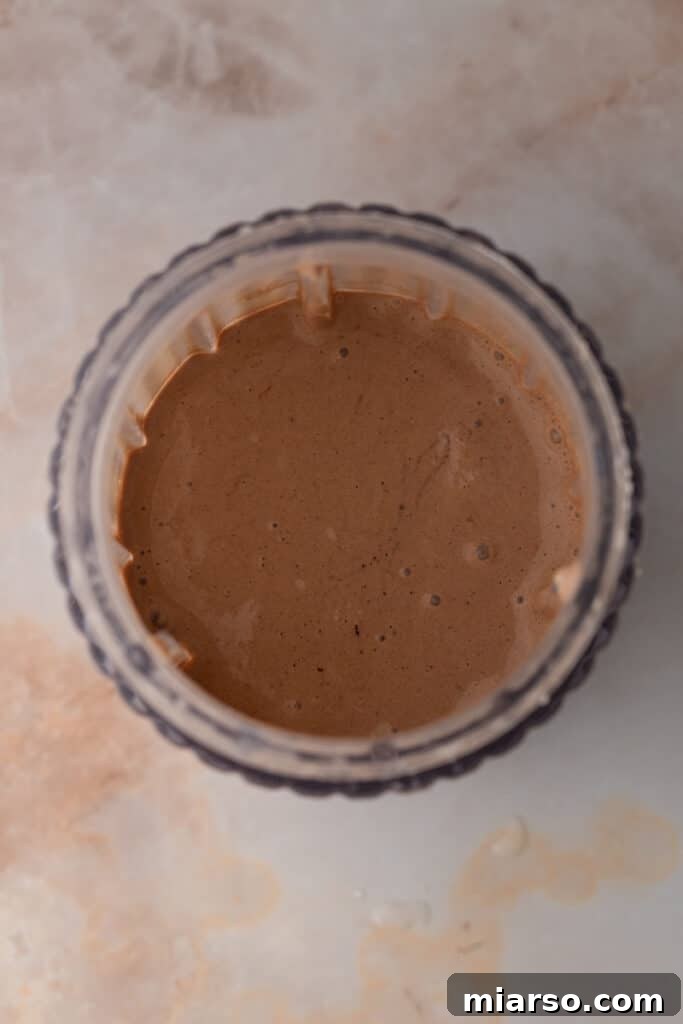
- Gather and Blend Your Core Ingredients: Begin by adding your chilled vanilla ice cream, cold milk, rich chocolate syrup, and a dash of cocoa powder into a high-speed blender. The key here is to use very cold ingredients, as this helps maintain the thick consistency. Start blending on a low setting and gradually increase the speed, scraping down the sides with a spatula if needed, until all ingredients are perfectly smooth and thoroughly combined. Avoid over-blending, which can warm the milkshake and make it runny. Your aim is a velvety, uniform texture.
- Achieving Your Perfect Consistency: As you blend, keep an eye on the milkshake’s thickness. If you desire a slightly thinner consistency, add milk incrementally, a tablespoon at a time, blending briefly after each addition until it reaches your preference. Conversely, if you prefer an even thicker, more spoonable milkshake, add an extra scoop or two of vanilla ice cream and blend until smooth again. The beauty of this recipe is its flexibility to cater to your specific texture desires.
- Taste and Adjust Flavor: Before serving, take a small taste. This is your chance to fine-tune the chocolate intensity and sweetness. If you crave a deeper chocolate flavor, add another splash of chocolate syrup or a pinch more cocoa powder and blend for a few seconds. If it’s not sweet enough, a touch more chocolate syrup or a tiny bit of sugar can be added. This customization ensures your milkshake is exactly to your liking.
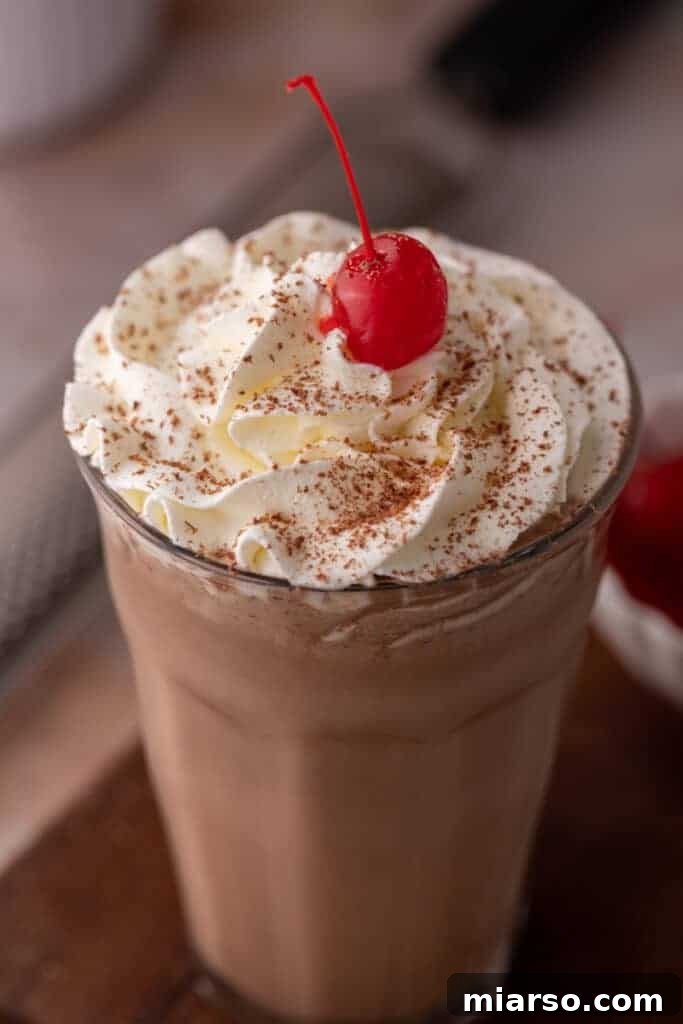
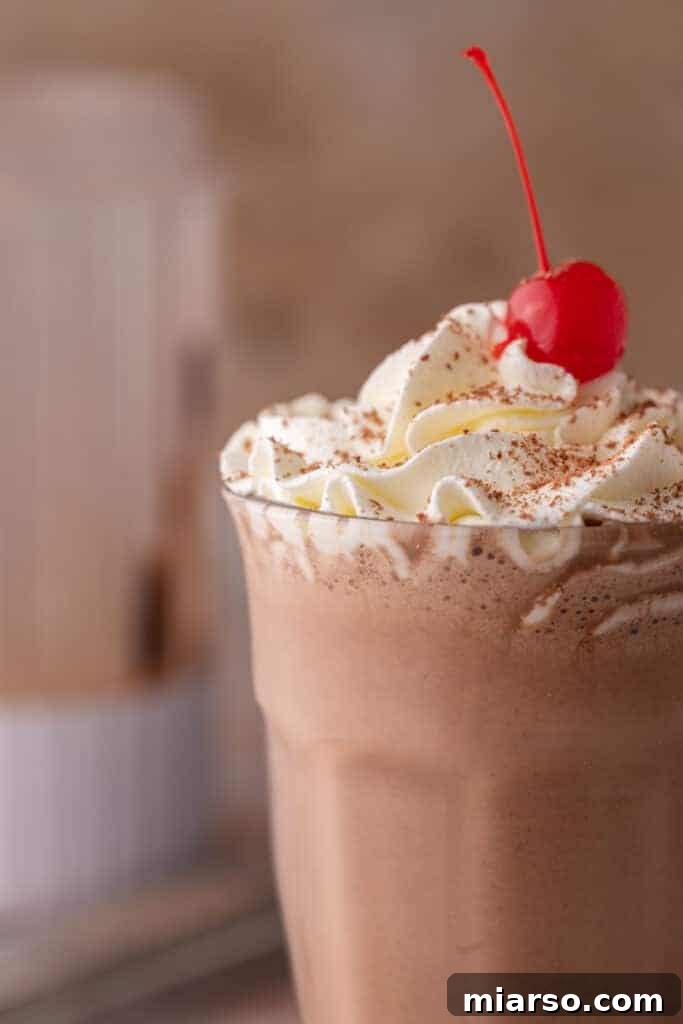
- Pour and Garnish for Presentation: Once satisfied with the flavor and consistency, carefully pour your luscious chocolate milkshake into your chosen glasses. Tall milkshake glasses or classic soda fountain glasses enhance the experience, but mason jars also offer a charming, rustic appeal. For the ultimate indulgence and a visual treat, top your milkshake generously with freshly whipped cream. Finish with a sprinkle of chocolate shavings, a scattering of colorful sprinkles, or a vibrant maraschino cherry.
- Serve Immediately and Savor Every Sip: The best chocolate milkshakes are enjoyed right away, while they are at their coldest and creamiest peak. Hand out long spoons and wide straws, and encourage everyone to dive into this super tasty, decadent treat. The combination of rich chocolate, smooth texture, and delightful toppings makes for an unforgettable dessert or refreshing pick-me-up.
Healthier Twists for Your Homemade Chocolate Milkshake
While this classic chocolate milkshake is a decadent treat, it’s surprisingly easy to adapt it for a healthier version without sacrificing too much of the flavor and enjoyment. Here are some smart swaps to lighten it up:
- Dairy-Free Delight: For those avoiding dairy, substitute traditional dairy milk with plant-based alternatives like almond milk or oat milk. Both offer a creamy texture and mild flavor that blends well with chocolate. Pair these with a high-quality dairy-free vanilla ice cream or frozen banana “nice cream” for a fully vegan shake.
- Reduced Sugar Options: If you’re mindful of sugar intake, swap out regular chocolate syrup for a sugar-free chocolate syrup. Many brands offer excellent sugar-free alternatives that still deliver on taste. Additionally, you can reduce the overall amount of syrup and rely more on unsweetened cocoa powder for intense chocolate flavor.
- Banana for Creaminess and Natural Sweetness: For a completely dairy-free and ice cream-free alternative, use frozen bananas. Slice ripe bananas and freeze them overnight. When blended, they create an incredibly creamy, naturally sweet base that mimics the texture of ice cream. Combine with a splash of plant-based milk, cocoa powder, and a touch of sugar-free syrup if desired.
- Protein Boost: For a more substantial, energy-boosting shake, consider adding a scoop of your favorite chocolate or vanilla protein powder. This is an excellent way to incorporate extra nutrients, especially if you’re enjoying it as a post-workout treat or a healthy meal replacement.
- Add Hidden Veggies: For an extra nutrient kick without altering the taste, blend in a handful of spinach or a small amount of frozen cauliflower. These ingredients are virtually tasteless when combined with strong flavors like chocolate and can add vitamins and fiber.
Achieving the Perfect Milkshake Consistency Every Time
The ideal milkshake consistency is a matter of personal preference, ranging from a thick, spoonable delight to a smooth, sippable beverage. Here’s how to master the art of milkshake texture and get it just right:
- For a Thinner Milkshake: If your milkshake comes out too thick and you prefer a lighter, more easily sippable consistency, simply add more milk. Start with 1-2 tablespoons of cold milk, blend briefly, and check the consistency. Repeat until you reach your desired thinness. Remember, it’s easier to thin a milkshake than to thicken it, so add slowly.
- For a Thicker Milkshake: If your milkshake is too runny or you crave that ultra-thick, diner-style texture, the solution is simple: add more ice cream. Scoop in an additional half-cup or full scoop of vanilla ice cream, then blend until smooth. The extra ice cream will quickly stiffen the shake without diluting its flavor. Alternatively, you can add a few ice cubes made from heavy cream for richness without extra sugar (see FAQ below).
- The Role of Temperature: Using very cold ingredients is paramount. Warm milk or slightly melted ice cream will result in a thinner milkshake. If your ice cream is too soft, pop it back in the freezer for 10-15 minutes before blending.
- Blending Technique: Avoid over-blending. While you want a smooth consistency, blending for too long can generate heat, which melts the ice cream and makes the milkshake thinner. Blend just until combined and smooth.
Frequently Asked Questions – FAQ
Here are some common questions about making the best chocolate milkshake, along with expert tips and advice:
Absolutely! To make a delicious vegan chocolate milkshake, simply substitute traditional dairy milk with your favorite plant-based milk (almond, oat, or soy milk work wonderfully) and use a high-quality dairy-free vanilla ice cream. Ensure your chocolate syrup is also vegan-friendly.
Yes, you can! If you don’t have a blender, you can use a handheld electric mixer. First, let your ice cream soften slightly, then vigorously mash it with a fork until it’s creamy. Gradually whisk in the milk, chocolate syrup, and cocoa powder until everything is well combined and smooth. It might require a bit more effort but yields a great result.
No, never! Adding ice is generally discouraged for milkshakes. While it makes the drink cold, ice quickly waters down the milkshake as it melts, ruining the thick, creamy texture that makes a milkshake so enjoyable. For thickness, always use extra ice cream instead of ice.
A chilled milkshake glass or a tall, sturdy glass is ideal. Chilling your glass beforehand helps keep the milkshake colder and thicker for longer. Simply place your serving glasses in the freezer for about 10-15 minutes before you plan to serve. This small step makes a big difference in maintaining the milkshake’s consistency and refreshment.
Whole milk is recommended for its higher fat content, which significantly contributes to the milkshake’s rich mouthfeel and overall creaminess. It creates a more luxurious and satisfying texture, closer to a traditional diner-style shake. While lower-fat milk can be used, it may result in a slightly thinner and less decadent shake.
If you have any leftovers (which is rare with this delicious recipe!), you can freeze them in an airtight container. When you’re ready to enjoy it again, let it soften at room temperature for 5-10 minutes, or blend it briefly in a blender until it regains its desired drinkable consistency.
A high-speed blender is the most efficient and effective tool for making a perfectly smooth and thick milkshake. However, an immersion blender or a sturdy hand mixer can also yield great results, especially if you soften your ice cream slightly before mixing.
To achieve extra thickness without increasing the sweetness, try blending in a few frozen heavy cream cubes. Simply pour heavy cream into an ice cube tray and freeze. These will add richness and body to your milkshake without additional sugar, maintaining a balanced flavor profile.
If your milkshake ends up being too runny, the easiest fix is to simply add more ice cream. Scoop in an additional half-cup to a full cup of cold vanilla ice cream and blend again until the desired thick consistency is achieved. Ensure all ingredients were very cold to begin with.
The Best Chocolate Milkshake EVER!
5
5
2 serving
Print Recipe
Ingredients
- 3 cups vanilla ice cream
- 1/4 cup milk adjust for desired thickness
- 3 tablespoons chocolate syrup
- 1 tablespoon cocoa powder
- Whipped cream for topping, optional
- Chocolate shavings or sprinkles for garnish, optional
Instructions
-
Add the vanilla ice cream, milk, chocolate syrup, and cocoa powder to a blender. Blend everything until smooth and combined. If you prefer a thicker milkshake, you can add more ice cream. If you want a thinner consistency, add a little more milk.3 cups vanilla ice cream, 1/4 cup milk, 3 tablespoons chocolate syrup, 1 tablespoon cocoa powder
-
Taste the milkshake and adjust the sweetness and chocolate flavor by adding more chocolate syrup or cocoa powder, if desired.
-
Pour the chocolate milkshake into glasses, top the milkshake with whipped cream, chocolate shavings, or sprinkles for extra indulgence.Whipped cream, Chocolate shavings or sprinkles
-
Serve the chocolate milkshake immediately while it’s still cold and creamy. Use a straw or a long spoon to enjoy every sip.
Notes
Nutrition
Calories: 510Calories
|
Carbohydrates: 69g
|
Protein: 9g
|
Fat: 22g
|
Saturated Fat: 14g
|
Polyunsaturated Fat: 1g
|
Monounsaturated Fat: 6g
|
Cholesterol: 88mg
|
Sodium: 193mg
|
Potassium: 550mg
|
Fiber: 3g
|
Sugar: 58g
|
Vitamin A: 896IU
|
Vitamin C: 1mg
|
Calcium: 301mg
|
Iron: 1mg
Nutrition information is automatically calculated, so should only be used as an approximation.
Like this? Leave a comment below!