
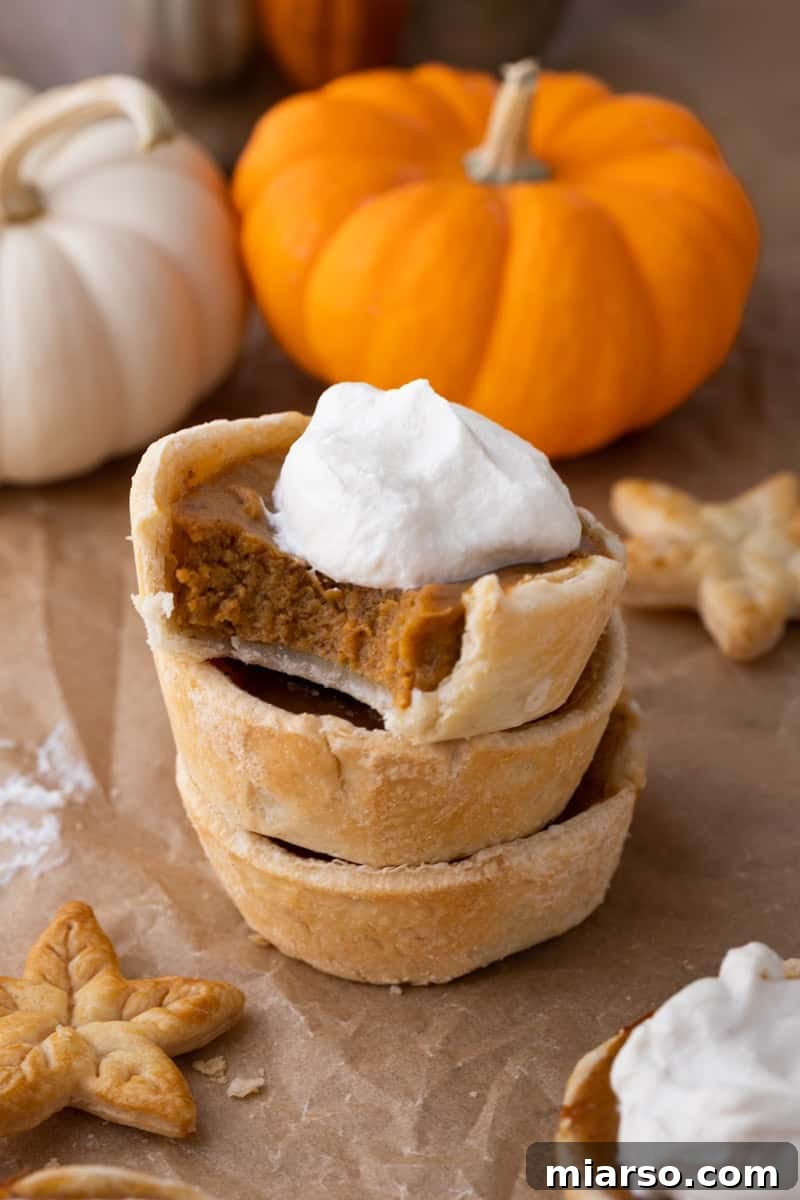
Welcome to the ultimate guide for crafting the most enchanting mini pumpkin pies! These delightful individual desserts are the epitome of fall comfort and holiday cheer. Imagine a perfectly buttery, flaky crust embracing a rich, creamy pumpkin custard filling, all crowned with a generous swirl of light, ethereal whipped cream. They encapsulate everything you adore about traditional pumpkin pie, but in a charming, handheld format that’s utterly irresistible. Ideal for Thanksgiving feasts, Friendsgiving gatherings, or any festive autumn celebration, these individual pumpkin desserts are guaranteed to be the first to disappear from your dessert spread.
If you’re a fan of festive, bite-sized treats, you’ll also love exploring these other delectable recipes: mini pecan pies, this incredible pecan pie bar recipe, our creamy pumpkin cheesecake bar recipe, the popular pumpkin pie cookies, and these delightful apple cheesecake bars.
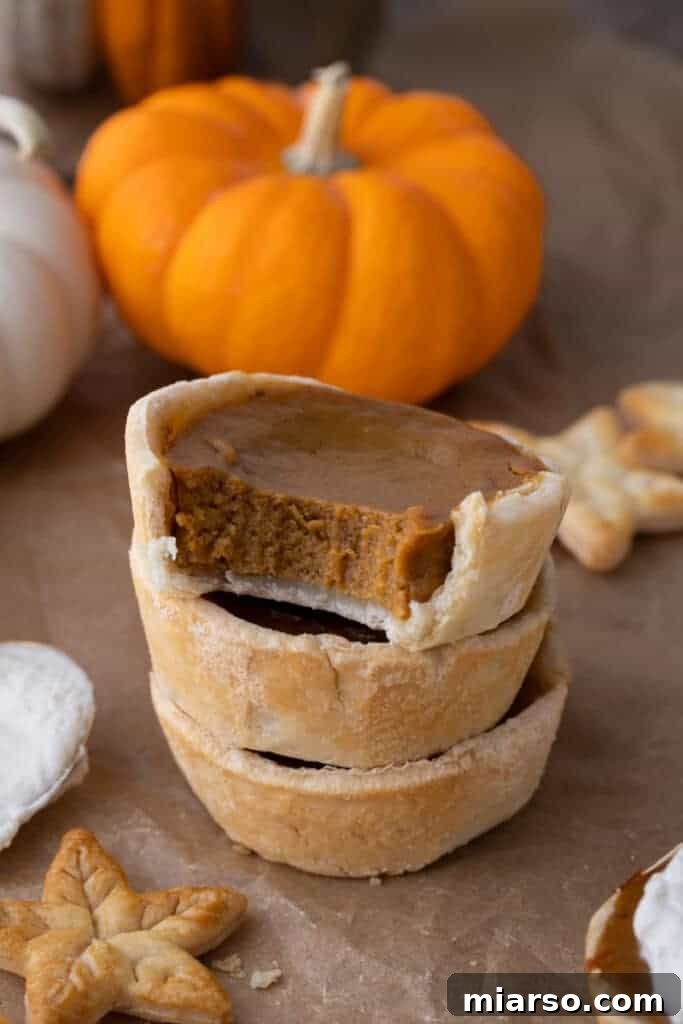
Why These Mini Pumpkin Pies Are a Must-Make Fall Dessert
There’s something uniquely captivating about mini pies. They transcend mere dessert; they are adorable, perfectly portioned culinary masterpieces that elevate any occasion. Their charm lies not just in their size, but in the myriad benefits they offer, making them an absolute favorite for home bakers and dessert enthusiasts alike.
- Perfect for Crust Lovers: With a higher crust-to-filling ratio, every bite delivers that glorious, buttery, flaky pastry. The golden edges provide a satisfying textural contrast to the smooth custard.
- Classic Pumpkin Pie Flavor in Every Bite: You get all the nostalgic, warm, and comforting notes of a traditional pumpkin pie, concentrated into a delightful individual serving.
- Buttery, Golden Crust: Our recipe ensures a crust that’s not just flavorful but also achieves a beautiful golden hue and crisp texture that perfectly complements the creamy filling.
- Creamy, Velvety Pumpkin Custard: The heart of these mini pies is a smooth, perfectly spiced pumpkin custard that melts in your mouth with every spoonful.
- No Special Equipment Needed: Forget fancy pie dishes! A standard muffin tin is all you need to create these charming little treats, making them accessible for any home kitchen.
- Ideal for Any Gathering: Whether it’s a grand holiday party, a casual Friendsgiving, a school potluck, or a thoughtful homemade gift, these mini pies are universally loved.
- Faster Baking Time: Smaller pies mean reduced baking time compared to a full-sized pie, saving you precious minutes during busy holiday preparations.
- Effortless Serving: No slicing, no messy plates! Guests can easily grab their own individual pie, making cleanup a breeze and ensuring perfect portions every time.
- Visually Stunning Presentation: Their petite size makes them incredibly appealing, allowing for beautiful dessert displays and photo-worthy spreads.
A Personal Touch on My Favorite Fall Treat!
Every autumn, I eagerly anticipate the season of pumpkin, and making these easy mini pumpkin pies is always at the top of my list. They represent the simplest yet most effective way to infuse any gathering with that undeniable, nostalgic pumpkin pie moment. There’s a special magic in a tiny pie that you can effortlessly pick up, take a delightful bite into, and savor without any need for cutting, slicing, or the fuss of plates and forks. It’s pure, unadulterated dessert joy.
They’re an absolute hit with kids, perfectly sized for elaborate holiday dessert boards, and if I’m being completely honest, I almost always find myself sneaking one straight from the muffin tin while they’re still delightfully warm. Consider this your friendly warning – they are that good, and that addictive!
Essential Ingredients for the Best Mini Pumpkin Pies Recipe
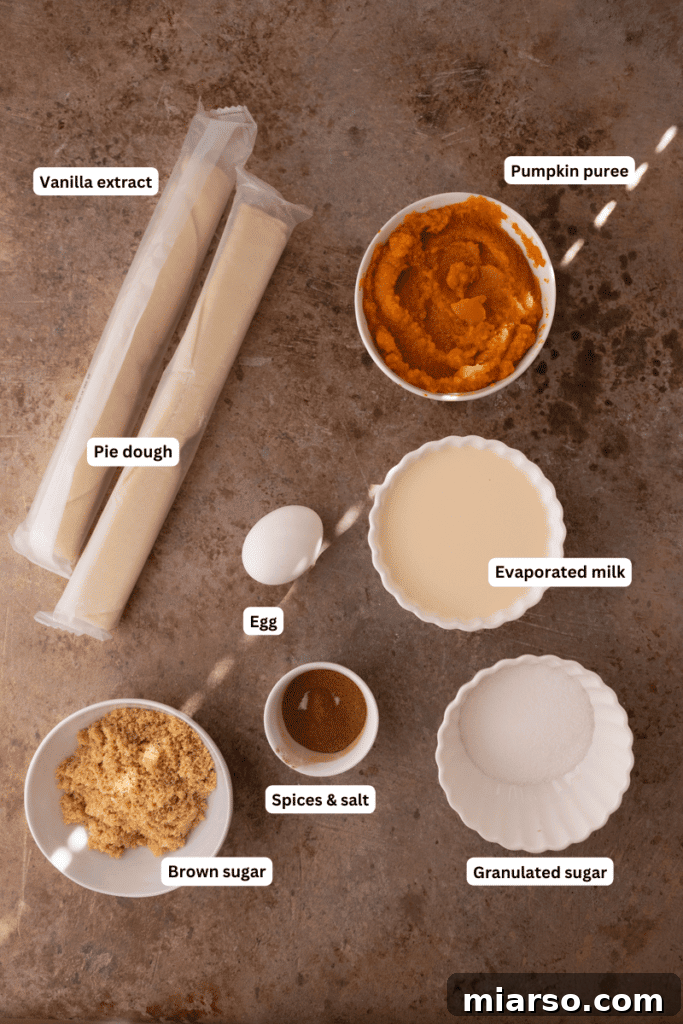
Crafting these irresistible homemade mini pies requires a simple yet potent combination of ingredients, each playing a crucial role in achieving that perfect flavor and texture. Here’s a detailed look at everything you’ll need to create this amazing fall dessert:
- Pie Crust: You have the flexibility to choose between a store-bought refrigerated pie crust for ultimate convenience or a homemade pie crust for that extra touch of artisanal flavor and flakiness. Either way, a good quality crust is the foundation of these pies.
- Pumpkin Puree: This is the star of the show! It’s absolutely crucial to use 100% pure pumpkin puree, not pumpkin pie filling. Pumpkin puree provides the natural flavor and vibrant color without any added sugars or spices, giving you full control over the final taste.
- Pumpkin Pie Spice: While individual spices are listed, a pre-mixed pumpkin pie spice blend can be a convenient shortcut to achieve that signature fall aroma and flavor profile.
- Egg: A large egg acts as the binding agent for the custard. It helps the filling set beautifully, ensuring a firm yet creamy texture once baked.
- Granulated & Brown Sugar: This combination of sugars provides the perfect balance of sweetness and depth. Granulated sugar offers clean sweetness, while brown sugar adds a wonderful caramel-like warmth and a hint of molasses that complements the pumpkin perfectly.
- Salt: Often overlooked, a pinch of salt is vital in dessert recipes. It balances the sweetness, enhances all the other flavors, and prevents the pies from tasting one-dimensional.
- Cinnamon, Ginger, Cloves, Nutmeg: These are the classic, warming spices that define pumpkin pie. Individually, they contribute distinct aromatic notes – cinnamon for warmth, ginger for a zesty bite, cloves for deep earthiness, and nutmeg for subtle sweetness – creating a complex and comforting flavor profile.
- Vanilla Extract: A touch of pure vanilla extract adds a layer of rich, aromatic depth to the pumpkin custard, rounding out the flavors beautifully.
- Evaporated Milk: This unsweetened, concentrated milk is key to achieving a light, incredibly creamy, and smooth custard filling. It provides richness without adding excessive liquid that could make the filling watery.
- Whipped Cream: While optional, a dollop or swirl of freshly whipped cream is highly recommended for topping these mini pies. It adds a delightful lightness, a touch of extra sweetness, and a beautiful visual appeal.
How to Make These Adorable Mini Pumpkin Pies: A Step-by-Step Guide
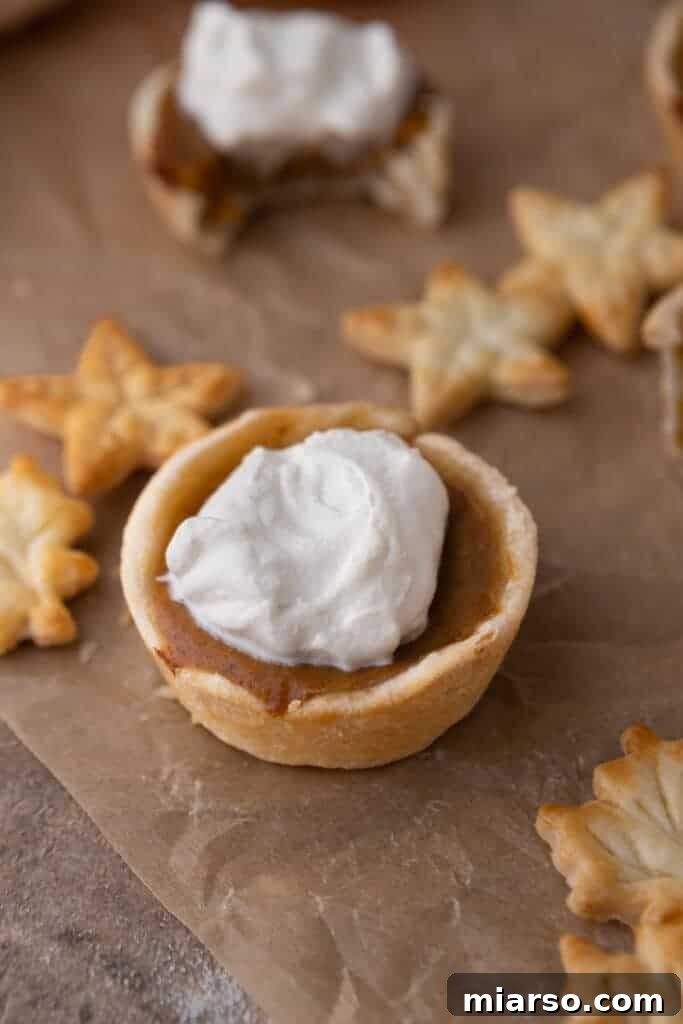
Creating these charming fall dessert ideas is simpler than you might think! Follow these detailed instructions to bake a batch of perfect individual pumpkin pies that will impress everyone. Remember, the full, detailed recipe card is available below for specific measurements and timings.
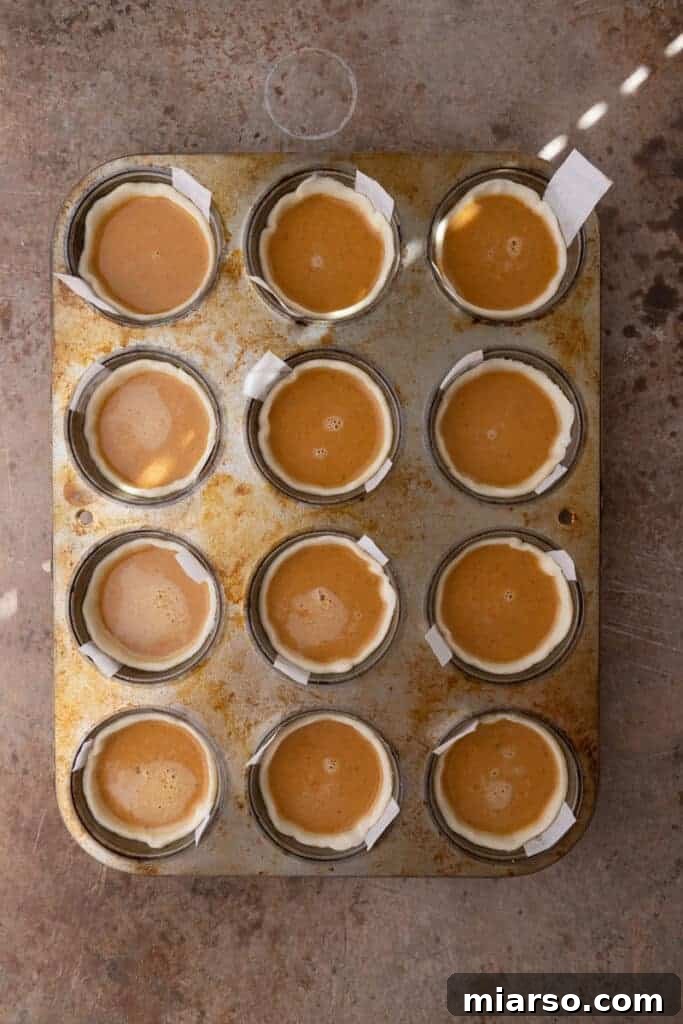
- Prepare Your Muffin Tin: Begin by preheating your oven to 400°F (200°C). While the oven heats, lightly grease each cavity of a standard 12-cup muffin tin with nonstick cooking spray. For even easier removal of your baked pies, consider adding a thin strip of parchment paper across the bottom of each cavity, leaving an overhang on the sides to act as “handles.”
- Roll and Cut the Pie Crust: Lightly flour a clean surface. Carefully unroll your store-bought or homemade pie crust. Using a round cookie cutter or the rim of a glass (approximately 3.5 to 4 inches in diameter), cut out 12 circles. The ideal size should be slightly larger than the muffin tin openings to allow for a nice edge. If you’re short on circles, gently gather and re-roll the scraps of dough to cut out additional discs until you have 12.
- Form the Mini Pie Shells: Gently press each pie crust circle into a greased muffin tin cavity. Carefully mold the dough to fit the shape of each cup, ensuring there are no air pockets. If you used parchment paper strips, make sure they are visible and accessible for later removal. Trim any significant excess crust that hangs too far over the edges, leaving a small, decorative lip.
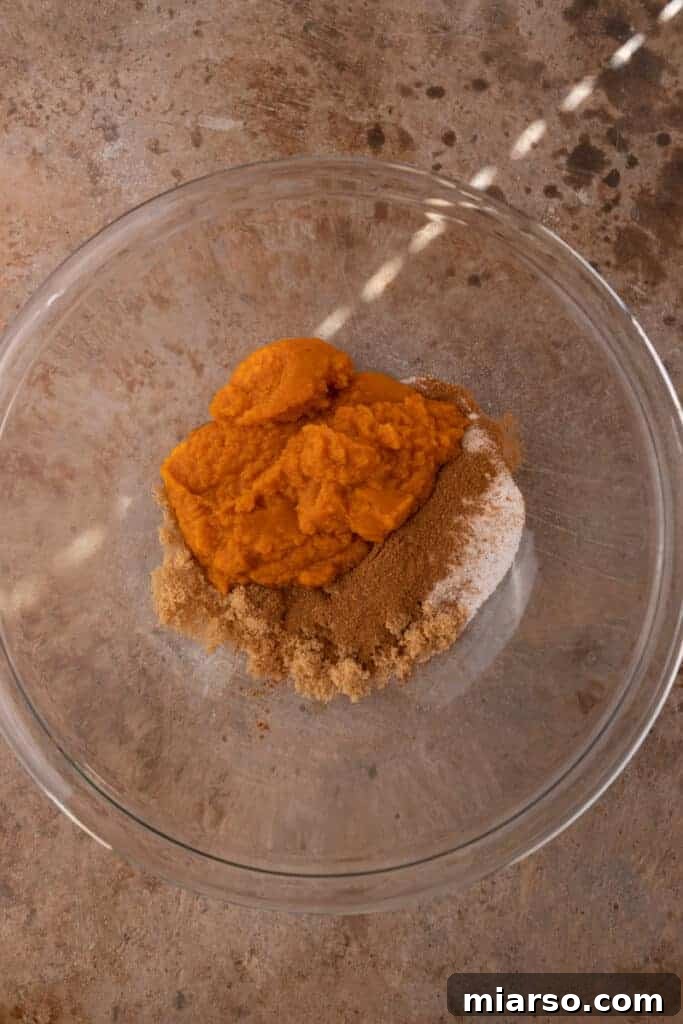
- Whisk the Pumpkin Filling Base: In a large mixing bowl, combine the 100% canned pumpkin puree, granulated sugar, brown sugar, salt, ground cinnamon, ground ginger, ground cloves, and ground nutmeg. Whisk these ingredients together thoroughly until they are well combined and fragrant.
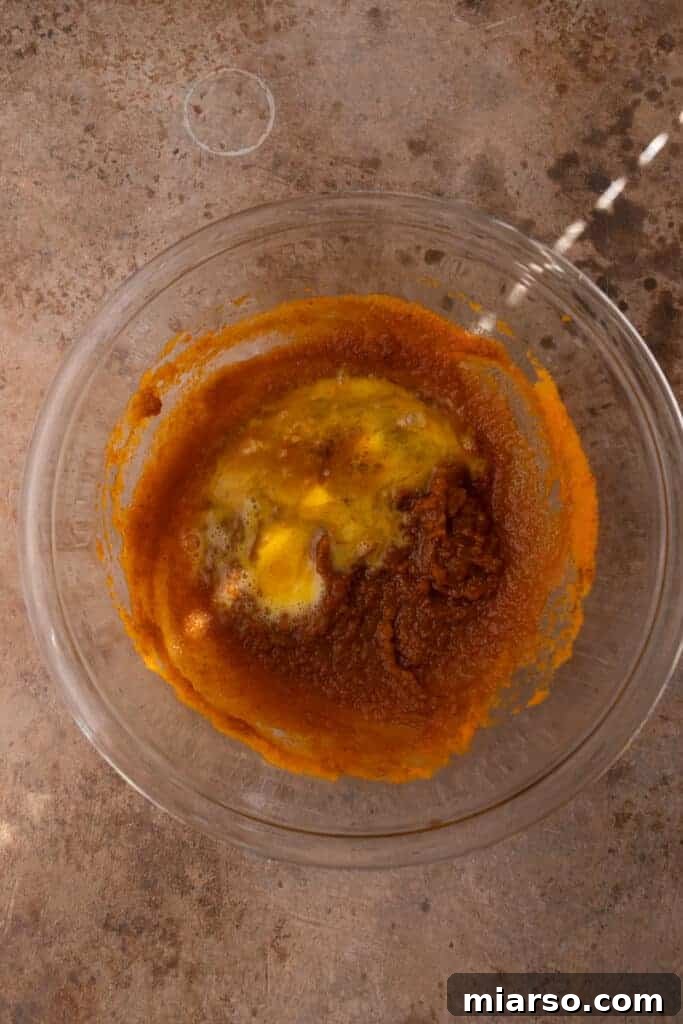
- Incorporate Eggs and Vanilla: Lightly beat the large egg in a separate small bowl. Add the lightly beaten egg and vanilla extract to the pumpkin mixture. Whisk again until the egg is fully incorporated and the mixture is smooth and uniform.
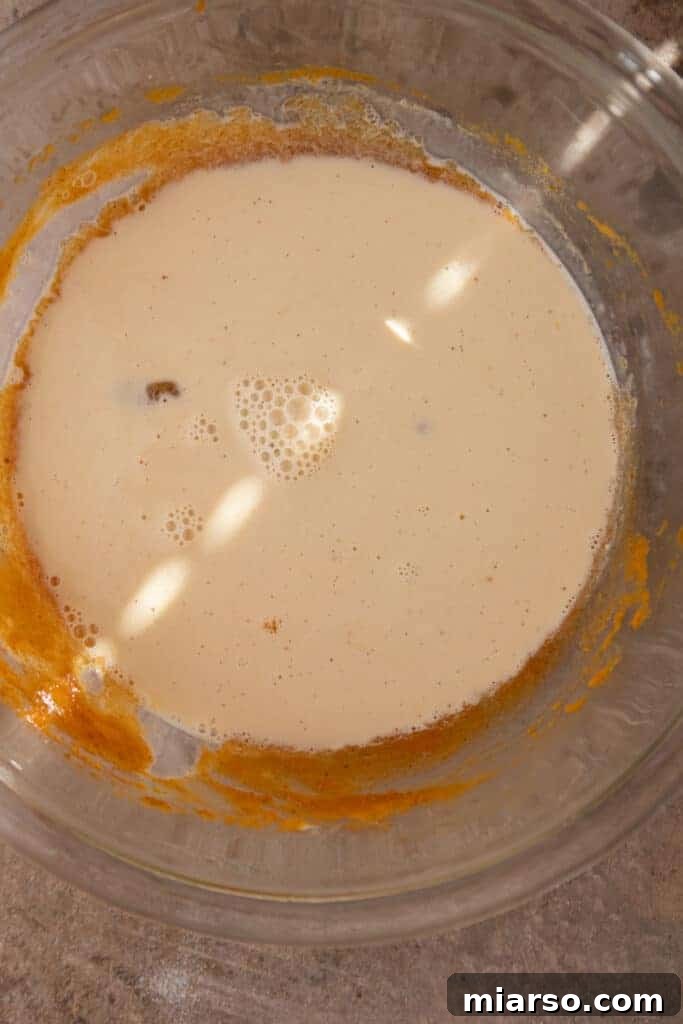
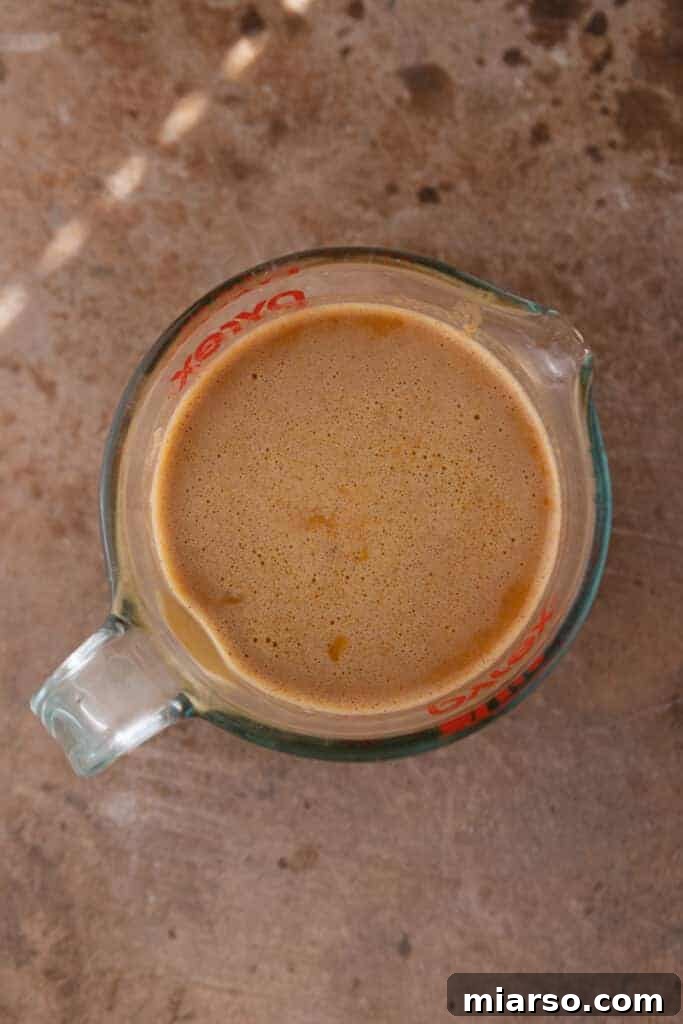
- Add Evaporated Milk: Slowly pour in the evaporated milk while continuously whisking the pumpkin mixture. Continue to whisk until the filling is perfectly smooth, silky, and uniform in color and consistency.
- Fill the Pie Crusts: Carefully spoon the pumpkin filling into each mini pie crust. Be mindful not to overfill them; leave a small gap at the top (about ¼ inch) to allow the filling to puff slightly during baking without spilling over.
- Bake to Perfection: Transfer the muffin tin to the preheated 400°F (200°C) oven. Bake for an initial 15 minutes. Then, reduce the oven temperature to 325°F (160°C) and continue baking for another 12-15 minutes, or until the custard is set. You can test for doneness by gently shaking the pan; the centers should be mostly firm with only a slight jiggle, or by inserting a toothpick into the center, which should come out clean.
- Cool and Serve: Once baked, remove the mini pumpkin pies from the oven and allow them to cool in the muffin tin for about 10-15 minutes. This cooling period helps them firm up. Then, carefully transfer them to a wire rack to cool completely. For the neatest presentation and best texture, chill them in the refrigerator for at least an hour before serving.
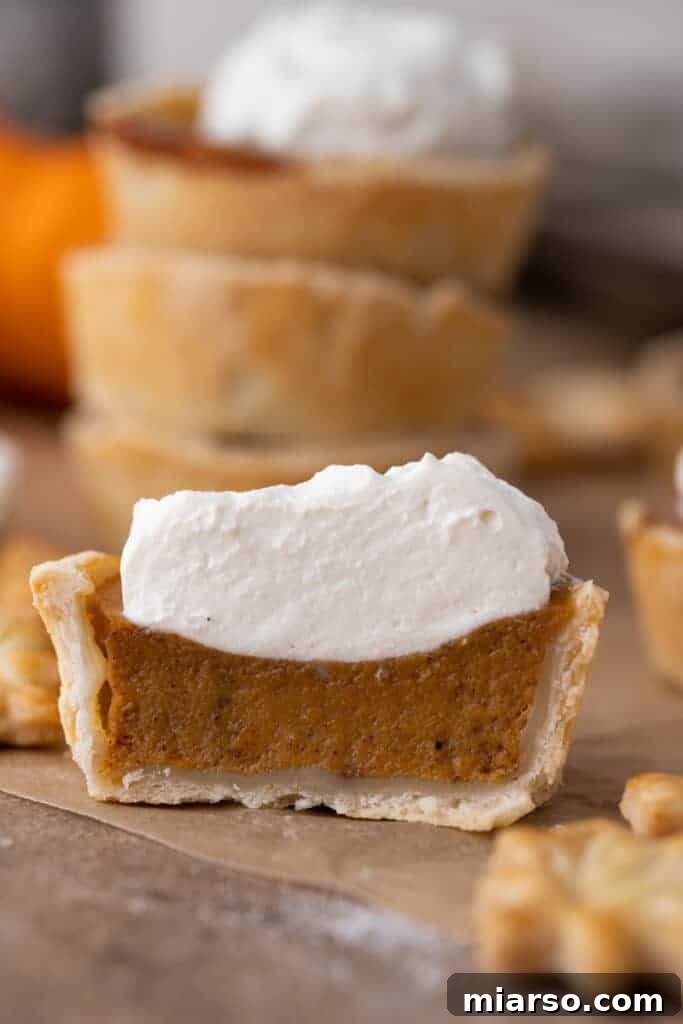
- Garnish and Enjoy: Serve these cooled mini pies as is, or with a generous swirl of fresh whipped cream on top. A sprinkle of extra cinnamon or nutmeg can add a beautiful finishing touch.
Expert Tips for Flawless Mini Pumpkin Pies
Achieving bakery-quality mini pumpkin pies at home is entirely possible with a few insider tricks. Follow these tips to ensure your pies turn out perfect every single time:
- Don’t Overfill the Crusts: The pumpkin custard will puff slightly during baking. Leave a small margin at the top of each crust (about ¼ inch) to prevent spillage and ensure a clean, professional look.
- Ensure Even Crust Circles: Consistency is key for uniform baking. Use a cookie cutter or glass of consistent diameter to cut out your pie crust circles. This ensures each mini pie bakes evenly and prevents some from being under or over-baked.
- Only Use 100% Pumpkin Puree: Double-check the label! Pumpkin pie filling contains added sugars and spices that will throw off the carefully balanced flavors of this recipe. Look for cans explicitly labeled “100% Pure Pumpkin” or “Pumpkin Puree.”
- Cool Completely Before Removal: Patience is a virtue here. The pies need time to set and firm up as they cool. Attempting to remove them too soon can cause them to break or lose their shape. Allow them to cool in the muffin tin for at least 10-15 minutes before transferring to a wire rack.
- Chill for Clean Edges and Best Texture: For the neatest slices (if you plan to cut them, though individual servings make this less likely) and the firmest, creamiest texture, chill the fully cooled pies in the refrigerator for at least an hour, or preferably longer, before serving.
- Add Whipped Cream Right Before Serving: While tempting to decorate ahead, whipped cream can start to weep and deflate over time, especially in the refrigerator. For the freshest, most appealing presentation, dollop or swirl on the whipped cream just before you’re ready to serve.
- Prevent Soggy Bottoms: Ensure your muffin tin is adequately greased. For a crispier crust, you can blind bake the crusts for about 5-7 minutes before adding the filling, especially if using a homemade crust or if you tend to have issues with soggy bottoms.
- Monitor Baking Closely: Oven temperatures can vary. Keep an eye on your pies, especially during the second stage of baking. The edges of the filling should be set, and the center should have a slight jiggle. Overbaking can lead to a cracked or dry filling.
Frequently Asked Questions – FAQ
For consistent quality, optimal thickness, and the best color and texture in your pies, Libby’s pumpkin puree is my top recommendation. It’s consistently thick and less watery than many other brands, which is crucial for a perfectly set custard.
To maintain their freshness and flavor, store your mini pumpkin pies in an airtight container in the refrigerator for up to 5 days. For the best presentation and texture, only add whipped cream just before you are ready to serve them.
Absolutely! Mini pumpkin pies freeze beautifully. Once they have cooled completely, arrange them in a single layer in an airtight freezer-safe container or a heavy-duty freezer bag. They can be frozen for up to 2 months. To thaw, simply transfer them to the refrigerator overnight. Add whipped cream after thawing, right before serving.
You certainly can! While store-bought crusts offer fantastic convenience, a homemade pie crust works beautifully for these mini pies. It holds its shape exceptionally well in muffin tins and can add an extra layer of delicious, flaky texture and flavor.
The choice is yours, as these mini pumpkin pies are delicious either way! Serving them at room temperature or chilled from the refrigerator generally yields the neatest, most defined texture and clean edges, especially if you happen to cut them (though they are often eaten whole). If you prefer a slightly warm pie, you can gently reheat them in a low oven for a few minutes before adding toppings.
Easy Mini Pumpkin Pies Recipe
15 mins
27 mins
42 mins
12 servings
Print Recipe
Ingredients
For the Filling:
- 1 cup canned pumpkin puree
- 1/4 cup granulated sugar
- 1/3 cup brown sugar
- 1/2 teaspoon salt
- 1/2 teaspoon ground cinnamon
- 1/2 teaspoon ground ginger
- 1/8 teaspoon ground cloves
- 1/4 teaspoon ground nutmeg
- 1/2 teaspoon vanilla extract
- 1 large egg
- 3/4 cup evaporated milk
For the Crust:
- 1 package of store-bought refrigerated pie crust (usually contains 2 crusts)
- Flour for dusting
- Whipped cream (optional, for topping)
Instructions
- Preheat your oven to 400°F (200°C), then spray nonstick cooking spray in each cavity of your muffin tin. For easier removal, you can also add a strip of parchment paper to each cavity, leaving an overhang.
- Roll out the store-bought pie crust on a lightly floured surface. Use a 3.5-4-inch round cookie cutter or a glass to cut out circles that are slightly larger than the openings of your muffin tin. You should be able to get about 6 circles from each pie crust. Re-roll dough scraps as needed to get 12 circles.
- Carefully press each pie crust circle into the muffin tin, molding them to the shape of the cups. Ensure the overhung parchment paper (if used) is visible. Trim any excess crust hanging over the edges.
- In a medium-sized bowl, whisk together the canned pumpkin puree, granulated sugar, brown sugar, salt, cinnamon, ginger, cloves, nutmeg, and vanilla extract until well combined. Add in the lightly whisked egg and mix until fully incorporated.
- Add in the evaporated milk and mix until the filling is completely smooth.
- Fill each mini pie crust with the pumpkin filling, being careful not to overfill. Leave a small gap at the top to allow room for the pies to puff up while baking.
- Bake the mini pumpkin pies in the 400°F (200°C) oven for 15 minutes. Then, reduce the oven temperature to 325°F (160°C) and continue baking for an additional 12-15 minutes, or until the pies are set and a toothpick inserted into the center comes out clean.
- Remove the mini pumpkin pies from the oven and allow them to cool in the muffin tin for at least 10-15 minutes. Then, carefully transfer them to a wire rack to cool completely.
- Serve the cooled pies with a generous swirl of whipped cream, or enjoy them as is!
Nutrition
Carbohydrates: 23g
Protein: 4g
Fat: 8g
Saturated Fat: 2g
Polyunsaturated Fat: 1g
Monounsaturated Fat: 4g
Trans Fat: 0.002g
Cholesterol: 14mg
Sodium: 239mg
Potassium: 138mg
Fiber: 1g
Sugar: 8g
Vitamin A: 3261IU
Vitamin C: 1mg
Calcium: 65mg
Iron: 1mg
Nutrition information is automatically calculated, so should only be used as an approximation.
Like this recipe? Leave a comment below and let us know what you think!