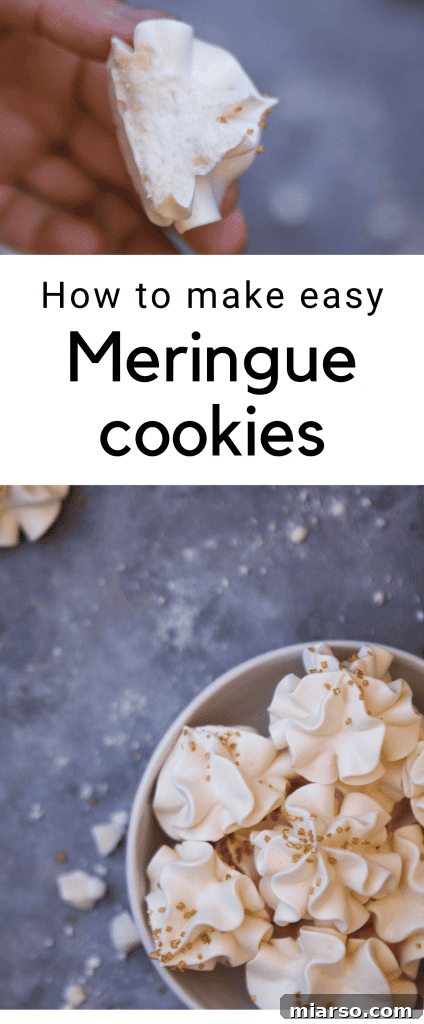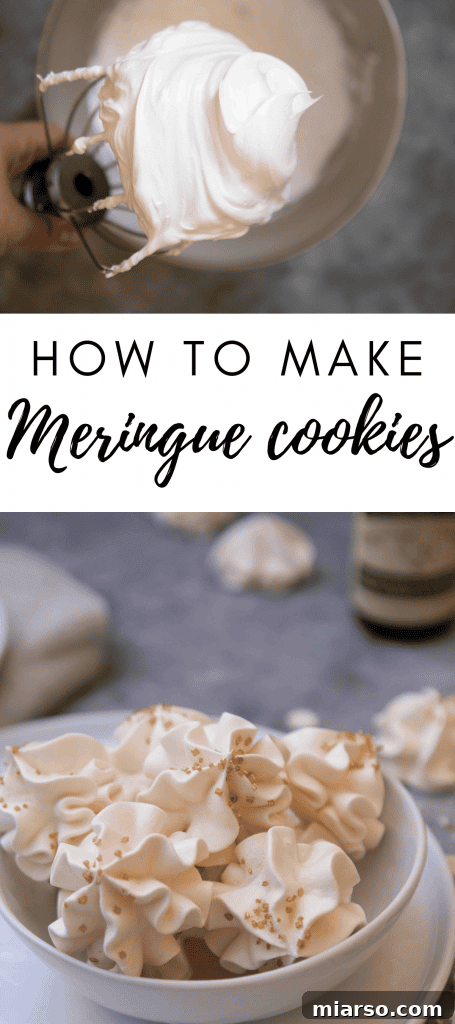
Light, Airy & Low-Calorie: Your Guide to Perfect Meringue Cookies
Have you ever dreamed of a delicate, sweet treat that simply melts in your mouth, leaving behind a delightful crispness without a heavy calorie count? Look no further! This comprehensive guide will teach you how to master the art of making flawless meringue cookies, a confection surprisingly simple yet incredibly rewarding. These exquisite morsels, crafted primarily from egg whites and sugar, are not only a joy to bake but also incredibly light, with each cookie boasting a mere 17 calories.
Sign Up to Our Mailing List for a Free Weekly Meal Planner & Recipe Card!
Hello, fellow bakers and sweet-treat enthusiasts!
Prepare to be amazed by these incredibly low-calorie meringue cookies. Yes, you heard that correctly – just 17 calories per cookie! While it might be a challenge to resist eating just one, these delicate treats are the perfect guilt-free indulgence when a sweet craving strikes. Their light, airy texture and delicate crunch make them an irresistible delight that truly melts away in your mouth.
Meringue cookies are also an exquisite addition to any holiday cookie box, especially when you’re looking for unique and impressive ideas. Guests will adore these beautiful, ethereal cookies, which, despite their simple ingredient list, consistently become a cherished family favorite. They are an elegant touch for any celebration, bringing a touch of refined sweetness without overwhelming richness.
Understanding Meringue: A Delicate Confection
Before we dive into the recipe, let’s briefly touch upon what meringue is. At its core, meringue is a foam made by whipping egg whites until stiff, then gradually incorporating sugar. This process transforms simple ingredients into a stable, airy structure that can be baked into crispy cookies. There are generally three types of meringue: French, Swiss, and Italian. This recipe focuses on French meringue, which involves whipping raw egg whites with sugar, making it the simplest and most accessible method for home bakers.
The magic of meringue lies in the transformation of egg white proteins. As you whisk them, air is incorporated, and the proteins unfold and create a stable network. Adding sugar at the right time not only sweetens the meringue but also helps to stabilize this network, making it strong enough to hold its shape and maintain its volume during baking. This scientific dance results in the characteristic light and crispy texture we all adore.
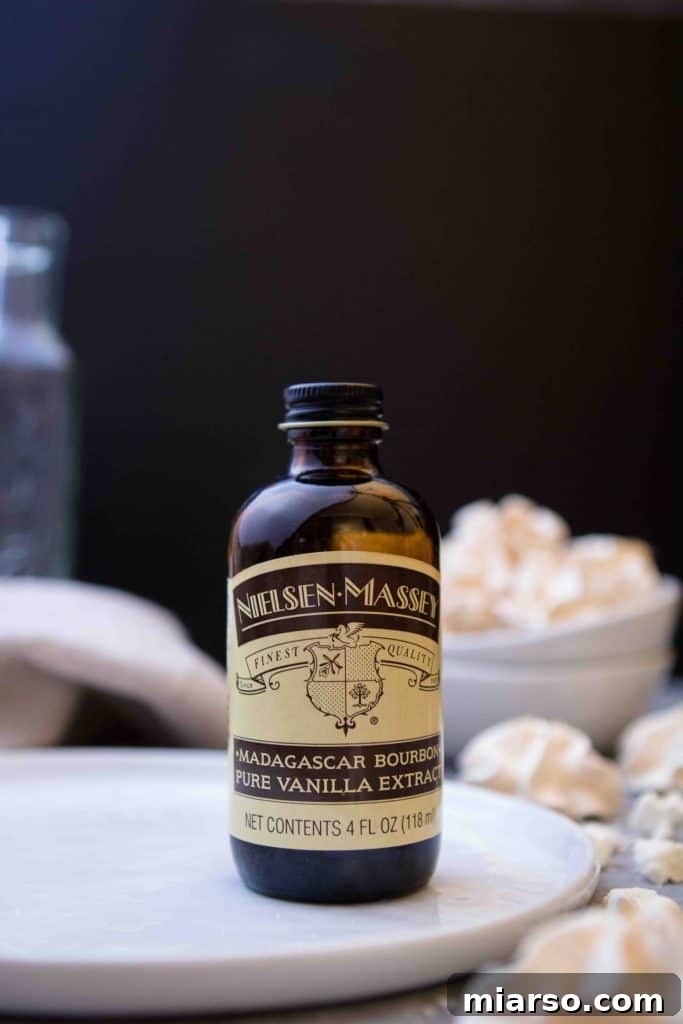
This “how to make meringue cookies” article is part of my entry for the Nielsen Massey “Better Your Bake” monthly thread, which this month celebrated the versatility of meringues. Their commitment to quality ingredients, like their exceptional vanilla, truly inspires bakers to elevate their creations. You can explore more about meringues on their insightful article!
Essential Ingredients for These Low-Calorie Meringue Cookies
The beauty of meringue lies in its simplicity. With just a few staple ingredients, you can create a truly stunning dessert. The quality and preparation of these ingredients are key to achieving the perfect light and crisp meringue.
- Egg whites: These are the foundation of your meringue. It’s crucial that your egg whites are at room temperature. This allows them to whip up with more volume and create a more stable foam, resulting in lighter, airier cookies. Ensure no trace of yolk is present, as fat can prevent the whites from whipping correctly.
- Salt: A tiny pinch of salt enhances the flavor of the meringue, balancing the sweetness and adding a subtle depth. It also contributes slightly to the stability of the egg white foam.
- Lemon juice (or cream of tartar): Acid is a secret weapon in meringue making. A small amount of lemon juice helps to stabilize the egg white proteins, allowing them to incorporate and hold more air. This leads to a stronger, more voluminous, and less prone-to-collapse meringue. White vinegar can also be used as a substitute.
- Granulated sugar: Beyond just sweetening, granulated sugar plays a vital role in stabilizing the meringue’s structure. As it dissolves, it forms a syrup that coats the whipped egg white proteins, preventing them from collapsing and giving the meringue its signature crispy texture once baked. It’s important to add the sugar slowly and allow it to fully dissolve.
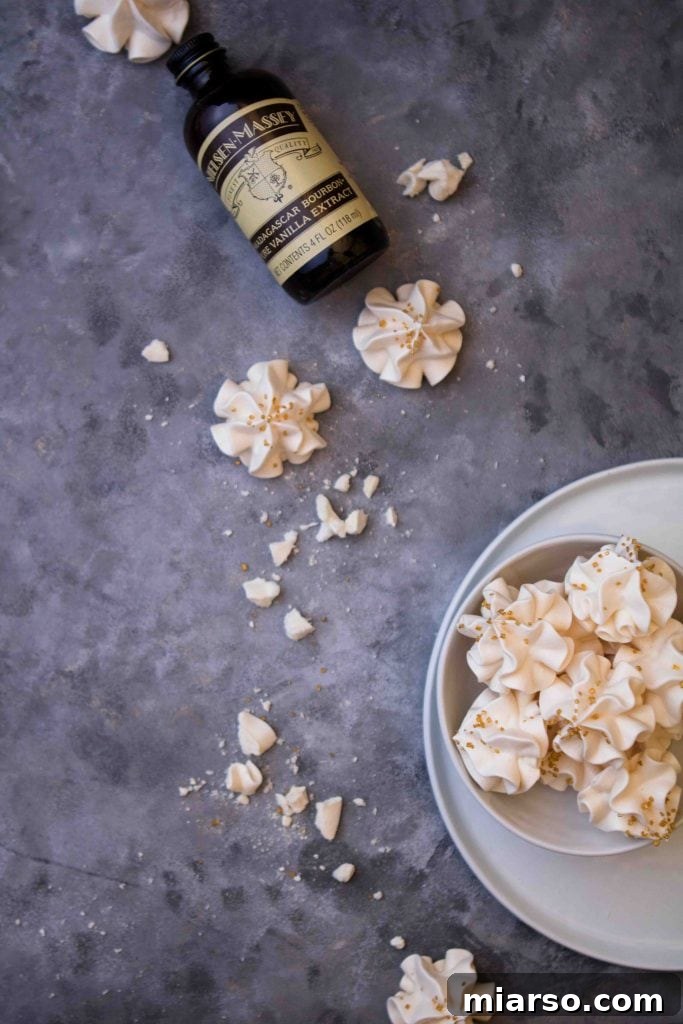
- Vanilla extract: A high-quality vanilla extract adds a delicate and comforting flavor to your meringue cookies. It complements the sweetness beautifully without overpowering the light texture. Nielsen Massey’s bourbon vanilla is particularly wonderful for this purpose, infusing a festive aroma and taste.
- Crystal sugar (optional): For an extra touch of sparkle and elegance, you can sprinkle some crystal sugar over the piped meringues before baking. This adds a beautiful decorative element and a slight textural contrast.
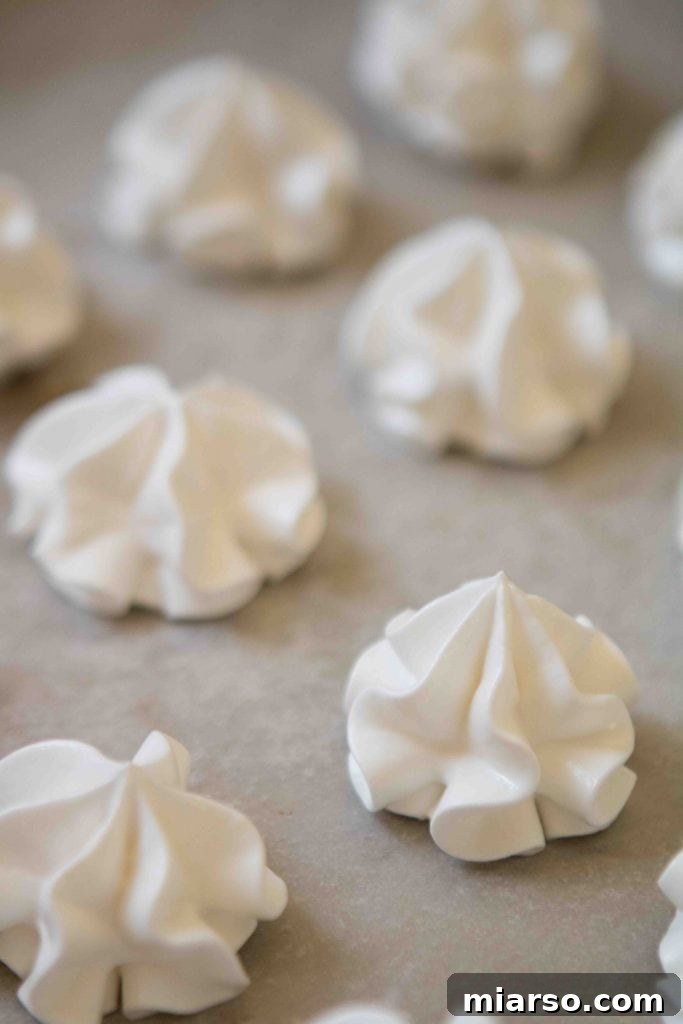
Achieving the Perfect Meringue with Stiff Peaks
Despite the modest number of ingredients, this recipe yields a generous batch of meringue cookies. The magic truly happens when the egg whites are whipped to stiff peaks, transforming a liquid into a voluminous, stable foam. As you incorporate air and then gradually add the granulated sugar, the egg whites will dramatically increase in volume, becoming a thick, glossy, and beautifully white mixture. This stable meringue is then ready to be piped into any desired shape.
I especially enjoy making these meringue cookies during the holiday season. They are an excellent way to utilize leftover egg whites from other baking projects and are perfect for filling festive Christmas cookie boxes. Their delicate appearance and light texture make them a delightful contrast to heavier holiday treats.
Tools and Equipment for Meringue Success
Having the right tools can make all the difference in meringue making. Here’s what you’ll need:
- Stand Mixer or Hand Mixer: While a whisk and arm strength can work, a stand mixer with a whisk attachment or a powerful hand mixer will make the process much easier and ensure consistent whipping.
- Large Mixing Bowl: Choose a metal or glass bowl. Plastic bowls can sometimes retain grease, which is detrimental to meringue. Ensure it’s impeccably clean and grease-free.
- Rubber Spatula: For gently folding in vanilla and transferring the meringue.
- Piping Bag and Tip: Essential for creating beautiful, uniform meringue cookies. A Wilton 1M star tip is excellent for classic swirled shapes, but any open star or round tip will work.
- Baking Sheets: Large, flat baking sheets are ideal.
- Parchment Paper or Silicone Mat: Non-stick surfaces are crucial for preventing meringues from sticking and for easy cleanup.
Step-by-Step Guide: How to Make Irresistible Meringue Cookies
Follow these detailed steps to create your own batch of perfectly crispy, melt-in-your-mouth meringue cookies:
Step 1: Prepare Your Oven and Baking Sheet
Begin by preheating your oven to a low temperature of 225°F (107°C). A low and slow bake is essential for drying out the meringues rather than cooking them, ensuring their crisp texture. Line a large baking sheet with either parchment paper or a silicone mat. This non-stick surface is vital to prevent the delicate meringues from sticking once baked. Set the prepared baking sheet aside.
Step 2: Start Whipping the Egg Whites
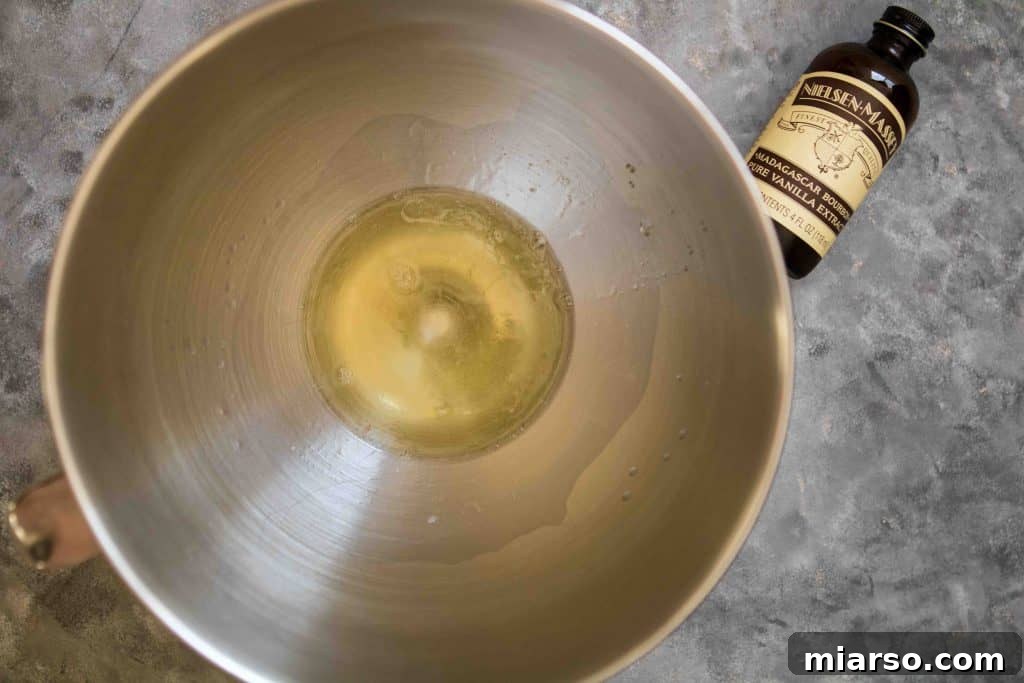
In an impeccably clean mixing bowl – absolutely free of any grease or fat residue – combine the room-temperature egg whites, a tiny pinch of salt, and the lemon juice. Using either a hand mixer or the whisk attachment of a stand mixer, begin whisking on medium speed. Continue to whisk until the mixture becomes lightly foamy, resembling soap suds. This initial stage incorporates air and begins the denaturation of the egg white proteins.
Step 3: Gradually Add Sugar for Stability
Once the egg whites are foamy, increase the mixer speed to high. Now, begin adding the granulated sugar, one tablespoon at a time. This slow addition is critical; waiting approximately 20 seconds between each tablespoon allows the sugar crystals to dissolve completely into the egg whites. Rushing this step can result in a grainy meringue. Continue this process until all the sugar has been incorporated.
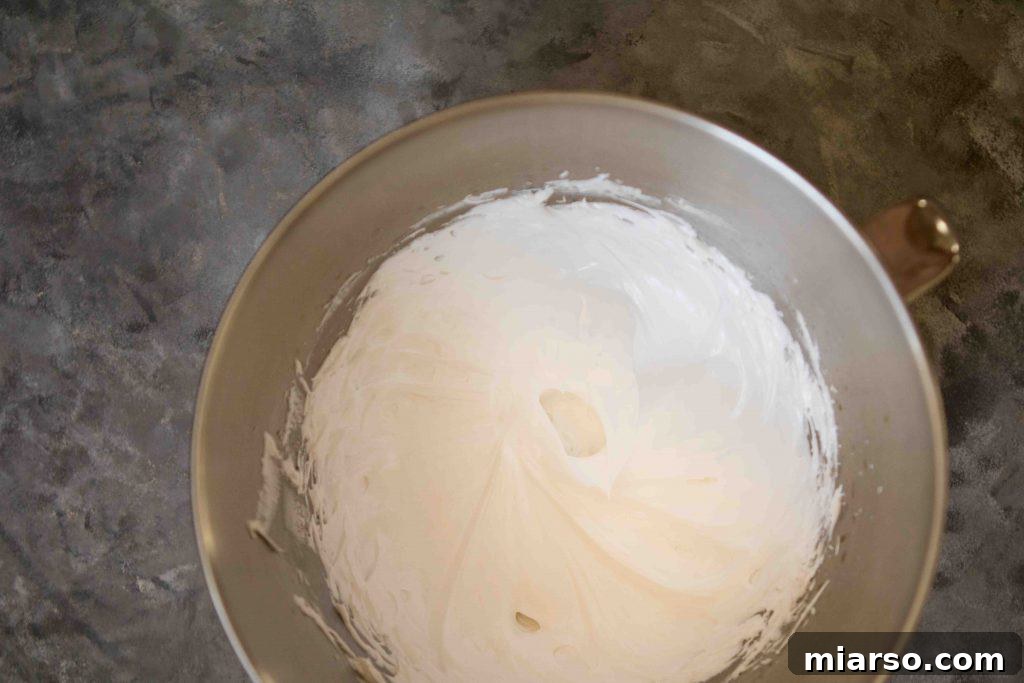
Step 4: Achieve Stiff, Glossy Peaks
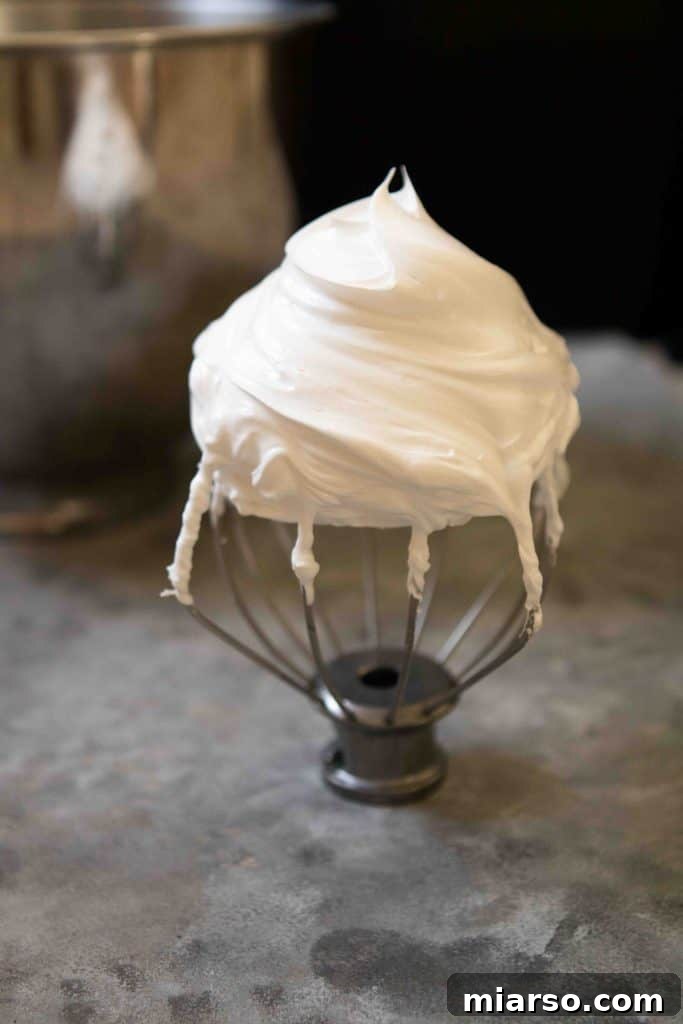
As you continue whisking, the meringue will gradually stiffen up, transforming into a thick, bright white, and wonderfully shiny mixture. You’ll know it’s ready when the sugar is fully dissolved (test by rubbing a tiny bit between your fingers – it should be smooth) and the meringue can hold stiff peaks. To check for stiff peaks, lift the whisk; the meringue should stand straight up without drooping. You should also be able to invert the bowl without the meringue falling out.
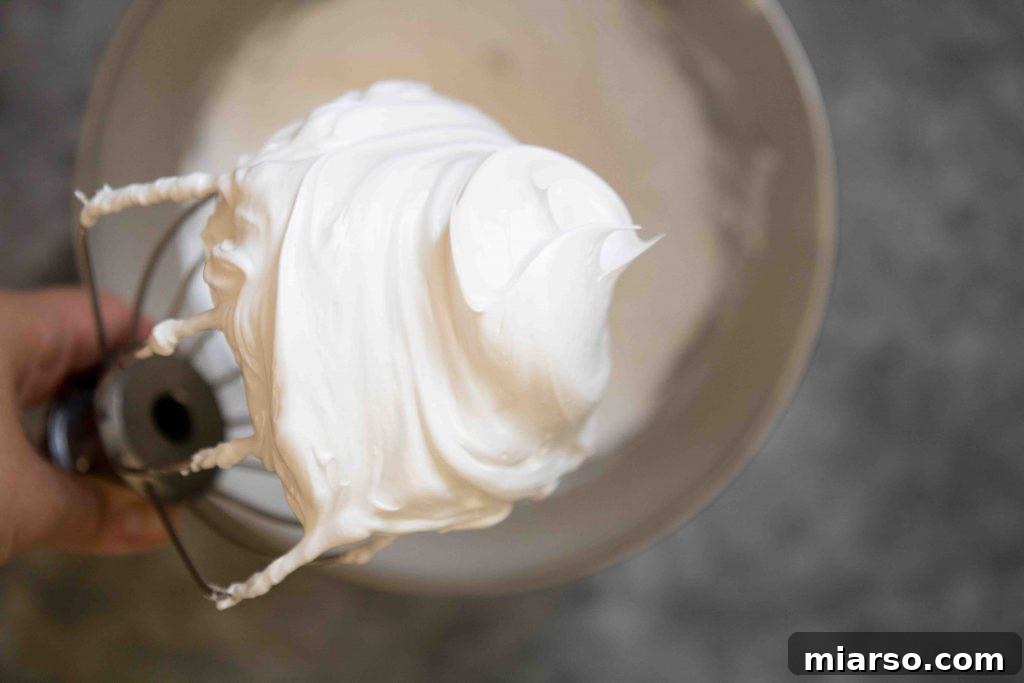
Step 5: Flavor and Pipe Your Meringues
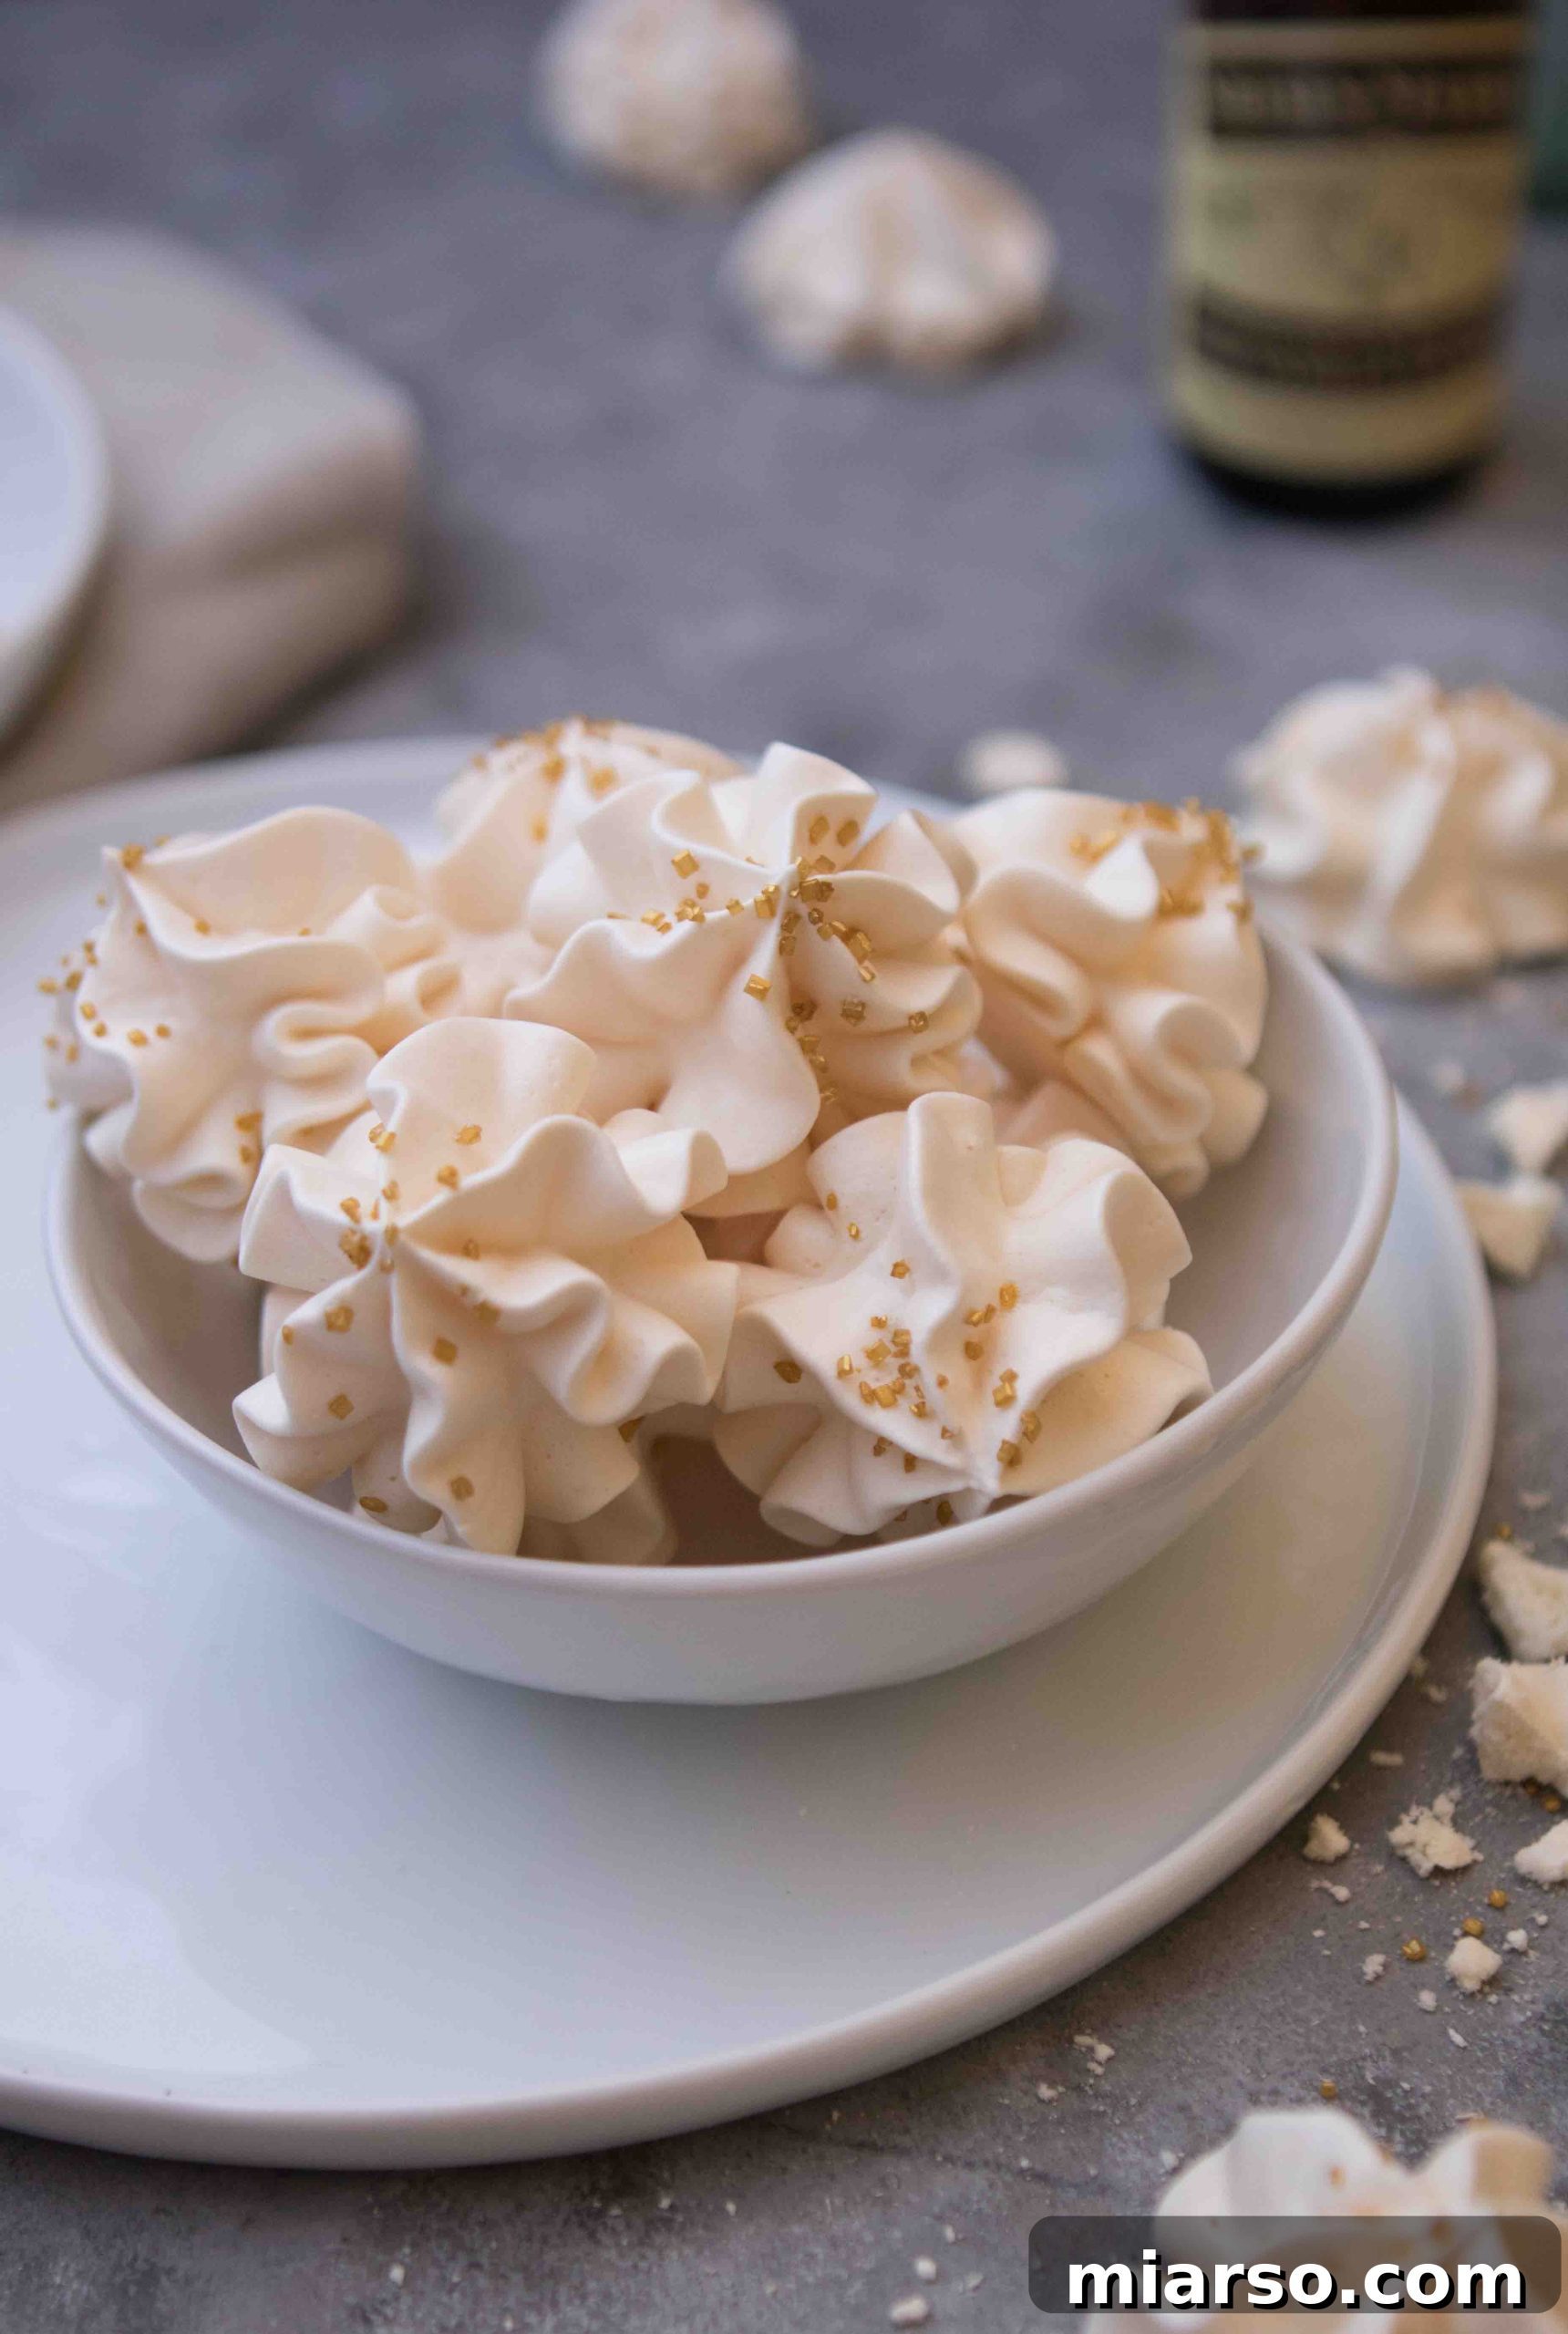
At this stage, gently fold in the vanilla extract with a rubber spatula until just combined. Be careful not to deflate the carefully whipped meringue. Transfer the glossy meringue mixture to a piping bag fitted with your chosen tip. For the beautiful swirled shapes pictured, a Wilton 1M star tip was used. You can experiment with different tips for varied designs.
Pipe the meringue onto your prepared baking sheet. Don’t worry about spacing them too far apart; these cookies will not spread during baking, so you can pipe them fairly close to each other, optimizing your baking space.
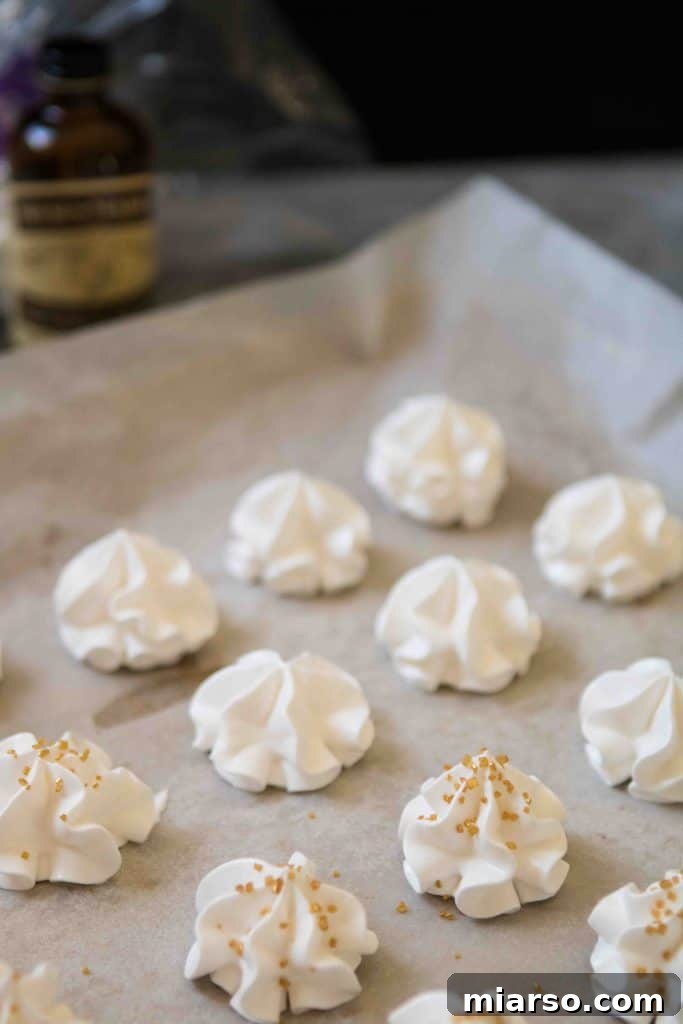
Step 6: Bake and Cool to Crisp Perfection
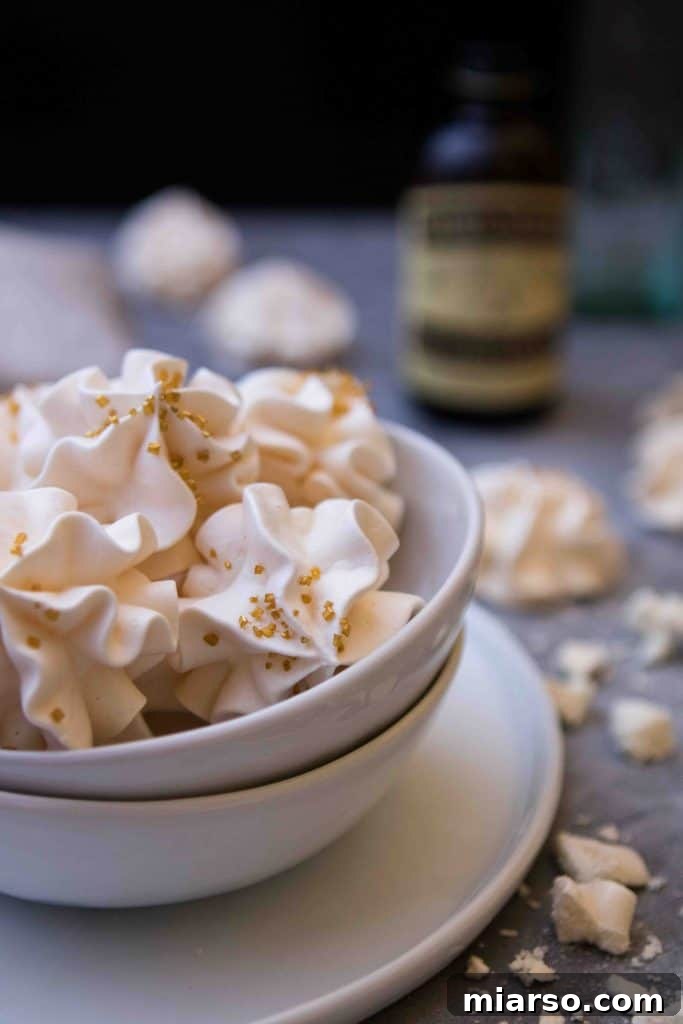
Bake the meringue cookies in your preheated oven at 225°F (107°C) for approximately 1 hour. After the baking time is complete, turn off the oven but do not open the oven door. This is a crucial step! Allow the meringues to cool completely inside the oven, undisturbed. This slow cooling process prevents them from cracking and ensures they dry out fully, achieving that perfect crisp, melt-in-your-mouth texture. This cooling period can take anywhere from 1 to 2 hours, or even longer.
Expert Tips for Meringue Mastery
Crafting perfect meringue cookies requires attention to detail, but with these simple tips, you’ll achieve stellar results every time:
- Immaculate Mixing Bowl: This is arguably the most critical tip. Any trace of grease or fat in your mixing bowl or on your whisk can prevent the egg whites from whipping up properly. Always give your bowl and attachments a thorough wash with hot, soapy water, then dry them completely before starting. You can also wipe the bowl with a little lemon juice or vinegar to ensure it’s spotless.
- Separate Eggs Carefully: Just like a grease-free bowl, egg yolks contain fat that will hinder the whipping process. Always crack your eggs into a separate small bowl one at a time before adding the whites to your main mixing bowl. This way, if any yolk breaks, it won’t contaminate your entire batch of egg whites.
- Patience is a Virtue: Resist the urge to rush the process, especially when adding sugar. Incorporate the granulated sugar slowly, one tablespoon at a time, allowing about 20 seconds between additions for each batch to fully dissolve. This ensures a smooth, stable, and glossy meringue, free from grittiness.
- Don’t Overbeat: Once your meringue reaches stiff, shiny peaks, stop beating! Overbeating can cause the meringue to become dry, granular, and brittle, making it difficult to pipe and prone to cracking during baking.
- The Unopened Oven Door Rule: After baking, turn off the oven but absolutely do not open the door. Letting the meringues cool slowly inside the oven is paramount for their texture. This gradual cooling prevents thermal shock, which can cause cracking, and allows them to dry out thoroughly, ensuring they are perfectly crisp and delicate.
- Avoid Humidity: Meringues are notoriously sensitive to moisture. Try to make them on a dry, low-humidity day. Humidity can make them soft, sticky, or chewy, rather than light and crisp.
- Room Temperature Egg Whites: As mentioned, warm egg whites whip to a greater volume more easily than cold ones. Plan ahead to let your eggs sit out for 30 minutes to an hour before you begin.
Troubleshooting Common Meringue Problems
Even experienced bakers can face challenges with meringues. Here are some common issues and how to address them:
- Flat Meringues: If your meringues don’t hold their shape or deflate quickly, it’s usually due to grease in the bowl, a speck of egg yolk, or insufficient whipping. Re-read the tips on clean equipment and careful egg separation.
- Cracked Meringues: Cracks are often caused by baking at too high a temperature or cooling too quickly. Ensure your oven temperature is accurate and strictly follow the cooling instructions to leave them in the turned-off oven.
- Sticky/Chewy Meringues: This is a sign of under-baking or excessive humidity. Increase baking time slightly, ensure full cooling in the oven, and try to bake on a dry day.
- Grainy Meringues: If your meringues feel gritty, the sugar hasn’t fully dissolved. Slow down the sugar addition process and ensure each tablespoon is incorporated before adding the next.
Delicious Variations and Customization Ideas
While classic vanilla meringue cookies are delightful, you can easily customize them to suit your taste and occasion:
- Flavor Extracts: Swap vanilla for almond extract, peppermint extract (perfect for holidays!), coffee extract, or even a touch of rosewater.
- Food Coloring: Add a few drops of gel food coloring to the meringue during the final stages of whipping for festive or themed cookies. Swirl different colors in the piping bag for a marbled effect.
- Cocoa Powder: Sift in a tablespoon or two of unsweetened cocoa powder with the vanilla for a subtle chocolate flavor.
- Citrus Zest: Finely grated lemon, orange, or lime zest can add a bright, fresh aroma and flavor.
- Add-ins: Gently fold in mini chocolate chips, crushed freeze-dried fruit, or very finely chopped nuts after the meringue has reached stiff peaks.
Storage and Serving Suggestions
Once your meringue cookies are completely cooled and crisp, proper storage is key to maintaining their texture. Store them in an airtight container at room temperature, away from any heat or moisture. Meringues are susceptible to humidity, which can make them sticky or soft. If stored correctly, they can last for up to two weeks, though they are often devoured much faster!
These versatile cookies can be enjoyed in many ways:
- Plain: A simple, elegant treat on their own.
- With Fruit: Serve alongside fresh berries, sliced peaches, or a fruit salad for a light dessert.
- With Cream: Pair with whipped cream, lemon curd, or a light mousse.
- Coffee or Hot Chocolate: Enjoy as a delicate accompaniment to your favorite hot beverage.
- As a Garnish: Crush them and sprinkle over ice cream, trifles, or pavlovas for added texture.
More Delicious Recipes You Will Love!
- Chocolate Peppermint Slice and Bake Cookies
- Chocolate Walnut Slice and Bake Cookies
- The Easiest Cranberry Orange Bread Recipe
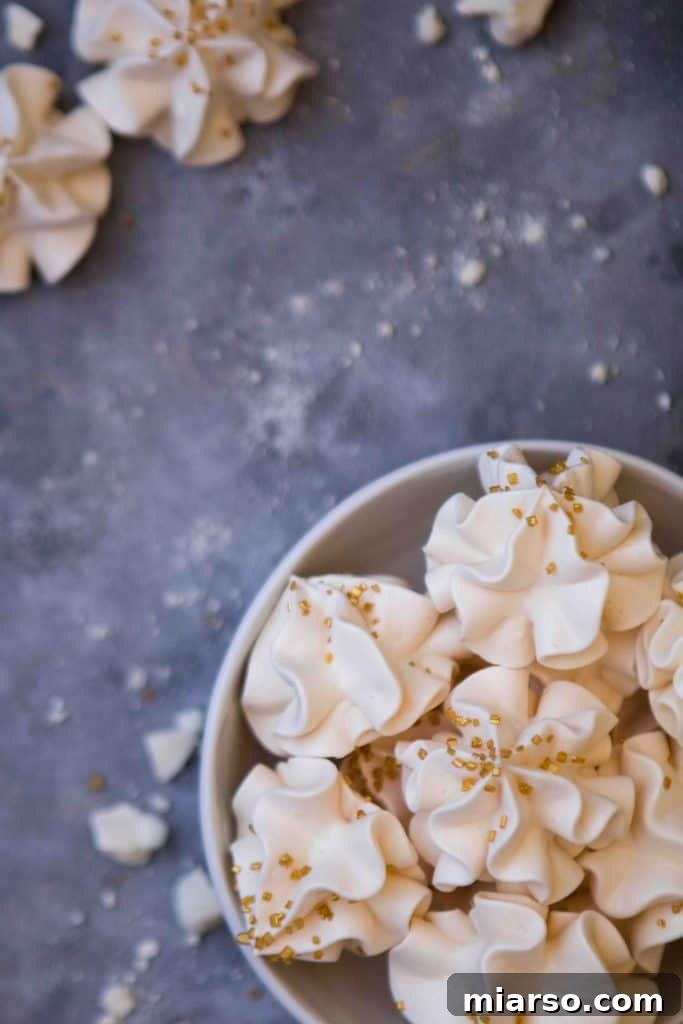
Easy Vanilla Meringue Cookies Recipe
If this detailed recipe helped you learn how to make perfect vanilla meringue cookies, please consider leaving a 5-star rating by clicking on the stars below! Your feedback is greatly appreciated.
How to make meringue cookies
Print Recipe
Equipment
Ingredients
- 2 egg whites
- 1/8 tsp salt
- 1/2 tsp lemon juice
- 1/2 cup granulated sugar
- 1/2 tsp vanilla extract
Instructions
-
First, start by preheating the oven to 225°F (107°C). Line a large baking sheet with parchment paper or a silicone mat and set aside.
-
Now, in a clean mixing bowl free of any grease, combine the egg whites, lemon juice, and salt. Using a hand mixer or a whisk attachment, start whisking until the mixture becomes lightly foamy.
-
Increase the speed to high and gradually add the granulated sugar, one tablespoon at a time. Wait about 20 seconds between each addition to ensure the sugar is completely dissolved before adding more.
-
The meringue will begin to stiffen up and turn shiny. Once the sugar has been completely dissolved and the meringue can hold stiff peaks that stand up when you flip the whisk, you’ll know it’s ready.
-
At this point, you can add the vanilla extract and gently fold it in. Then, transfer the meringue to a piping bag. A Wilton 1M tip was used to achieve the shapes shown in the pictures.
-
Pipe the meringue onto the prepared baking sheet. You can pipe them fairly close to each other without worrying about them spreading.
-
Bake the meringue cookies at 225°F (107°C) for 1 hour. After the baking time is up, turn off the oven and leave the meringues inside to cool completely without opening the oven door. This crucial cooling process can take about 1-2 hours.
Notes
Nutrition
Nutrition information is automatically calculated, so should only be used as an approximation.
Shop This Recipe
This post may contain affiliate links, meaning that at no additional cost to you, I will get a small percentage of every purchase you make!