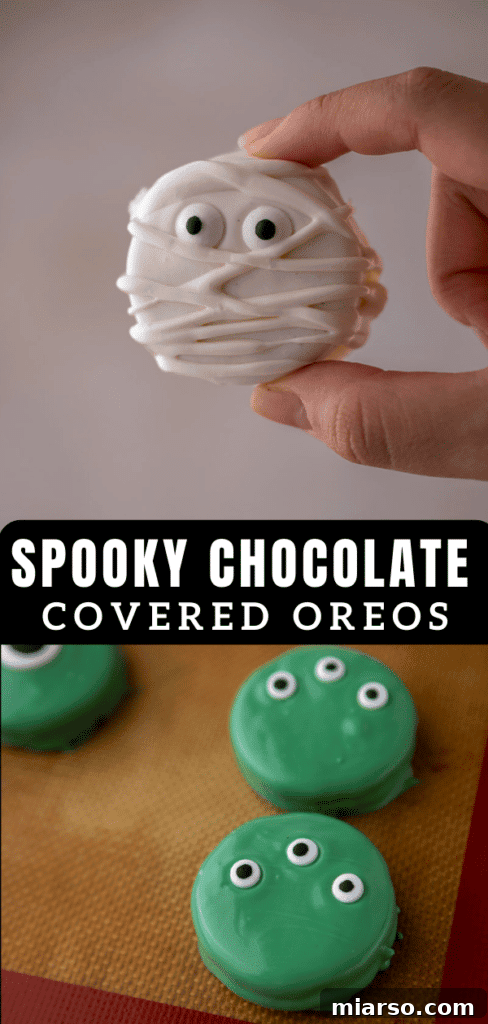
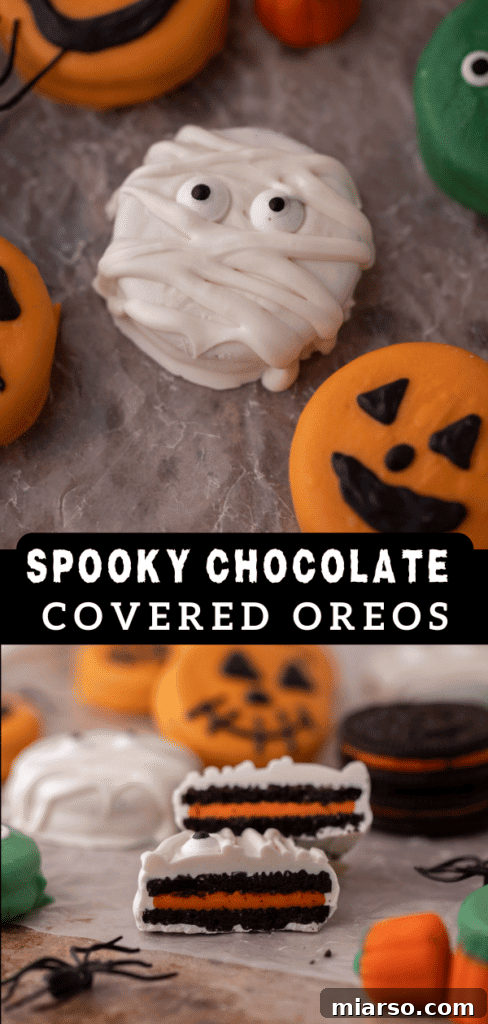
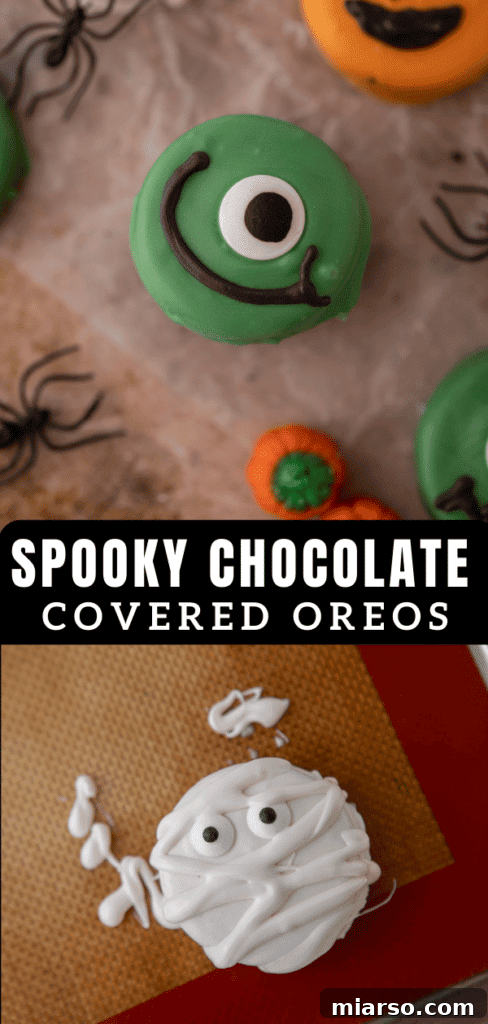
As the leaves begin to turn and a delightful chill fills the air, signaling the arrival of the spookiest season, there’s nothing quite like a simple, yet utterly delicious, treat to celebrate. These **Halloween chocolate covered Oreos** are the quintessential **easy no-bake Halloween treats**, perfect for anyone looking to whip up something special without hours in the kitchen. Whether you’re planning an epic Halloween party, preparing snacks for a school event, or simply want a fun activity with your little monsters, these chocolate-dipped delights are an absolute win. Combining the irresistible crunch of classic Oreo cookies with a smooth, sweet chocolate coating, they are a universally loved dessert that embodies the spirit of fun and festivity. Get ready to transform ordinary cookies into extraordinary spooky masterpieces!
While you’re here gathering inspiration for your Halloween festivities, don’t miss out on these other fantastic recipes: delve into the eerie deliciousness of this spooky Oreo Halloween bark, enjoy the rich flavors of these Halloween Oreo brownies, discover the charm of these monster chocolate cookies, and indulge in these ghoulish black cupcakes!

Unleash the Spooky Fun: The Ultimate Halloween Chocolate Covered Oreos Recipe!
Let’s be honest, who really needs an excuse to enjoy an Oreo cookie decadently dipped in rich, melted chocolate? But if there ever was a perfect occasion to elevate this simple pleasure to an art form, Halloween is undoubtedly it! These **Halloween chocolate covered Oreos** aren’t just a treat; they’re a canvas for your festive creativity and a guaranteed crowd-pleaser for all ages.
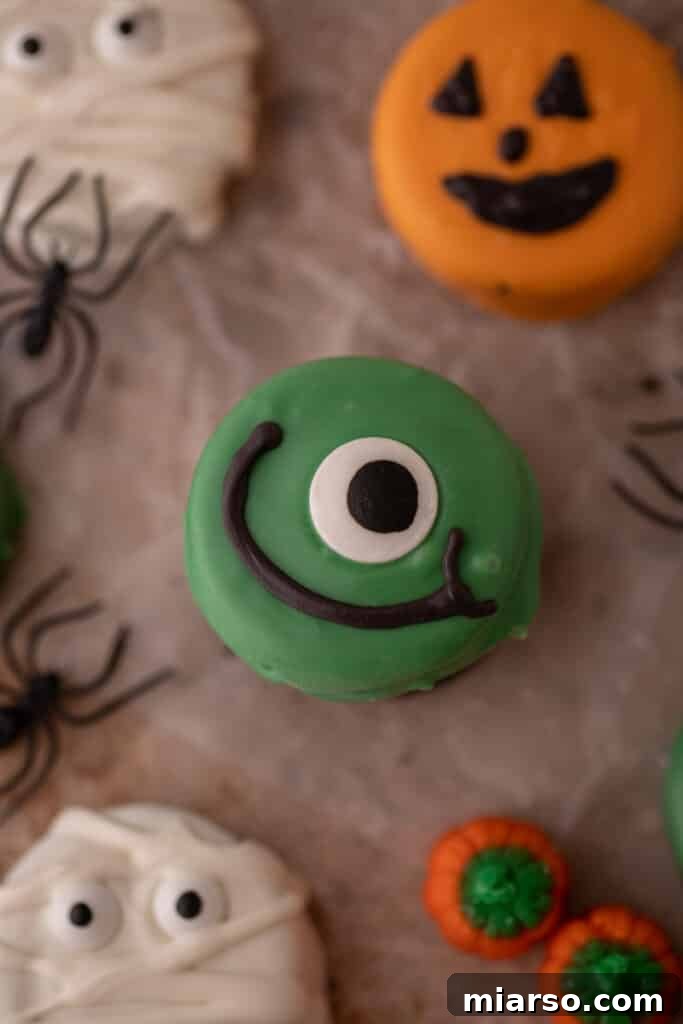
This recipe provides the perfect blend of ease and excitement, making it an ideal **Halloween dessert idea** that you can enjoy throughout the entire month of October, and even leading up to it. Imagine serving these vibrant, spooky, and utterly delicious treats at your next Halloween party or a casual get-together with friends and family. They are incredibly versatile, offering endless possibilities for decoration, allowing your inner artist to truly embrace the spooky season and shine with every carefully crafted cookie. From adorable monsters to creepy mummies, each Oreo becomes a unique edible masterpiece, reflecting the fun and fright of Halloween.
Why These Halloween Chocolate Covered Oreos Are an Absolute Must-Make!
If you’re looking for compelling reasons to dive into the world of **DIY Halloween cookies**, look no further! These chocolate covered Oreos tick all the boxes for a fantastic seasonal treat:
- Effortless Party Perfection: These delightful treats are the ultimate showstopper for any Halloween party or gathering you’re attending or hosting this year. Their vibrant colors and playful decorations make them instantly appealing, ensuring they disappear from the platter in no time!
- A Breeze to Prepare: Say goodbye to complicated baking! This recipe offers a wonderfully **easy Halloween treat** that requires minimal effort, making it perfect for busy schedules. No baking, no complex techniques – just pure, simple fun.
- Kid-Friendly & Memory-Making: Involve your little ones in the kitchen and watch their creativity blossom! Decorating these cute treats is a fantastic activity for kids, giving them a sense of independence and accomplishment. It’s a wonderful way to create cherished core memories together, fostering a love for cooking and Halloween traditions.
- Simple Ingredients, Stellar Results: You only need a handful of readily available, simple ingredients to create these spectacular cookies. Despite their humble components, these **spooky Oreo treats** will undoubtedly be the star of your Halloween dessert table, impressing everyone with their charm and deliciousness.
- Customizable Fun: The decorating possibilities are endless! Whether you opt for classic Halloween colors or unique designs, these Oreos allow for complete personalization, making each batch uniquely yours.
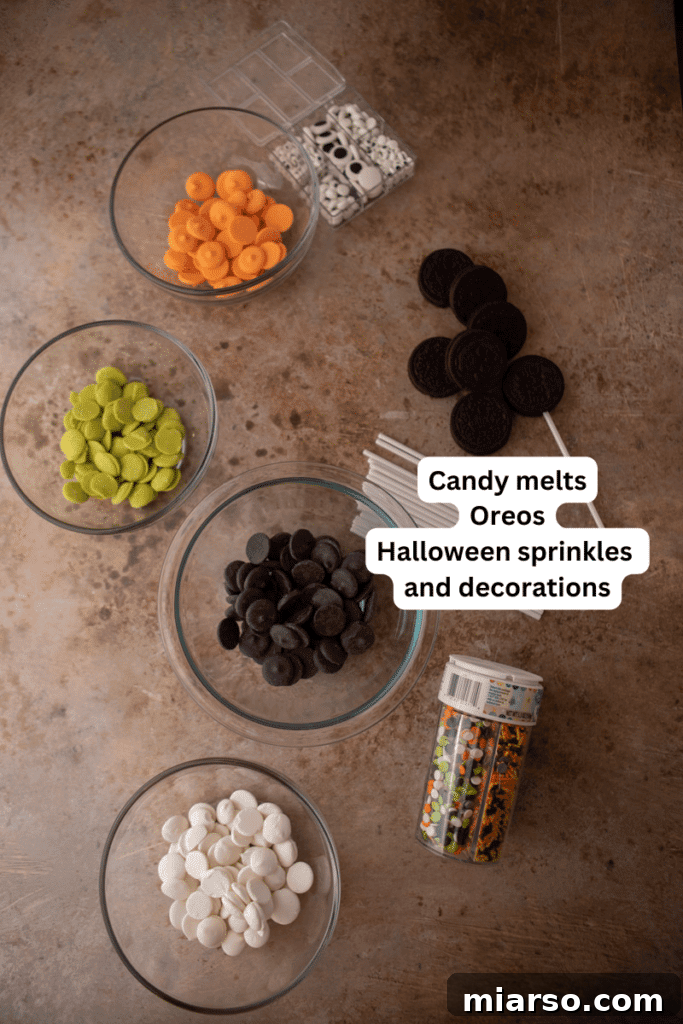
Essential Ingredients for Your Spooky Chocolate Covered Oreos
Gathering your ingredients for these **festive chocolate Oreos** is simple. You’ll find most of these items at your local grocery store, and some specialty decorations can be sourced online. Remember, quality ingredients make for the best treats!
Here’s a breakdown of what you’ll need to create these irresistible chocolate-dipped Halloween Oreos. For precise, detailed ingredient measurements and quantities, please refer to the comprehensive recipe card located further down this page.
- Halloween Oreo Cookies: While classic Oreos work perfectly, opting for seasonal Halloween Oreos (often with orange cream filling) adds an extra layer of festivity and flavor. These limited-edition cookies bring an immediate holiday touch to your treats.
- Candy Eyeballs: These are an absolute must for creating adorable (or spooky!) monster faces. They instantly bring your Oreos to life and are a favorite for kids to add.
- Chocolate Chips: You’ll need a good quality chocolate for dipping. Dark, milk, or semi-sweet chocolate chips all work wonderfully, offering a rich, classic chocolate coating.
- Candy Wafers / Candy Melts: These are fantastic for adding vibrant, spooky colors to your Oreos. Since we’re aiming for a fun, spooky twist, consider using white, bright purple, classic orange, or even neon green candy melts. The beauty of candy melts is their ease of use and consistent, smooth finish. Don’t feel confined to traditional Halloween hues; unleash your creativity and pick your favorite colors! The sky is truly the limit when it comes to decorating your unique Halloween masterpieces.
- Optional Decorations: Beyond candy eyeballs, consider an array of Halloween sprinkles, edible glitter, or even black edible food markers to add intricate details.
Crafting Your Scary Good Treats: A Step-by-Step Guide!
Making these **simple Halloween recipes** is incredibly straightforward and fun. Follow these easy steps to create your own batch of spooky sweet treats that everyone will adore. For the full, detailed instructions, including any additional tips and tricks, be sure to scroll down to the comprehensive recipe card.
- Prepare Your Workspace: First, line a baking sheet with either parchment paper or wax paper. This crucial step prevents your chocolate-covered Oreos from sticking as they set and makes cleanup a breeze. Set this aside, ready for your dipped cookies.
- Melt Your Chocolate/Candy Melts: Place your chosen chocolate chips or candy melts in a microwave-safe bowl. Heat them in 30-second intervals, stirring thoroughly after each interval. This staggered approach is key to preventing the chocolate from burning or seizing, ensuring a perfectly smooth, dippable consistency. If you’re using multiple colors, it’s best to melt and work with one color at a time to maintain its optimal temperature and consistency.
- Achieve Perfect Dipping Consistency: If your melted chocolate or candy melt mixture appears too thick to smoothly coat the Oreos, don’t worry! Gradually add 1/2 teaspoon of a neutral oil like vegetable oil, coconut oil, or even vegetable shortening. Stir well after each addition until you achieve a beautifully smooth, flowing consistency that’s ideal for dipping.
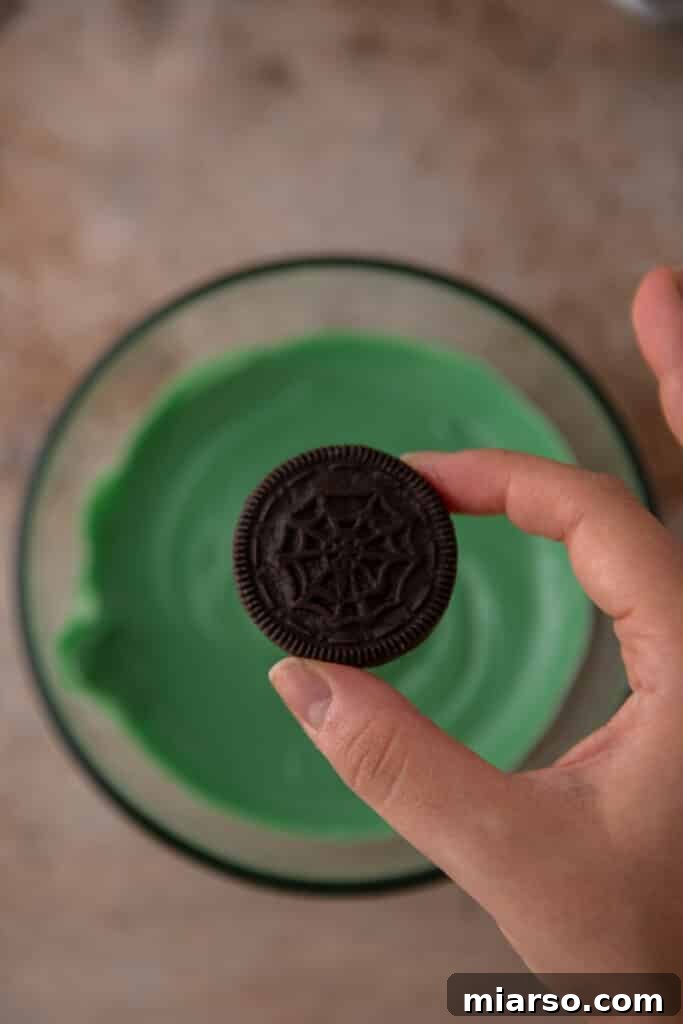
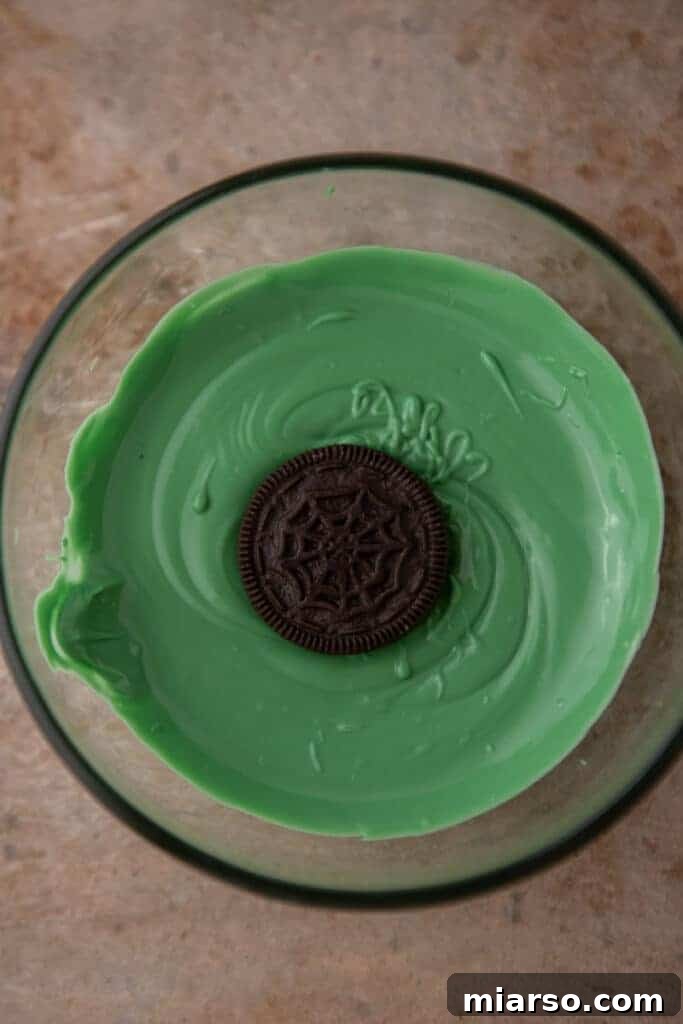
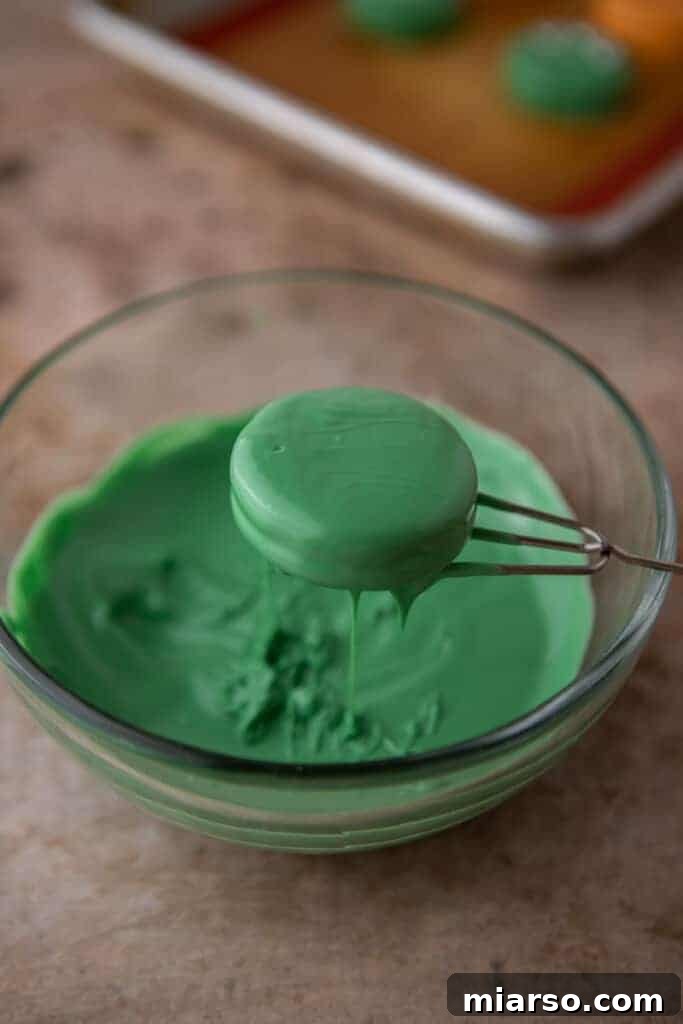
- Dip the Oreos: Using a chocolate dipping fork (or a regular fork if you don’t have one), carefully immerse each Oreo cookie into the melted chocolate. Ensure you flip the Oreo to completely coat both sides. A full, even coating is important for a professional-looking finish.
- Remove Excess Chocolate: Gently lift the chocolate-covered Oreo with your fork. Tap the fork lightly against the edge of the bowl. This allows any excess chocolate to drip off, preventing puddles and ensuring a cleaner, more appealing finish on your cookie.
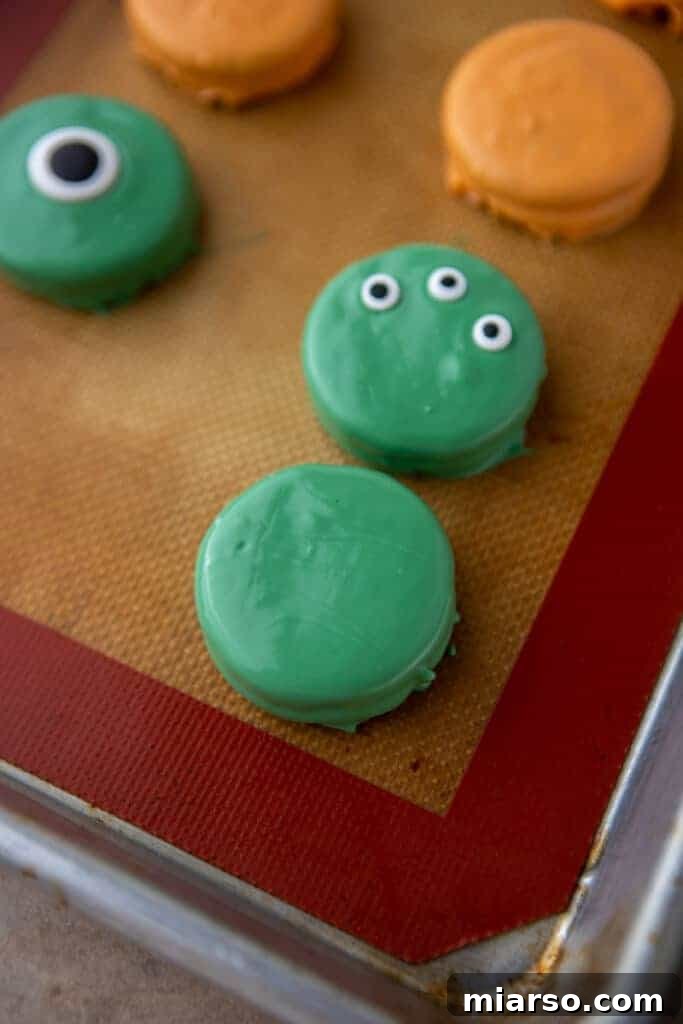
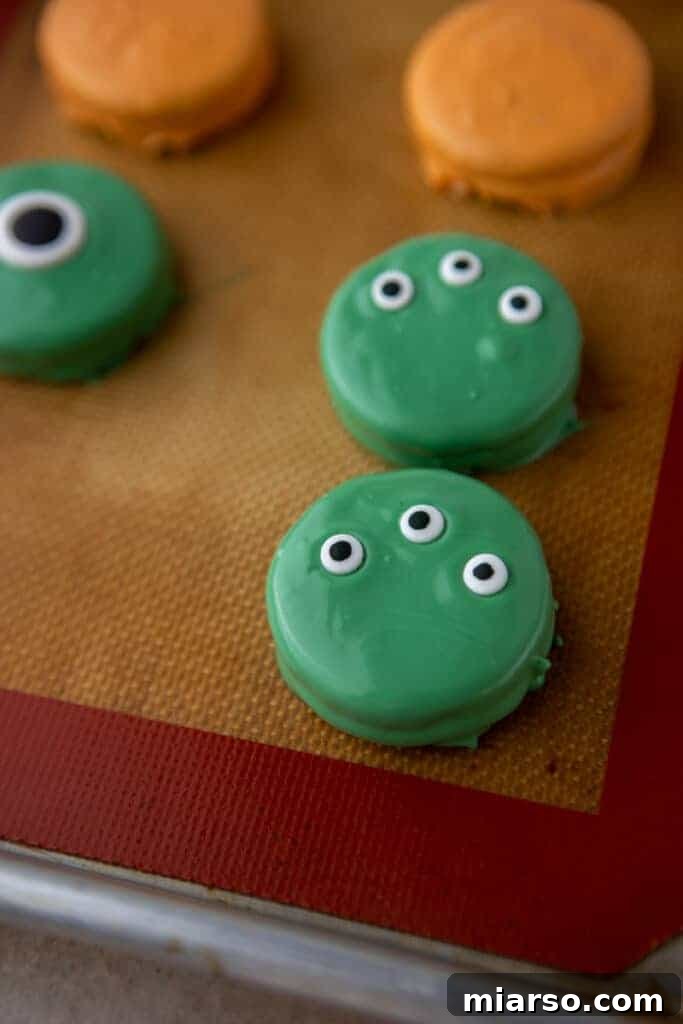
- Decorate Instantly: Carefully transfer the chocolate-covered Oreos onto your prepared parchment or wax paper-lined baking sheet. While the chocolate is still wet, immediately add your desired decorations – sprinkles, candy eyeballs, or any other festive toppers you have on hand. The chocolate sets quickly, so speed is key here!
- Chill and Enjoy: Once all your Oreos are dipped and decorated, place the baking sheet in the refrigerator. Allow them to chill for at least 15-20 minutes, or until the chocolate is completely firm. Once set, your delightful **chocolate covered Oreos** are ready to be enjoyed!

Frequently Asked Questions (FAQ) About Halloween Chocolate Covered Oreos
Here are some common questions and helpful answers to ensure your **Halloween chocolate covered Oreos** turn out perfectly every time.
How long do these chocolate-dipped Oreo Halloween cookies last?
When stored correctly, these delightful cookies can last for approximately two weeks. Their sturdy chocolate coating helps to preserve their freshness and flavor, making them great for making ahead of time.
What’s the best way to store this easy treat?
To maintain their crispness and prevent the chocolate from melting, store your **easy Halloween treats** in an airtight container or a Ziplock bag. Keeping them in the refrigerator is ideal, especially if your home is warm, as it prevents the chocolate from becoming messy or sticky. You can also store them on the counter at room temperature, provided they are kept away from direct sunlight or any heat sources that could cause the chocolate to soften.
Can I make these Halloween chocolate covered Oreos gluten-free?
Absolutely, you certainly can! Many grocery stores now offer delicious gluten-free Oreo cookies. When making these, ensure you specifically use these gluten-free Oreos. Additionally, double-check that both your chosen dipping chocolate and any Halloween decorations or sprinkles you plan to use are certified gluten-free. This ensures that everyone, including those with dietary restrictions, can safely enjoy these fun **spooky Oreo treats**.
Can I use gel food coloring to color my chocolate or candy melts?
This is a very important question, and the answer is generally no, especially if you’re using standard gel food coloring. The primary reason is that regular gel food coloring contains water, and water does not mix well with chocolate. Introducing water to melted chocolate will cause it to seize, transforming it into a thick, crumbly, unusable paste. This “seized” chocolate cannot be used for smooth dipping.
If you intend to color your chocolate or candy melts, it is imperative to use food coloring specifically designed for chocolate. These are oil-based or powder-based colorings that won’t interfere with the chocolate’s consistency, allowing you to achieve vibrant, smooth colors for your **Halloween chocolate covered Oreos** without any issues.
What kind of chocolate works best for dipping?
For the smoothest finish and easiest dipping, compound chocolate (like candy melts) or tempering chocolate is ideal. If using chocolate chips or baking bars, adding a small amount of coconut oil or vegetable shortening (as mentioned in the instructions) can help achieve a perfect fluid consistency. High-quality chocolate will also give you the best flavor.
How do I prevent chocolate from cracking after it sets?
The main reason chocolate cracks is often due to temperature fluctuations. Ensure your Oreos are at room temperature before dipping. Also, avoid shocking the chocolate by placing it directly into a very cold freezer after dipping. The refrigerator is usually sufficient for setting. A thinner, even coat of chocolate also helps prevent cracking.

Spooky Halloween Chocolate Covered Oreos Recipe Card
Spooky Halloween Chocolate Covered Oreos
Print Recipe
Ingredients
- 1 package Oreos (approx. 36 Oreos)
- 6 oz white candy melts or white chocolate
- 6 oz orange candy melts
- 6 oz chocolate chips or black candy melts
- 6 oz green candy melts
- Assorted Halloween sprinkles like candy eyes, various sprinkles
- 1/2 teaspoon vegetable oil or coconut oil (optional, for thinning chocolate)
Instructions
-
1. Line a baking sheet with parchment paper or wax paper. This will be your designated space for the chocolate-covered Oreos to set without sticking. Set it aside for now.
-
2. In a microwave-safe bowl, melt the first color of chocolate or candy melts you plan to use for dipping. It’s crucial to work with one color at a time to prevent the chocolate from hardening prematurely. Microwave in short bursts, typically 30-second increments, stirring thoroughly after each one. Continue until the chocolate is smooth and fully melted.1 package Oreos, 6 oz white candy melts, 6 oz orange candy melts, 6 oz chocolate chips, 6 oz green candy melts
-
3. Using a chocolate dipping fork (or a regular fork), carefully dip an Oreo cookie into the melted chocolate. Ensure both sides of the Oreo are completely coated. Gently lift the cookie and lightly tap the fork against the rim of the bowl to allow any excess chocolate to drip back into the bowl. This helps create a cleaner, smoother finish and prevents pooling. Place the dipped Oreo onto the prepared baking sheet.
-
4. While the chocolate is still wet, immediately decorate your Oreo! This is where the fun begins. Add spooky eyeballs, colorful sprinkles, or any other Halloween-themed embellishments you’ve chosen. The chocolate will set quickly, so decorate each Oreo right after dipping.assorted Halloween sprinkles like candy eyes, sprinkles
-
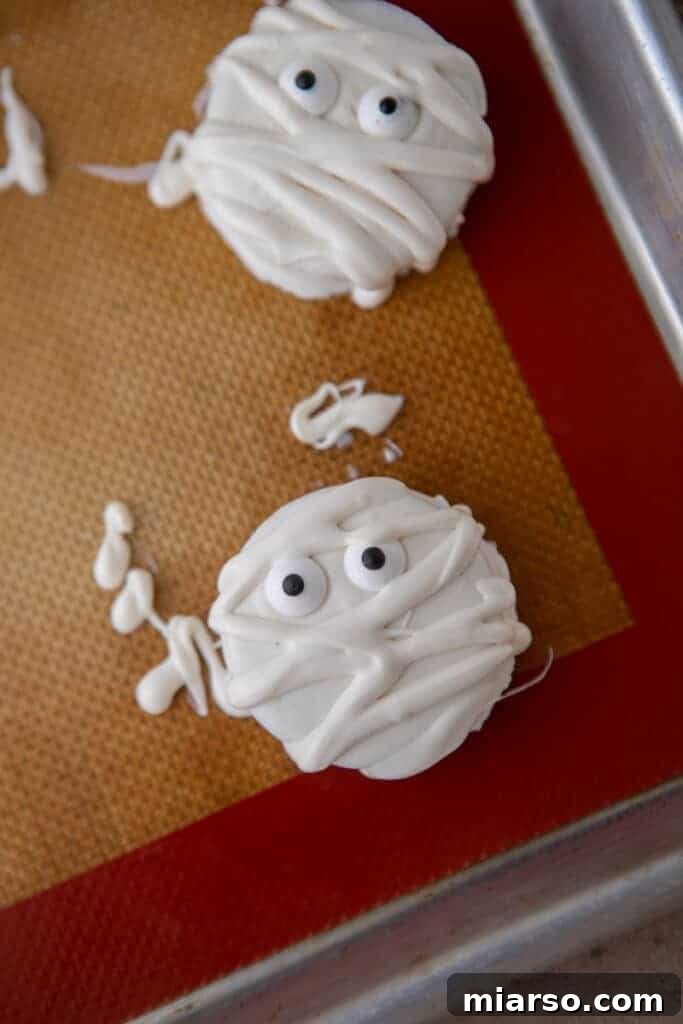
5. Repeat steps 2-4 with the remaining Oreos and different chocolate colors. For specific designs, such as mummy Oreos, first dip the cookie in white candy melts, add candy eyeballs, and chill briefly. Once slightly set, drizzle additional melted white candy melts over the Oreos in a zig-zag pattern to create the mummy bandage effect, then chill again until completely firm.
Pro Tip for Chocolate Consistency:
-
If your melted chocolate or candy melts are too thick for a smooth dip, add about 1/2 teaspoon of vegetable oil or coconut oil and stir well. If needed, add an additional 1/4 teaspoon at a time until you reach the desired flowing consistency. This helps create a perfect, even coating.
Nutrition Information (per serving)
Please note: Nutrition information is an estimate based on typical ingredients and serving sizes. It should be used as an approximation only.
Shop Ingredients & Tools for This Recipe
This post may contain affiliate links. This means that at no extra cost to you, I may receive a small percentage of any purchase you make through these links, which helps support this blog!
Don’t Forget to Pin This Spooky Halloween Chocolate Covered Oreos Recipe for Later!
If you’ve enjoyed creating these fun and delicious Halloween treats, make sure to save this recipe for future spooky seasons! Pin it to your favorite Halloween recipe board on Pinterest so you can easily find it whenever the craving for **easy Halloween treats** strikes. Share your creations and spread the Halloween cheer!