
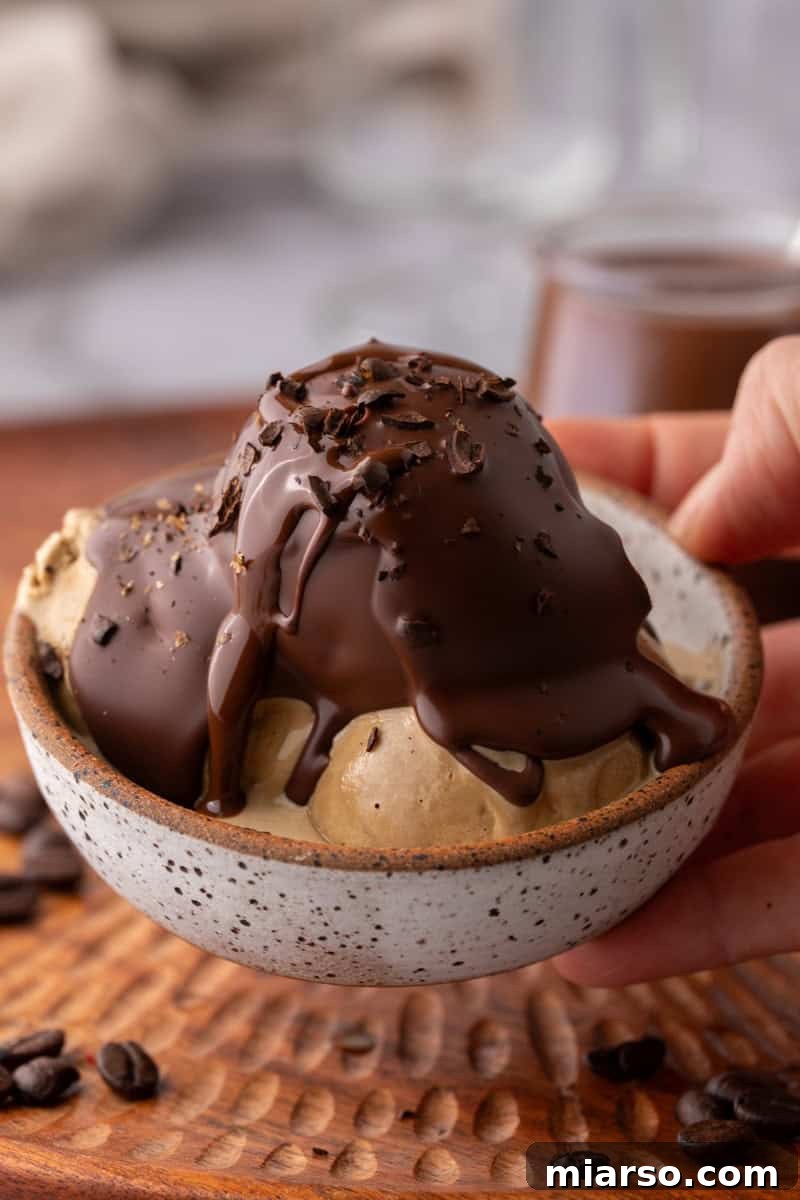
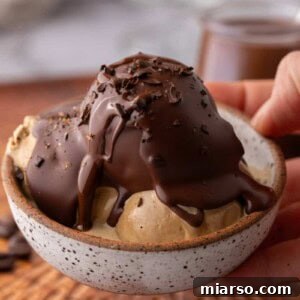
Transform your dessert experience with this incredible 2-Ingredient Magic Chocolate Shell Recipe! Forget store-bought toppings; this homemade version is not only incredibly easy to make in under five minutes but also delivers that iconic, satisfying crisp chocolate layer you crave. It’s the ultimate ice cream companion, instantly elevating any scoop into a gourmet treat.
Remember the sheer delight of biting into an ice cream cone or a popsicle, and experiencing that perfect, thin layer of chocolate cracking with an audible crunch? For many of us, that crispy chocolate shell was the best part of the entire dessert, a nostalgic treat that takes us straight back to childhood summers. Perhaps you, like me, even used to devour the chocolate shell first, savoring every bit of its unique texture before getting to the creamy ice cream inside. That unmistakable snap, that rich chocolate flavor – it’s a memory worth reliving, and now you can recreate it effortlessly in your own kitchen.
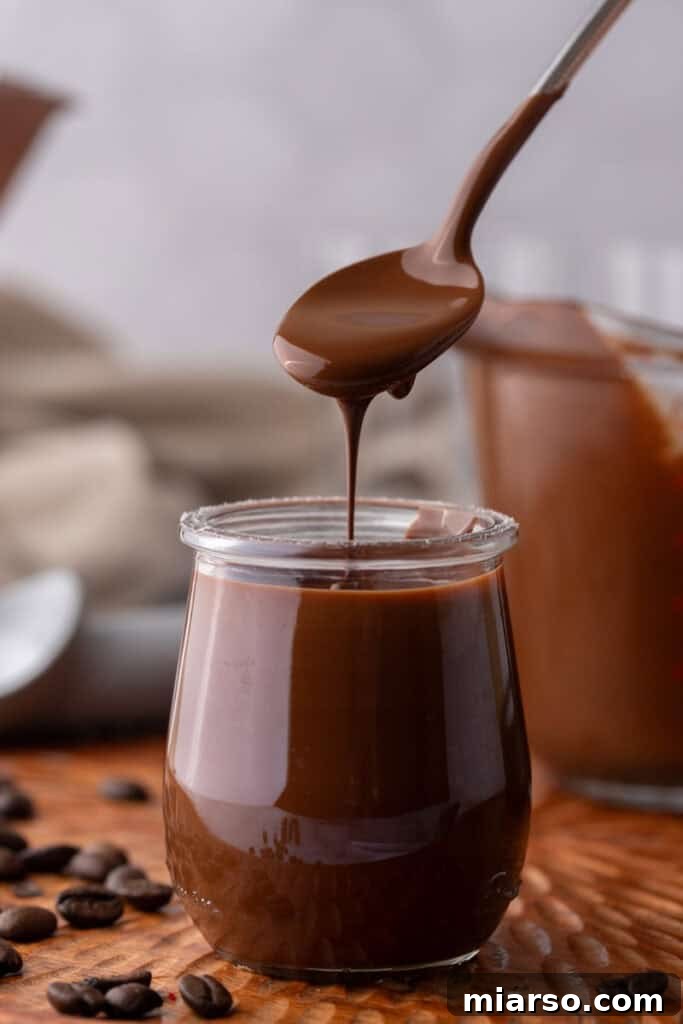
With this simple homemade magic shell recipe, you no longer need to rely on expensive, pre-packaged ice cream bars from the grocery store to get that beloved chocolate coating. Imagine having the power to create a decadent, perfectly hardening chocolate shell on demand, right in the comfort of your home. It’s significantly easier than you might think, requiring just two common ingredients and minimal effort. This recipe opens up a world of possibilities for customizing your ice cream sundaes, cones, and even cakes, giving them a professional, irresistible finish every time.
If you’re as passionate about creating your own delicious frozen treats as you are about this magic shell, you’ll also love exploring recipes for homemade espresso ice cream, the rich and creamy best vanilla bean ice cream, or even my unique high-protein cottage cheese ice cream made in the Ninja Creami. These recipes perfectly complement the versatile magic chocolate shell, allowing you to craft a truly unforgettable dessert experience.
The Magic Behind the Shell: Why This Recipe Works
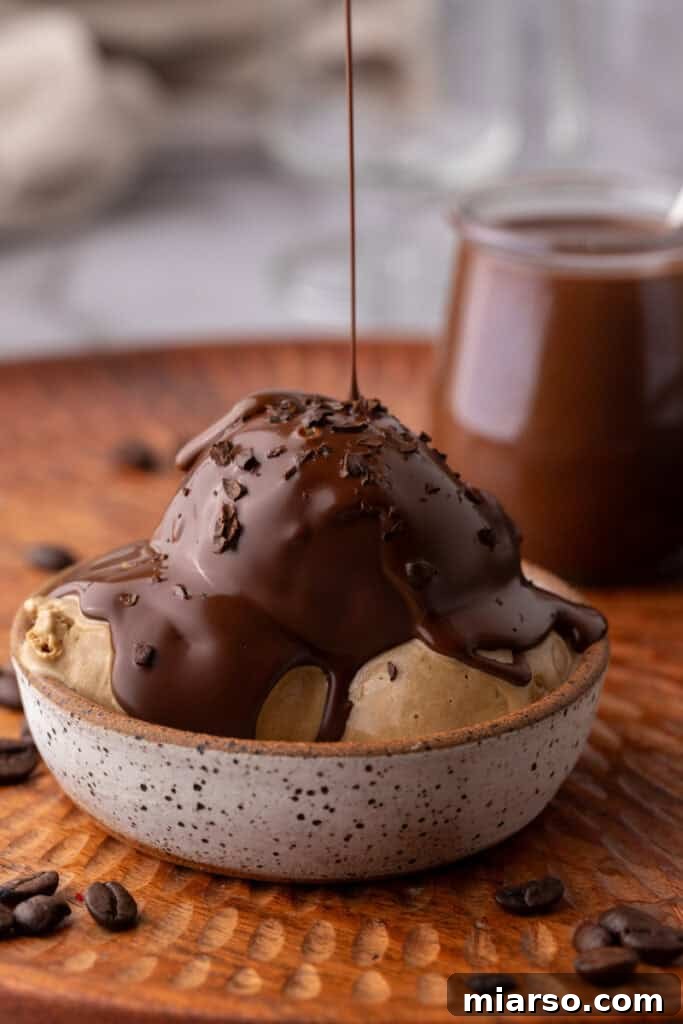
The secret to this “magic” chocolate shell lies in the unique properties of coconut oil. Unlike other oils, coconut oil has a relatively low melting point but solidifies quickly at cooler temperatures. When combined with melted chocolate, it creates a liquid mixture that remains pourable at warm temperatures but rapidly firms up and becomes brittle when it comes into contact with cold ice cream. This rapid solidification is what forms that signature crispy, snappy shell that we all adore. The ratio of chocolate to coconut oil is key to achieving the perfect consistency and crunch, ensuring a smooth pour and a satisfying break every time.
Ingredients for This Homemade Chocolate Magic Shell
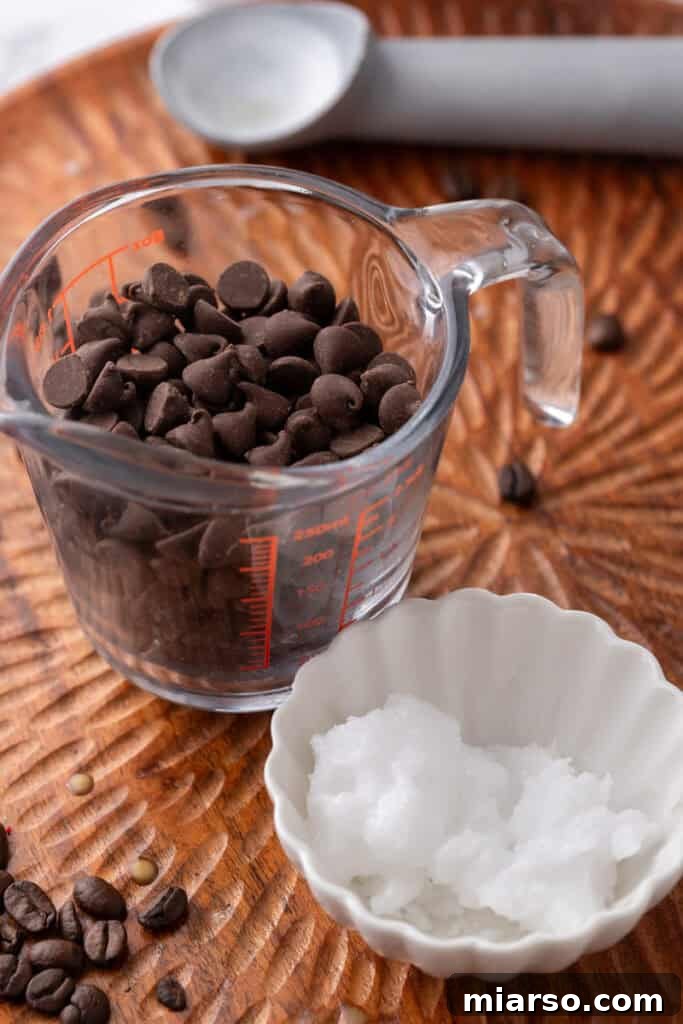
You’ll be amazed at how simple and straightforward the ingredient list is for this phenomenal ice cream topping. For detailed measurements, please refer to the static recipe card located further down this page.
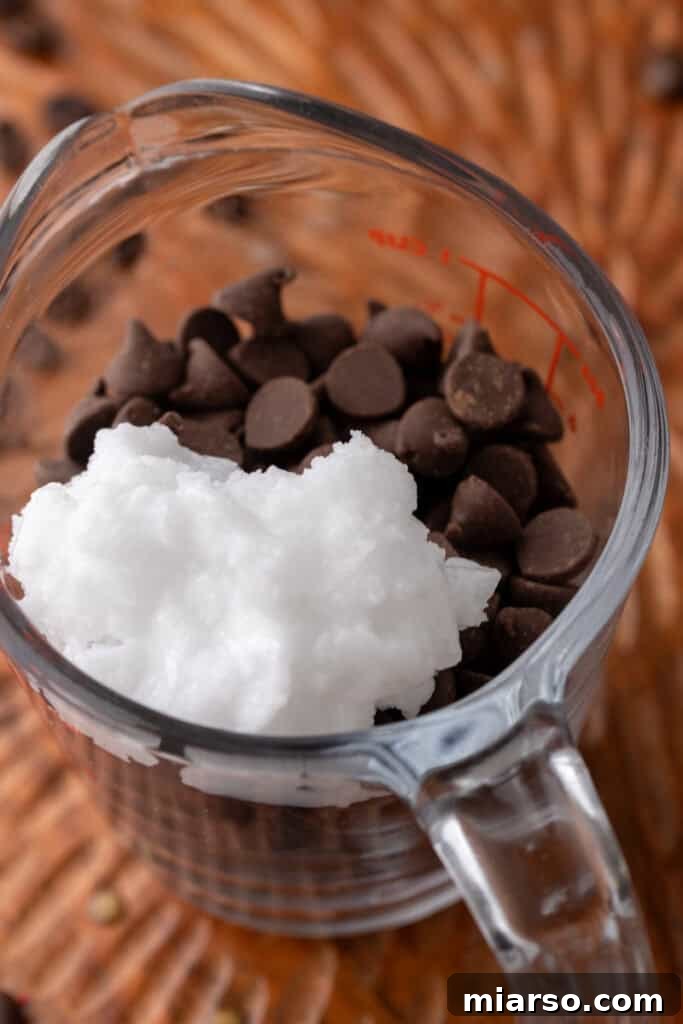
- Chopped Chocolate Bar or Chocolate Chips: This forms the delicious base and provides the rich, indulgent chocolate flavor for your hard shell. While chocolate chips are convenient, a high-quality chocolate bar, finely chopped, tends to yield a smoother, glossier, and thinner shell. You can choose semi-sweet for a balanced flavor, milk chocolate for extra sweetness, or dark chocolate for a more intense, less sugary profile.
- Refined Coconut Oil: The crucial ingredient that transforms the melted chocolate into a quick-hardening shell. Refined coconut oil is essential because it has a neutral flavor, ensuring your magic shell tastes purely of chocolate without any tropical undertones. It thins the chocolate, allowing it to spread easily, and then solidifies quickly upon cooling, creating the desired crispy texture.
How to Make a Homemade Chocolate Magic Shell Recipe with Coconut Oil
Creating your own magic chocolate shell is incredibly straightforward and quick. Follow these easy steps to achieve that perfect Dairy Queen-style coating at home. For complete step-by-step instructions and ingredient quantities, please see the recipe card at the end of this article.
- Melt the Ingredients: Combine your chosen chopped chocolate and solid refined coconut oil in a heatproof bowl. You have two excellent methods for melting:
- Double Boiler Method: Place the bowl over a saucepan with simmering water, ensuring the bottom of the bowl does not touch the water. Stir continuously on low heat until the chocolate and coconut oil are completely melted and smoothly combined. This gentle method prevents scorching and yields a very glossy result.
- Microwave Method: For a quicker approach, place the ingredients in a microwave-safe bowl. Heat in short 30-second intervals, stirring thoroughly after each burst. Continue until the mixture is fully melted and smooth. Be careful not to overheat the chocolate, as it can seize.
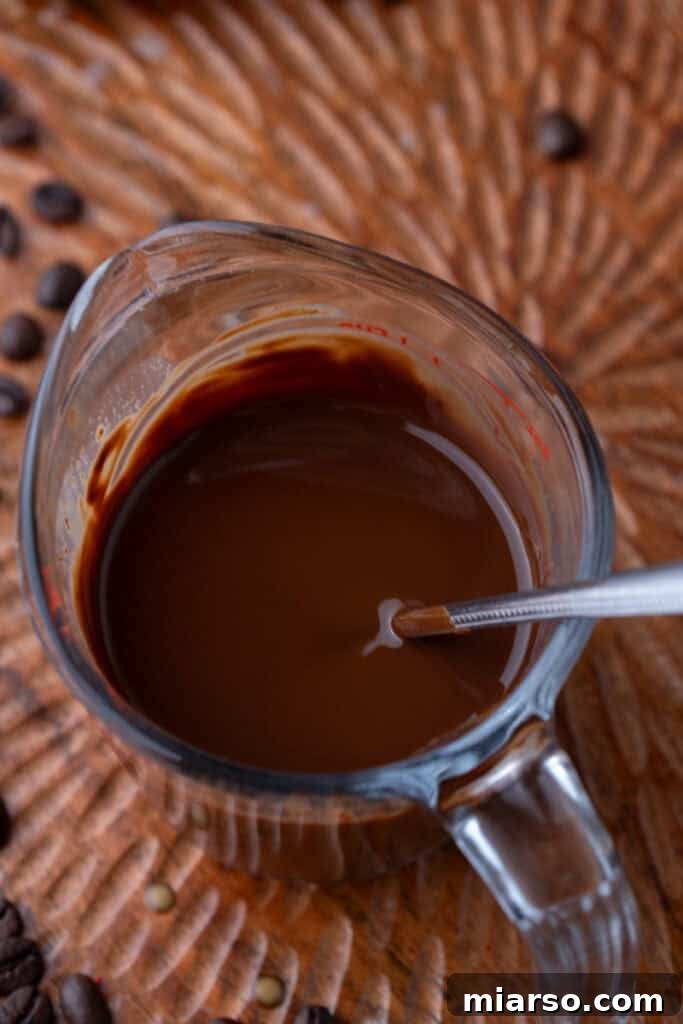
- Cool Slightly: Once melted, set the liquid chocolate mixture aside for a few minutes to cool down. It should no longer be piping hot, as excessive heat will instantly melt your ice cream. However, it needs to remain warm enough to be easily pourable and spreadable. Stir occasionally as it cools to ensure an even temperature throughout.
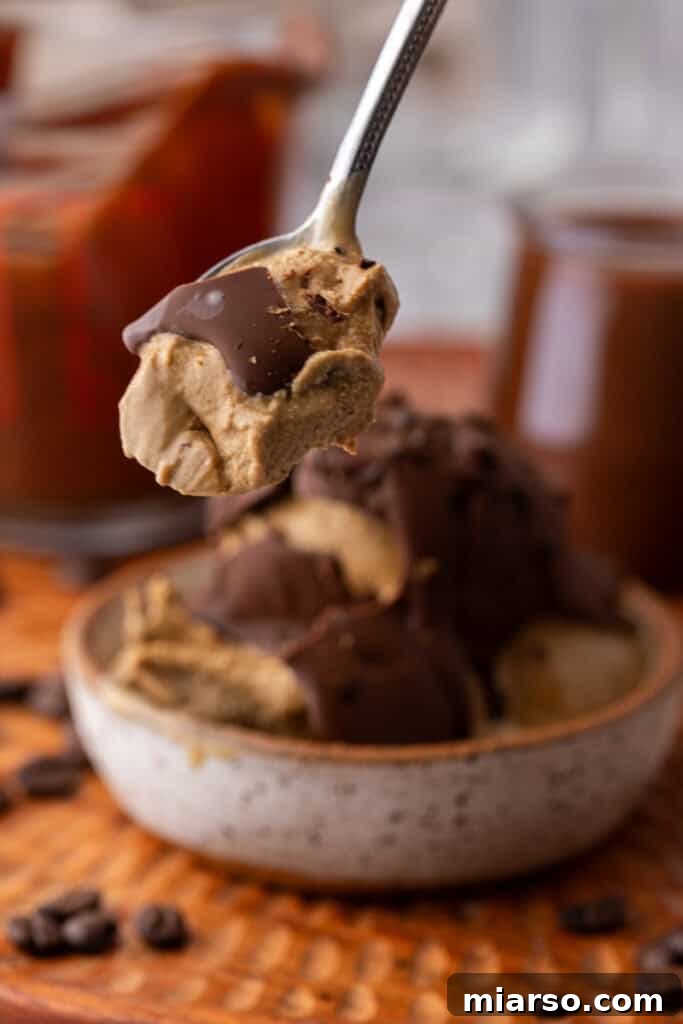
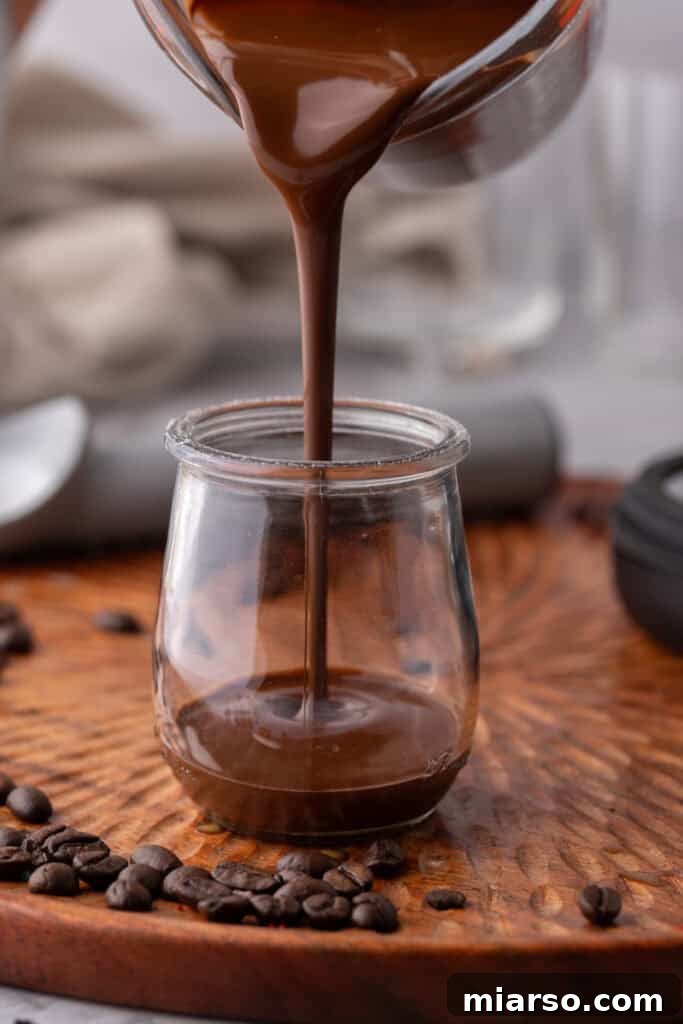
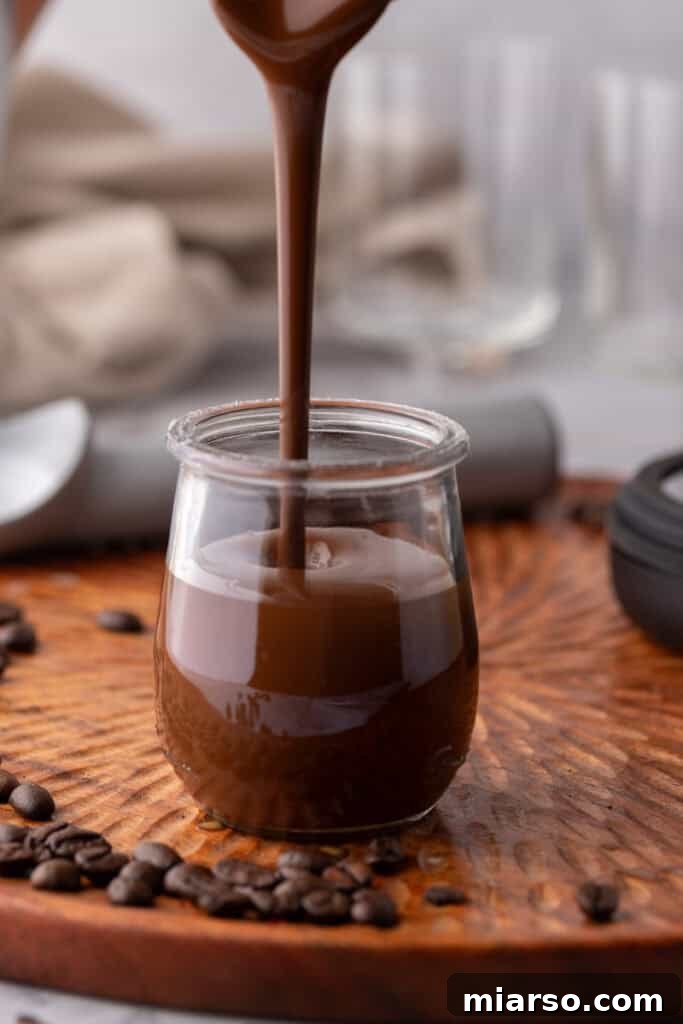
- Apply to Cold Treats: Spoon or generously drizzle the perfectly warmed chocolate mixture over your favorite cold ice cream or other frozen treats. Ensure the ice cream is fresh out of the freezer for the best results.
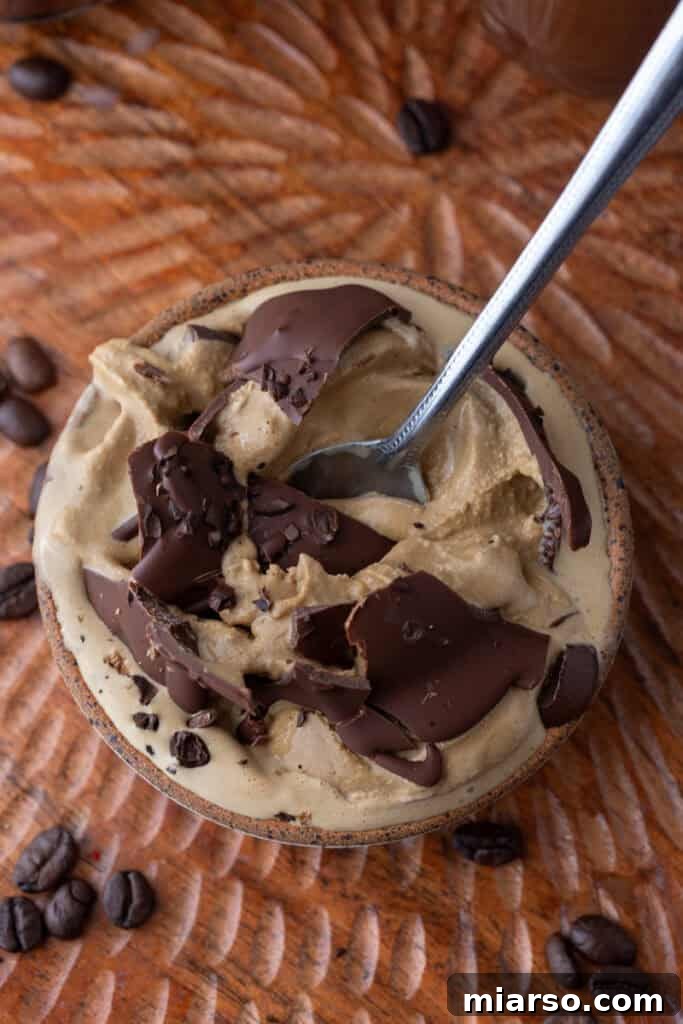
- Watch the Magic Happen: Wait just a few seconds – literally moments – and observe as the liquid chocolate rapidly transforms before your eyes, firming up into a crisp, shiny, and utterly irresistible shell. The colder the ice cream, the faster and more pronounced the hardening effect will be.
Pro Tips for the Best Magic Chocolate Shell Results
- Measure Coconut Oil Solid: Always measure your coconut oil in its solid state for better accuracy. Melting it first and then measuring can result in inaccurate proportions, which may affect the final hardening texture of your shell.
- Opt for Refined Coconut Oil: Specifically use “refined” coconut oil. Unrefined or “virgin” coconut oil has a distinct coconut flavor, which, while delicious in some contexts, will transfer to your chocolate shell and may not be desirable. Refined coconut oil is flavorless, allowing the pure chocolate taste to shine through.
- Prioritize Quality Chocolate: The quality of your chocolate significantly impacts the flavor of your magic shell. Invest in the highest quality chocolate bar or chips you can find. Better chocolate leads to a richer, smoother, and more delicious topping.
- Chop Chocolate Finely: If you’re using a chocolate bar, chop it into small, uniform pieces before melting. Smaller pieces melt more evenly and quickly, reducing the risk of overheating and ensuring a smooth, lump-free mixture.
- Ensure Ice Cream is Frozen Solid: For the best hardening effect, your ice cream should be directly from the freezer, as cold as possible. The extreme temperature difference is what triggers the rapid solidification of the shell. If your ice cream is too soft, the shell might not harden as quickly or completely.
- Maintain Optimal Chocolate Temperature: After melting, allow the chocolate mixture to cool slightly (to about 90-95°F or 32-35°C). It should still be liquid and pourable, but not so hot that it instantly melts the ice cream. This lukewarm temperature ensures a good spread and quick set.
- Stir Well: Continuous stirring during melting and cooling phases helps create a homogenous mixture, preventing any chocolate from sticking to the bottom or seizing, and ensures a beautifully smooth shell.
Why You Absolutely Need to Make This Magic Chocolate Shell Recipe
There are countless reasons why this 2-ingredient magic chocolate shell will become your new favorite dessert hack:
- Revive Childhood Memories: This simple topping instantly transports you back to simpler times, bringing the joy and nostalgia of those iconic chocolate-covered ice cream treats right to your spoon. It’s a delightful trip down memory lane.
- Incredibly Easy and Quick: With just two simple ingredients and a preparation time of under five minutes, this recipe is perfect for last-minute dessert cravings or when you need an impressive, yet effortless, finishing touch.
- Skip the Store-Bought Desserts: Say goodbye to expensive, pre-packaged ice cream bars. You can now create a superior, customizable hard chocolate shell for your cold treats right at home, saving money and enjoying fresher ingredients.
- Unmatched Versatility: The beauty of this recipe is its perfect pairing ability. It works wonderfully with almost every flavor of ice cream, from classic vanilla and chocolate to more adventurous combinations, and can elevate a variety of other cold desserts.
- Endless Customization Options: Once you master the basic recipe, the possibilities for customization are limitless. Experiment with different types of chocolate, add extracts, or incorporate other flavorings to create unique and exciting shells tailored to your taste.
- Budget-Friendly: Making your own toppings is significantly more economical than buying specialty ice cream products, allowing you to enjoy gourmet desserts without breaking the bank.
- Fresh and Controllable Ingredients: You have complete control over the quality of chocolate you use, avoiding unnecessary additives and ensuring a pure, delicious flavor.
Frequently Asked Questions (FAQ) About Homemade Magic Shell
What type of chocolate should I use for this magic shell recipe?
The choice of chocolate largely depends on your personal preference and desired sweetness level. I typically recommend semi-sweet chocolate for a beautifully balanced flavor that isn’t overly sweet but still rich. If you prefer a sweeter shell, milk chocolate is an excellent choice. For those who enjoy a deeper, more intense chocolate experience with less sugar, dark chocolate (around 60-70% cacao) will create a sophisticated and robust shell. Experiment to find your perfect match!
What should I use this magic shell ice cream topping on?
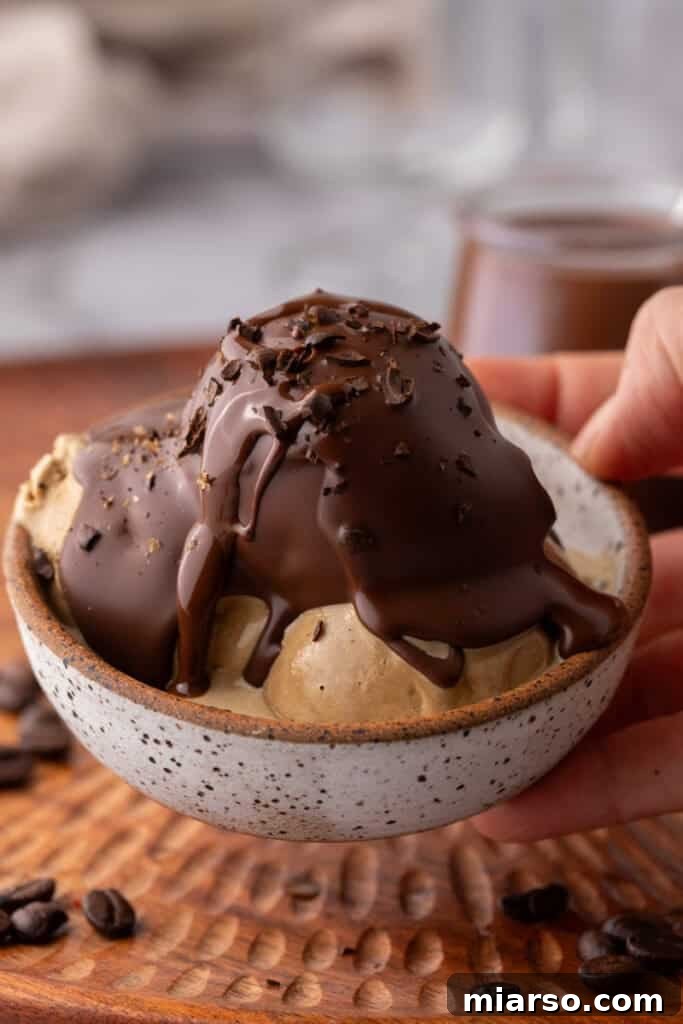
This versatile magic chocolate shell topping is perfect for enhancing almost any cold dessert! Its primary use is, of course, on ice cream: drizzle it over scoops in bowls, coat homemade ice cream cones, or even create a stunning outer layer for ice cream cakes. Beyond ice cream, consider using it on frozen bananas, fruit skewers, popsicles, or even as a decorative element for chilled desserts like parfaits or cheesecakes. The possibilities are truly endless!
What different flavors of ice cream can I use this on?
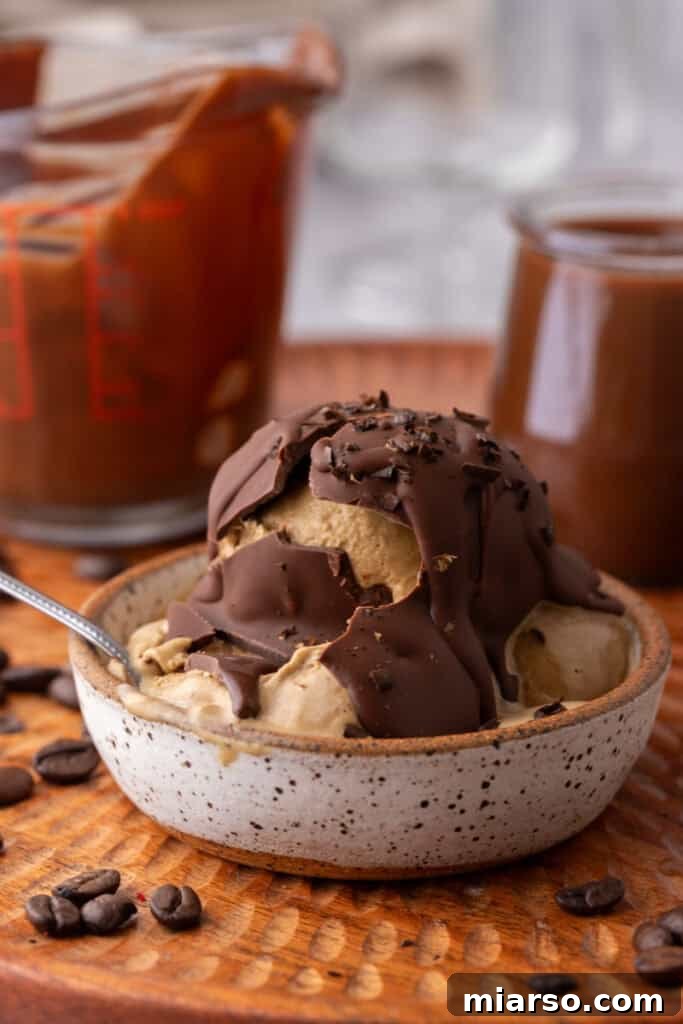
The beauty of a classic chocolate magic shell is its universal appeal. It complements an enormous range of ice cream flavors. The most obvious and beloved pairings include vanilla, chocolate, coffee, and peanut butter ice cream. However, don’t limit yourself! It also tastes fantastic on mint chip, strawberry, salted caramel, pistachio, or even fruit-based sorbets for a delightful textural contrast. If you love chocolate, chances are it will be delicious with this shell.
What different flavors can I try for the shell?
Once you’ve mastered the basic chocolate magic shell, get creative with these exciting flavor variations:
- White Chocolate Shell: Substitute the dark or milk chocolate with high-quality white chocolate. This creates a sweet, creamy shell with delightful cocoa butter notes, perfect for berry or citrus ice creams.
- Caramel or Butterscotch Twist: Melt in two tablespoons of caramel or butterscotch chips along with your chocolate and coconut oil for a rich, decadent, and distinctively flavored shell.
- Nut Butter Infusion: Add two tablespoons of your favorite smooth nut butter (like peanut, almond, or cashew butter) to the chocolate mixture before melting. This creates a nutty, creamy shell that pairs wonderfully with banana or coffee ice cream.
- Mint Chocolate Shell: Stir in a few drops of food-grade peppermint extract to the melted chocolate mixture for a refreshing mint-chocolate experience.
- Orange Zest Shell: For a bright, zesty flavor, add a teaspoon of finely grated orange zest to the melted chocolate.
- Spicy Chili Chocolate: For an adventurous palate, a tiny pinch of cayenne pepper can add a surprising warmth and depth to your chocolate shell.
How to store homemade magic chocolate shell and reuse it?
Storing your homemade magic chocolate shell is incredibly simple, and it doesn’t require refrigeration! Any leftover liquid shell can be stored in a sealed airtight container, a small bowl covered tightly with plastic wrap, or a mason jar at room temperature for up to one month. It will naturally solidify as it cools. When you’re ready to use it again, simply microwave the solid chocolate mixture briefly in 15-30 second intervals, stirring well after each, until it becomes liquid and pourable once more. This makes it a convenient staple for spontaneous dessert nights.
Why do we use coconut oil? Can I use a different oil?
Coconut oil is the star ingredient for a reason! It’s uniquely suited for this recipe because it solidifies at room temperature (specifically, below 76°F or 24°C). When combined with melted chocolate, this property allows the mixture to remain liquid and pourable when warm, but then rapidly firm up into a crisp, hard shell as it hits the cold surface of ice cream. Furthermore, using refined coconut oil ensures a neutral flavor, allowing the rich taste of chocolate to dominate without any unwanted tropical notes.
I strongly advise against substituting coconut oil with other common liquid oils like olive oil, vegetable oil, or canola oil. These oils do not solidify at typical refrigerator or room temperatures, which means your chocolate shell would remain runny and gooey, failing to achieve that satisfying magic crunch. The specific chemical composition of coconut oil is crucial for the “magic” to work.
Should I use a chocolate bar or chocolate chips?
While both chocolate bars and chocolate chips can be used, a high-quality chocolate bar, finely chopped, is generally preferred for this recipe. Chocolate bars typically contain fewer stabilizers and emulsifiers than chocolate chips, allowing for a smoother melt and a thinner, glossier, and more brittle shell. This results in that authentic “magic shell” experience. Chocolate chips are designed to hold their shape when baked, which means they can sometimes create a slightly thicker and less glossy shell, and may require a little more stirring to melt completely smooth. However, if chocolate chips are what you have on hand, they will certainly work and still deliver a delicious, crunchy topping.
Chocolate Magic Shell Recipe
3 minutes
2 minutes
5 minutes
6
servings
Print Recipe
Ingredients
-
1
cup
chopped chocolate
or chocolate chips (semi-sweet, dark, or milk) -
2
tablespoons
refined coconut oil
measured solid
Instructions
-
In a microwave-safe bowl or over a double boiler, combine the chocolate and coconut oil. If using the microwave, heat in 30-second bursts, stirring between each, until smooth and melted.1 cup chopped chocolate,
2 tablespoons refined coconut oil -
Let it cool for a few minutes so it’s not piping hot, but still pourable.
-
Drizzle over cold ice cream and wait a few seconds; it will harden into a glossy shell!
-
Keep in an airtight container at room temperature for up to 1 month. If it hardens, just microwave for a few seconds to liquefy again.
Nutrition
Carbohydrates: 15g |
Protein: 2g |
Fat: 15g |
Saturated Fat: 10g |
Polyunsaturated Fat: 0.4g |
Monounsaturated Fat: 4g |
Trans Fat: 0.02g |
Cholesterol: 2mg |
Sodium: 3mg |
Potassium: 161mg |
Fiber: 2g |
Sugar: 10g |
Vitamin A: 14IU |
Calcium: 18mg |
Iron: 2mg
Nutrition information is automatically calculated, so should only be used as an approximation.
Like this? Leave a comment below!