What an incredible milestone, everyone! This past weekend marked a significant moment as I participated in my graduation ceremony. While I technically have one more class to complete, the feeling of walking across that stage, surrounded by peers and filled with an overwhelming sense of accomplishment, was truly exhilarating. It was the culmination of years of hard work, dedication, and countless late nights. To finally be able to declare, “Yes! I did that!” after pouring my heart and soul into my studies, felt absolutely monumental.
The journey, however, felt incredibly swift. It seems like just yesterday I was stepping onto campus for the very first time, full of anticipation and a touch of nervousness. So, to all my fellow non-graduates or those embarking on their college adventures, please cherish every single second. Immerse yourselves in the experience, forge lasting friendships, create unforgettable memories, and remember not to take everything too seriously. College is a unique chapter that, like all good things, will eventually draw to a close. Embrace the learning, the growth, and the vibrant community around you.


Speaking of celebrating, you might have noticed my very special graduation cap in the photos above! If you’re a devoted fan of “The Office,” you’ll recognize the iconic quote. I absolutely loved crafting it, and it was a fantastic conversation starter. If you’re keen on making your own custom cap, especially an “Office”-themed one, let me know in the comments below! I’d be thrilled to put together a DIY post detailing exactly how I made this awesome cap and how you can replicate the fun.
A Sweet Dilemma: Transforming Leftover Celebration Cake
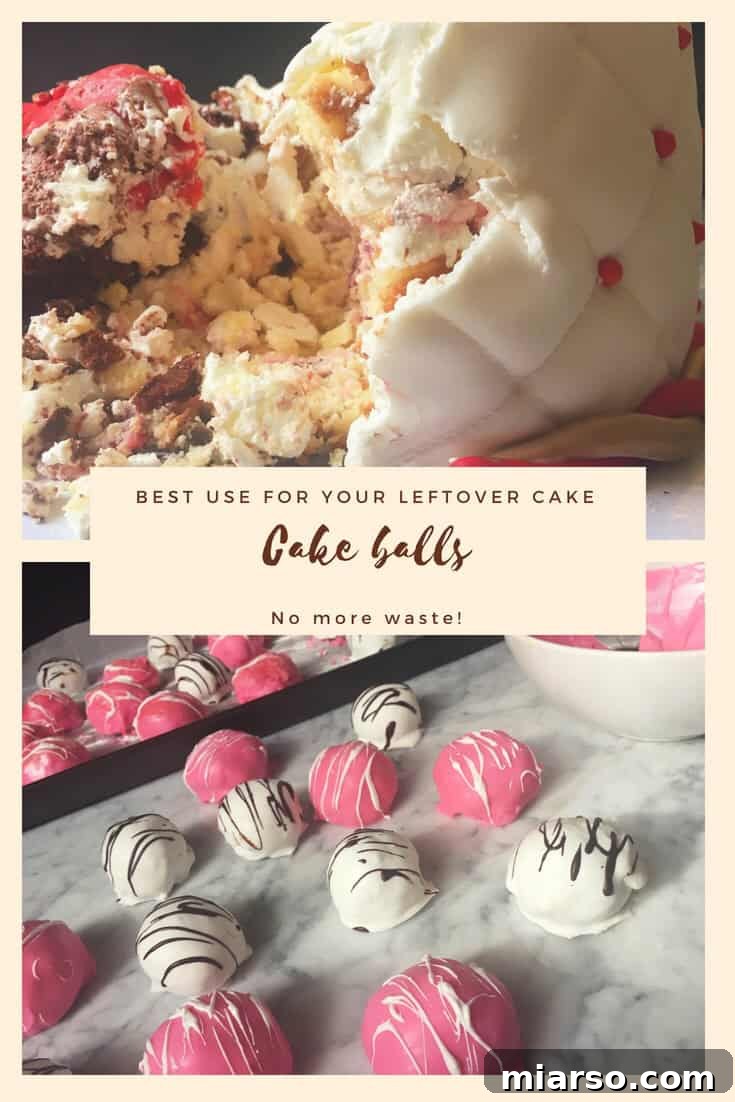
Now, moving from academic triumphs to culinary creations, today’s focus is on a delicious recipe inspired by the very same graduation festivities. After my ceremony, a dear friend hosted a wonderful celebration party. As is often the case with such joyous occasions, we ended up with an abundance of cake – a truly massive amount! The thought of all that delicious cake potentially going to waste was heartbreaking. Fortunately, my friend, knowing my passion for finding creative uses for ingredients and my knack for culinary improvisation, offered me the entirety of the leftover cake. She was traveling the next day anyway, and it seemed like a perfect solution to prevent it from simply being discarded.
When I first saw the sheer volume of cake, I’ll admit, I was a little overwhelmed. This wasn’t just a few slices; we’re talking about a significant amount that easily weighed what felt like 10 pounds! But after the initial shock, a brilliant idea began to form. Why let such a delicious dessert go to waste when it could be transformed into something equally delightful and shareable?
The “Aha!” Moment: Crafting Delicious No-Waste Cake Pops and Cake Balls
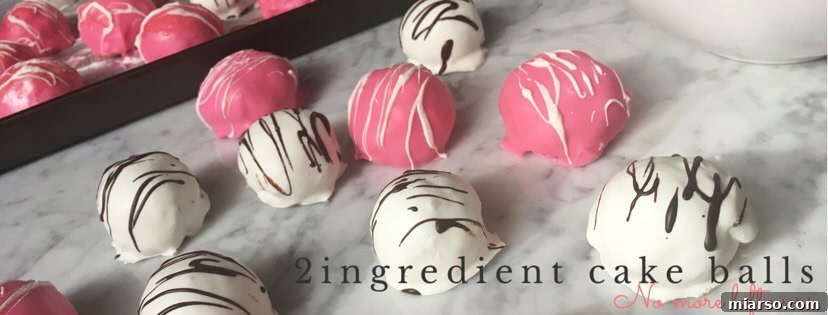
Then it hit me: why not make some delicious cake pops or cake balls out of all this leftover cake? It would be the perfect way to give this celebratory dessert a second life, transforming it into wonderful, bite-sized treats. Not only would it prevent food waste, but these little delights would also make fantastic gifts for friends and family, or simply a convenient indulgence for myself. Plus, I already had the most important part of the recipe: the cake itself! All that remained was a bit of assembly and creativity.
The first step was a bit of a challenge: carefully peeling off all the fondant that adorned the original cake. It took a little patience and persistence, but after a while, I successfully managed to separate the cake from its decorative outer layer, leaving me with a beautifully crumbly base ready for its transformation. The result of this initial effort is shown below, ready for the next stage of its delicious metamorphosis.
The rest of this easy and delicious no-waste cake pop/cake ball recipe will be described in full detail below! Get ready to turn your leftover cake into an irresistible new treat.
The Ultimate No-Waste Cake Balls Recipe: Deliciously Repurposed
Never let a delicious cake go to waste again! This recipe transforms any leftover cake into delightful, bite-sized cake balls or pops that are perfect for parties, gifting, or simply satisfying a sweet craving. It’s incredibly versatile and a fantastic way to minimize food waste in the most delicious way possible.
Yield: Approximately 24-30 cake balls (depending on size and initial cake amount)
Prep Time: 20 minutes
Chill Time: 15-30 minutes
Total Time: 1 hour and 30 minutes
Ingredients for Your Cake Balls:
- Leftover Cake: Any flavor or type works wonderfully! This is your primary ingredient. Ensure any hard frosting layers (like fondant) are removed.
- Frosting (Optional, for consistency): A small amount of leftover buttercream, cream cheese frosting, or even canned frosting can be used if your cake mixture is too dry. Start with a tablespoon and add more as needed.
- Wilton Candy Melts: Or any other brand of melting wafers/chocolate you prefer. Choose your favorite colors to match a theme or create a vibrant assortment. White, milk chocolate, or dark chocolate melts are great bases.
- Optional Decorations: Sprinkles, edible glitter, finely chopped nuts, cocoa powder, or even a different colored candy melt for drizzling.
Essential Equipment:
- Large mixing bowl
- Fork or potato masher (for mashing cake)
- Measuring spoons (for frosting)
- Baking sheet lined with parchment paper or wax paper
- Microwave-safe bowl (for melting candy melts)
- Spoon or dipping tool (for coating cake balls)
- Toothpicks or lollipop sticks (if making cake pops)
Step-by-Step Directions:
- Prepare Your Cake Base: Start by crumbling your leftover cake into a large mixing bowl. If there’s any thick, hard frosting or fondant, scrape it off before crumbling. Use your hands or a fork to mash the cake thoroughly until it forms a moist, uniform mixture with a dough-like consistency. If the mixture feels too dry and crumbly to hold its shape when pressed, add a small amount of frosting (about a tablespoon at a time) and mix until it reaches the desired pliable texture. You want it firm enough to roll into a ball, but not sticky or mushy.
- Shape Your Cake Balls: Take about a tablespoon of the cake mixture and roll it firmly between your palms to form a smooth, compact ball. The size can vary, but aim for roughly 1 to 1.5 inches in diameter for consistent results. Place each rolled cake ball onto the parchment-lined baking sheet. Repeat this process until all the cake mixture has been used.
- The Crucial Chilling Process: Once all your cake balls are formed, place the entire baking sheet into the freezer for 15-30 minutes. This step is absolutely critical! Chilling helps the cake balls firm up significantly, ensuring they hold their shape better and don’t crumble or fall apart when dipped into the melted candy coating. It also helps create a smooth, even coating by preventing the warm chocolate from melting the cake too quickly.
- Mastering the Candy Melt Dip: While your cake balls are chilling, prepare your candy melts. Place the Wilton candy melts (or chosen chocolate) in a microwave-safe bowl. Heat them in the microwave in 30-second intervals, stirring thoroughly after each interval. This staggered heating prevents the candy melts from burning or seizing. Continue heating and stirring until the melts are smooth, fully melted, and free of lumps. You might need to repeat this process two to three times depending on your microwave’s power and the amount of candy melts.
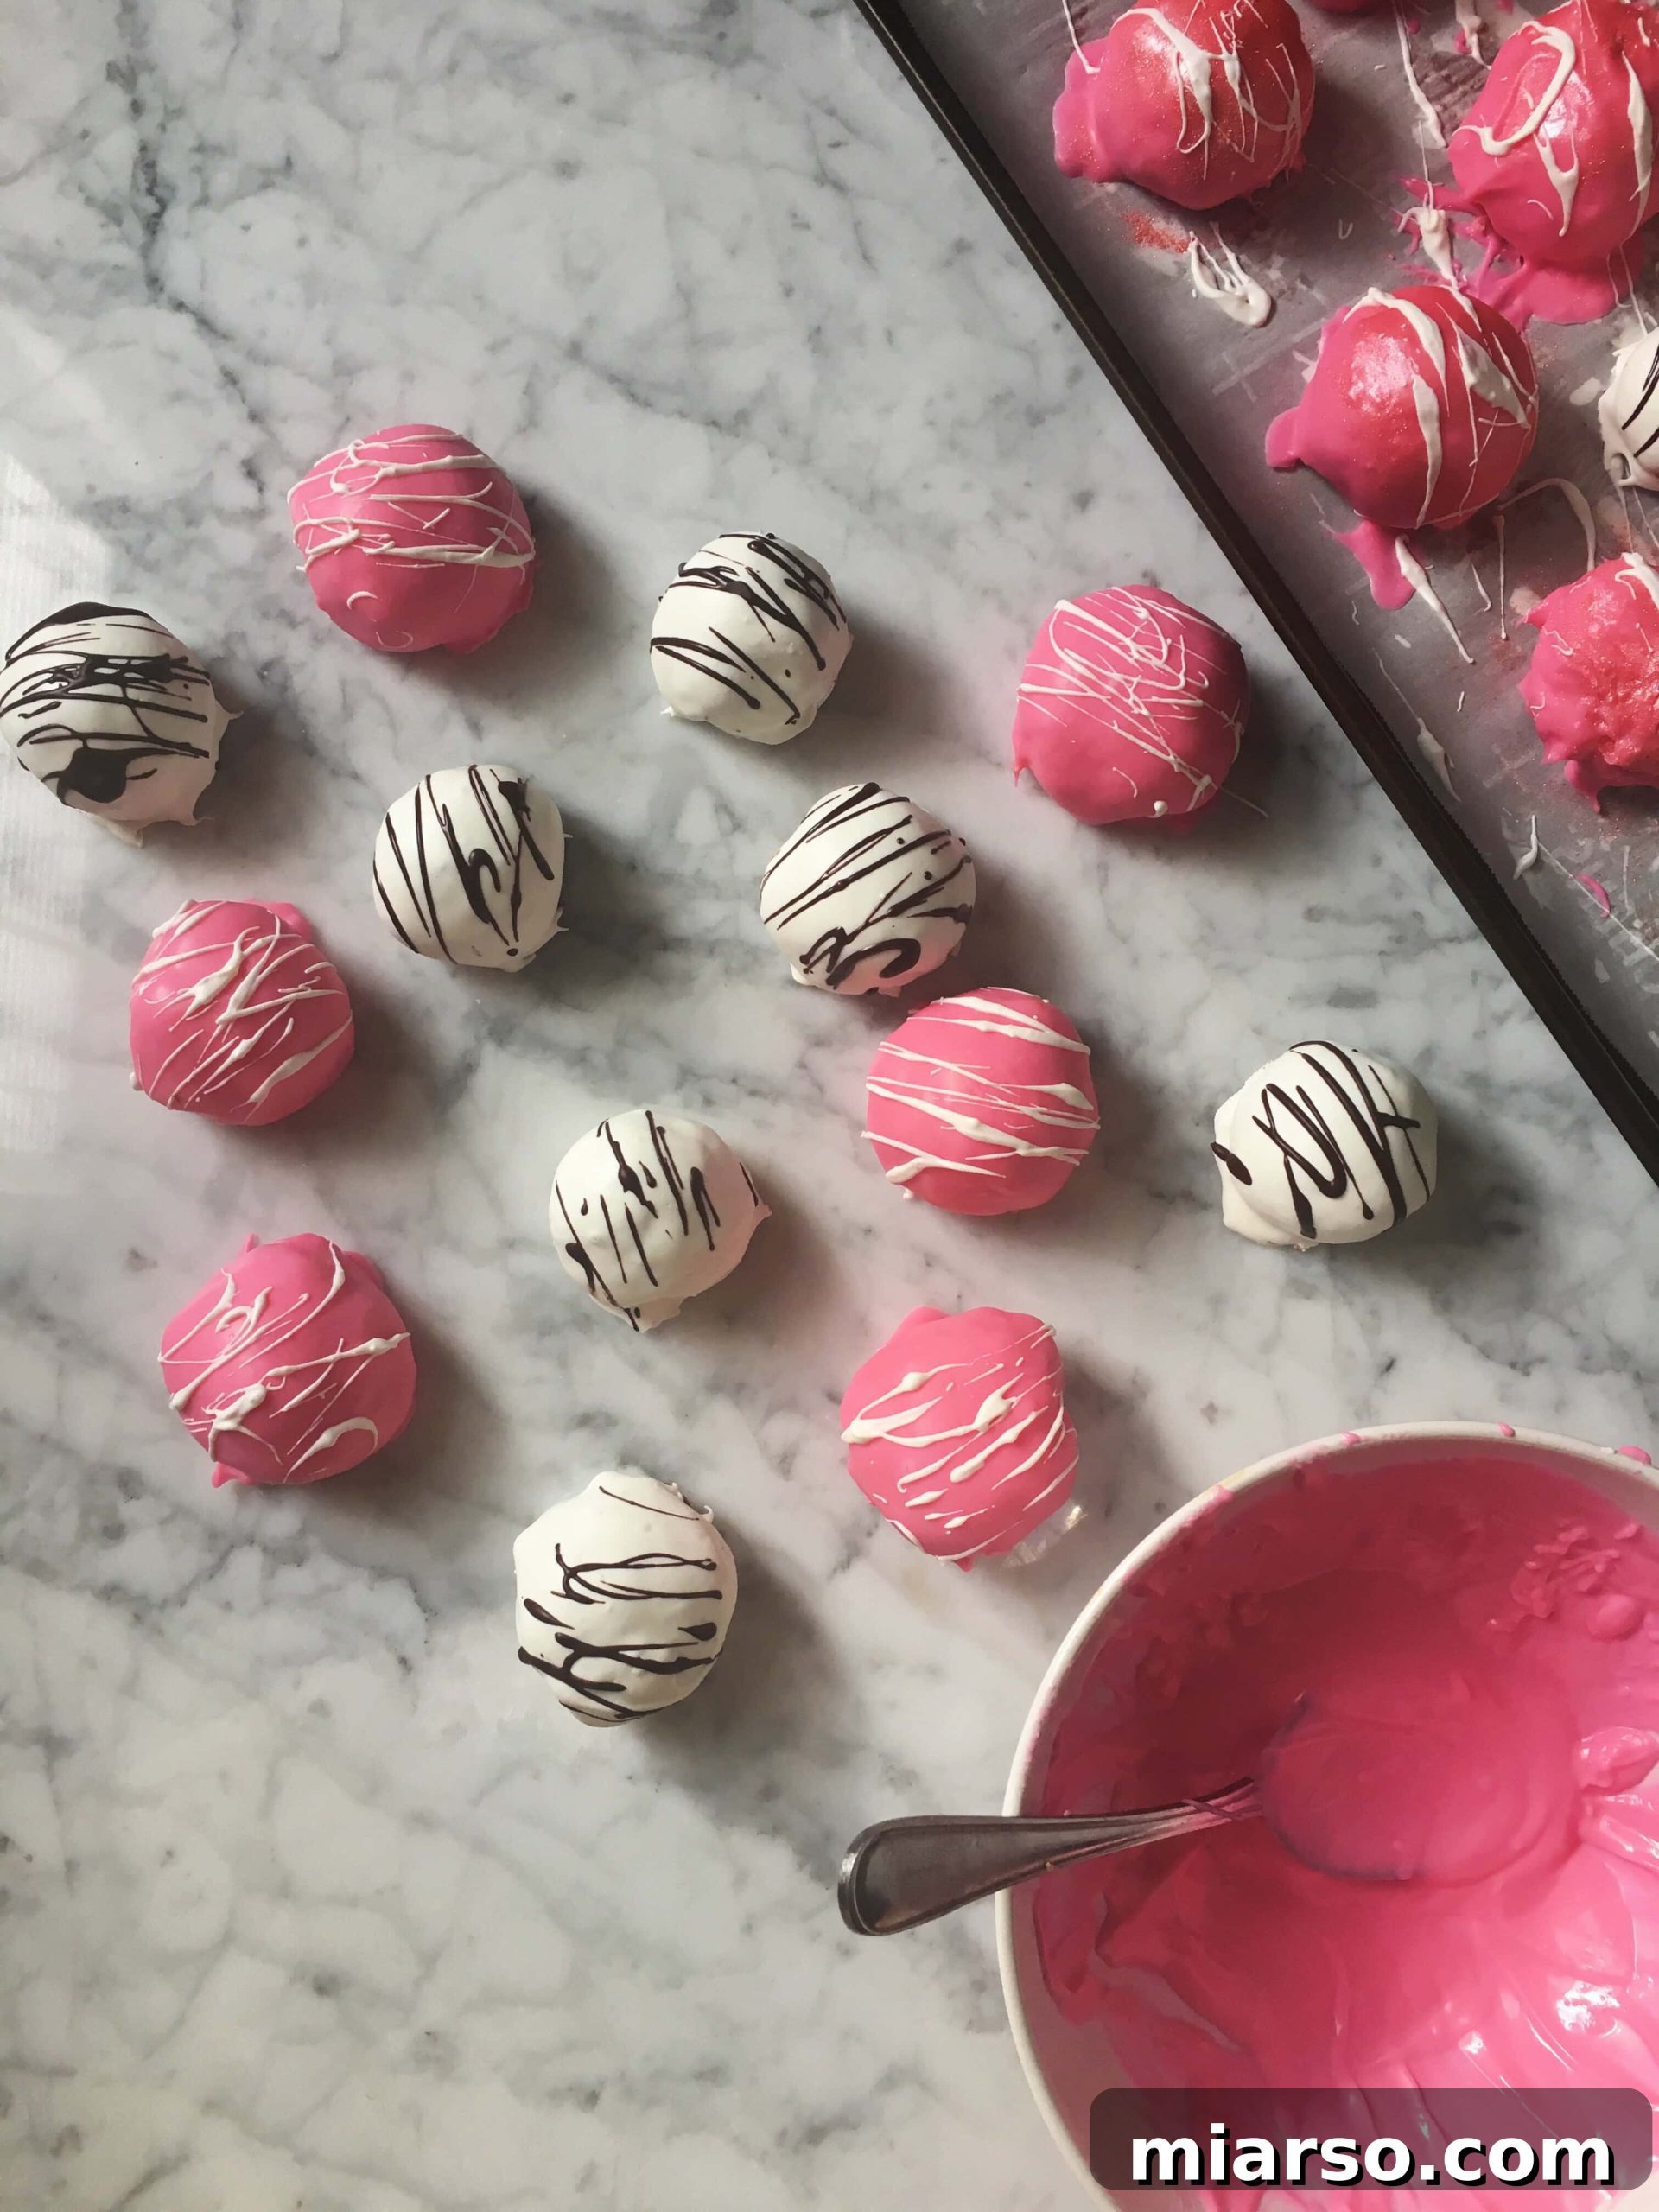
- Dipping and Decorating for Perfection: Remove the chilled cake balls from the freezer. If using lollipop sticks, dip the tip of the stick into the melted candy first, then insert it about halfway into a cake ball – this acts as “glue.” Dip each cake ball into the melted candy, ensuring it’s fully coated. Gently tap off any excess coating by lightly tapping the stick or ball against the rim of the bowl. Let them sit for a couple of minutes until the coating starts to set. For an extra touch, you can drizzle a different color of melted candy on top, or add sprinkles, edible glitter, or finely chopped nuts before the coating fully hardens.
- E N J O Y! Once the candy coating has fully set (you can place them back in the fridge for a few minutes to speed this up), your delicious no-waste cake balls are ready to be savored! They’re perfect for sharing, gifting, or simply enjoying as a delightful treat.
Tips for Perfect Cake Balls Every Time:
- Don’t Over-Mix: When mashing the cake with frosting, mix just enough until it comes together. Over-mixing can make the cake balls dense.
- Consistency is Key: The cake mixture should be like play-dough – firm enough to hold a ball shape, but not crumbly or too wet. Adjust with more frosting if dry, or a bit more dry cake if too wet (though this is less common with leftovers).
- Thorough Chilling: Do not skip the freezer step! It’s crucial for easy dipping and a smooth finish.
- Melting Candy Melts: Low and slow is the way to go. Avoid high heat to prevent burning or seizing. If your melts seize, a tiny bit of vegetable shortening or coconut oil can sometimes save them.
- Dipping Technique: For a smooth coating, ensure your melted candy is thin enough. If it’s too thick, add a teaspoon of vegetable shortening or coconut oil (not water!) and stir until smooth. Dip quickly and allow excess to drip off naturally.
- Temperature Contrast: The cold cake balls and slightly warm (but not hot) candy melts are key for a crisp coating.
Creative Variations & Customizations:
- Flavor Boost: Add a drop of extract (vanilla, almond, peppermint) to your cake mixture or melted candy for an extra flavor dimension.
- Textural Delights: Mix in mini chocolate chips, finely chopped nuts, or crushed cookies into the cake mixture before rolling.
- Themed Decorations: Use colored candy melts and themed sprinkles for holidays, birthdays, or specific events.
- Chocolate Drizzle: Use a contrasting color of melted candy or a drizzle of melted dark, milk, or white chocolate for an elegant finish.
- Nutty Coating: After dipping, immediately roll the wet cake ball in finely chopped nuts (pecans, walnuts, pistachios) for a gourmet touch.
- Cocoa Powder Dust: For a simple yet sophisticated look, dust plain cake balls with cocoa powder.
Storage & Shelf Life:
Store your finished cake balls in an airtight container in the refrigerator for up to 1-2 weeks. They can also be frozen for up to 1-2 months. If freezing, allow them to thaw in the refrigerator before serving for the best texture and flavor. They are delicious when enjoyed chilled!
Frequently Asked Questions (FAQs) About No-Waste Cake Balls:
Q: Can I use any type of leftover cake?
A: Absolutely! This recipe is incredibly forgiving. Sponge cake, chocolate cake, vanilla, red velvet, carrot cake – almost any kind of cake will work. Just make sure to remove any hard outer layers like fondant.
Q: What if my cake mixture is too dry or too wet?
A: If it’s too dry and won’t hold together, add a small amount of frosting (1 tablespoon at a time) until it reaches a play-dough-like consistency. If, by chance, it’s too wet, you can add a tiny bit of crushed dry cookies or graham cracker crumbs, though this is rare with most cakes.
Q: Do I have to use candy melts, or can I use regular chocolate?
A: Candy melts are recommended because they melt smoothly, set quickly, and provide a firm, attractive coating without needing tempering. Regular chocolate can be used, but it often requires tempering to achieve a glossy finish and prevent it from melting too easily at room temperature. For ease and best results, candy melts are the go-to.
Q: How long do I need to chill the cake balls?
A: A minimum of 15-20 minutes in the freezer or 30-60 minutes in the refrigerator is usually sufficient. The goal is to make them firm enough to handle and dip without crumbling. Don’t leave them in the freezer for too long, as they can become too hard to dip smoothly.
Q: My candy melts are too thick for dipping. What should I do?
A: If your melted candy coating is too thick, stir in a teaspoon of vegetable shortening or coconut oil (not water or milk!) until it reaches a smoother, more liquid consistency. Add only a small amount at a time, as too much can make the coating greasy.
Q: Can I make these ahead of time?
A: Yes, absolutely! Cake balls are excellent for making ahead. You can prepare and coat them, then store them in an airtight container in the refrigerator for up to 1-2 weeks. They also freeze beautifully for longer storage.
Conclusion: Embrace the Sweet Cycle of No-Waste
From the excitement of graduation to the satisfaction of transforming a potential waste into a culinary delight, this journey highlights how creativity can bring joy and sustainability to our kitchens. These no-waste cake balls aren’t just a delicious treat; they’re a testament to smart baking and a fun way to extend the life of your favorite desserts. They’re incredibly versatile, easy to customize, and always a crowd-pleaser.
So, the next time you find yourself with leftover cake from a celebration, don’t let it go to waste. Instead, grab your ingredients and whip up a batch of these delightful cake balls. They’re sure to bring smiles and leave no crumb behind!
Feel free to pin this recipe to save it for the next time you have some leftover cake and are ready to create something wonderful!