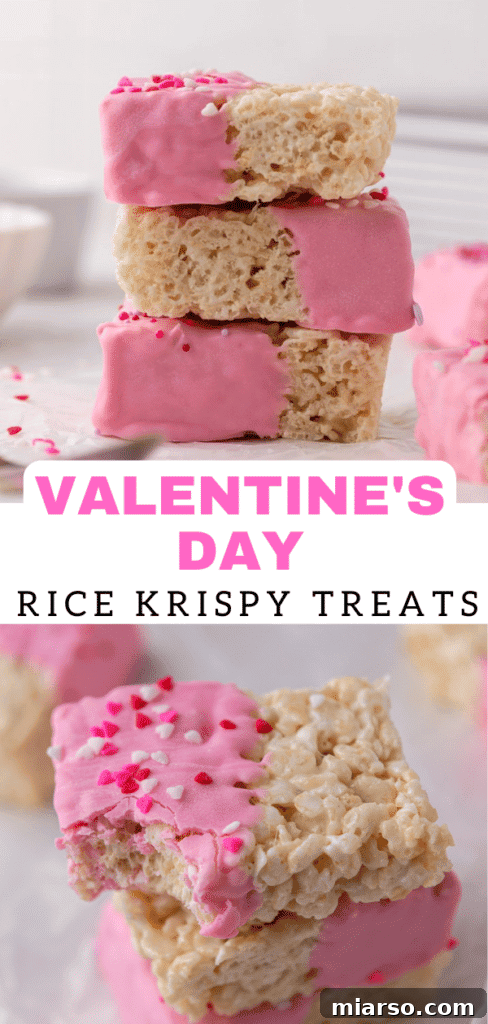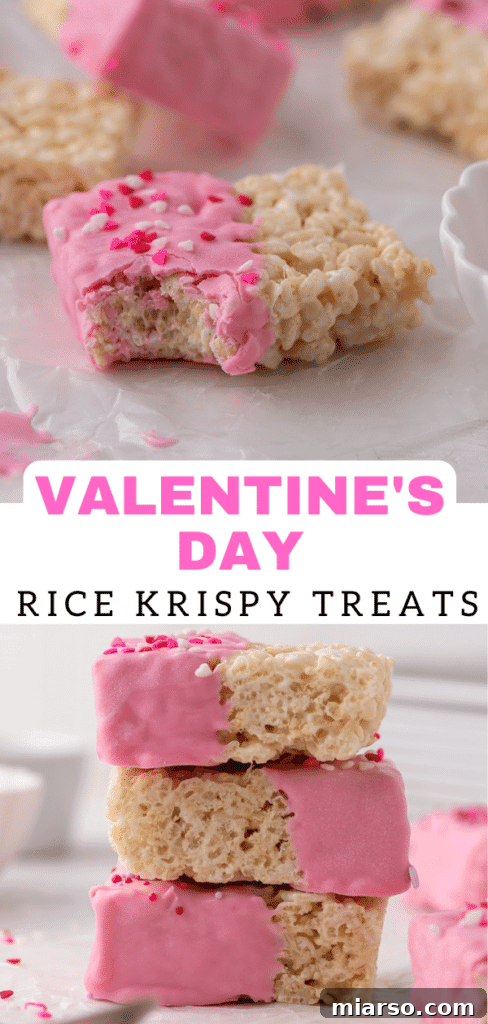
These delightful Valentine’s Day chocolate-coated Rice Krispie treats are the epitome of simple, sweet perfection for any festive occasion. While adorned in pink for Cupid’s holiday, their charm is easily adaptable to any celebration throughout the year simply by changing the color of the candy melt coating.
If you have a fondness for the classic chewy texture of Rice Krispie treats, you absolutely must explore some of our other beloved variations. Discover the rich indulgence of our Peanut Butter Rice Krispy Treats with Marshmallows, savor the delightful combination in Easy Chocolate Peanut Butter Rice Krispie Treats, or try a nostalgic favorite with our Crumbl Chocolate Crunch Cookies | Star Crunch Copycat. Each recipe leverages the irresistible crunch of rice cereal to create truly AMAZING desserts!
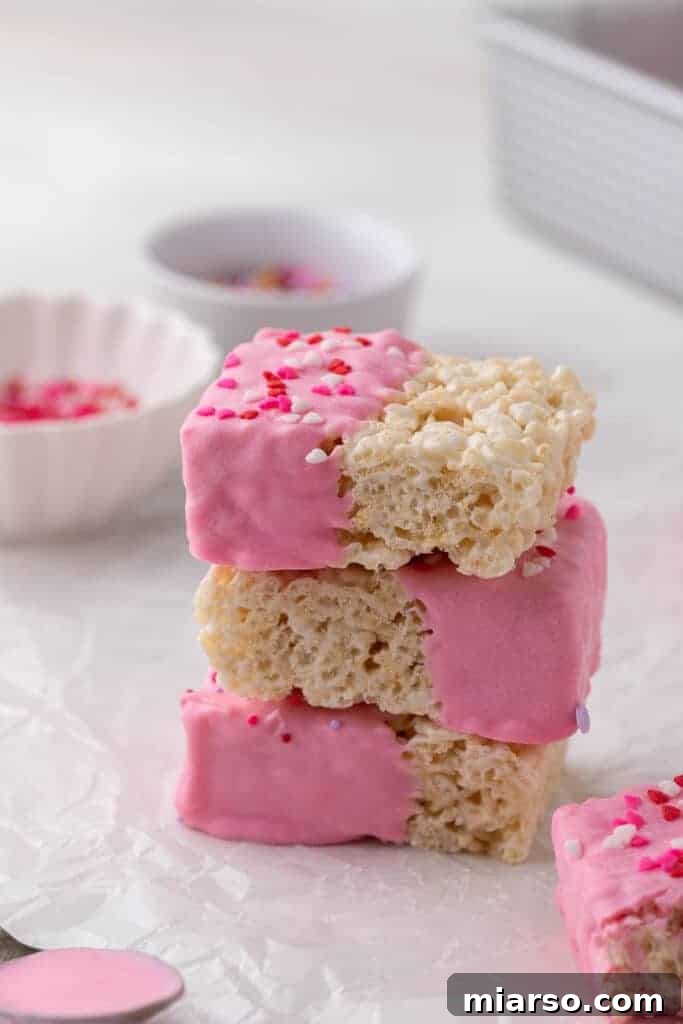
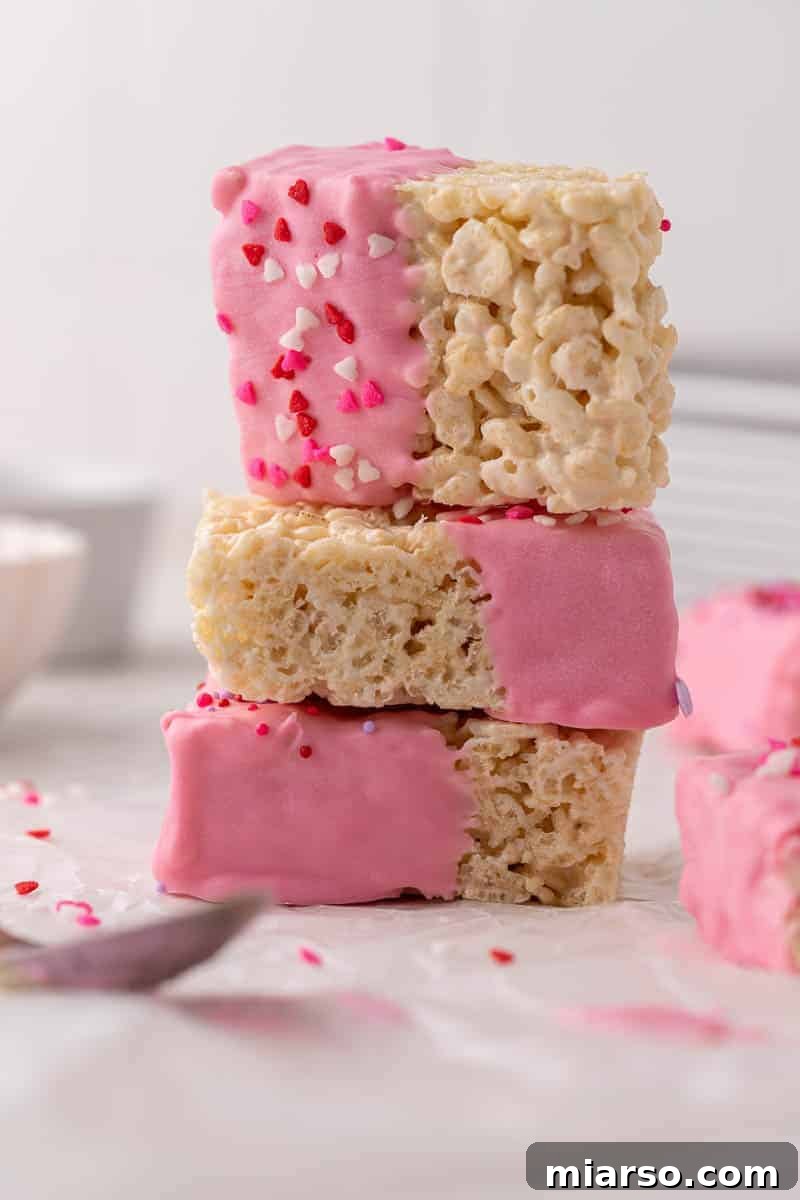
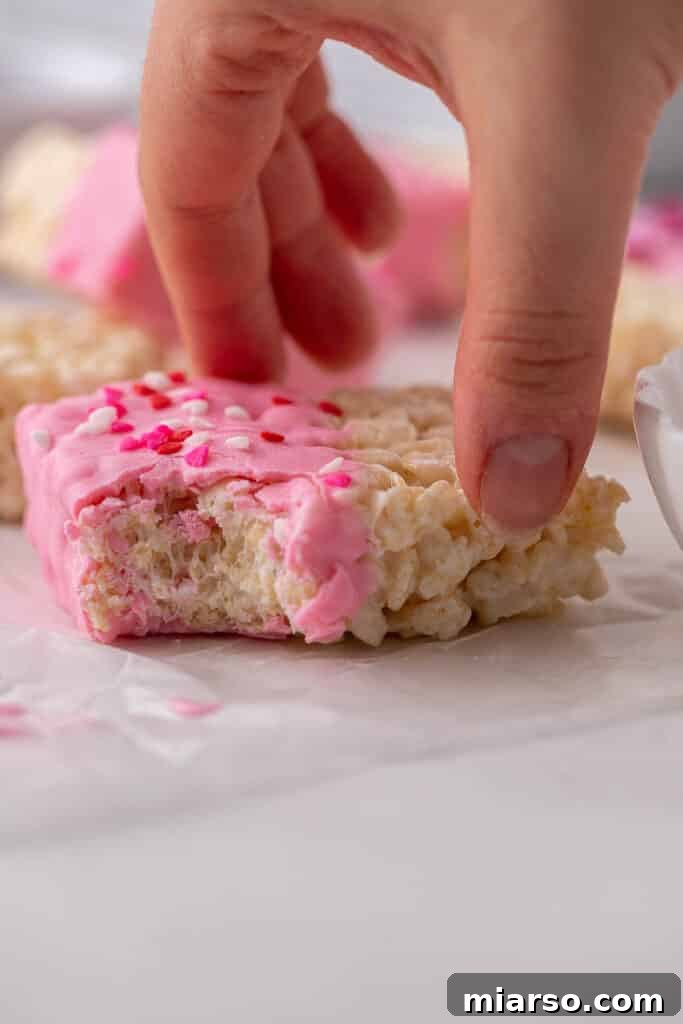
Chocolate-covered Rice Krispie treats hold a truly special spot in my heart, especially when the holidays roll around. With Valentine’s Day just around the corner, I felt inspired to craft something exceptionally festive. This year, I decided to dip them into a vibrant pink candy melt mixture, elevating their charm and making them perfect for celebrating love. Each chewy Rice Krispie bar is then lovingly adorned with an assortment of adorable Valentine’s Day sprinkles and nonpareils, adding a final touch of whimsy and delightful texture. Biting into the crisp, chocolate-coated treat, you’ll experience a wonderful contrast of textures that makes these so incredibly fun and satisfying!
Indulge in Sweet Simplicity: The Ultimate Valentine’s Day Chocolate-Coated Rice Krispie Treats
Imagine a dessert that’s not only incredibly simple to prepare but also brings a smile to everyone’s face. This recipe for Valentine’s Day chocolate-coated Rice Krispie treats is exactly that! What makes this recipe truly stand out is its incredible versatility. While we’ve decked them out for Valentine’s Day, you can effortlessly customize them to suit any holiday or special occasion you can think of. The magic lies in the candy melt colors and sprinkle choices. A simple swap from pink to green for St. Patrick’s Day, or red and white for Christmas, transforms these treats into a celebration-ready dessert.
Honestly, the transformative power of changing up the colors of your candy melts and sprinkles is absolutely astounding. These aren’t just for Valentine’s; they’re your go-to no-bake solution for any festive gathering. The ease of preparation ensures you spend less time in the kitchen and more time enjoying the festivities with your loved ones.
Your Go-To No-Bake Treat for Any Occasion, Including Gender Reveals!
You can truly thank me later for discovering this super easy, no-bake recipe that’s not just perfect for Valentine’s Day, but also makes an incredibly charming (and secret-revealing!) treat for gender reveal parties. Imagine the delight as guests bite into a treat to discover a hint of pink or blue beneath the festive coating. It’s a simple yet memorable way to share joyous news without any baking stress!
Why You’ll Fall in Love with This Easy Recipe
There are countless reasons why this chocolate-coated Rice Krispie treat recipe should be at the top of your baking (or rather, no-baking) list. It’s a guaranteed crowd-pleaser and an absolute joy to make. Here’s why this recipe will quickly become a cherished favorite:
- Effortless Preparation, Adorable Results: This recipe truly requires minimal effort, making it ideal for busy schedules or those new to dessert making. Despite its simplicity, it yields the most adorable, picture-perfect Valentine’s Day Rice Krispie treats that look like they came from a gourmet bakery.
- Unmatched Versatility for Every Celebration: Beyond Valentine’s Day, this no-bake wonder is incredibly adaptable. Easily switch up the colors of your candy melts and sprinkles, and suddenly you have festive treats perfect for gender reveal parties, baby showers, Christmas, Halloween, birthdays, or any holiday you wish to celebrate.
- Pantry-Friendly Ingredients: You’ll likely find most of the ingredients already stocked in your pantry! This means less time grocery shopping and more time creating delicious memories with readily available items.
- Irresistibly Soft and Chewy Texture: Just like any great Rice Krispie treat should be, these are wonderfully soft and incredibly chewy. The perfect balance of crisp cereal and gooey marshmallow ensures every bite is pure bliss.
- Perfect for Family Baking Fun: This recipe is fantastic for involving the whole family! Kids and adults alike will enjoy the hands-on process of mixing, pressing, dipping, and decorating, making for cherished memories and delicious outcomes.
- Lightning-Fast Microwave Method: Say goodbye to lengthy stove-top melting. This recipe is designed for the microwave, ensuring an extremely quick and hassle-free preparation process from start to finish. You can have these delectable treats ready in a flash!
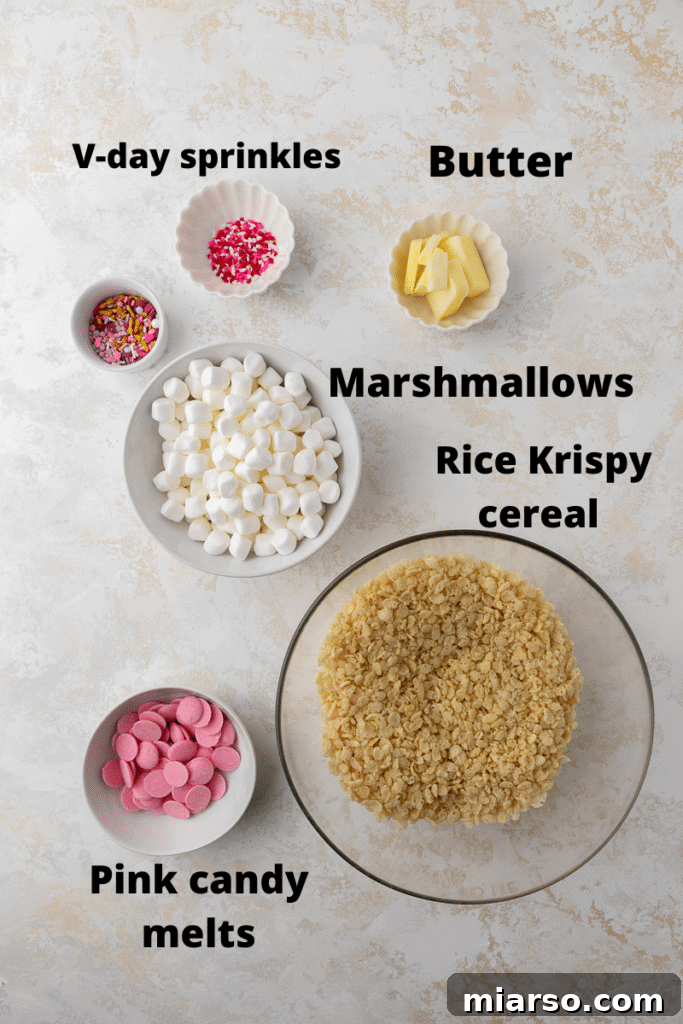
Gather Your Ingredients: Crafting Irresistible Rice Krispie Treats
To embark on your journey of creating these wonderfully pink and festive Rice Krispie treats, you’ll need just a handful of simple, readily available ingredients. The quality of your ingredients can significantly impact the final texture and flavor, so choose wisely! Below is a comprehensive list, with a more detailed breakdown of measurements available in the full recipe card.
- Rice Krispy Cereal: The foundation of our beloved treats! You simply can’t have Rice Krispie treats without this essential crispy base. For the best results, ensure your cereal is fresh and crunchy, as stale cereal can lead to a less appealing texture in the finished product.
- Mini Marshmallows: While larger marshmallows can be used in a pinch, mini marshmallows are truly ideal for this recipe. Their smaller size allows them to melt more quickly and evenly, ensuring a perfectly smooth, buttery, and sweet marshmallow coating that binds the cereal together flawlessly. This prevents any pockets of un-melted marshmallow and helps achieve that signature soft chewiness.
- Butter: We recommend using salted butter for this recipe. The hint of salt is crucial as it beautifully balances out the inherent sweetness of the marshmallows and candy melts, preventing the treats from being overly saccharine. If you only have unsalted butter, you can add a small pinch (about ¼ teaspoon) of fine salt to the melting marshmallow mixture.
- Pink Candy Melts: These provide the vibrant, festive coating for half of our Rice Krispie treats. The beauty of candy melts is their ease of use and consistent results. While pink is perfect for Valentine’s Day, feel free to unleash your creativity! You can easily swap these out for any color that suits the holiday or occasion you’re celebrating—red for Christmas, green for St. Patrick’s Day, blue for baby showers, or even white for a classic look.
- Oil: A small amount of vegetable or canola oil is added to the candy melts to achieve the perfect dipping consistency. It helps to thin out the candy melts slightly, making them smoother and easier to work with, ensuring an even, elegant coating without being too thick or clumpy. This also helps prevent cracking once the coating sets.
- Sprinkles: These are not just for decoration; they add an extra layer of fun and visual appeal to these sweet treats. Choose a festive Valentine’s Day blend of sprinkles, nonpareils, or even edible glitter to add a beautiful finish and a delightful textural contrast that makes each bite even more exciting.
The Best Marshmallow Size for Perfect Rice Krispie Treats
When it comes to marshmallows for Rice Krispie treats, size does matter, though you can certainly make do with what you have. I’ve personally used both mini and large marshmallows in various recipes. However, if you’re aiming for the absolute best texture and a foolproof melting process, I highly recommend opting for mini marshmallows. They melt significantly faster and more uniformly than their larger counterparts, which is key to preventing the marshmallow mixture from overcooking. Overcooked marshmallows can lead to hard, brittle treats rather than the desired soft and chewy consistency.
So, while you’re in a pinch, any marshmallow will technically work, but for truly superior results, make sure to use mini marshmallows whenever possible!
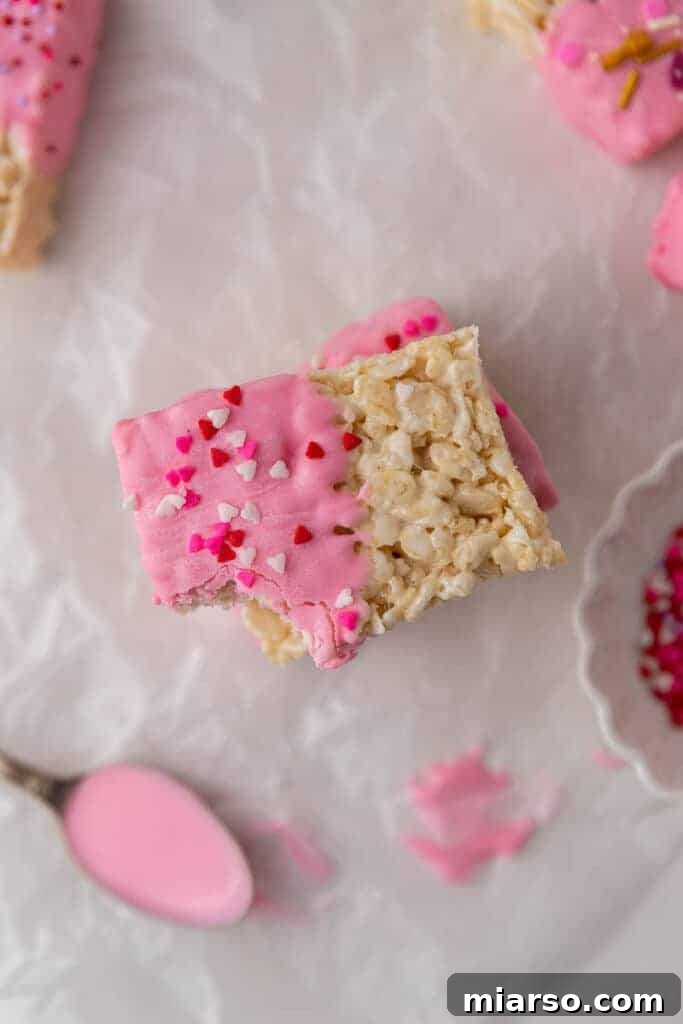
Crafting Your Valentine’s Day Rice Krispie Treats: A Simple Guide
Get ready to create the most irresistibly sweet and chewy Rice Krispie treats adorned for Valentine’s Day. This process is incredibly straightforward, perfect for bakers of all skill levels. For the complete, detailed instructions and measurements, please refer to the recipe card below. But here’s a concise overview of how these delightful treats come to life:
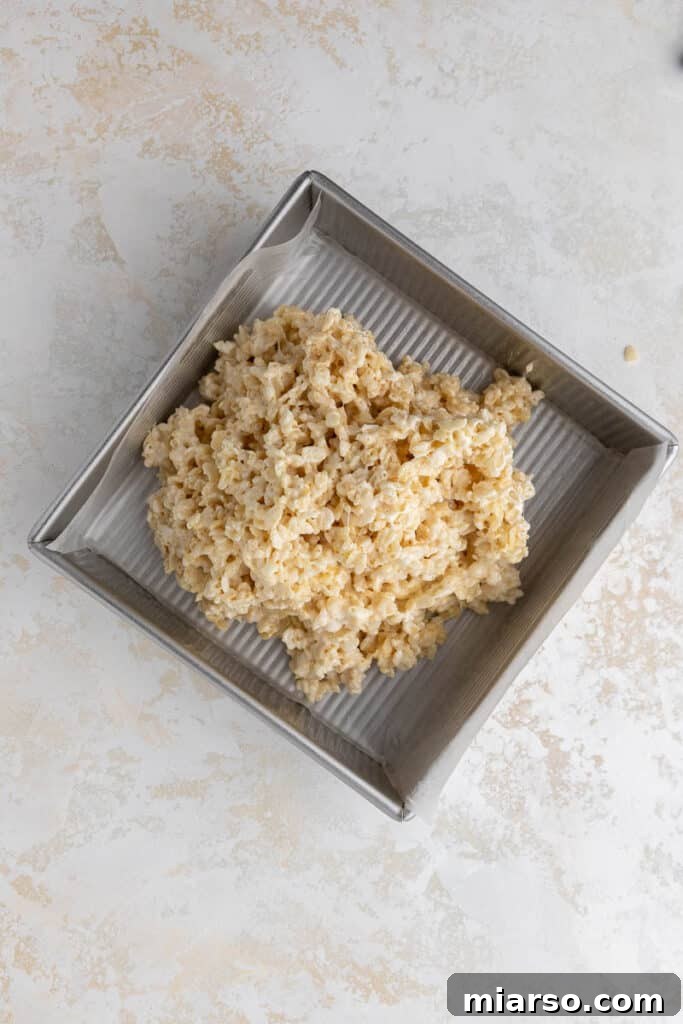
- Prepare Your Pan: Begin by lining an 8×8 inch baking pan with parchment paper or wax paper. This crucial step ensures your treats won’t stick, making for easy removal and clean slicing.
- Melt with Ease: In a microwave-safe bowl, combine your mini marshmallows and butter. Gently melt them in the microwave, stopping to stir every 30 seconds. This prevents burning and ensures a smooth, luscious mixture.
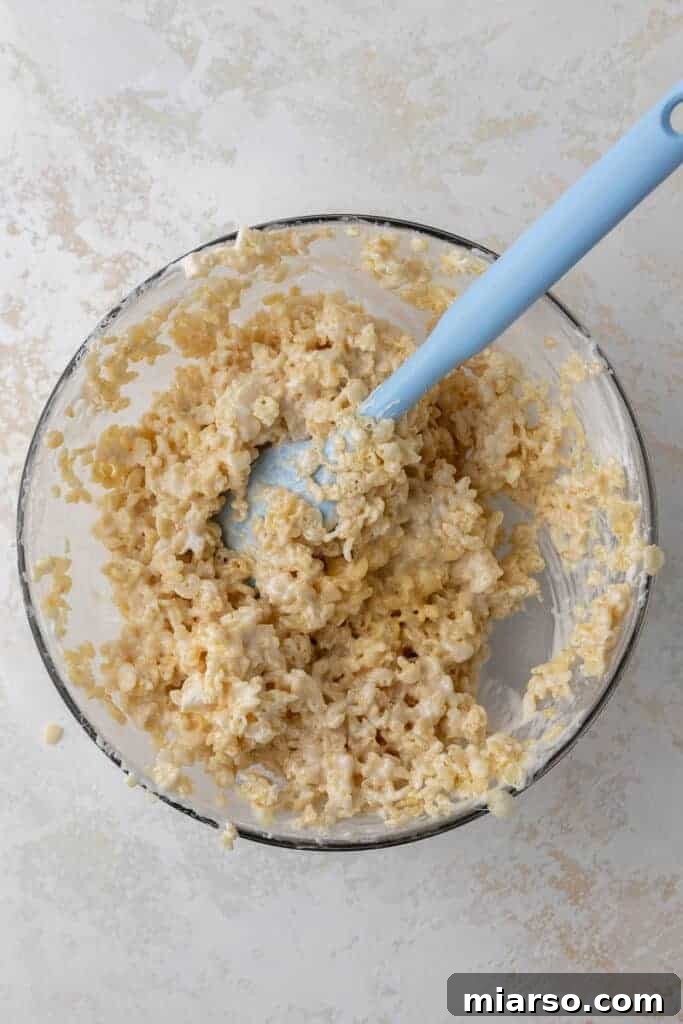
- Combine & Coat: Once the marshmallow and butter mixture is perfectly smooth, add your Rice Krispie cereal. Stir gently but thoroughly, ensuring every crispy piece is beautifully coated in the sticky, sweet marshmallow goodness.
- Press Gently: Transfer the coated cereal mixture into your prepared 8×8 inch pan. Here’s a key tip: spread the mixture evenly without pressing too hard. Over-packing can result in hard, dense treats, so a light touch is best to maintain that desired soft, chewy texture.
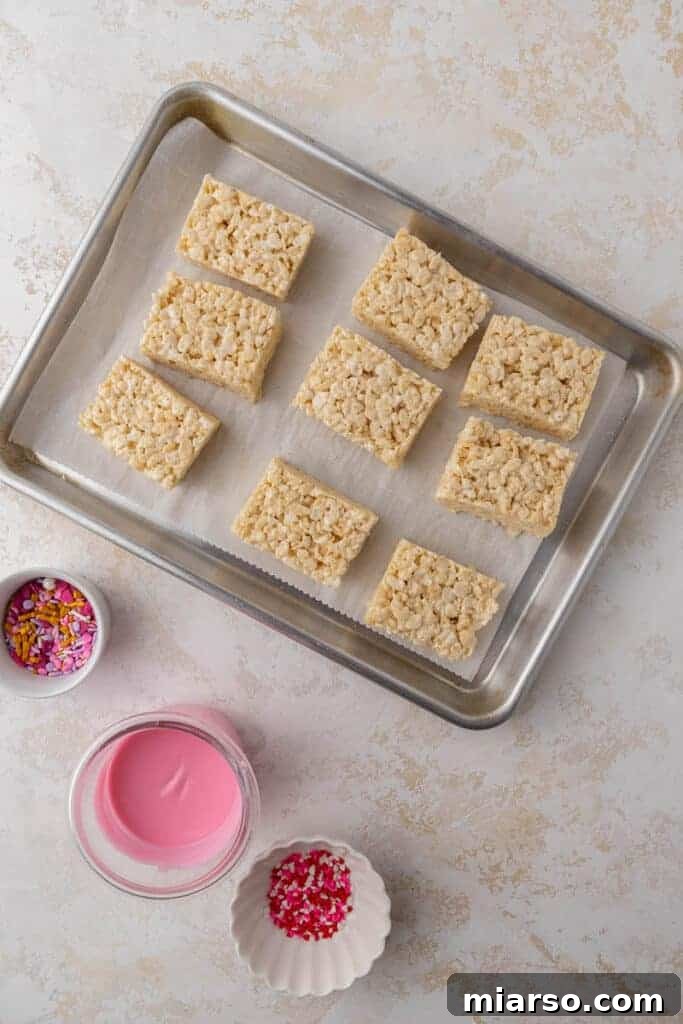
- Set & Slice: Allow the Rice Krispie treats to set at room temperature for about 30 minutes. This gives them time to firm up just enough for clean cutting. Once set, slice the large block into 12 perfectly sized bars.
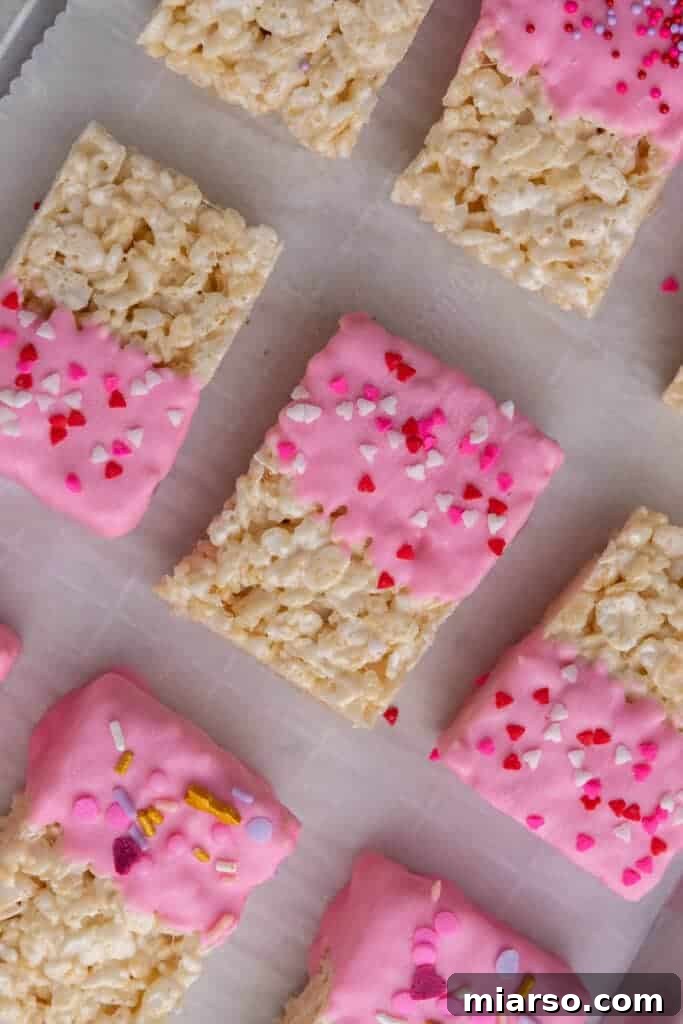
- Dip in Delight: In a separate microwave-safe cup, melt your pink candy melts with a touch of oil, stirring every thirty seconds until perfectly smooth and dippable. Dip half of each Rice Krispie bar into this vibrant candy coating, letting any excess drip off.
- Decorate & Serve: Place the dipped bars onto a parchment-lined baking sheet. While the candy melt is still wet, generously sprinkle with your favorite Valentine’s Day sprinkles. Allow the candy coating to set for a few minutes until firm, then these charming treats are ready to be served and enjoyed!
More Sweet Recipes You’ll Love!
If you’ve enjoyed making these festive Rice Krispie treats, you’re in for a treat! Here are more delightful recipes that are perfect for sharing the love, especially around Valentine’s Day:
- Valentine’s Day Muddy Buddies / Puppy Chow
- 18 No-Bake Valentine’s Day Recipes for Kids
- Chewy Valentine’s Day Crinkle Chocolate Cookies with Sprinkles
- Valentine’s Day Very Berry Healthy Smoothie
Frequently Asked Questions (FAQ)
Here are some common questions and helpful answers to ensure your chocolate-coated Rice Krispie treats turn out perfectly every time:
How to Store These Pink Rice Krispie Treats?
For optimal freshness and chewiness, Rice Krispie treats are always best enjoyed on the day they are made. The delicate balance of crisp cereal and soft marshmallow begins to change over time. However, if you’re planning to make them ahead or have leftovers, you can absolutely store them. The key is an airtight container. Place your treats in an airtight container at room temperature, where they will remain fresh and delicious for 2-3 days.
It’s important to note that these treats are a little finicky when it comes to temperature fluctuations. So, make sure not to place them in the refrigerator or freezer! The cold temperatures will cause them to become excessively hard and lose their delightful chewy texture, making them difficult and less enjoyable to eat. Stick to room temperature for the best results.
Delicious Recipe Variations to Try
Rice Krispie treats are incredibly versatile, serving as a blank canvas for your creativity! They are such an easy and adaptable sweet treat that you can truly customize them to fit all your desires and any occasion. Here are a few exciting ways I love to experiment and put a fun twist on this classic recipe:
- Sprinkle Fun: For an extra pop of color and texture throughout the treat, try mixing some nonpareil sprinkles directly into the Rice Krispie treat mixture before pressing it into the pan. It adds a delightful surprise to every bite!
- Color-Changing Magic: The simplest way to transform these treats is by changing the color of your candy melts. Use vibrant greens for St. Patrick’s Day, bright blues or purples for birthdays, or classic white for a sophisticated touch to match any occasion.
- Festive Mix-Ins: Elevate the flavor and texture by folding in holiday-themed M&M’s, mini chocolate chips, or chopped nuts (like pecans or walnuts) into the Rice Krispie mixture just before you press it into the pan.
- Drizzle Design: Instead of dipping, consider drizzling the colored candy melt mixture over the cooled and sliced Rice Krispie treats. You can use a contrasting color for an artistic effect, or simply drizzle the same color for a lighter coating.
- Shape Shifters: After pressing the mixture into the pan, use cookie cutters (lightly greased) to create fun shapes before dipping. Hearts for Valentine’s, stars for patriotic holidays, or even simple circles can add a unique touch.
- Flavor Boosts: A teaspoon of vanilla extract or almond extract can be added to the melted marshmallow mixture for an extra layer of flavor.
I Followed the Directions Exactly, But My Rice Krispie Treats Are Hard. Why Is That?
It’s certainly disappointing when your treats turn out hard instead of wonderfully soft and chewy. This has happened to me a few times, and it’s usually due to one of a few common reasons. Understanding these can help you achieve perfect treats every time:
- Stale Ingredients: The freshness of your main ingredients plays a significant role. If you used stale marshmallows or cereal, the final texture will suffer. Freshness is paramount when it comes to the texture of these no-bake sweet treats. Always check the expiration dates and ideally, use newly opened packages for the best results.
- Overheated Marshmallows: The most common culprit! Overheating or overbaking your marshmallows can cause them to become tough and brittle once cooled. Marshmallows should be melted just until smooth and combined, not cooked until browned or overly reduced. This is precisely why I prefer and recommend using mini marshmallows; they melt faster, reducing the risk of overcooking. Stirring every 30 seconds in the microwave is also crucial to prevent hot spots and burning.
- Over-Packing the Mixture: How you press the Rice Krispie mixture into the baking pan makes a huge difference. If you pack them down too hard, you’ll compress all the air pockets that contribute to their soft, chewy texture. Instead, gently spread the Rice Krispie treat mixture into the pan with a lightly greased spatula or your hands, without pressing down firmly. A light, even spread is all you need to achieve that signature gooey chewiness.
Can I Use Chocolate Chips Instead of Candy Melts?
Yes, you can use chocolate chips, but there’s a nuance. Candy melts are designed to melt smoothly and harden quickly without requiring tempering, making them very easy to work with for dipping. Regular chocolate chips (like milk, semi-sweet, or dark chocolate) contain cocoa butter and other solids that can seize or bloom if not melted and cooled properly (tempered). If you opt for chocolate chips, melt them gently over a double boiler or in the microwave at short intervals, stirring frequently, and consider adding a teaspoon of coconut oil or shortening to help with a smoother consistency and setting. For a truly professional, glossy finish with regular chocolate, tempering is recommended, which is a more advanced technique.
What’s the Best Way to Get Clean Cuts?
Getting clean, neat cuts can be a challenge with sticky treats! The best method is to ensure your treats are fully cooled and set at room temperature. For cutting, lightly grease a sharp knife with a bit of cooking spray or butter. You can also run your knife under hot water, wipe it dry, and then make your cuts. Re-grease or re-warm the knife as needed between cuts for the cleanest results.
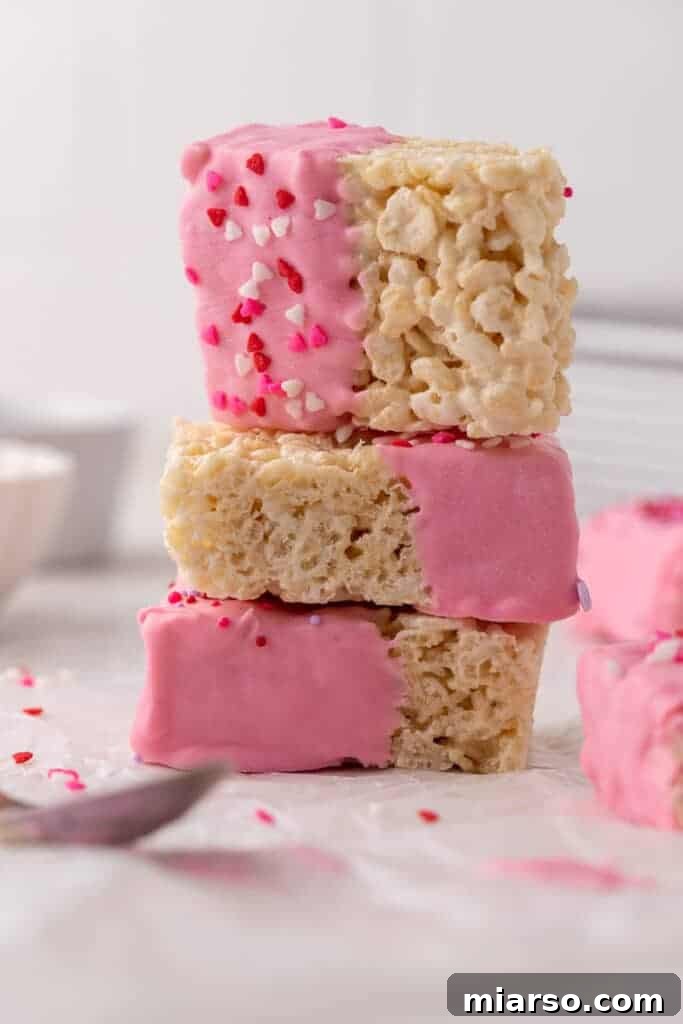
Valentine’s Day Chocolate Coated Rice Krispie Treats Recipe
If you’ve had the pleasure of making these delightful Chocolate-Dipped Rice Krispie Treats and enjoyed them as much as we do, please consider leaving a 5-star review! Simply click on the 5 stars located under the title and description in the recipe card. Your feedback is incredibly valuable and helps us tremendously.
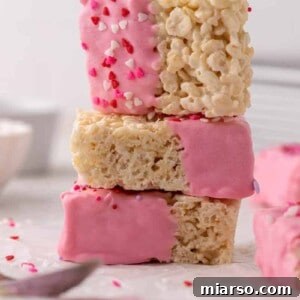
Chocolate Dipped Rice Krispie Treats
Print Recipe
Ingredients
- 3 tbsp butter salted
- 10 oz mini marshmallows
- 5 cup Rice Krispie cereal
- 1 cup pink candy melts
- 1 tsp vegetable oil or canola oil
- Valentine’s Day sprinkles
Instructions
-
Line an 8×8 inch baking pan with parchment or wax paper and set aside. This prevents sticking and makes removal easy.
-
In a large microwave-safe bowl, melt the marshmallows and the butter in the microwave. Heat in 30-second intervals, stirring well after each interval, until everything is well combined and smooth to avoid burning.
-
Add the Rice Krispie cereal to the marshmallow mixture. Stir gently with a spatula until all the cereal is evenly coated. Do not overmix.
-
Spread the mixture evenly into the parchment-lined 8×8 inch pan. IMPORTANT: Do not pack the Rice Krispie treats down too hard, or they will become dense and hard instead of chewy. Use a light hand.
-
Let the Rice Krispie treats set at room temperature for at least 30 minutes, or until firm enough to slice easily. Then, cut them into 12 bars using a lightly greased knife.
-
In a microwave-safe cup or small bowl, melt the candy melts and the oil together. Heat in 30-second intervals, stirring until fully melted and smooth. The oil helps to thin the melts for easier dipping.
-
Dip half of each Rice Krispie bar into the melted candy mixture. Allow excess to drip off, then place on a clean parchment-lined baking sheet. Immediately sprinkle with Valentine’s Day sprinkles while the coating is still wet. Let the bars set for a few minutes until the candy coating is firm, then serve and enjoy!
Nutrition
Nutrition information is automatically calculated, so should only be used as an approximation.
We genuinely hope you enjoyed this recipe as much as we loved sharing it with you! These chocolate-coated Rice Krispie treats are a delightful way to add a touch of sweetness to any day, especially for Valentine’s Day.
If you’ve tried your hand at making these sweet treats, don’t forget to let us know your thoughts and experiences in the comments section below! Your feedback means the world to us. In the meantime, stay connected with us for more delicious recipes and culinary inspiration by following us on Instagram!

Shop This Recipe: Essential Tools & Ingredients
This post may contain affiliate links, meaning that at no additional cost to you, I will earn a small percentage of every purchase you make. These recommendations are for products I genuinely love and use in my own kitchen.
Loved This Recipe? Make Sure to Pin It for Later!
If these delightful Valentine’s Day Chocolate-Coated Rice Krispie Treats have captured your heart, be sure to save this recipe so you can easily find it for future celebrations! Pin it to your favorite dessert or holiday boards on Pinterest and share the sweet joy with your friends and family.