
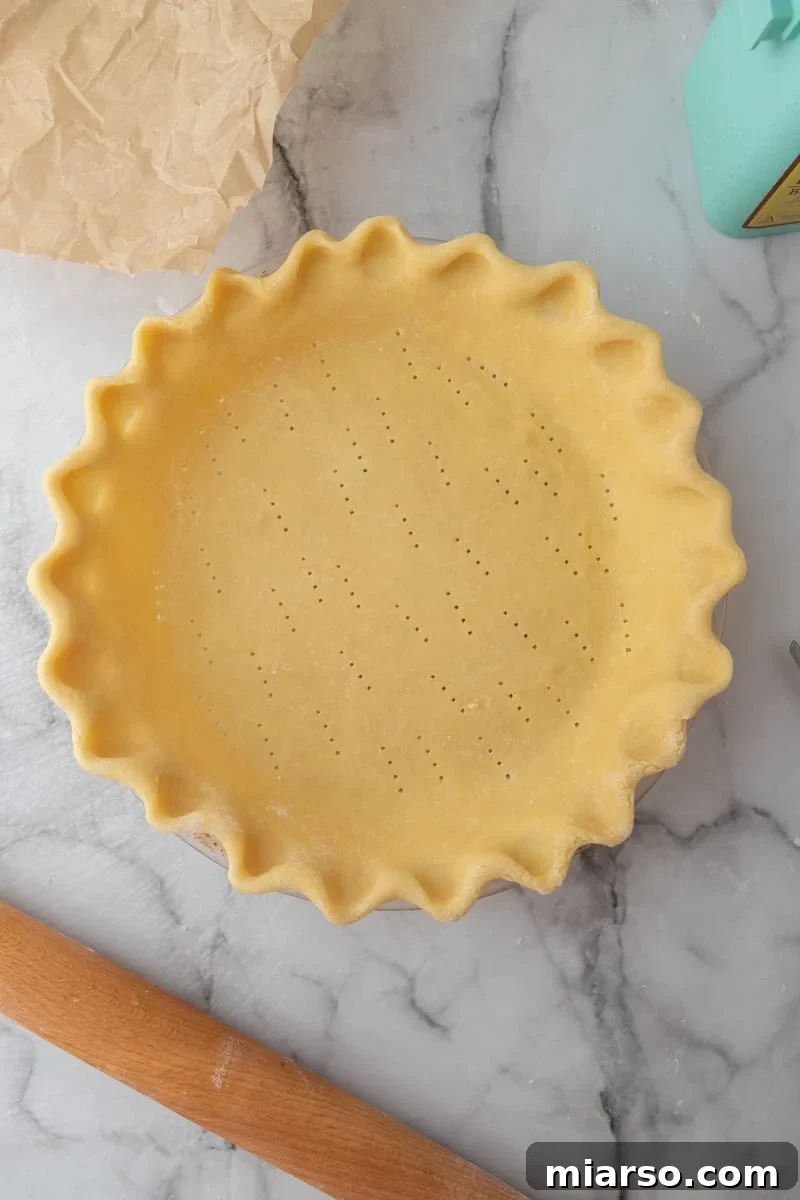
Unlock the secret to an incredibly flaky, tender, and subtly tangy pie crust with our ultimate Sourdough Discard Pie Crust recipe. This isn’t just another pie dough; it’s a game-changer for any home baker looking to elevate their pastry game while making good use of their leftover sourdough discard. Simple to prepare with everyday ingredients, this versatile crust promises to enhance both sweet and savory fillings, making every pie a masterpiece. Say goodbye to store-bought crusts and discover the irresistible charm of a homemade sourdough butter pie crust – you’ll never look back!
If your kitchen counter often features a bubbling sourdough starter, you’re likely familiar with the delightful challenge of finding innovative ways to utilize that precious discard. Beyond the usual pancakes and crackers, a world of sourdough discard possibilities awaits! This recipe not only helps reduce food waste but also imbues your pies with a depth of flavor that’s hard to achieve otherwise. Imagine a pie crust that’s not only rich and buttery but also boasts a faint, desirable tang, adding an unexpected layer of complexity to your favorite desserts and savory dishes.
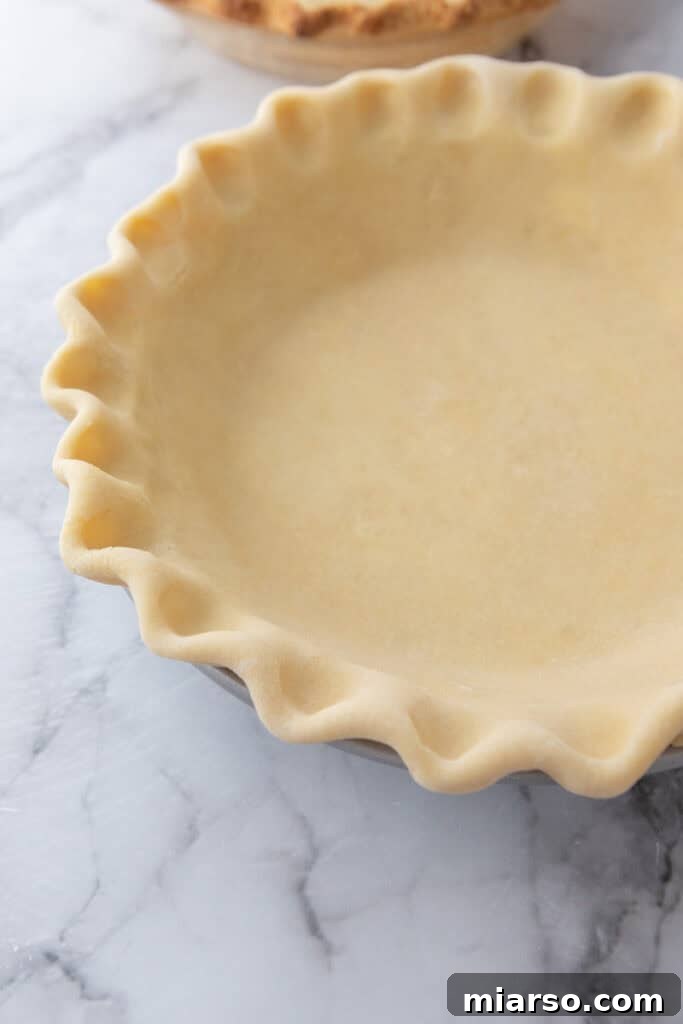
This buttery, flaky sourdough pie crust is precisely what you need to transform your baking. It’s wonderfully easy to handle, bakes up to a gorgeous golden-brown, and provides the perfect foundation for any pie, from classic apple to hearty chicken pot pie. The unique addition of sourdough discard doesn’t just prevent waste; it contributes a subtle fermented note that balances sweetness and adds a sophisticated edge to savory fillings. Prepare for compliments when you serve pies with this exceptional homemade crust!
While you’re mastering this incredible pie crust, why not pair it with a show-stopping filling? Explore our irresistible Brownie Pie Recipe, indulge in the seasonal delight of our Maple Pecan Pie Recipe, or satisfy your sweet cravings with this fun Chocolate Chip Cookie Pie Recipe. Each offers a fantastic companion to your freshly baked sourdough crust.
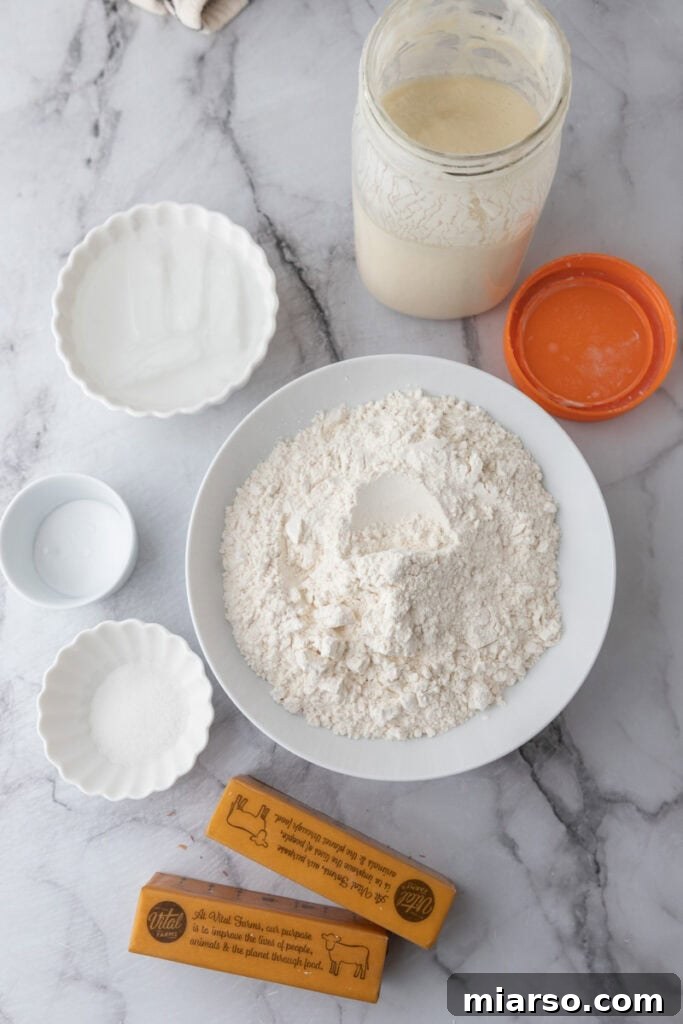
Essential Ingredients for the Best Sourdough Discard Pie Crust
Crafting the perfect pie crust begins with high-quality ingredients and a clear understanding of each component’s role. Here’s what you’ll need for this exceptional sourdough pie dough. You’ll find detailed measurements in the recipe card at the bottom of this page.
- All-purpose Flour: The fundamental building block of our crust, providing structure and texture. We recommend using unbleached all-purpose flour for a cleaner flavor profile.
- Salt: A crucial flavor enhancer that balances the richness of butter and subtly highlights the sourdough’s tang, preventing the crust from tasting bland.
- Sugar: Adds a delicate sweetness and promotes beautiful browning, contributing to a golden, appealing finish. If you’re planning a savory pie, simply omit the sugar for a perfectly balanced savory crust.
- Unsalted Butter: The heart of a truly flaky pie crust. Used cold and cubed, the butter creates pockets of steam during baking, separating the dough into magnificent, tender layers. Always opt for high-quality unsalted butter for superior flavor.
- Sourdough Starter Discard: This hero ingredient adds a unique depth of flavor and moisture without the yeast activity of an active starter. Its subtle tang is the signature of this recipe, setting it apart from conventional pie crusts. Ensure it’s cold for best results.
- Ice Water: Essential for bringing the dough together without melting the butter. Keeping the butter solid is key to achieving those coveted flaky layers, so make sure your water is as cold as possible.
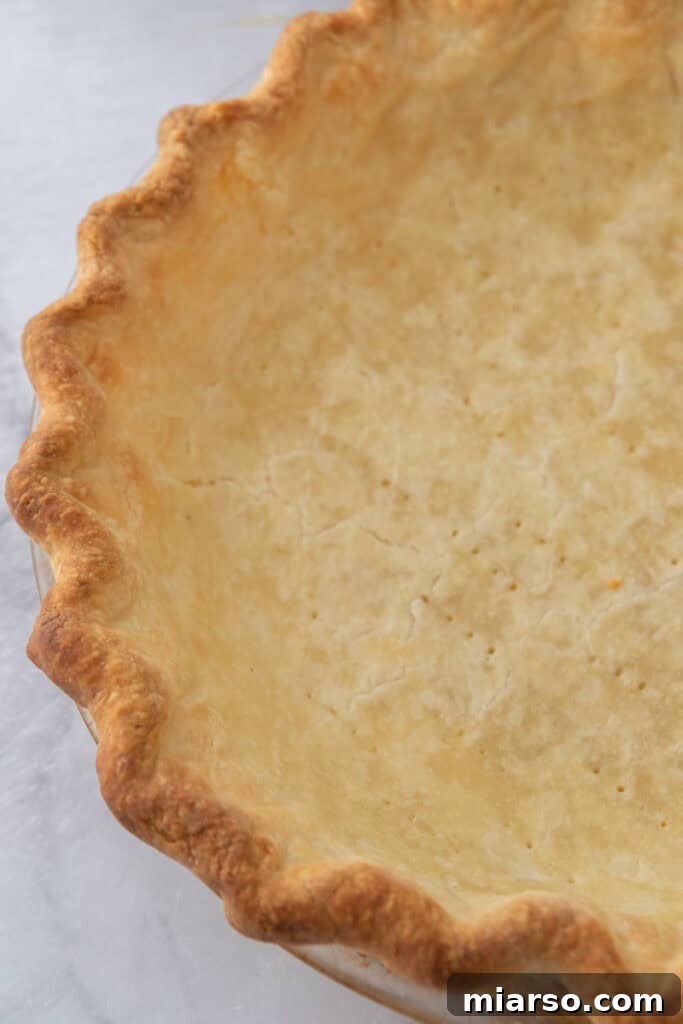
How to Prepare This Flaky Sourdough Discard Pie Crust
Creating this buttery sourdough pie crust from scratch is a surprisingly straightforward process that yields incredibly rewarding results. Follow these steps carefully to achieve a tender, flaky crust every time. For exact measurements, prep time, total time, and full step-by-step instructions, refer to the detailed recipe card at the end of this post.
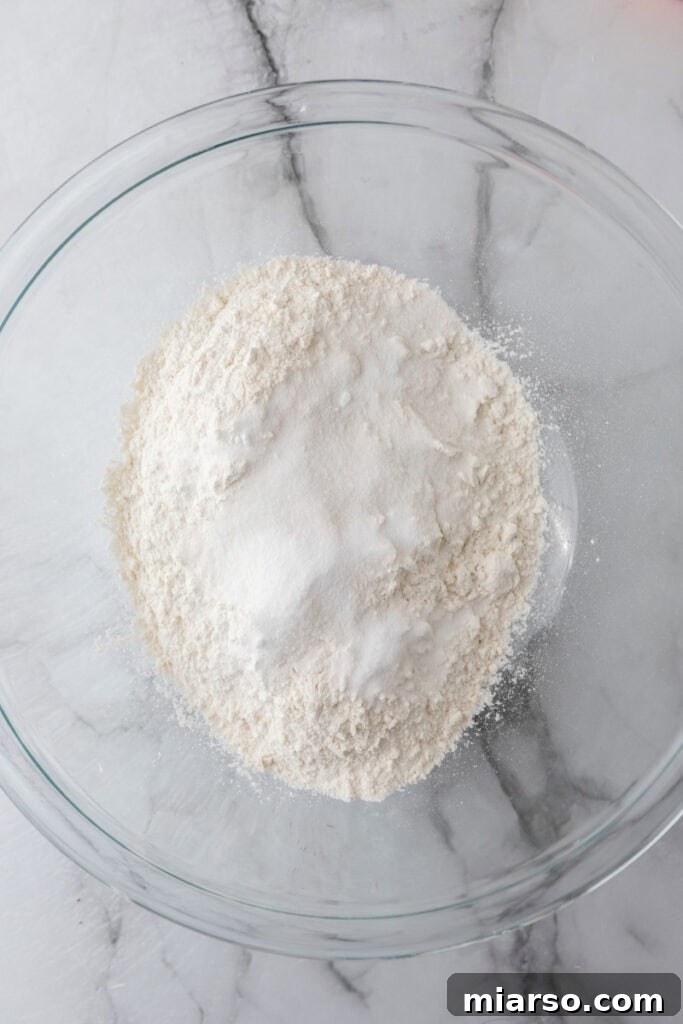
- **Combine Dry Ingredients:** In a large mixing bowl, thoroughly whisk together the all-purpose flour, salt, and sugar (if using for a sweet pie). Ensure these dry ingredients are evenly mixed before proceeding.
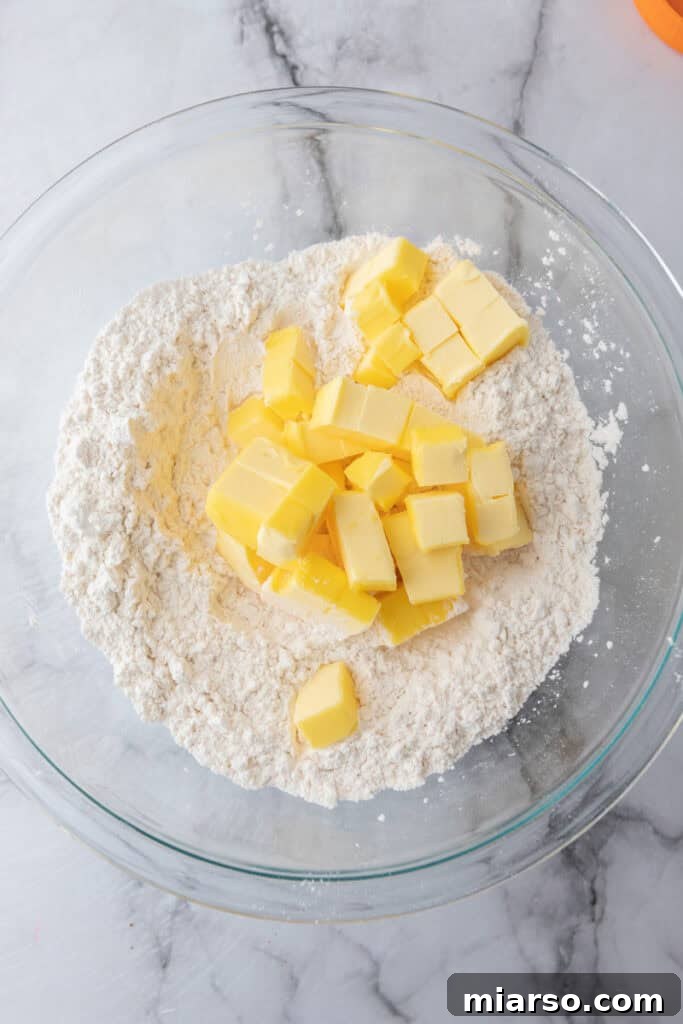
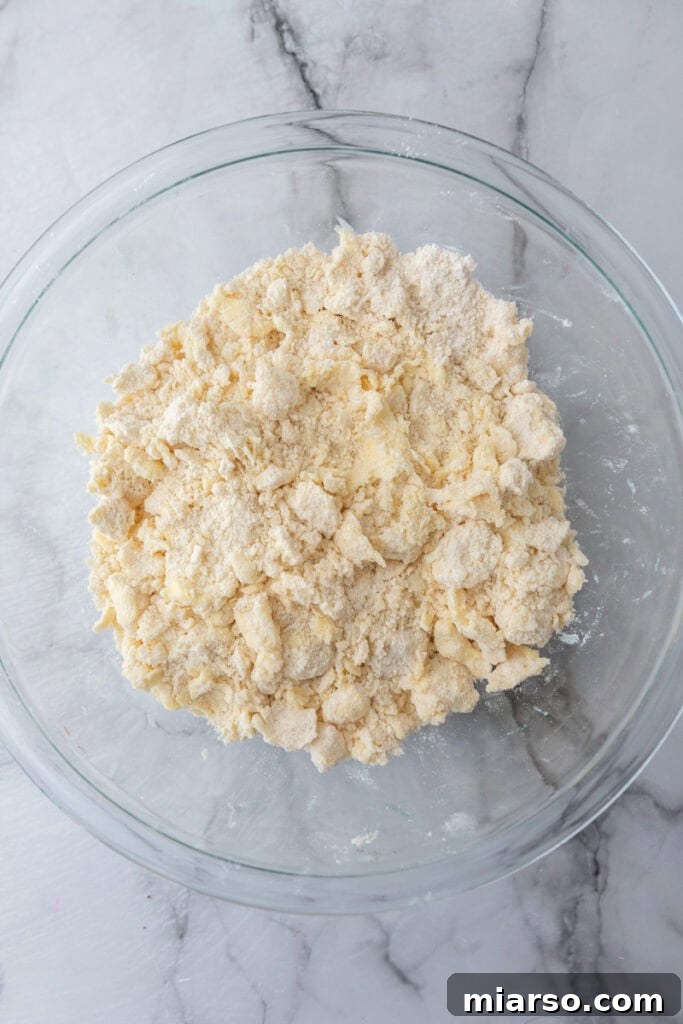
- **Incorporate Cold Butter:** Add the cold, cubed unsalted butter to your dry ingredients. Using a pastry cutter, a fork, or even your fingertips, work the butter into the flour mixture. The goal is to achieve a texture that resembles coarse crumbs, with some larger pea-sized pieces of butter still visible. These larger pieces are crucial for creating those incredible flaky layers during baking.
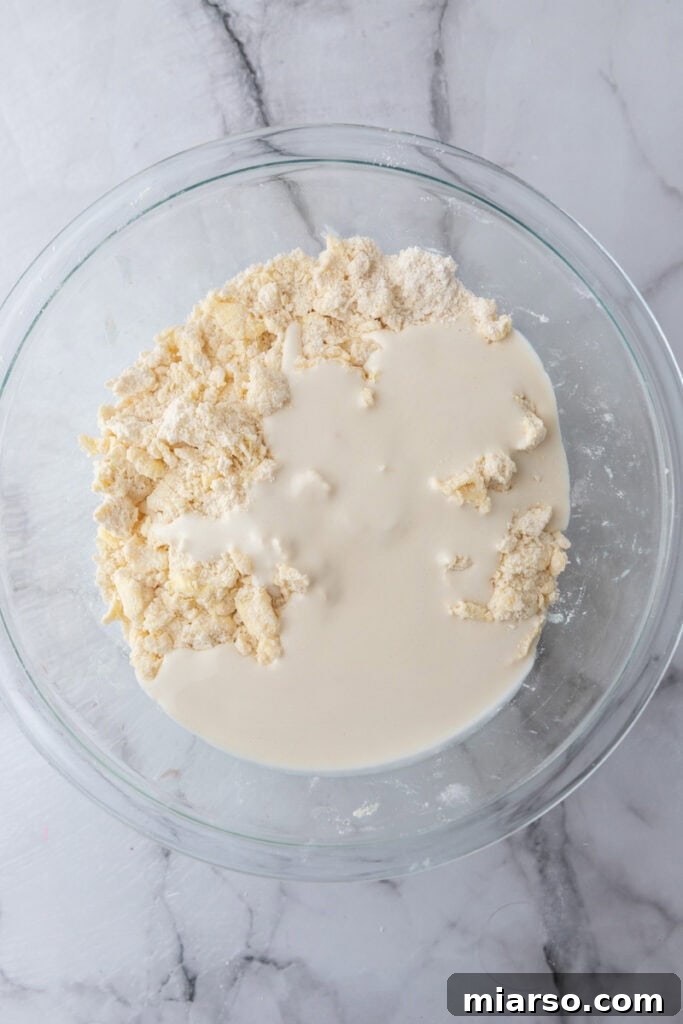
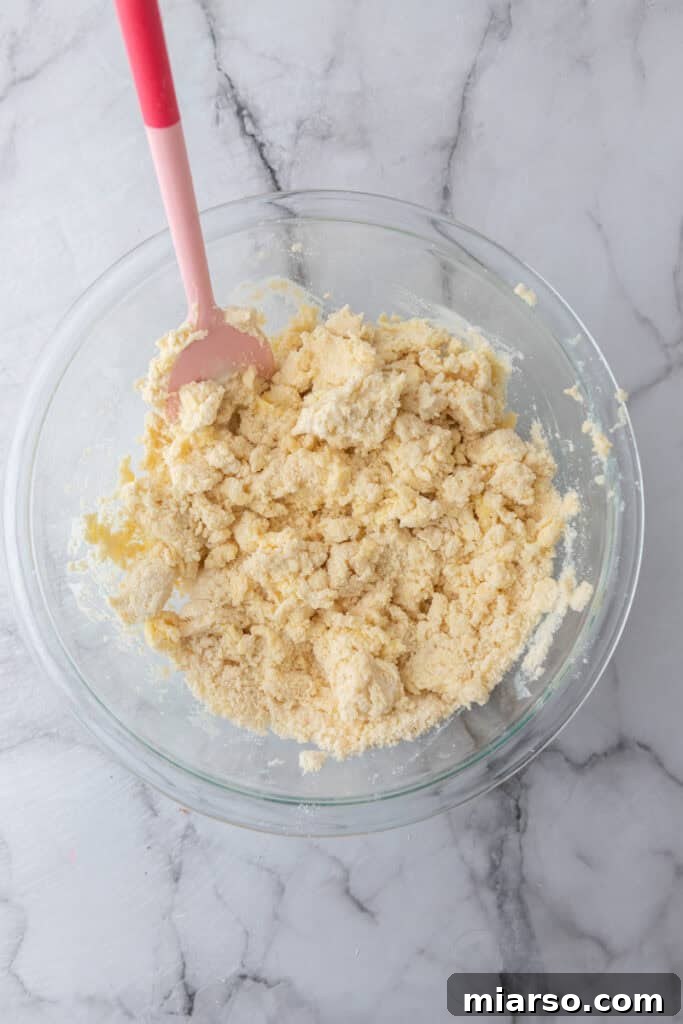
- **Add Sourdough Discard:** Pour in the cold sourdough discard. Mix gently until the discard is evenly incorporated throughout the flour and butter mixture. At this stage, the dough will likely still appear quite dry and crumbly, which is perfectly normal.
- **Gradually Add Ice Water:** Begin by drizzling in 2 tablespoons of ice water. Mix gently until the dough just starts to come together. If it still feels too dry, add additional ice water, one tablespoon at a time, mixing minimally after each addition. Stop as soon as the dough holds together when you press it between your fingers. It’s crucial to avoid overmixing at this stage, as it can lead to a tough crust.
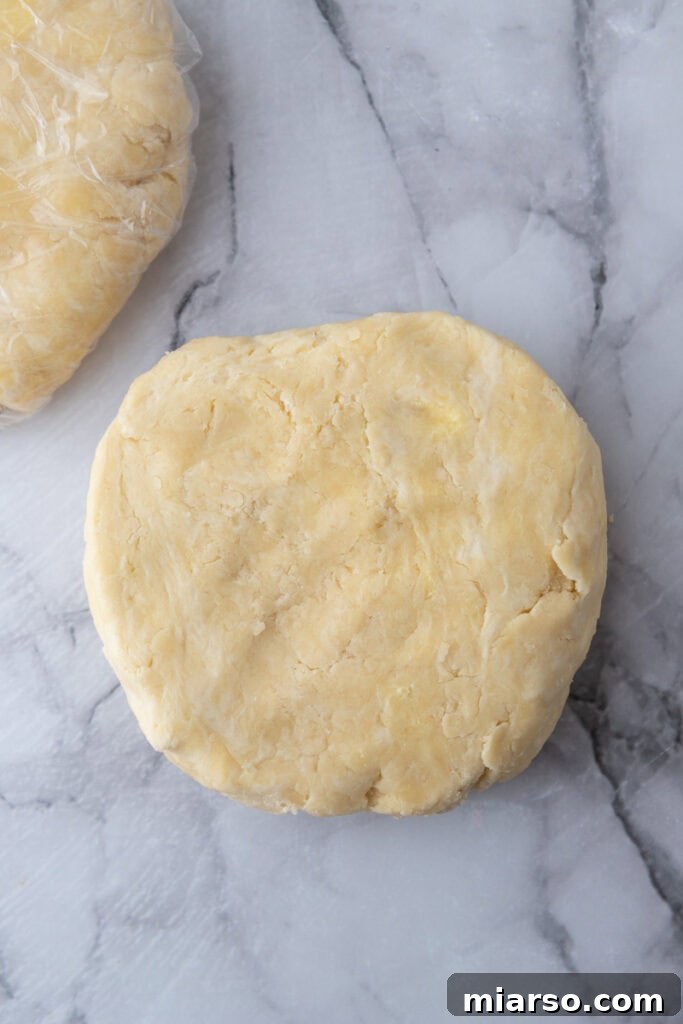
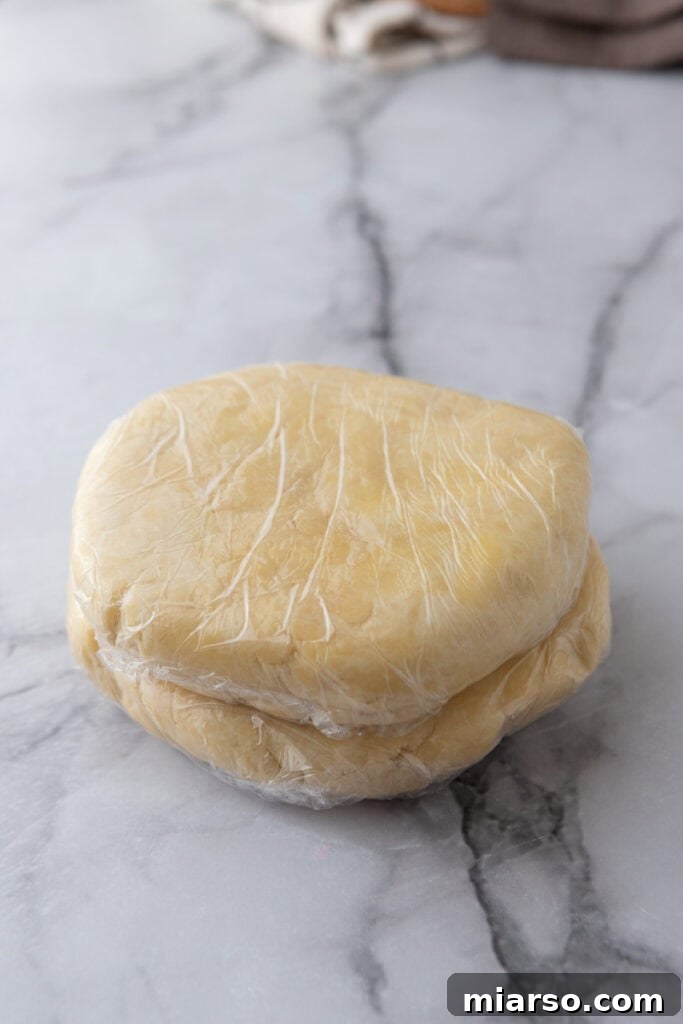
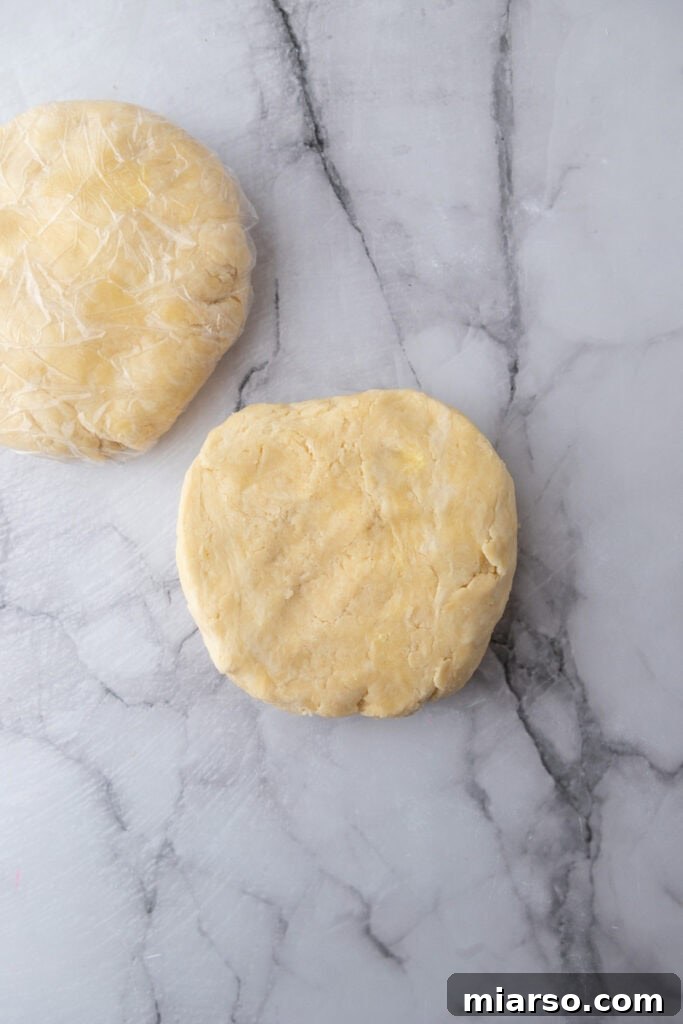
- **Chill the Dough:** Divide the finished dough into two equal portions. Gently shape each portion into a flattened disc and wrap them tightly in plastic wrap. Transfer the wrapped dough discs to the refrigerator and chill for a minimum of 2 hours, or ideally, overnight. This resting period is vital for hydrating the flour and allowing the butter to firm up, contributing significantly to a tender and flaky crust.
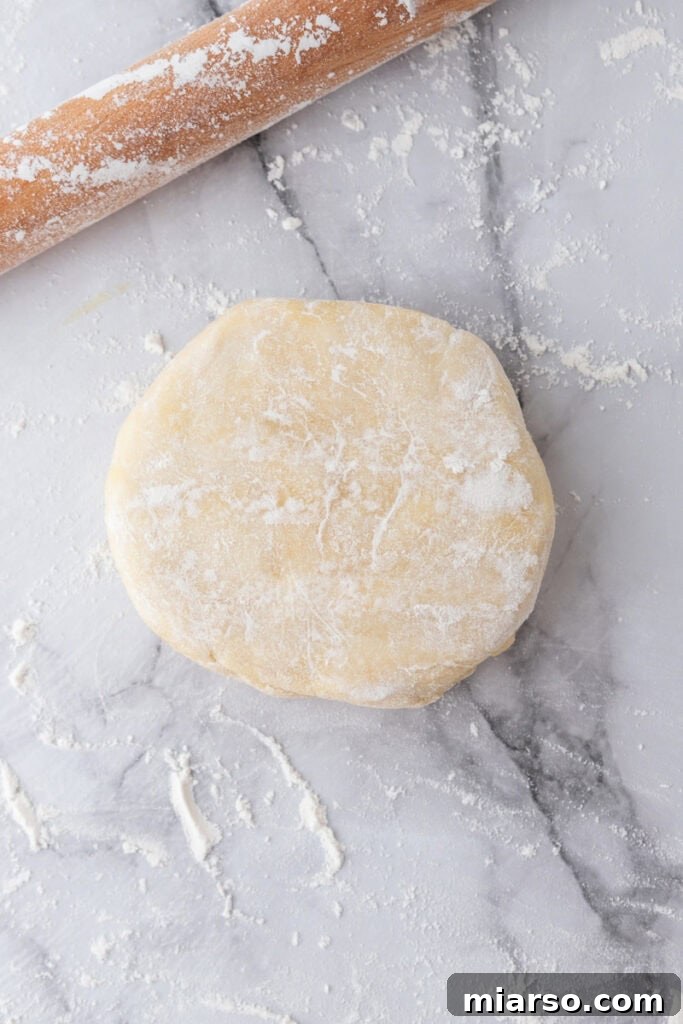
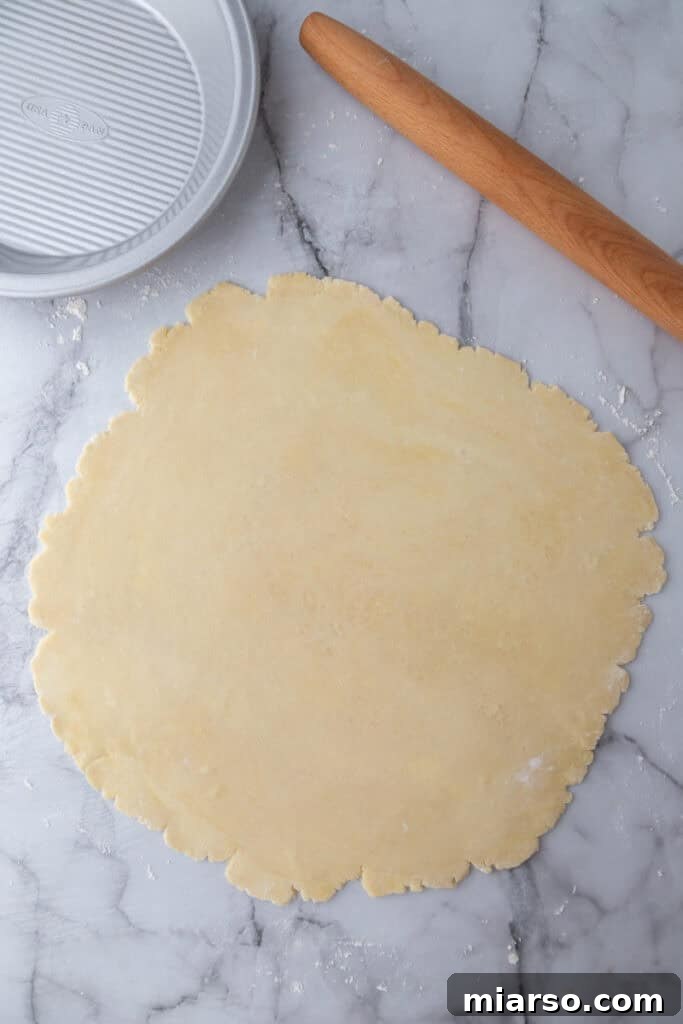
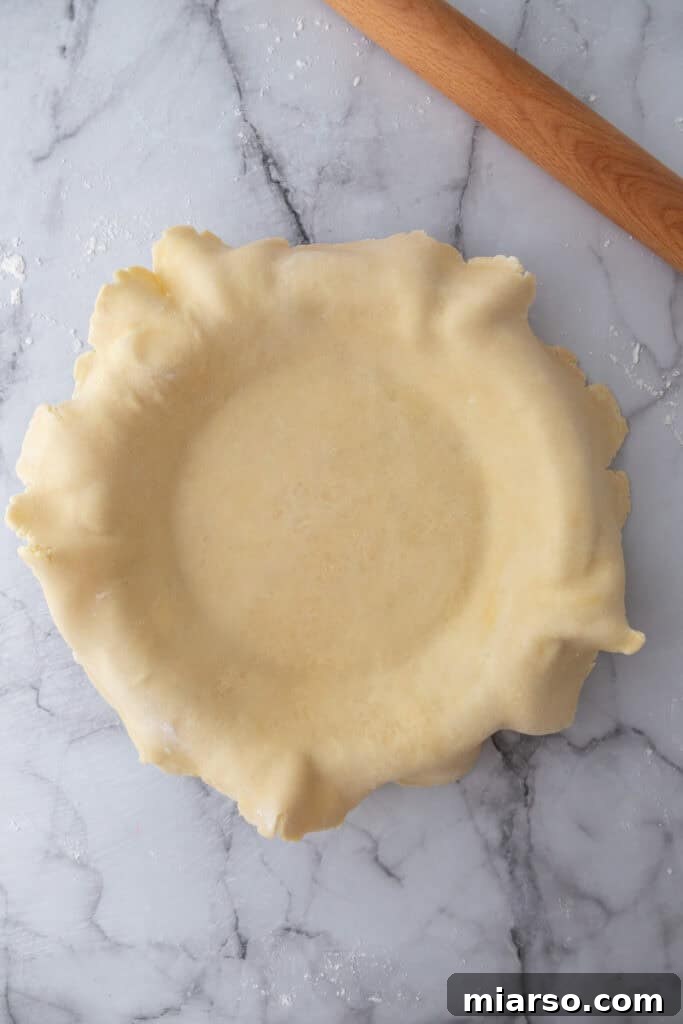
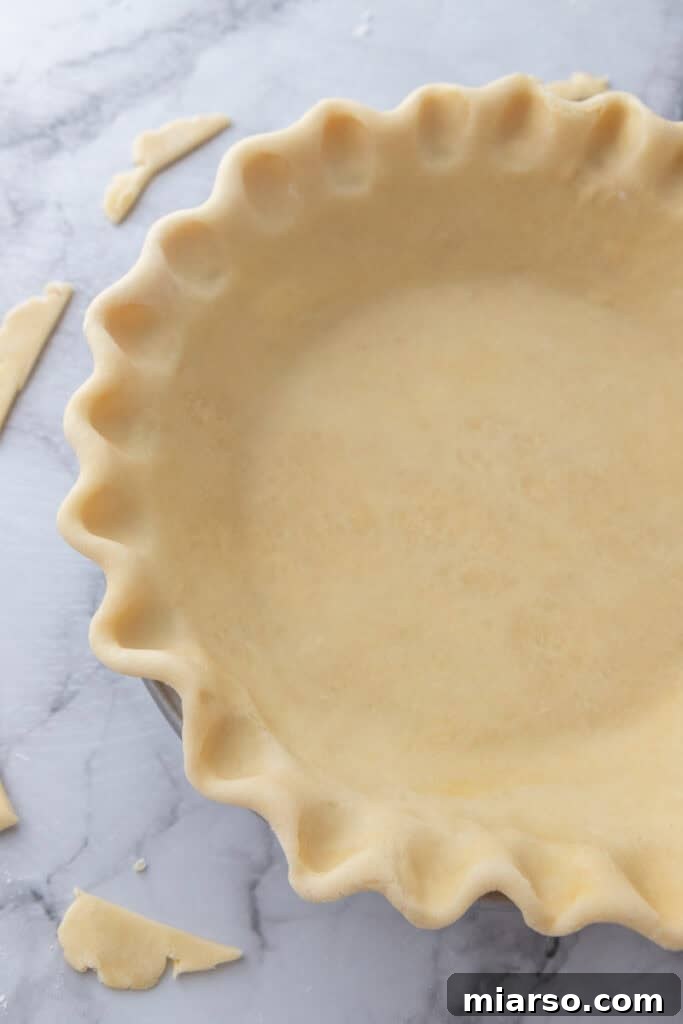
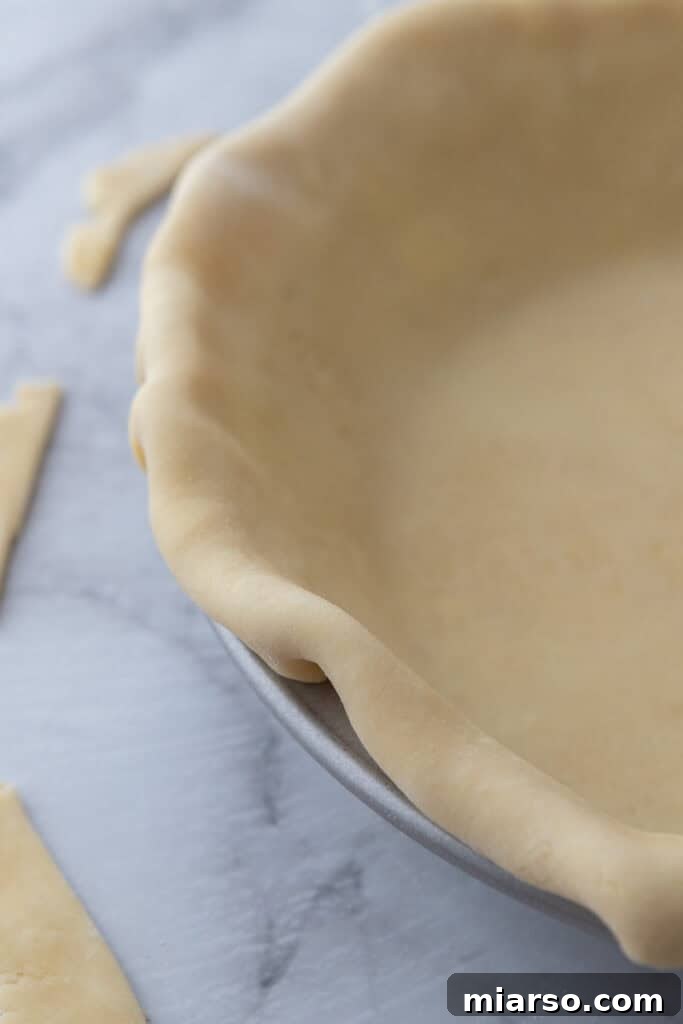
- **Roll Out and Shape:** Once thoroughly chilled, remove one disc of dough from the refrigerator. On a lightly floured surface or between two sheets of parchment paper, use a floured rolling pin to roll out the dough to your desired thickness and diameter, ensuring it fits your pie dish. For a double-crust pie, repeat with the second disc. Gently transfer one rolled-out crust to the bottom of your pie plate. If making a double-crust pie, return both rolled crusts (one in the pan, one on parchment) to the fridge for 15 minutes before assembling and baking. This prevents the butter from warming too much.
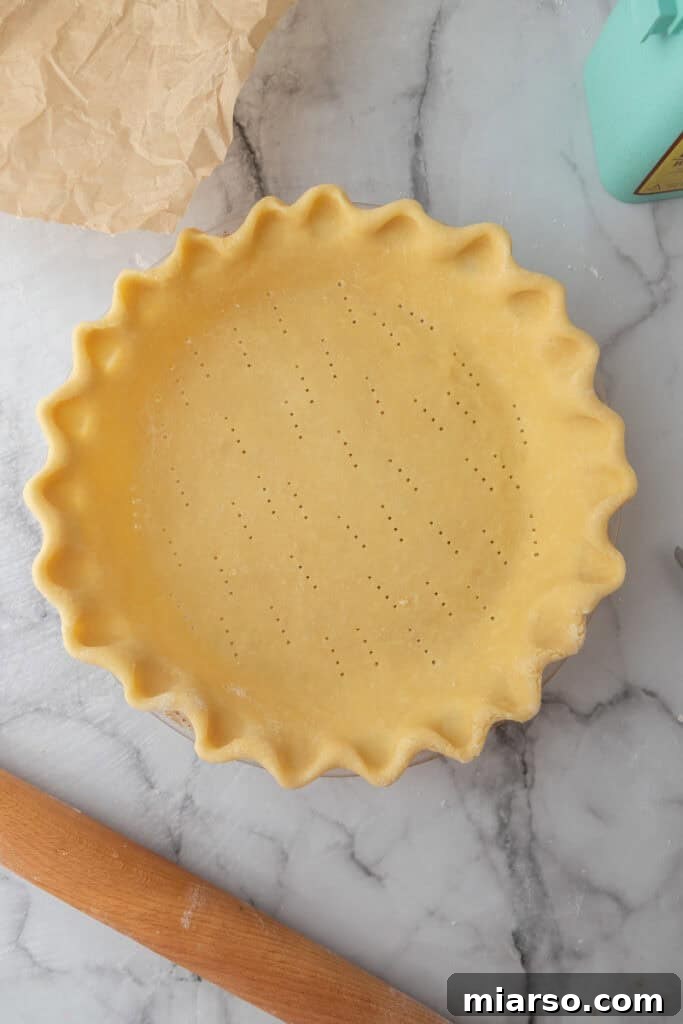
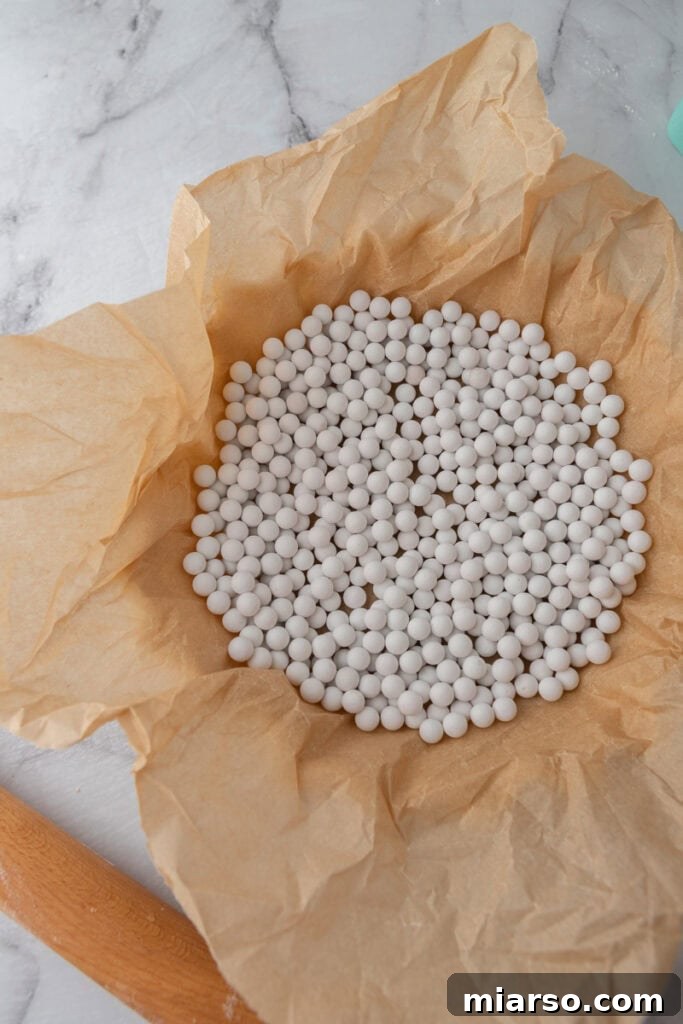
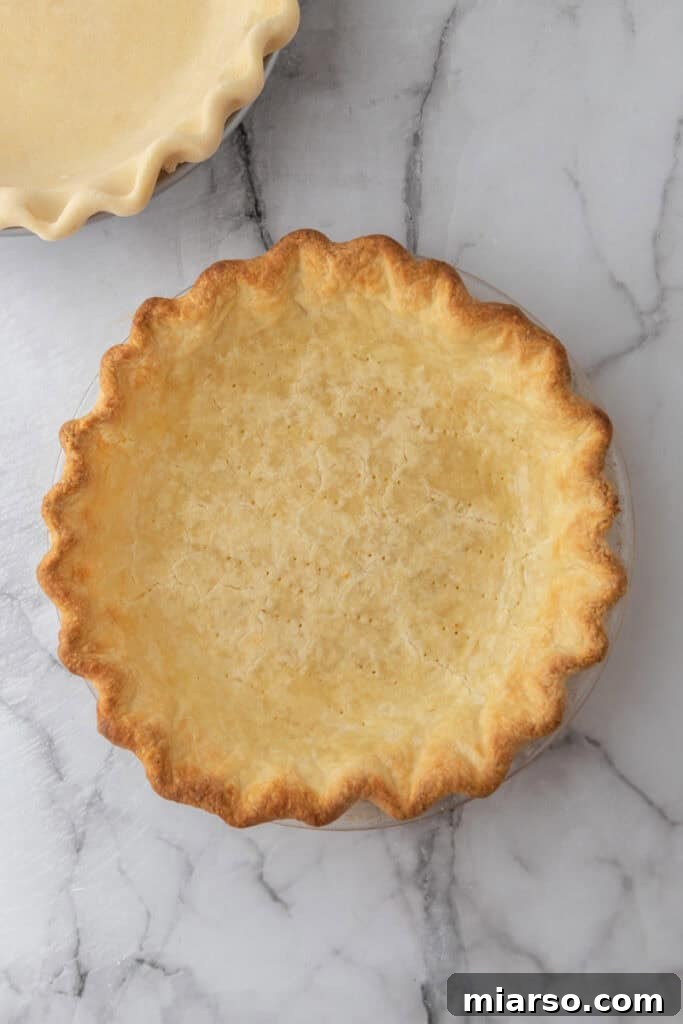
- **Bake According to Your Pie Recipe:** Once your pie is assembled with its filling, follow the specific baking instructions provided in your chosen pie recipe. If you need to blind bake the crust (pre-bake it before adding filling), preheat your oven to the specified temperature (often 375°F or 190°C). Lightly dock the bottom of the crust with a fork, then line it with parchment paper and fill with baking weights (like dried beans or ceramic pie weights). Bake for the initial duration (typically 10-15 minutes), then carefully remove the weights and parchment paper, and continue baking for another 5-10 minutes until the crust is lightly golden brown and set.
Expert Tips and Tricks for a Flawless Pie Crust
Achieving a truly exceptional sourdough pie crust is all about technique and a few key secrets. Follow these expert tips for the flakiest, most tender crust every time:
- Embrace the Cold: This is the golden rule for flaky pie crusts. Ensure all your ingredients—butter, sourdough discard, and water—are kept very cold until you are ready to mix. Cold butter creates steam pockets during baking, which results in those desirable flaky layers. If your kitchen is warm, you can even chill your mixing bowl and pastry cutter in the fridge or freezer for 10-15 minutes before you start.
- Don’t Overwork the Butter: When incorporating butter into the flour, aim for a texture of coarse crumbs with some larger, pea-sized pieces remaining. These slightly larger butter chunks are what melt slowly in the oven, releasing steam and pushing apart the flour layers to create incredible flakiness. If you work the butter too much, it fully incorporates into the flour, leading to a tougher, less flaky crust.
- Minimal Water, Minimal Mixing: Add ice water gradually, just until the dough barely comes together. Over-hydrating the dough can make it sticky and tough, while overmixing develops gluten excessively, also leading to a tough crust. Mix only until the dough forms a cohesive mass when pressed.
- Patience with Chilling: The chilling stage is non-negotiable. This allows the gluten in the flour to relax, making the dough easier to roll out, and ensures the butter is thoroughly re-chilled. While 2 hours is the minimum, chilling the dough overnight will yield superior results in terms of flakiness and ease of handling. Don’t rush this step!
- Handle with Care: When rolling out the dough, use a light hand. Excessive pressure can warm the butter and overwork the dough. Work quickly and efficiently on a lightly floured surface or between sheets of parchment paper to prevent sticking and maintain a cool temperature.
- Blind Baking Best Practices: For fillings that are wet or have shorter bake times, blind baking is essential to prevent a soggy bottom. Always dock the crust to prevent bubbling, use parchment paper and pie weights to keep the crust from shrinking, and bake until lightly golden for a sturdy foundation.
Why Choose This Sourdough Discard Pie Crust?
There are countless reasons to make this sourdough discard pie crust your new go-to recipe. Here are just a few compelling benefits:
- Unmatched Texture and Flavor: This crust offers a wonderfully tender texture and extraordinary flakiness that will elevate any pie filling, whether sweet or savory. The sourdough discard introduces a subtle, sophisticated tang that adds a layer of complexity not found in traditional pie crusts.
- Sustainable Baking: It’s an ingenious and delicious way to use up your leftover sourdough discard, helping you minimize food waste and make the most of your starter.
- Versatile Pairing: The balanced flavor profile, with its hints of butter and sourdough, makes this crust incredibly versatile. It’s the perfect canvas for classic fruit pies, creamy custards, savory quiches, and hearty pot pies.
- Beginner-Friendly: Despite its gourmet taste and texture, this recipe is surprisingly easy to make. With clear instructions and simple techniques, even novice bakers can achieve a beautifully flaky homemade pie crust with minimal effort.
- Impress Your Guests: The unique flavor and impressive flakiness will undoubtedly delight your family and friends, making your homemade pies truly unforgettable.
Frequently Asked Questions (FAQ) About Sourdough Discard Pie Crust
What types of pies are best with this sourdough discard pie crust?
This sourdough discard pie crust is incredibly versatile, designed to complement a wide range of flavors. Its buttery richness and subtle tang make it an excellent choice for both sweet and savory applications. Think classic holiday pies like a comforting pumpkin pie or a traditional apple pie. It also shines with summer flavors such as bright lemon meringue or juicy blueberry pie. For savory enthusiasts, this crust creates a fantastic base for hearty chicken pot pie, a sophisticated quiche, or a savory hand pie. Remember to omit the sugar if you’re preparing a savory filling!
Can I use active sourdough starter instead of discard?
While this recipe is specifically formulated for sourdough discard, you can certainly experiment with an active, bubbly starter. However, be aware that an active starter will introduce more leavening, potentially altering the texture and causing the crust to rise slightly more than intended. The subtle tang might also be more pronounced. For the best and most predictable flaky results, we recommend sticking with cold sourdough discard.
Can I prepare this pie crust in advance?
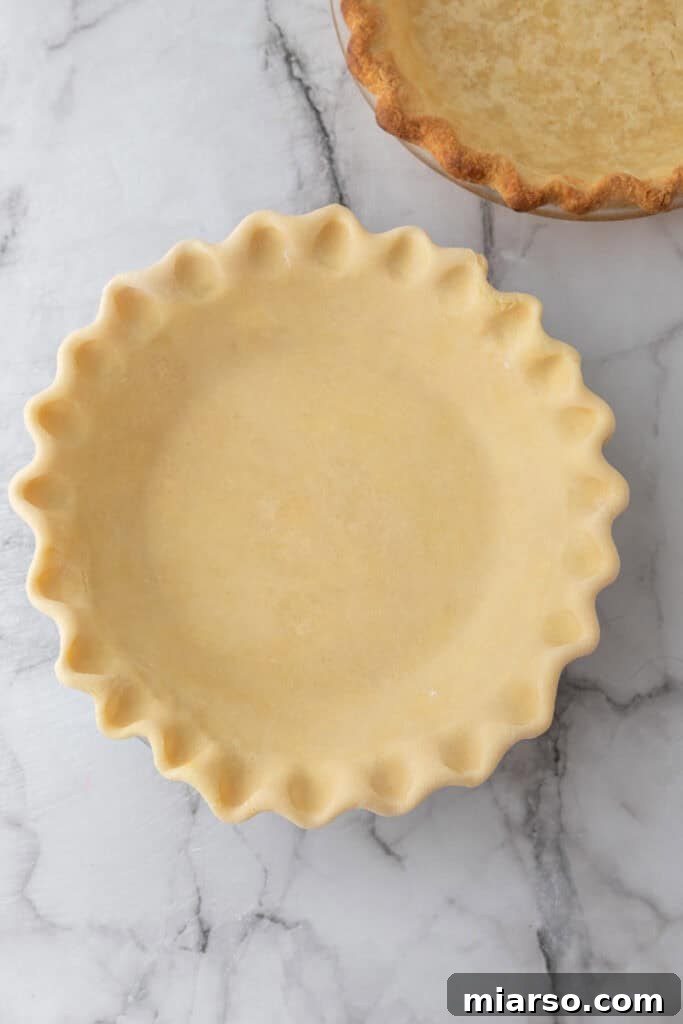
Absolutely! Preparing pie crust ahead of time is a fantastic way to streamline your baking process. The unbaked sourdough pie dough can be made up to 3 days in advance and stored wrapped tightly in plastic wrap in the refrigerator. For longer storage, you can freeze the dough for up to 2-3 months. Whether in a disc shape or pressed into a pie pan, ensure it’s well-wrapped to prevent freezer burn.
How do I store my leftover Sourdough Pie Crust with Discard?
For short-term storage, any unused or prepped pie dough can be kept in the refrigerator for up to 3-4 days. Wrap it tightly in plastic wrap, either as a disc or already in a pie plate. For extended storage, freezing is an excellent option. Wrap the dough first in plastic wrap, then add a layer of aluminum foil to prevent freezer burn. Properly wrapped, it will stay fresh in the freezer for 2-3 months. Thaw in the refrigerator before rolling out or baking.
Are there any flavor variations I can try with this sourdough discard pie crust recipe?
Of course! This recipe is a wonderful foundation for creative flavor twists. For a savory enhancement, consider adding a touch of freshly grated lemon zest, a sprinkle of fresh thyme, or a generous grind of black pepper to the dough. These additions pair beautifully with quiches, vegetable tarts, or chicken pot pies. For sweet pies, a hint of cinnamon, nutmeg, or even a touch of almond extract can complement your filling.
What other delicious recipes can I make with this versatile sourdough discard pie crust?
Beyond traditional pies, this buttery, flaky shortbread-like crust is perfect for a variety of treats. It’s ideal for making homemade sourdough pop tarts, where having both a top and bottom crust is a bonus! You can also use it for hand pies, turnovers, tartlets, or even savory crackers. Let your culinary imagination run wild!
If you’re eager to explore more ways to use your sourdough discard after mastering this pie crust, be sure to check out these other fantastic recipes: fluffy Sourdough Discard Pancakes, tender Sourdough Discard Biscuits, and decadent Sourdough Discard Cinnamon Rolls. Happy baking!
Flaky Sourdough Discard Pie Crust Recipe
A buttery and flaky sourdough discard pie crust that’s simple to make, beginner-friendly, and the perfect base for both sweet and savory pies.
Equipment
- Pie plate
- Pie weights
- Large Mixing Bowl
- Pastry Cutter or Fork
- Rolling Pin
- Plastic Wrap
Ingredients
- 2 ½ cups all-purpose flour
- 1 teaspoon salt
- 1 tablespoon sugar (omit for savory pies)
- 1 cup unsalted butter (cold and cubed)
- ¾ cup sourdough discard (cold)
- 2-4 tablespoons ice water (as needed)
Instructions
- In a large bowl, whisk together the flour, salt, and sugar until evenly combined.
- Add the cold, cubed butter to the flour mixture. Use a pastry cutter, fork, or your hands to cut the butter into the flour until it resembles coarse crumbs with some larger, pea-sized chunks of butter remaining.
- Pour in the cold sourdough discard and mix gently until it is evenly distributed. The dough will still appear somewhat dry and crumbly at this stage.
- Drizzle in 2 tablespoons of ice water and mix gently. Continue adding water, 1 tablespoon at a time, mixing minimally after each addition, just until the dough comes together and holds when pressed between your fingers. Avoid overmixing.
- Divide the dough into two equal portions. Gently shape each portion into a flattened disc and wrap them tightly in plastic wrap. Chill in the refrigerator for at least 1-2 hours, or ideally overnight, for the best results.
- When ready to use, remove one disc of dough from the refrigerator. On a lightly floured surface or between two sheets of parchment paper, use a floured rolling pin to flatten the dough to fit your pie dish. Use as needed for a single or double-crust pie. If making a double-crust pie, return the rolled-out dough to the fridge for 15 minutes before filling and baking to keep the butter cold.
- Follow your specific pie recipe’s baking instructions. If blind baking, preheat your oven to 375°F (190°C), dock the crust lightly with a fork, line it with parchment paper, fill with baking weights (e.g., dried beans), and bake for 10-15 minutes. Remove the weights and parchment, then continue baking for another 5-10 minutes until the crust is lightly golden brown.
Nutrition information is automatically calculated, so should only be used as an approximation.