Irresistibly Fudgy Halloween Oreo Brownies: Your Ultimate Spooky Treat Guide
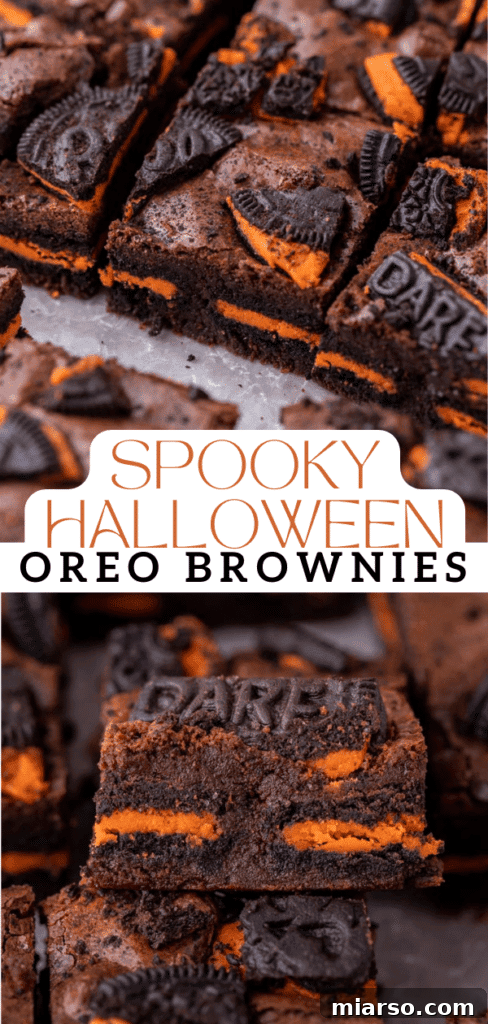
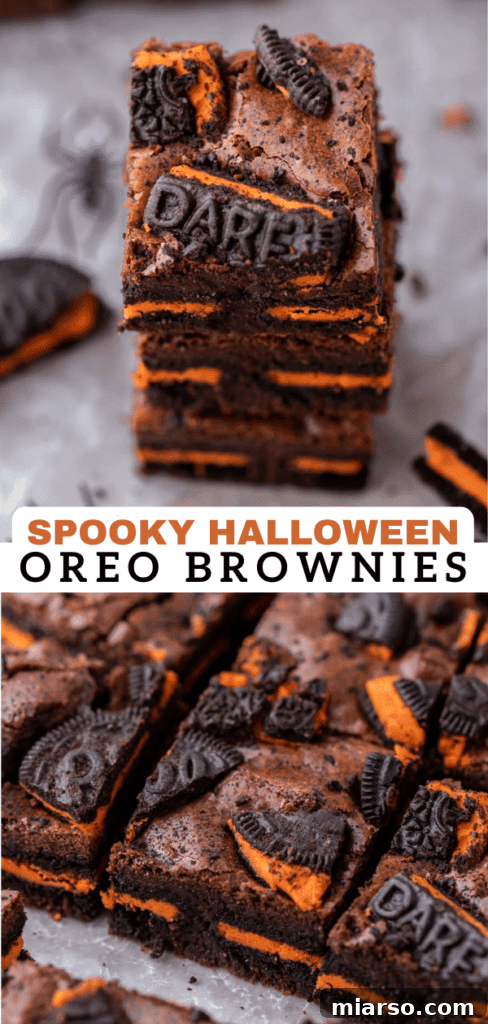
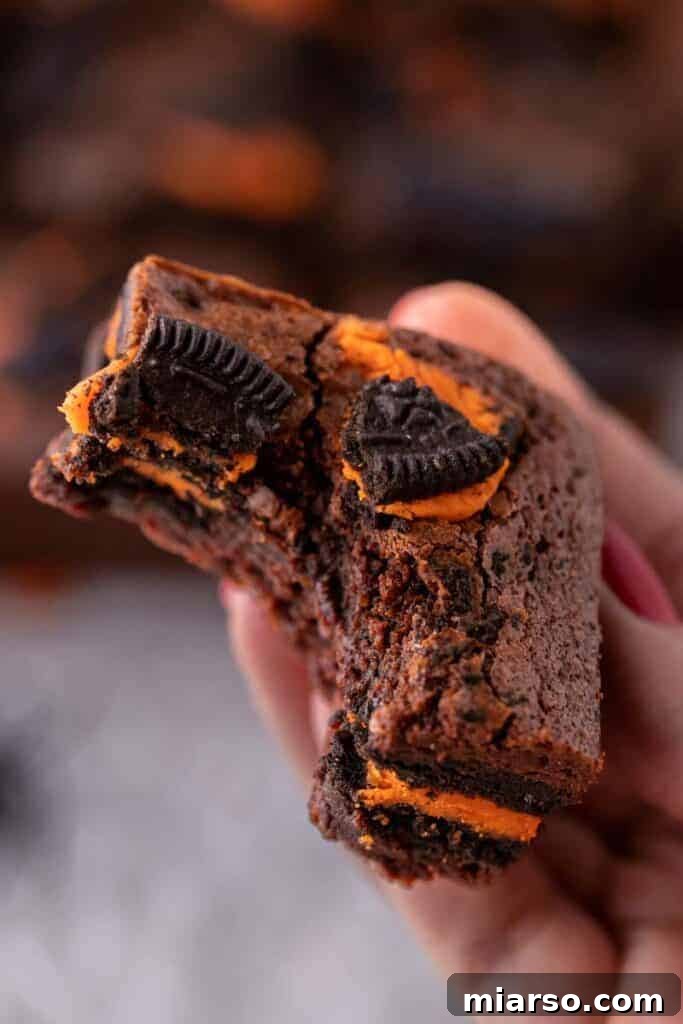
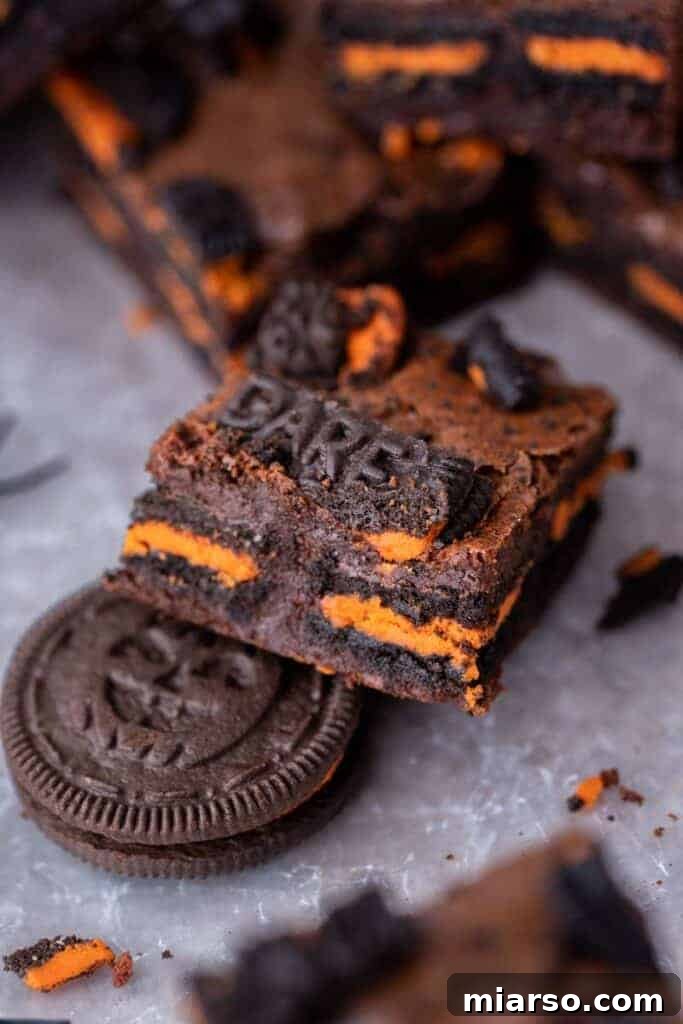
Prepare for a hauntingly delicious experience with these incredible Halloween Oreo Brownies! Imagine ultra-fudgy, intensely chocolatey brownies, generously studded with festive Halloween Oreos both baked inside and sprinkled on top. This recipe is a guaranteed crowd-pleaser, destined to vanish in a flash at any Halloween gathering. Crafted with everyday ingredients you likely already have, these brownies are surprisingly simple to whip up, yet impressive enough to amaze everyone. Get ready to bake a batch of pure Halloween magic!
Looking for more wicked good Halloween desserts? Don’t miss these fun treats: discover our spooky spider cookies, these delightfully dark chocolate monster cookies, and our rich black cocoa monster cupcake recipe. They’re perfect companions to your Halloween brownie feast!
“I made these last night and they are dangerously! Sooo good! And such a simple recipe! Thank you!”
– Tess
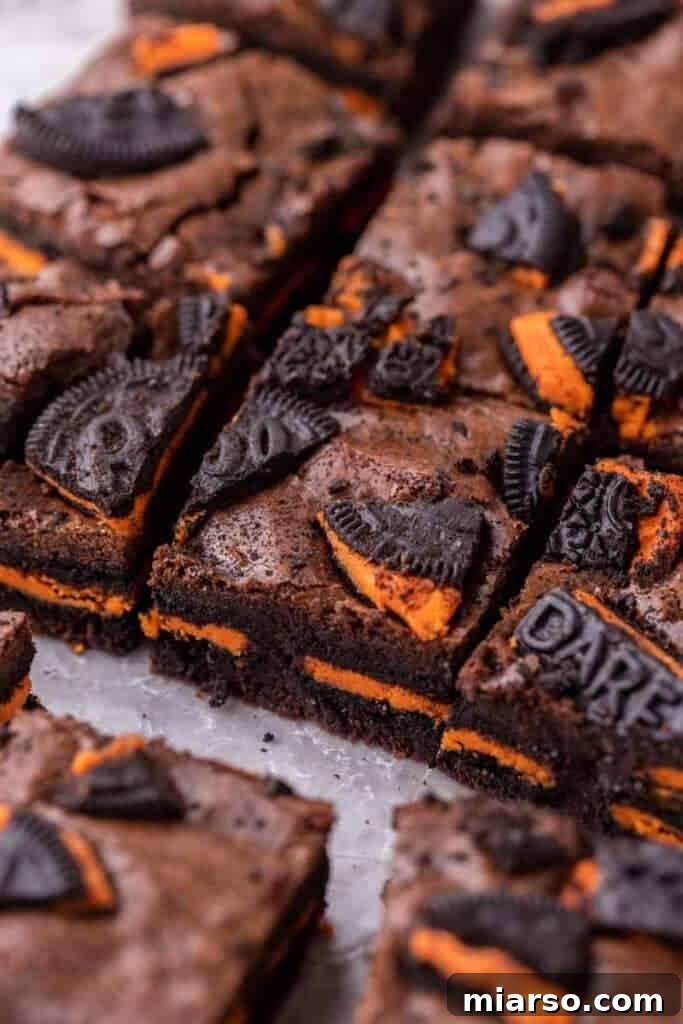
Unleash the Spooky Sweetness with The Best Halloween Brownies!
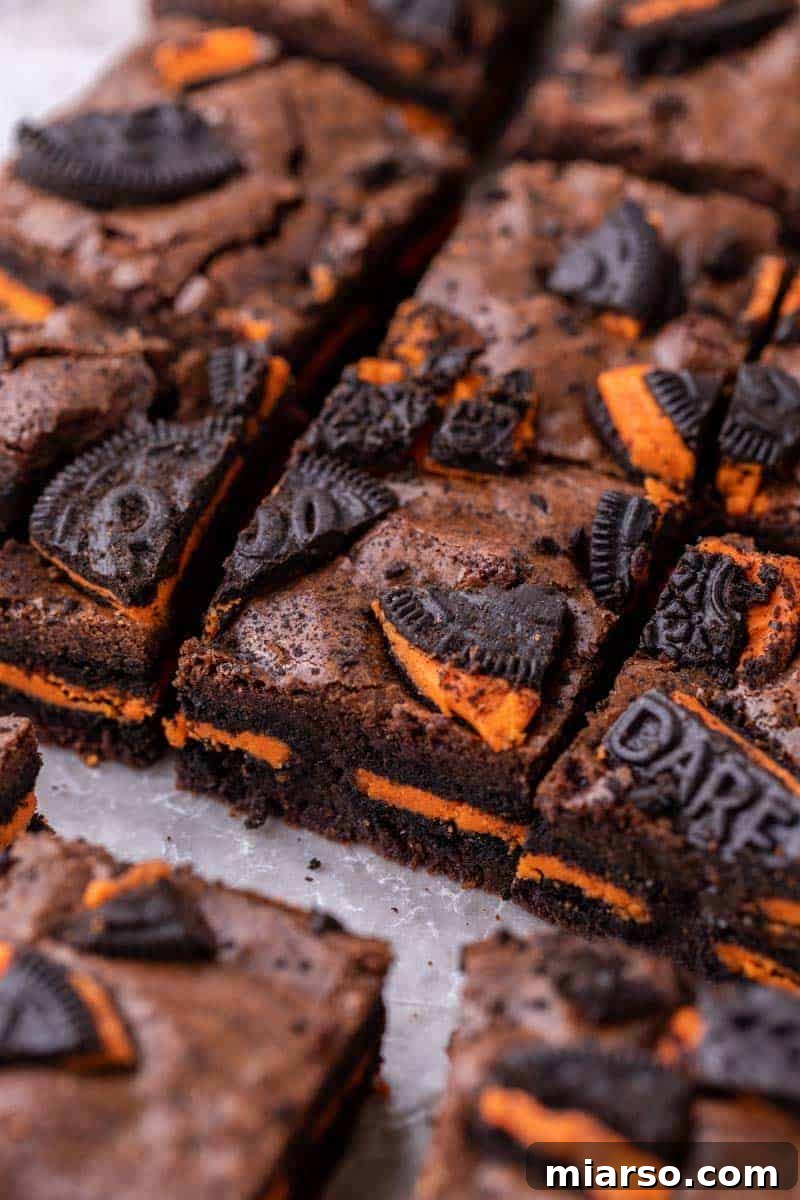
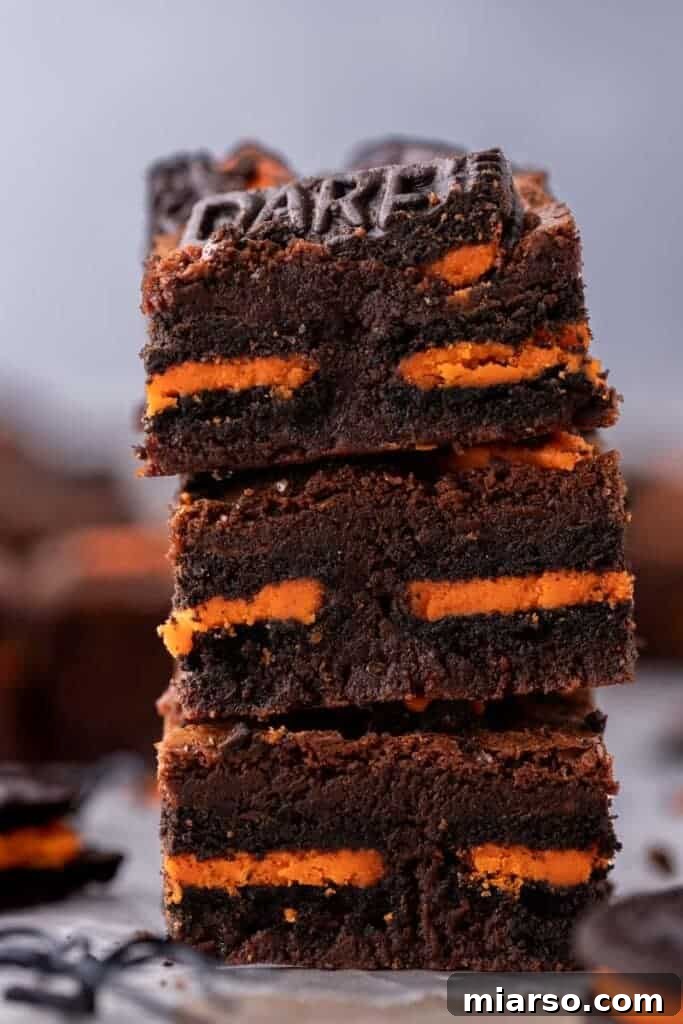
If you’ve landed here, chances are you’re on the hunt for spectacularly wicked Halloween treats, and you’ve hit the jackpot! This recipe delivers an exceptionally fudgy brownie base, overflowing with those iconic spooky Halloween Oreos nestled right in the center, plus an extra scattering on top for good measure. The result is a multi-textured delight: a rich, dense brownie with an irresistible crunch from the Oreo cookies.
What makes these brownies truly shine is their simplicity. Made with common pantry staples, these ingredients are either already in your kitchen or easily accessible from your local grocery store. Forget complex techniques or obscure components; this recipe is designed for maximum flavor with minimal fuss. Trust us, these Halloween Oreo brownies aren’t just a dessert; they’re a centerpiece, guaranteed to be the star of any Halloween party or autumnal celebration you host!
Let’s Chit Chat About Halloween Baking!
You know Halloween is hands down my favorite baking season, right? There’s just something magical about creating desserts that are perfectly festive, wonderfully fun, and just a touch spooky. These brownies hit that sweet spot flawlessly, balancing the intense fudgy chocolate with the delightful crunch of Oreos. I first whipped them up for a small get-together, and let’s just say… they didn’t stand a chance. Not only were they devoured in record time, but even my partner, Kyle, couldn’t resist sneaking bites straight out of the pan! It’s that kind of irresistible magic.
Why These Halloween Oreo Brownies Are an Absolute Must-Make
- Ultimate Party Pleaser: These brownies are the perfect spooky treat for any Halloween bash, school event, or family gathering. Their vibrant orange-filled Oreos add an undeniable festive flair that everyone will love.
- Kid-Friendly Baking Fun: The straightforward steps and simple ingredients make this an ideal recipe to tackle with kids. Let them help with crushing Oreos or spreading batter – it’s a fantastic way to create lasting memories in the kitchen!
- A Dream for Oreo & Chocolate Lovers: If you’re a fan of rich chocolate and the iconic crunch of Oreos, prepare to be obsessed. This recipe perfectly marries two beloved treats into one unforgettable dessert.
- Year-Round Versatility: While perfect for Halloween, this recipe isn’t limited to October. Simply swap out the Halloween Oreos for classic, mint, red velvet, or any seasonal flavor, and enjoy these fudgy delights all year long!
- Fudgy Perfection Every Time: Say goodbye to dry, cakey brownies! Our recipe is specifically designed to create that coveted dense, moist, and intensely fudgy texture that brownie connoisseurs crave.
- Easy to Scale: Whether you’re baking for a small family or a big party, this recipe is easily scalable. Adjust the pan size and ingredient quantities to suit your needs, and you’ll still get consistent, delicious results.
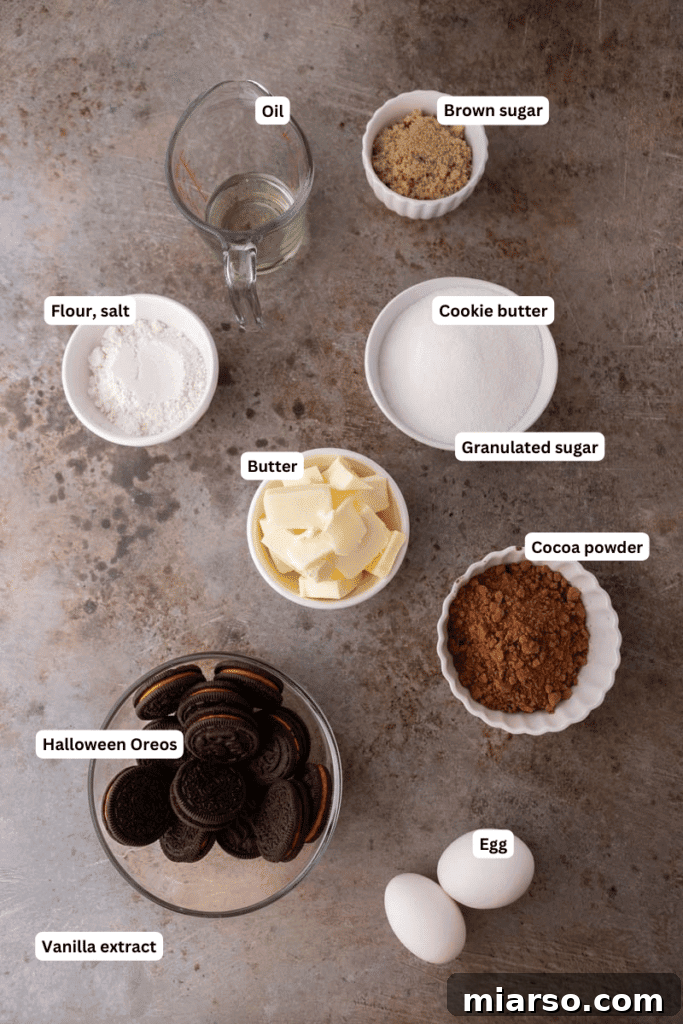
Essential Ingredients for This Easy Halloween Brownie Recipe
To create these wickedly good Halloween Oreo stuffed brownies, you’ll need a handful of common ingredients. Each component plays a crucial role in achieving that perfect fudgy texture and rich chocolate flavor. Below is a list of what you’ll need; for precise measurements, please refer to the detailed recipe card further down this page.
- Unsalted Butter: Provides richness and helps create that tender, fudgy crumb. Using unsalted allows you to control the overall salt content.
- Vegetable Oil: Adds essential moisture and contributes to the chewiness and dense texture, ensuring your brownies stay soft for days.
- Granulated Sugar: Sweetens the brownies and helps with browning and creating that signature shiny, crinkly top.
- Brown Sugar: The molasses in brown sugar adds depth of flavor, moisture, and contributes to the incredibly fudgy and chewy texture we all love.
- Unsweetened Cocoa Powder: This is where the intense chocolate flavor comes from. Opt for a high-quality cocoa powder for the best results – Dutch-processed will give a darker color and milder chocolate flavor, while natural cocoa offers a fruitier, more intense chocolate punch.
- Large Eggs: Act as a binder, add structure, and contribute to the rich, moist texture. Using cold eggs can sometimes help with the crinkly top.
- Pure Vanilla Extract: Enhances all the other flavors, especially the chocolate, adding a warm, aromatic note.
- All-Purpose Flour: Provides just enough structure without making the brownies cakey. We use a minimal amount to maintain fudge-like density.
- Salt: A pinch of salt is crucial for balancing the sweetness and intensifying the chocolate flavor, making every bite more delicious.
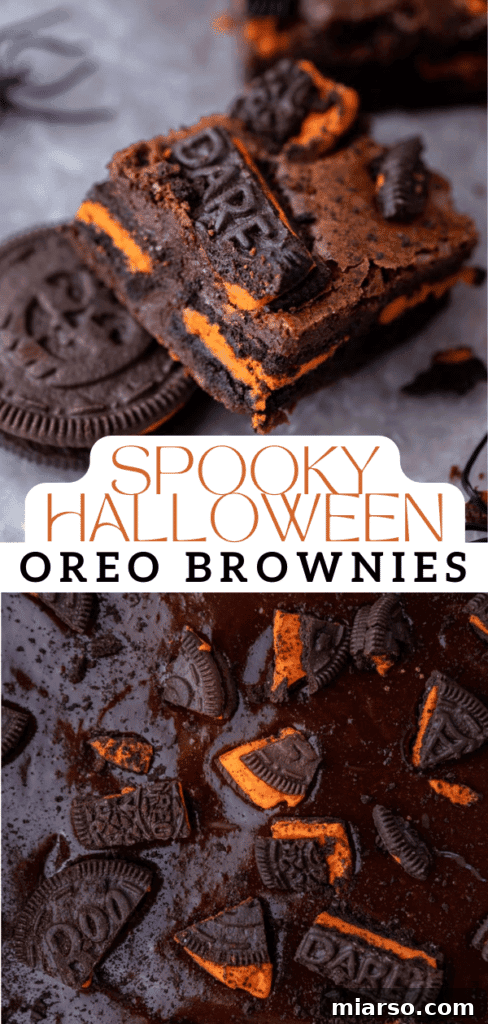
- Halloween Oreos: The star of the show! Yes, those delightful cookies with the vibrant orange filling. They provide a fantastic crunch and festive color both inside and on top of the brownies. If they’re out of season, regular Oreos or other seasonal flavors work perfectly too!
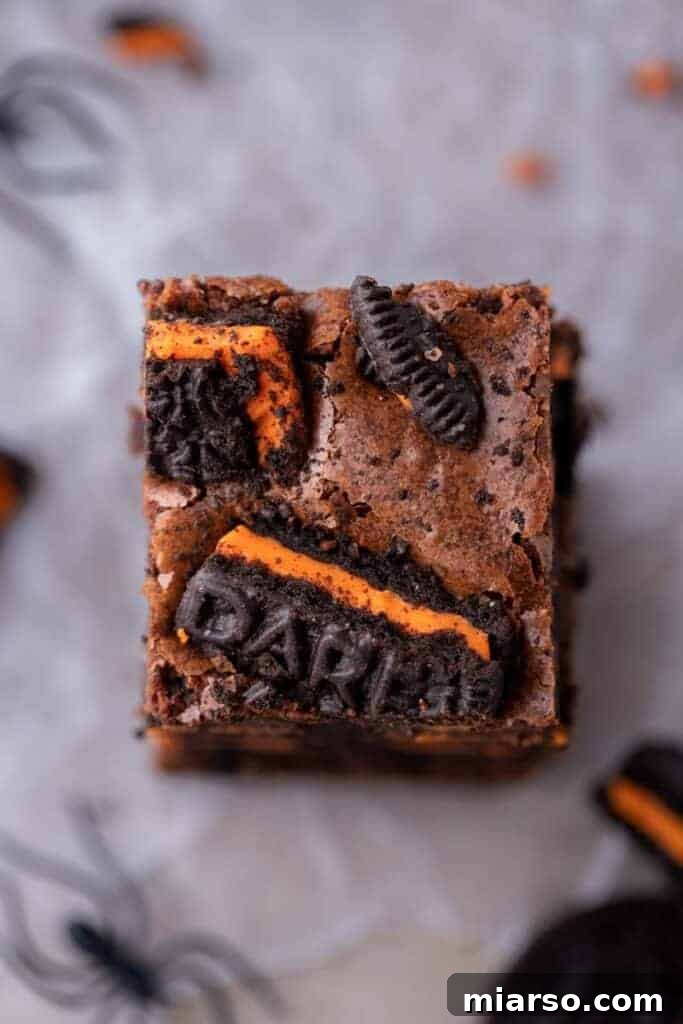
Crafting Your Spooky Treats: How to Make Halloween Oreo Brownies (Step-By-Step)
Making these spooky Oreo brownies is a fun and rewarding process. Follow these detailed steps to achieve perfect, fudgy results every time. Remember to scroll down to the recipe card for the full, precise instructions and measurements!
- Prepare Your Pan: Begin by preheating your oven to 350°F (175°C). This ensures the oven is at the correct temperature for even baking. Line an 8×8 inch baking pan with parchment paper, leaving an overhang on the sides. This “sling” will make it incredibly easy to lift your cooled brownies out of the pan for clean slicing. Set the prepared pan aside.
- Melt Wet Ingredients: In a large, microwave-safe bowl, combine the unsalted butter, vegetable oil, granulated sugar, and brown sugar. Microwave this mixture in 30-second intervals, stirring vigorously after each interval, until the butter is fully melted and the sugars are mostly dissolved. It’s important to stir well to prevent the sugar from crystallizing later. For extra smoothness, continue to microwave for another minute and stir again until the mixture is glossy and smooth. If you don’t have a microwave, a double boiler method works just as effectively.
- Incorporate Eggs and Vanilla: Once your butter and sugar mixture is smooth and slightly cooled (you don’t want to scramble the eggs!), whisk in the cold eggs, one at a time. Beat well after each addition until fully incorporated and the mixture is thick and emulsified. This step is crucial for achieving that desirable shiny, crinkly top. Next, stir in the vanilla extract until just combined. The batter should start to pull away from the sides of the bowl slightly, indicating it’s well mixed.
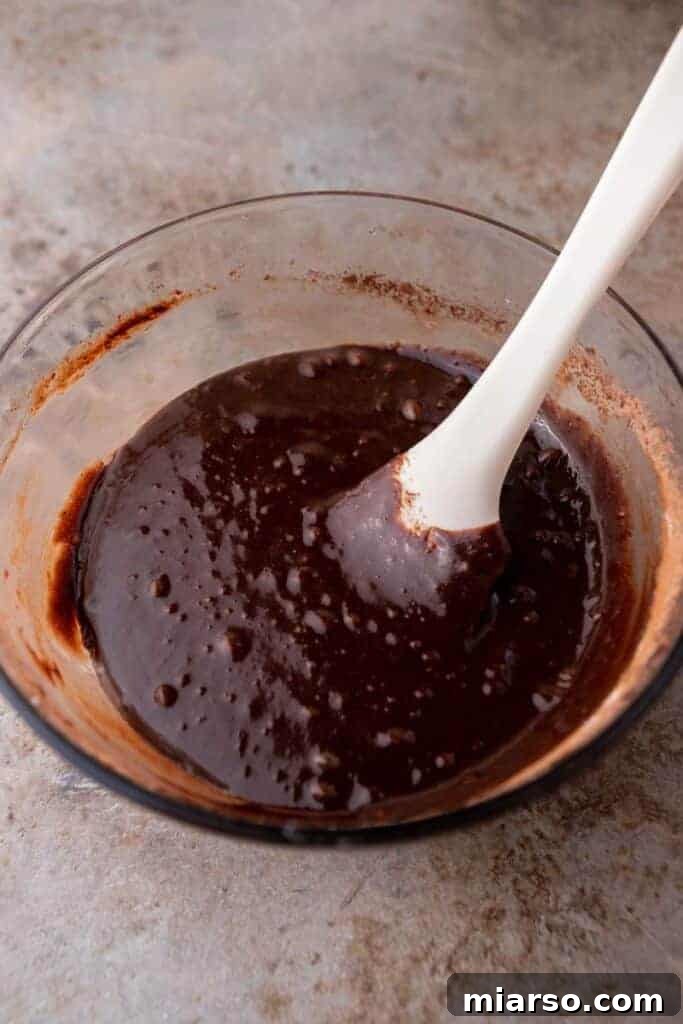
- Add Dry Ingredients: Carefully fold in the all-purpose flour, unsweetened cocoa powder, and salt. Mix gently using a spatula or spoon, just until the streaks of flour disappear. Be careful not to overmix, as this can lead to tough, cakey brownies instead of fudgy ones. Overmixing develops the gluten in the flour, which we want to avoid for ultimate fudge-like texture.
- Layer the Batter (First Half): Pour half of your luscious brownie batter into the parchment paper-lined baking pan. Use an offset spatula or the back of a spoon to spread it evenly across the bottom of the pan, ensuring a consistent base for your Oreos.
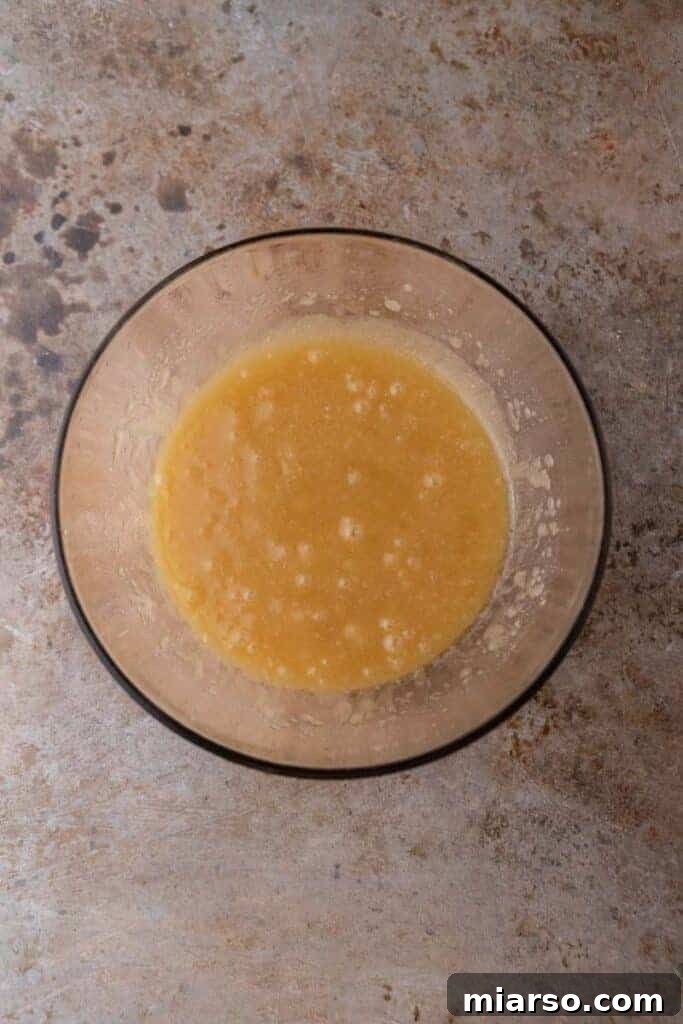
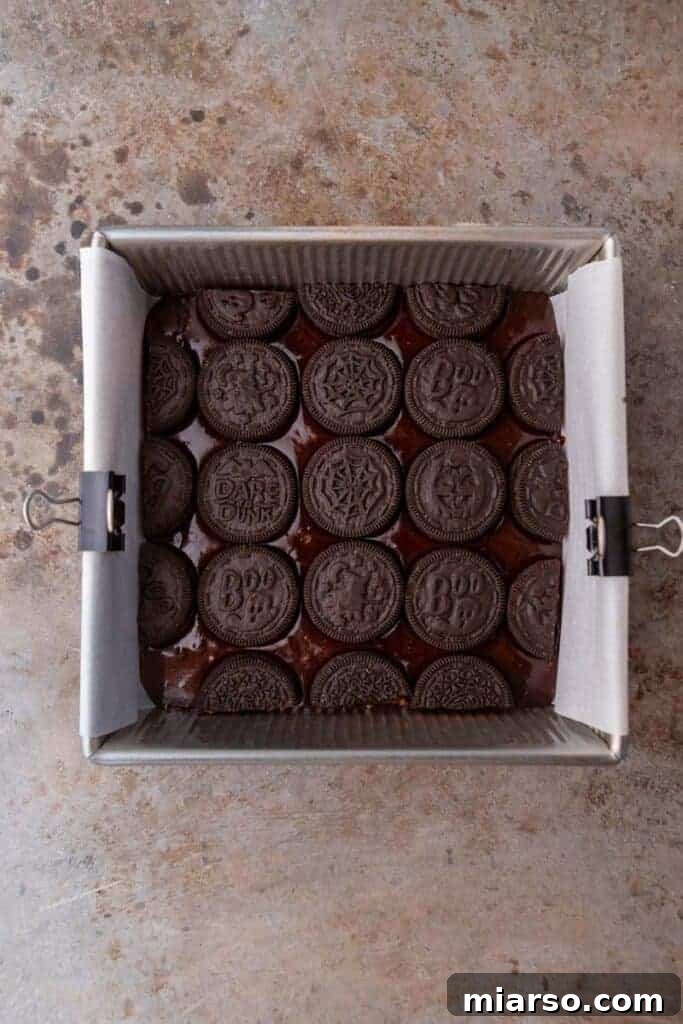
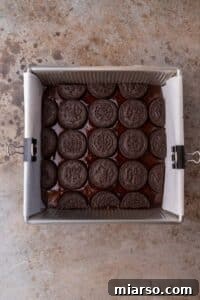
- Add the Oreo Layer: Arrange your Halloween Oreos (a mix of whole and some sliced-in-half Oreos works best for visual appeal and even distribution) directly on top of the first layer of brownie batter. Make sure they are spread out to ensure every slice gets a good bite of Oreo!
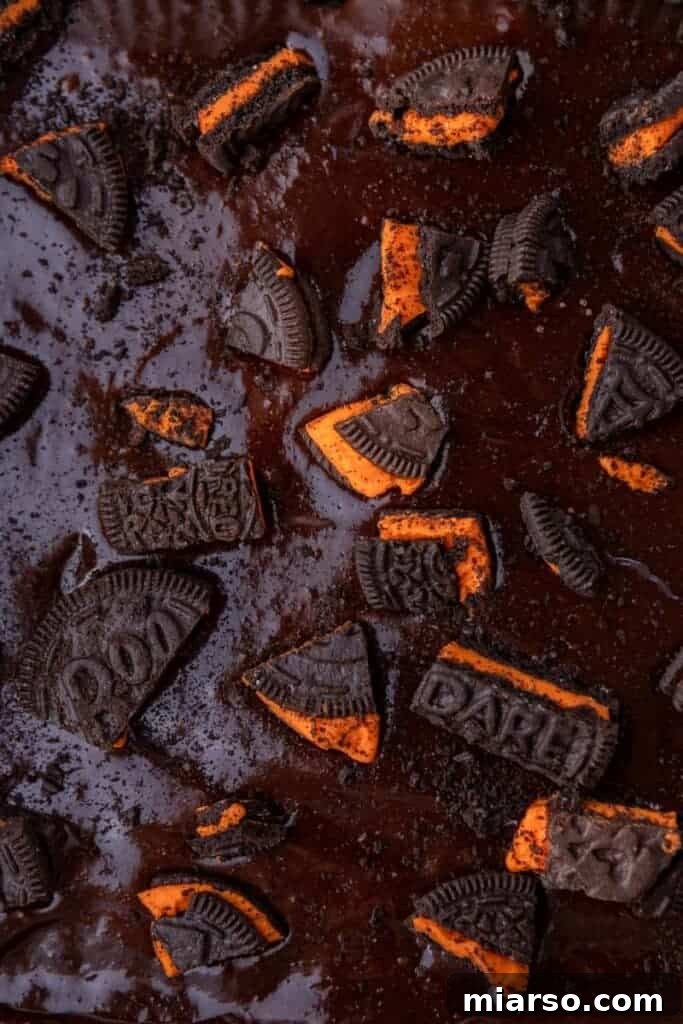
- Cover with Remaining Batter & Top: Carefully pour the remaining brownie batter over the Oreos, gently spreading it to completely cover them. Smooth out the top layer with your spatula. Finally, sprinkle the chopped-up remaining Oreos evenly over the top of the batter. This will give your brownies an extra textural element and a beautiful, festive finish.
- Bake to Perfection: Place the pan in your preheated oven and bake for approximately 30-35 minutes. Brownies are often tricky to gauge for doneness; they should be slightly set around the edges but still a little soft and jiggly in the very center. A toothpick inserted into the center should come out with moist crumbs, not wet batter. Avoid overbaking, as this is the quickest way to lose that desired fudgy texture.
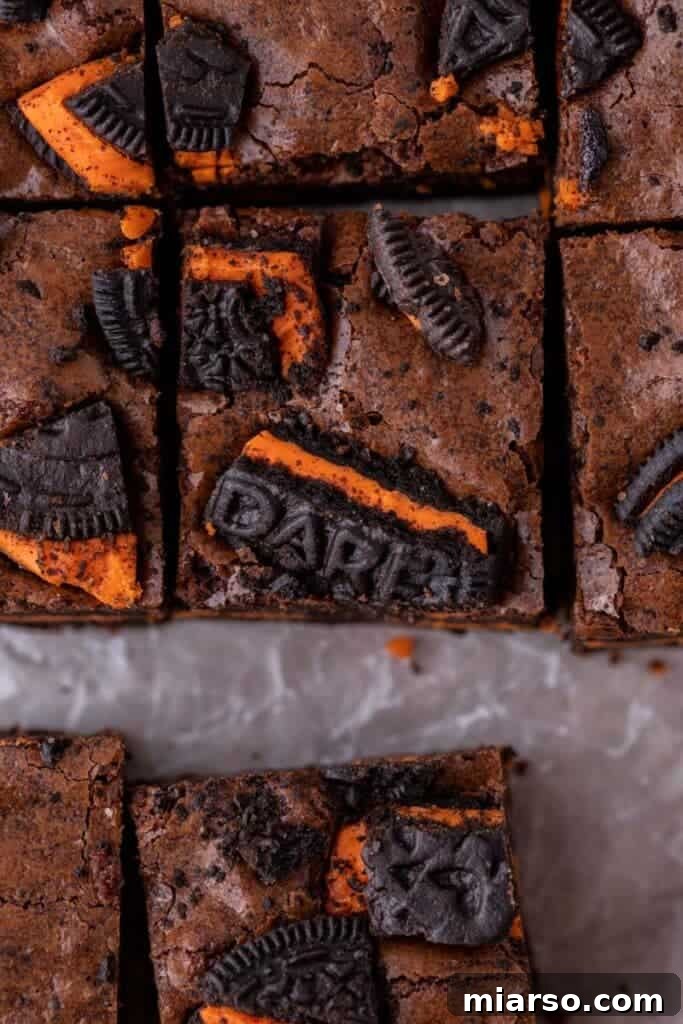
- Cool Completely: This is arguably the most important step for perfect slices! Allow the brownies to cool down fully in the pan on a wire rack. Ideally, this should be for at least 8 hours, or even overnight. Resist the temptation to cut into them too early! Cooling completely allows the brownies to set, firm up, and become incredibly fudgy and easy to slice cleanly.
Curious about what makes brownies fudgy instead of cakey? This Martha Stewart Guide explains the science behind it, helping you achieve perfect texture every time!
No microwave? No problem! You can easily melt the butter, oil, and sugars together in a saucepan over low heat, stirring constantly, or use a double boiler for the same delicious results. Just ensure the sugars fully dissolve.
Expert Tips for the Best Halloween Oreo Brownies
- Quality Matters: For truly exceptional flavor, invest in high-quality cocoa powder and butter. These are the backbone of your brownies, and better ingredients will yield richer, more delicious results.
- Patience for Perfection: Allowing your brownies to cool completely (at least 8 hours, or overnight) before slicing is non-negotiable for clean, sharp edges and the ultimate fudgy texture. Warm brownies will crumble and be messy.
- The Hot Knife Trick: For impeccably clean slices every single time, dip a sharp knife in hot water and wipe it clean before each cut. This simple trick melts through the chocolate and Oreos, preventing sticking and dragging.
- Boost the Chocolate Factor: For an extra decadent treat, fold in ⅓ cup of your favorite chocolate chips (semi-sweet, milk, or dark) or chocolate chunks into the batter before baking.
- Elevate with Frosting: Want to create a true showstopper? Once cooled, frost your Halloween Oreo brownies with a vibrant orange or classic vanilla buttercream icing. Drizzle with chocolate ganache or melted dark chocolate for an elegant finish. You can even add extra crushed Oreos on top of the frosting!
- Don’t Overbake: Brownies continue to cook slightly even after being removed from the oven. They should look slightly underdone in the center when you pull them out. A toothpick inserted into the center should come out with moist crumbs, not wet batter.
- Room Temperature Eggs: While the recipe calls for cold eggs (which can aid in the crinkly top), using room temperature eggs can create a smoother, more uniform batter by emulsifying more easily with the fats. Experiment to see which you prefer!
Frequently Asked Questions – Halloween Oreo Brownies Edition
How do I store these Halloween Oreo brownies?
To keep your brownies fresh and fudgy, store them in an airtight container at room temperature for up to 5 days. For extended freshness, especially in warmer climates, you can refrigerate them. Just make sure they’re tightly sealed to prevent them from drying out. They’re often even fudgier and denser when enjoyed slightly chilled!
Can I freeze them?
Absolutely! These brownies freeze beautifully. To freeze, allow them to cool completely, then wrap each brownie individually in plastic wrap, followed by a layer of aluminum foil. Alternatively, place them in a single layer in a freezer-safe container, separated by parchment paper, for up to 3 months. When you’re ready to enjoy, thaw them at room temperature for a few hours or gently warm them in the microwave for a few seconds.
Can I add chocolate chips to my brownies?
Definitely! Adding chocolate chips is an excellent way to make your Halloween Oreo brownies even richer and more indulgent. We recommend stirring in about ⅓ cup of your favorite semi-sweet, milk chocolate, or dark chocolate chips or even chocolate chunks into the brownie batter during the final mixing step (before pouring into the pan). This will create gooey pockets of melted chocolate throughout your fudgy treats.
How can I take these Halloween Brownies with Oreos to the next level?
If you want to create an even more show-stopping dessert, there are several ways to elevate these brownies! First, bake and allow them to cool down completely. Then, consider topping them with a thick, festive layer of orange-colored buttercream frosting, or a classic vanilla frosting that you can tint with food coloring. For an extra touch of decadence, drizzle chocolate ganache or a rich chocolate fudge frosting over the top. To really impress, add an extra layer of whole or crushed Oreos on top of the frosting. You could also sprinkle some Halloween-themed sprinkles or candy eyeballs for a truly spooky finish!
How can I get the perfect brownie slices?
Achieving those coveted, perfectly square, crinkle-topped brownie slices comes down to two main tips. Tip number one, and this cannot be stressed enough, is to *always* allow your brownies to cool down fully. I often let mine cool for at least 8 hours, and sometimes even overnight, before I attempt to slice them – especially when I need them picture-perfect for photos! This extended cooling time allows the brownies to set completely, making them firm and dense enough for clean cuts. The next crucial tip is to use a sharp knife. For an extra hack, if you want ultra-clean edges, dip your sharp knife into a tall glass of warm water to heat the blade slightly. Quickly wipe the blade clean with a piece of paper towel after each dip, then make your slice. Repeat this process for every cut. This technique helps the knife glide through the fudgy texture and any embedded Oreos without dragging or tearing. Let me know in the comments if these hacks work wonders for you!
Halloween Oreo Stuffed Brownies
15 mins
30 mins
45 mins
16 servings
Print Recipe
Ingredients
- 2/3 cup unsalted butter
- 1/4 cup vegetable oil
- 1 cup granulated sugar
- 1/3 cup brown sugar
- 2/3 cup cocoa powder
- 2 large eggs cold
- 1 tsp vanilla extract
- 1/2 tsp salt
- 1/2 cup all-purpose flour
- 15 Halloween Oreos plus 5 extra for topping
Instructions
-
Preheat the oven to 350°F (175°C). Line an 8×8 inch baking pan with parchment paper, leaving an overhang on all sides, and set aside.
-
In a large microwave-safe bowl, melt the butter, oil, granulated sugar, and brown sugar together. Microwave in 30-second intervals, stirring vigorously after each time, until fully melted and smooth. Once melted, microwave for another 1 minute and stir vigorously to ensure the sugar is completely dissolved. Using a hand mixer or stand mixer can help achieve the best consistency here.2/3 cup butter,
1/4 cup vegetable oil,
1 cup granulated sugar,
1/3 cup brown sugar -
Whisk in the cold eggs one at a time, ensuring each is fully incorporated before adding the next. Then, stir in the vanilla extract until just combined. The batter should appear thick and slightly pulled from the sides of the bowl.2 large eggs,
1 tsp vanilla extract -
Add the all-purpose flour, cocoa powder, and salt to the wet ingredients. Fold gently with a spatula just until the flour mixture disappears and no dry streaks remain. Be careful not to overmix.1/2 tsp salt,
1/2 cup all-purpose flour,
2/3 cup cocoa powder -
Pour half of the brownie batter into the prepared parchment paper-lined baking pan and spread it evenly across the bottom.
-
Carefully place 15 whole and/or halved Oreos on top of the first layer of brownie batter, arranging them to cover most of the surface (see photo). Then, gently pour the remaining brownie batter over the Oreos and spread it evenly to cover them completely.15 Halloween Oreos

-
Sprinkle the remaining 5 crushed Oreos on top of the brownie batter. Bake in the preheated oven for 30-35 minutes, or until the edges are set and the center is slightly jiggly. A toothpick inserted into the center should come out with moist crumbs.
-
Allow the brownies to cool down fully on a wire rack for at least 8 hours (or overnight) before slicing into them. This ensures the fudgiest texture and perfect, clean square slices with that coveted crinkle top every time.
Nutrition
Calories:
247 Calories
|
Carbohydrates:
30g
|
Protein:
2g
|
Fat:
14g
|
Saturated Fat:
6g
|
Polyunsaturated Fat:
3g
|
Monounsaturated Fat:
4g
|
Trans Fat:
0.3g
|
Cholesterol:
41mg
|
Sodium:
187mg
|
Potassium:
102mg
|
Fiber:
2g
|
Sugar:
22g
|
Vitamin A:
266IU
|
Calcium:
17mg
|
Iron:
2mg
Nutrition information is automatically calculated and should be used as an approximation.
Enjoyed this recipe? Leave a comment below!
If you enjoyed this easy Oreo Halloween brownies recipe, make sure to pin it for later!
Don’t let this spooky good recipe disappear! Save it to your Pinterest board for future Halloween parties, autumn baking sessions, or whenever you crave an intensely fudgy, chocolatey treat with a delightful Oreo crunch. These brownies are a hit with everyone, so make sure you have the recipe handy for your next craving!